Concurso de navidad: decoración de bolígrafos con foami moldeable. 🎄 / Christmas contest: decorating pens with moldable foam

Muy felíz noche comunidad DiyHub, un gusto saludarles espero se encuentren bien, me siento contenta de estar compartiendo una vez en la comunidad, en ésta ocasión siendo parte del concurso de navidad, quise realizar algo sencillo pero bonito, y con materiales fáciles de utilizar.
Very happy night DiyHub community, a pleasure to greet you, I hope you are well, I feel happy to be sharing once in the community, this time being part of the Christmas contest, I wanted to do something simple but beautiful, and with easy-to-use materials.

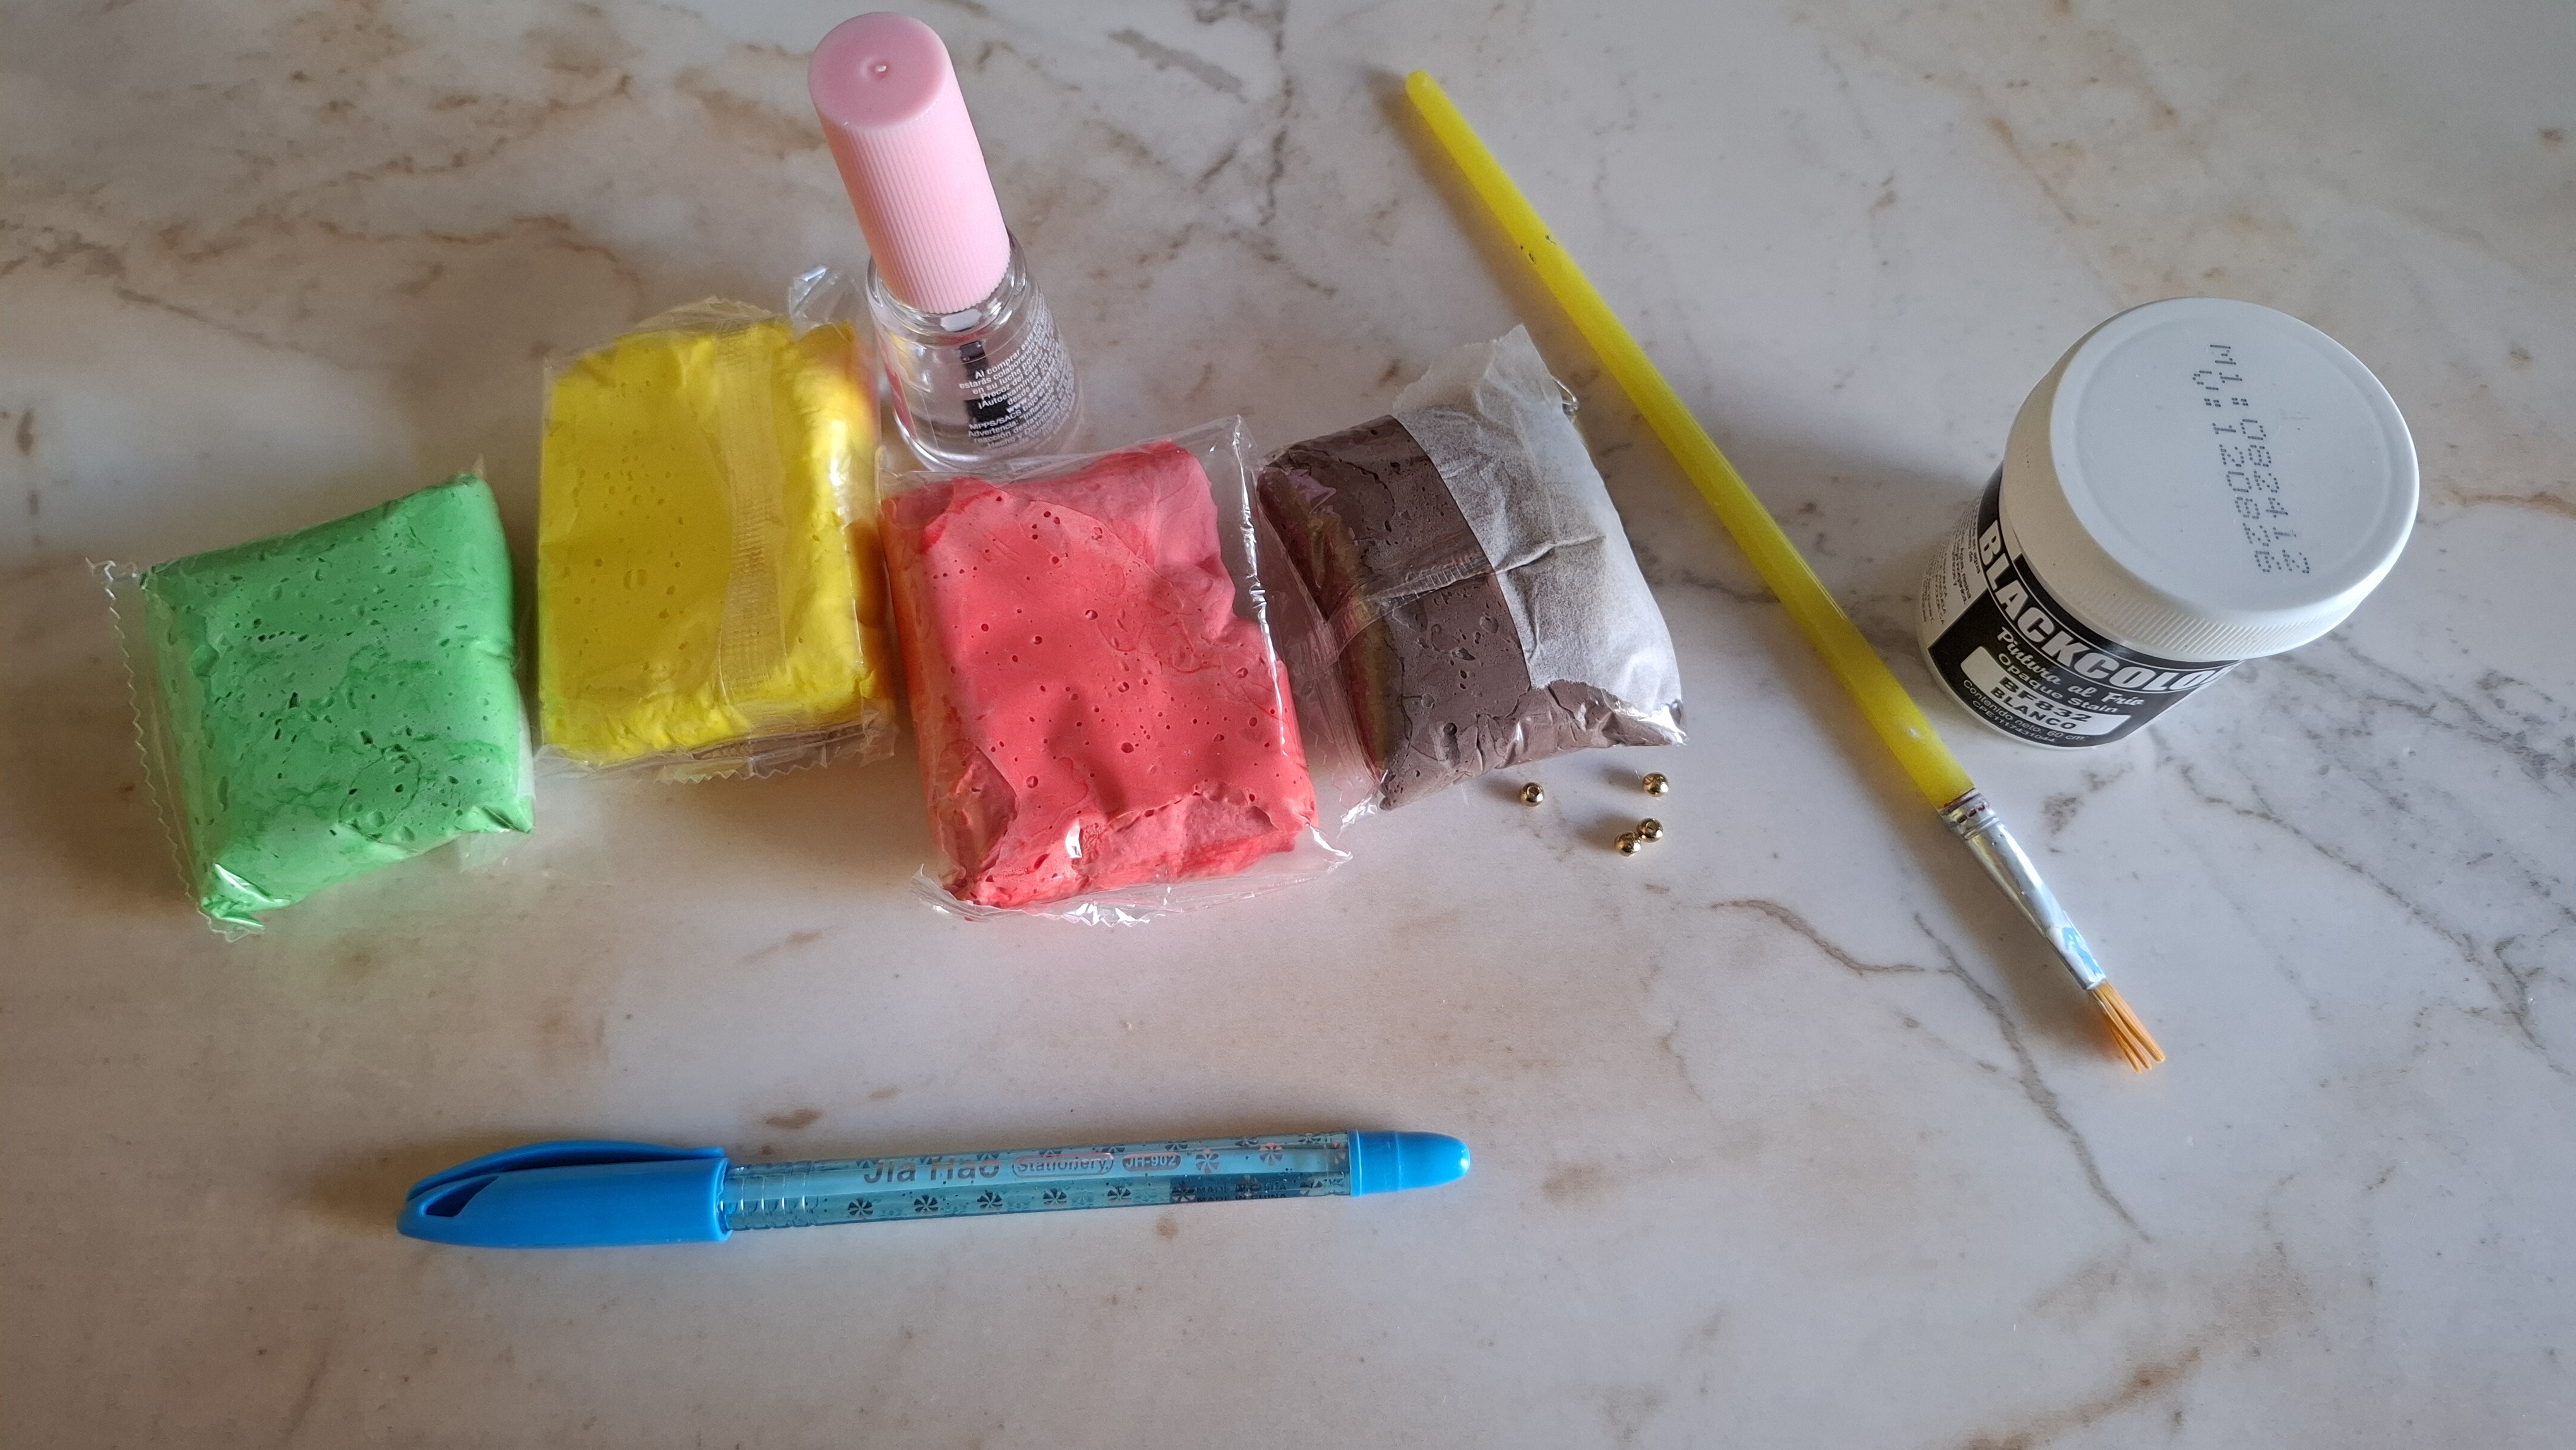
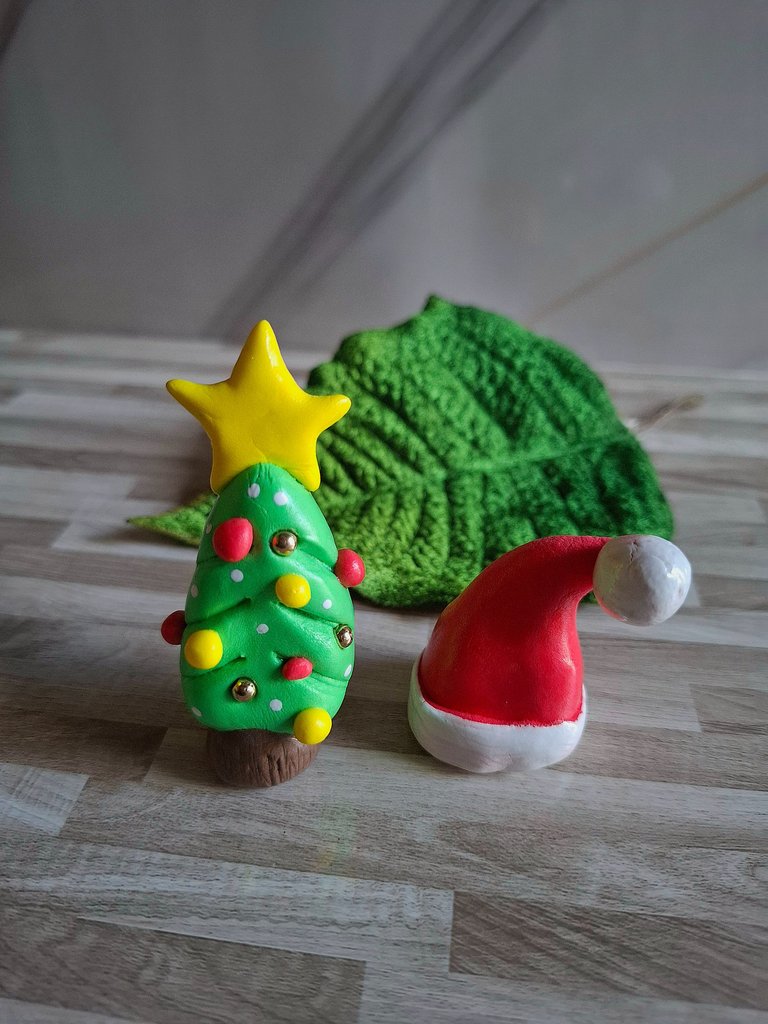
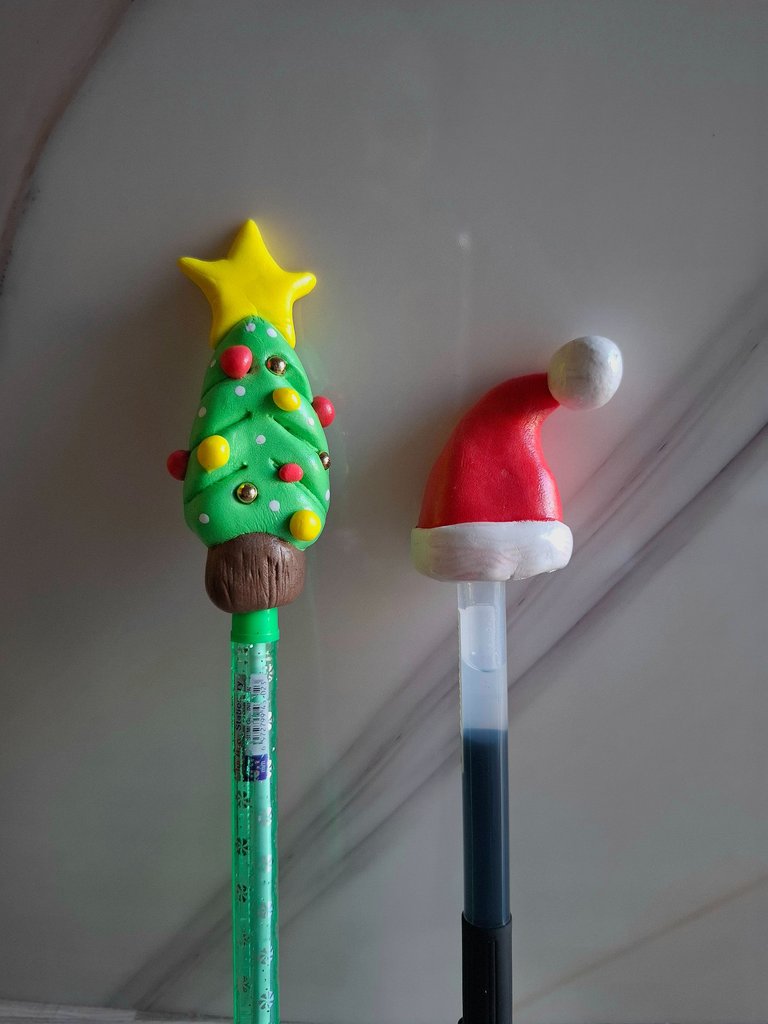
Realicé un arbolito de navidad y un gorro, con foami moldeable, estos dos adornos son ideales para decorar nuestros bolígrafos en esta época, también puedes realizarlos para regalar a tus compañeros de trabajo, y otra persona importante para tí, me gusta mucho este foami ya que es suave y se adapta muy bien a la figura que vamos a realizar, a continuación les muestro los materiales y el paso a paso.
I made a Christmas tree and a hat, with moldable foam, these two ornaments are ideal for decorating our pens at this time, you can also make them to give to your co-workers, and another important person for you, I really like this foam which is soft and adapts very well to the figure that we are going to make, below I show you the materials and the step by step.

| Materiales | Materials |
|---|---|
| Foami moldeable rojo | Red moldable foam |
| Foami moldeable amarillo | Yellow moldable foam |
| Foami moldeable verde | Green moldable foam |
| Foami moldeable marrón | Brown moldable foam |
| Pintura blanca | white paint |
| Balines dorados | golden pellets |
| Brillo de uñas | nail glitter |
| Palillo | Toothpick |
| Pincel | Brush |

Paso a paso / Step by step
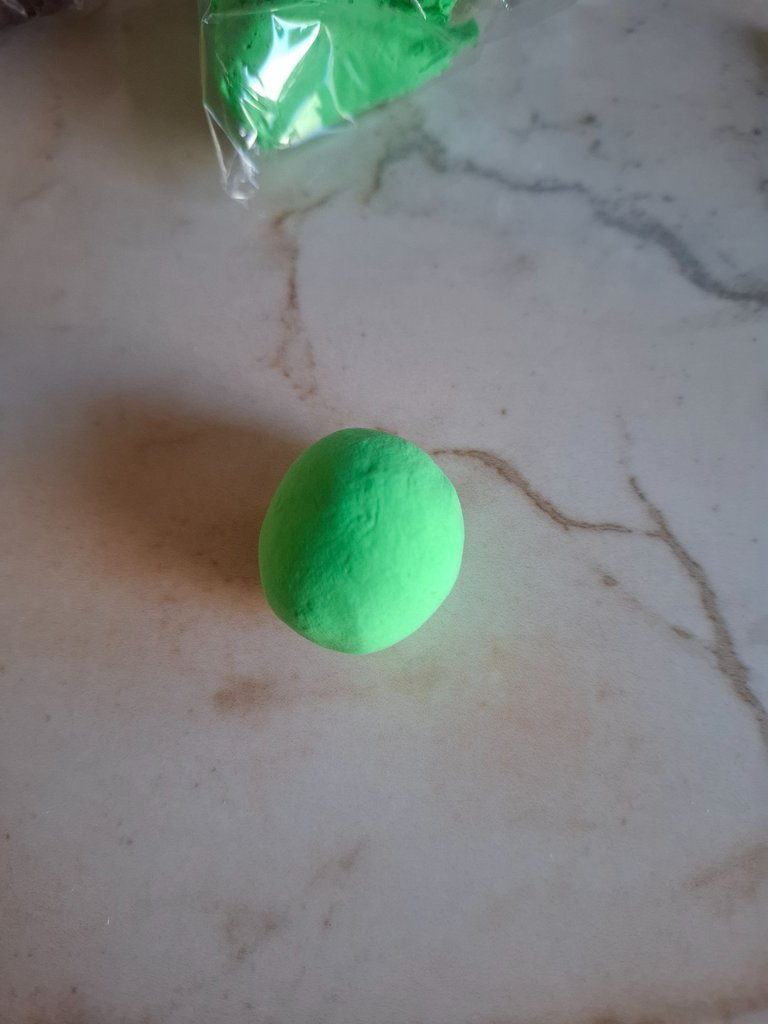
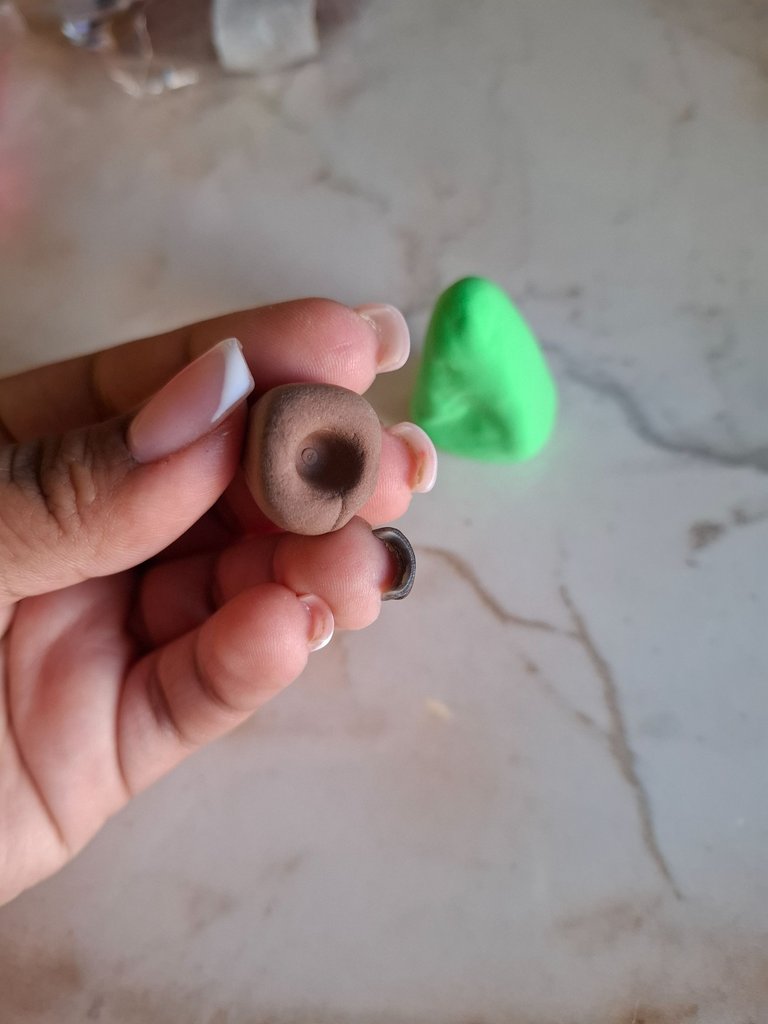
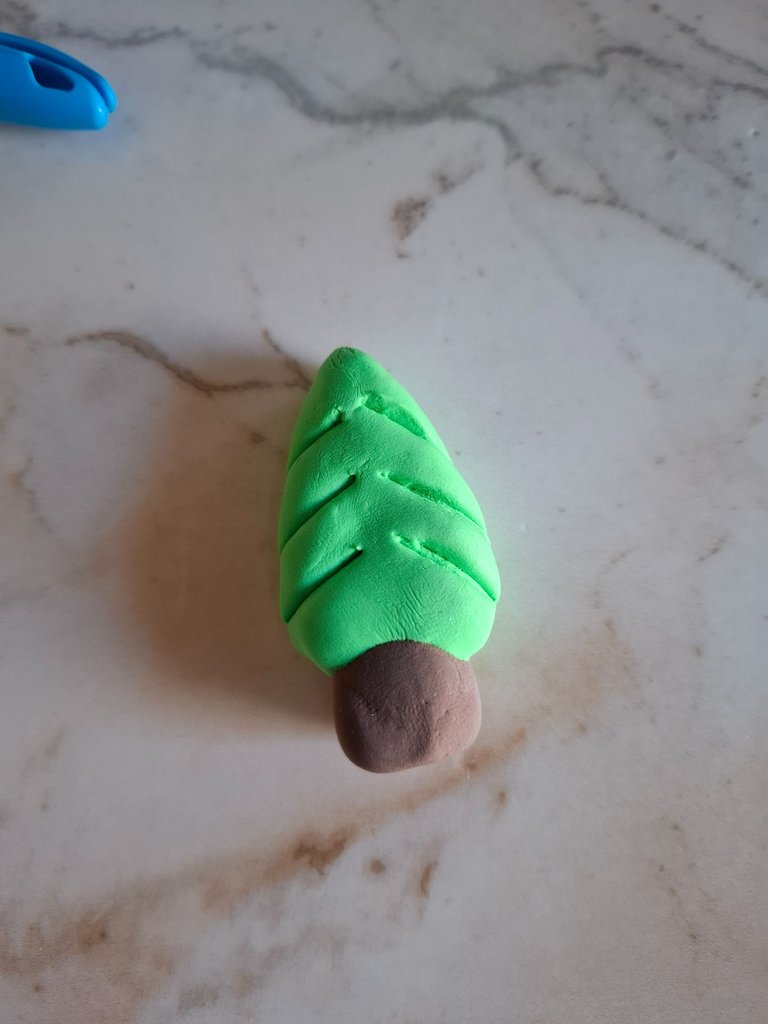
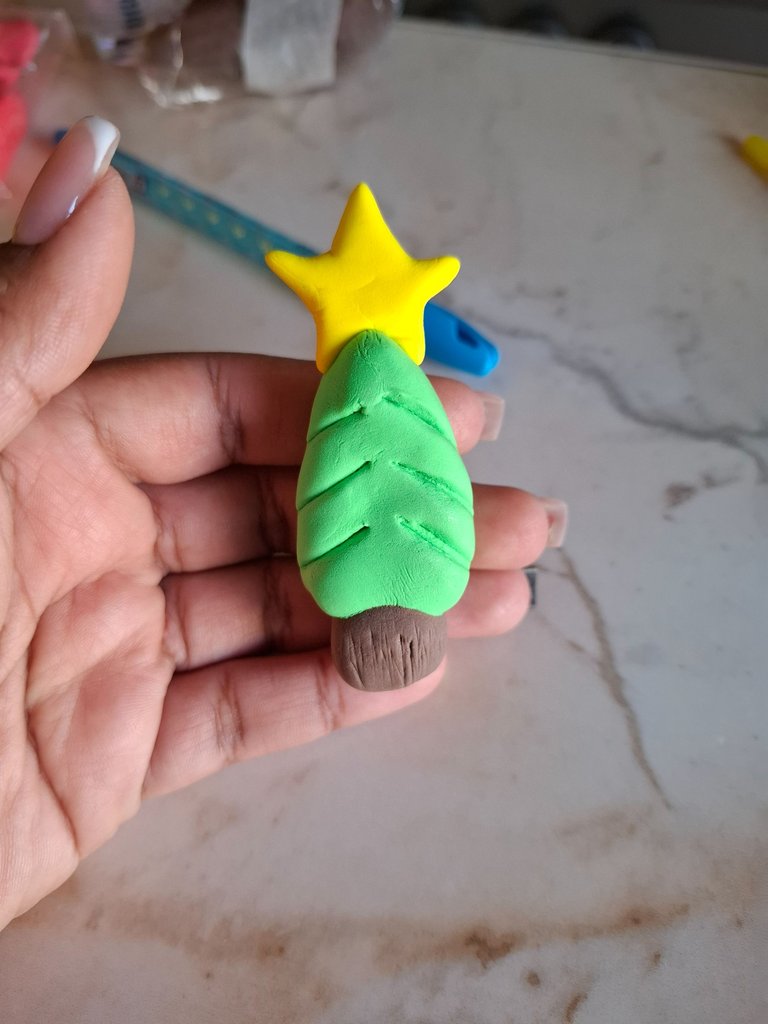
El primer paso se trata de formar una bolita de foami verde, voy a comenzar a dar forma en como, luego voy a tomar una bolita más pequeña de foami marrón y haremos la base del árbol, la unimos junto al arbolito. Puedes realizar pequeños cortes finos sobre los laterales del foami verde.
The first step is to form a ball of green foam, I am going to begin to shape it like this, then I am going to take a smaller ball of brown foam and we will make the base of the tree, we join it together with the tree. You can make small fine cuts on the sides of the green foam.
 |  |
|---|
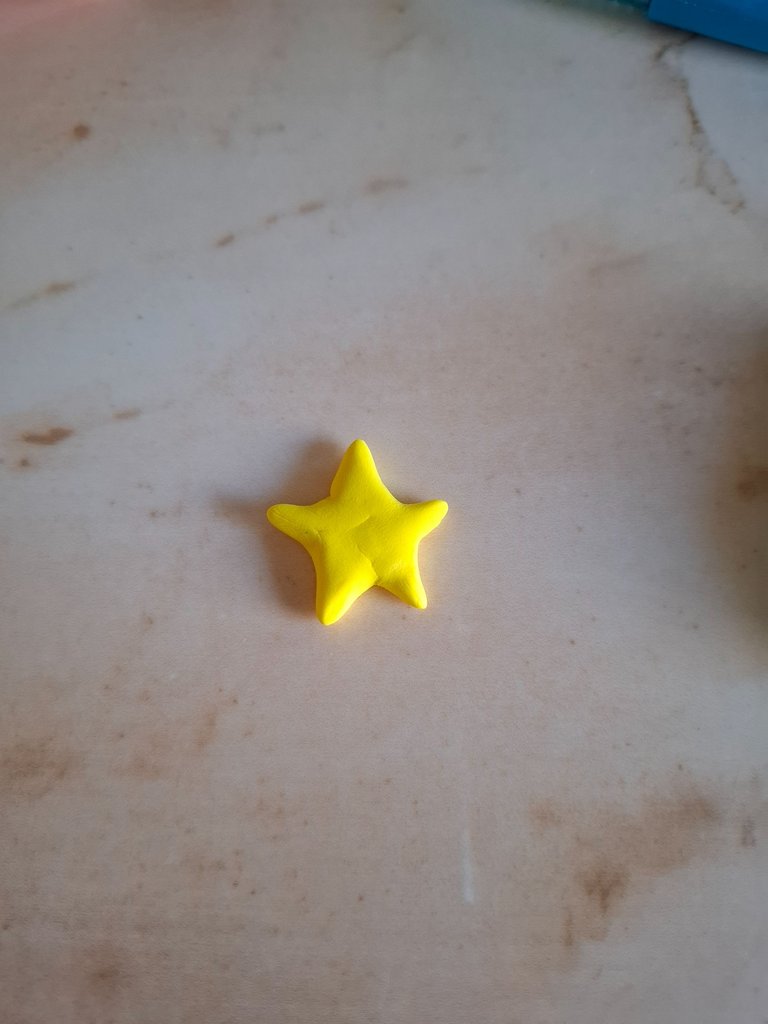
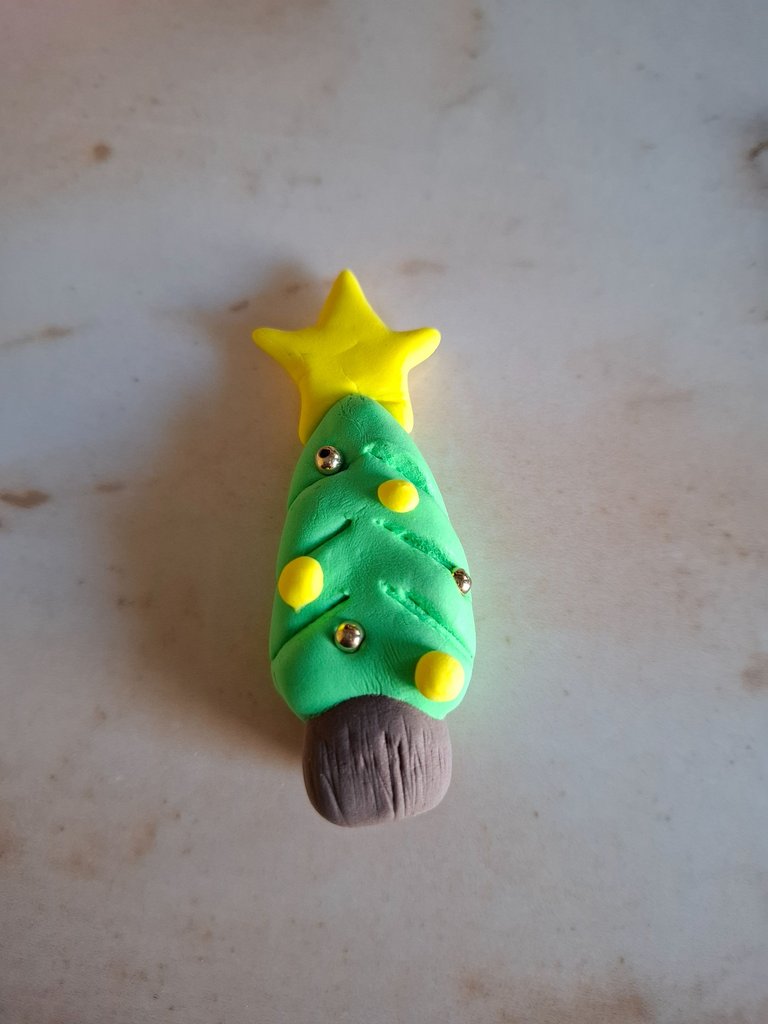
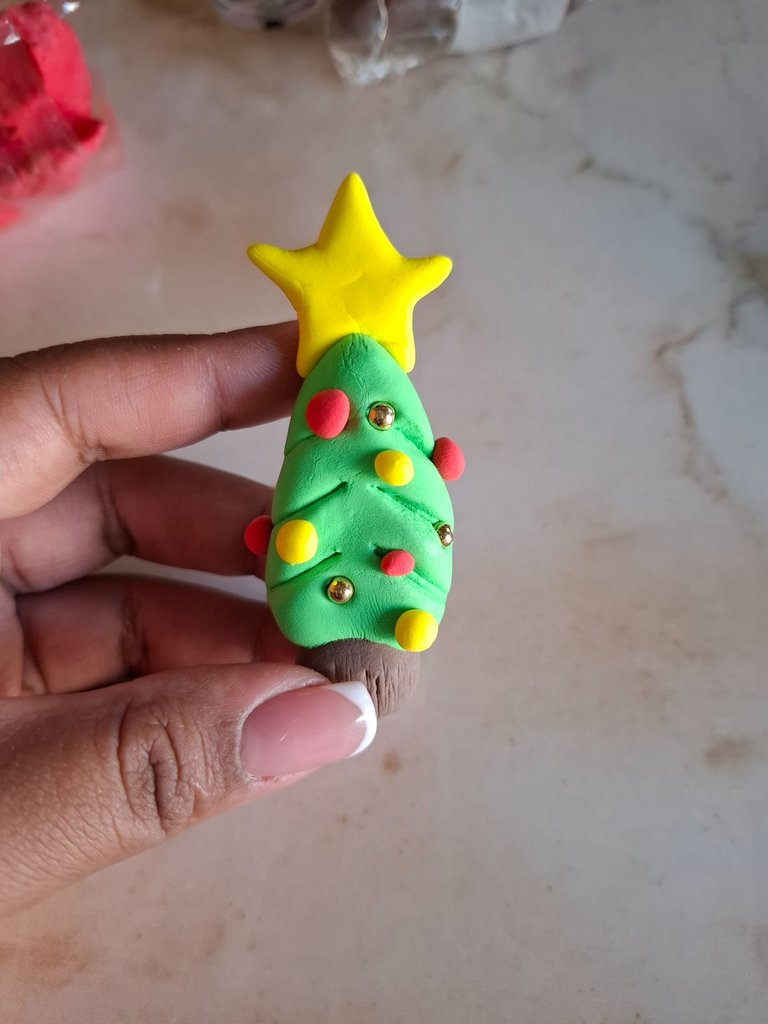
Luego voy a tomar una bolita de foami amarillo pequeña para realizar la estrella, la ubicamos en la punta del árbol, luego voy a colocar algunos balines dorados y bolitas rojas y amarillas simulando las bambalinas.
Then I'm going to take a small yellow foam ball to make the star, we place it at the top of the tree, then I'm going to place some gold balls and red and yellow balls simulating the scenes.
 |  |
|---|
Luego con un palillo voy a realizar pequeños puntos de color blanco sobre el foami verde, marcamos un poco la profundidad en el foami con el lapicero en la parte inferior para cuando se seque poder introducir en la punta del bolígrafo.
Then with a toothpick I am going to make small white dots on the green foam. We mark the depth on the foam with the pencil at the bottom so that when it dries we can insert it into the tip of the pen.
 |  |  |
|---|

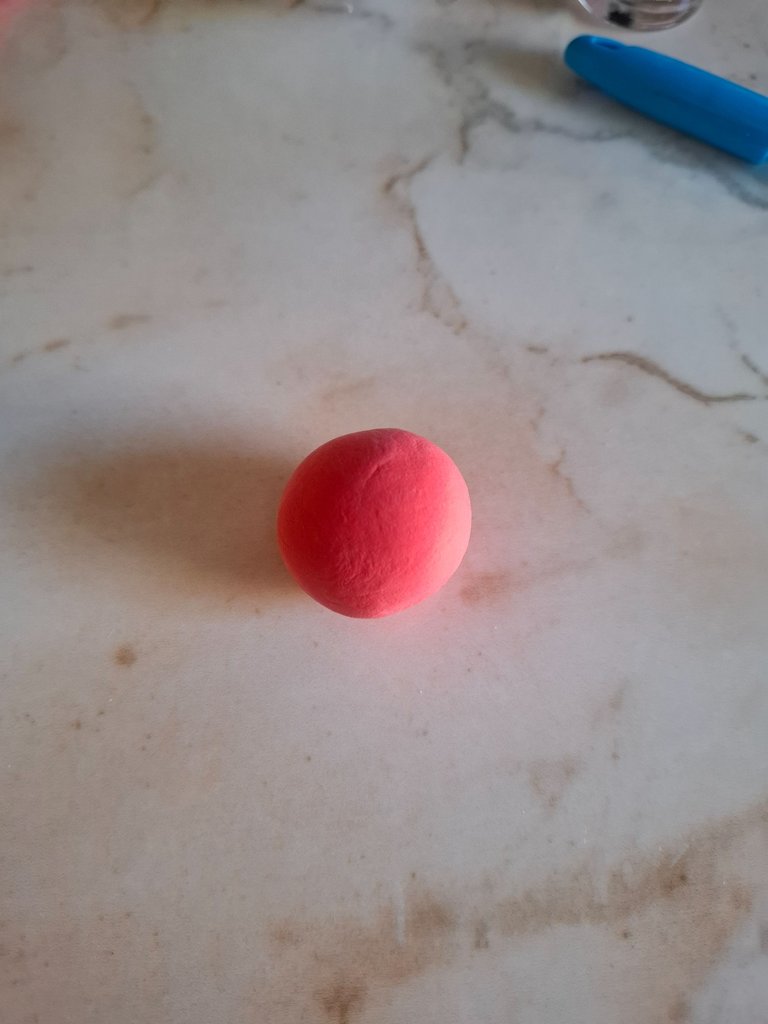
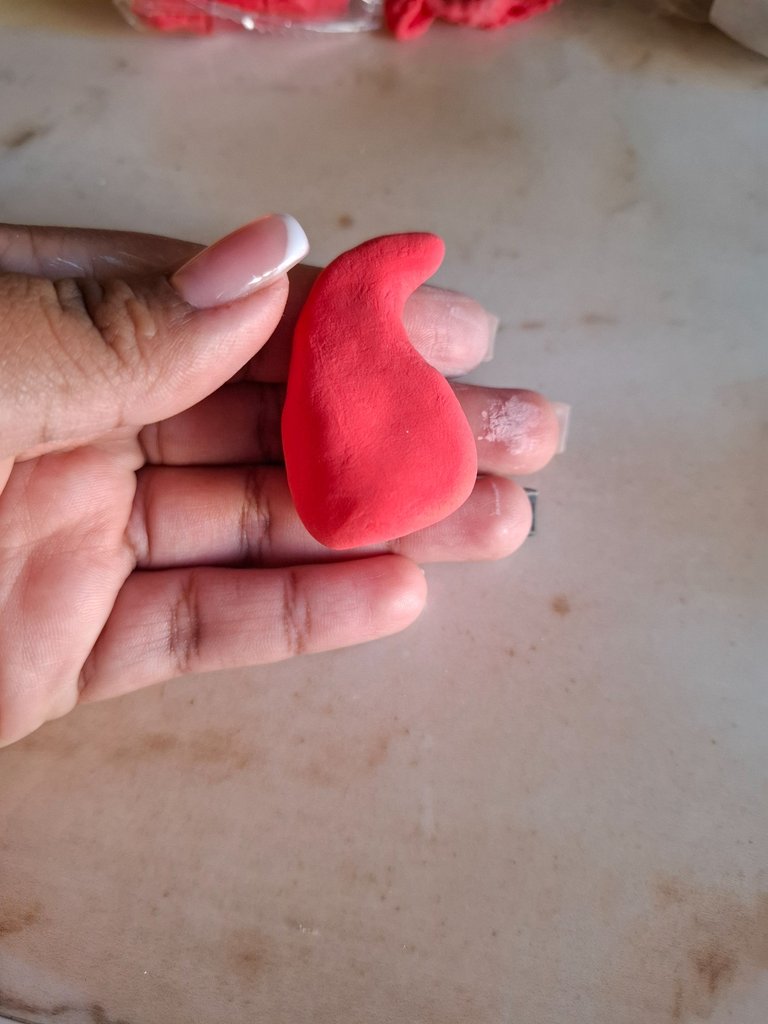
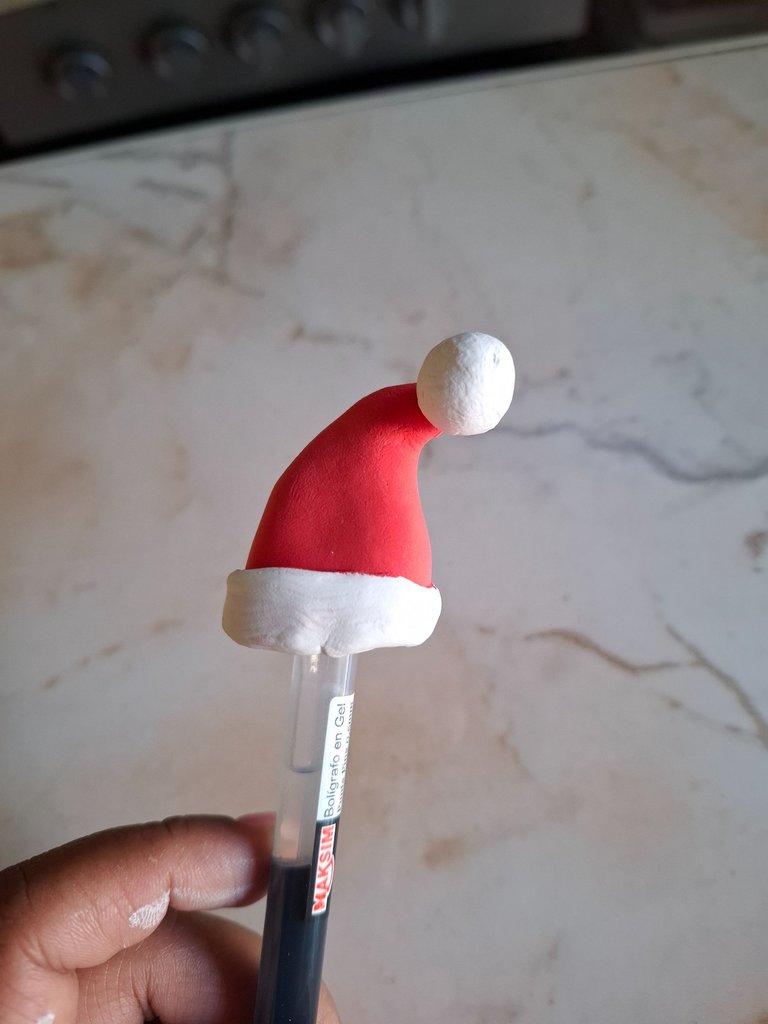
Ahora para realizar el gorro voy a tomar una bolita de foami rojo, vamos realizando la forma con ayuda de los dedos, voy a formar una franja fina de foami rojo y la colocamos en la parte inferior también una pequeña bolita que vamos a pintar de blanco, esta es una alternativa si no tienes foami blanco.
Now to make the hat I am going to take a ball of red foam, we are making the shape with the help of our fingers, I am going to form a thin strip of red foam and we are also going to place a small ball at the bottom that we are going to paint white. , this is an alternative if you don't have white foam.
 |  |  |
|---|
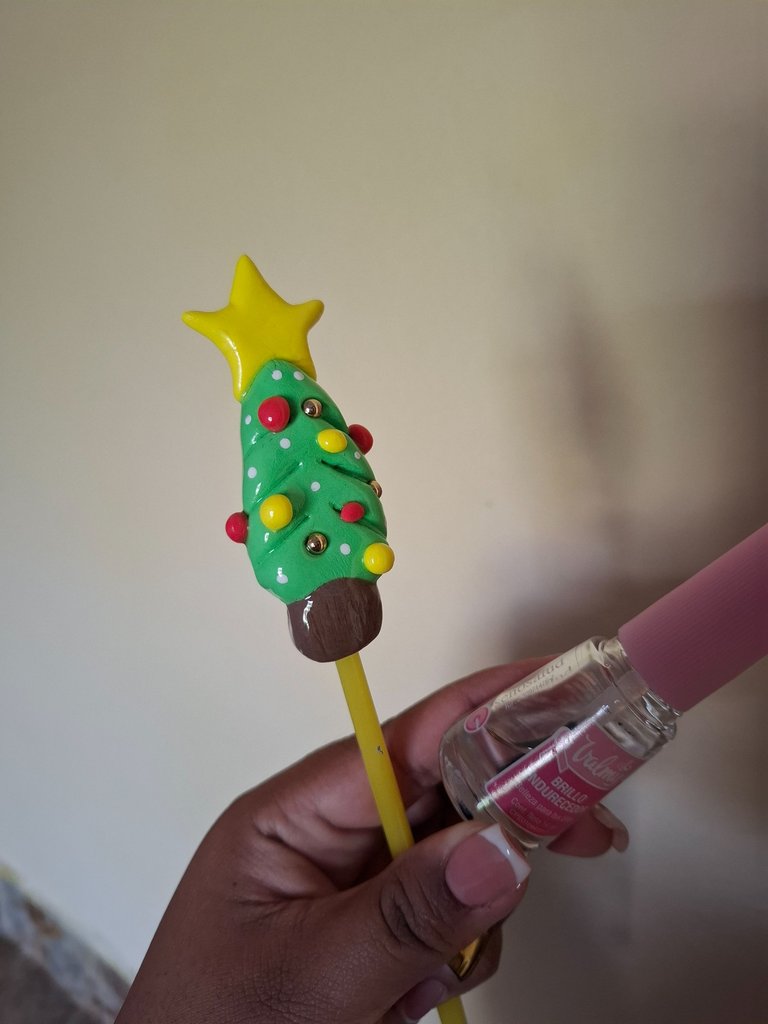
Por último colocamos el brillo de uñas sobre el foami cuando esté seco, es una idea económica y fácil de realizar para esta navidad, espero les haya gustado el resultado.
Finally, we place the nail glitter on the foam when it is dry, it is an economical and easy idea to do for this Christmas, I hope you liked the result.
Muchas gracias por visitar mi publicación, nos vemos en una próxima oportunidad con más ideas creativas.
Thank you very much for visiting my publication, see you next time with more creative ideas.



Preciosos 😻
Se ven muy lindos estos adornos. Lo mejor es que es un material bastante liviano, ideal para decorar los lápices.
Muchas suerte.
Gracias bella 🫂
I wish I had one of these pencil toppers. These are looking very cute and adorable 😍
thank you, regards 🤗
This is truly outstanding and cute as well. Nice work and keep it up
Thank you so much 😉
Christmas looks even more beautiful when it is molded with your hands. This work is beautiful and a great entry for our December contest. Thank you very much for always giving your best and for being part of the DIYHub family.
Thank you very much for the support, a hug 💙
¡Felicidades! Esta publicación obtuvo upvote y fue compartido por @la-colmena, un proyecto de Curación Manual para la comunidad hispana de Hive que cuenta con el respaldo de @curie.
Si te gusta el trabajo que hacemos, te invitamos a darle tu voto a este comentario y a votar como testigo por La Colmena.
Si quieres saber más sobre nuestro proyecto, te invitamos a acompañarnos en nuestro servidor de Discord.
Congratulations, your post has been curated by @dsc-r2cornell. You can use the tag #R2cornell. Also, find us on Discord
Felicitaciones, su publicación ha sido votada por @ dsc-r2cornell. Puedes usar el tag #R2cornell. También, nos puedes encontrar en Discord
Hola amiga, que lindos se ven los bolígrafos decorados, es una excelente opción para obsequiar en esta hermosa temporada, el foami moldeable es un material versátil cuando de hacer figuras se trata, además muy usado para ejercitar la motricidad en niños y adultos.
Saludos!
!DIY
You can query your personal balance by
!DIYSTATS