DIYHub Contest - Christmas ft. Ecency: Snowflake [ESP/ENG]
Hello creatives, I'm back with a new post to participate in the Diy Christmas Contest!!!! In my house we continue with Christmas decorations and I have been in charge of making one or the other. Today I bring you a step by step tutorial on how to make a snowflake. I assure you that it is very beautiful and very easy to do. Here it is below:
Hola creativos, estoy de vuelta con una nueva publicación para participar en el Diy Christmas Contest!! En mi casa seguimos con las decoraciones navideñas y yo me he encargado de hacer una que otra. El día hoy les traigo un tutorial paso a paso de como hacer un copo de nieve. Les aseguro que queda muy hermoso y es muy sencillo de hacer. Aquí abajo se los dejo:
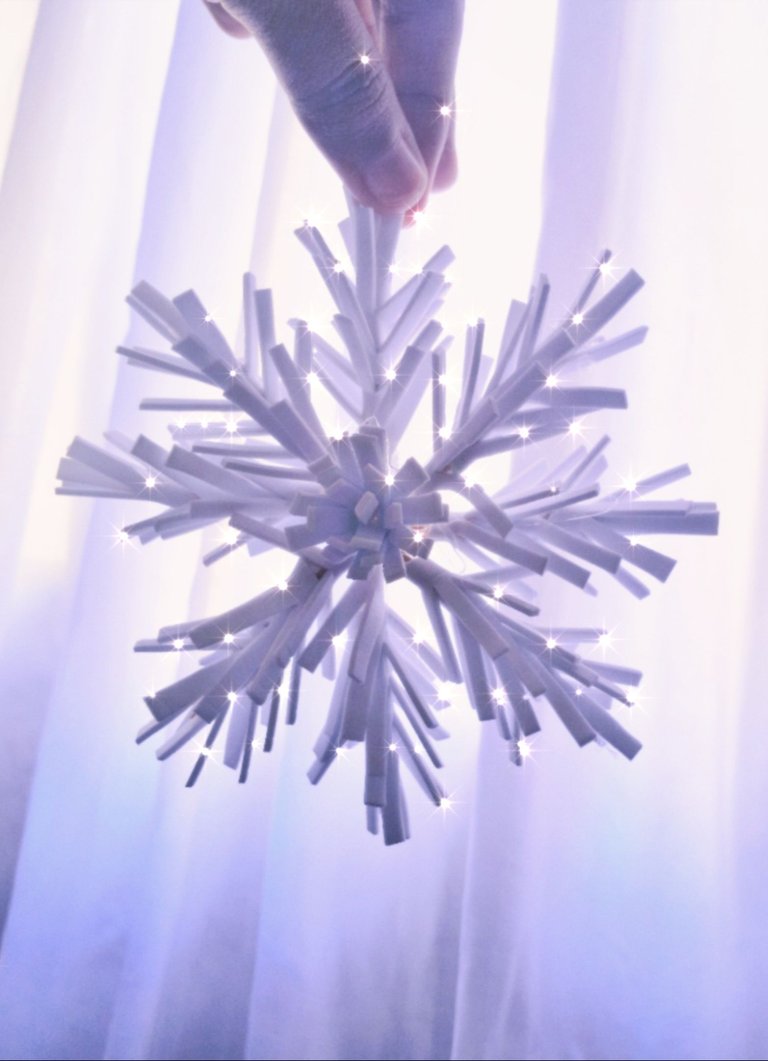
MATERIALS // MATERIALES
| ENGLISH | ESPAÑOL |
|---|---|
| White foami | Foami Blanco |
| Liquid silicone | Silicona líquida |
| Small chopsticks | palillos pequeños |
| Scissors | Tijeras |
PROCESS // PROCESO
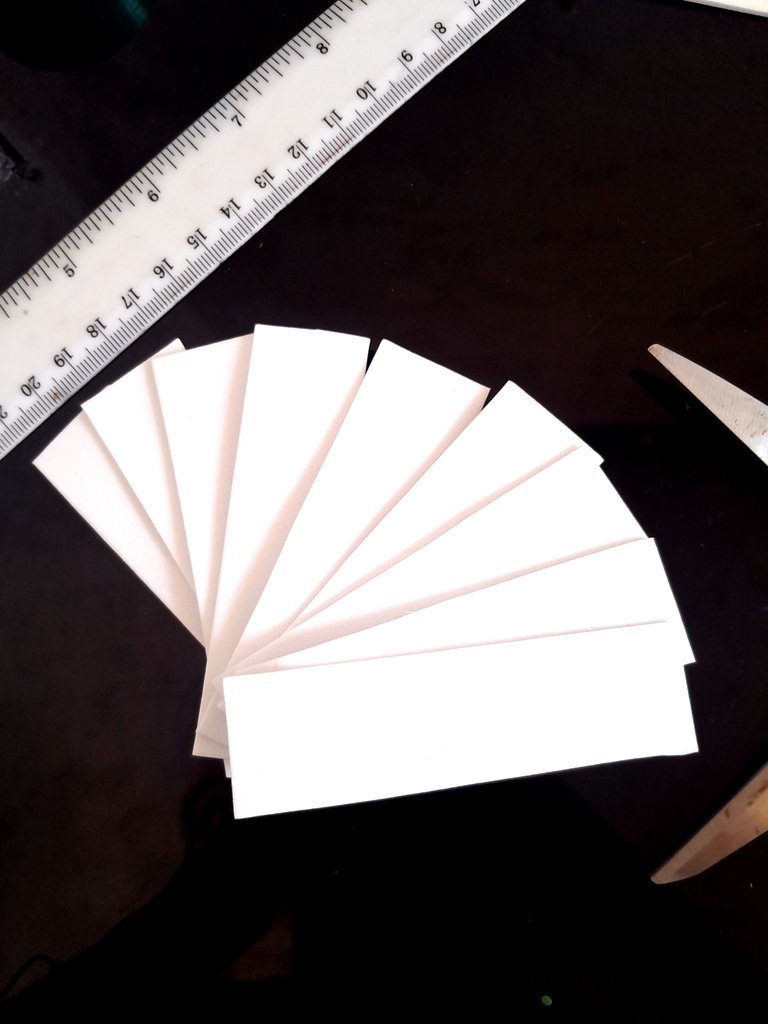
The first step is to cut 10 strips of 2.5cm wide x 10cm long from the foami.
El primer paso consiste el recortar 10 tiras de 2.5cm de ancho x 10cm de largo del foami.
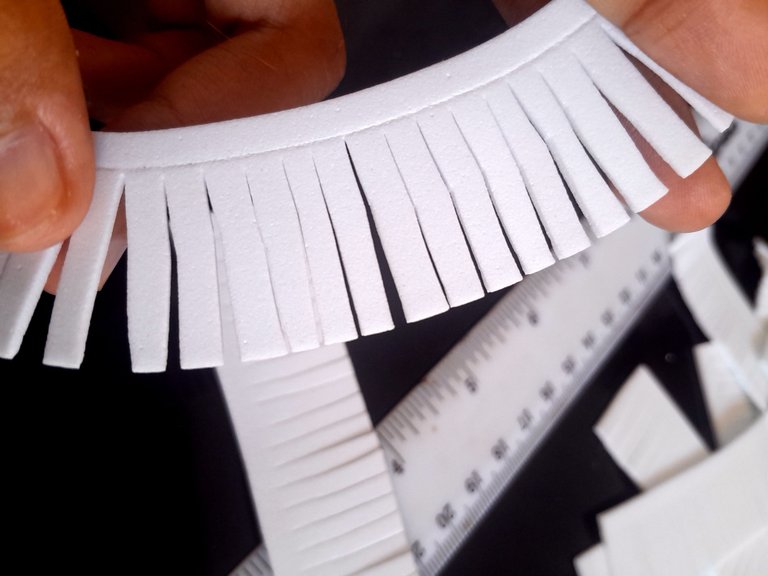
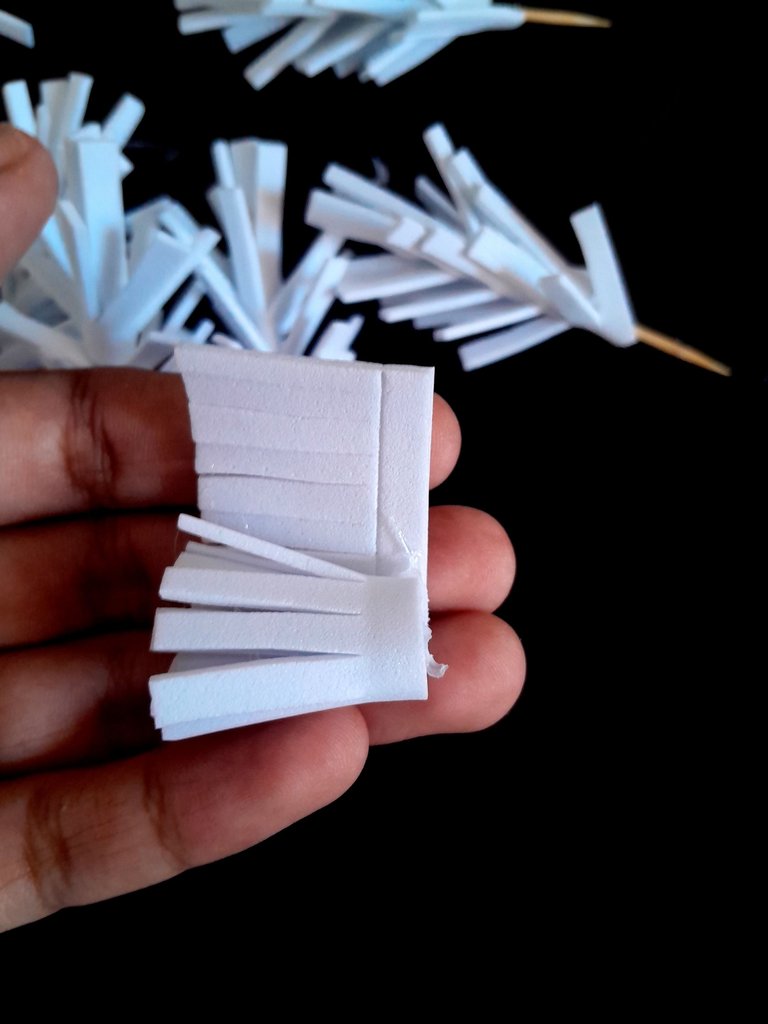
After that, we cut several lines without reaching the edge in this way:
Luego de eso, recortamos varias líneas sin llegar al borde de esta manera:
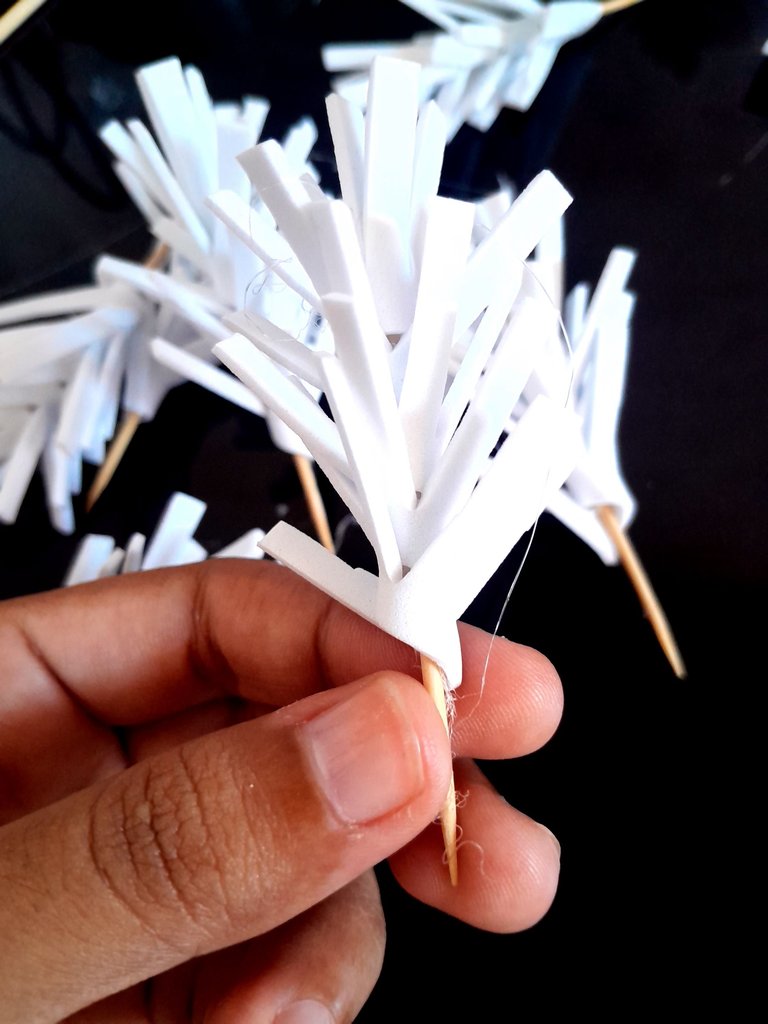
We are going to roll this on the small toothpick from top to bottom. Don't worry if you don't have a toothpick that size, you can use any other size toothpick and cut it to size, about 6cm approximately.
Esto lo vamos a enrollar en el palillo pequeño de arriba hacia abajo. No se preocupen si no tienen un palillo de ese tamaño, pueden usar otro de cualquier tamaño y recortarlo a la medida, unos 6cm aproximadamente.
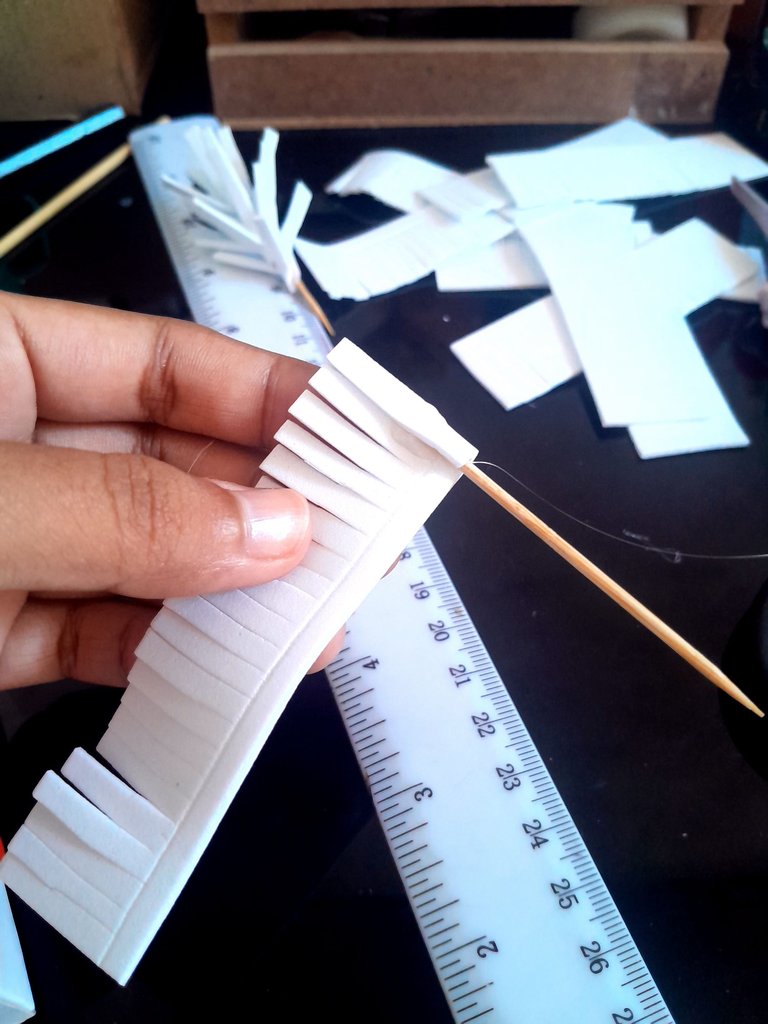
We are going to do this process with eight toothpicks and at the end you should have something like this:
Vamos a hacer este proceso con ocho palillos y al final les debe quedar algo asi:
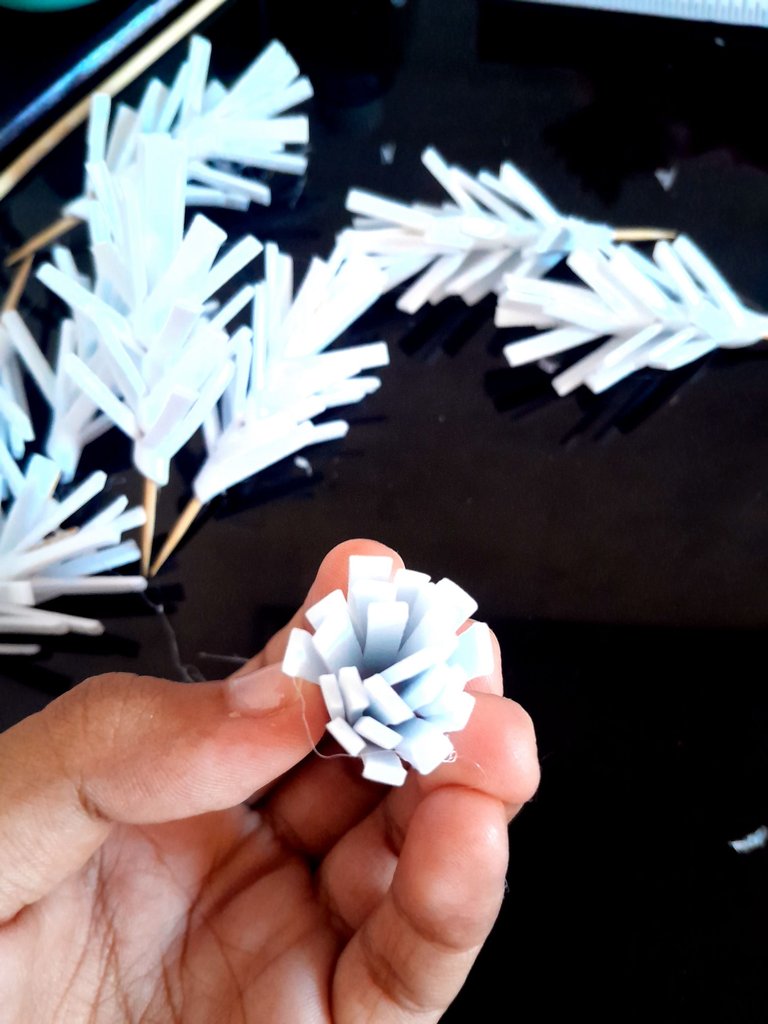
With the two remaining strips of foami, we will do something else. We apply silicone all around the edge and we are going to roll it all up in this way.
Con las dos tiras de foami restantes, haremos otras cosa. Aplicamos silicona en todo en borde y lo vamos a enrollar todo de esta forma.
It should look like this:
Les debe quedar asi:
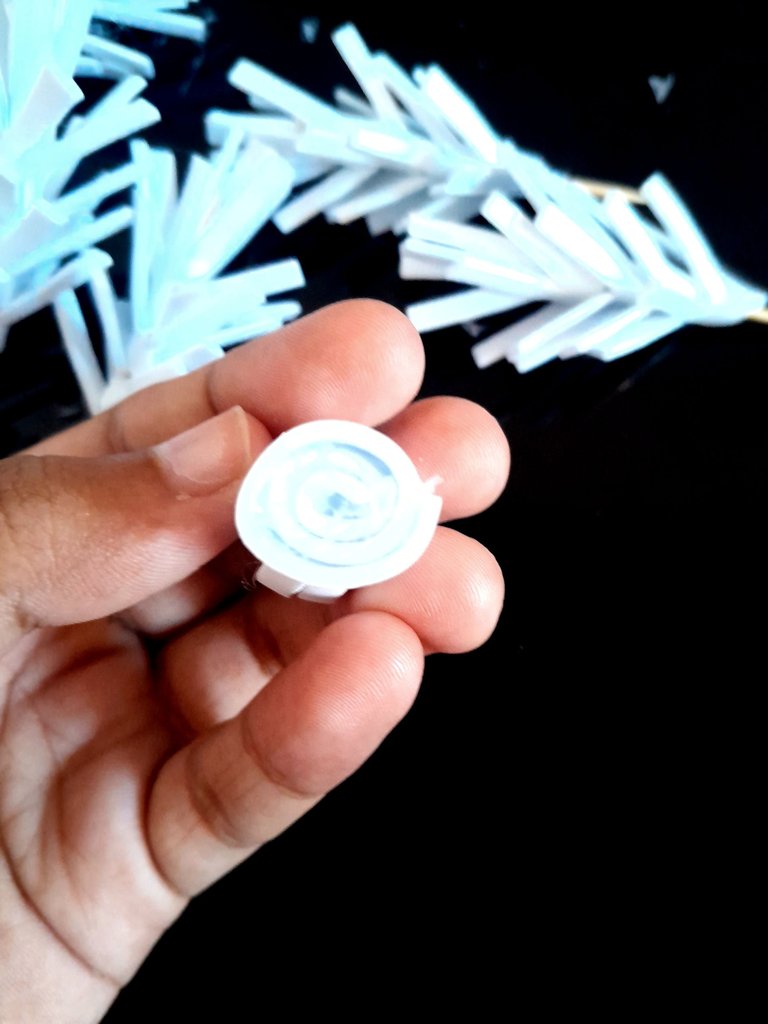
At the base of the roll, we will stick a toothpick on each side, like this:
En la base de el rollo, pegaremos un palillo a cada lado, de esta forma:
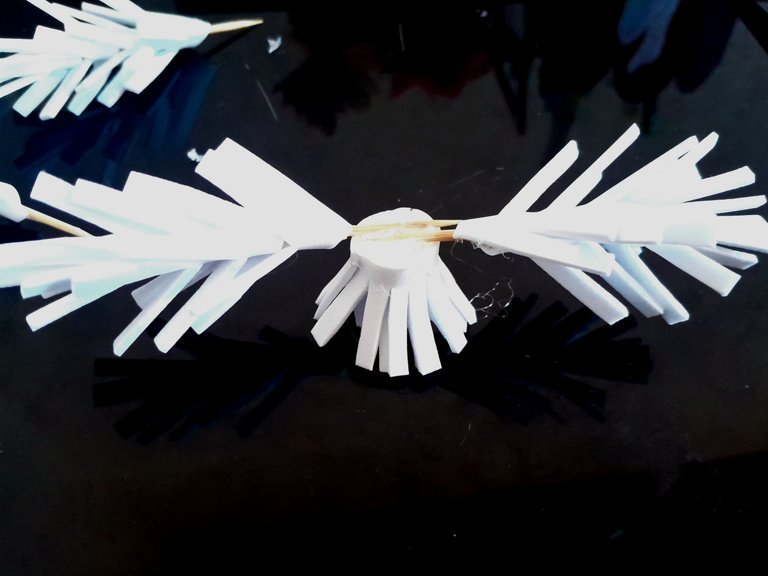
And then, two more on top, in the same way.
Y luego, otras dos por encima, de la misma forma.
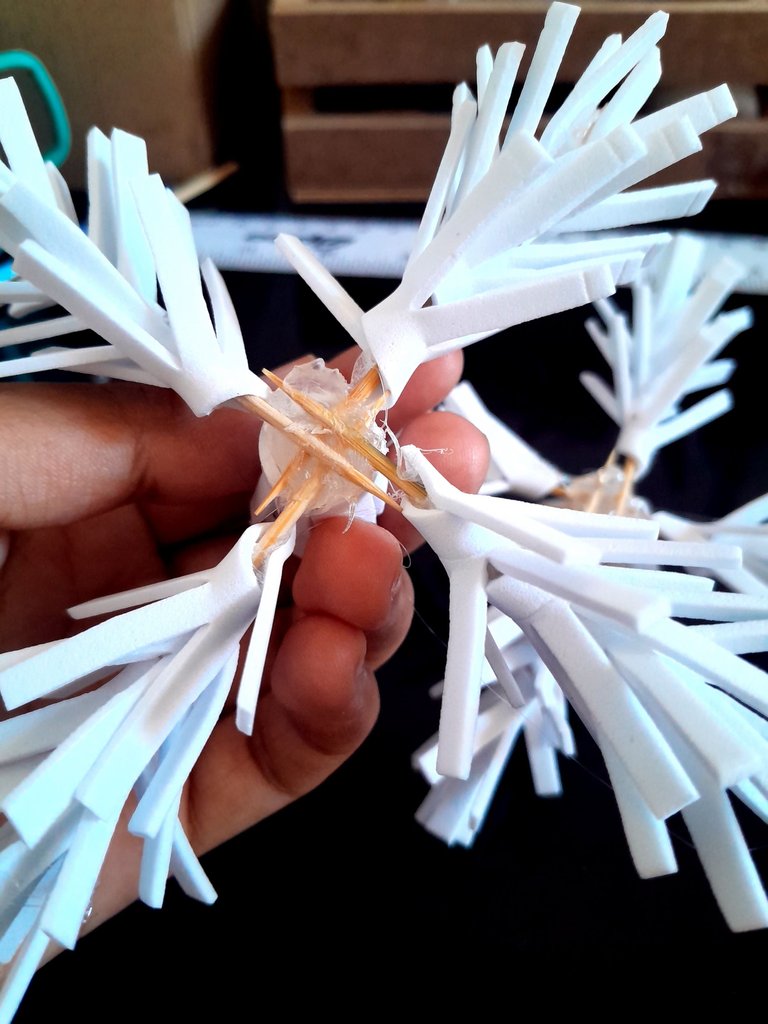
This procedure will also be done with the remaining 4 sticks and the base. Exactly the same will be done.
Este procedimiento lo haremos también con los 4 palillos restantes y con la base. Se hará exactamente lo mismo.
After that, we glue the two crossed sides in a snowflake shape and that's it! This is what the final result should look like:
Luego de eso, pegamos los dos lados cruzados de manera que quede con forma de copito de nieve y listo! Así les debe quedar el resultado final:
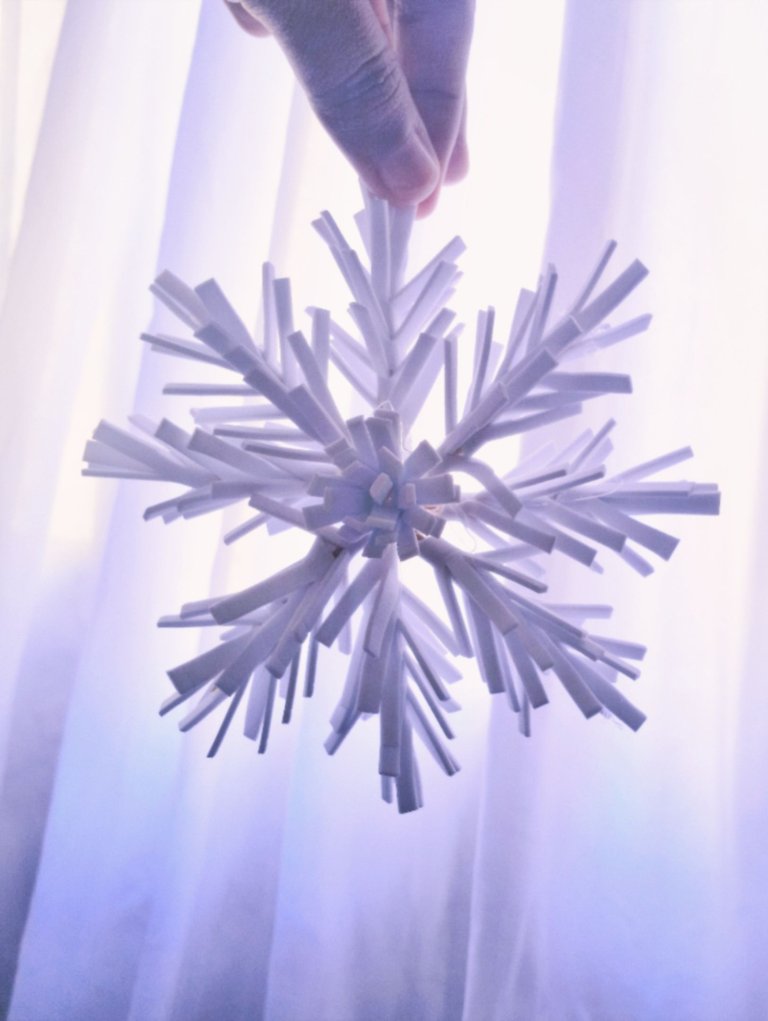
I hope you liked the final result. ❄️
Espero les haya gustado mucho el resultado final. ❄️
Thanks for reading and watching.
Your snowflake is beautiful. Your tutorial is superb and you took great pictures of your snowflake as well. As a community, we appreciate your work.
Thank you! I really tried hard for it.❄️
Snowflux has been amazing. Each stage of Snowflox is presented very simply. I learned how to make this beautiful snowflake from you. I will definitely try this for Christmas.
I'd really like to see the result, thanks for the support!
Prepared an amazing snowflake ❄️ design using paper. Welcome to the world of art.
Thank you❤️
Always most welcome