She Said I Should Let Her Know When I Beads An "I"
Hello 👋 DIY community, welcome and please, join me again as we continue our little adventure of beading Alphabets.
A friend told me once, "Never underestimate any DIY project thinking it's going to be a walk in the park until you are finished with the project." Hehe
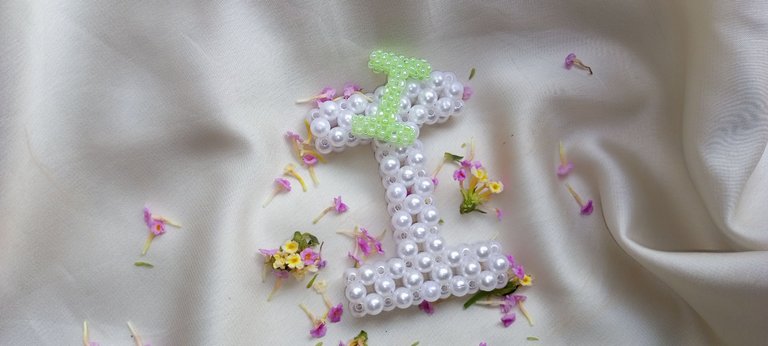
While I was beading this alphabet, I made a silly mistake of making the upper side and the downside seven rings instead of five. This turned the result into a very wide "H" instead of an "I." lol 😂 until I went back to rectify the mistake. As I say, we don't give up.
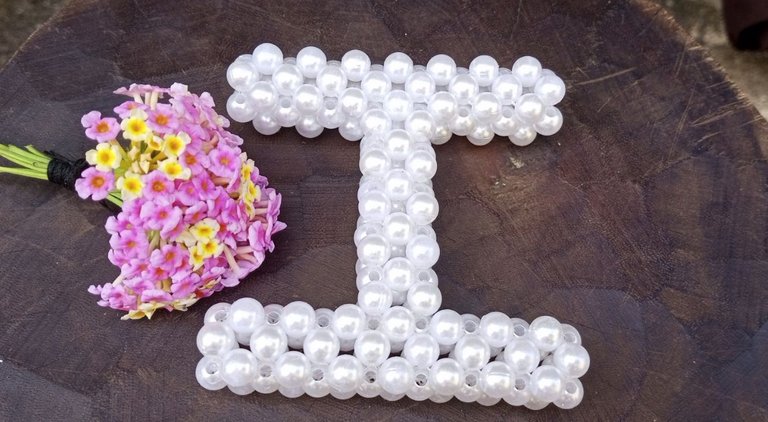
I thought that this beaded letter would be the easiest of my letters, but it turned out it took a bit longer than I imagined due to the mistake above. But then the challenges we see along the line of DIY are what make the result a bit more fulfilling, knowing you did not give up along the line.
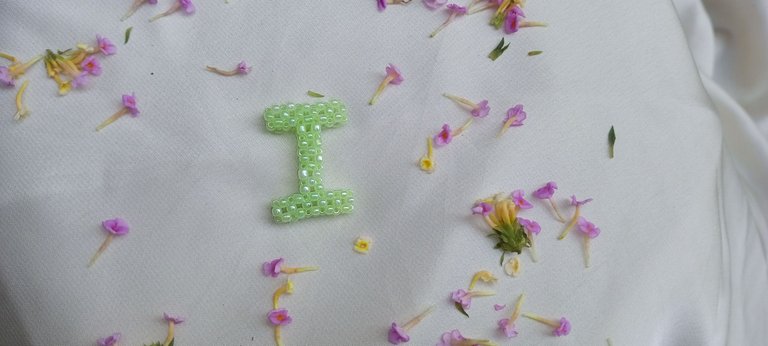
Today, this alphabet is dedicated to a hiver who has a special place in my heart. She is simply an awesome human being. She is very popular in this community; her warm comment alone is enough to brighten up your day and encouraging enough to make you put in your very best in your subsequent projects. But before I reveal this angel in the human body, let's get to beading her a beautiful letter, "I." 😊
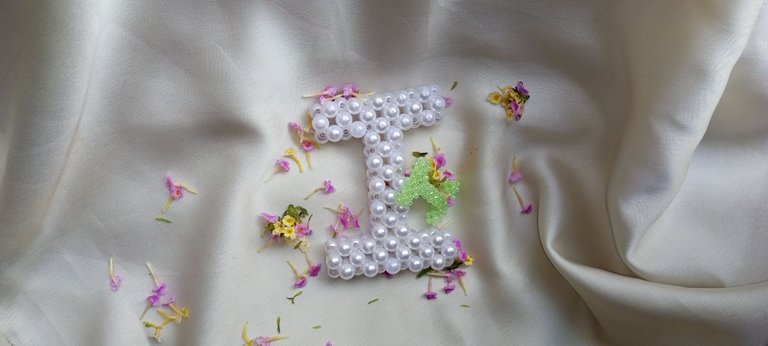
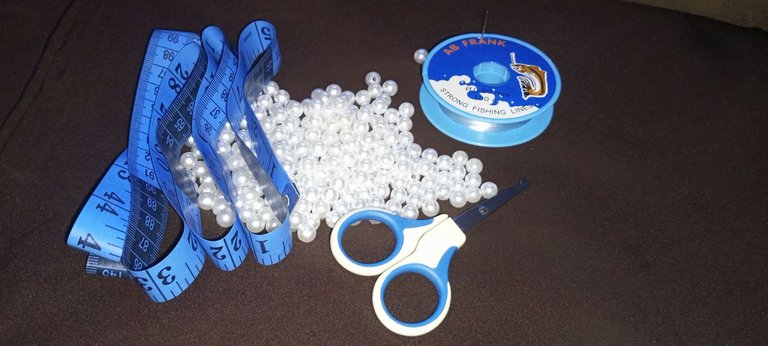
For this tutorial, these are the materials I will be using;
Pearl beads, scissors, fishline, and measuring tape.
Step-by-step process;
Step 1;
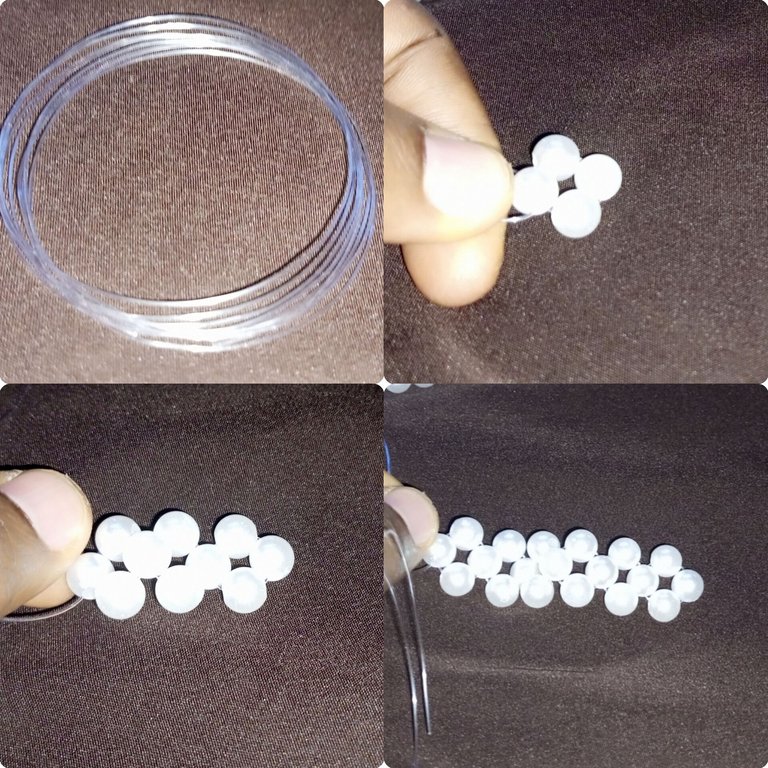
I started by cutting 60 cm of the fishline and beading the middle of the "I" by making six rings of beads.
Step 2;
Here, I added 2 beads to the right fishline, then crossed both lines with 1 bead to make the line turn, as you can see below.
Step 3;
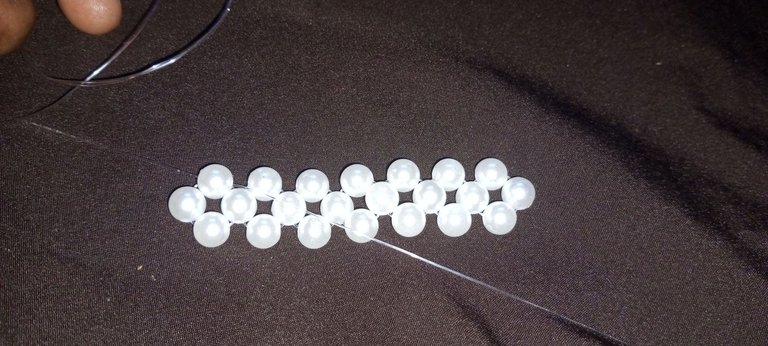
I added two rings of beads to this part of the bead.
Step 4;
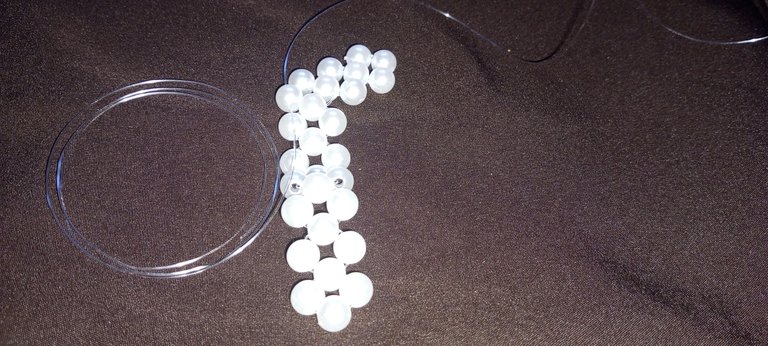
I simply passed my fishline to come out at the bead marked with green, then added two rings of beads.
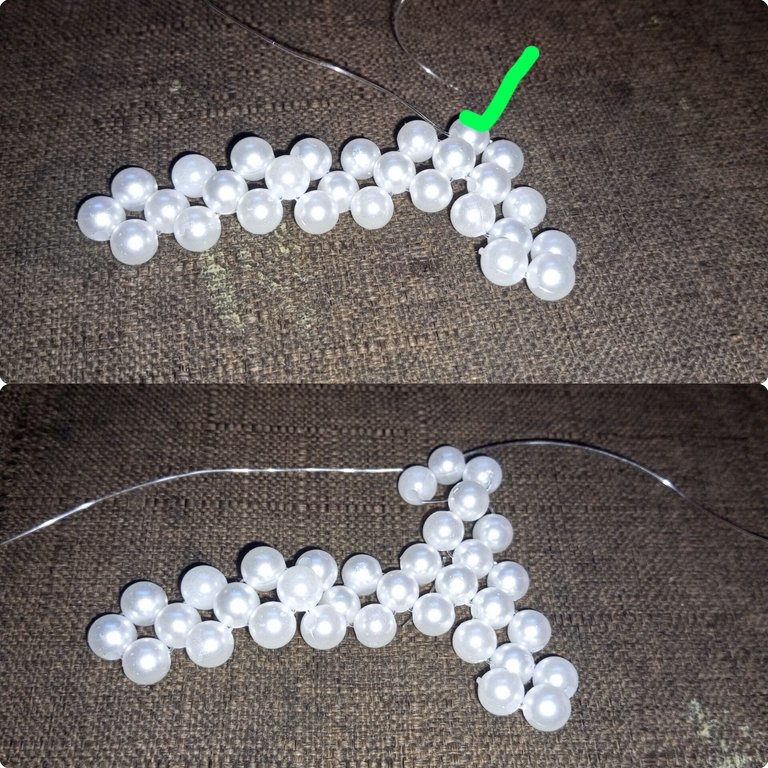
Step 5;
I cut a little fishline, inserted it on the bead marked with green, and then added two rings of beads.
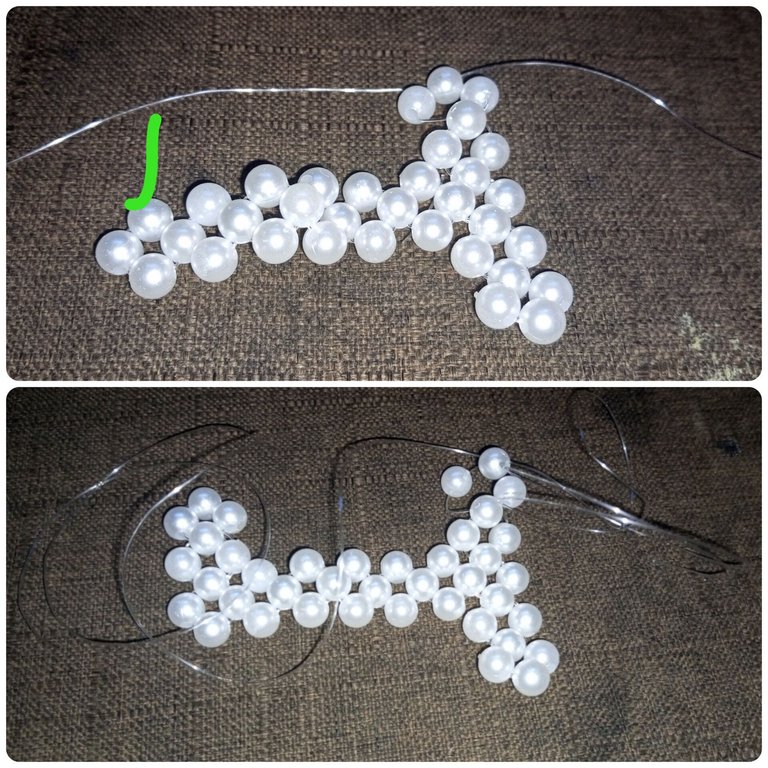
Step 6;
I cut another little fishline, inserted it on the bead marked with a green, and then beaded two rings to complete the part.
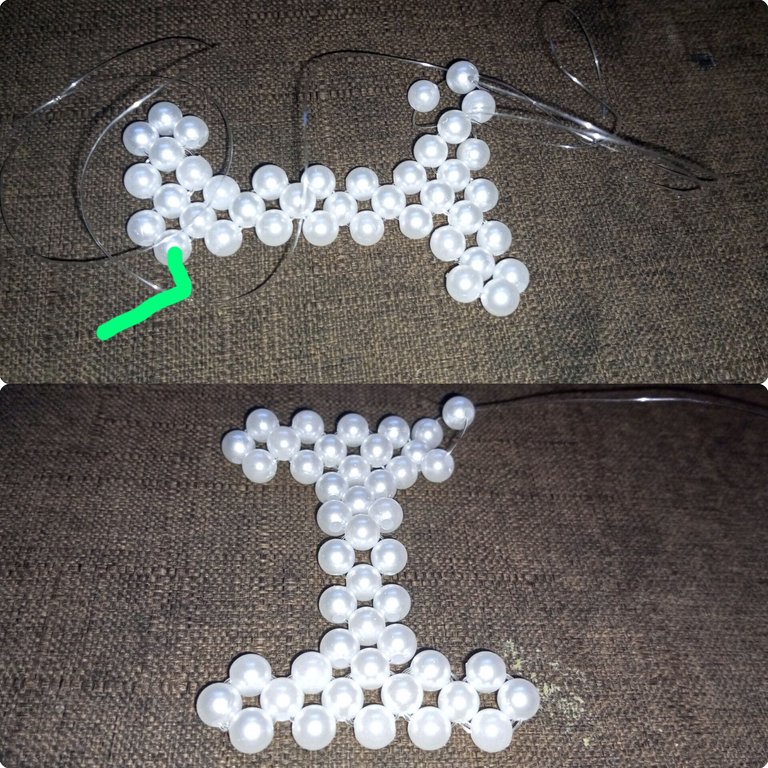
Step 7;
I simply repeat steps 1 to 5 above to bead the other half of the "I." As you can see below, I had excess fishlines I left uncut that I'm going to use to join the two parts of the "I"
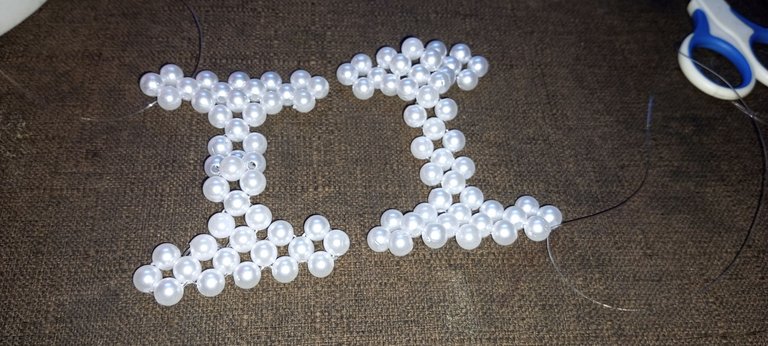
Step 8;
I began to use my excess fishlines to join the two half parts of the "I" by putting a bead to the lines and crossing the beads. At some point, it started to look like a rat lol
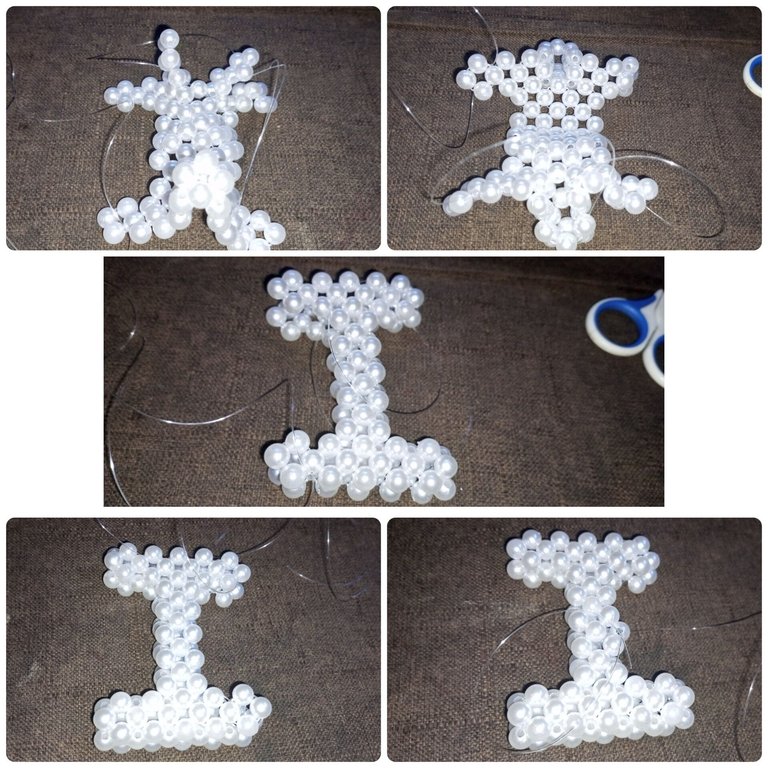
It took a little while to finish joining the two sides but at last, we have our letter "I"
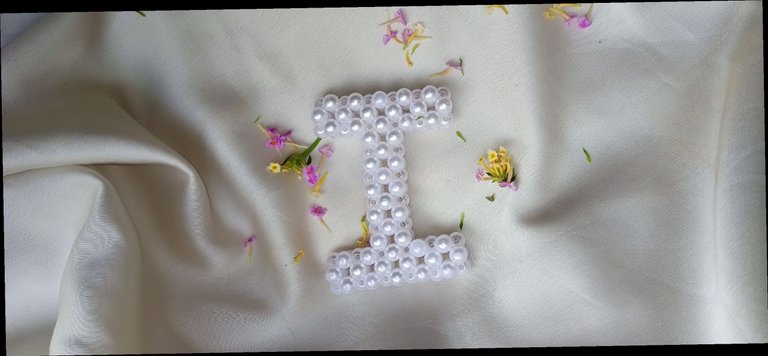
Hello @ibbtammy, This one is specially made for you, and I hope you like it.
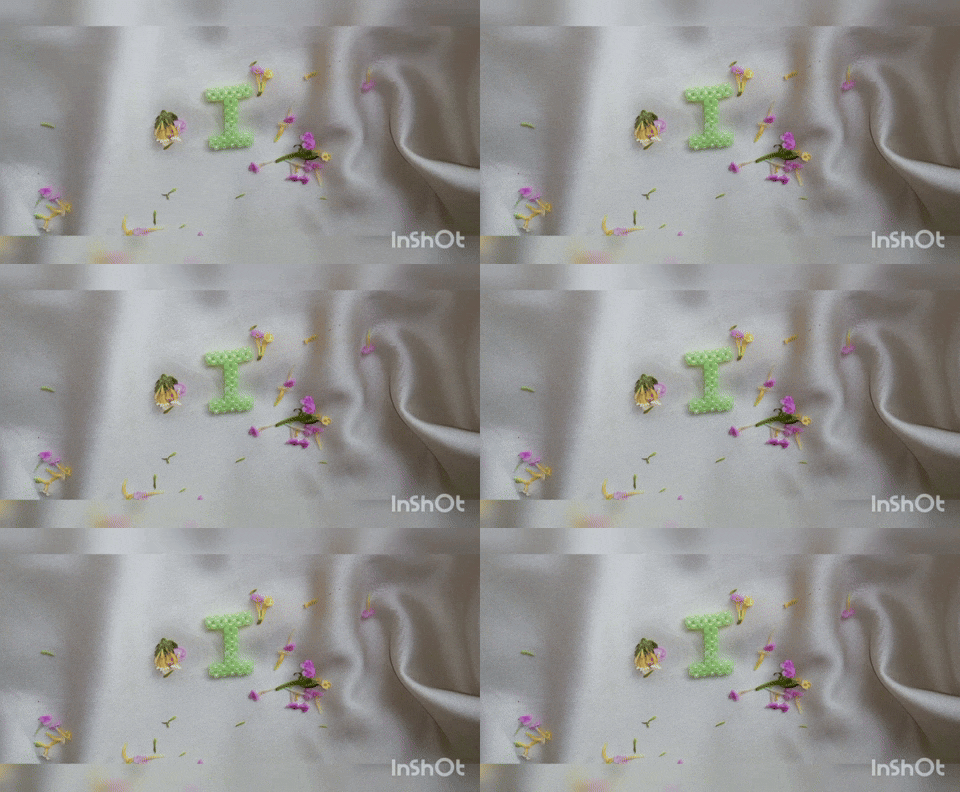
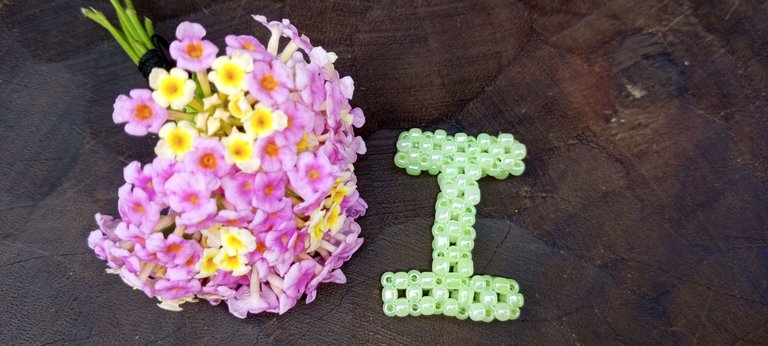
What do you think guys? Which one is your favorite? The big white pearl beads or the small green seed beads.
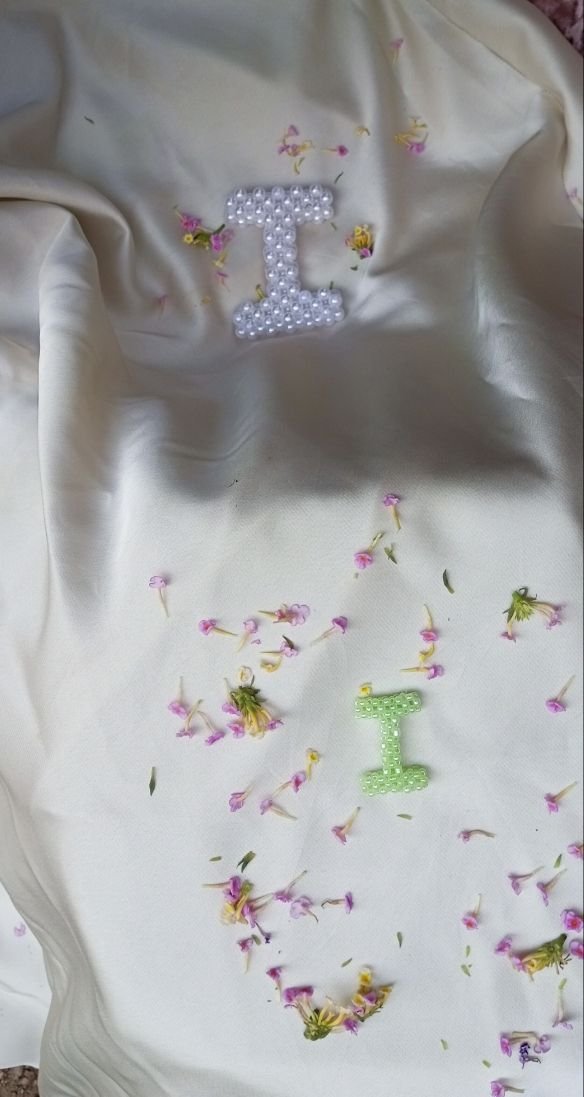
This is the eighth letter I'm beading for my son for his learning material. You can find the previous ones here, and if you tell me your favorite letter, I will be happy 😊 to give you a shout-out when I bead it.
Thank you so much for visiting and for your support; if you do not want to miss my other publications, kindly hit the follow button; also, feel free to share this with your friend. Bye👏❣️
All images are mine
@funshee❣️😊
Awwwwwww waking up and seeing your post made my day, Do I like it? No, I freaking LOVEEEEEEEE it .
Thank you so much for taking the time to make this and for dedicating it to me, you are amazing and I am glad we crossed paths. My first Hive friend, I loveeeee you😊😊
Awe, 😊 you are very welcome, dear Ibb; I'm happy you love it this much.
Keep on being awesome and I wish you a productive week ahead🥰❣️❣️❣️ !LUV
@ibbtammy, @funshee(4/4) sent you LUV. | tools | discord | community | HiveWiki | <>< daily
muy bonito y creativo!
very nice and creative!
Gracias Amiga😊🙏
It is shining, stylish, and beautiful. It shows your creativity. Thank you for sharing this in our community. Keep up the good work!
Thank you very DIY for always having me. It's always fun to share.
What a beautiful letter I, I see that you do not stop, it is true that sometimes what we see easy, it is a little difficult, we can not underestimate, despite everything you went ahead, good job. Greetings.🤗
Thank you very much; sometimes the letters can be a bit challenging, but it's always fun 😊 for me and fulfilling to see the end result.
How nice that you continue with the elaboration of these beautiful lyrics. I really admire to see the step by step, you do a good job when you share it in our community, thank you very much for that...
Thank you so much, Jesuslnrs. It's such a fun activity for me, and I'm always happy 😊 to share. !LUV
I like the "I" made with white pearls. Good thing you didn't give up after the first 'failed' attempt.
Thank you so much, I'm glad you like it.
If I gave up it's a fuck up !LOL
lolztoken.com
Lots of gigglebytes!
Credit: reddit
@esciisc, I sent you an $LOLZ on behalf of funshee
(1/4)
Your beading Looks so beautiful, I love the one made with the big white pearls. Good job sis.
Thank you very much 🥰 dear Fredaa, I'm glad you love my beading work. !LUV
@fredaa, @funshee(4/4) sent you LUV. | tools | discord | community | HiveWiki | <>< daily
You're very welcome.
@funshee, I paid out 0.553 HIVE and 0.129 HBD to reward 6 comments in this discussion thread.