Crafting cuteness: Fomic Sheets frock Tutorial
Hello, beautiful people! Today, I'm excited to share something new and creative—a fancy paper frock with a bit of a funky twist! 💕 This time, it’s a baby frock design that would look absolutely stunning if made from fabric. I can’t wait to walk you through the process.
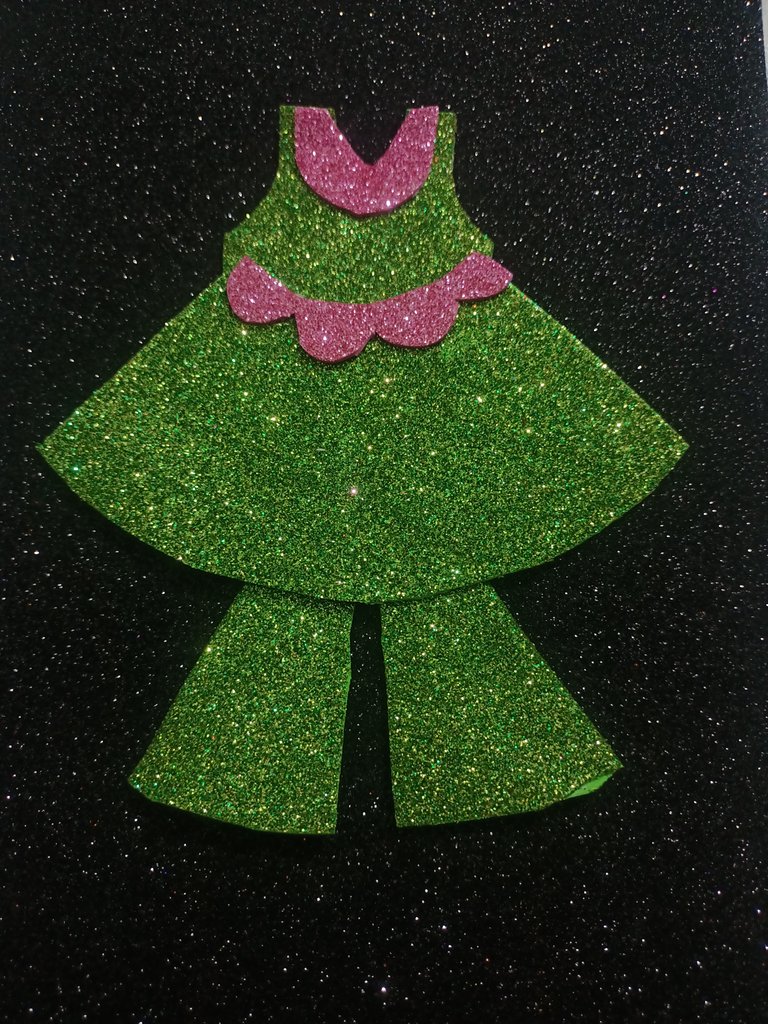
I first tried making it on plain paper, but it didn’t quite look how I imagined. So, I decided to switch things up and give foamic sheets a try. Fomic has a thick texture, and as you can see, the result turned out super pretty!
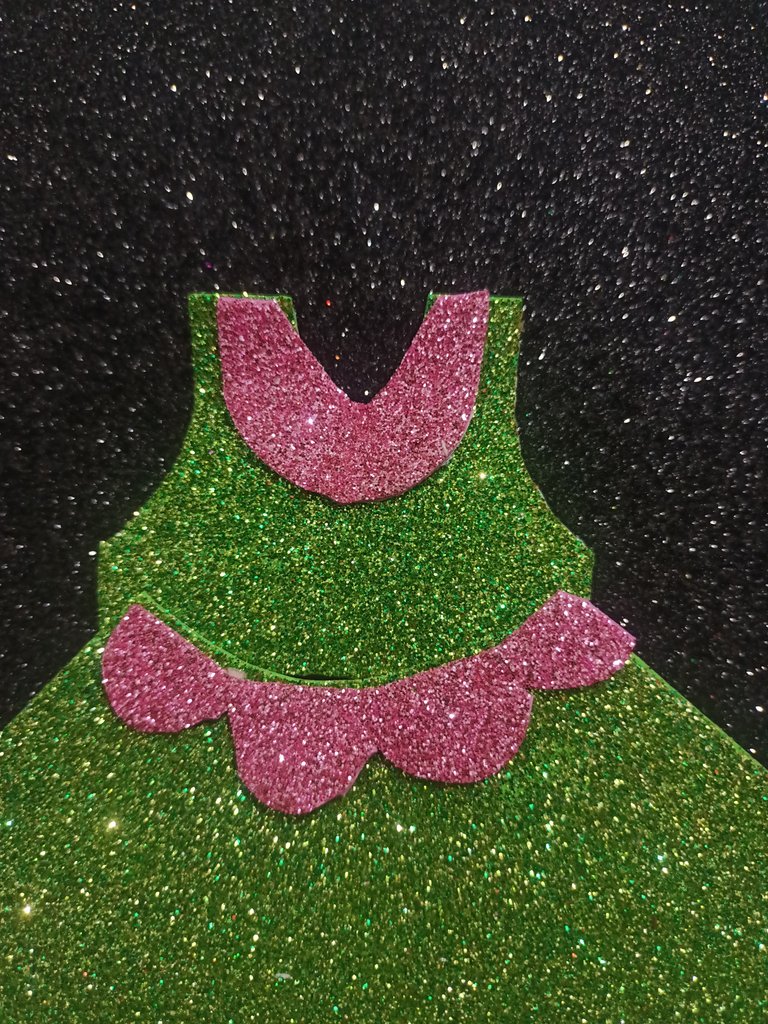
Here’s a detailed, step-by-step guide to making this frock:
Materials Used:
- Foam sheets (Green and Pink)
- Scissors
- Pencil (for drafting)
- Ruler (for lining and measurements)
Step 1:
I began by cutting the foam sheet into a square shape. The size matters—nothing too large or too small. It should be proportional to the design you're aiming for, so make sure to get that just right. This step sets the foundation for your frock.
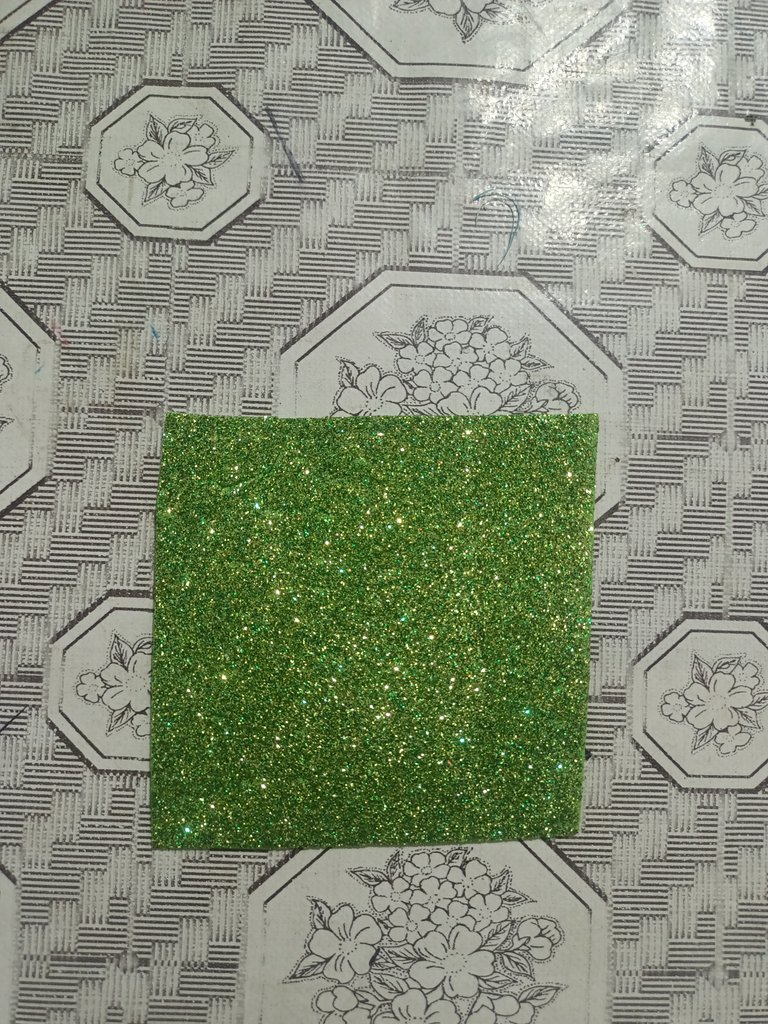
Step 2:
Next, using a pencil, I drafted the measurements and lined up the frock design on the foam sheet. Make sure your draft is precise, following the dimensions of the foam sheet closely. Accurate lining ensures that the final cut will be smooth and aligned with your vision.
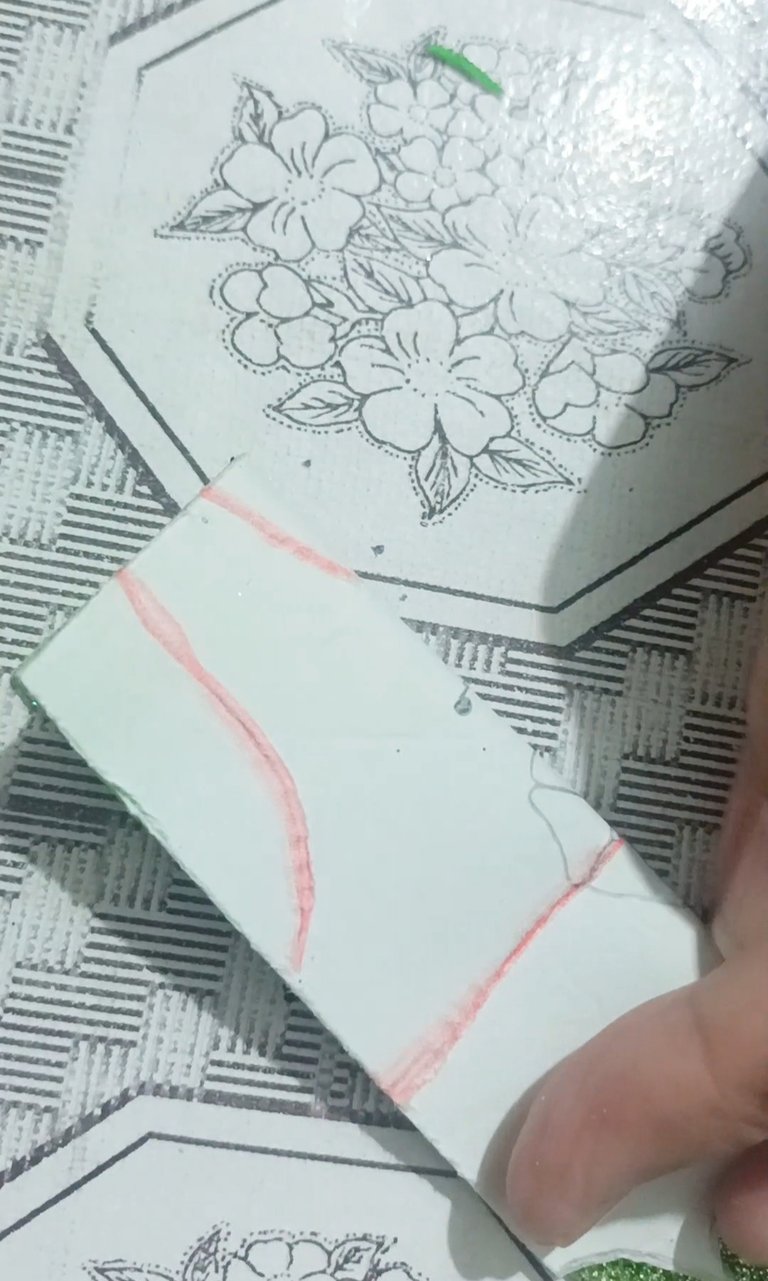
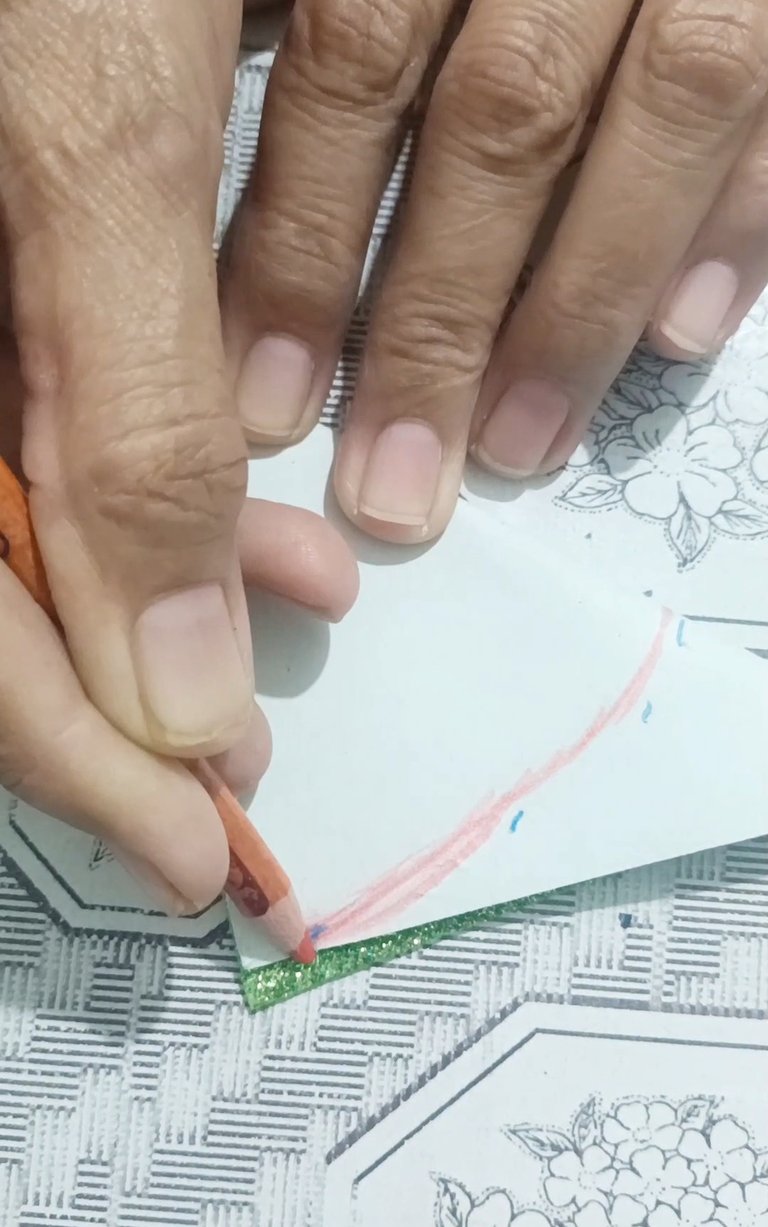
Step 3:
Once the design was drafted, I took my scissors and carefully cut along the lines. Cutting neatly is the key here! This is the most important part because the overall look of the frock depends on how clean your cuts are. I made sure to keep the edges smooth and followed the rounded shapes I had lined up earlier. With this, the lower portion of the frock was ready.
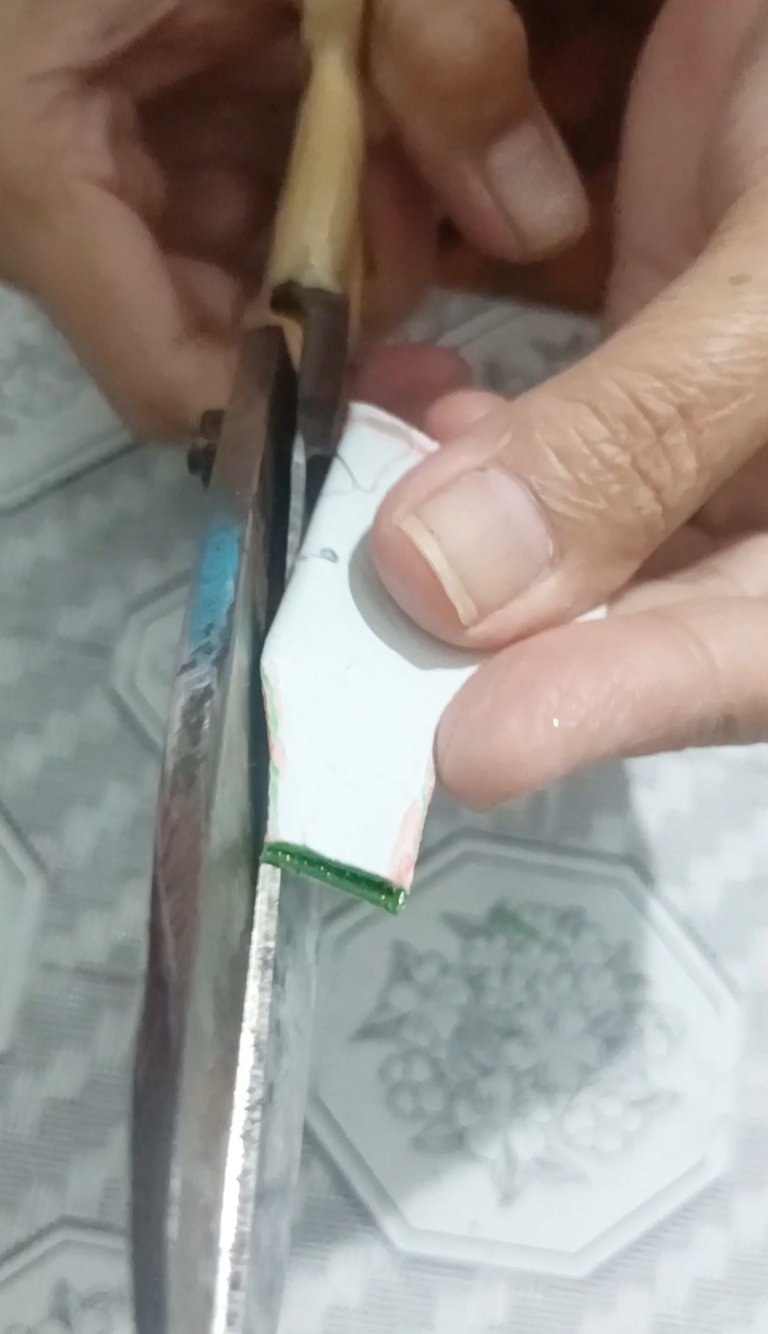
Step 4:
For the top part of the frock, I followed the same steps: drafting and cutting. However, this part was a little more challenging because the foam sheet was thicker and harder to cut, especially around the finer details. My mother helped me out by giving tips on how to manage the tricky cuts. After some effort, I finally completed the top part of the frock, which looked fantastic.
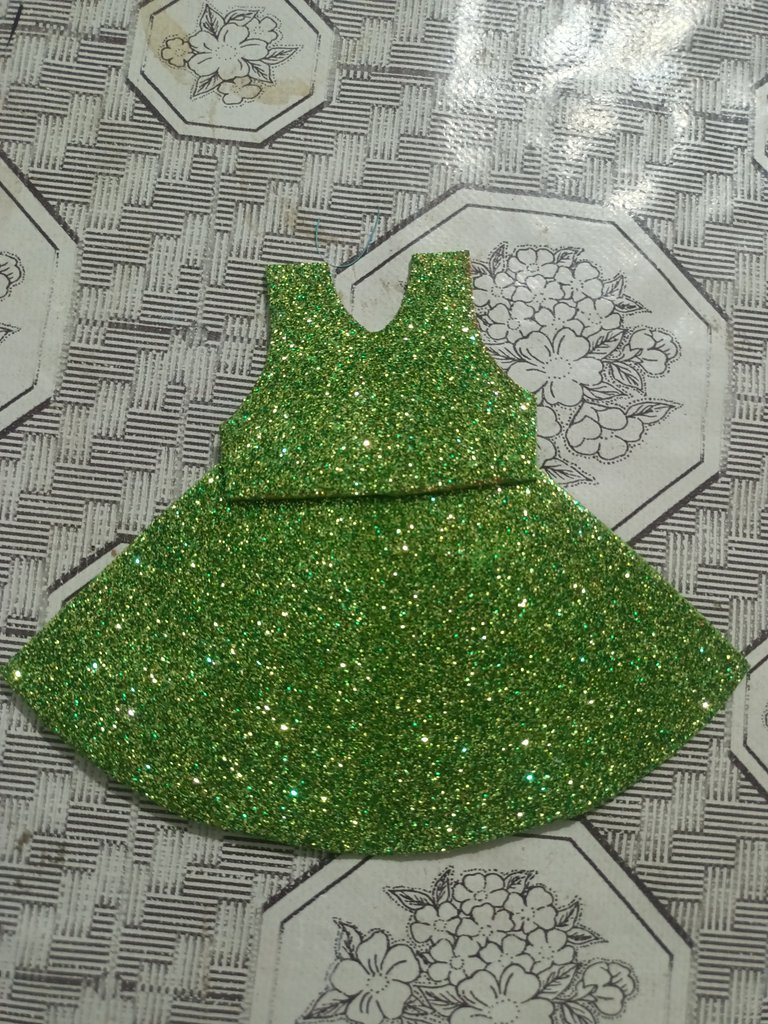

Step 5:
The last step was to decorate! Using pink foam sheets, I cut out borders for the neckline to give it a more refined and polished shape. I also made small circular patterns and added them to the bottom of the frock, giving it an extra pop of color and detail. These final touches gave the frock a really beautiful and finished look!
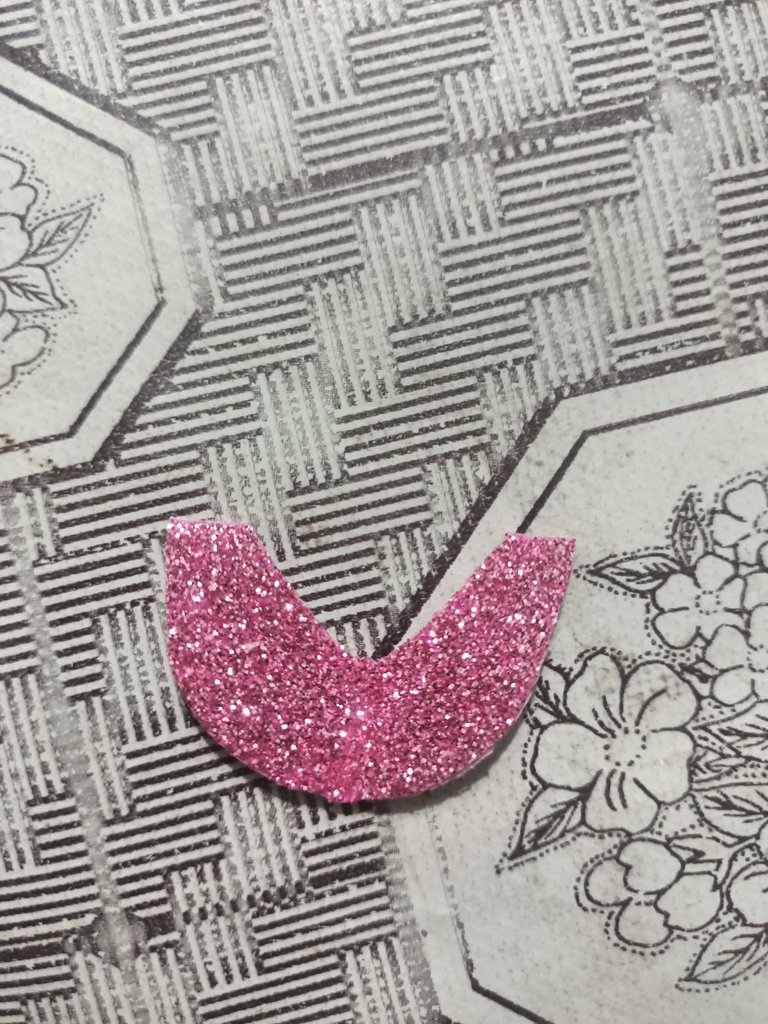

And there you have it the final look of my foam-sheet baby frock!
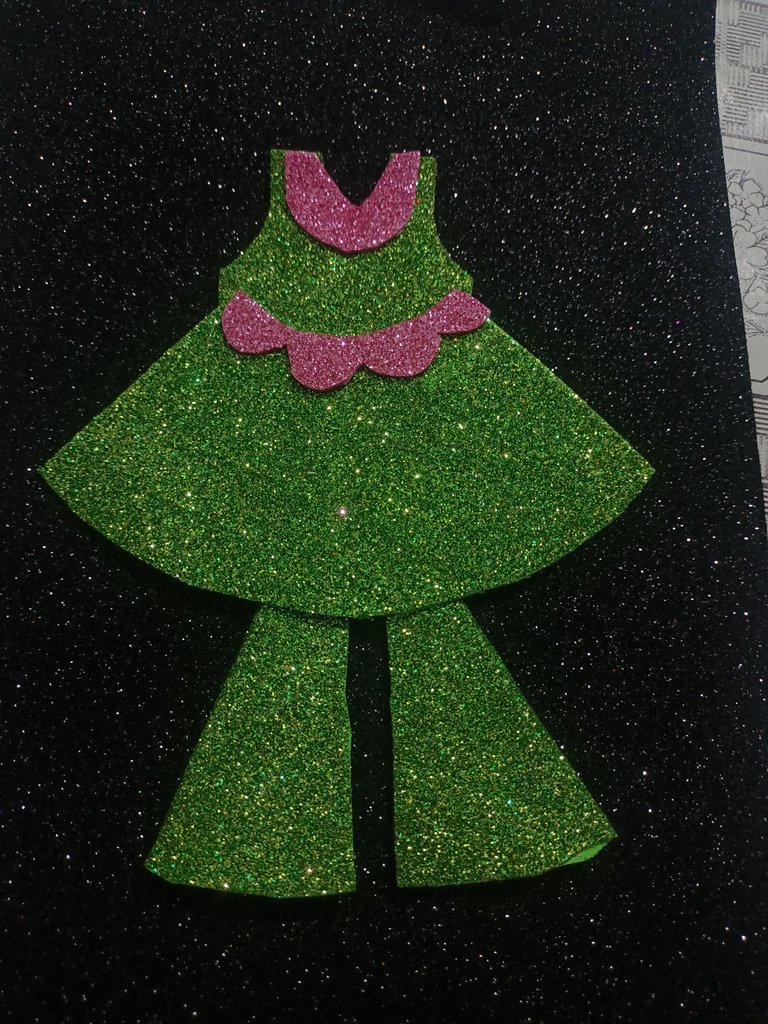
I hope you enjoyed reading about the process and liked my creation. If you did, please leave a comment below with your thoughts. For a more detailed guide, feel free to check out the video above.
I’ll catch you all in my next blog post. Until then, goodbye, beautiful people! 🌹
Wow this looks so nice, I love it and I’d love to try it out in my own convenience.
Thanks for sharing.
Thanks for appreciation 😊
Congratulations @alisha.anjum! You have completed the following achievement on the Hive blockchain And have been rewarded with New badge(s)
Your next target is to reach 3500 upvotes.
You can view your badges on your board and compare yourself to others in the Ranking
If you no longer want to receive notifications, reply to this comment with the word
STOPCheck out our last posts:
Thank You for the appreciation ☺️
Go for it, @alisha.anjum! Set your sights on that new target and keep pushing forward. Remember, every small step brings you closer to your goal.
BTW, we noticed we miss your support for our proposal. Mays we ask you to check it out and consider supporting it?
All you need to do is to click on the "support" button on this page: https://peakd.com/proposals/248.
Thank you!
This could be a perfect dress for independence day 🫡
Haha , surely it will.
This is just so cute
Thank You
It actually is cuteness overload, xD. This is a very well done frock.
Thank You very much 👍
@tipu curate 8
Upvoted 👌 (Mana: 0/75) Liquid rewards.