[ENG/ESP] DIY Hearing aid storage case with fabric scraps 🎧- DIY Estuche de guardar audífonos con retazos de tela🎧
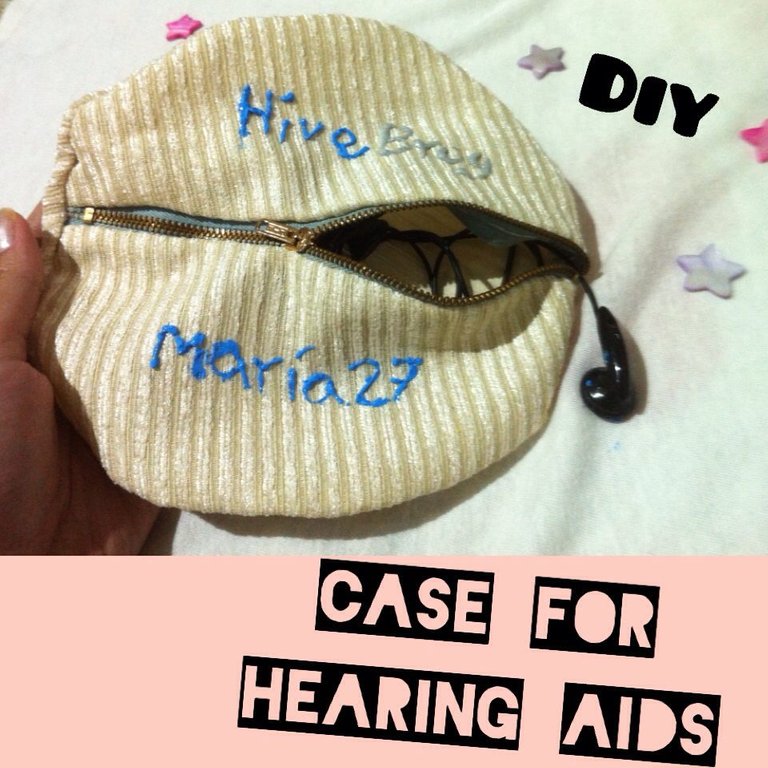
Hola amigos de #hiver, espero que estén bien. A continuación a nuestro post les compartiré otra de mis manualidades que es como hacer un estuche para guardar nuestros audífonos a la hora de salir o bailar. Es super fácil de hacer y muy rápido también. Cuando tengamos retazos de telas que estés a punto de botar, no lo hagas y haz bonitos estuches como estos para guardar cualquier cosa, espero que les guste. Sin mucha charla aquí vamos !Empecemos¡
Hello #hiver friends, I hope you are well. Following our post I will share with you another of my crafts which is how to make a case to keep our headphones when going out or dancing. It is super easy to make and very fast too. When you have scraps of fabric that you are about to throw away, don't do it and make beautiful cases like these to store anything, I hope you like it. Without much talk here we go! Let's get started!

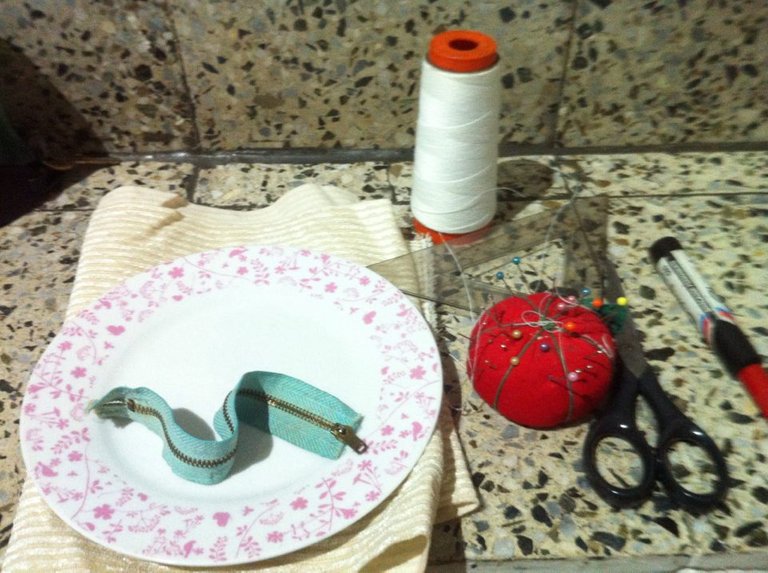
MATERIALES/ MATERIALS
- Retazo de tela/ Piece of cloth
- Hilo/ Thread
- Aguja/ Needle
- Un plato pequeño/ A small plate
- Tijera/ Scissors
- Cierre/ Closing

PROCEDIMIENTO/ PROCEDURE
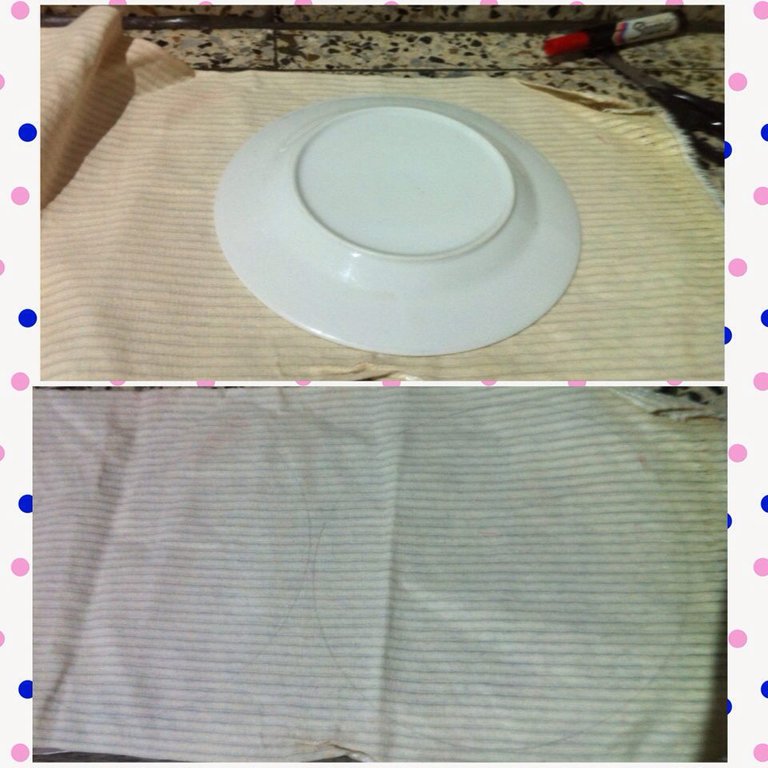
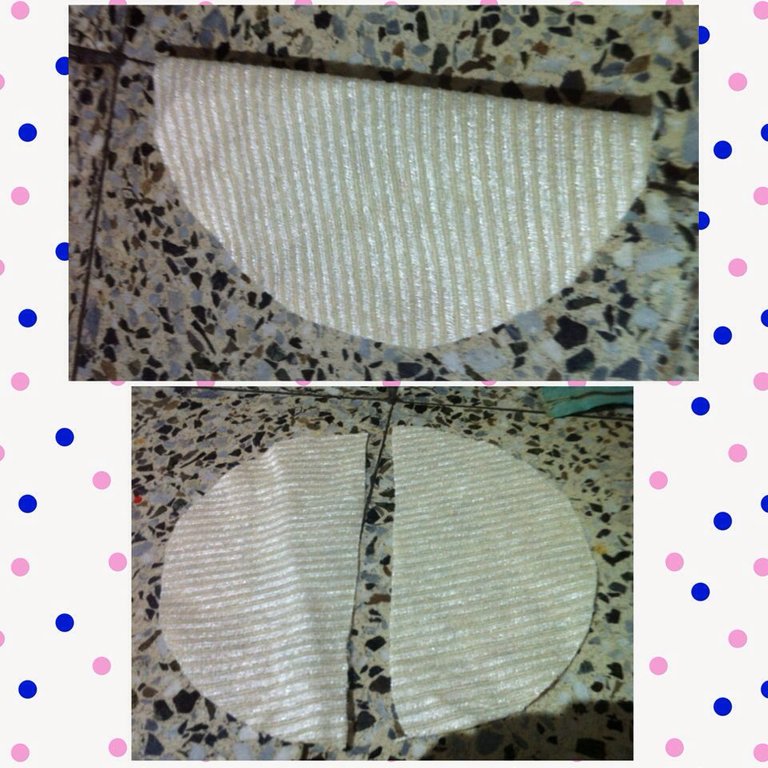
Para empezar, escogeremos una tela (preferiblemente gruesa) donde marcaremos el circulo con un plato que nosotros escojamos para luego recortarlos.
To begin, we will choose a fabric (preferably thick) where we will mark the circle with a plate of our choice and then cut them out.
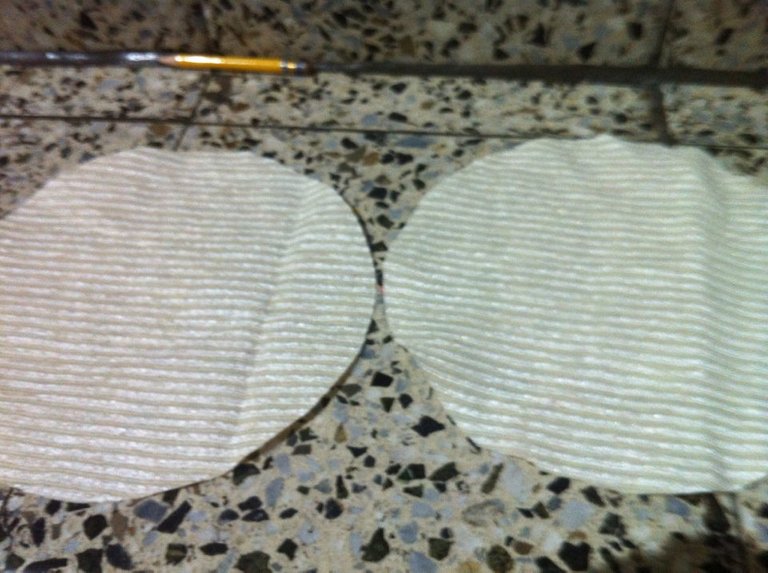
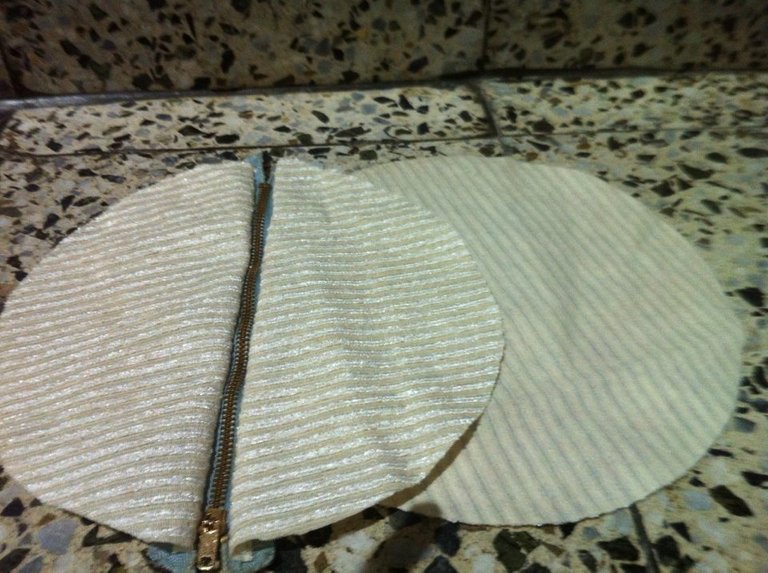
Cortaremos 1 solo circulo por la mitad.
We will cut 1 single circle in half.
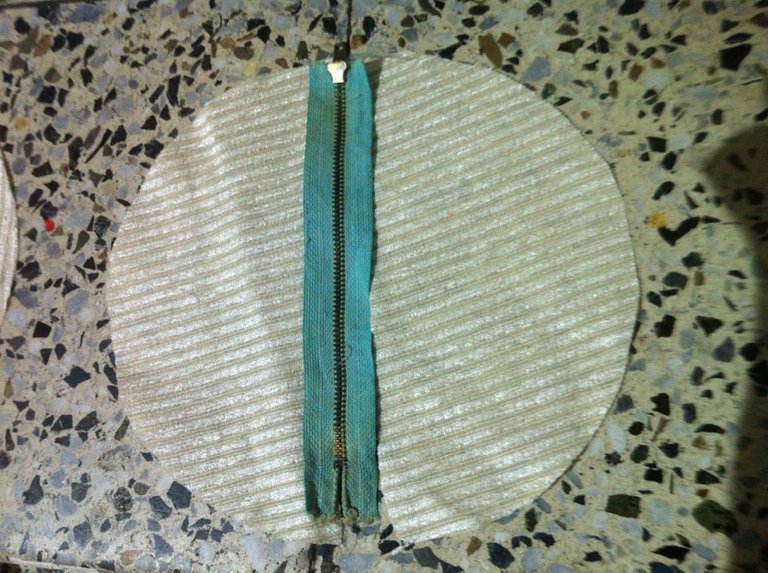
Pondremos la mitad de un circulo de la parte recta a la orilla del cierre para coser y luego doblamos al lado derecho como vemos en la foto.
We will put half of a circle of the straight part to the edge of the zipper to sew and then fold to the right side as shown in the photo.
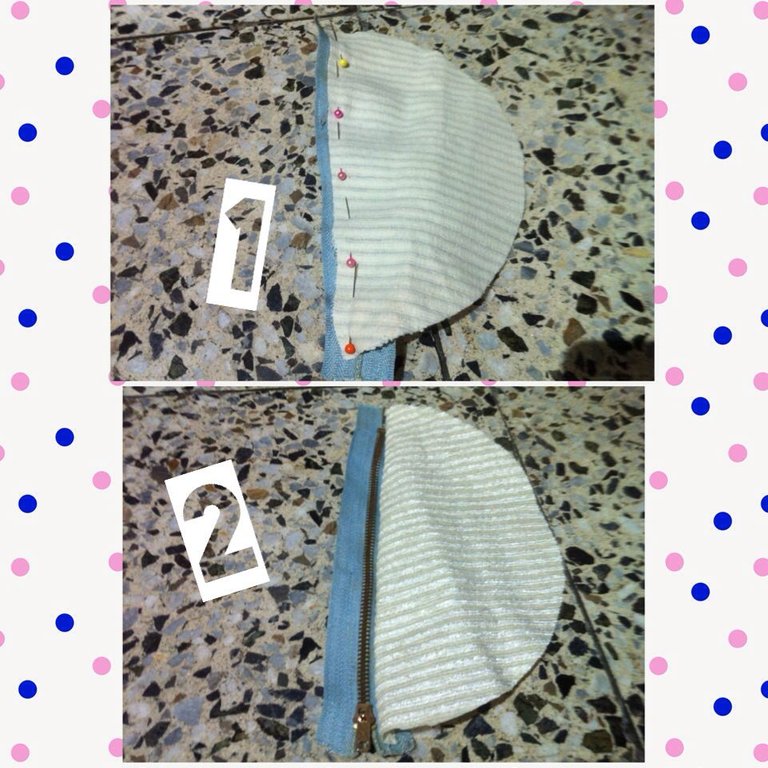
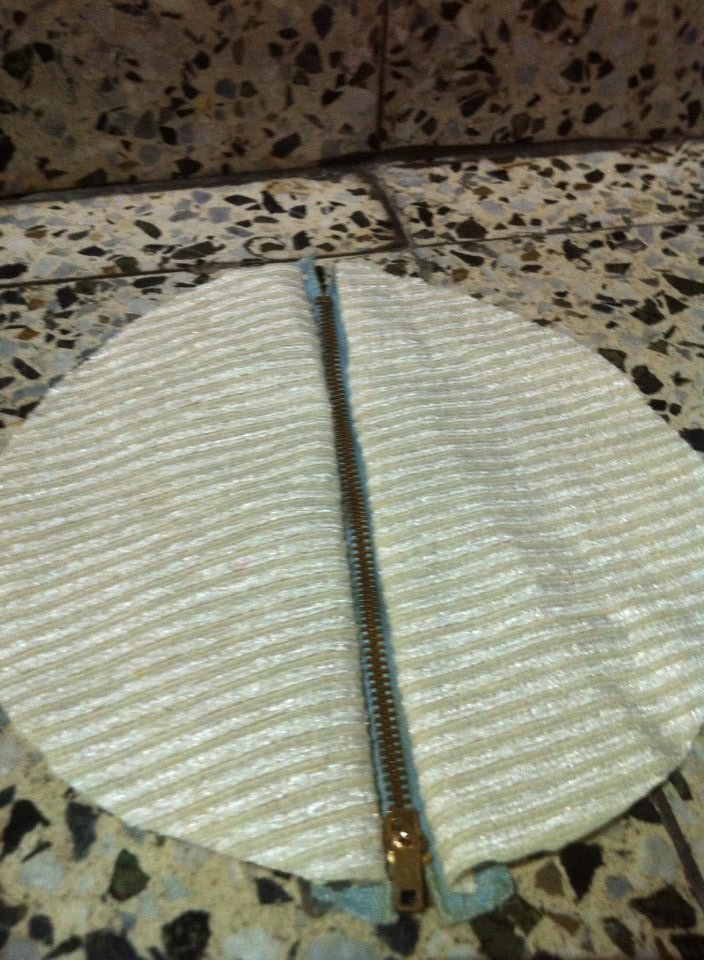
Ya teniendo las dos mitades cosidas al cierre, con el circulo que quedo lo coseremos en la parte de atrás y listo.
La decoración se la dejo a creatividad de ustedes.
Already having the two halves sewn to the zipper, with the remaining circle we will sew it on the back and that's it.
I leave the decoration to your creativity.
RESULTADO/ RESULT
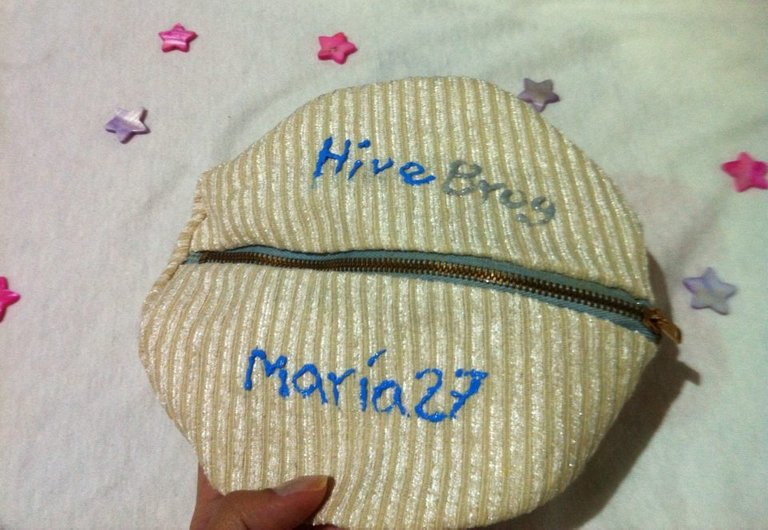
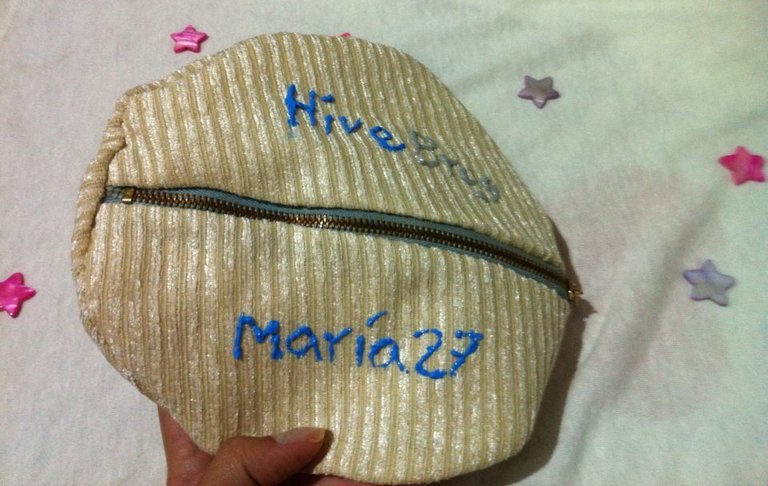
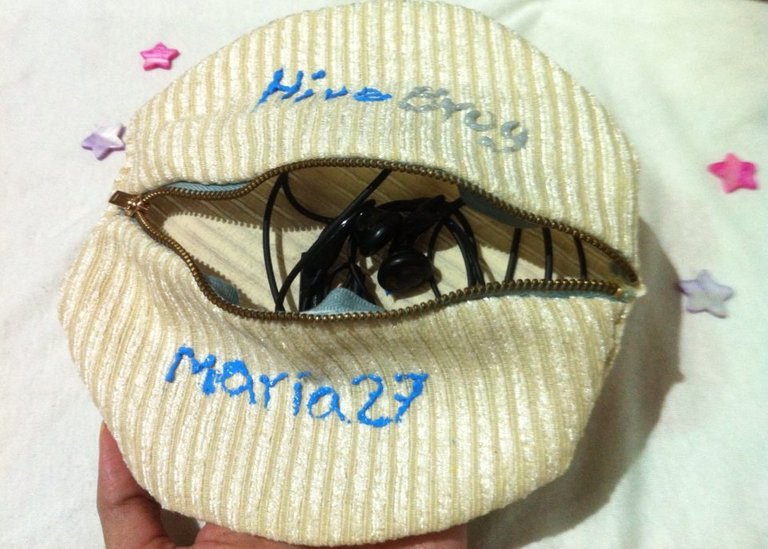

Fotos de mi autoría tomadas por un iphone 6
Photos of my authorship taken by an iphone 6
Translate DeepL.
Contenido creado por mi.
Content created by me.
Separadores de texto gracias a Gstatic.
Text separators thanks to Gstatic.
Espero que les haya gustado. Saludos a todos.💗
I hope you liked. Greetings to all.💗

Electronic-terrorism, voice to skull and neuro monitoring on Hive and Steem. You can ignore this, but your going to wish you didnt soon. This is happening whether you believe it or not. https://ecency.com/fyrstikken/@fairandbalanced/i-am-the-only-motherfucker-on-the-internet-pointing-to-a-direct-source-for-voice-to-skull-electronic-terrorism