Guirnalda navideña con capacillos [Esp/Eng]
Diciembre cada día está más cerca y yo tengo un atraso enorme con la decoración de la casa, pero es que hemos tenido una semana terrible que terminó atrasando todos mis planes.
Resulta que en la Isla hay racionamiento eléctrico de incluso hasta 12 horas, de hecho el plan que están aplicando es 12x12, es decir 12 horas sin electricidad y 12 con electricidad, lo que me ha retrasado demasiado, así que estoy entrando en un colapso, sin embargo estuve adelantado en las horas con luz otra decoración para mi arbolito y se trata de unas hermosas guirnaldas realizadas con capacillos súper sencillas de hacer y que lucen realmente bellas.

Estas guirnaldas o bolas de navidad son bastante fáciles de hacer, solo necesitas tres cosas, y su elaboracion es bastante rápida, así que tiene todo lo que yo busco en una manualidad: economía, rapidez en su elaboración y belleza.
Como les digo, están hechas con capacillos, esos que utilizamos para hornear cupcakes en casa, y podemos usar de la medida que queramos, así que si quieren unas bolitas grandes, pueden usar el número 11, pero si quieren unas más pequeñas solo deben buscar un número de capacillo más chico. Y ahora sí, dicho esto, vamos con los materiales y el paso a paso.
Materiales
Capacillos del tamaño y color de su elección
Silicón caliente
Hilo pabilo
Paso a paso
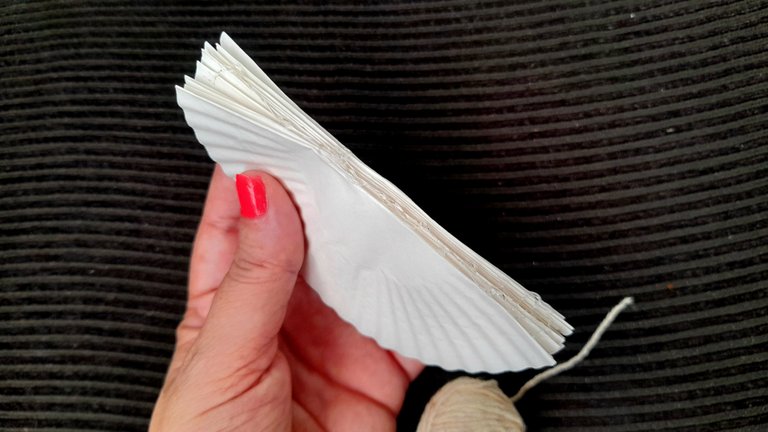
Para crear nuestras guirnaldas de capacillos, lo primero que debemos hacer es doblar a la mitad cada uno, tratando de estirar lo más posible hacia los lados.

El siguiente paso es pegar cada uno en el centro, para lo que abrimos nuestro capacillo, y justo en el centro colocamos una pequeña línea de silicón, del centro hacia afuera y cerramos para pegar. Repetimos este paso con todos.
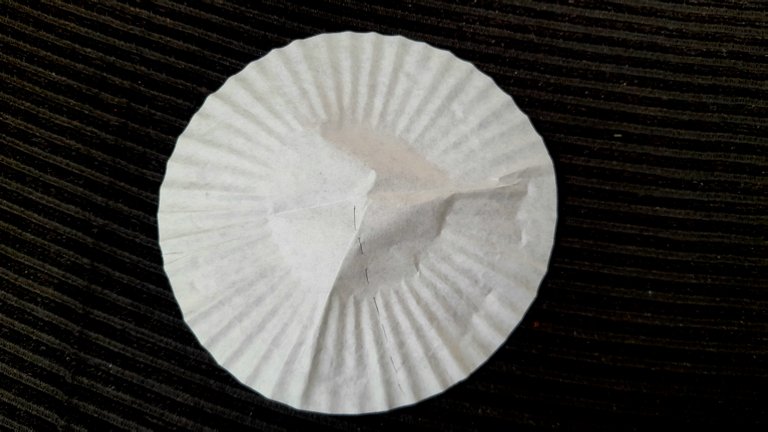
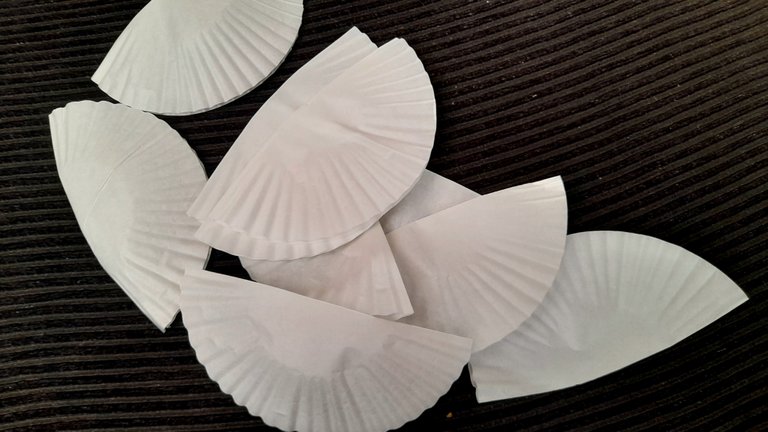
Listo el paso anterior comenzamos con el armado de la guirnalda, y en esta oportunidad debemos hacer dos líneas con el silicon caliente a cada extremo de un capacillo, y pegar sobre él otro capacillo.
En mi caso, yo utilicé 12 capacillos para cada guirnalda, pero ustedes pueden probar con más cantidad si lo desean y ver cual resultado les gusta más.

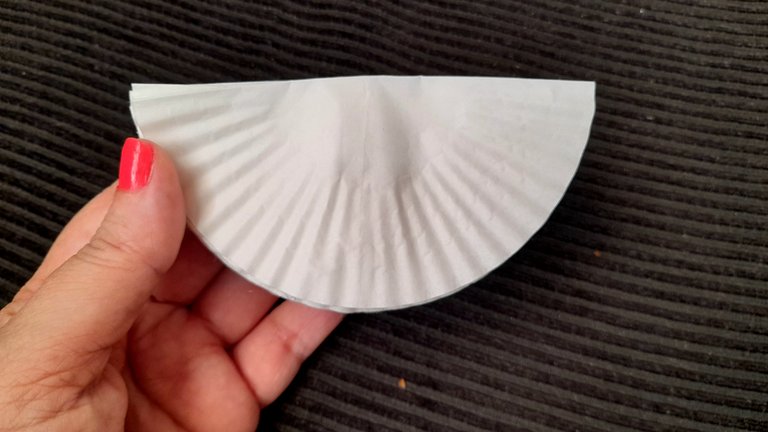
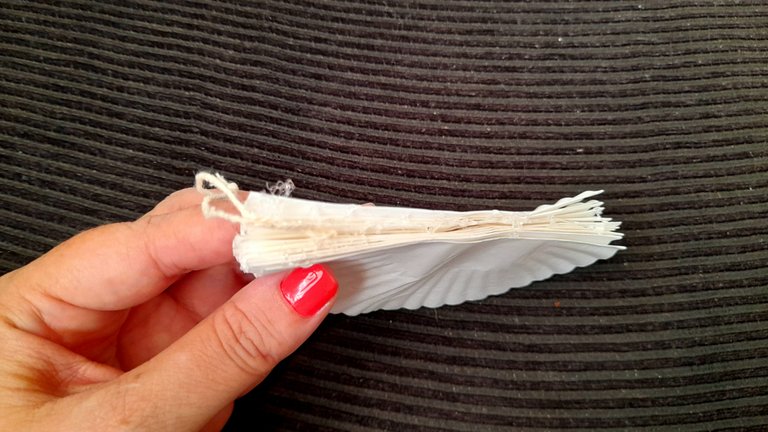
Una vez haya pegado los 12 capacillos, recorto un trozo de hilo pabilo y lo ato en la punta, para hacer el colgante de la guirnalda.
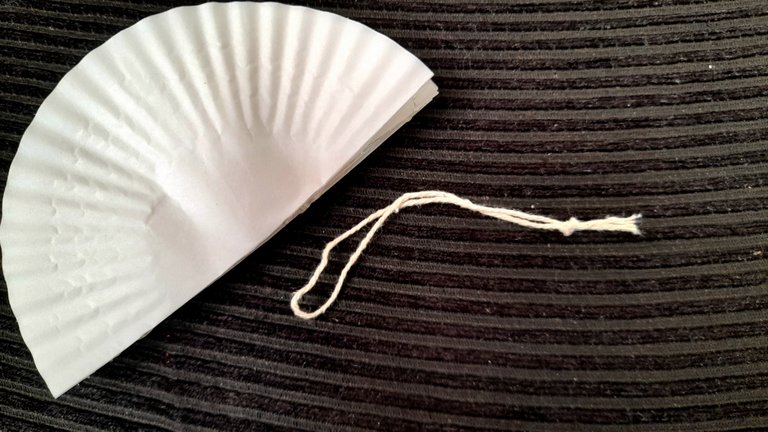
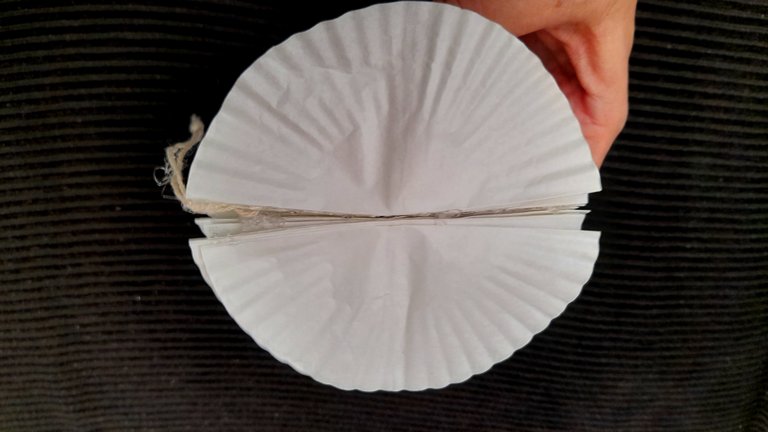
Lo siguiente es colocar silicón por toda la parte recta de los capacillos, incorporar el hilo para colgar y encontrar los dos extremos de los capacillos y pegarlos con silicón. De esta manera ya estaría lista nuestra guirnalda, que para mí luce bastante bien así, pero ustedes saben como soy yo, así que decidí agregarle un lazo dorado con un adorno de navidad que tenía en casa para reciclar y quedaron absolutamente hermosas. ¿Ustedes qué opinan, con o sin lazo?
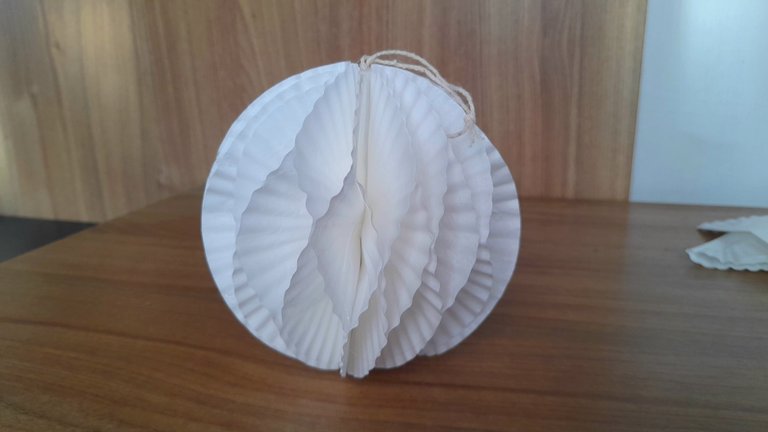


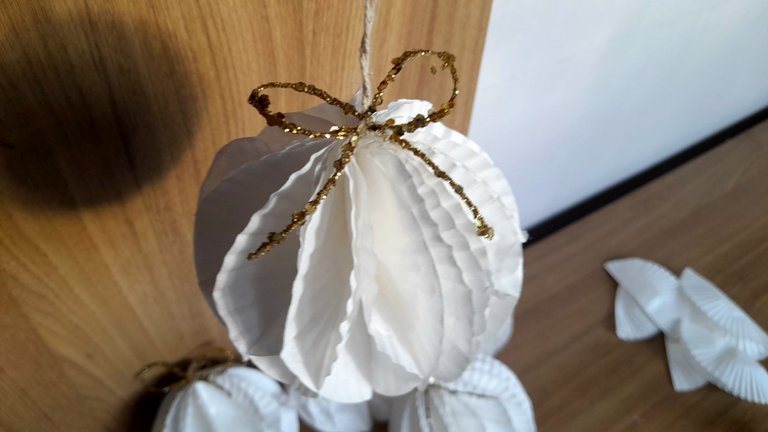
Como ven, otra decoración low cost con un resultado muy bonito y hasta elegante diría yo, además muy sencilla de hacer y bastante económica. Por supuesto pueden realizarla con otro material como papel de regalo, papel de bolsa color natural, capacillos metalizados, de colores o estampados, y todo lo que consideren puedan utilizar para darle su toque personal.

December is getting closer every day and I have a huge backlog with the decoration of the house, but we have had a terrible week that ended up delaying all my plans.
It turns out that on the island there is electricity rationing of up to 12 hours, in fact the plan they are applying is 12x12, that is 12 hours without electricity and 12 with electricity, which has delayed me too much, so I'm going into a collapse, however I was ahead in the hours with light another decoration for my tree and it is a beautiful garlands made with layers super simple to make and look really beautiful.

These garlands or Christmas balls are quite easy to make, you only need three things, and its elaboration is quite fast, so it has everything I look for in a craft: economy, speed in its elaboration and beauty.
As I said, they are made with layers, those that we use to bake cupcakes at home, and we can use any size we want, so if you want big balls, you can use number 11, but if you want smaller ones, just look for a smaller layer number. And now, that said, let's go to the materials and the step by step.
Materials
Cups of the size and color of your choice
Hot glue
Wicker thread
Step by step
To create our little layer garlands, the first thing to do is to fold each one in half, trying to stretch as much as possible to the sides.

The next step is to glue each one in the center, for which we open our little layer, and right in the center we place a small line of silicone, from the center outward and close to glue. Repeat this step with all of them.


Once the previous step is finished, we begin with the assembly of the garland, and in this opportunity we must make two lines with the hot silicone at each end of a layer, and glue on it another layer.
In my case, I used 12 layers for each garland, but you can try with more if you want and see which result you like more.


Once I have glued the 12 layers, I cut a piece of wicker thread and tie it at the end, to make the pendant of the garland.

The next thing to do is to put silicone all over the straight part of the strands, incorporate the hanging thread and find the two ends of the strands and glue them with silicone. This way our garland is ready, which looks pretty good to me, but maybe later I can add a bow or some additional decoration. For now they are just as I show you and I really love them.


As you can see, another low cost decoration with a very nice and even elegant result, very easy to make and quite economical. Of course you can make it with other materials such as wrapping paper, natural colored paper bags, metallic, colored or printed layers, and whatever you consider you can use to give it your personal touch.

Congratulations @rlathulerie! You have completed the following achievement on the Hive blockchain And have been rewarded with New badge(s)
Your next target is to reach 16500 replies.
You can view your badges on your board and compare yourself to others in the Ranking
If you no longer want to receive notifications, reply to this comment with the word
STOPCheck out our last posts:
Muy originales amigas 🤩🤩🤩. Abrazos
Gracias amiga
Una genial idea, esos capacillos se ven hermosos amiga, te quedo linda.
Gracias Yoli, a mi me gustaron muchísimo
Qué problema con la electricidad 😭me imagino el malestar y el estrés, amiga. Las manualidades te ayudan a mantener la calma y la cordura. Me gustaron mucho estás guirnaldas, están lindas. Gracias por compartir. Un abrazo, y espero que todo mejore en la isla 🙏🏻
Amiga hoy ha estado terrible, hemos tenido solo 3 horas de luz durante el día aquí estamos muriendo de calor.
Esta guirnalda es sencilla pero a mi me encanta, sobre todo porque como es grande ayuda a ocupar espacio jeje
Terrible lo de la electricidad mi Rosa 😞. Por otra parte, ya quiero ver cómo queda todo montado 🥰. Está idea es hermosa 💕
Amii que horrible 12 horas sin electricidad es horribleee 🥵🥵🥵 ojala se acomode rapido la cuestion!! En cuanto a las guirnaldas. Las vi hace poco en google jajaja y solo dije "Dios mio cuantos capacillos voy a gastar?" 😂😂😂 asi que ahora ya se que son 12 jaja quedaron bellas
¡Felicidades! Esta publicación obtuvo upvote y fue compartido por @la-colmena, un proyecto de Curación Manual para la comunidad hispana de Hive que cuenta con el respaldo de @curie.
Si te gusta el trabajo que hacemos, te invitamos a darle tu voto a este comentario y a votar como testigo por La Colmena.
Si quieres saber más sobre nuestro proyecto, te invitamos a acompañarnos en nuestro servidor de Discord.