How to make a candle holder centerpiece decorated with foami flowers. [ENG+ESP]
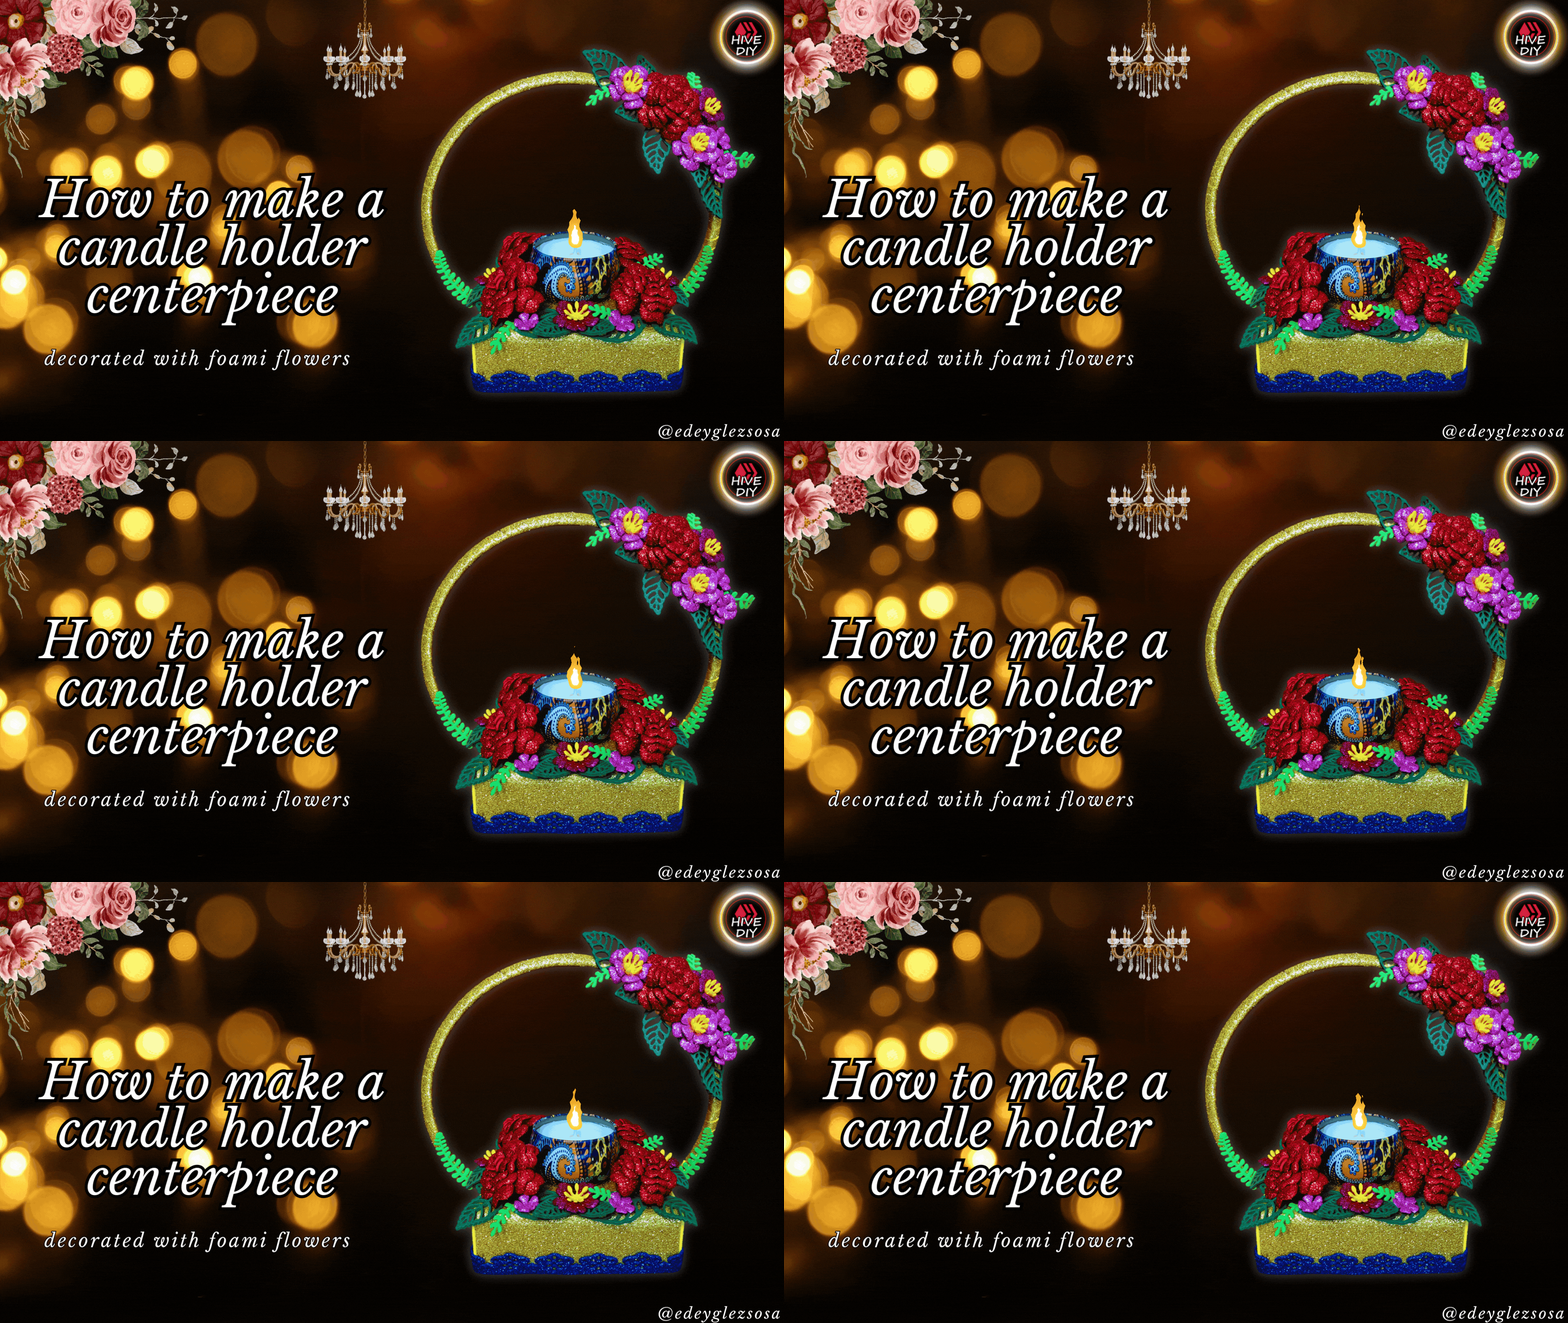
Greetings, crafting community. This year I also intend to get ahead of the dates so that I can make several crafts related to the upcoming celebrations. Taking into account that February 14 is coming soon, I wanted to share with you a tutorial that will serve as a guide to make a beautiful candle holder that can be used as a centerpiece and create a romantic atmosphere in the light of a dim flame. Although if your intention is just to use it to decorate a particular space in the home, don't worry, since it is decorated with brightly colored flowers, it can also be used for those purposes.
During the creation process I will be using mostly sheet fomi, which I will cut out using dies with various designs. To shape the petal layers I will be using thermoforming techniques, so I call upon the importance of paying close attention while thermoforming the fomi, as there is a high possibility of getting burned. But without further ado, let's get to know the materials and then the step by step. Let's start.
Saludos, comunidad de artesanos. Este año también tengo la intención de adelantarme a las fechas para poder hacer varias manualidades relacionadas con las celebraciones venideras. Teniendo en cuenta que próximamente se acerca el 14 de febrero, he querido compartir con ustedes un tutorial que les servirá como guía para elaborar un hermoso porta velas que se puede utilizar como centro de mesa y así crear un ambiente romántico a la luz de una llama tenue. Aunque si tu intención es solo utilizarlo para decorar un espacio en concreto del hogar, no te preocupes, ya que al estar decorado con flores de brillantes colores, también puede ser utilizado con esos fines.
Durante el proceso de creación estaré utilizando en su mayoría fomi en lámina, el cual recortaré empleando troqueles con variados diseños. Para dar forma a las capas de pétalo emplearé técnicas de termoformado, así que desde ya hago un llamado a la importancia de prestar mucha atención mientras se termoforma el fomi, ya que existen altas posibilidades de sufrir quemaduras. Pero sin más dilaciones, pasemos a conocer los materiales y seguidamente el paso a paso. Comencemos.
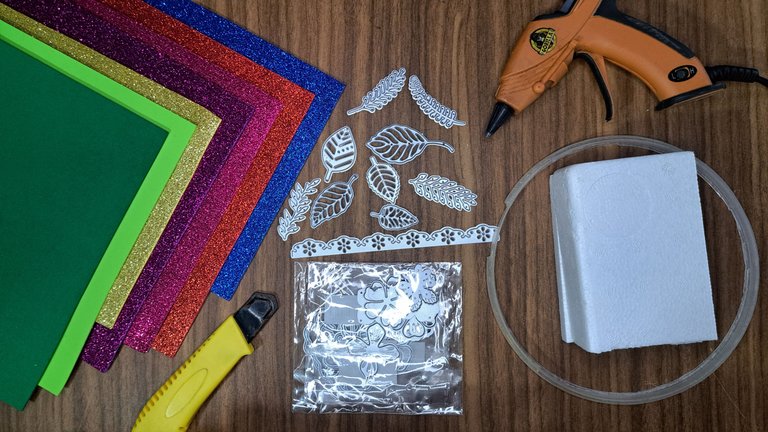
Materials // Materiales
| English | Español |
| ✔️ Gold, blue, red, pink, pink, fuchsia pink frosted fomi | ✔️ Fomi escarchado dorado, azul, rojo, rosado, rosa fucsia |
| ✔️ Smooth dark green and light green Fomi | ✔️ Fomi liso verde oscuro y verde claro |
| ✔️ Plastic or metal ring | ✔️ Aro plástico o de metal |
| ✔️ Expanded polystyrene | ✔️ Poliestireno expandido |
| ✔️ Straight cutter | ✔️ Cúter recto |
| ✔️ Flower and leaf dies cutting | ✔️ Troqueles con forma de flores y hojas |
| ✔️ Border die cutter | ✔️ Troquel para bordes |
| ✔️ Hot silicone | ✔️ Silicona caliente |
Step by step // Paso a paso
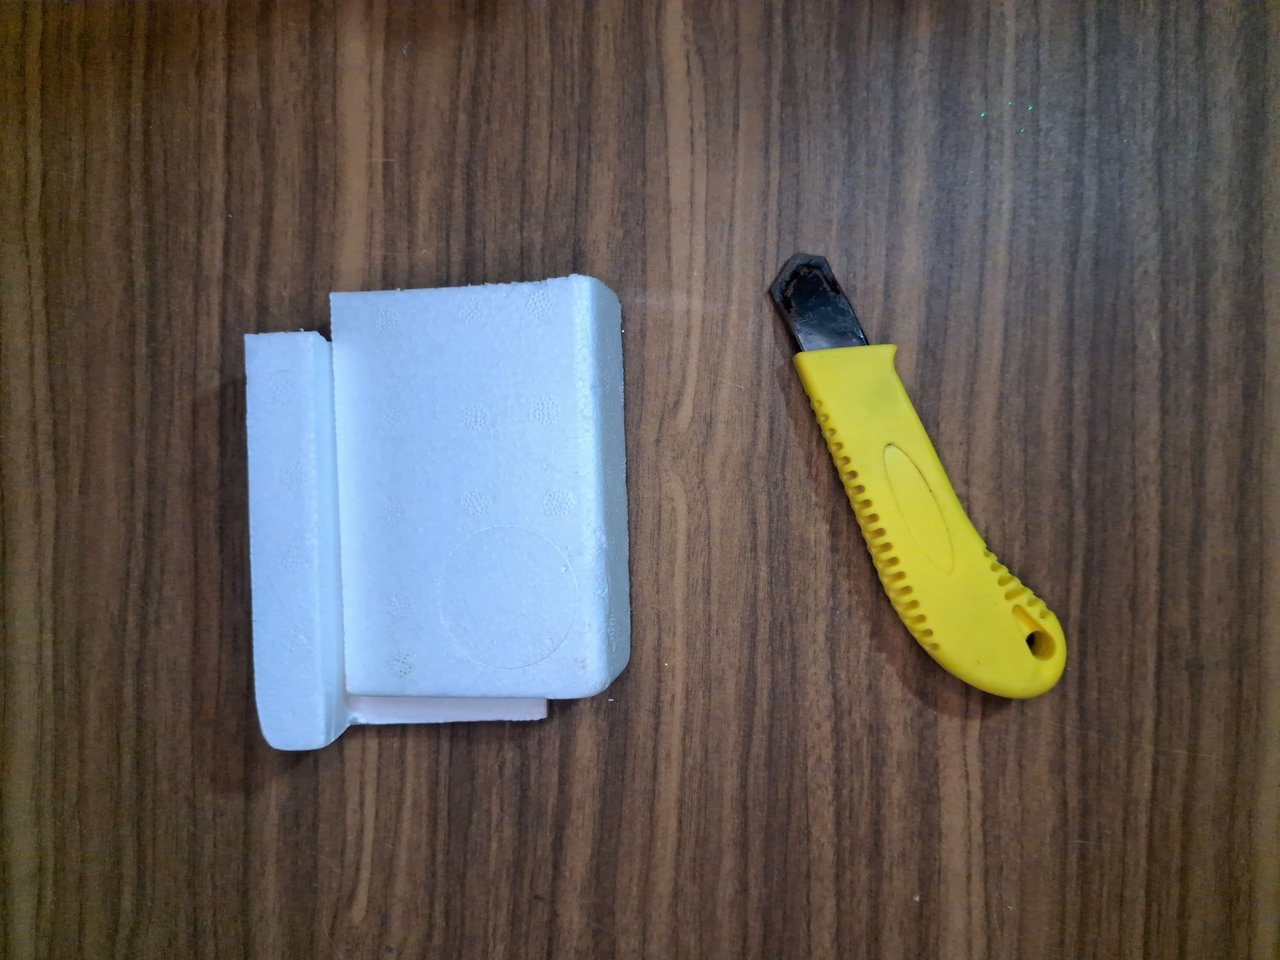
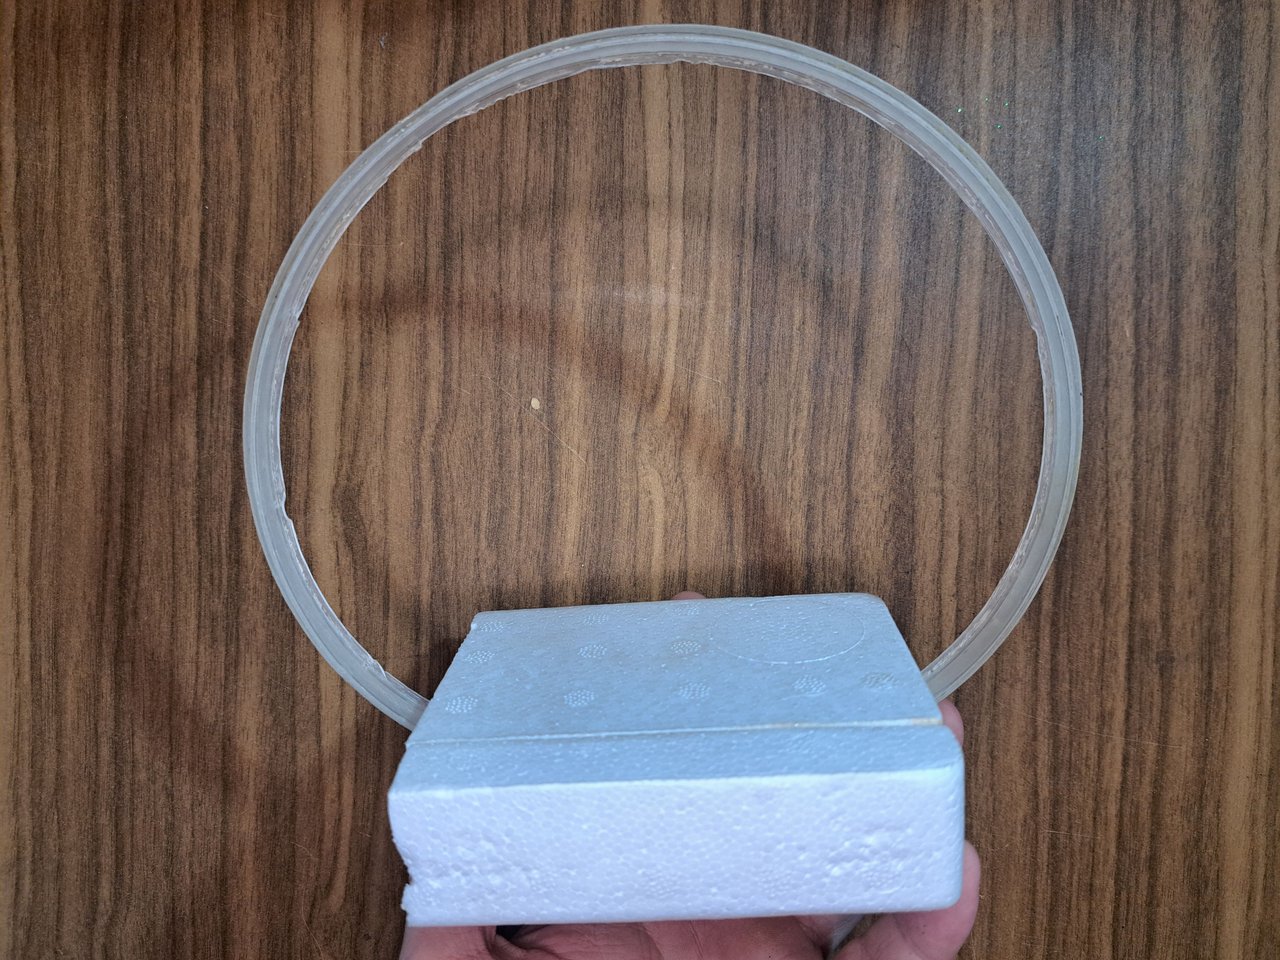
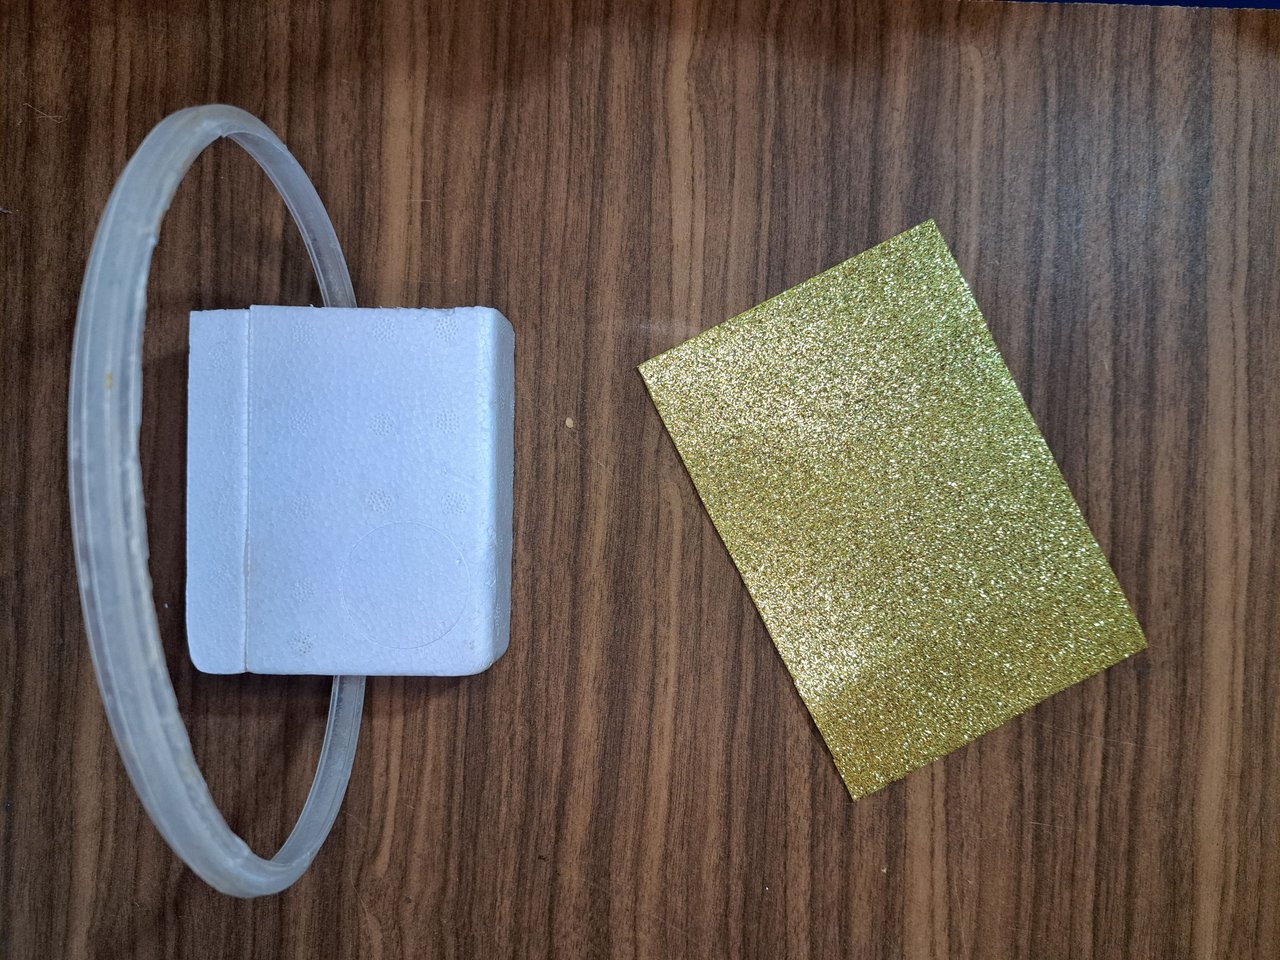
1️⃣ I started by cutting the expanded polystyrene pieces to 12 cm long, 9 cm wide and 1.5 cm high. I cut two equal pieces, which I glued together, placing the plastic ring in the middle. The plastic ring can be replaced by a metal ring and is 16 cm in diameter. In my case I obtained the ring by cutting the upper part of an old plastic container.
Empecé cortando las piezas de poliestireno expandido a una medida de 12 cm de largo, 9 cm de ancho y 1.5 cm de alto. Corté dos piezas iguales, las cuales pegué, situando el aro plástico en el medio. El aro plástico puede ser sustituido por un aro de metal y posee 16 cm de diámetro. En mi caso obtuve el aro cortando la parte superior de un envase plástico viejo.
 |  |
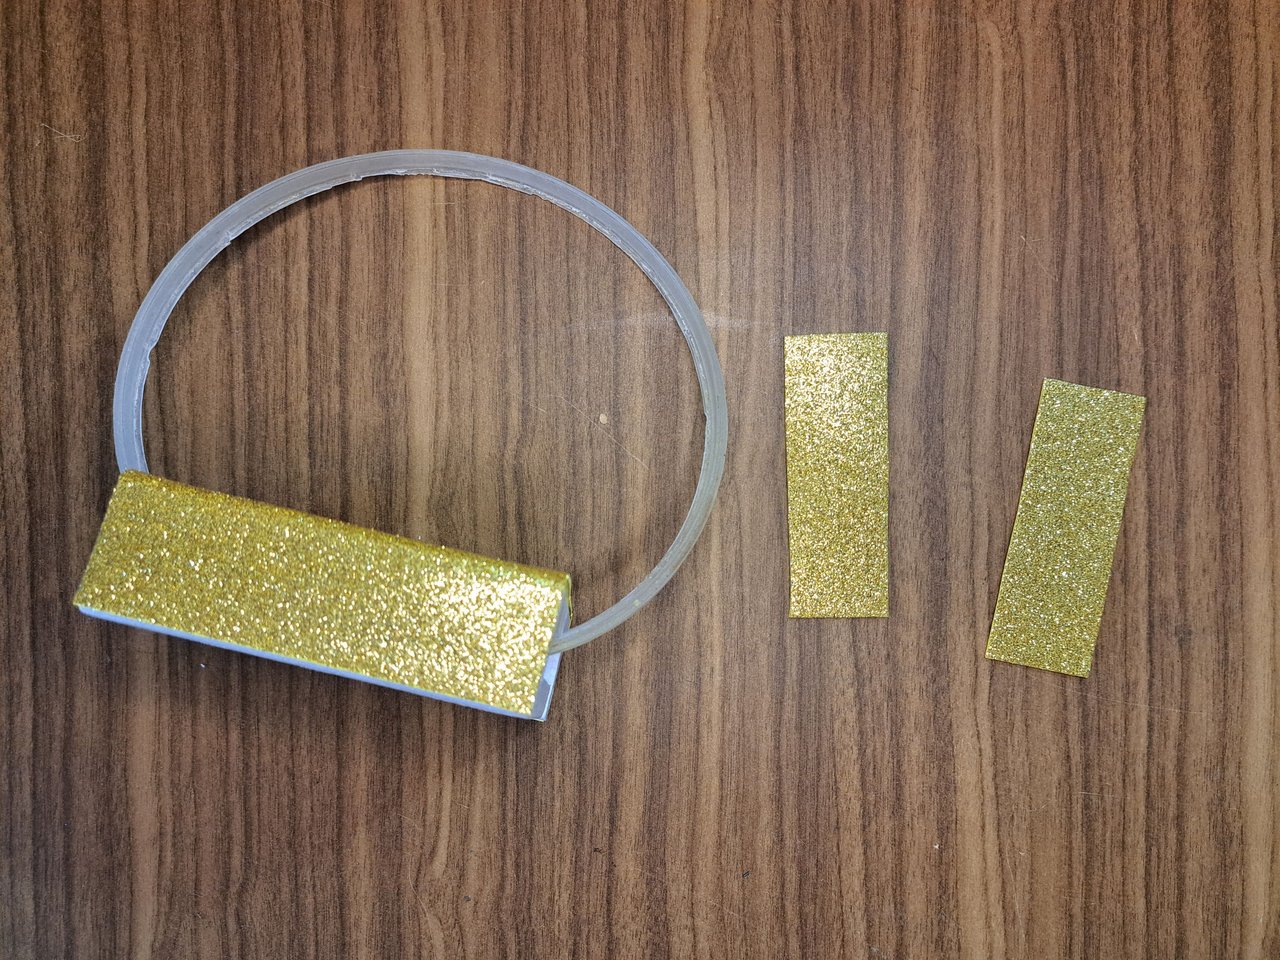
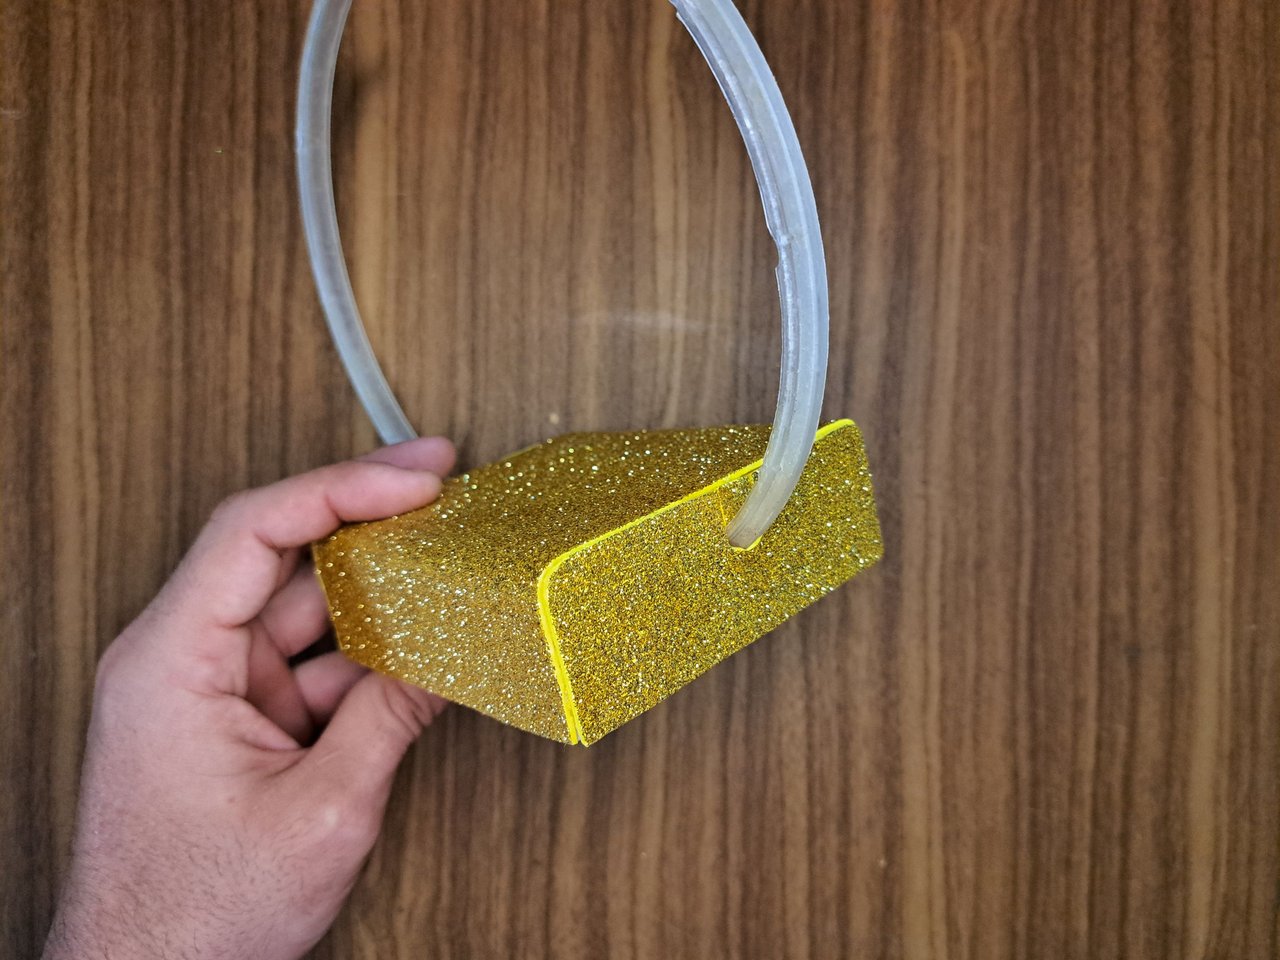
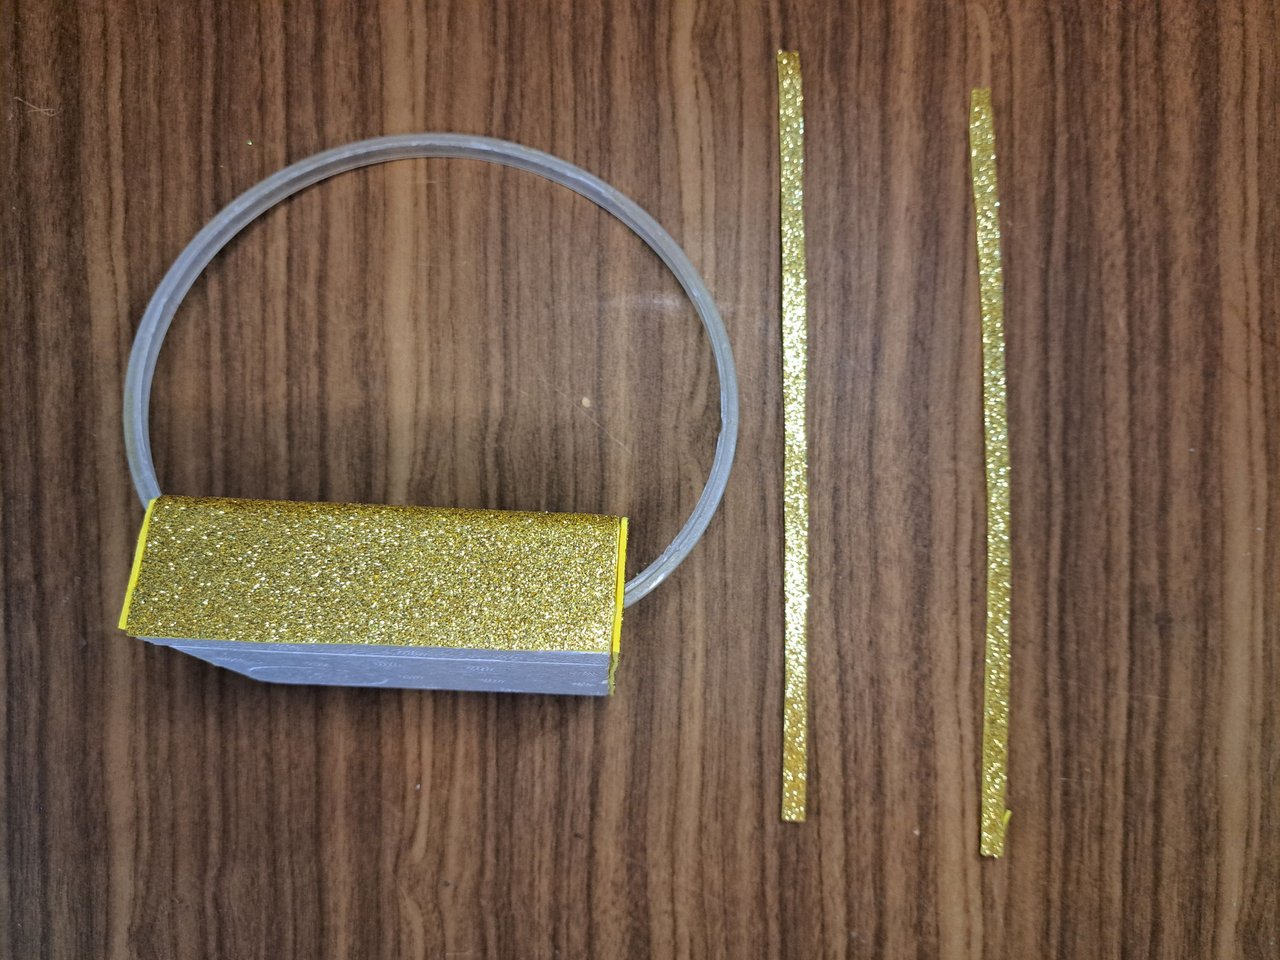
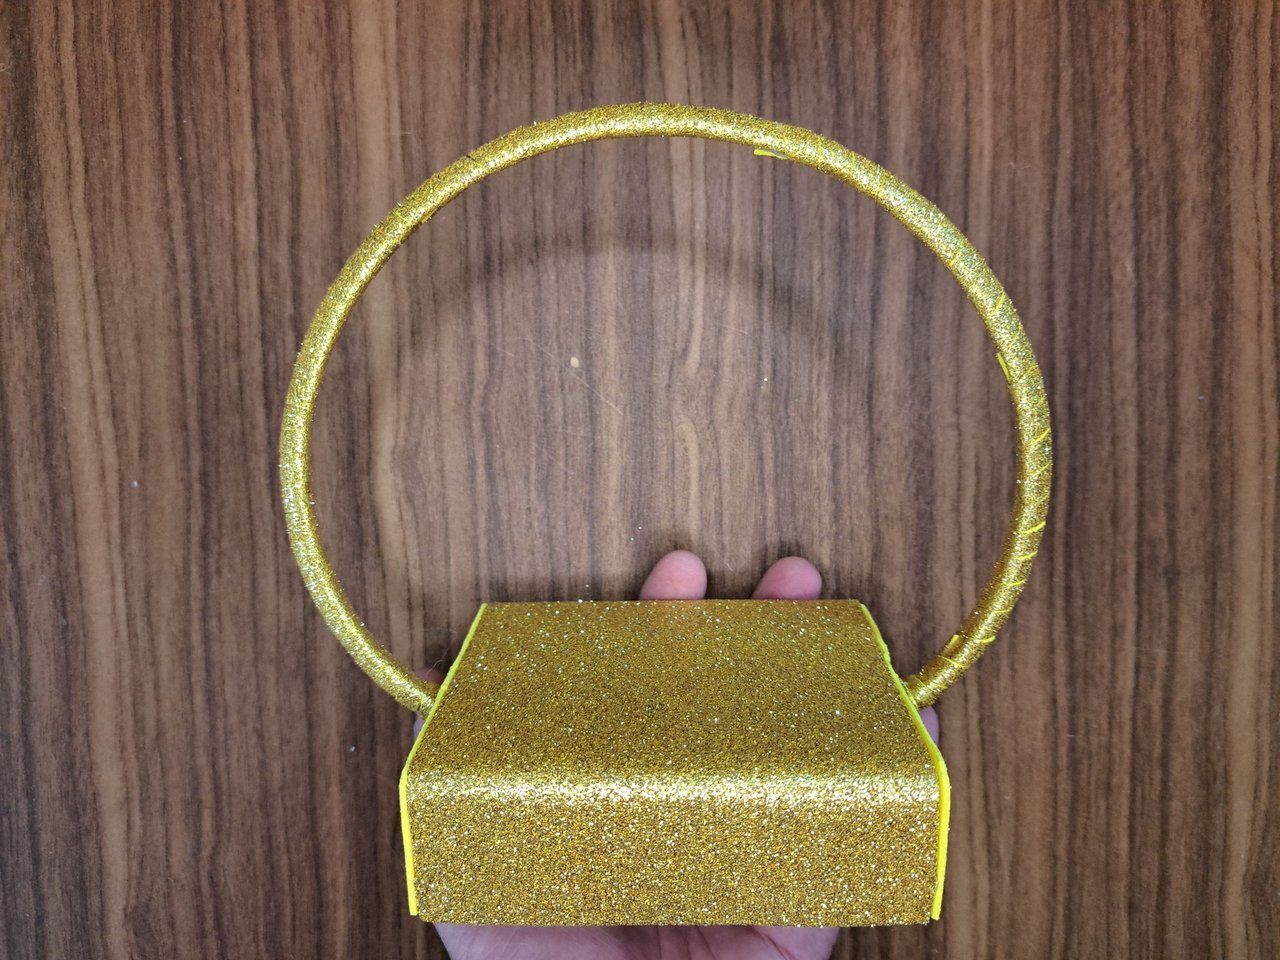
2️⃣ Next, I cut out a piece of gold frosting and covered the entire area of the styrofoam base. I cut out four strips of gold frosting and wrapped them around the plastic ring to make the entire base area of the ornament the same color.
Seguidamente, recorté una pieza de fomi escarchado dorado y cubrí toda el área de la base de poliestireno. Recorté cuatro tiras de fomi escarchado dorado y las envolví alrededor del aro plástico para así lograr que toda el área base del adorno fuese del mismo color.
 |  |  |
 |  |
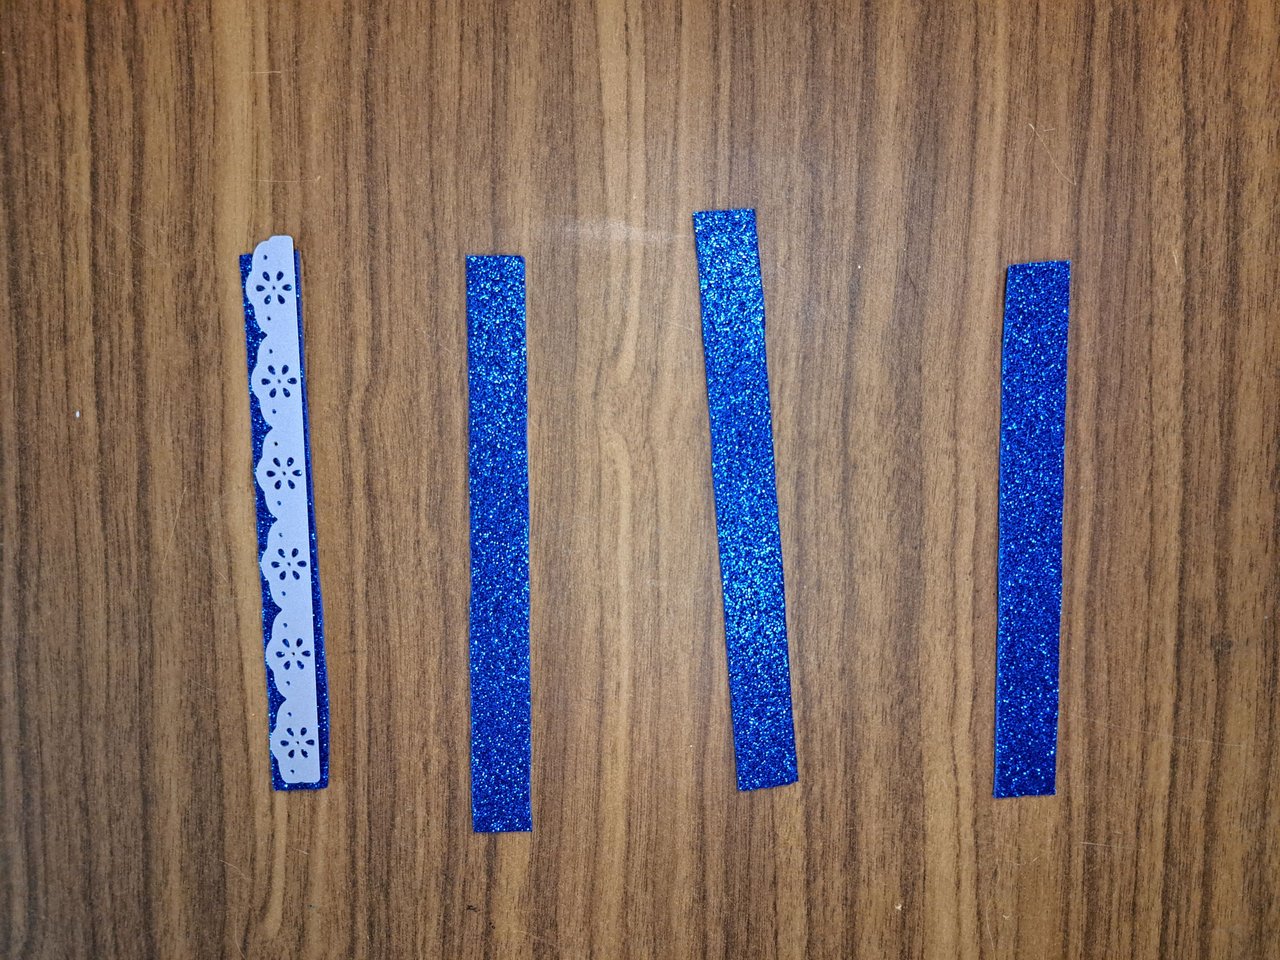
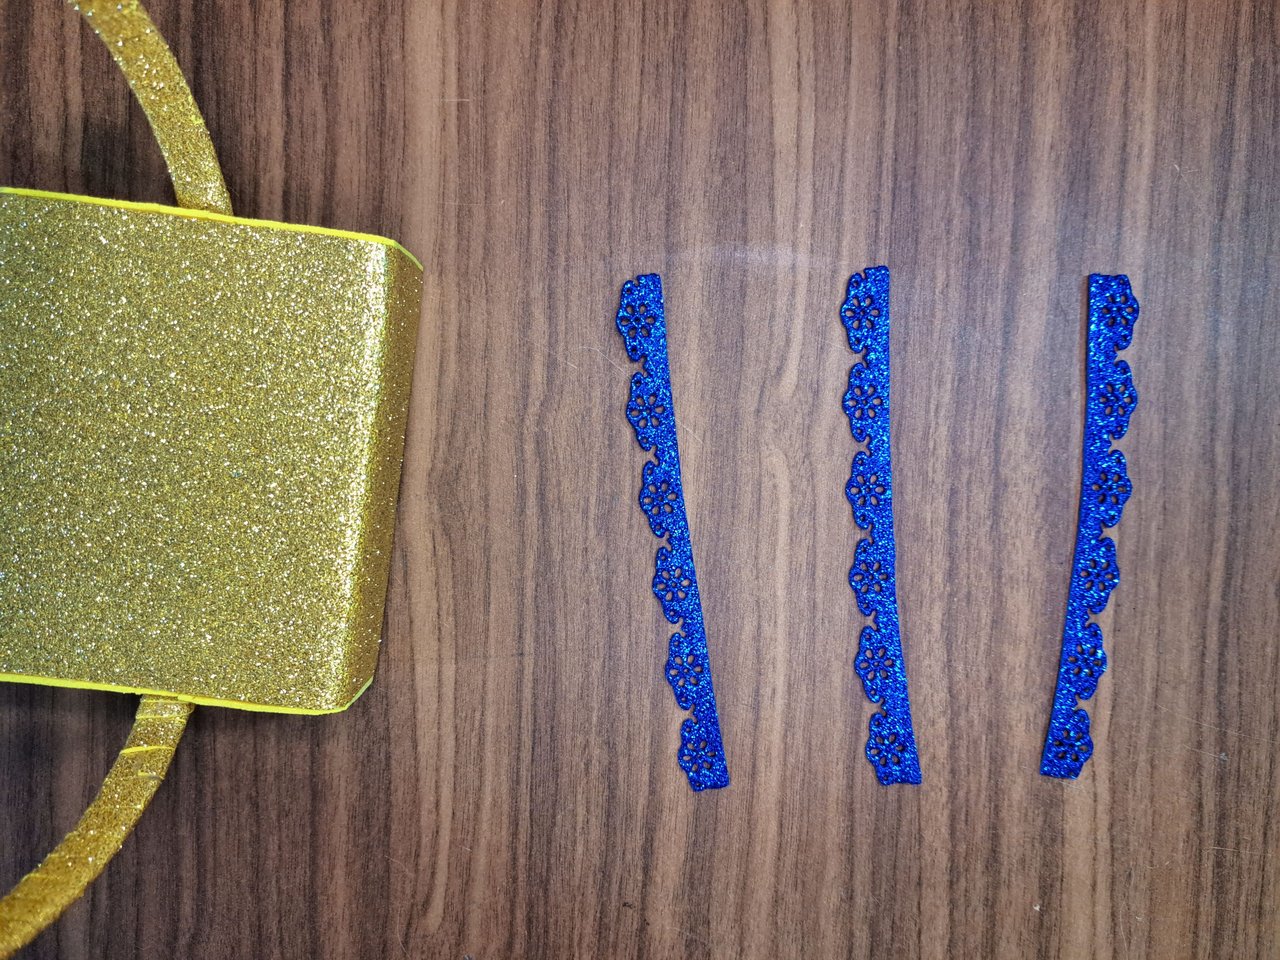
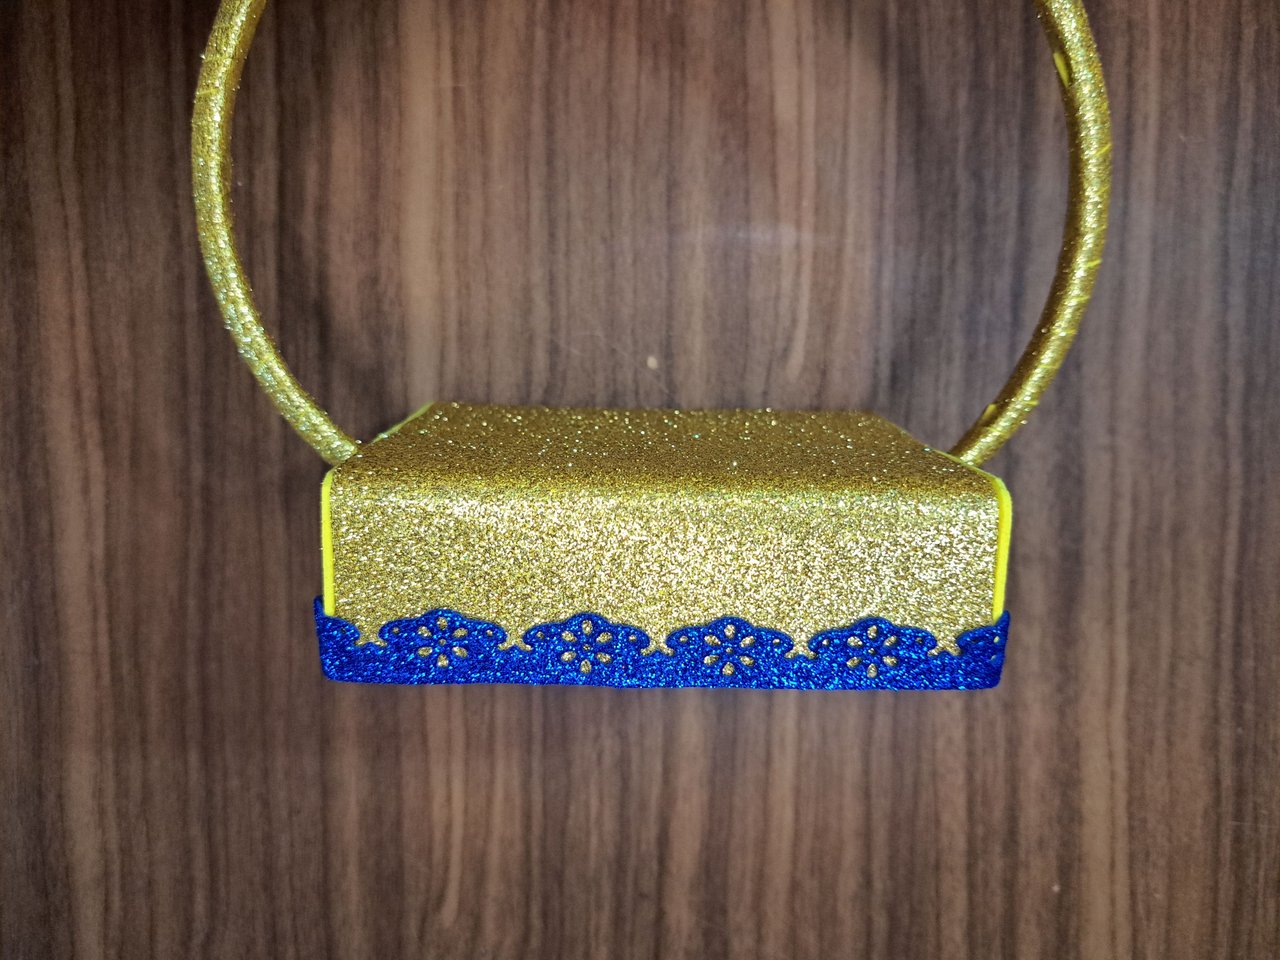
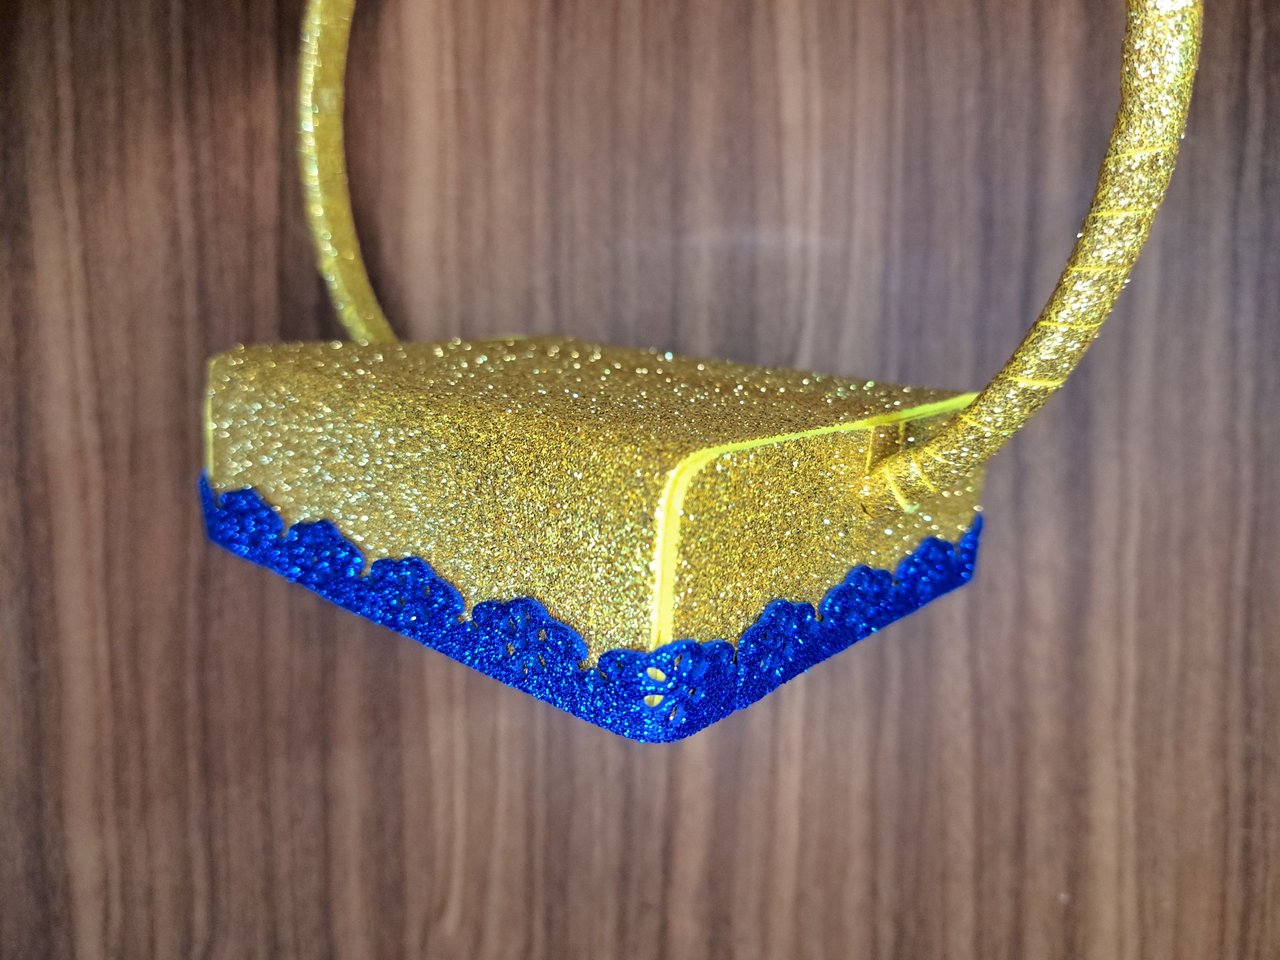
3️⃣ To keep the bottom of the base from being empty and boring, I used a border die and cut out four designs, which I glued all around the edge of the base, making it more eye-catching.
Para que la parte inferior de la base no estuviese vacía y aburrida, utilicé un troquel de bordes y recorté cuatro diseños, los cuales pegué por todo el borde de la base, haciéndola más llamativa.
 |  |
 |  |
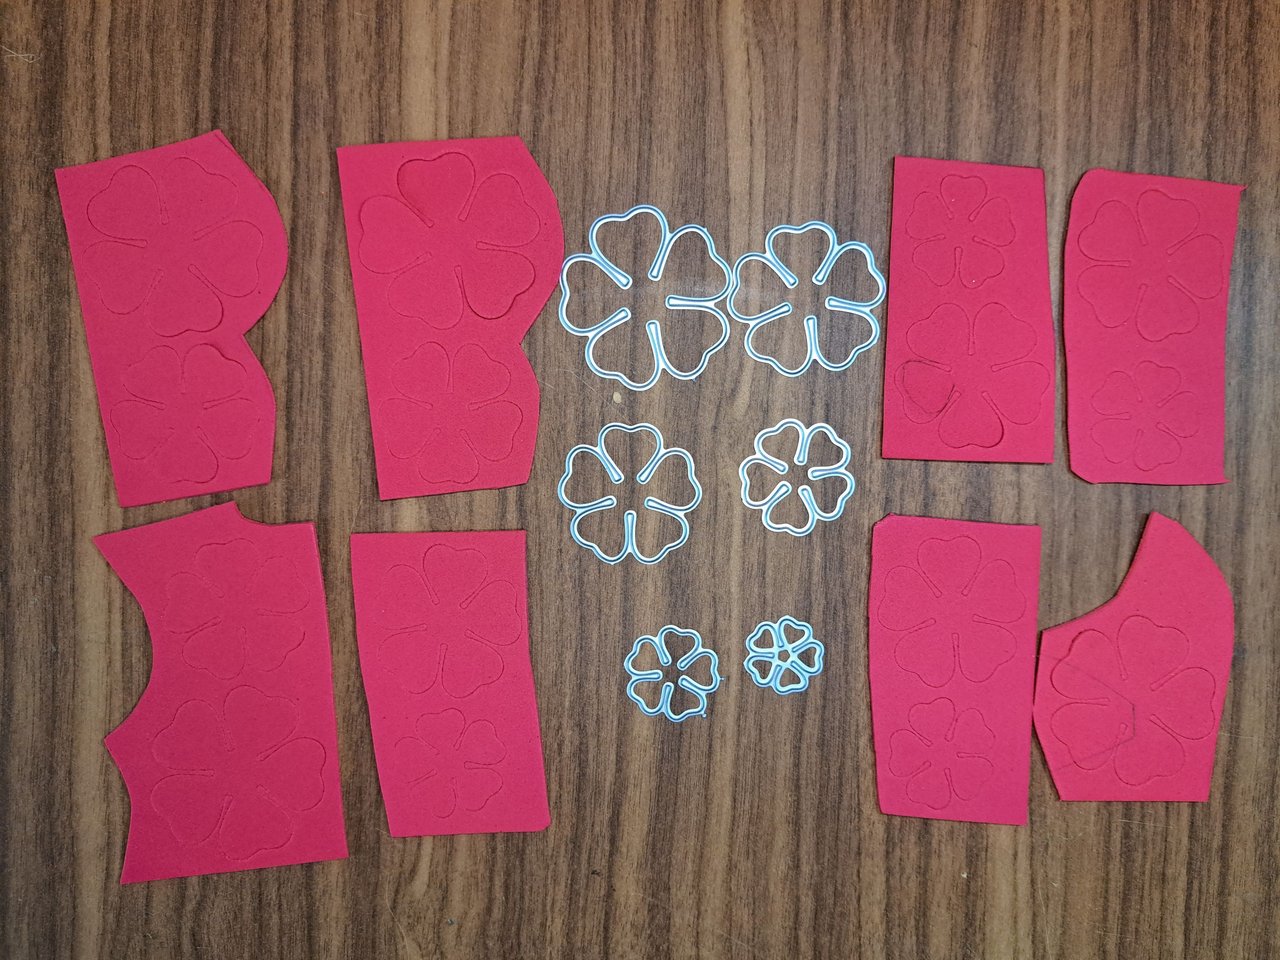
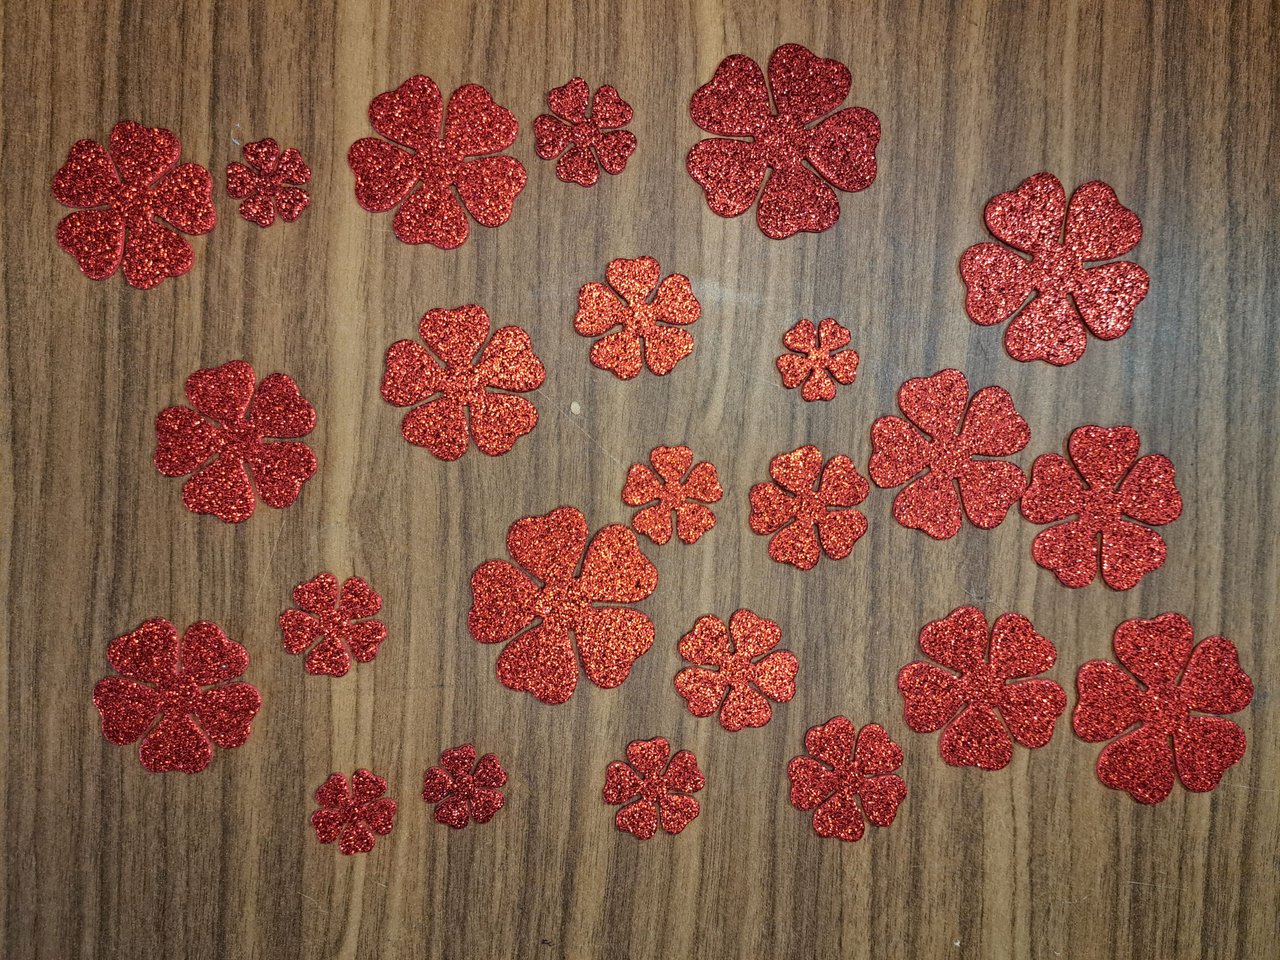
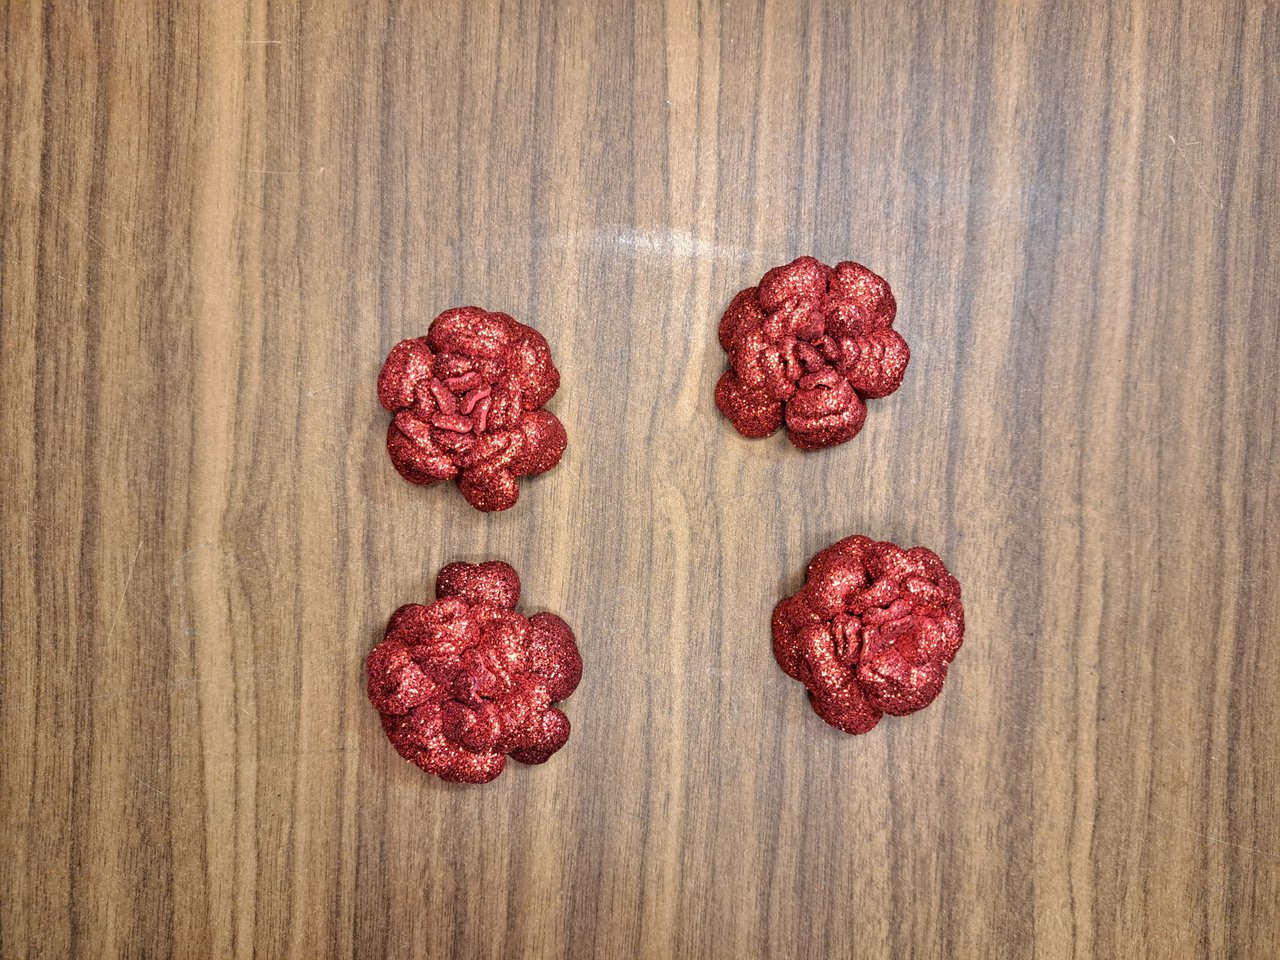
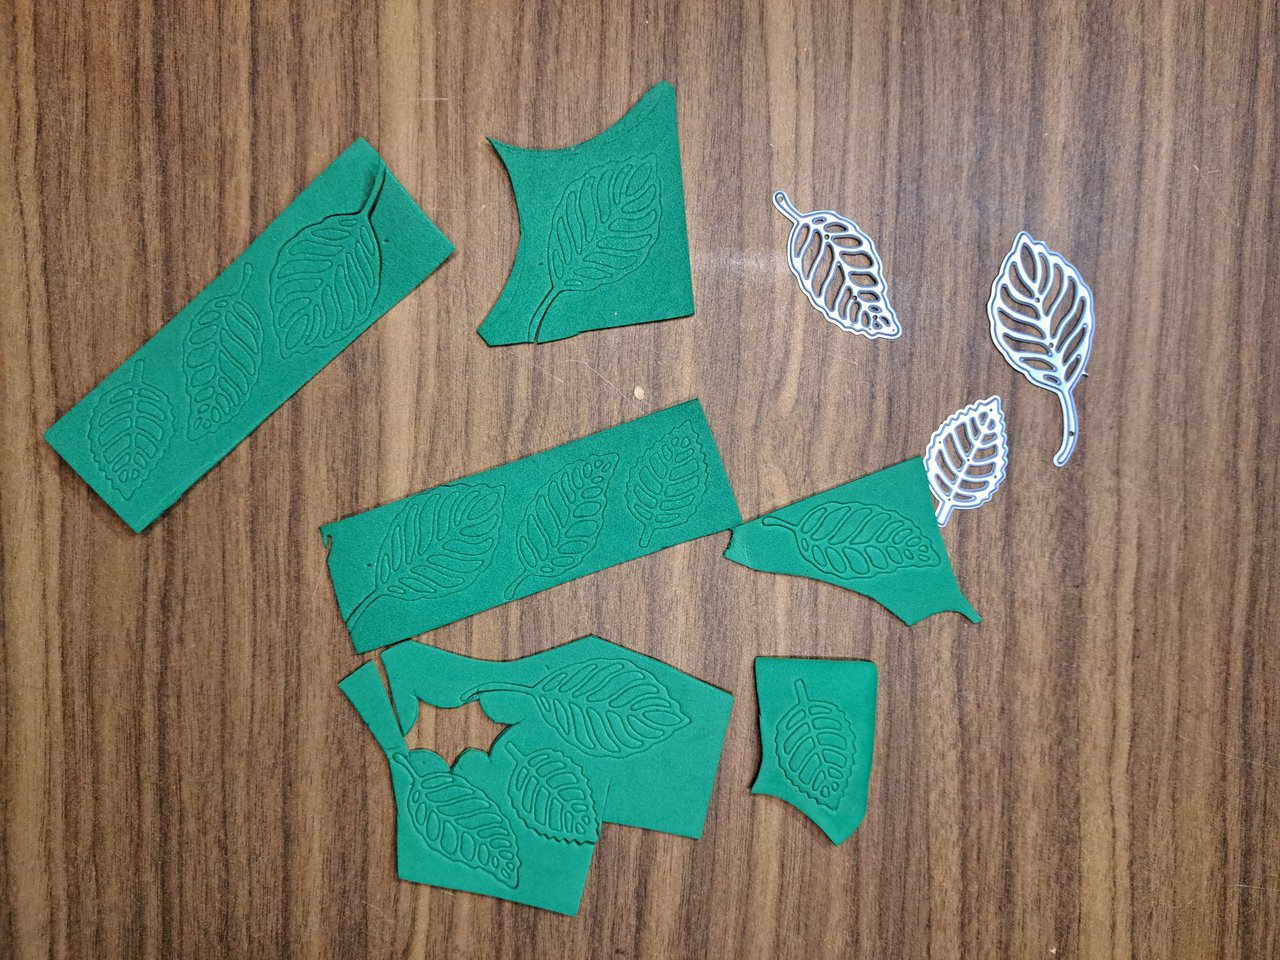
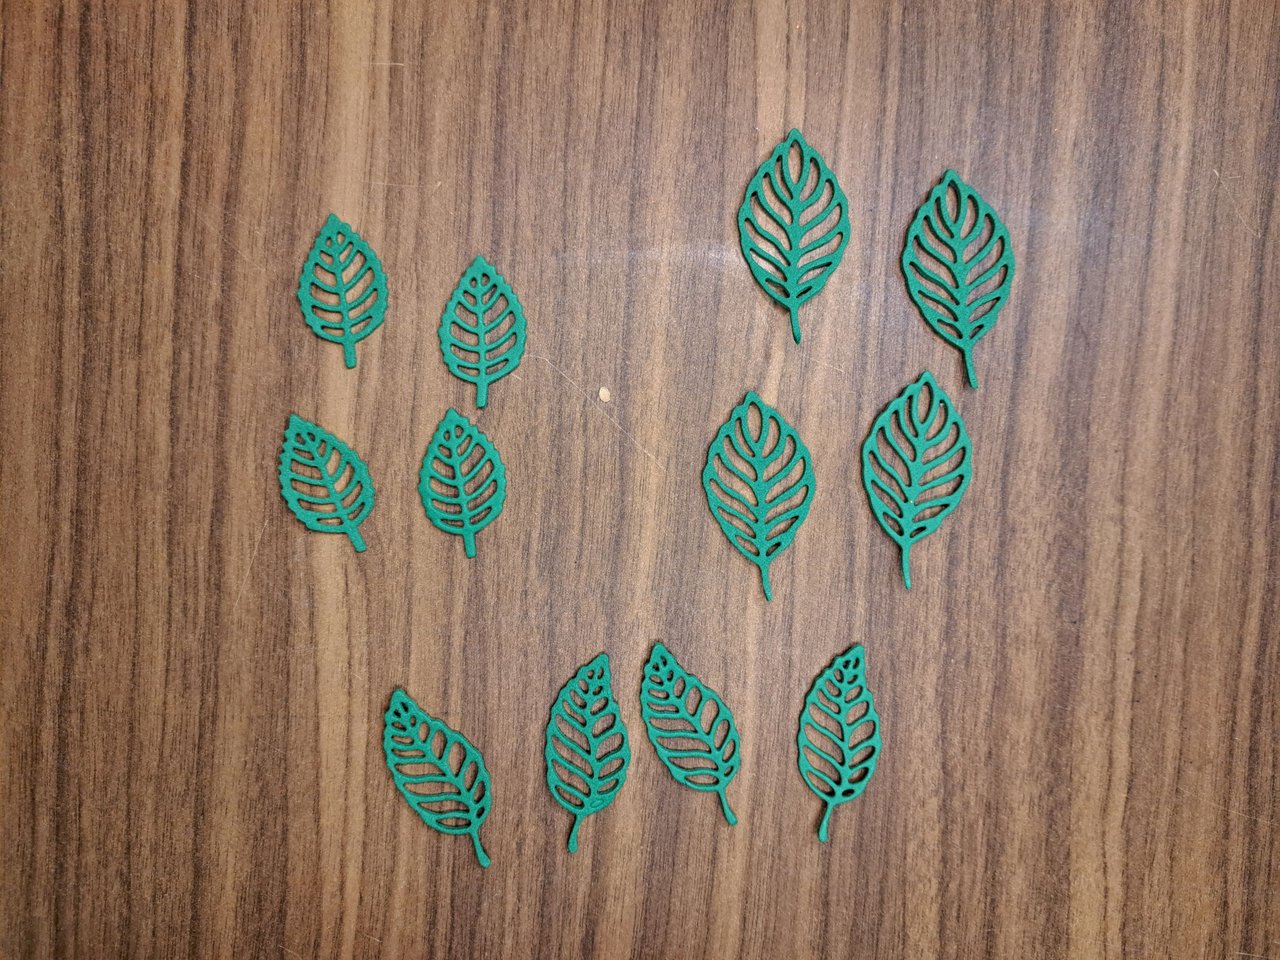
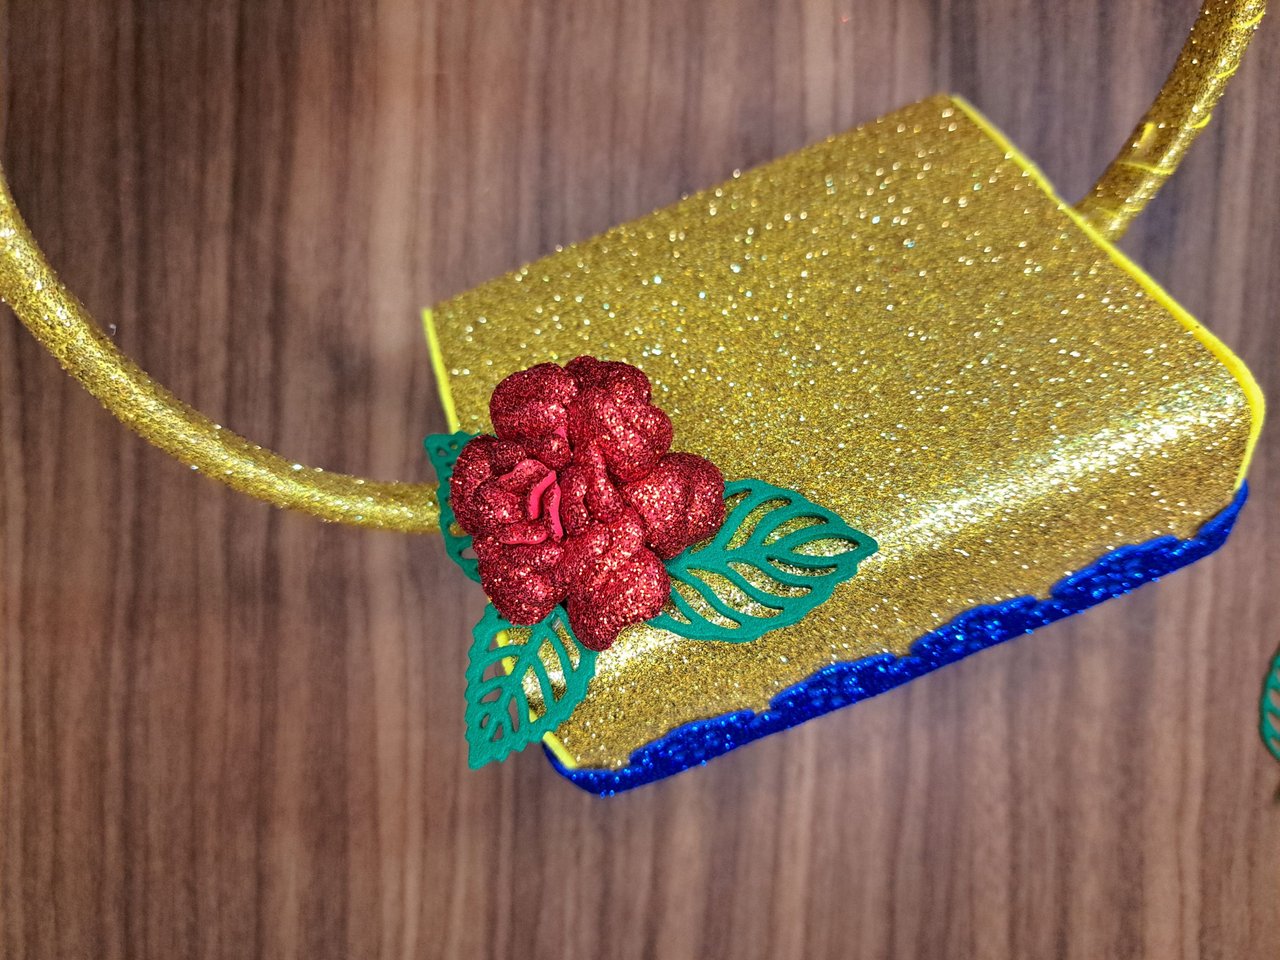
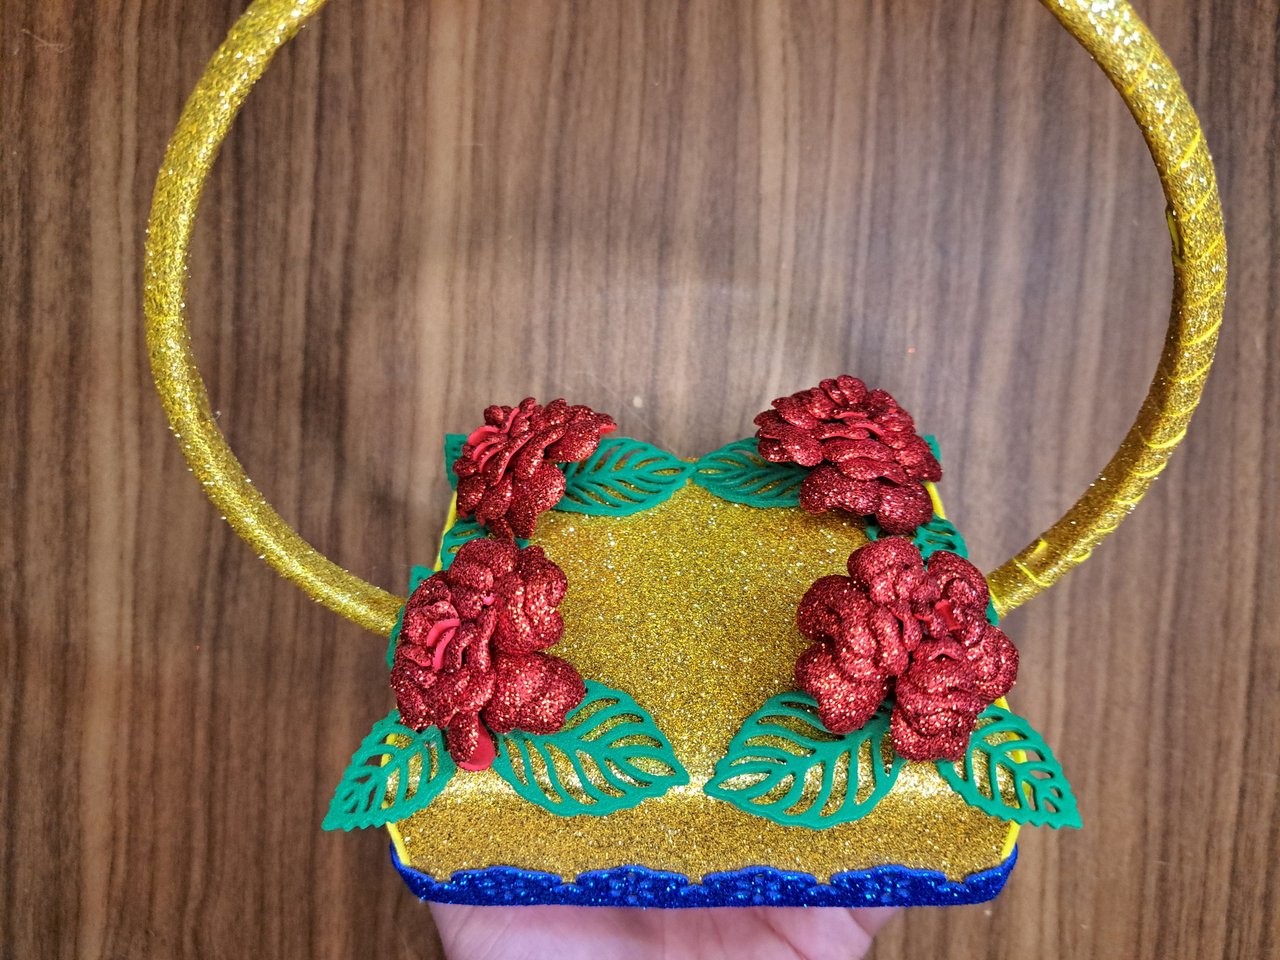
4️⃣ For the red flowers I used a die cutter that consists of 6 parts and, since I put 4 red flowers on the base, I had to cut out 24 flower designs of different sizes in red frosted fomi. After cutting out the flower patterns, I applied heat to bend the tips of the petals and assembled them, leaving the four flowers ready. Before gluing the flowers to the base, I used leaf dies cutting to cut out 12 leaves, three for each flower. I glued the leaves to the base and then the flowers on top, leaving one in each corner of the base.
Para las flores rojas empleé un troquel que consta de 6 partes y, como en la base puse 4 flores rojas, tuve que recortar 24 diseños de flores de distintos tamaños en fomi escarchado rojo. Luego de recortar los patrones florales, les apliqué calor para doblar las puntas de los pétalos y los monté, quedando así las cuatro flores listas. Antes de pegar las flores en la base, utilicé troqueles de hojas para recortar 12 hojas, tres por cada flor. Pegué las hojas en la base y luego las flores encima, quedando una en cada esquina de la base.
 |  |
 |  |  |
 |  |
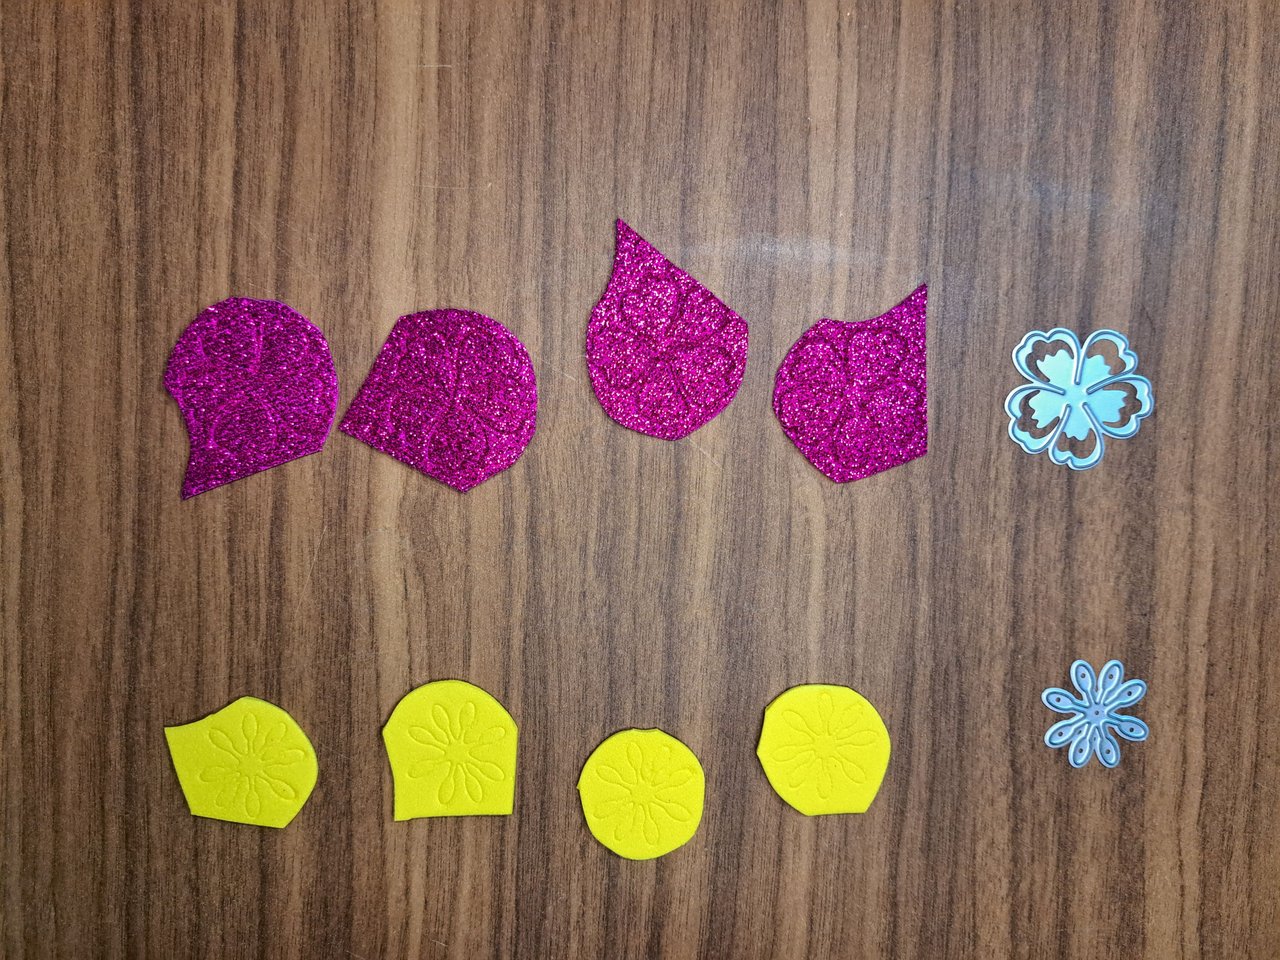
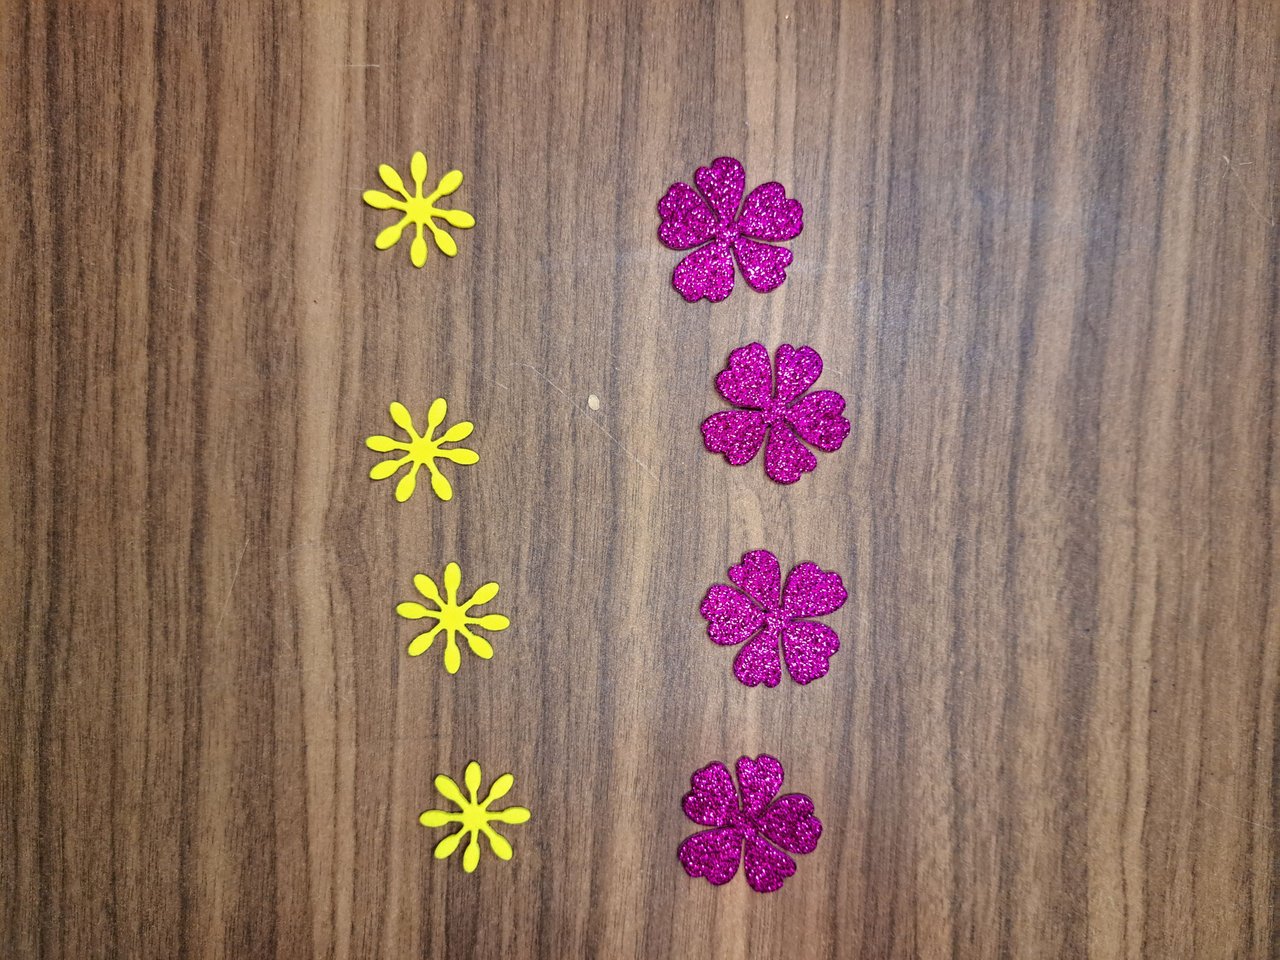
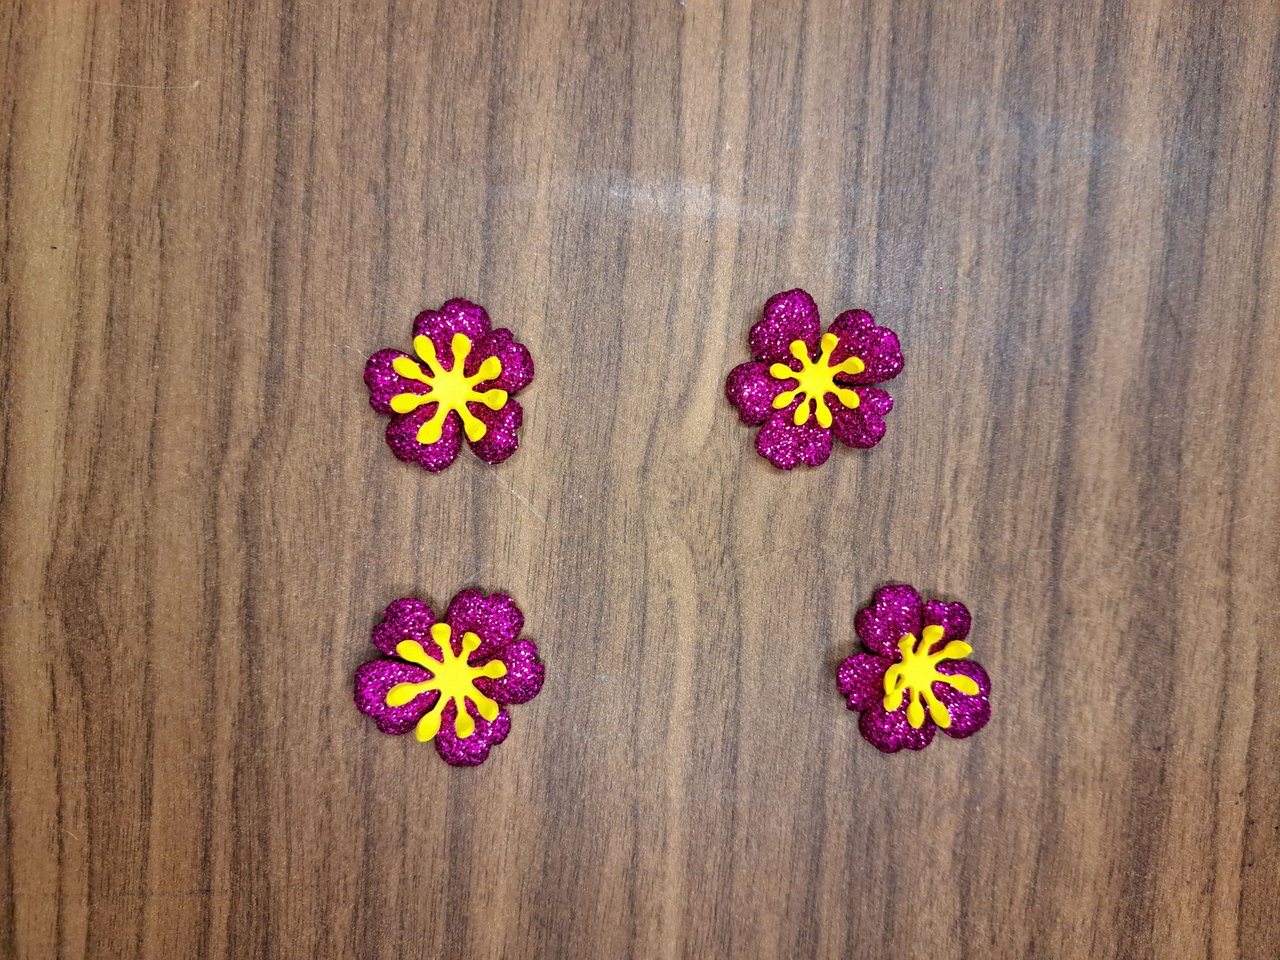
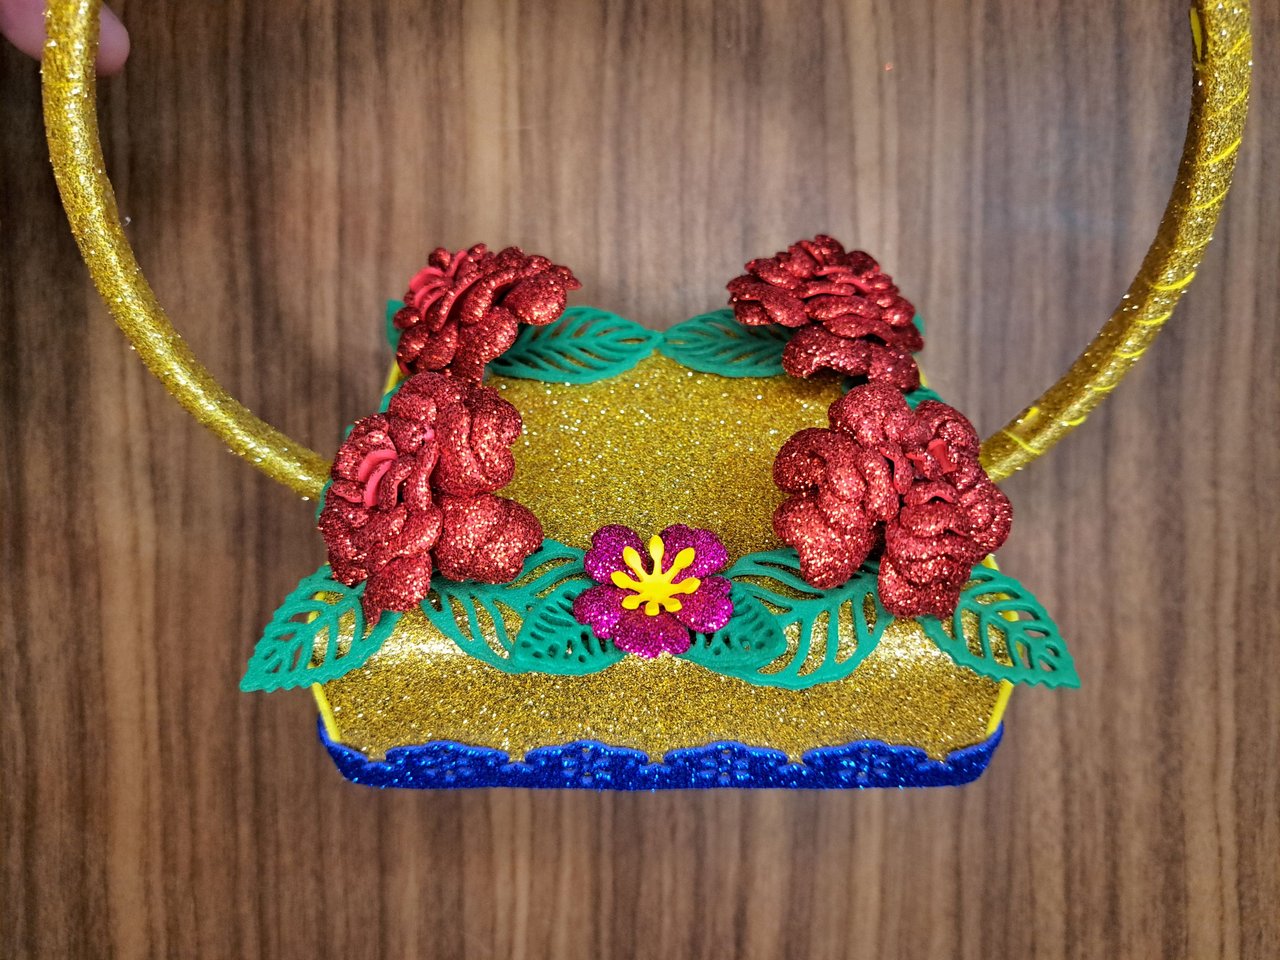
5️⃣ After the red roses, I repeated the process to create 4 new flowers, but this time I used a poppy die cutter and fuchsia pink fomi. The difference is that this type of flower also has a yellow pistil and a single layer of petals, but it is still necessary to thermoform each of the cut designs before assembling the flower and adding it to the ornament. I glued these new flowers in the spaces left between the roses.
Luego de las rosas rojas, repetí el proceso para crear 4 nuevas flores, pero esta vez utilicé un troquel de amapolas y fomi de color rosa fucsia. La diferencia es que este tipo de flores también lleva un pistilo amarillo y una sola capa de pétalos, pero aun así es necesario termoformar cada uno de los diseños cortados antes de montar la flor y agregarla al adorno. Estas nuevas flores las pegué en los espacios que quedaron entre las rosas.
 |  |  |
 |  |
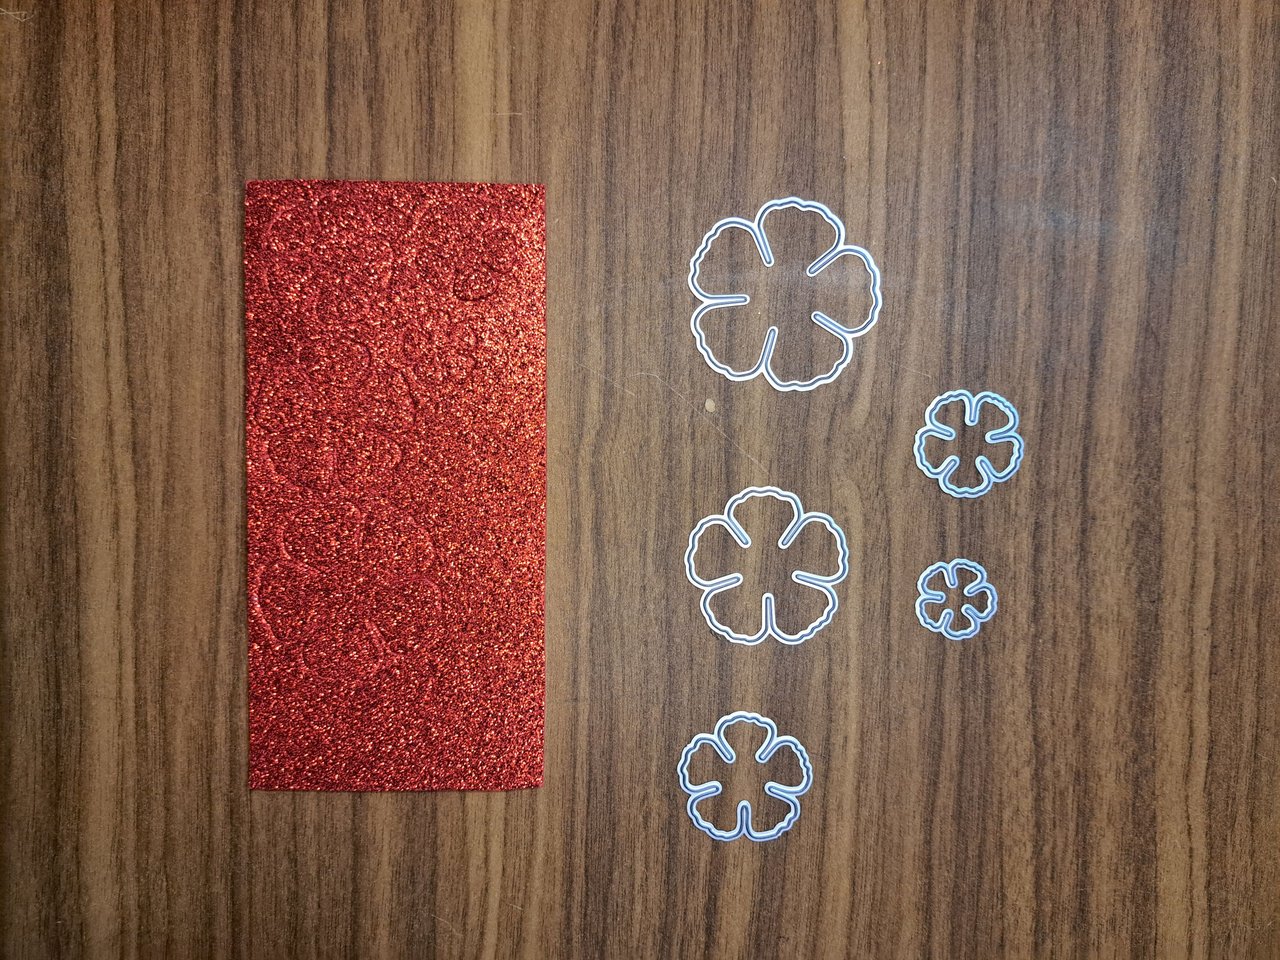
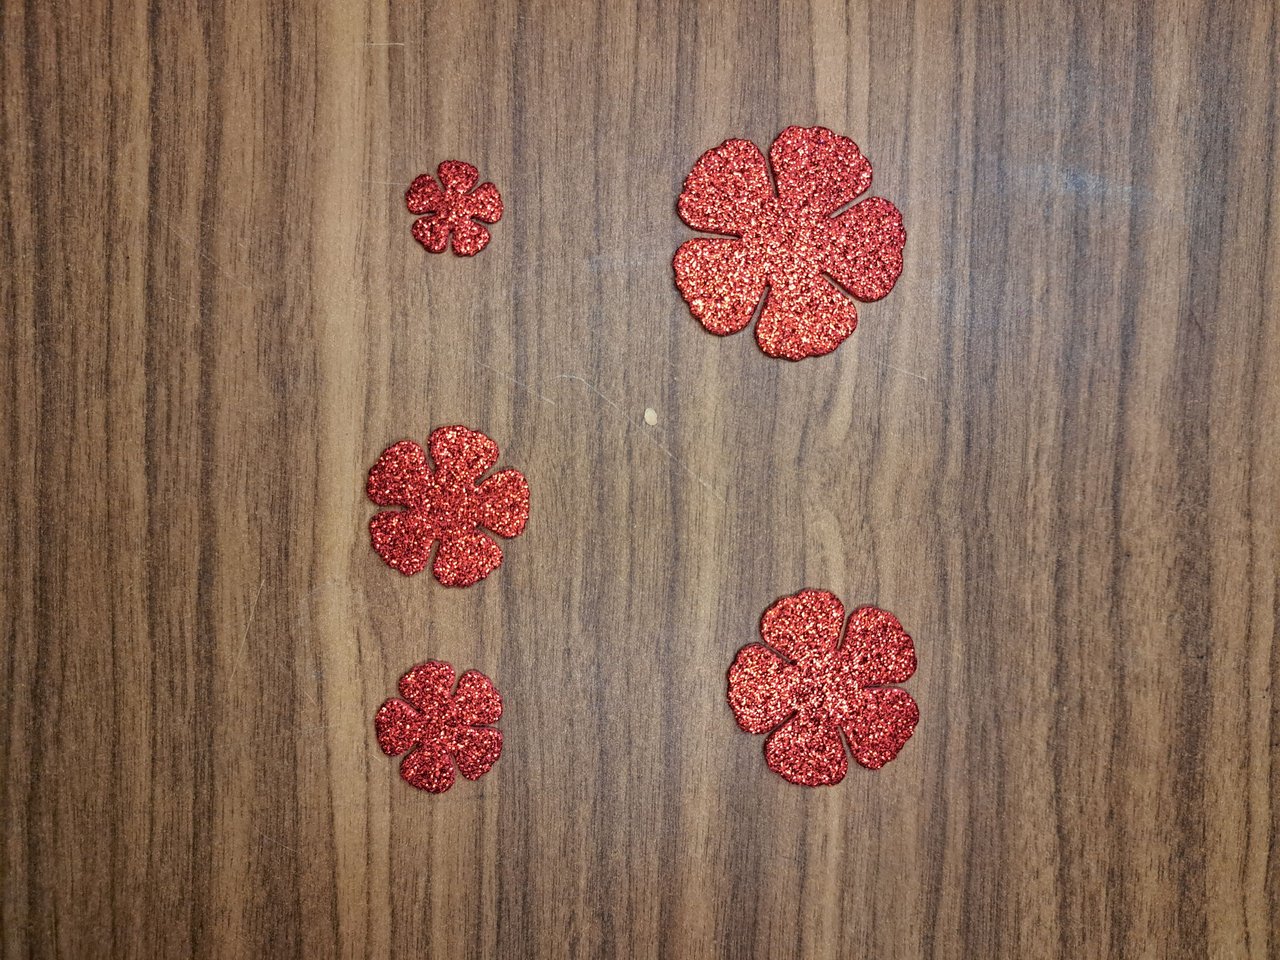
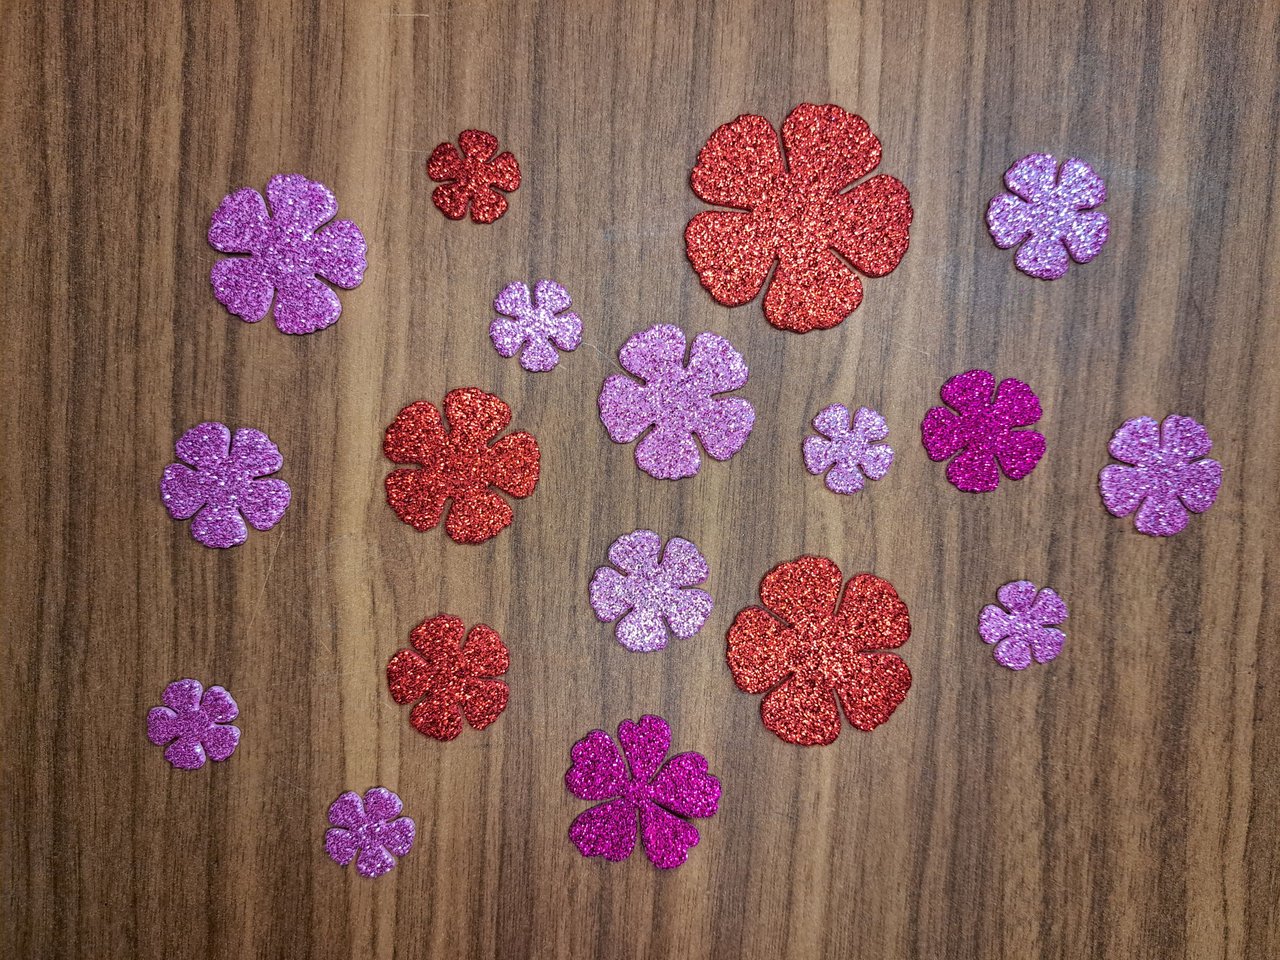
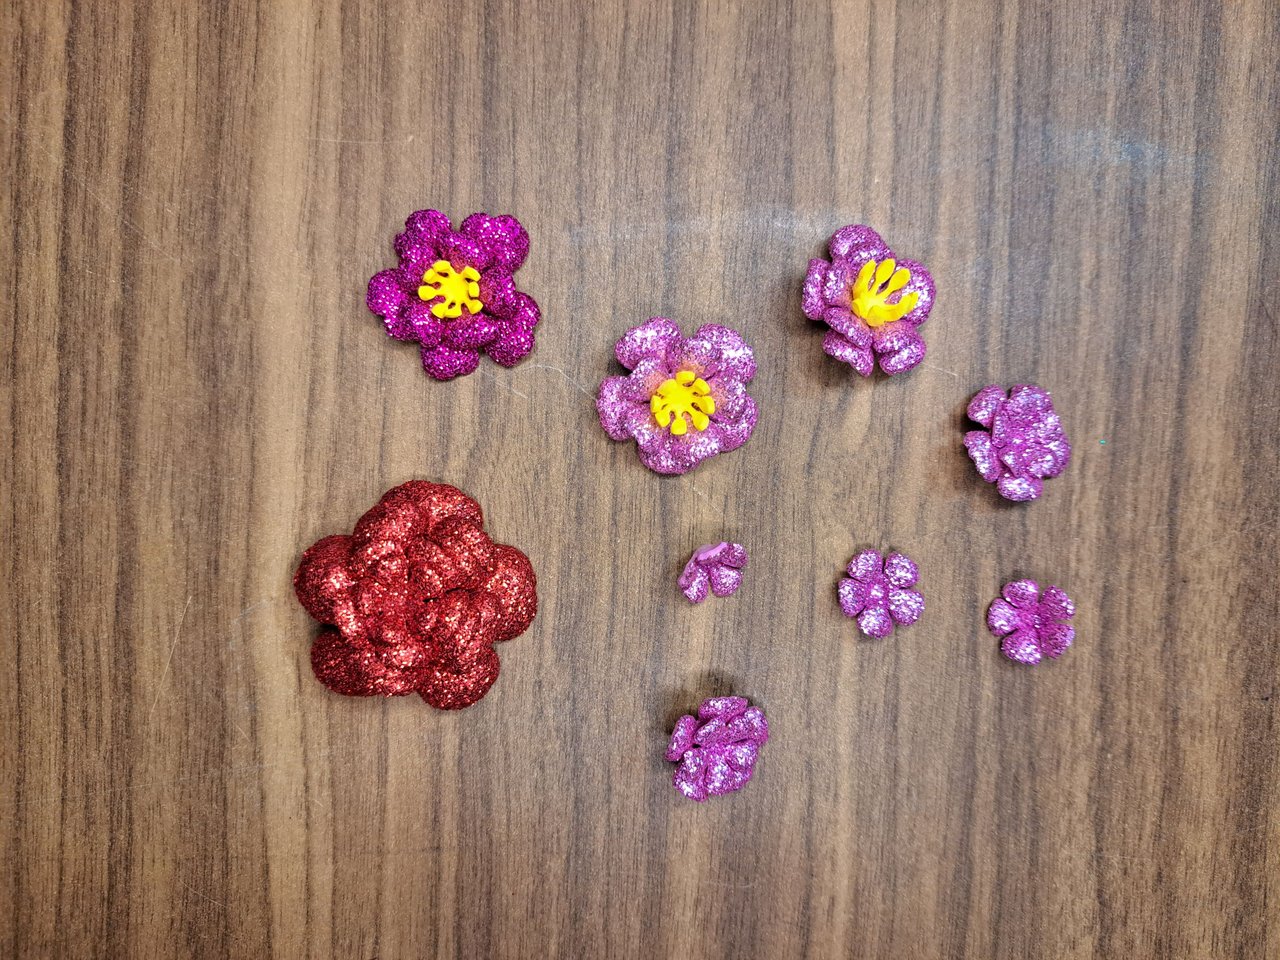
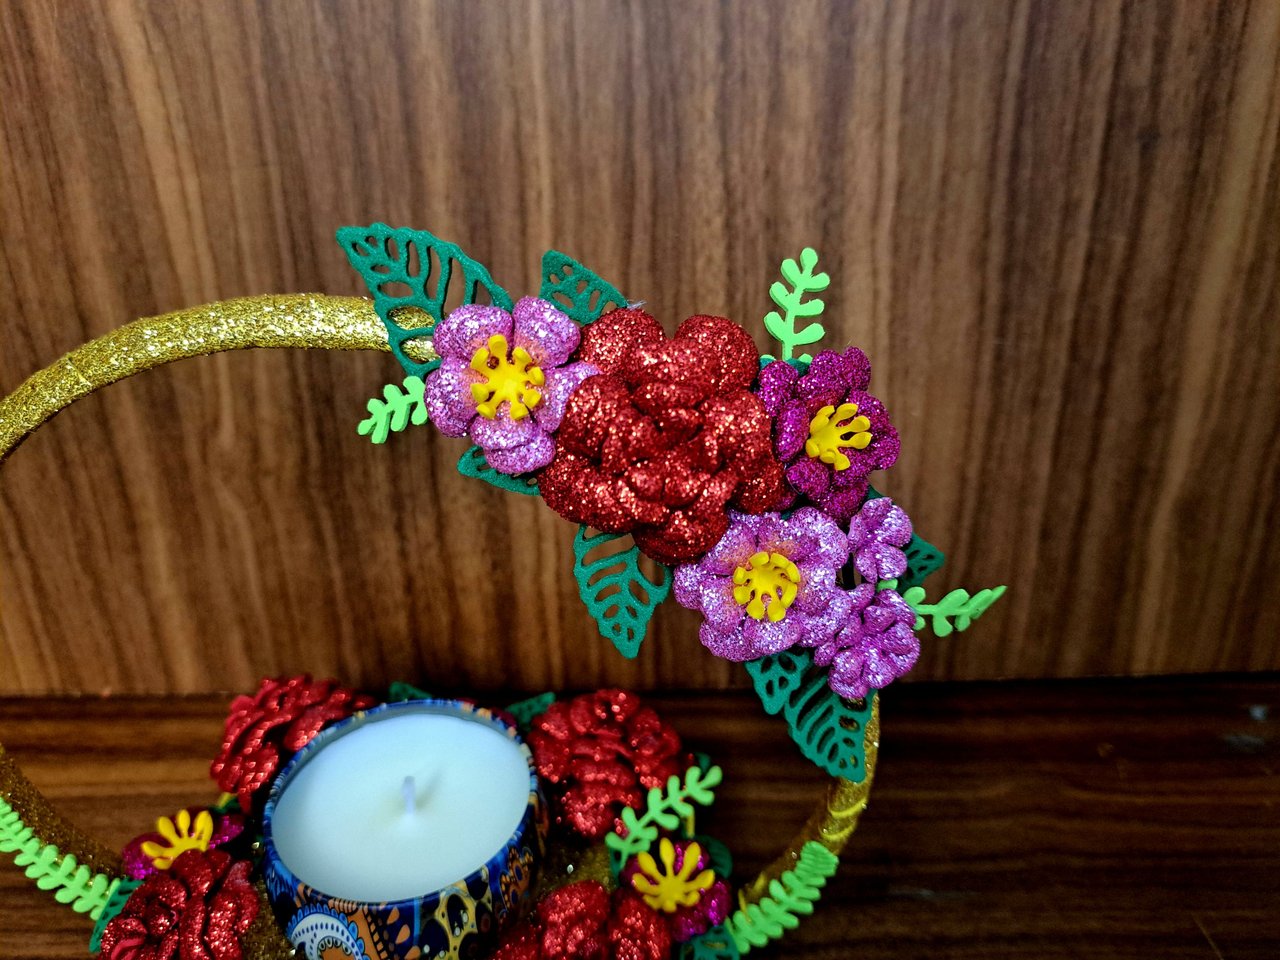
6️⃣ With the base ready, I went on to work with the hoop. My idea was to decorate the rim of the hoop with a pattern of different flowers, but following the same scale and color distribution as the base. First I cut out the shape of a red rose using a 5-piece die to make it smaller than the previous ones. Then, using the small pieces of this die set and those of the poppies, I cut out more patterns, but in pink and fuchsia pink. After I finished forming everything, I assembled the flowers in different colors.
Con la base lista, pasé a trabajar con el aro. Mi idea era decorar el borde del aro con un patrón de flores distintas, pero siguiendo la misma escala y distribución de colores que en la base. Primero recorté la forma de una rosa roja empleando un troquel de 5 piezas para que fuese más pequeña que las anteriores. Luego, utilizando las piezas chicas de este set de troqueles y los de las amapolas, recorté más patrones, pero en color rosado y rosa fucsia. Tras terminar de formar todo, monté las flores de distintos colores.
 |  |
 |  |
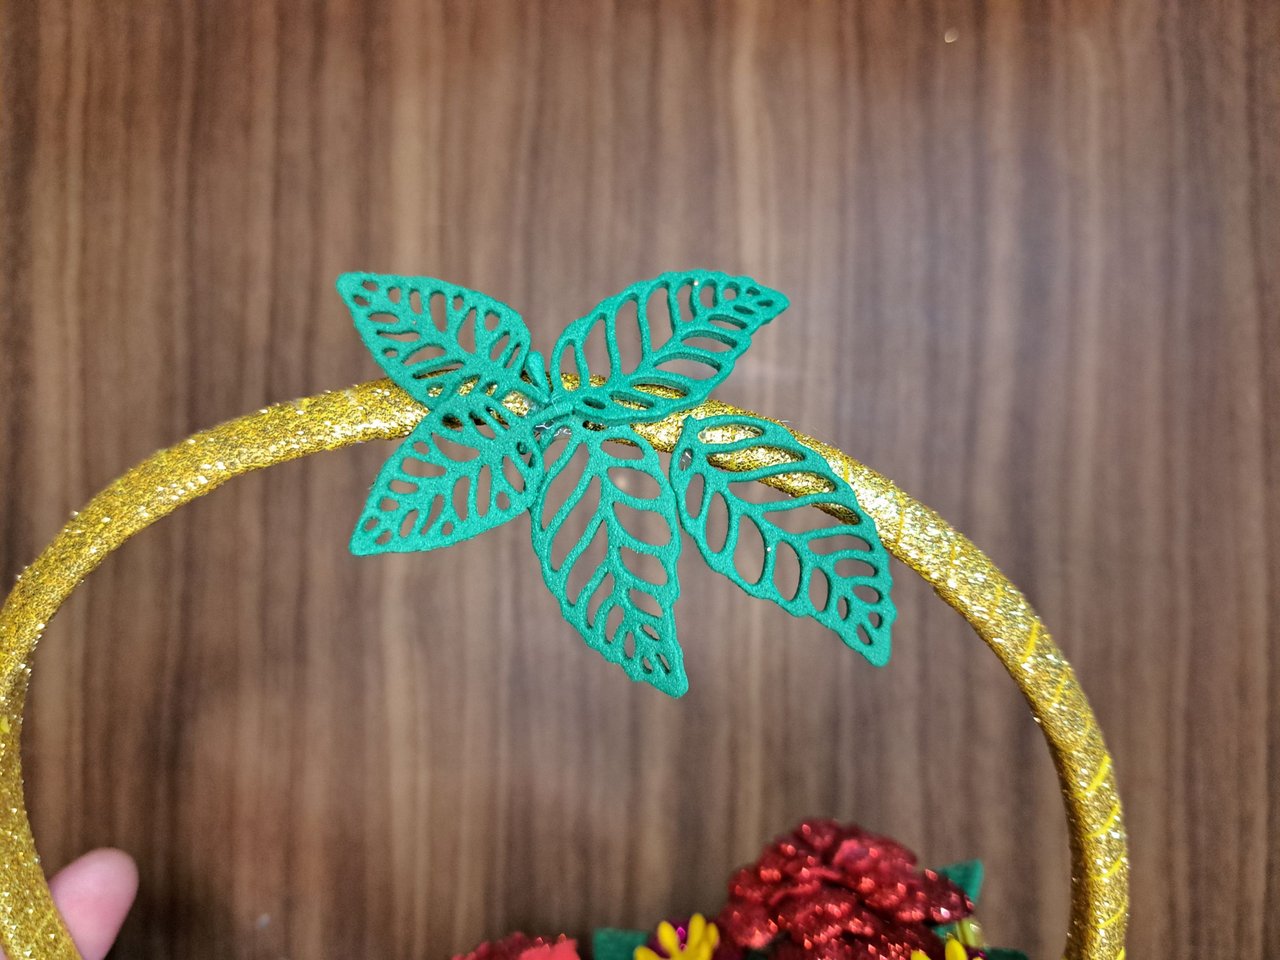
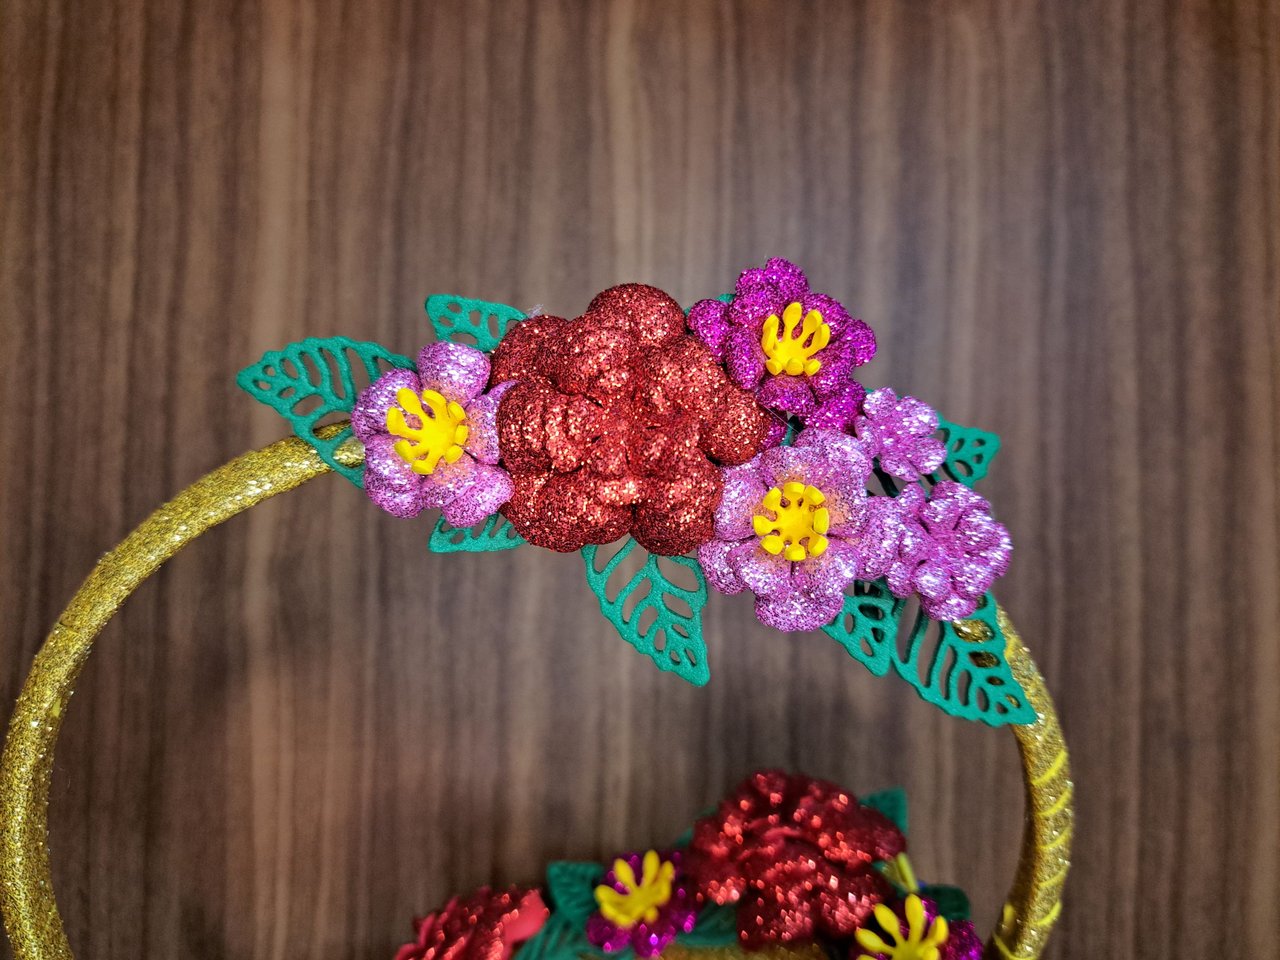
7️⃣ To finish, I glued some leaves on the left side of the ring and on top I glued one by one the flowers I created in the previous step. As I had some small pink flowers left over, I added them to the base as a last minute touch.
Para finalizar, pegué algunas hojas en el lado izquierdo del aro y encima fui pegando una a una las flores que creé en el paso anterior. Como me sobraron algunas flores rosadas pequeñas, las agregué en la base como un toque de última hora.
 |  |
Finished Work // Trabajo Terminado
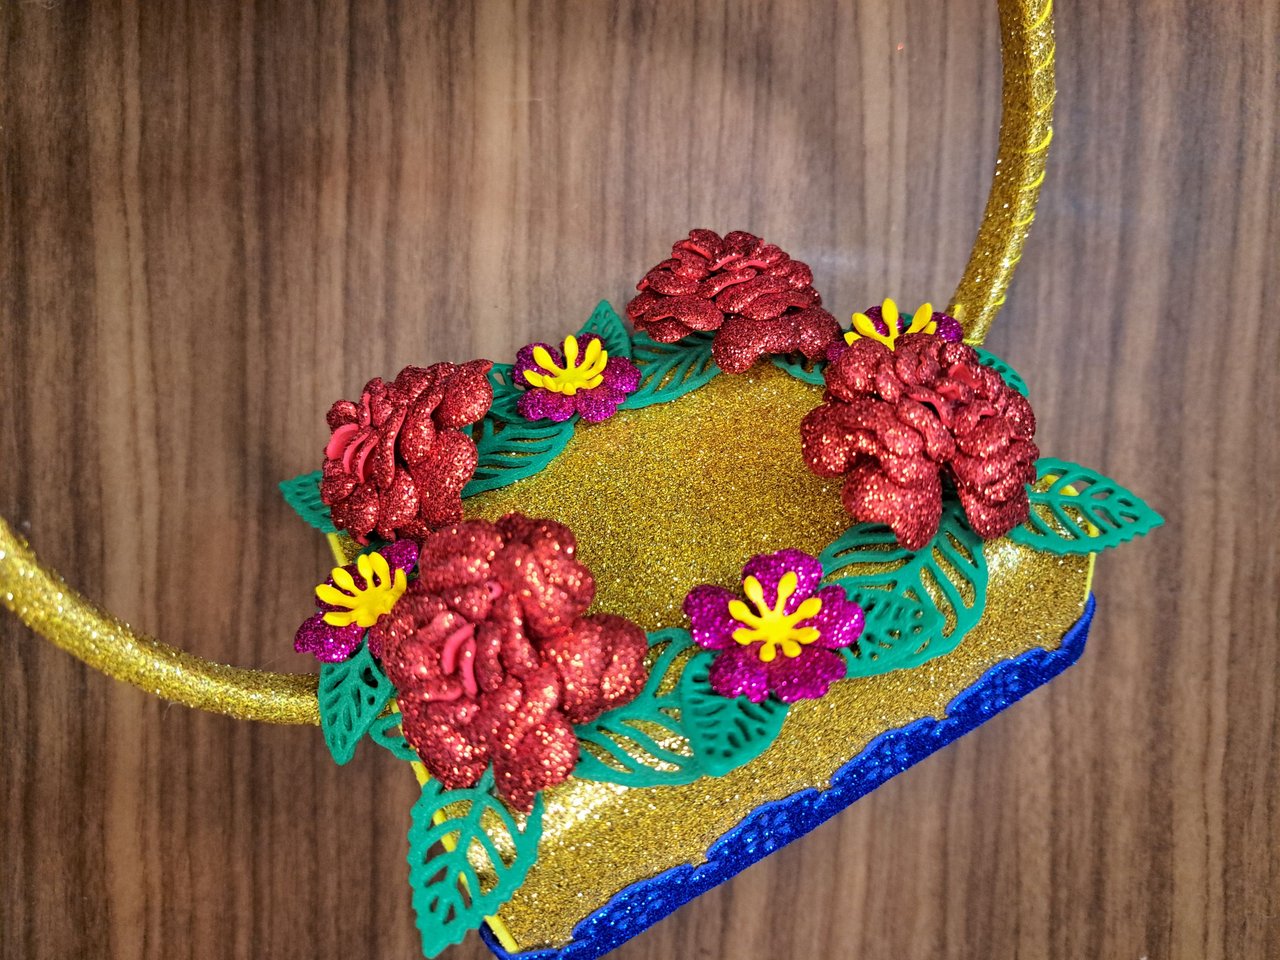
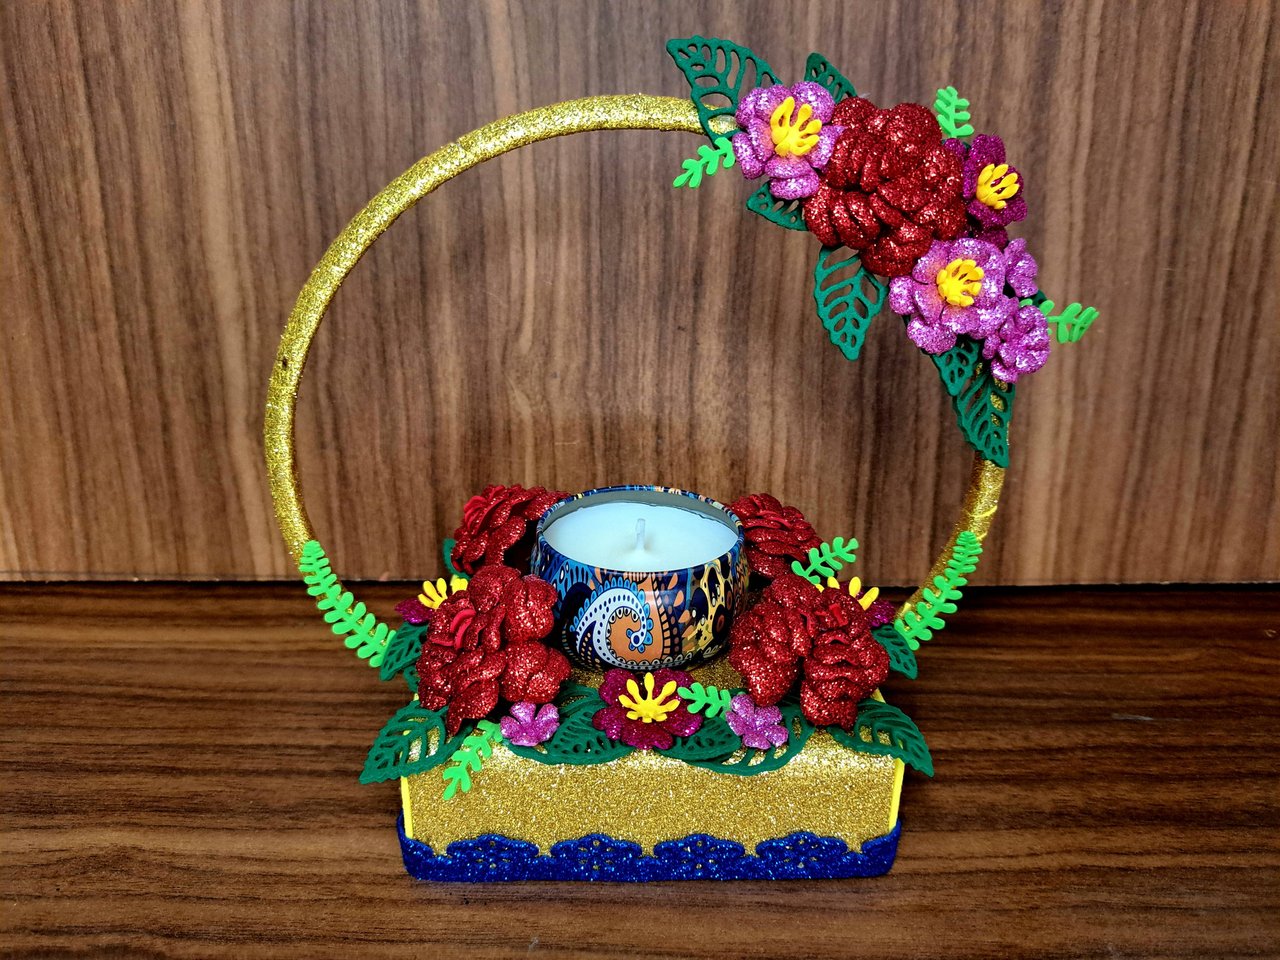
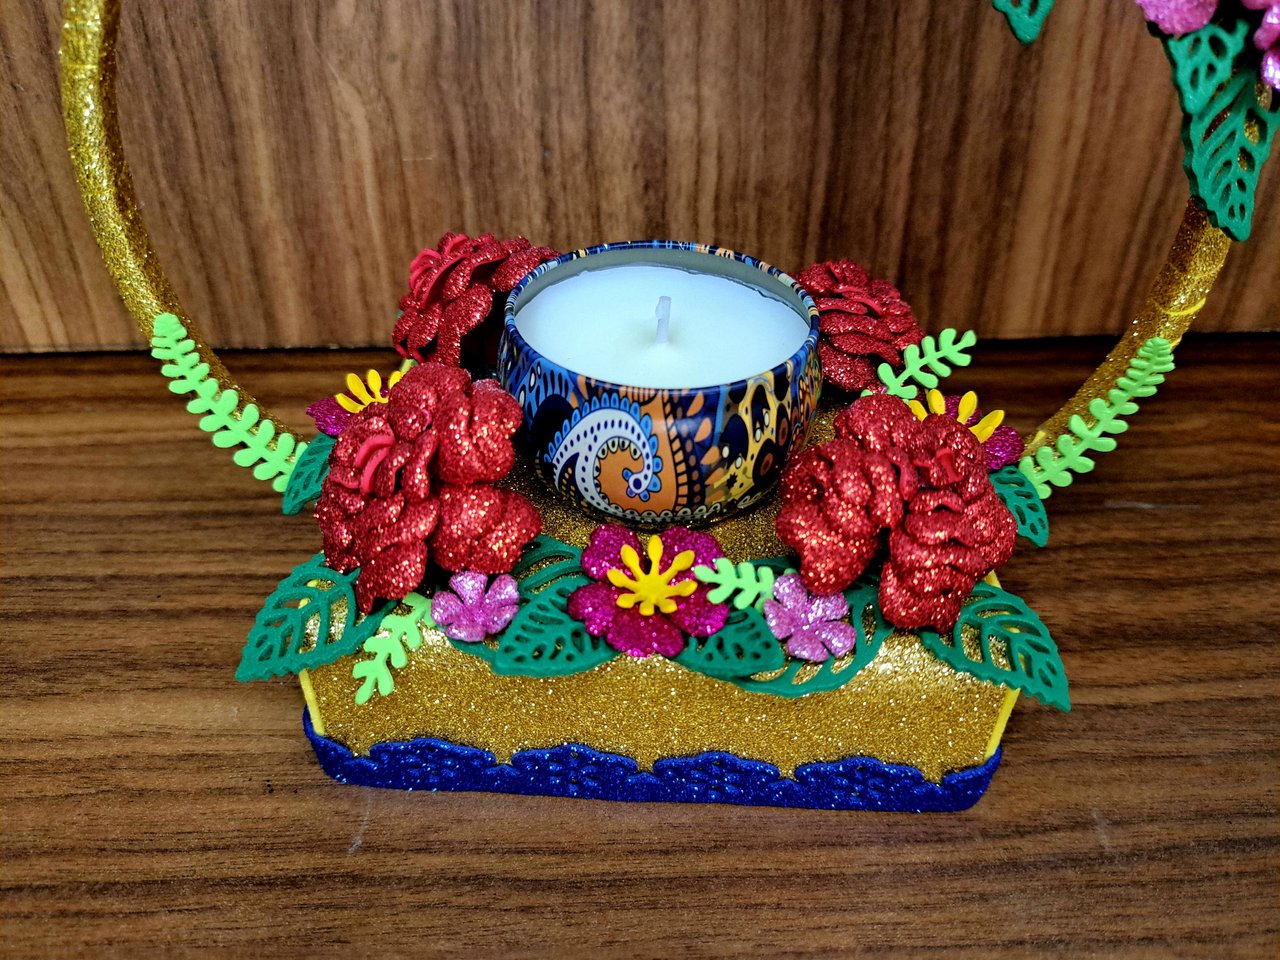
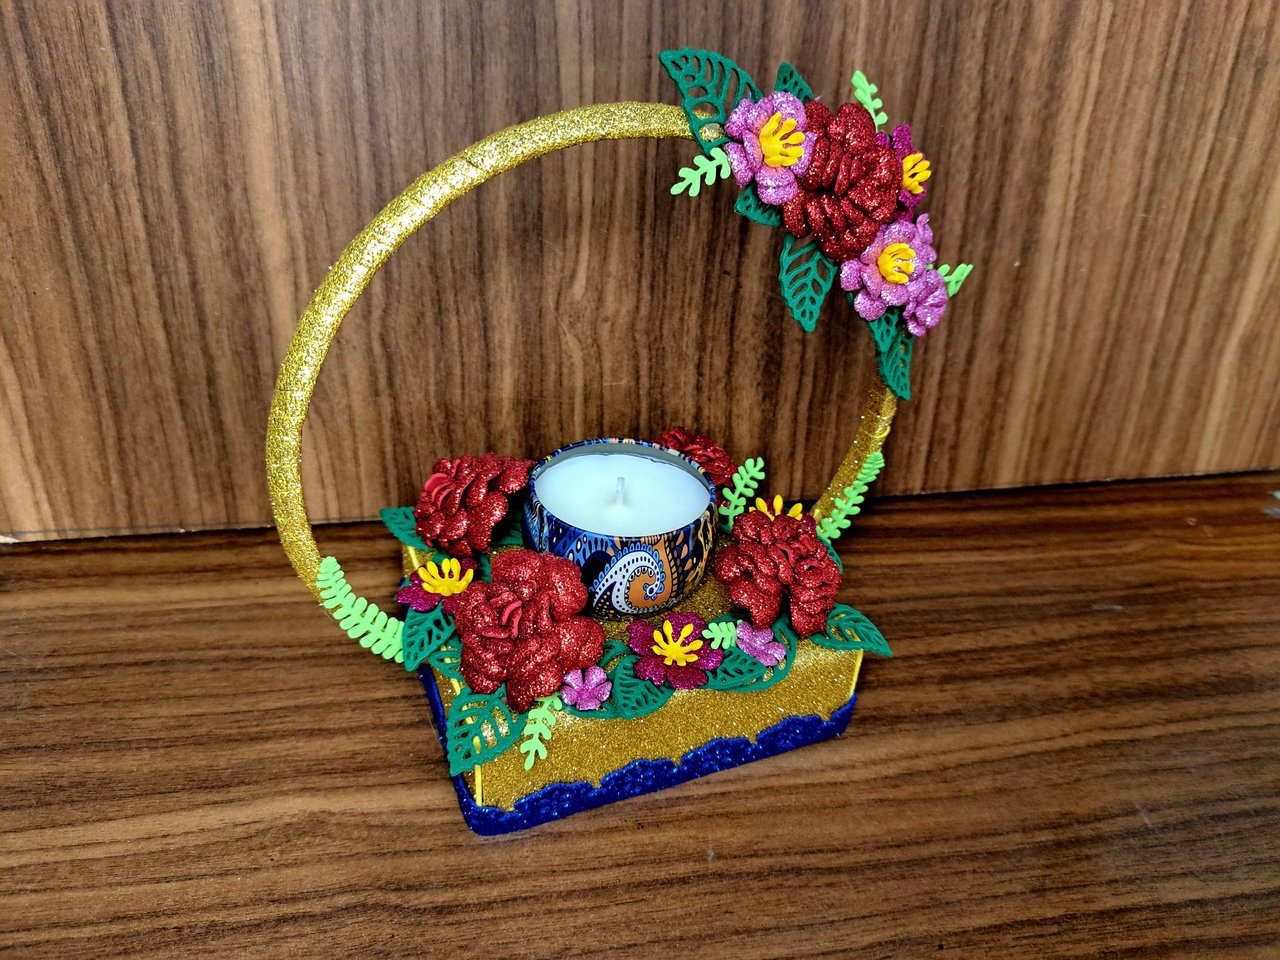
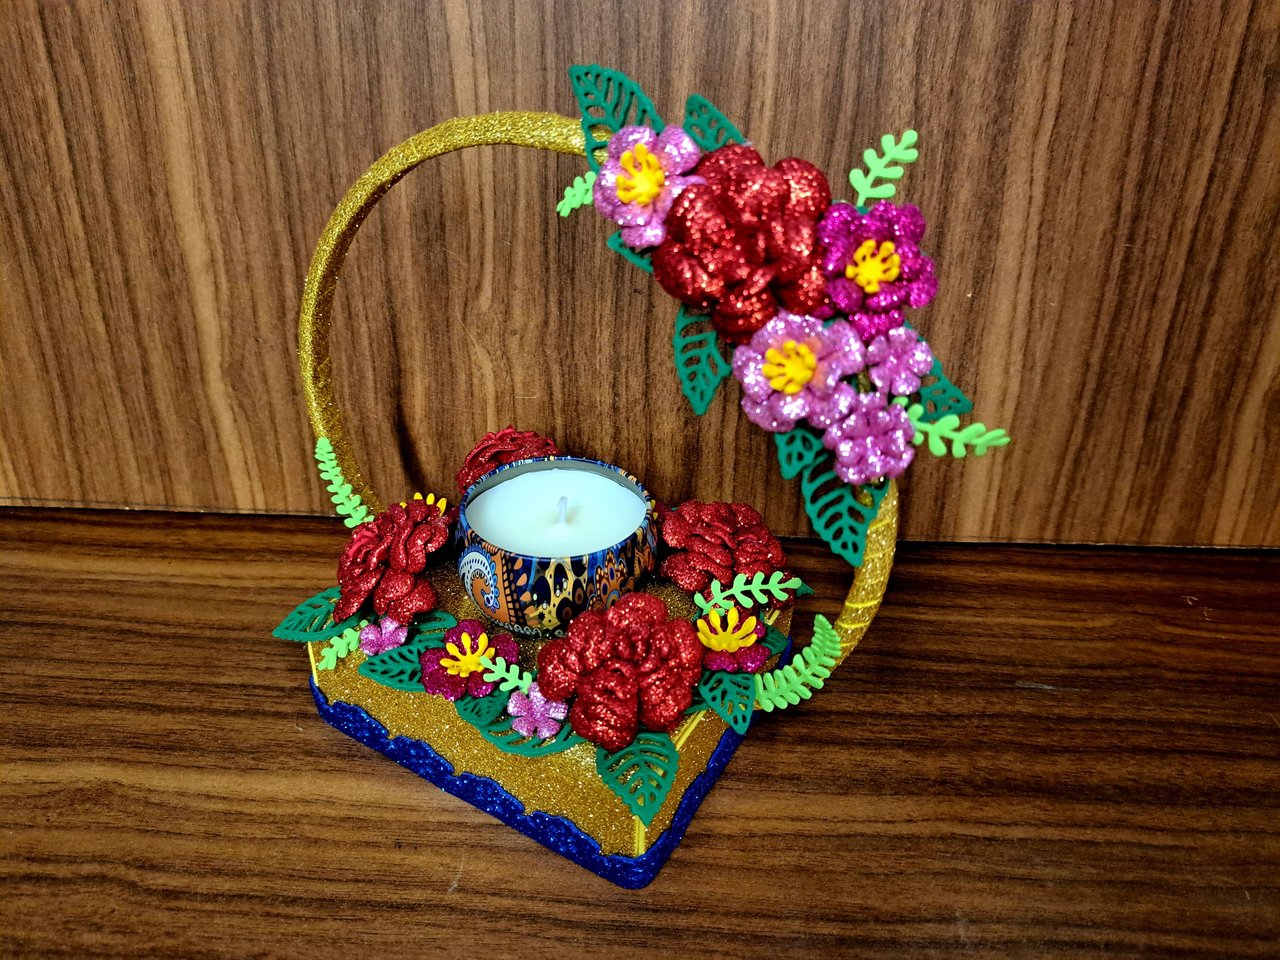
And well, my friends, this is how this beautiful candle holder centerpiece is ready. I hope you liked both the result and the creation process. I, for one, am super excited, as these new tools allow me to expand my creative horizons even more, while making everything easier. Without further ado, I bid you a happy and prosperous journey.
Y bueno, amigos míos, así quedaría listo este hermoso porta velas centro de mesa. Espero que les haya gustado tanto el resultado como el proceso de creación. Yo, por mi parte, estoy super emocionado, ya que estas nuevas herramientas me permiten ampliar aún más mis horizontes creativos, a la vez que hacen que todo sea más fácil. Sin más que agregar, me despido deseándoles una feliz y próspera jornada.
 |  |  |
 |  |

Cover page created in Canva
Translated by DeepL
Images captured with my Samsung Galaxy A53


Posted Using INLEO
Te quedó precioso, se nota el empeño que le pusiste, lindas fotos las del final 😗
Gracias amiga. Me tomó un poco más de tiempo del que pensé, pero valió la pena.
Gracias 🤗
Muy creativo para lucir las velas con estilo.
Así mismo amiga. Es perfecto para crear un ambiente romántico.
Luce muy bonito y romantico, quiza Buhito con este portavelas pueda conquistar a alguna linda Buhita jaja te quedo re lindo ❤️
Estoy seguro que sin el porta velas podría hacerlo aunque un poco de ayuda nunca está de más.
!discovery 40
Gracias 🤗🥰
This post was shared and voted inside the discord by the curators team of discovery-it
Join our Community and follow our Curation Trail
Discovery-it is also a Witness, vote for us here
Delegate to us for passive income. Check our 80% fee-back Program
Thanks for the support 🤗
Thanks for the support
Beautiful centerpiece definitely a beautiful decoration for a romantic evening. Thank you for leaving us your step by step and creative process
Thank you for always supporting us.
@edeyglezsosa Saludos, apoyandote en Hivediy ...èxitos
Muchísimas gracias amigo mío.
Thank you for your witness vote!
Have a !BEER on me!
To Opt-Out of my witness beer program just comment STOP below
View or trade
BEER.Hey @cayitus63, here is a little bit of
BEERfrom @isnochys for you. Enjoy it!We love your support by voting @detlev.witness on HIVE .