Tutorial on making a Flamingo from origami paper 🦩
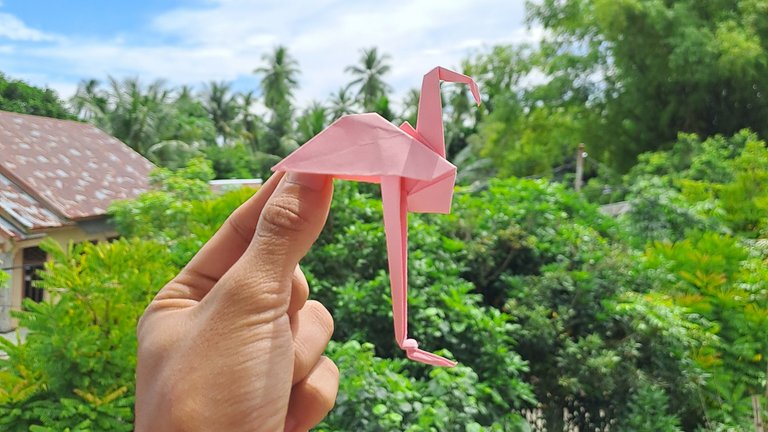
Hi Hive DIY friends
Flamingo is a long-legged bird that has a very beautiful body with its beautiful pink color, I myself have never seen this beautiful bird in person and I only often see it in photos on the internet.
Before meeting this bird in person today I want to make a Flamingo Bird from a sheet of pink origami paper so that the results are similar to real Flamingos.
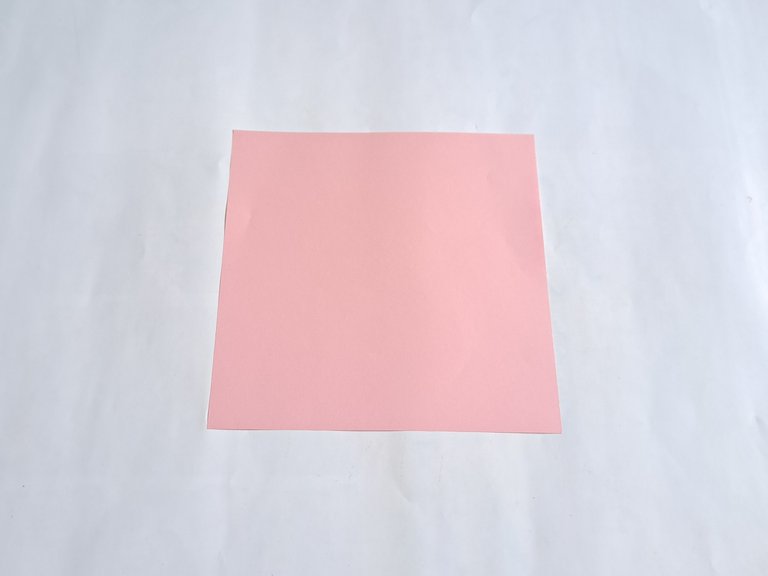
The following is a tutorial on how to make a Flamingo Bird from origami paper.
First, fold the origami paper into a triangle shape, then reopen the triangle fold and now fold the origami paper into a triangle again from the opposite direction.
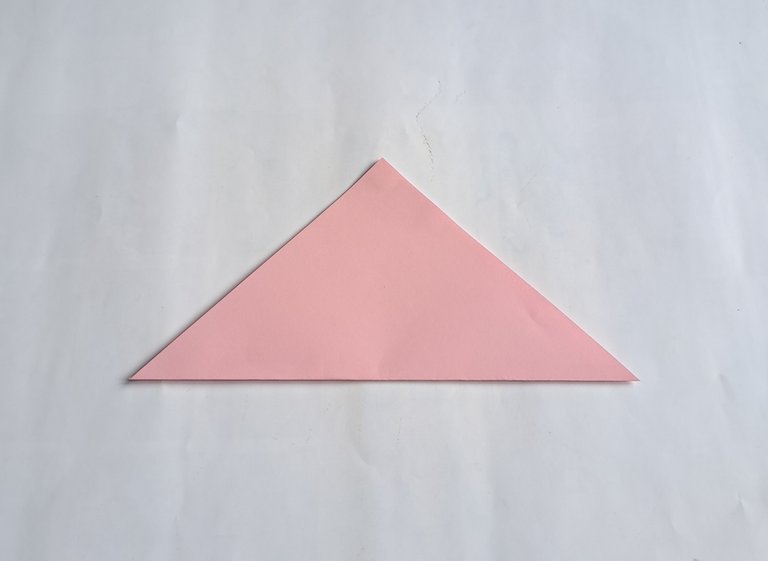 | 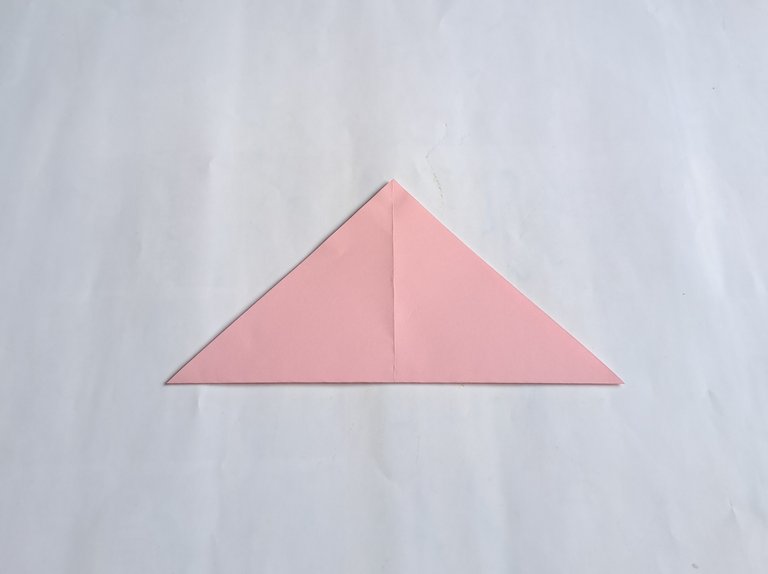 |
|---|
After that, reopen all the folds and now turn the origami paper over, then fold the origami paper in half, then reopen the folds and now fold the origami paper in half again from the opposite direction.
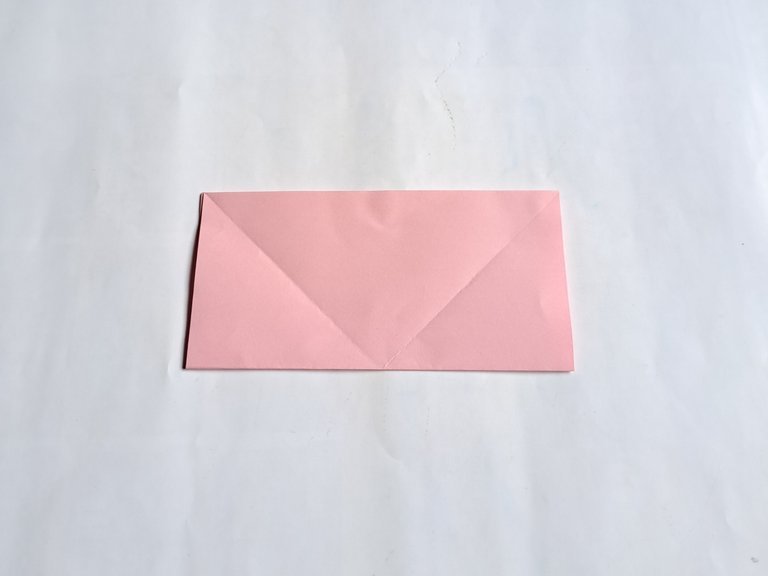 |  |
|---|
Then open all the folds again and now we can see that there are a lot of creases in the middle of the paper, then fold the right and left sides of the origami paper in while folding the top of the origami paper down so that the shape of the folds becomes square.
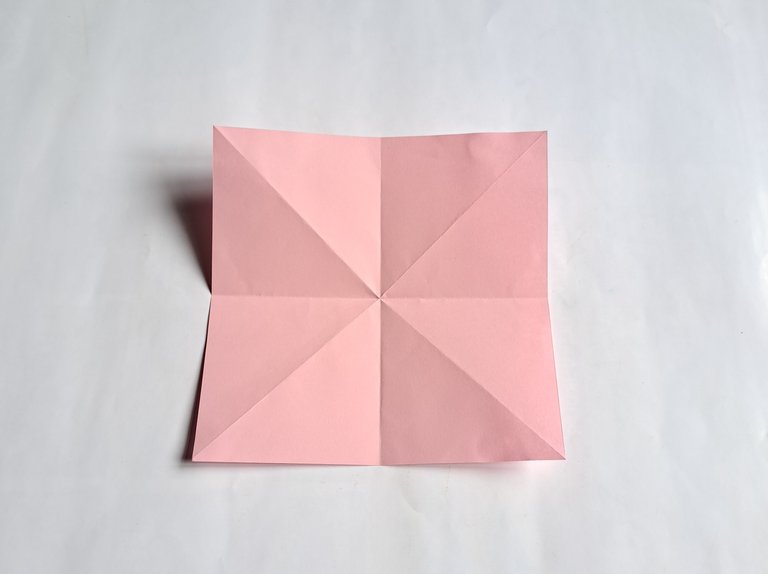 | 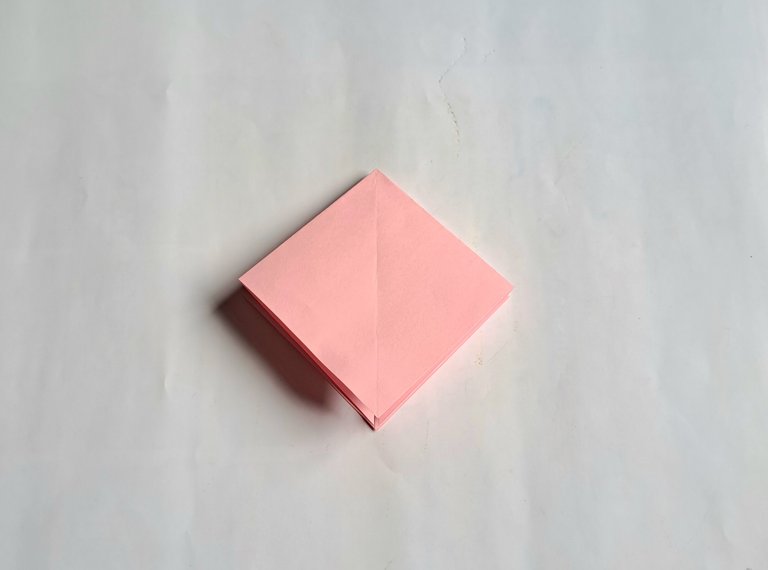 |
|---|
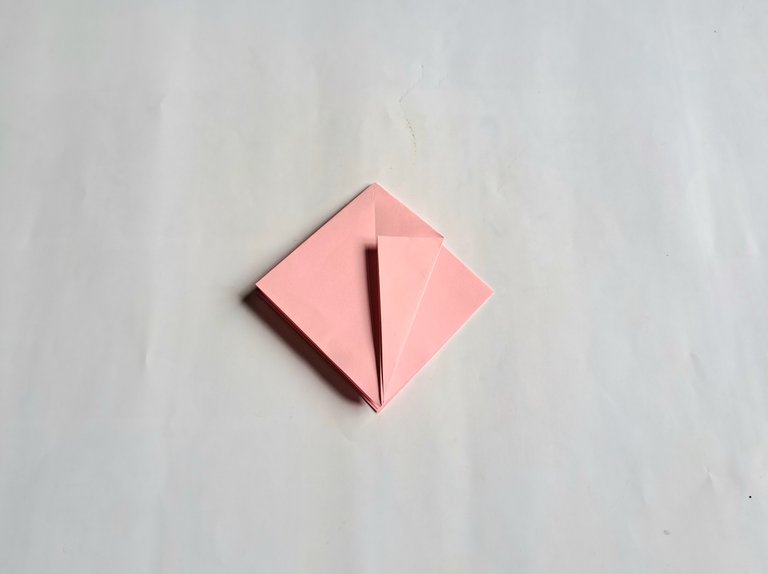
Then fold the right side of the bottom of the origami paper in, then fold the left side of the bottom of the origami paper in as shown in the picture below.
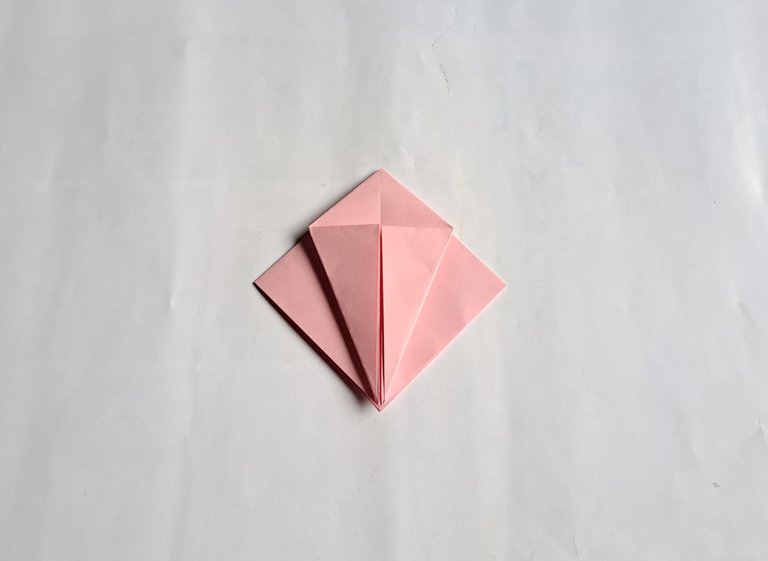 |  |
|---|
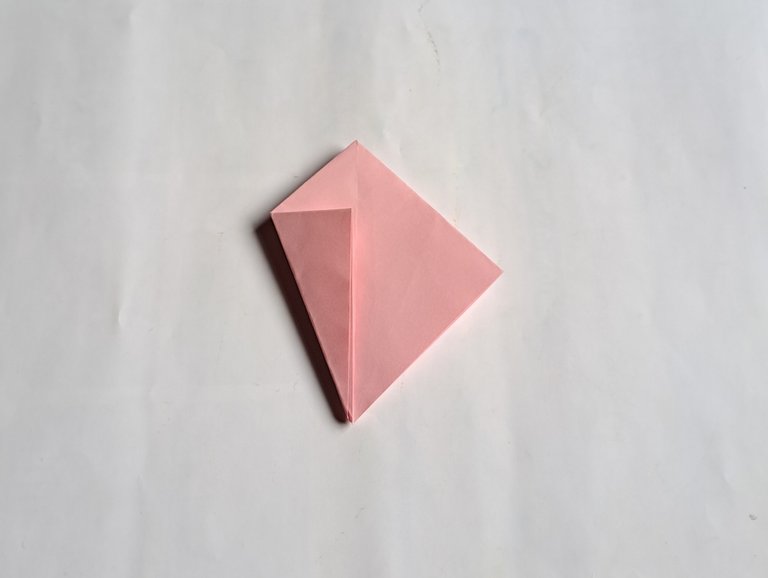
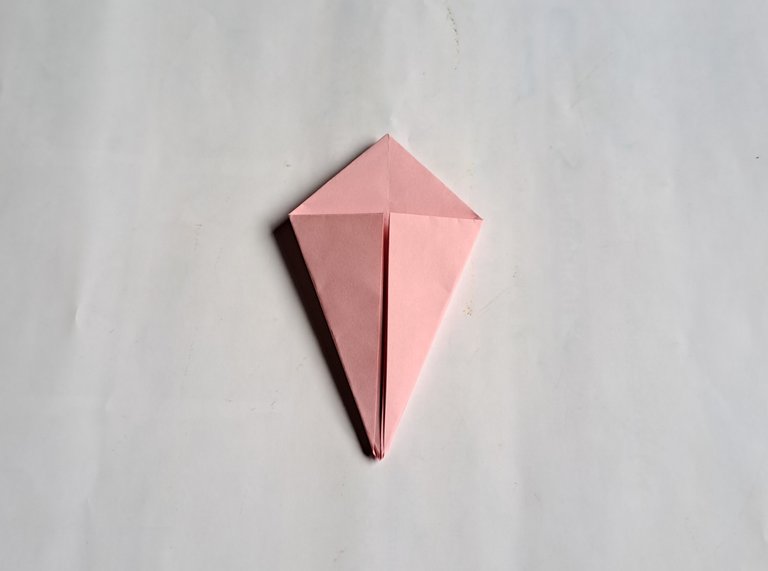
After that, turn the origami paper over and now fold the right side of the bottom of the origami paper in, then fold the left side of the bottom of the origami paper in as shown in the picture below, then fold the top down as shown in the picture below.
 |  |
|---|

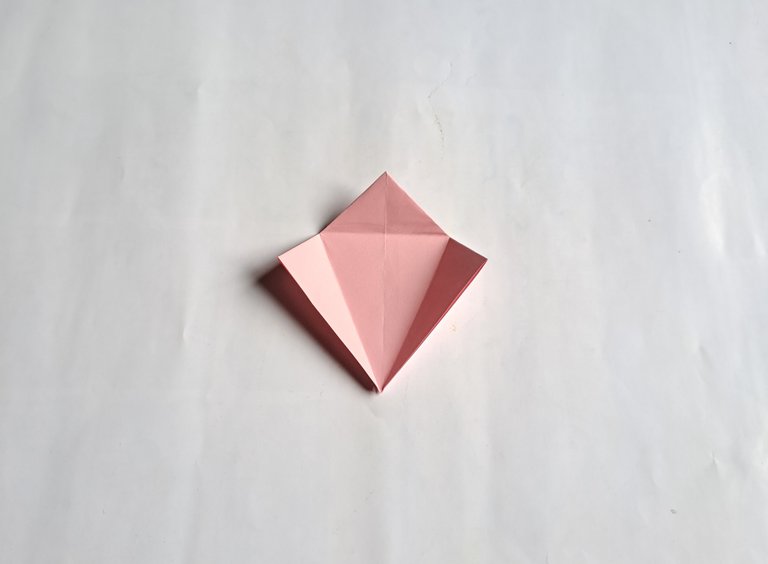
Then open all the folds again and now pull the top layer at the bottom and open it up, then fold the right and left sides of the origami paper in as shown in the picture below.
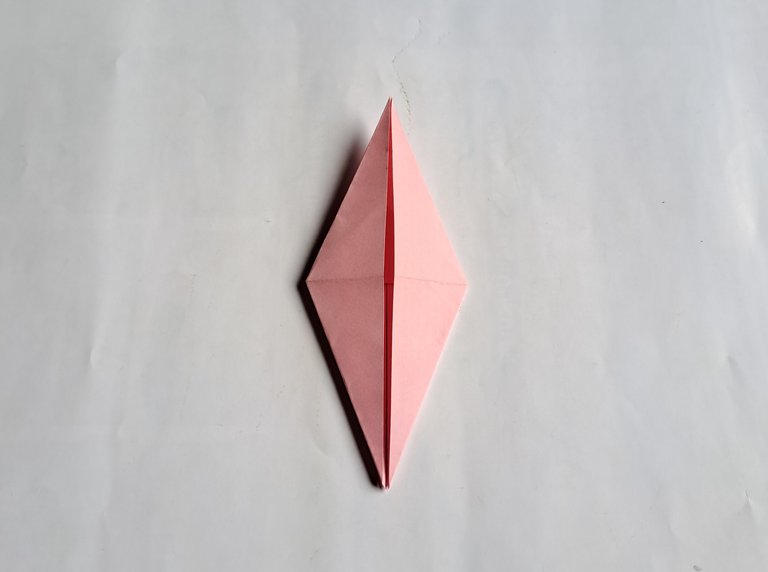 | 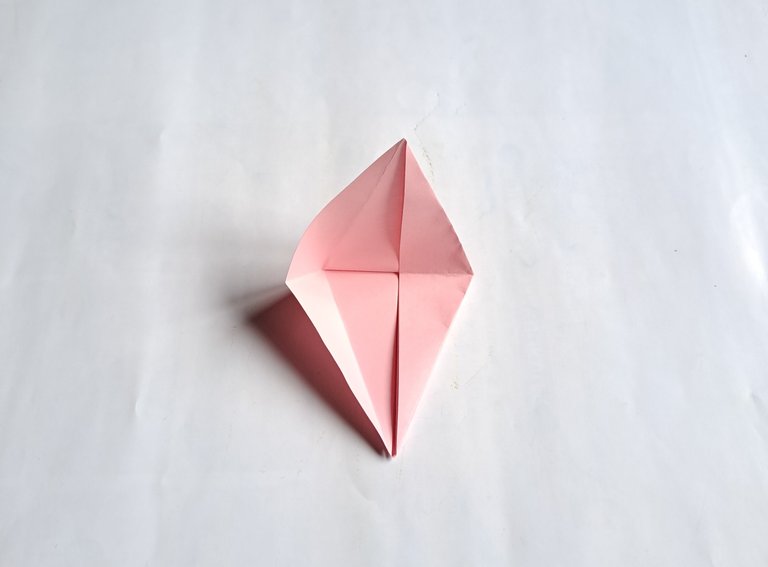 |
|---|
After that, turn the origami paper over and open it up again, then open the top layer of the origami paper again and then pull it up, then fold the right side of the origami paper in, also fold the left side of the origami paper in as shown in the picture below.
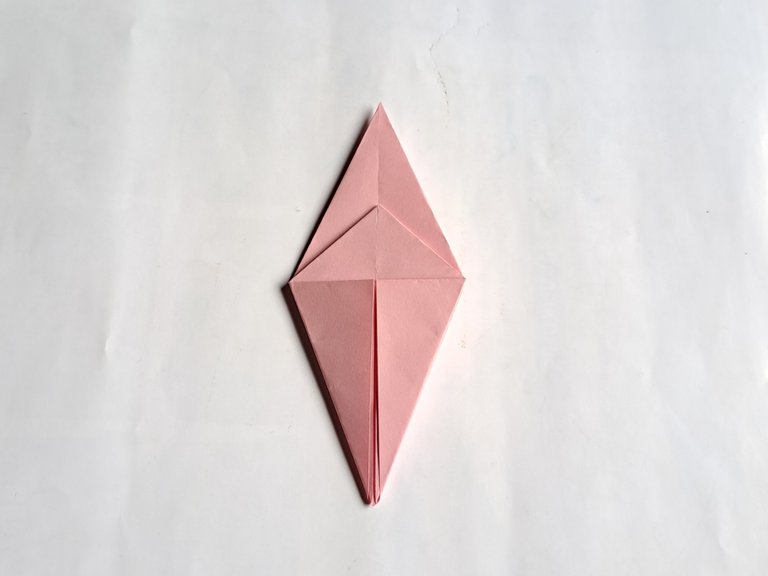
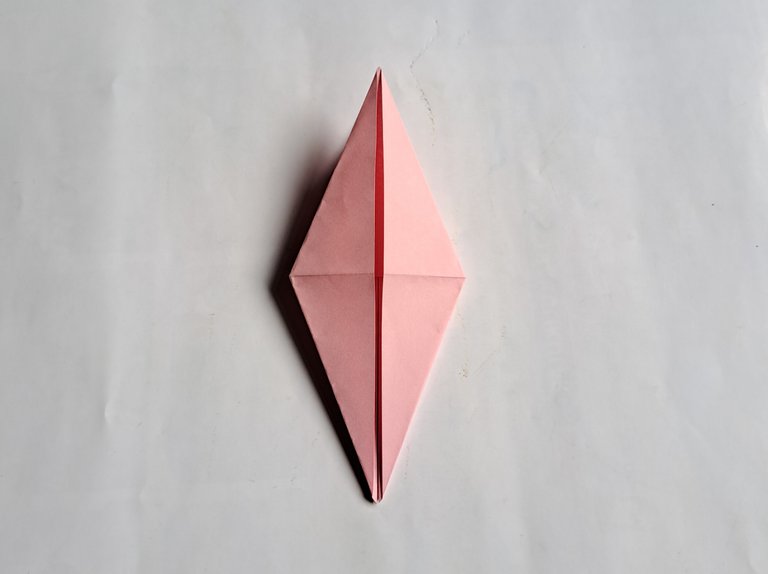 | 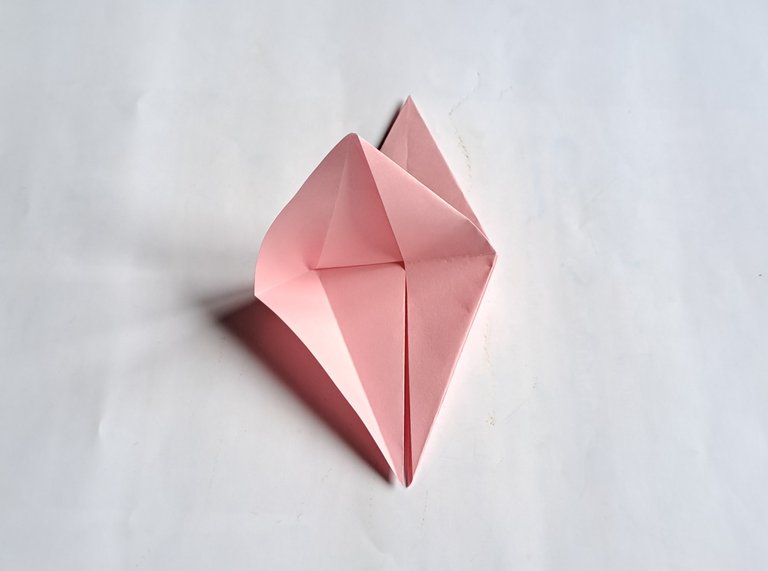 |
|---|
After that, fold the bottom right side of the origami paper inward, then fold the bottom left side of the origami paper inward as shown in the picture below.
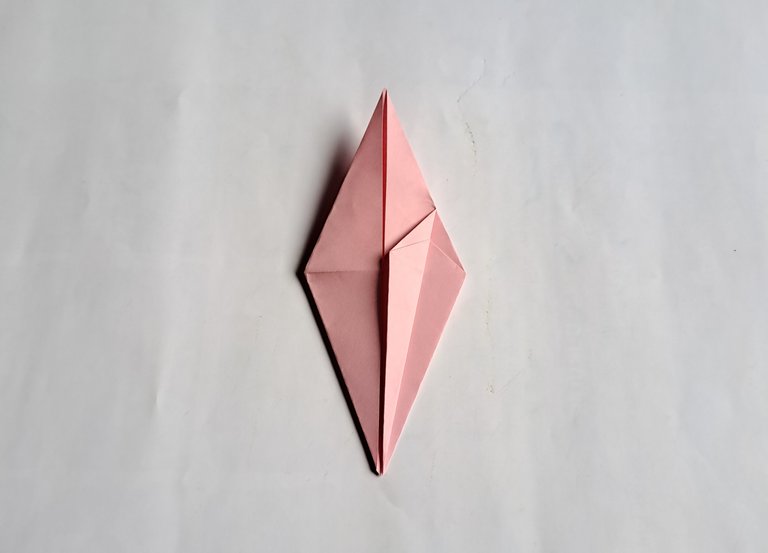 |  |
|---|
Then turn the origami paper over and now fold the bottom right side of the origami paper inward, then fold the bottom left side of the origami paper inward as shown in the picture below.
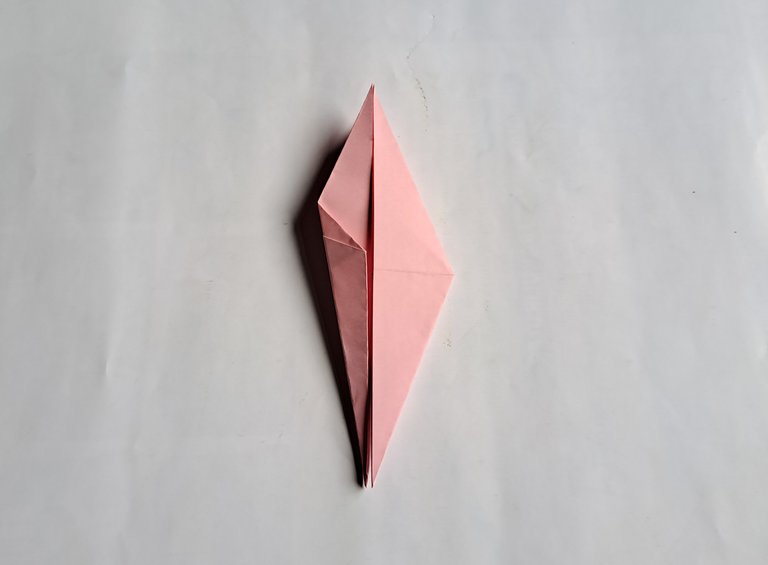 | 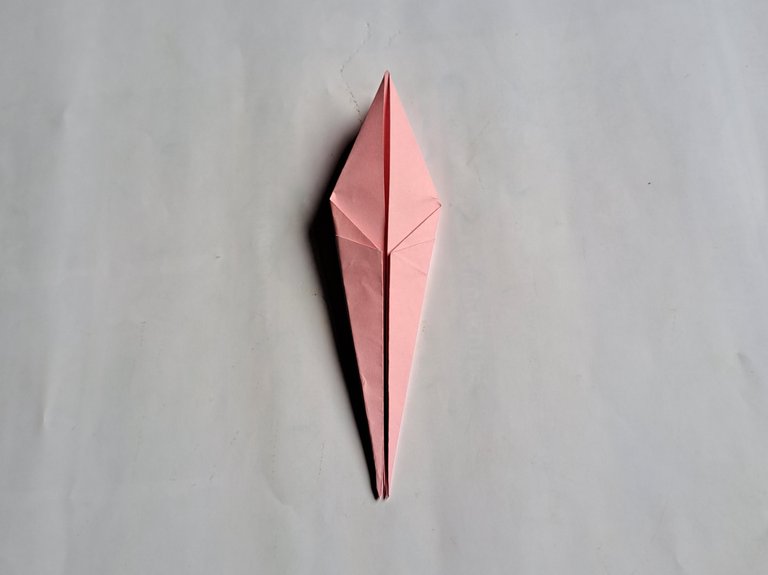 |
|---|
Then fold the left side of the paper upwards, then fold the right side of the origami paper inward again, then turn the origami paper over and now fold the left side of the paper inward again, then fold the bottom of the Flamingo's feet backward and forward so that the bird's feet pattern becomes more beautiful.
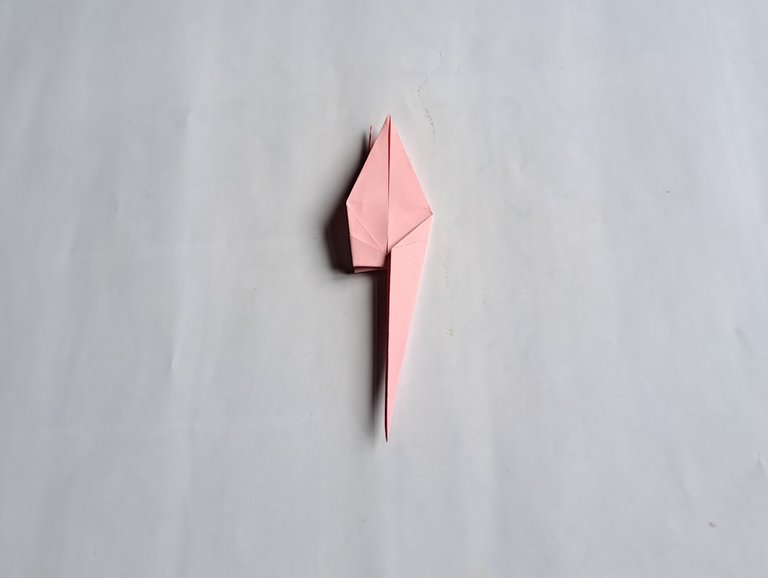
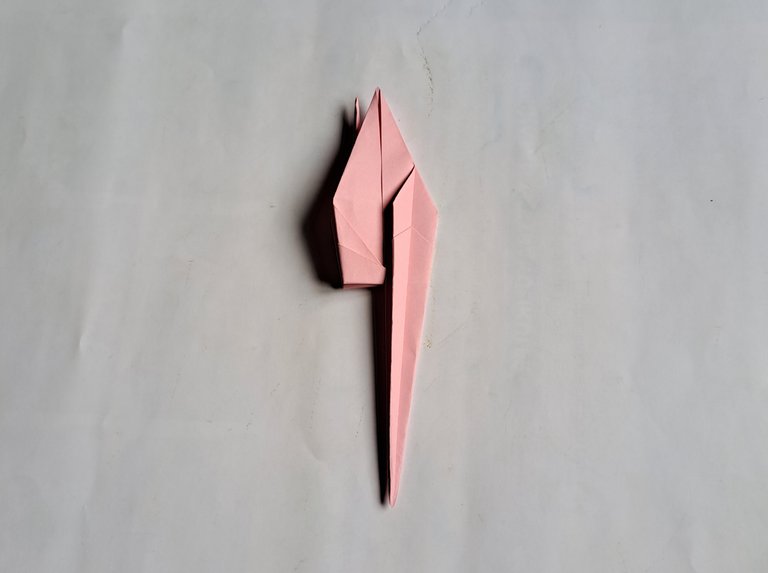 | 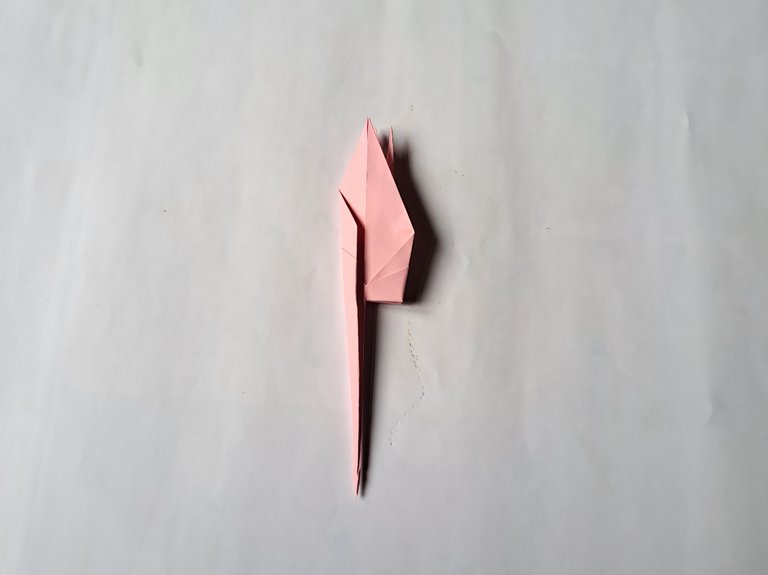 |
|---|
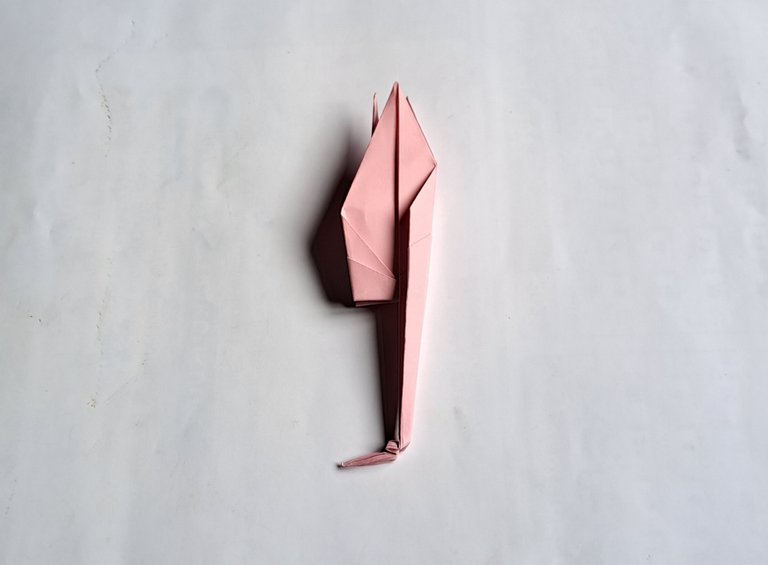
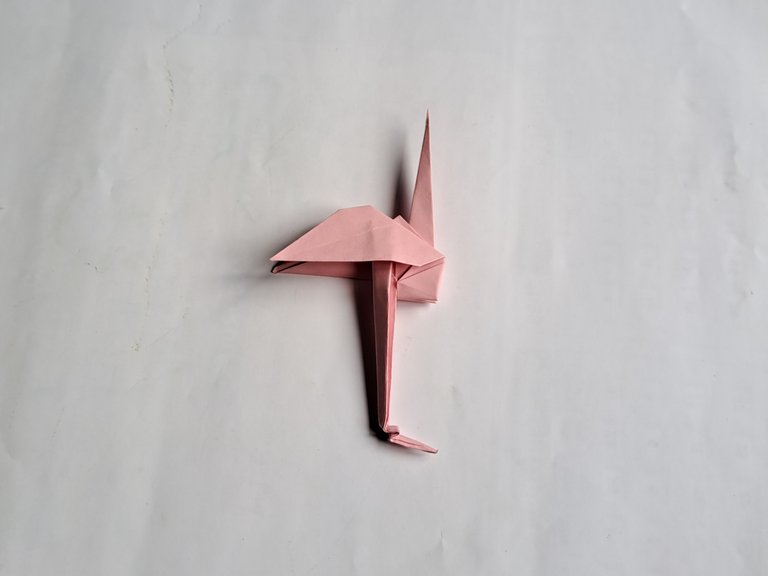
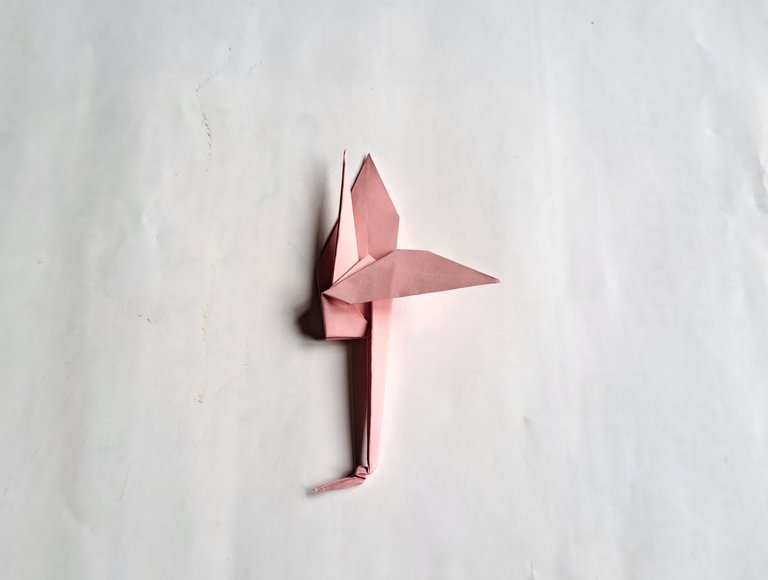
After that, fold the right and left wings of the Flamingo at an angle backward as shown in the picture below.
 |  |
|---|
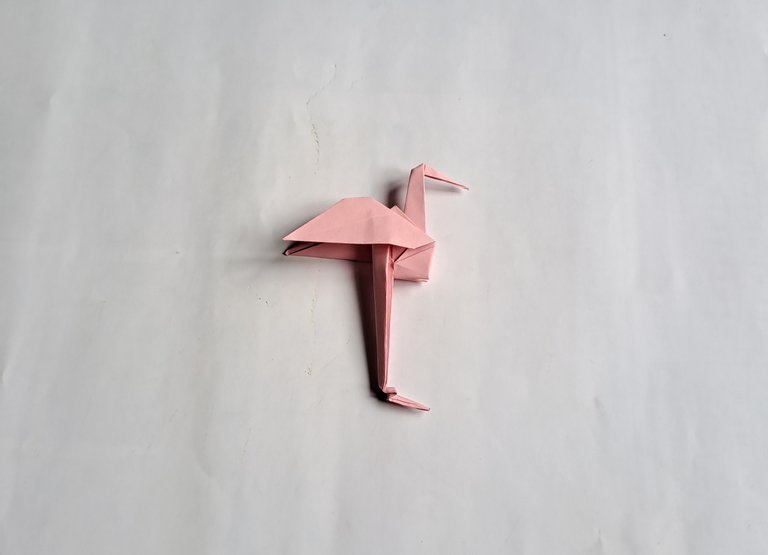
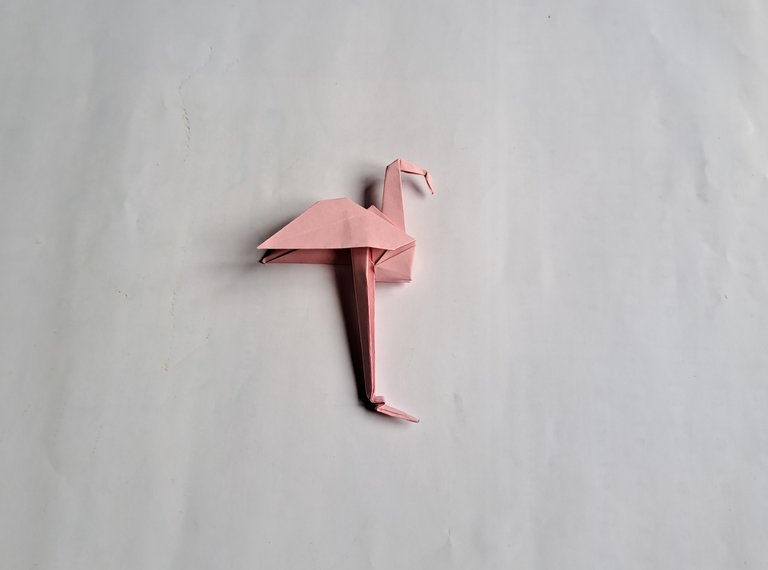
Then fold the head part forward with an inward fold, then fold the tip of the head down with an inward fold as shown in the picture below.
 |  |
|---|
After all the folds are done properly and correctly, the Flamingo from the origami paper is now perfectly finished and looks very beautiful.
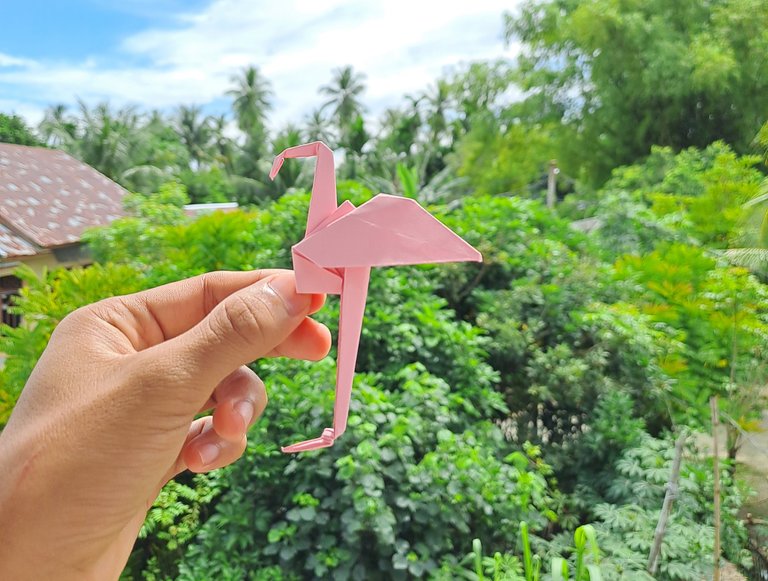
This is the result of my handicraft work from a sheet of origami paper today, thank you to my friends who have visited my handicraft post today, see you in my next handicraft post.
Oh, it's a flamenco. Every day I'm more surprised by all that can be done with origami. Thank you for sharing those paper marvels.
Thank you, brother, I myself am very happy to always be able to make unique crafts from origami paper.
Another will crafted origami. Great details with the flamingo. Well done
Thank you for your support, brother.