¡Hola lindo día 🌞!un gusto saludarte ,espero se encuentren muy bien queridos y apreciados amigos ,les doy una cálida bienvenida a un nuevo blog donde les estaré compartiendo el proceso creativo de lo que haremos aquí paso a paso , siéntanse cómodos y gracias por estar aquí leyendo este blog.✨💗
Hello, beautiful day! It's a pleasure to greet you🌞. I hope you are all doing very well, dear and appreciated friends. I warmly welcome you to a new blog where I will be sharing with you the creative process of what we will do here step by step. Feel comfortable and thank you for being here reading this blog.✨💗
.jpg)
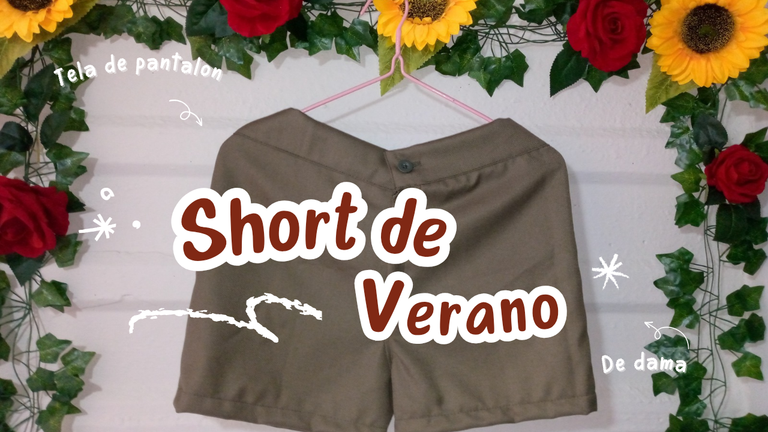
Les quiero mostrar amigos artesanos a hacer una prenda muy versátil para usar en estos días de verano que solo pues nos gustaría usar algo que no nos diera tanto calor ,estás prendas como short son especiales para estás ocasiones sobretodo cuando quieres salir al parque a la playa y cualquier otro lugar que a ti se te ocurra salir puedes llevar tus short con cualquier prenda.
I want to show you, my craft friends, how to make a very versatile garment to wear on these summer days when we would just like to wear something that doesn't make us so hot. These garments, like shorts, are special for these occasions, especially when you want to go out to the park, to the beach, and any other place you can think of, you can wear your shorts with any outfit.
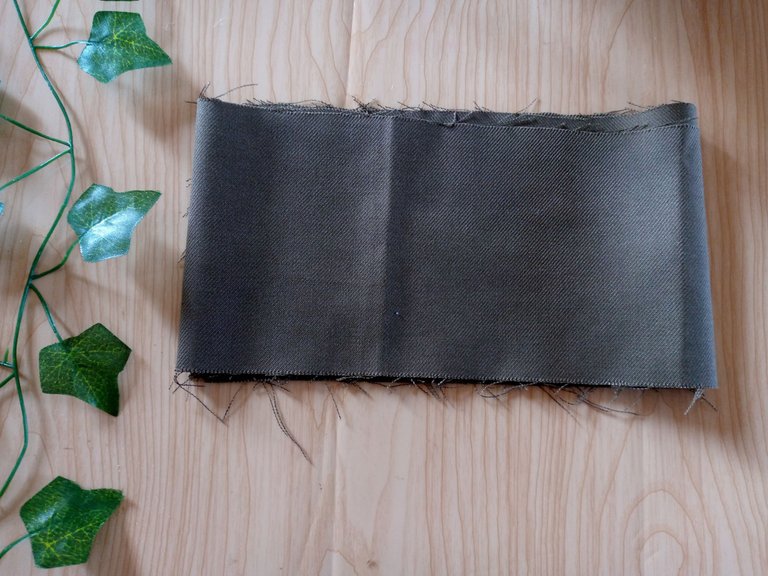
Aunque yo he usado una tela de pantalón ustedes pueden usar cualquier tela que tengan en casa para realizarlo ,este short se lo hice a una clienta y pues aquí te comparto el proceso de su creación,y bueno espero les guste tanto como a ella le ha gustado 🥰.
Although I used a pants fabric, you can use any fabric you have at home to make it. I made these shorts for a client and here I share the creation process with you. I hope you like them as much as she did 🥰.

Materiales:// Materials:
| Español | English |
|---|
| • Tela de pantalón drill y otra que tengas | • Drill pants fabric and any other fabric you have |
| •Tijeras | •Scissors |
| •Máquina de coser | •Sewing machine |
| •Cierre de 20 cm | •20 cm closure |
| •1 botón | •1 button |
Pasos a seguir://Steps to follow:
Paso 01
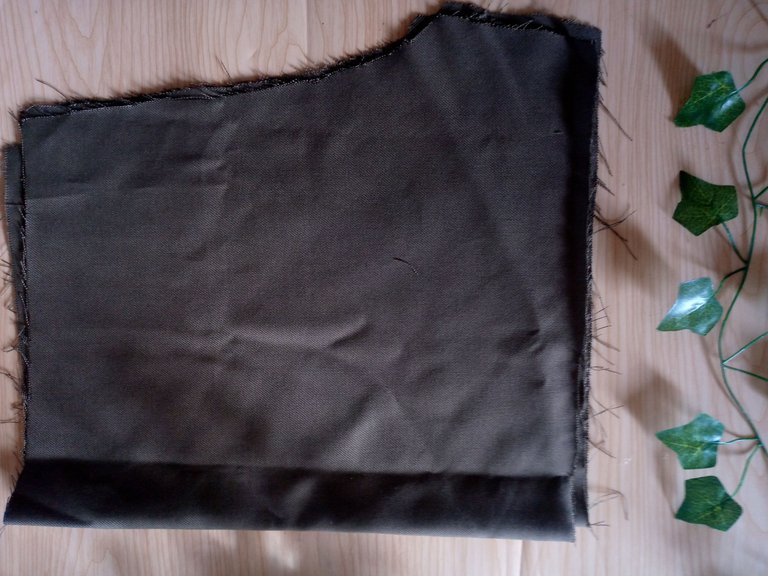
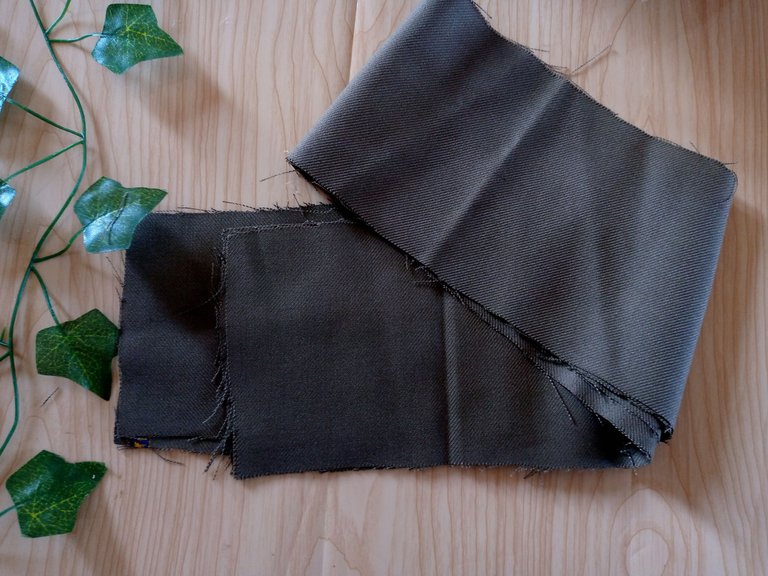
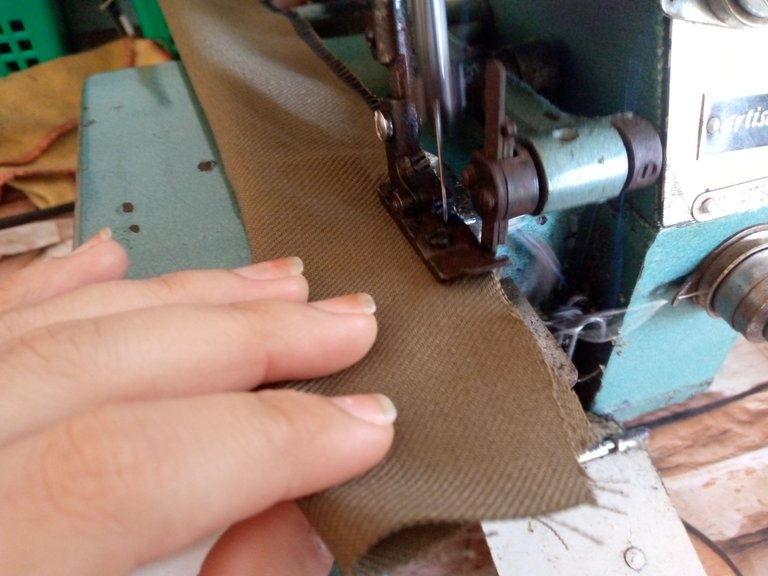
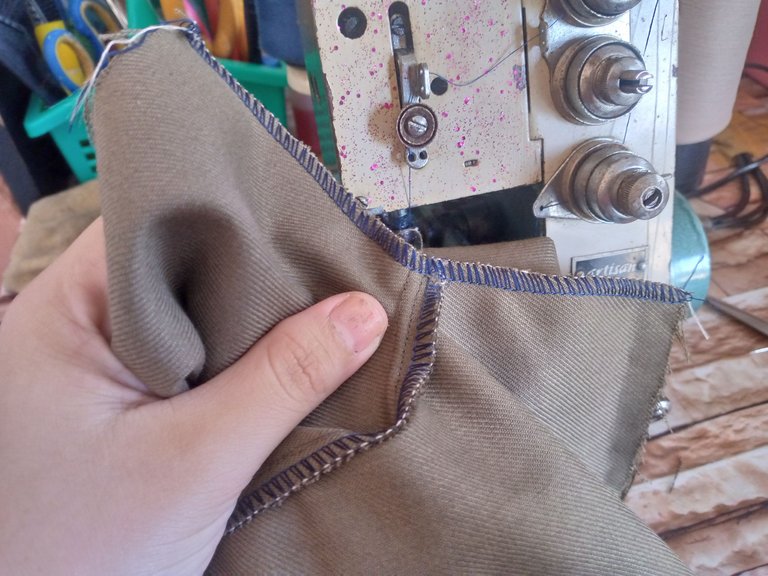
Empezamos primeramente cortando mis piezas correspondientes ,podemos hacer uso de unos patrones una medida de referencia, entonces cortamos pieza delantera y trasera,y la pieza de la pretina que usaremos aqui el ancho lo pueden hacer de la medida que ustedes deseen.
Step 01
We start by first cutting my corresponding pieces, we can use some patterns as a reference measurement, then we cut the front and back pieces, and the waistband piece that we will use here. You can make the width the measurement you want.
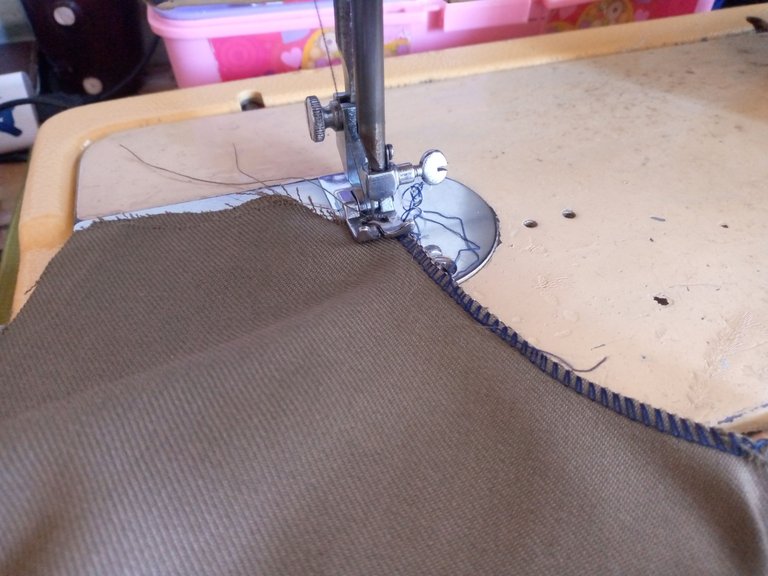
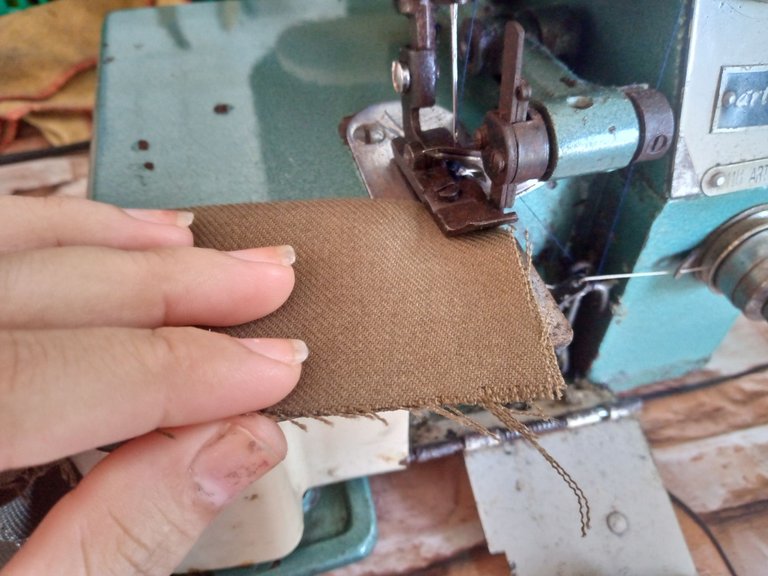
Paso 02
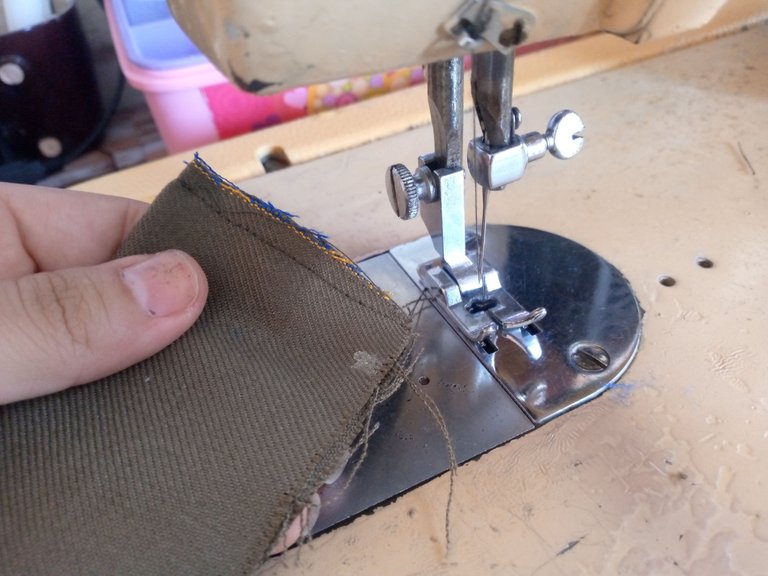
Luego vamos a proceder a coser la parte del tiro con overlock o pueden hacer uso de su máquina normal con zig zag después reforzamos con costura recta ,y cosemos el rectángulo doble que usaremos como base del cierre con overlock lo cosemos por los costados.
Step 02
Then we will proceed to sew the hem part with an overlock or you can use your normal zigzag machine. Then we reinforce it with a straight stitch, and sew the double rectangle that we will use as the base of the closure with an overlock and sew it on the sides.
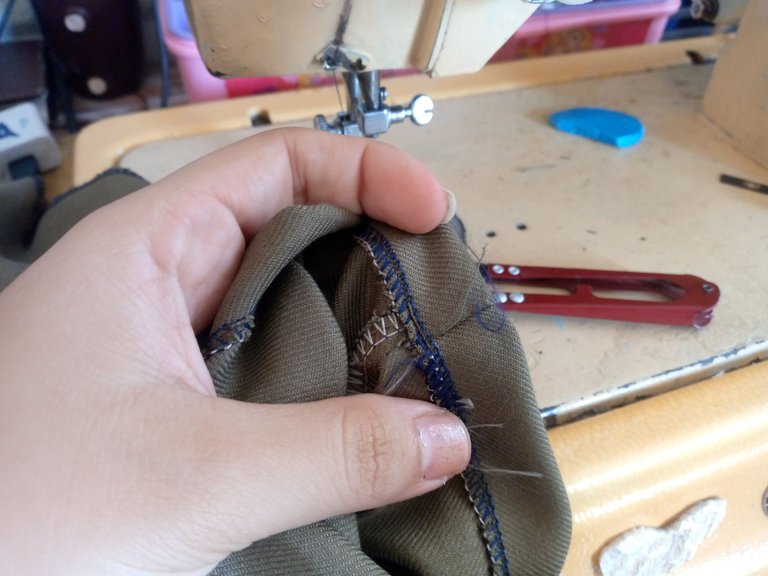
Paso 03
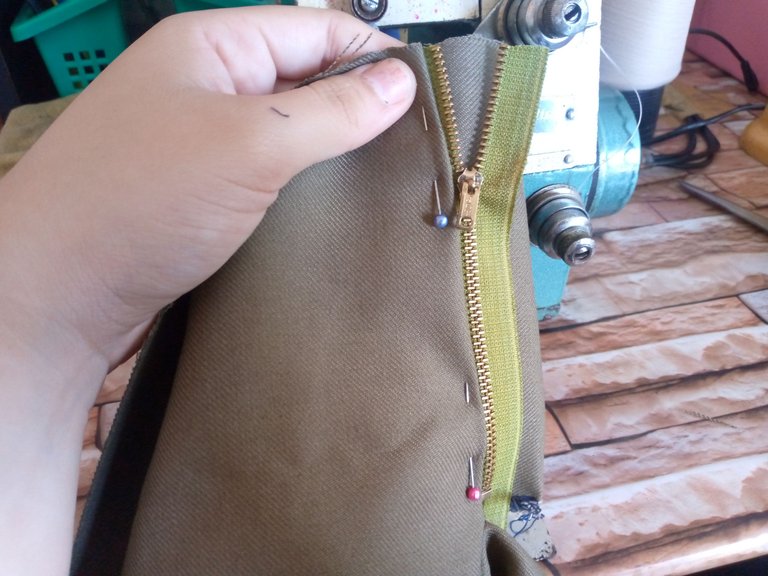
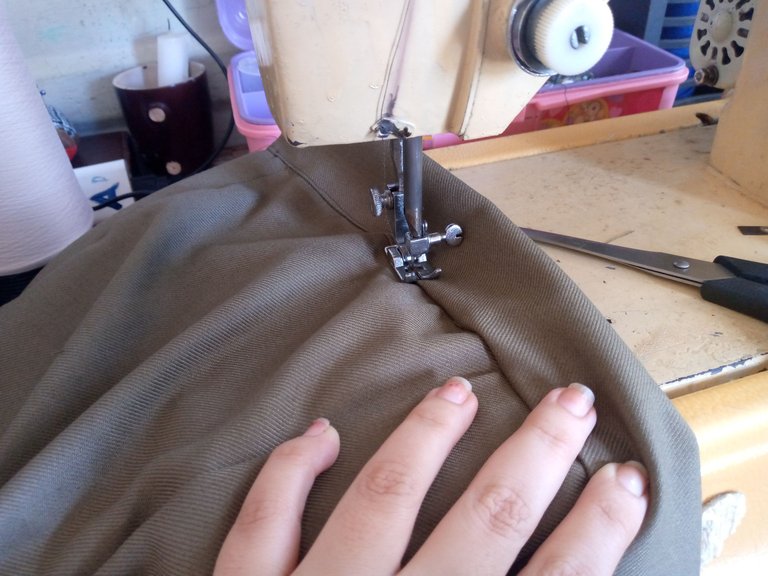
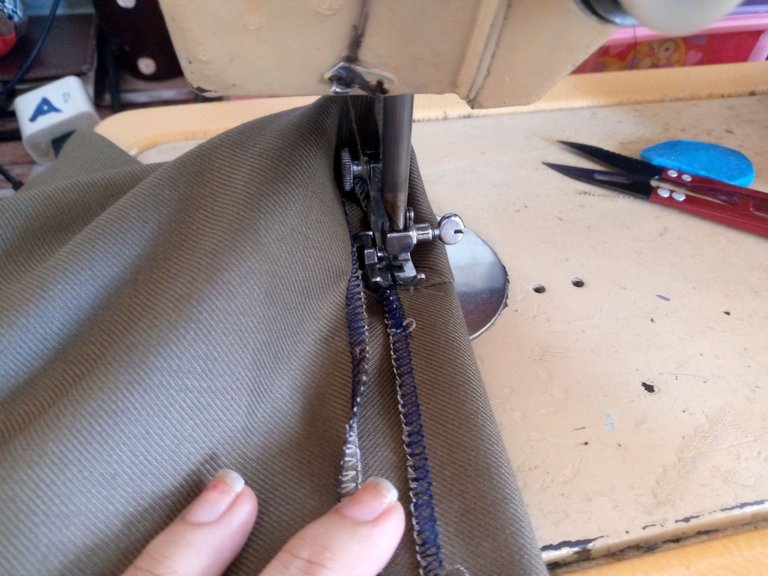
Luego cosemos nuestro cierre por la parte izquierda nos ayudamos con unos alfileres y por esa parte colocamos la pieza como base del cierre cosemos luego basteamos la parte derecha encima del cierre va ésta y le pasamos costura recta haciendo la forma de nuestro cierre que en este caso abajo es como redonda ,hacemos esto con costura recta como se ve en la imagen.
Step 03
Then we sew our closure on the left side, we help ourselves with some pins and on that side we place the piece as the base of the closure, we then sew the right part on top of the closure and we sew it with a straight seam making the shape of our closure which in this case below is like round, we do this with a straight seam as seen in the image.
Paso 04
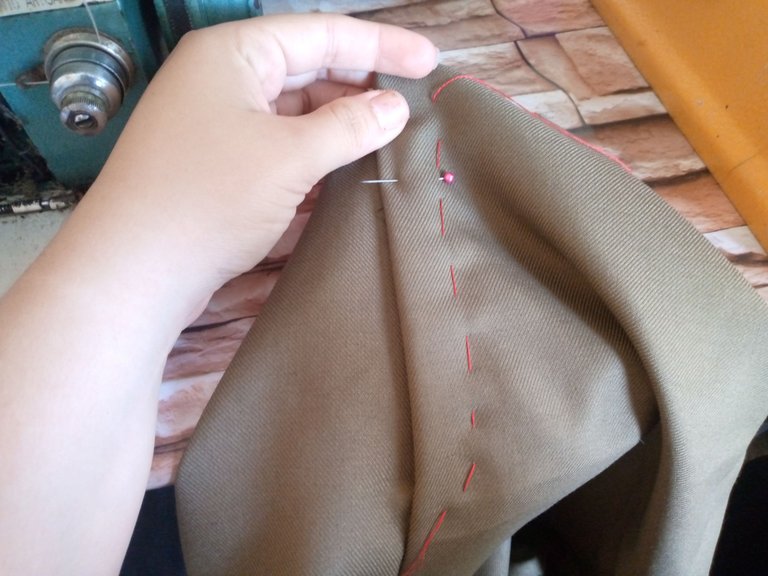
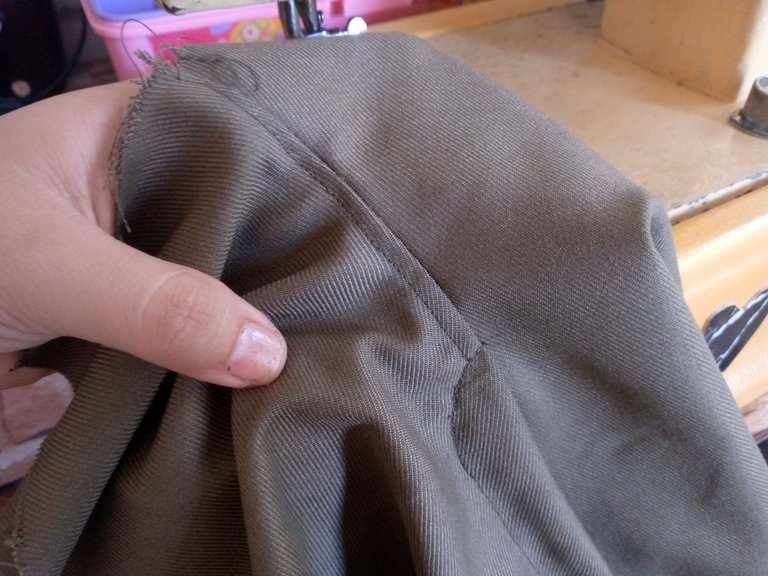
Cosemos después uniendo la parte de abajo de la entrepierna y la reforzamos con costura recta,procedo a coser la parte de las piernas para luego hacer un dobladillo , y también cosemos la pretina de ambos extremos y la parte que va adentro del short.
Step 04
We then sew together the lower part of the crotch and reinforce it with a straight seam. I proceed to sew the leg part and then make a hem, and we also sew the waistband at both ends and the part that goes inside the shorts.
Paso 05
Finalizo sencillamente cosiendo la pretina de mi short y el dobladillo que lo hice de 2 cm aproximadamente hacia adentro y listo así lo terminamos.
Step 05
I finish by simply sewing the waistband of my shorts and the hem that I made approximately 2 cm inwards and that's it.
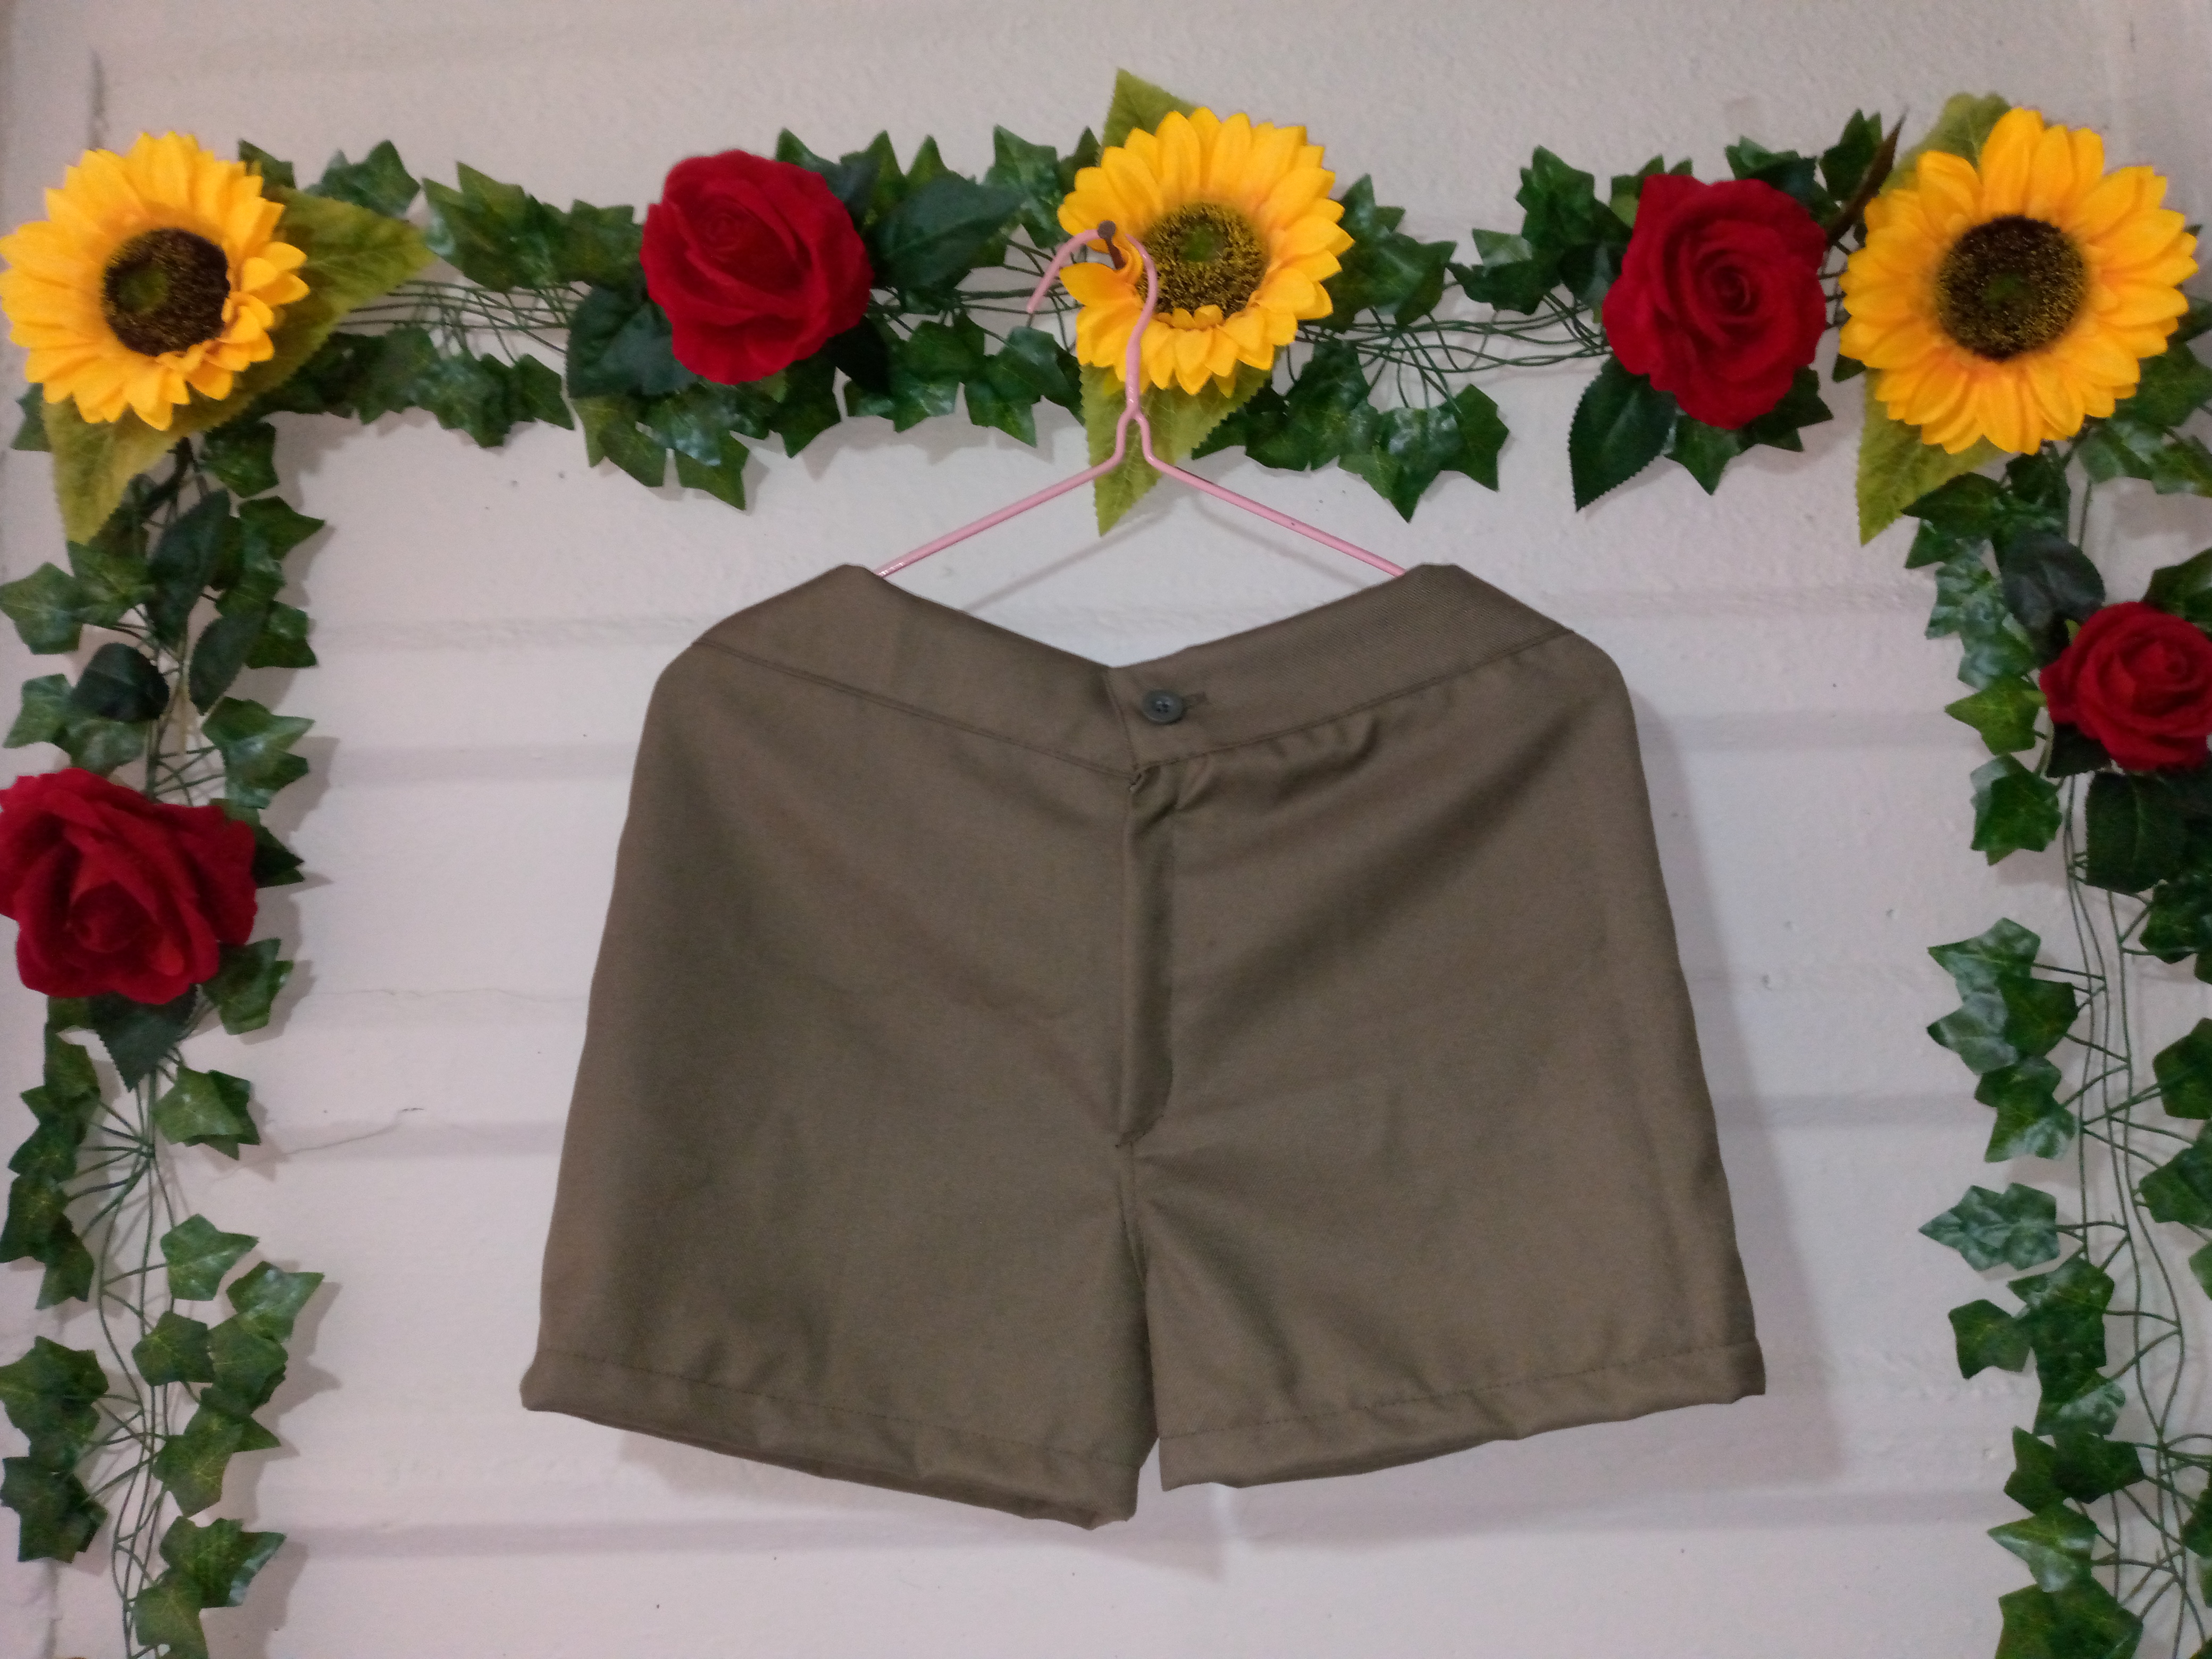
Resultado:// Result:
Por supuesto no olviden coserle el botón a su short ,yo he elegido uno del mismo colorcito que tenía aquí 🥰así es como queda el resultado de este bello y precioso short que puedes usar en dia de verano y con unas mallas 😍espero te haya gustado este tutorial tanto como a mi y a mi clienta,nos vemos en otro tutorial amigos y les deseo una bella tarde ,adiós🙋🏻♀️.
Of course, don't forget to sew the button on your shorts. I chose one in the same color as the one I had here 🥰This is how the result of these beautiful and gorgeous shorts looks like, which you can wear on a summer day with some tights 😍I hope you liked this tutorial as much as my client and I did. See you in another tutorial, friends, and I wish you a beautiful afternoon, bye🙋🏻♀️.


Creando las cosas con amor 🌷❤️
🦋✨Todas las imágenes de esta publicación son de mi autoria ,📱tomadas con mi celular TecnoSpark8C |📸Fotos editadas en PicsArt y Canva. Texto traducido en el traductor de Google.
Creating things with love 🌷❤️
🦋✨ All the images in this publication are my author ,📱taken with my TecnoSpark8C cell phone |📸Photos edited in PicsArt and Canva. Text translated in Google Translate.


It's so incredible and amazing how you made this short, it's a great work and I love it. Bravo friend
Thanks 🙋🏻♀️
Feliz tarde amiga querida, me encanta este color y modelo de short, su versatilidad y comodidad es ideal para salir, sobre todo es una prenda fresca, para la temporada de calor.
Gracias por compartir tus lindos trabajos creativos de costura.
Feliz y bendecida tarde.
Feliz tarde amiga muchas gracias me alegra te haya gustado 🥺🤗
Feliz tarde amiga, es un excelente trabajo.
Great job friend, your shorts looks so nice and your tutorial can come in handy for anyone looking to try their hand at making one. Thanks for sharing your work with us.
Thanks for the support friend 🙋🏻♀️🧵🪡
Te quedo muy bonito, esta como para ir a la playa con ese short jijij, saludos.
Jajaja muchas gracias asi es 🤭