Making a gentleman's pajama pants. 👖🧵 (Tutorial)
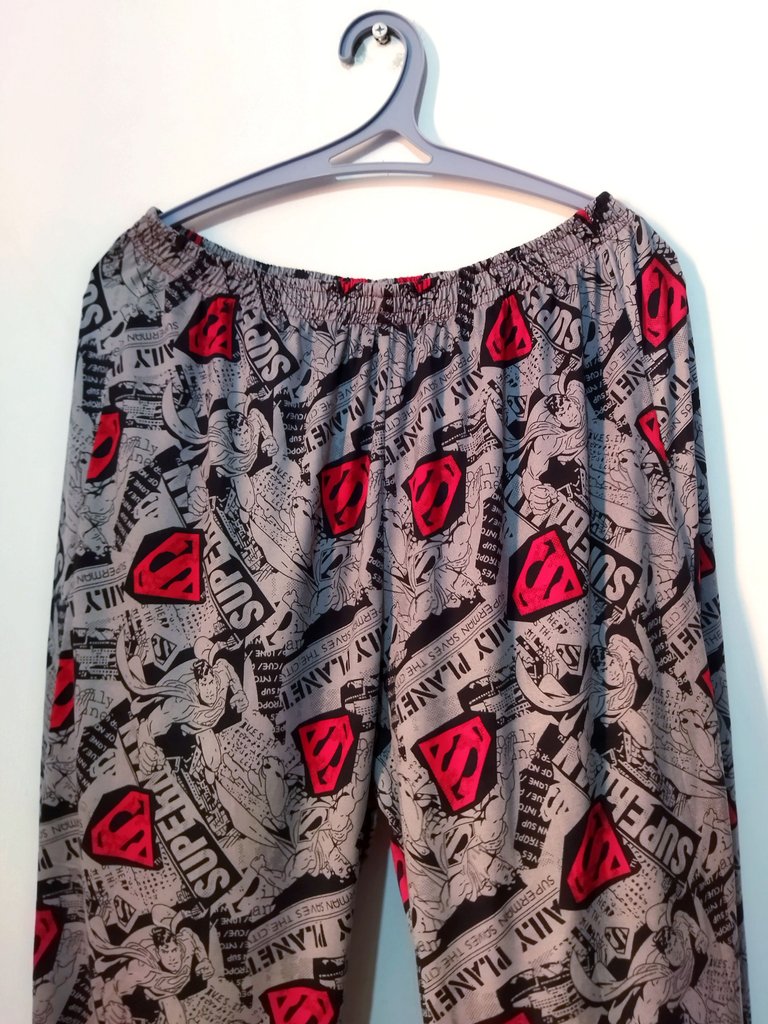
Saludos queridos amantes de la costura, espero se encuentren de maravilla y estén teniendo una excelente fin de semana. La última vez que estuve por el castillo comparando telas me volví loca escogiendo colores y diferentes telas para hacer cositas que tenía en mente, también le compré una linda tela a mi pequeña y a mi pareja para hacer una pijama o por lo menos la parte del pantalón que se puede combinar con cualquier camisa, está tela en especial me pareció muy linda, pues es de superhéroes pero me pareció que se veía sería para un adulto por los colores, o sea no tenia muchos colores y el estampado es simple así que pensé que sería perfecta para un pantalón, me puse a trabajar y el resultado me encantó, sin mas habladuría acompañame a ver el proceso.
Greetings dear sewing lovers, I hope you are feeling wonderful and having a great weekend. The last time I was in the castle comparing fabrics I went crazy choosing colors and different fabrics to make little things I had in mind, I also bought a nice fabric for my little girl and my partner to make pajamas or at least the part of the pants that can be combined with any shirt, this fabric in particular seemed very nice to me, because it is of superheroes but I thought it looked like it would be for an adult because of the colors, it didn't have many colors and the print is simple so I thought it would be perfect for pants, I started to work and I loved the result, without more talk, come with me to see the process.
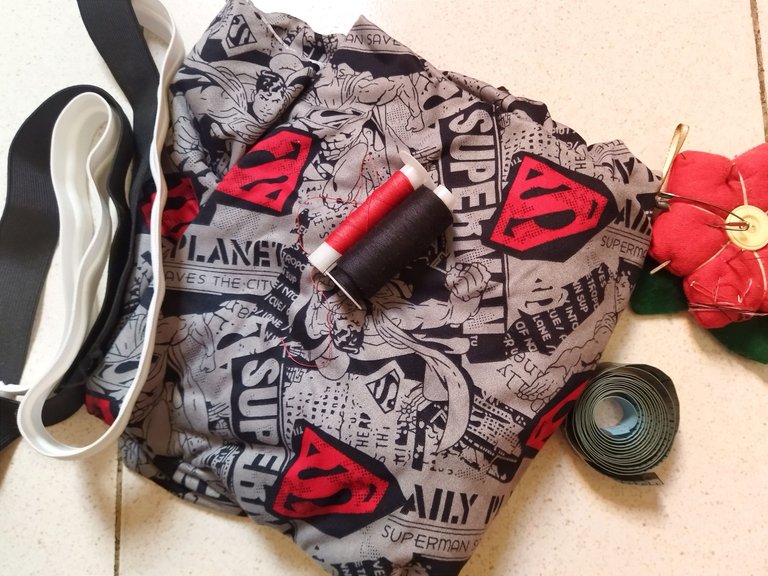
Para realizar este proyecto utilicé:
- Tela de microdurazno
- Tela de micro rib
- Elástica
- Hilo a tono
- Tijera
- Cinta métrica
- Alfileres
To make this project I used:
- Micro-denim fabric
- Micro-rib fabric
- Elastic
- Matching thread
- Scissors
- Tape measure
- Pins
Paso a paso || Step to step
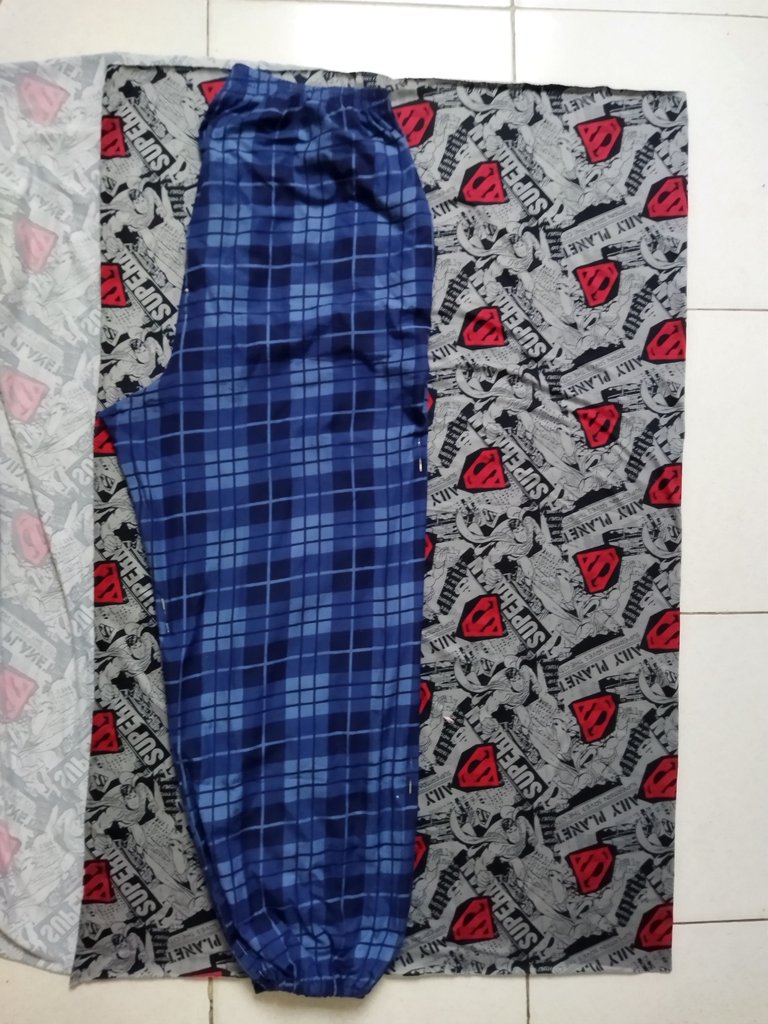
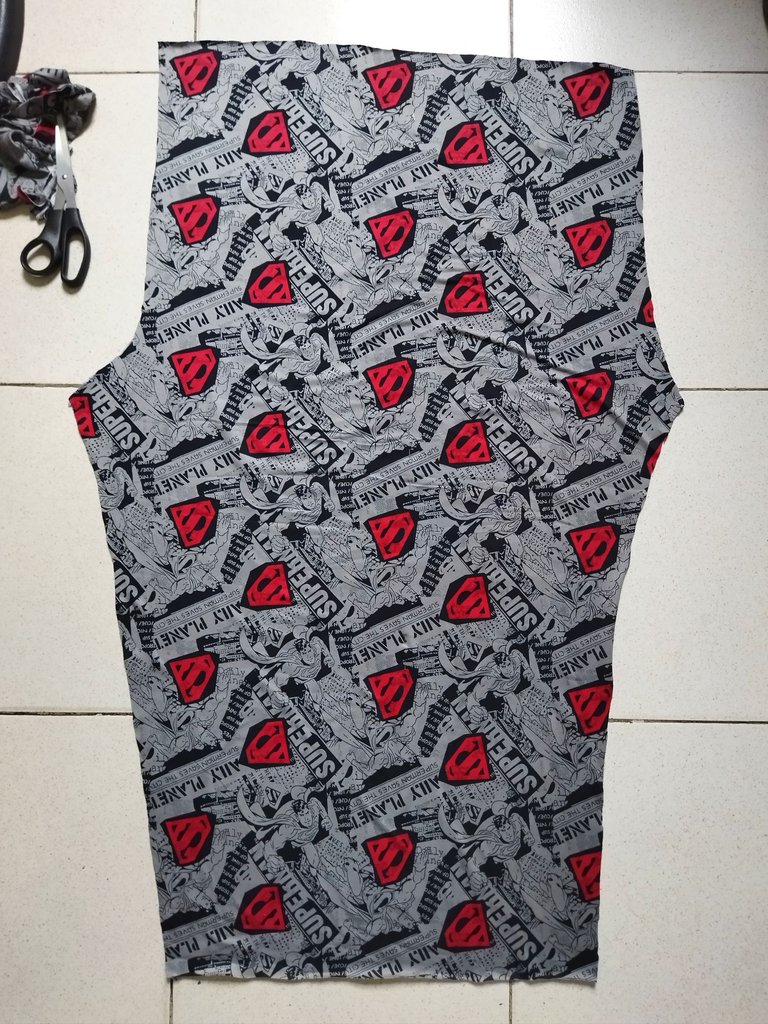
Comencé cortando las dos piezas del pantalón con la tela doble para hacer el trabajo más fácil, corte un lado con el tiro trasero y un lado con el tiro delantero, debemos tener en cuenta de dejar los centímetros de costura extras.
I started by cutting the two pieces of the pants with the double fabric to make the work easier, I cut one side with the back and one side with the front, we must take into account to leave the extra centimeters of seam allowance.
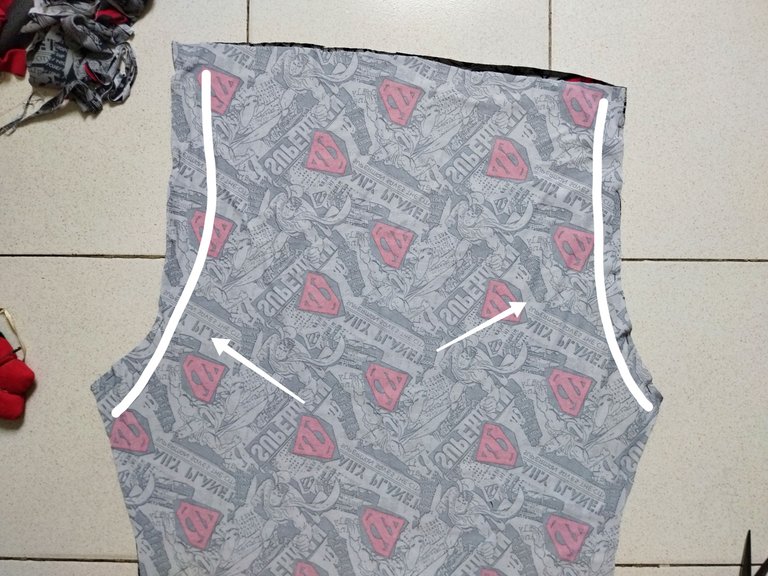
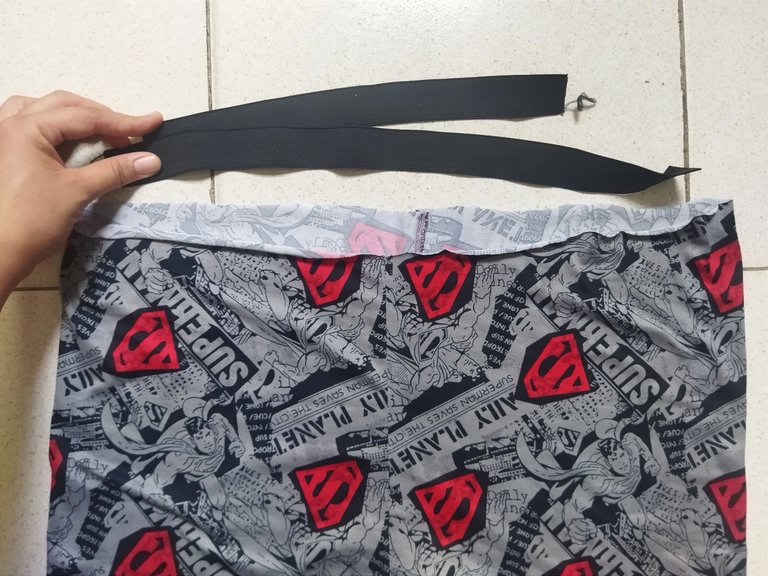
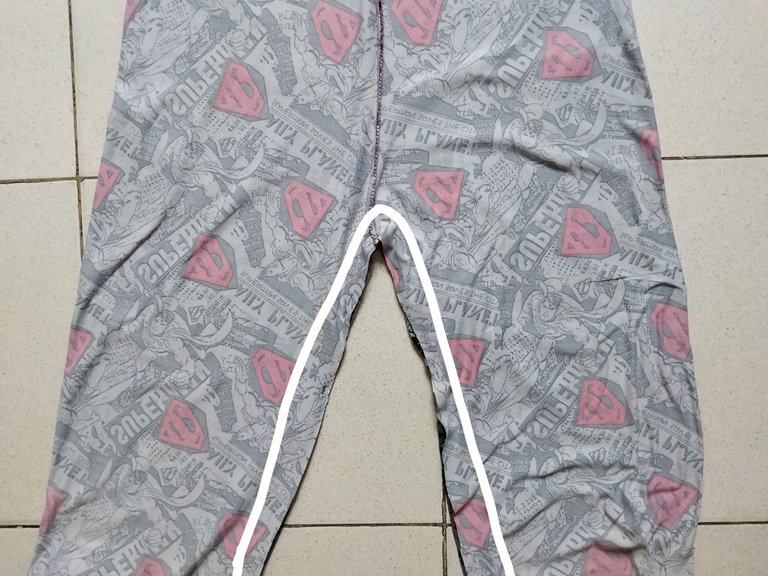
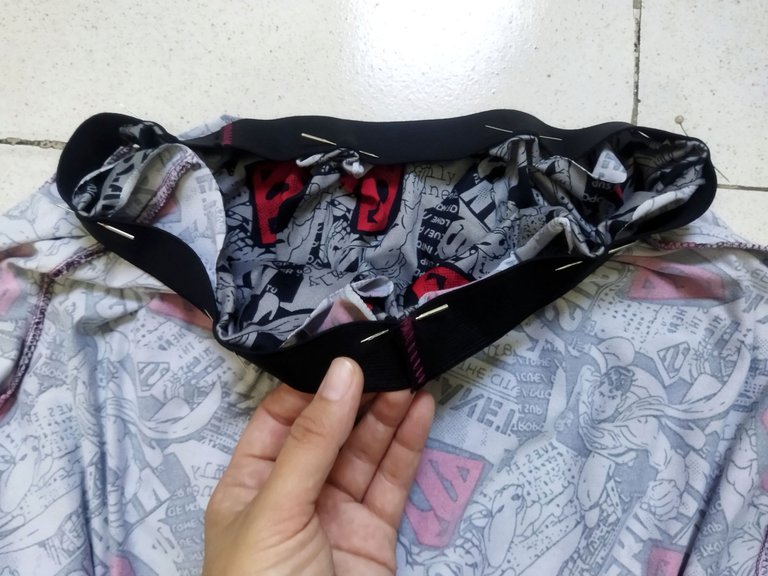
Comencé a coser los tiros para luego cerrar las entrepierna, como esta tela estira bastante suelo pasar doble costura y luego zigzag para mayor seguridad, para la pretina usé elástica negra que era la que tenía y cosí alrededor del contorno de la cintura del pantalón ayudándome con los alfiles para sujetar y quedé bien distribuida la elástica, luego doble hacia la parte interior y pase costura recta varias veces para que quedé aruchada la pretina.
I started sewing the straps to close the crotch, as this fabric stretches quite a lot I usually double stitch and then zigzag for safety, for the waistband I used black elastic that was the one I had and sewed around the contour of the waistband helping me with the pins to hold and the elastic was well distributed, then fold to the inside and pass straight stitching several times so that the waistband was tucked in the waistband.
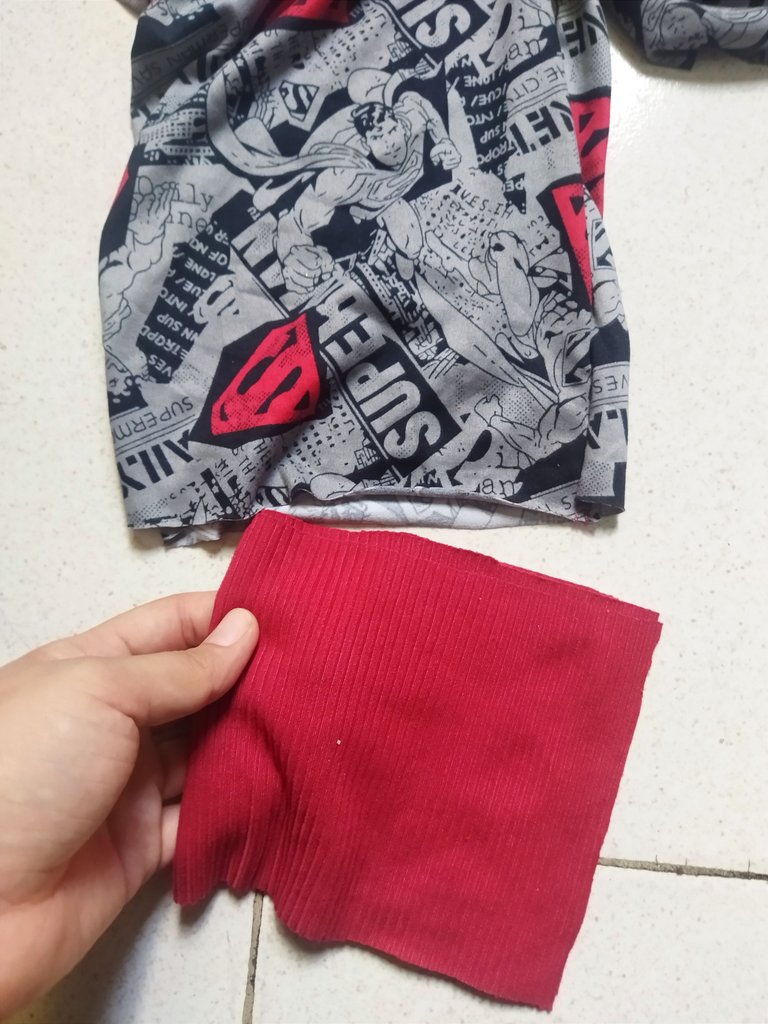
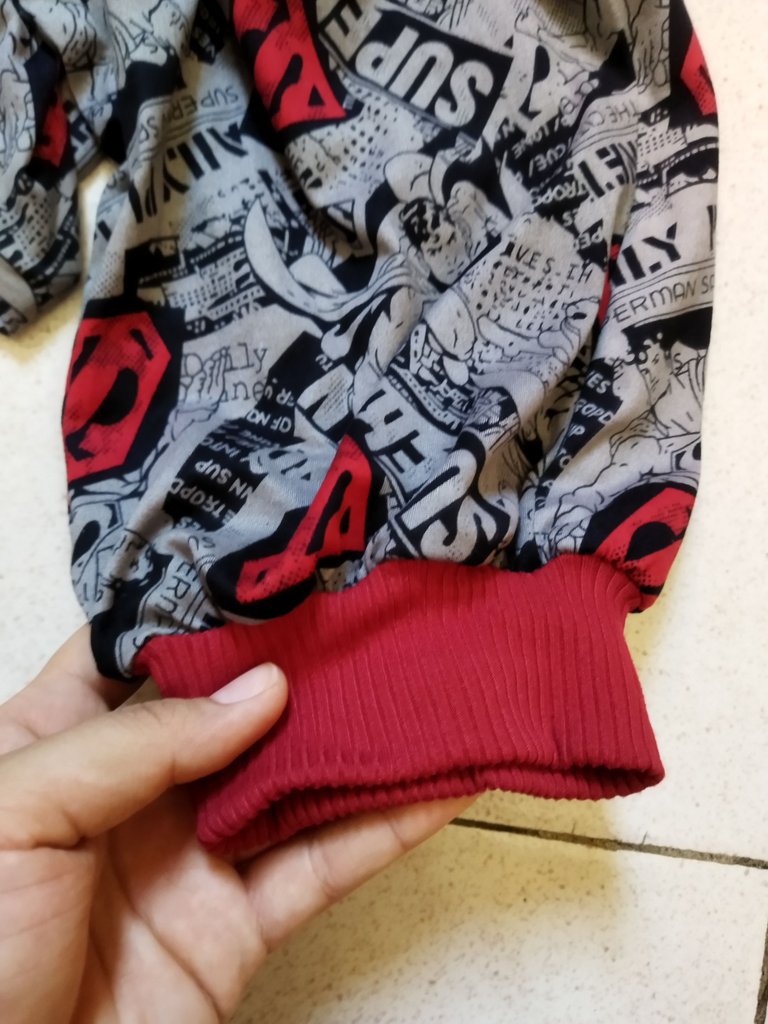
Por último usé la tela de micro rib para sujetar el final de las piernas y que quedé ajustado a la pierna, corto una tira de 14 cm de ancho y la cosí al contorno de la pierna estirando bien para que luego la tela de micro rib recoja toda la tela de microdurazno, con esto finalizamos este proyecto. ¿qué tal les pareció este nuevo trabajo? Los leo en los comentarios 😊 a mí me encantó muchísimo como quedó, mil gracias por leerme, ¡Hasta luego!
Finally I used the micro rib fabric to hold the end of the legs so that it was tight to the leg, I cut a 14 cm wide strip and sewed it to the contour of the leg stretching it well so that the micro rib fabric would gather all the microdurazno fabric, with this we finish this project. how did you like this new work? I'll read you in the comments 😊 I really loved the way it turned out, thank you very much for reading me, see you later!
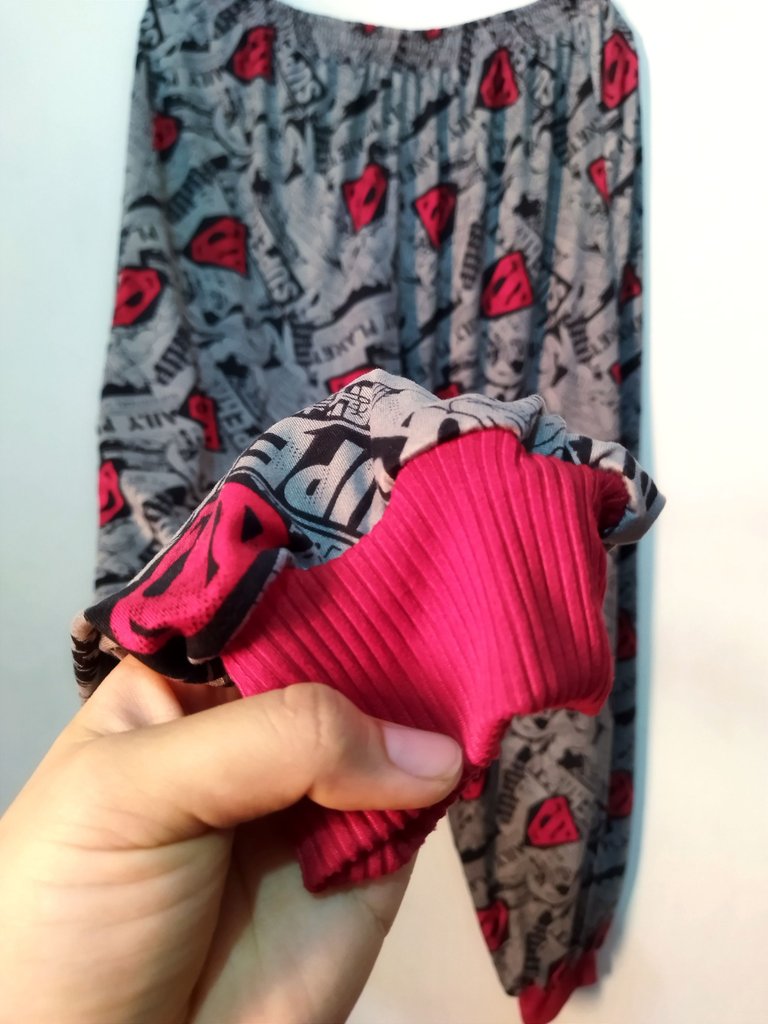
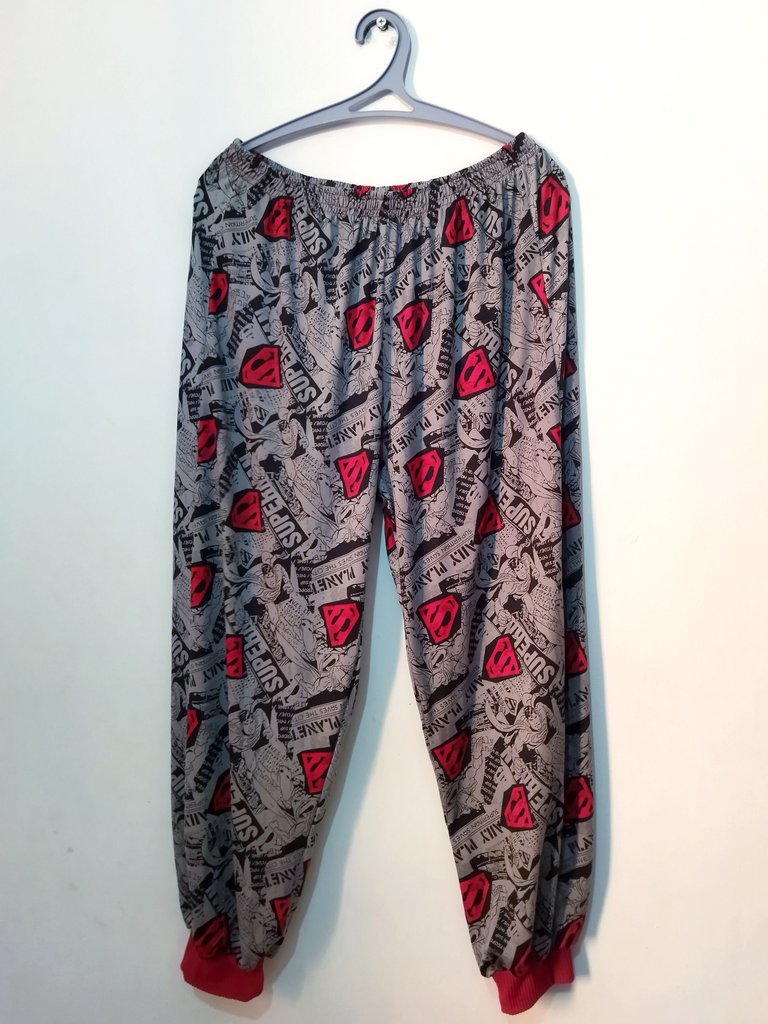
¡Gracias por leerme, hasta luego!
Thank you for reading me, see you later !


Camera: Xiaomi Redmi 9T. | Separadores: Aquí | Edition: CANVA | Translation: Deepl.com
Este mono de pijama se ve súper cómodo te felicito,
Gracias 😀
It is stylish, elegant, and lovely. Love its color and design. It looks amazing. Nice work! Thanks!
Thanks ❤️
Me encantaaaaaa, ojalá yo supiera coser :(
Gracias, coser es un buen hobbie, hacer ropita para uno es lo mejor. 💓
Wow, this is so beautiful and nice, I love the material, you did a great work, weldone
Thanks ❤️
I love the colour and pattern of the fabric, the chosen red for bottom is also cool, and the final result of the pants looks good as well. Good job.
Thank You so much! 😌
Muy lindo tu trabajo, el detalle de la tela micro rib lo hace ver cómo un pijama que compraste en la tienda. Muy profesional!
Gracias, me encanta el acabado con la tela micro rib por qué se ve diferente y más bonito. saludos!!
Your tutorial is well detailed and the outfit came out looking nice.
Thanks 😀
You're welcome