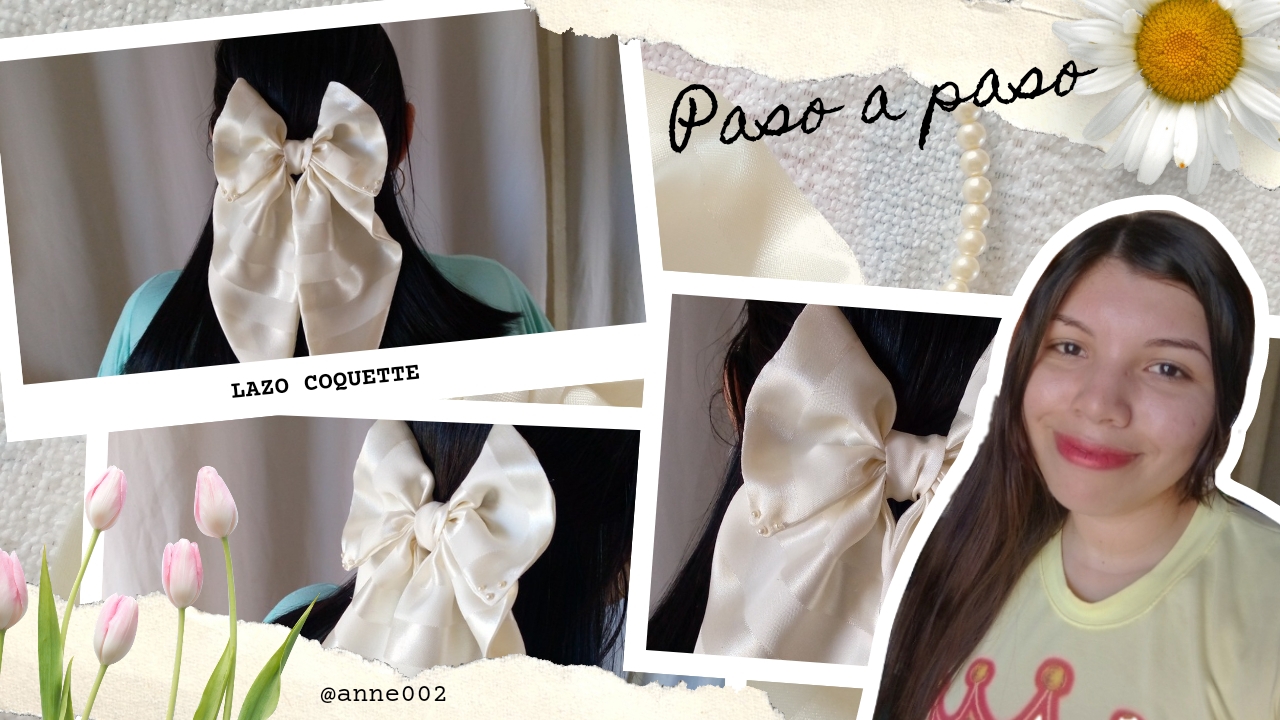
Lazo blanco coquette con doble tela🎀 🤍//White flirty bow with double fabric🎀🤍[Esp~Eng]
.jpg)
Happy and beautiful day have all of you my friends of this beautiful community, today on this cool day here in my city is a very good day to go to my beloved little corner and get to do what I love to do my sewing work, these days I have been presented with doing some things for my aunt that I will be sharing with you in the rest of the days, I would be happy to know that you are well today and taking advantage of the fact that the day is like this today here we are going to be making this cute bow or bow as you prefer to call it for meetings and special occasions, those days in which with our outfits to go to Sunday meetings they look perfect.
I don't know if you know but these bows since they came into fashion have become my favorite accessory and even more so when I go to these places I do my hair halfway and I can easily put this little bow on I like it a lot because it also gives a touch of elegance and delicacy to us girls, and of course we can't forget our dear girls, these accessories look very pretty on them too, how good that they have come out and there are a lot of variety of patterns to make them because what would become of them I love them so much and I love them.
To make this flirty bow I used a somewhat satiny fabric and when it comes to sewing it I feel that it slips a little but don't worry friends, I solved this myself with some pins to hold my fabric in place. I wanted to make it with double fabric so that the fabric wouldn't bend and would have more support. Also, as a detail, I added some pearls that I had stored here at home to make this accessory more delicate. Don't miss the complete tutorial for this cute flirty bow. I would be happy to know that you really liked it after the final result. So let's get to the materials and our step by step guide.
.jpg)
.jpg)
Materiales:// Materials:
- Tela satinada o el tipo de tela que tú prefieras
- Tijeras
- Hilo blanco
- Aguja
- Máquina de coser
- Perlas decorativas
- Patrones
- Alfileres
- Satin fabric or the type of fabric you prefer
- Scissors
- White thread
- Needle
- Sewing machine
- Decorative pearls
- Patterns
- Pins
.jpg)
Pasos a seguir:// Steps to follow:
.jpg)
Paso 01
Step 01
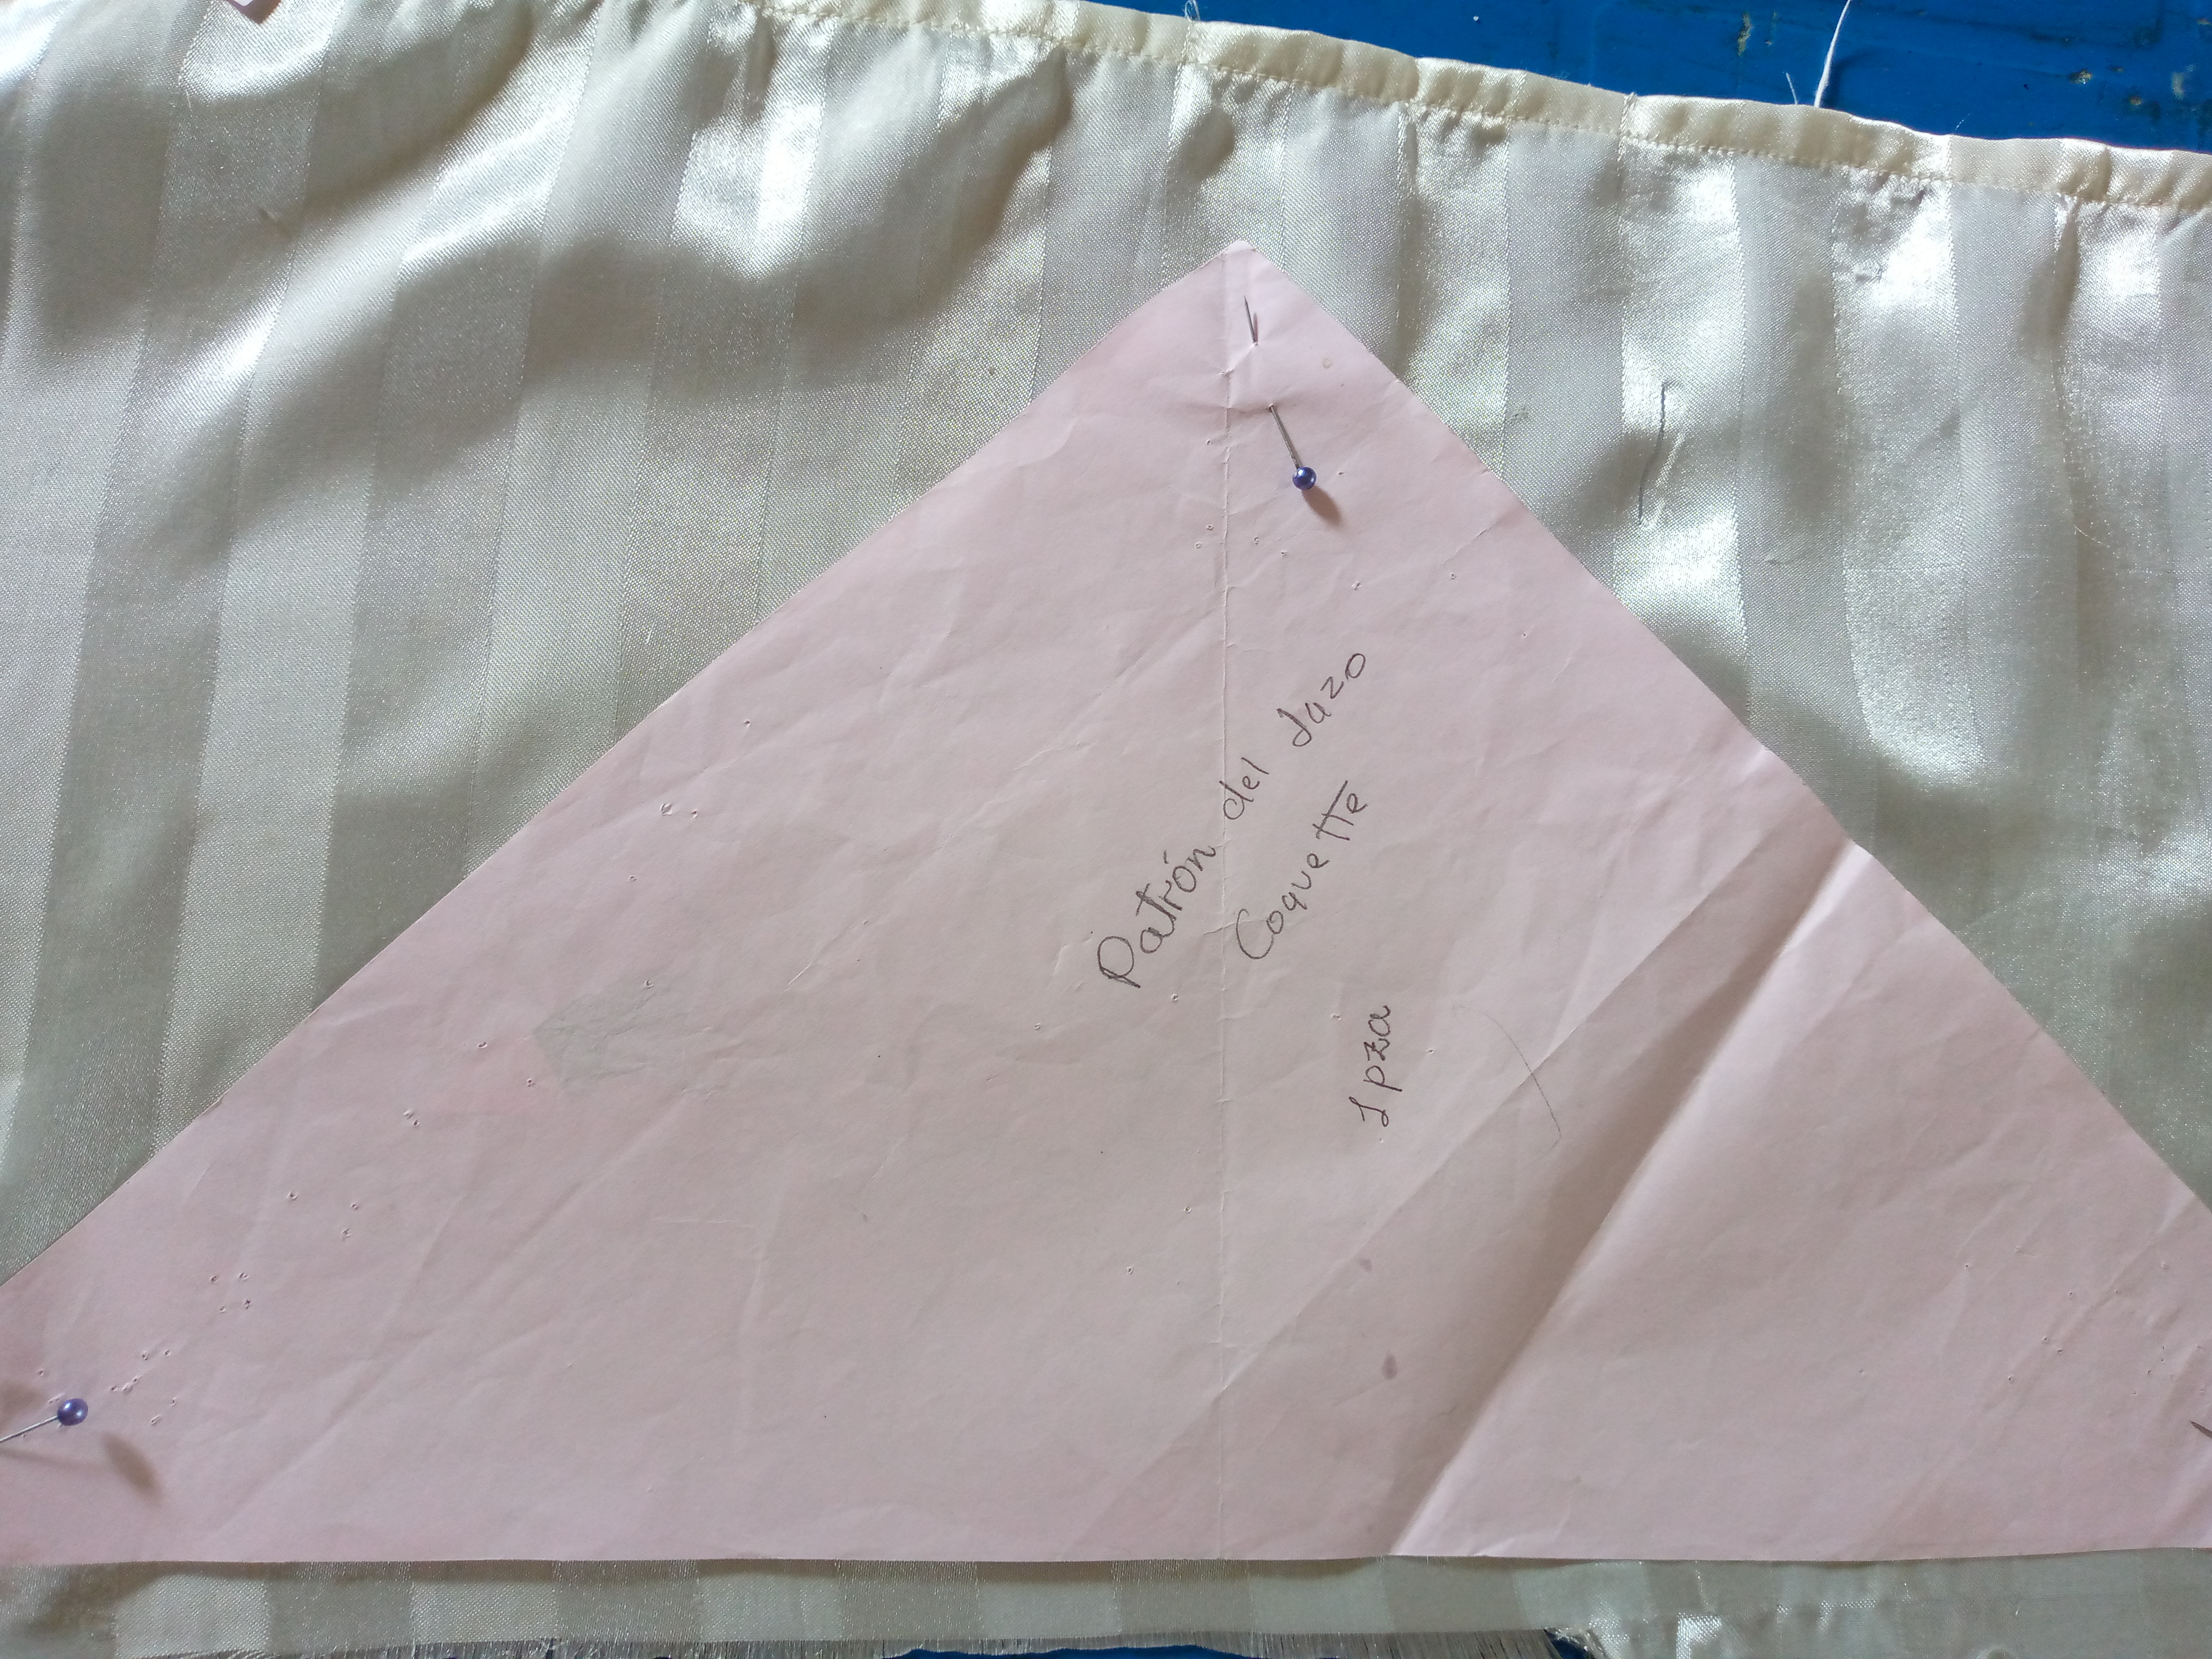
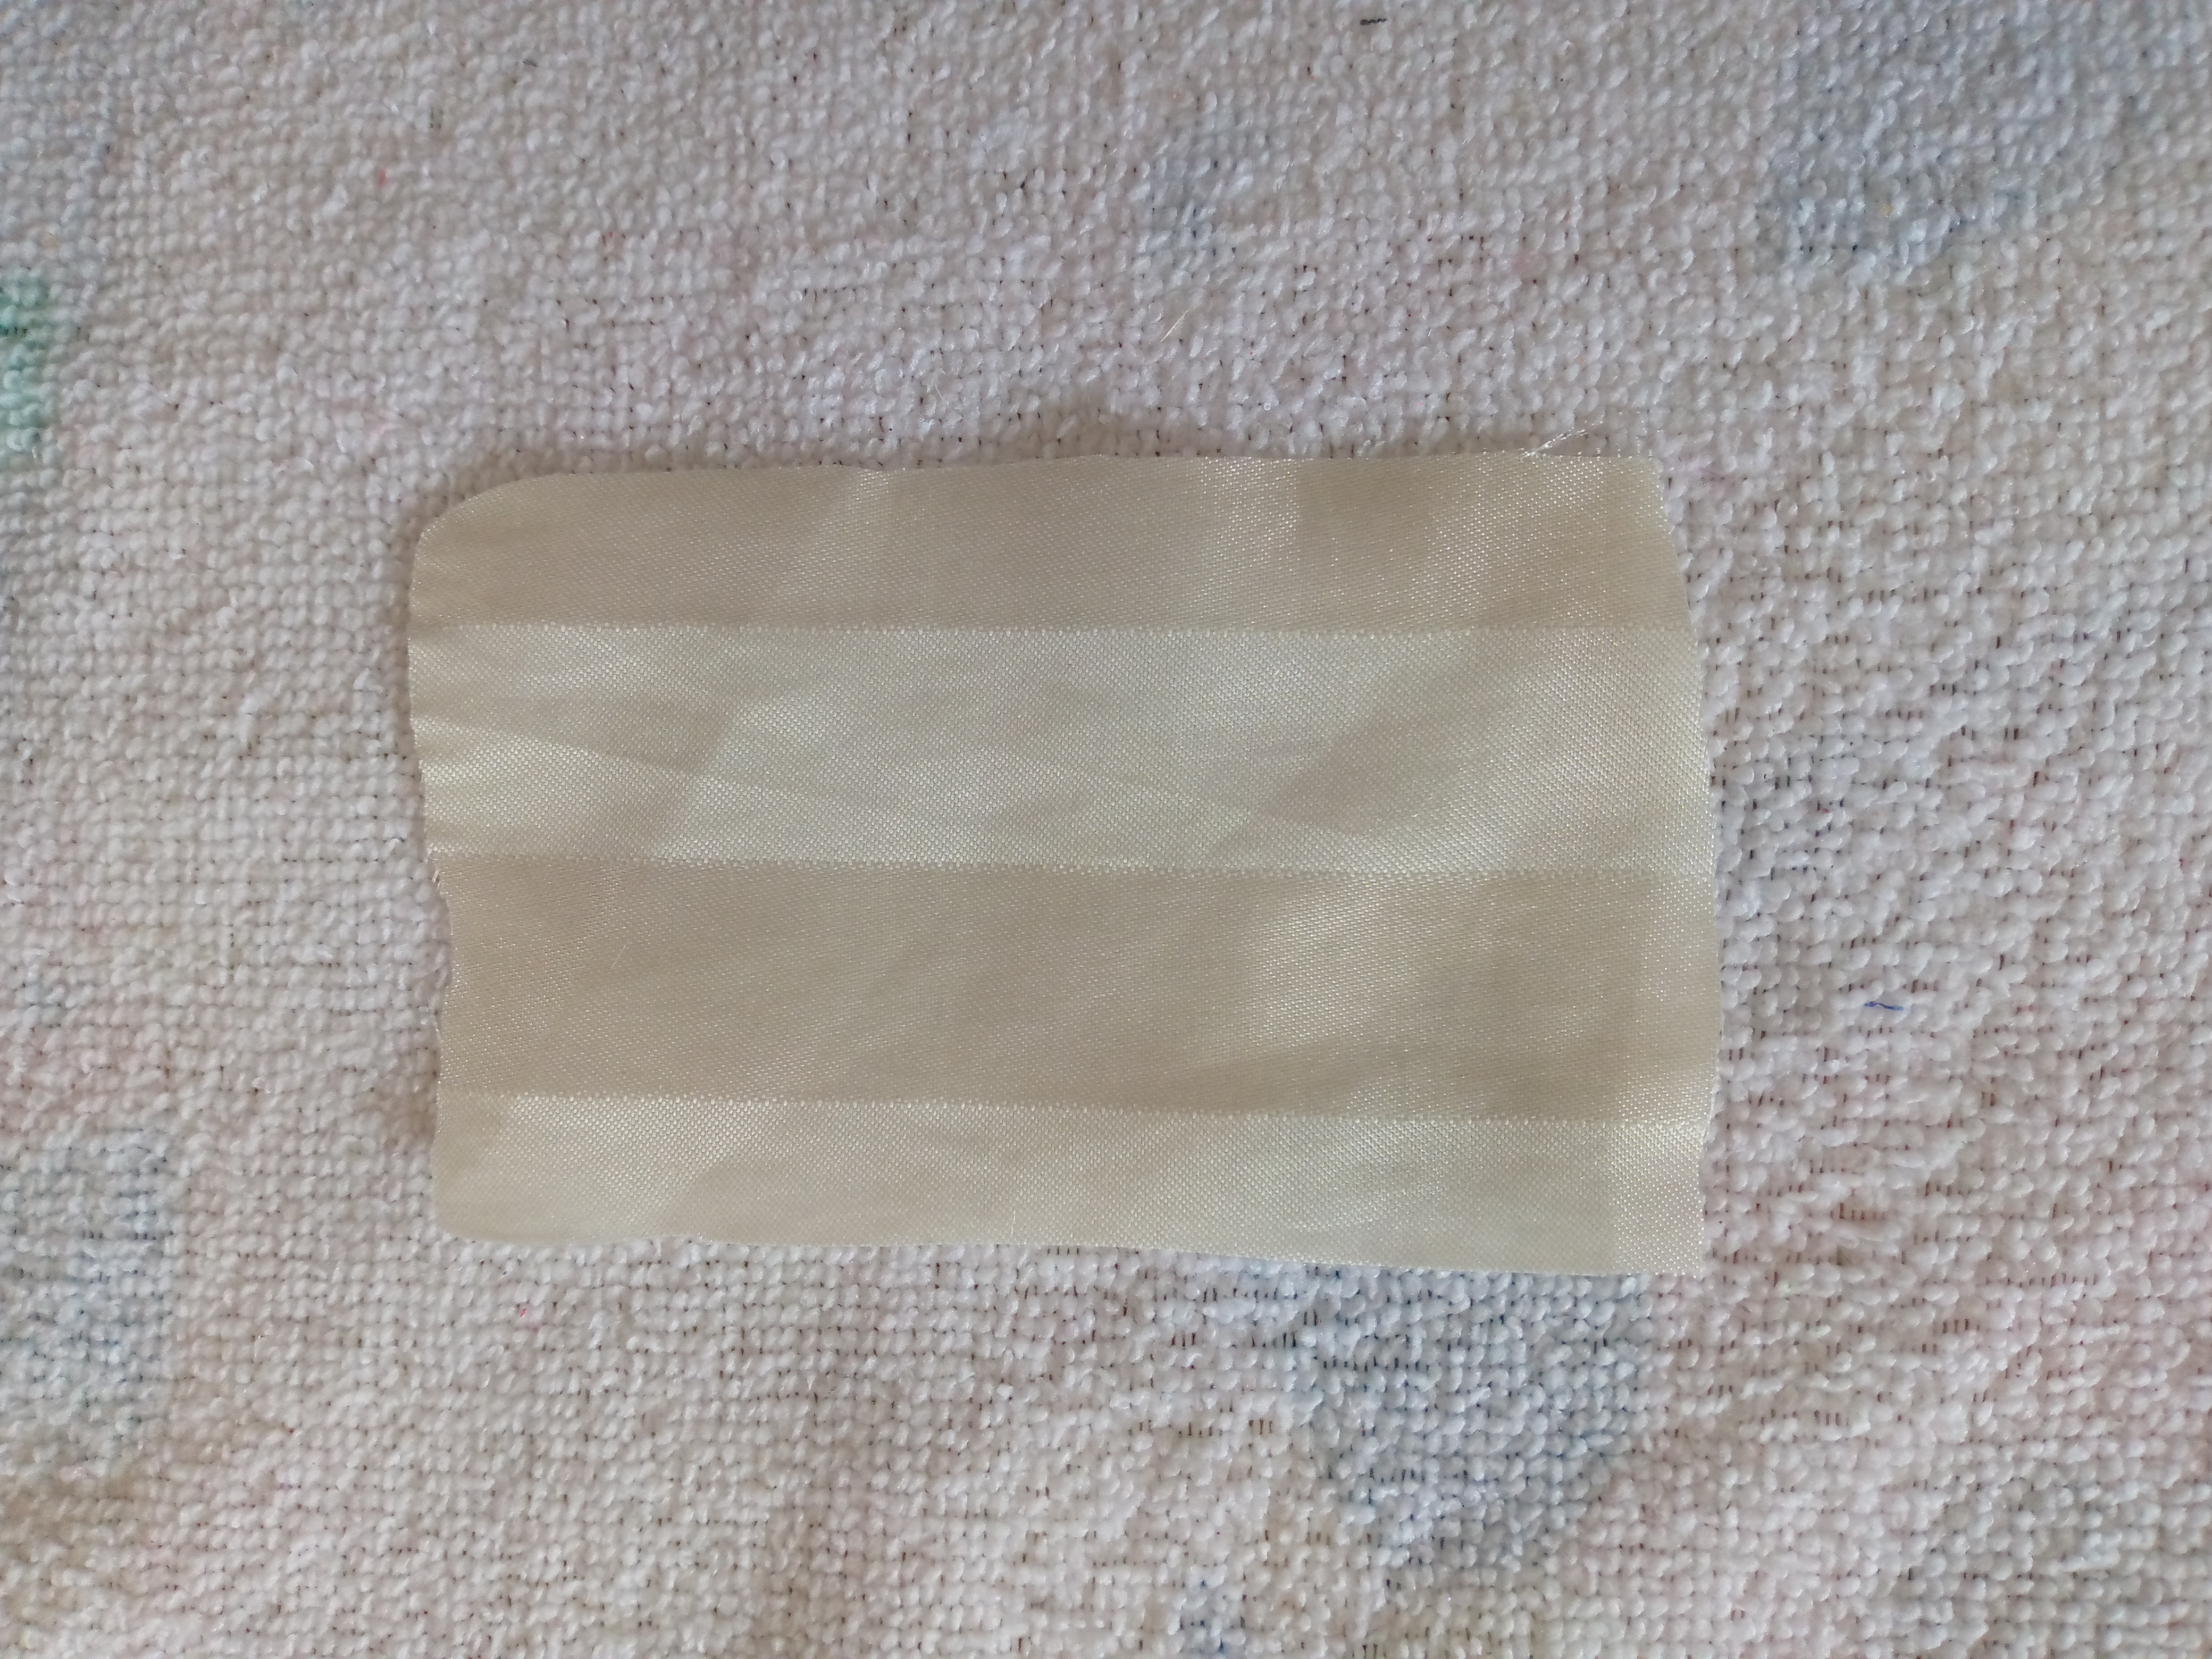
Let's start friends to cut the pieces that make up the bow, for this we will be using our patterns, the pattern is very simple, for the bottom part it is a triangle, for the top bow it is a square and for the center where the bow joins it is a rectangle, then we are going to place all these pieces on our fabric and we will be cutting it double as I mentioned so that our bow has more support, so here I am cutting each piece.
Paso 02
Step 02
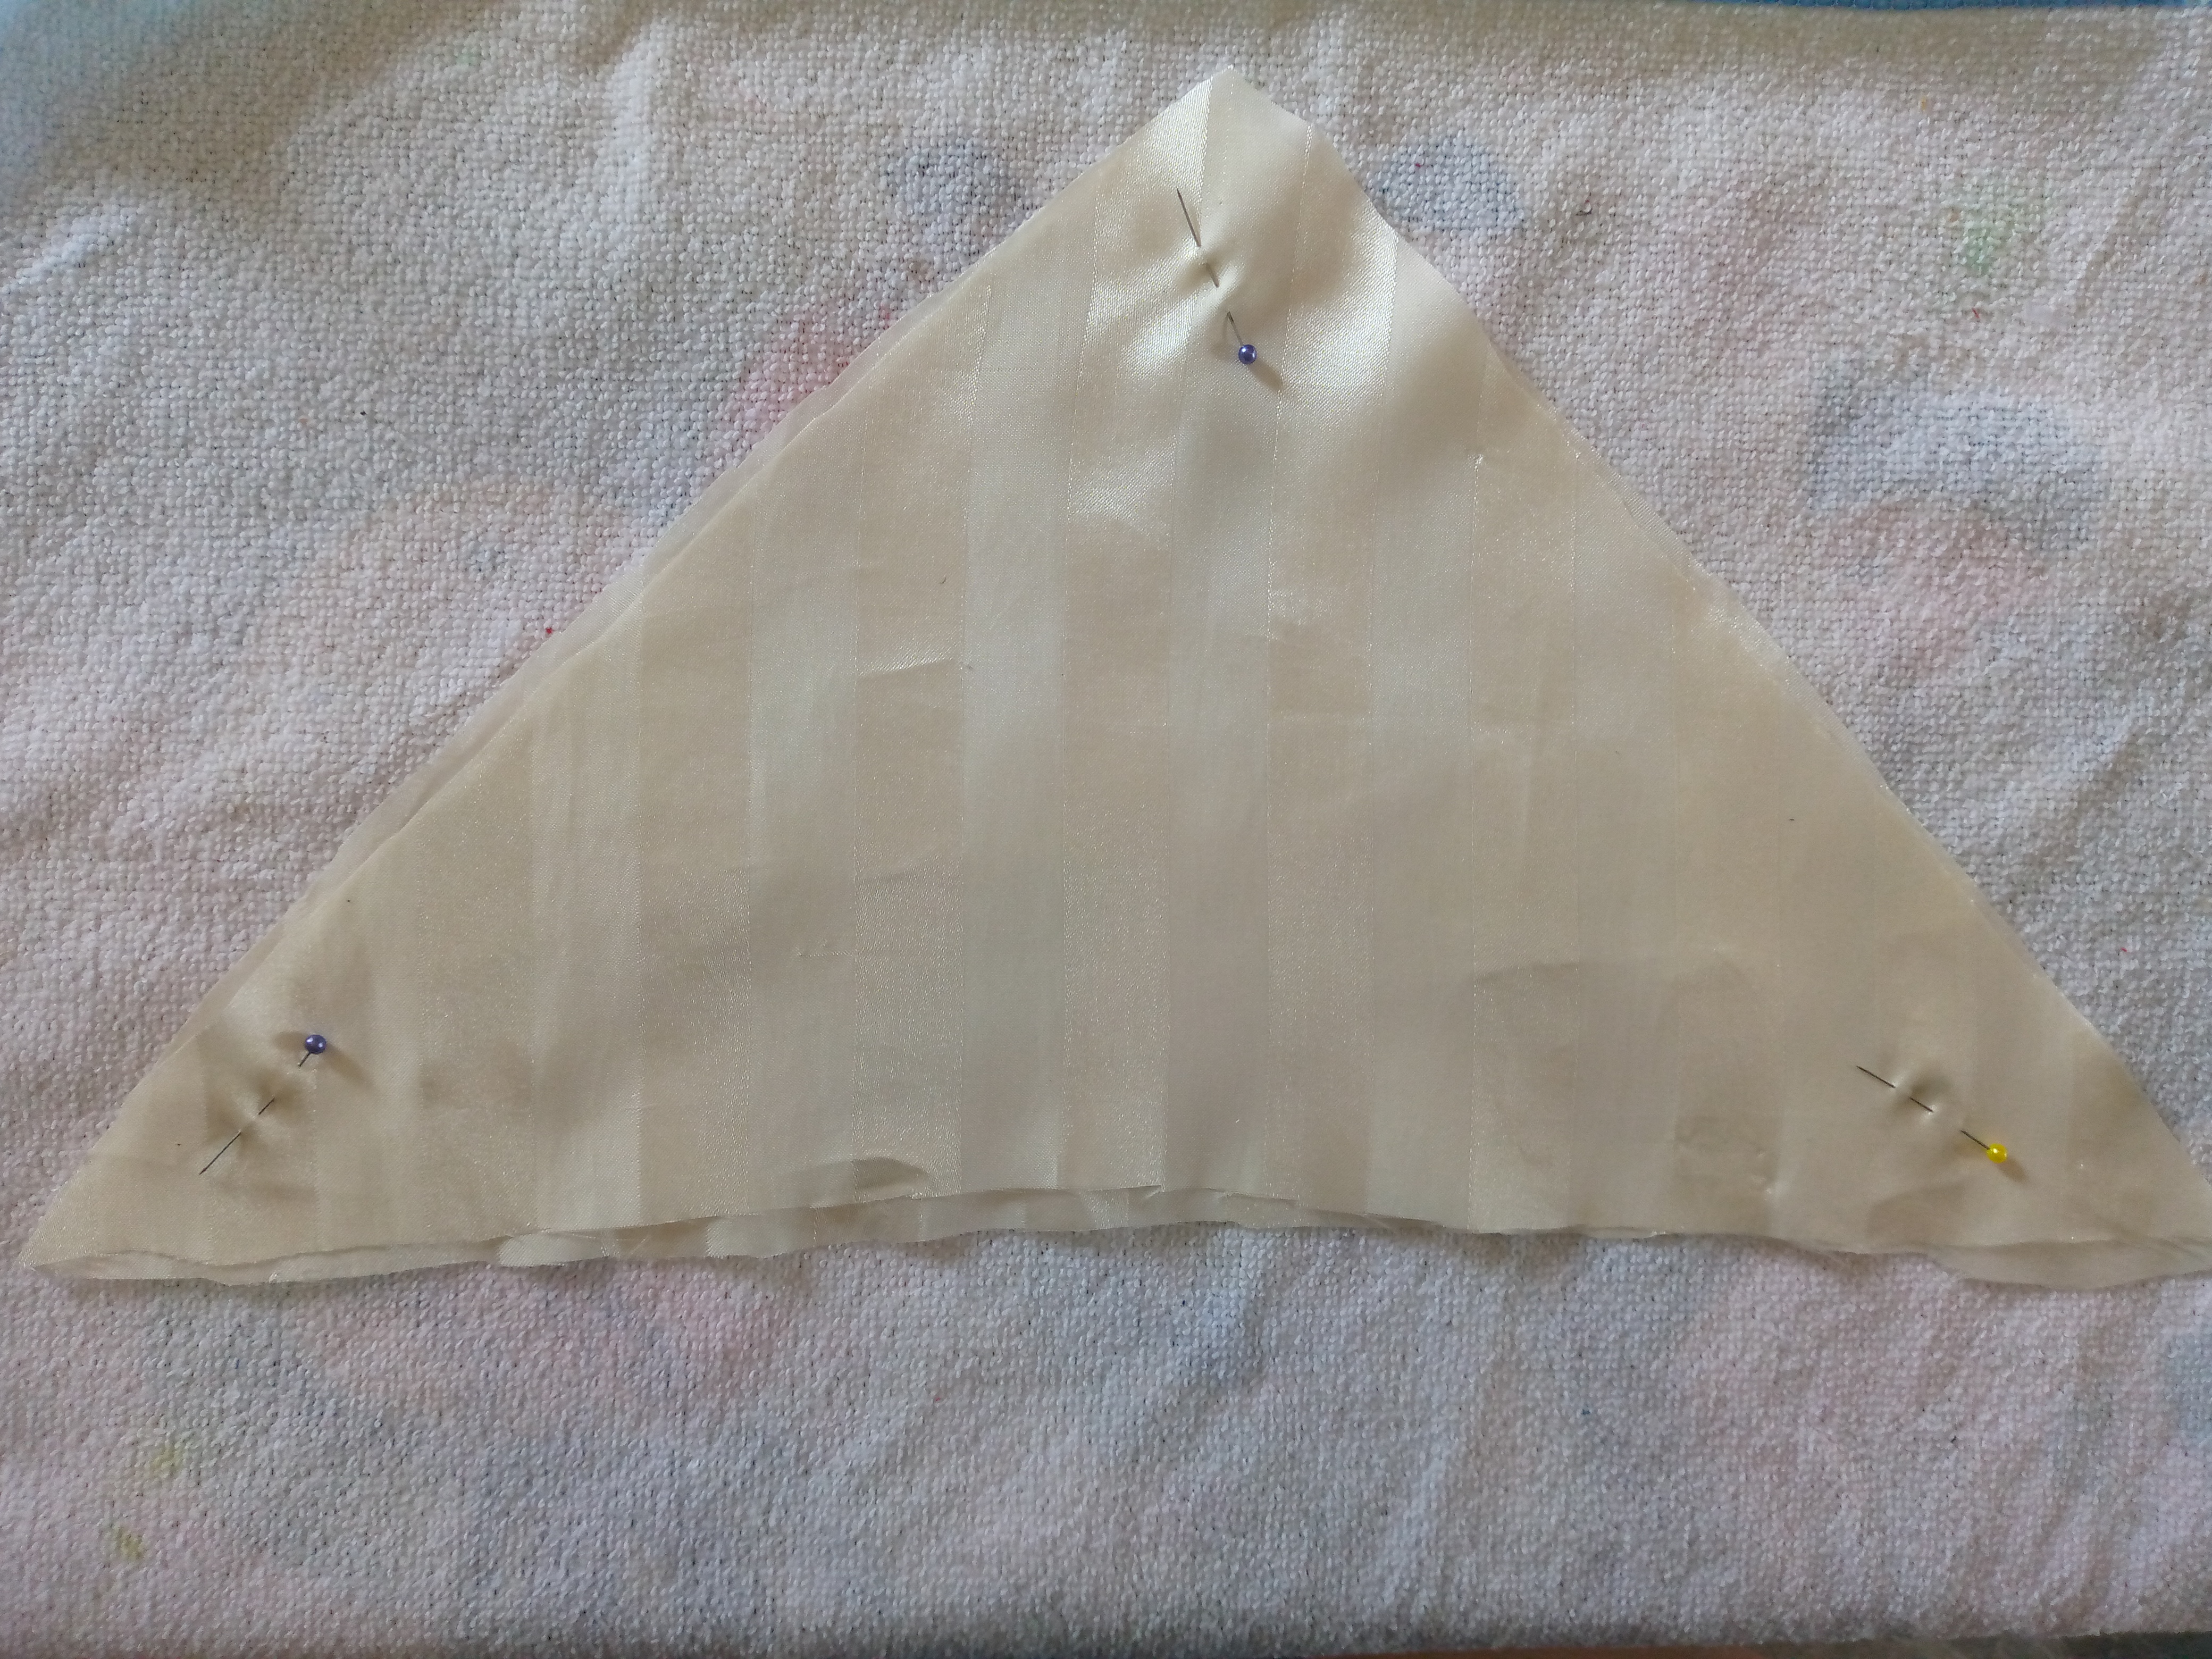
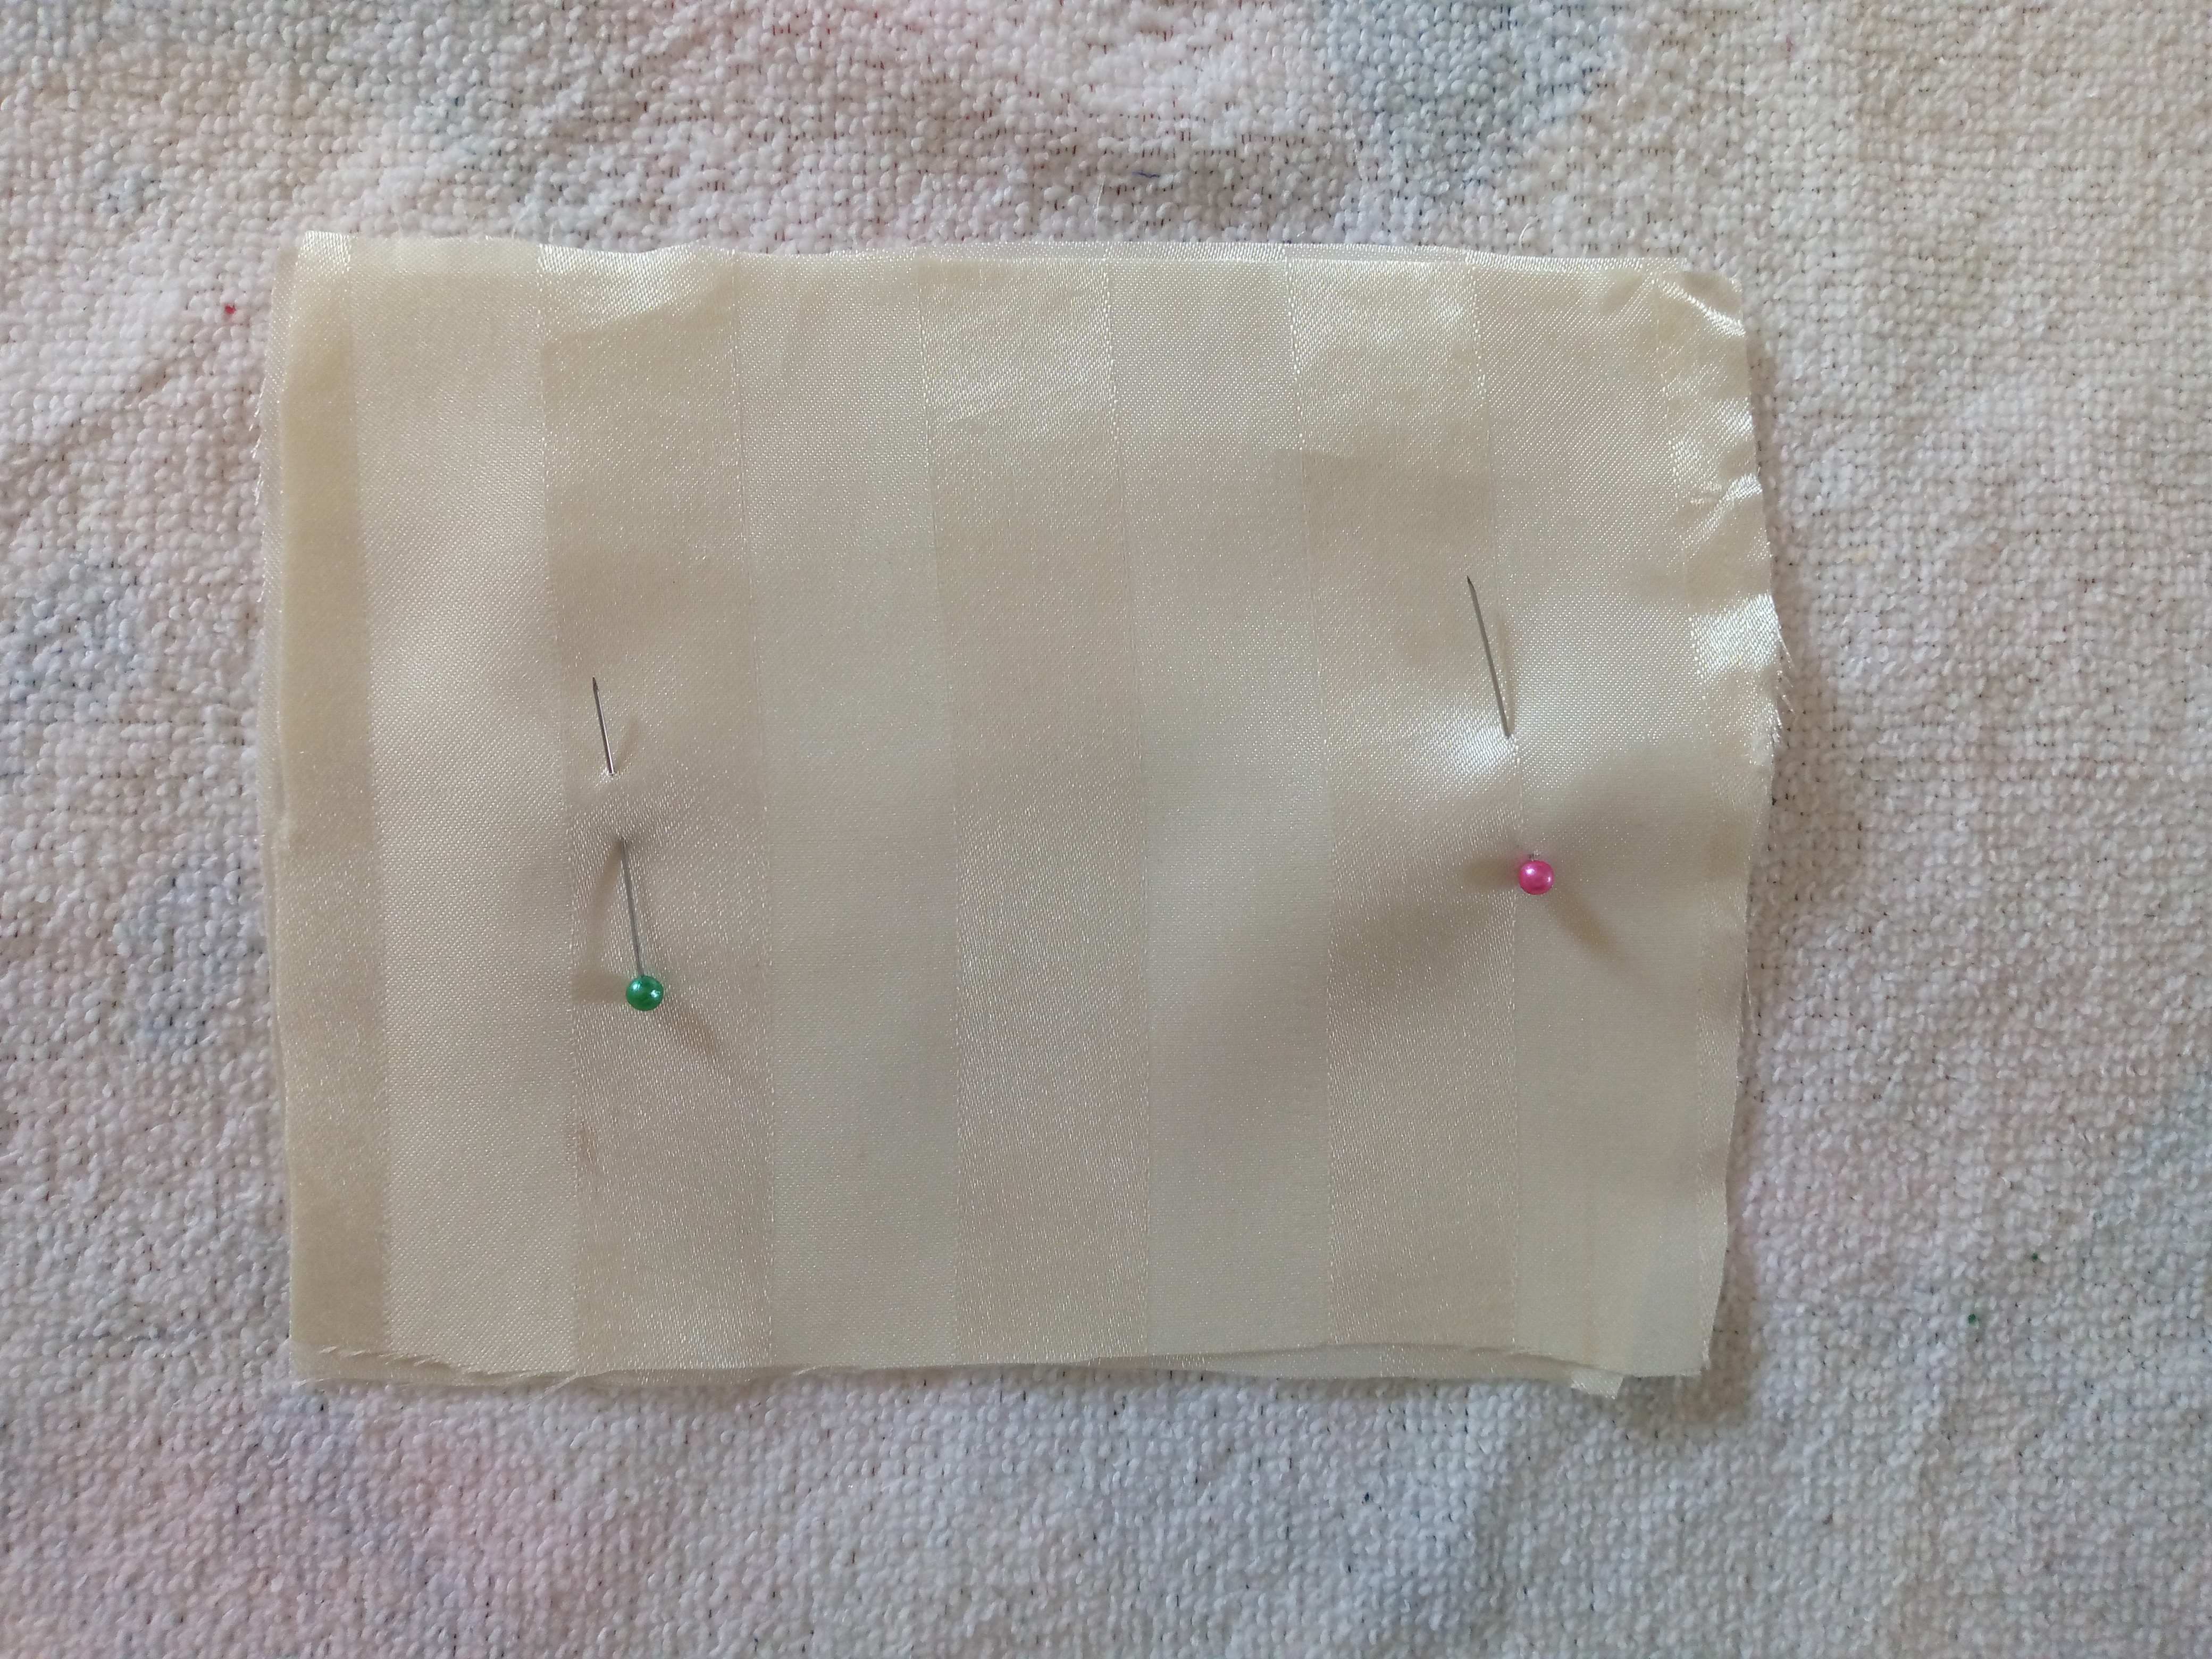
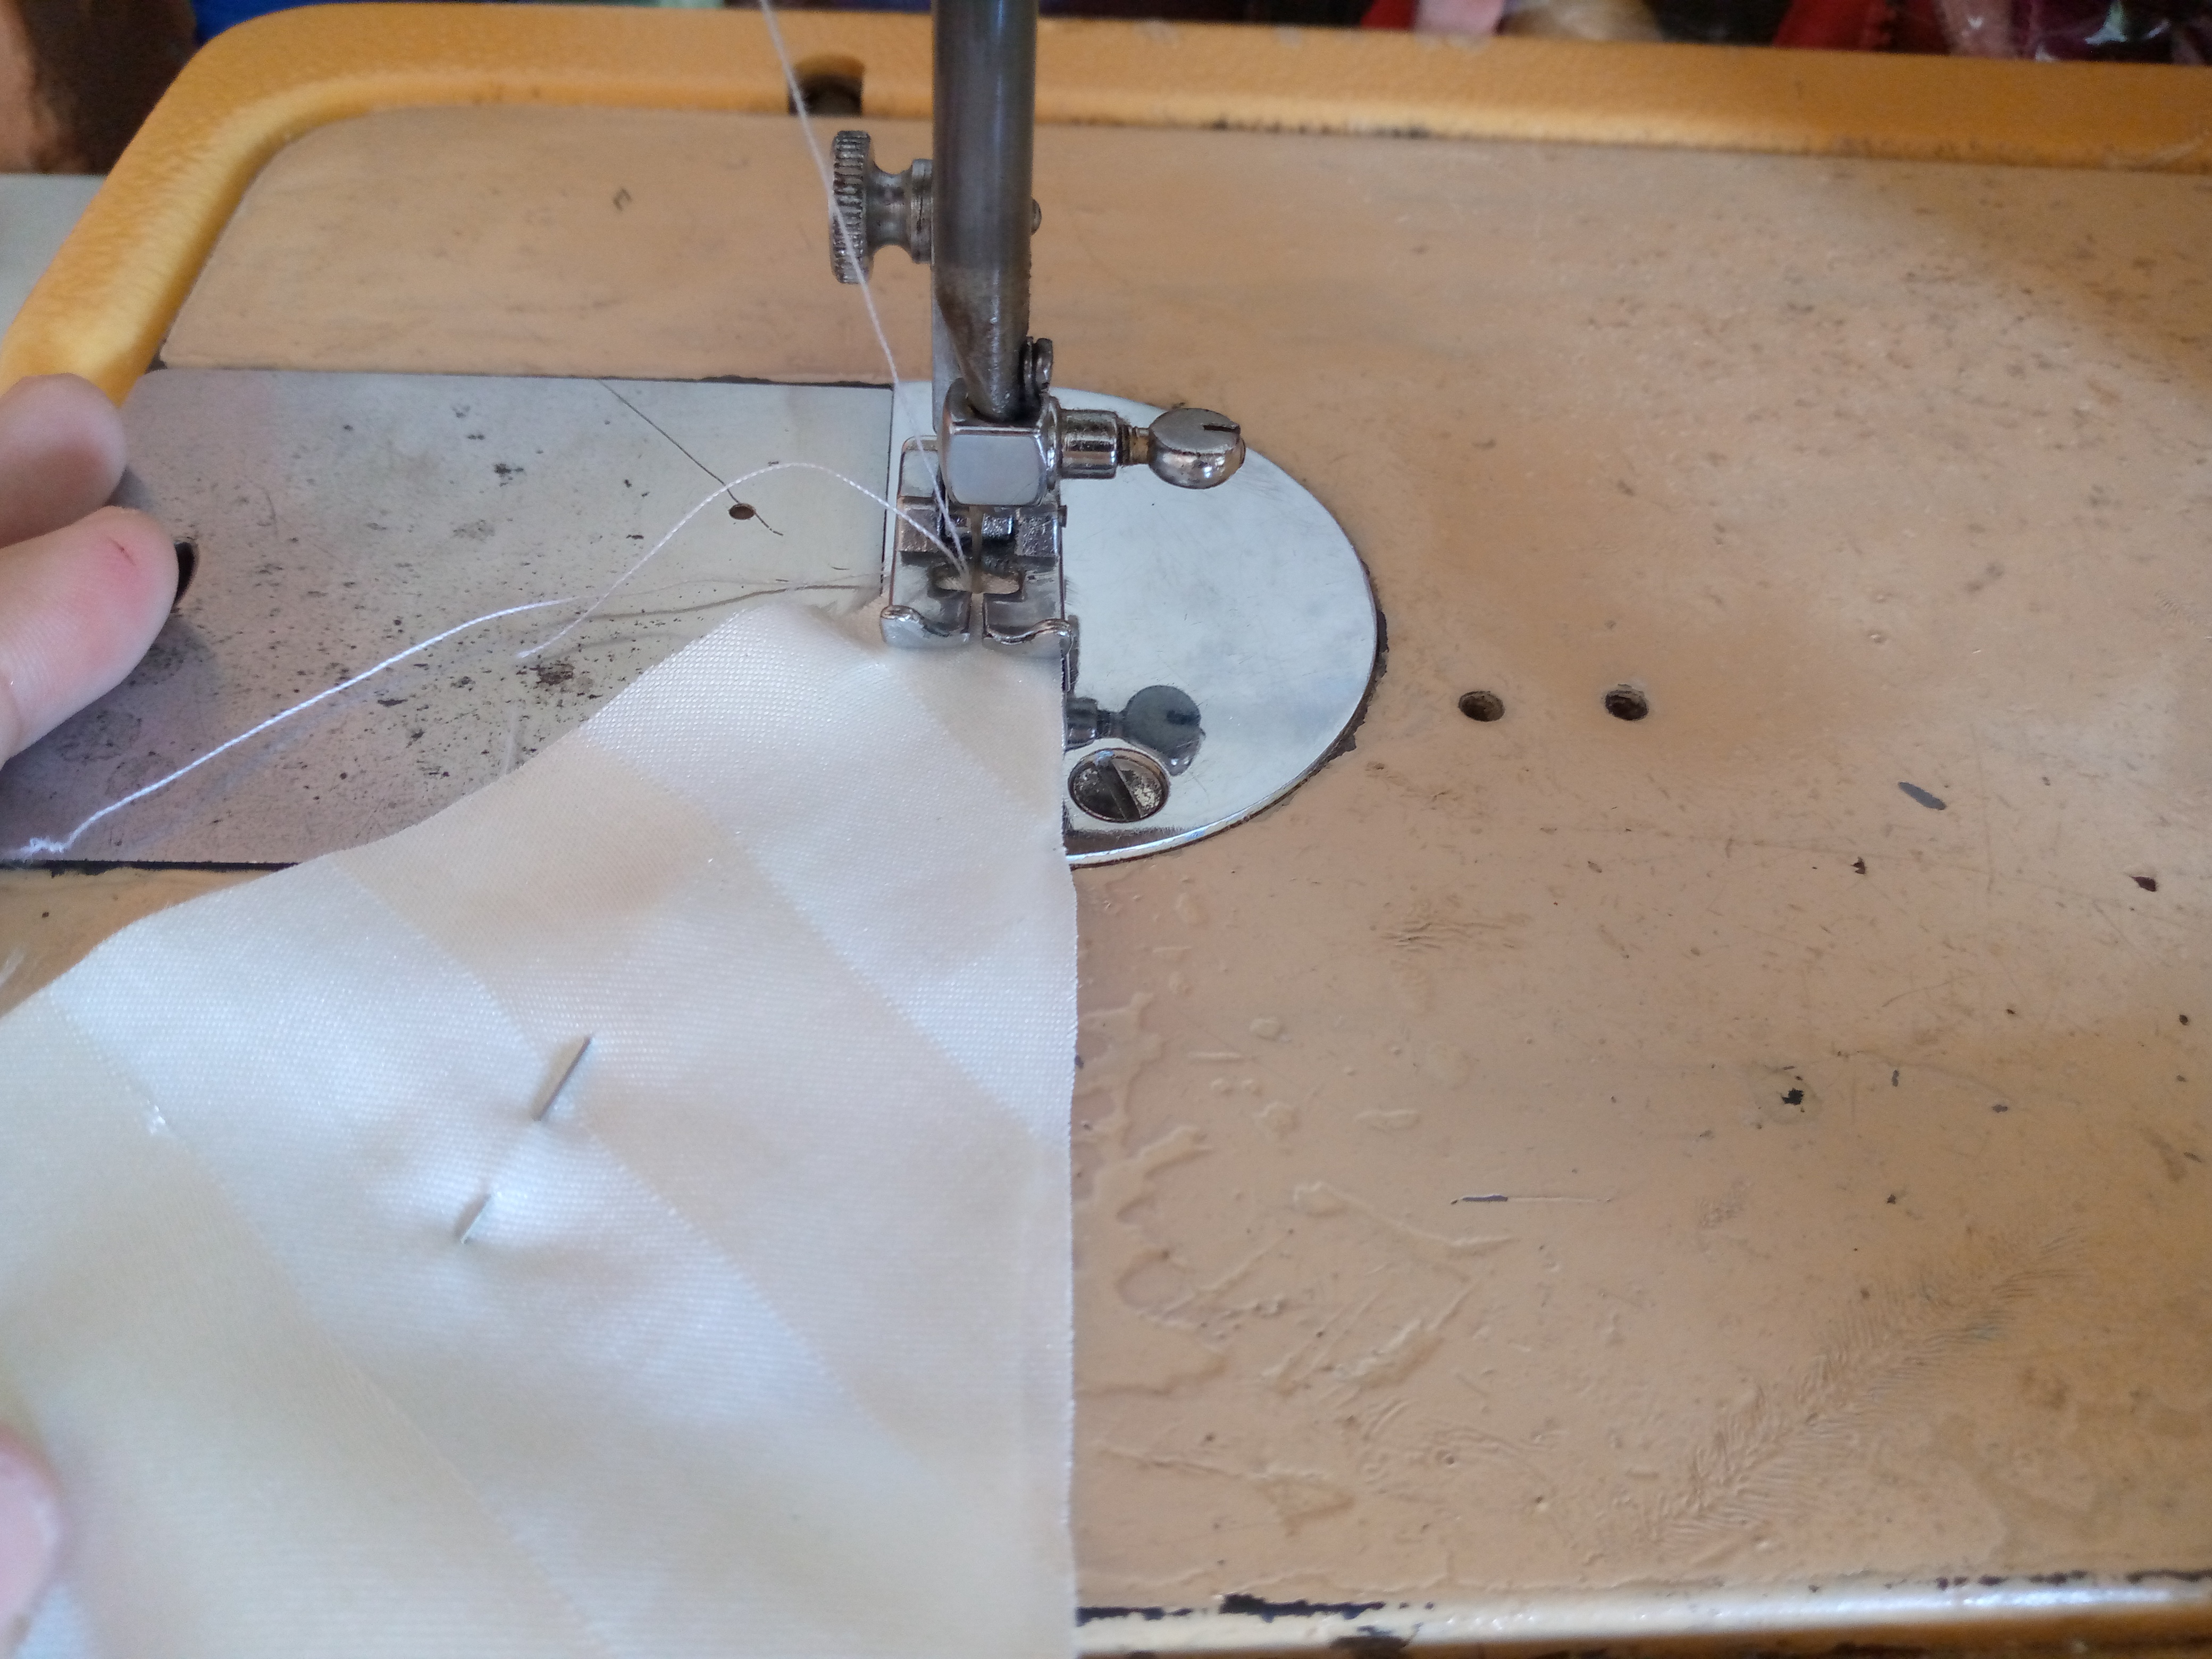
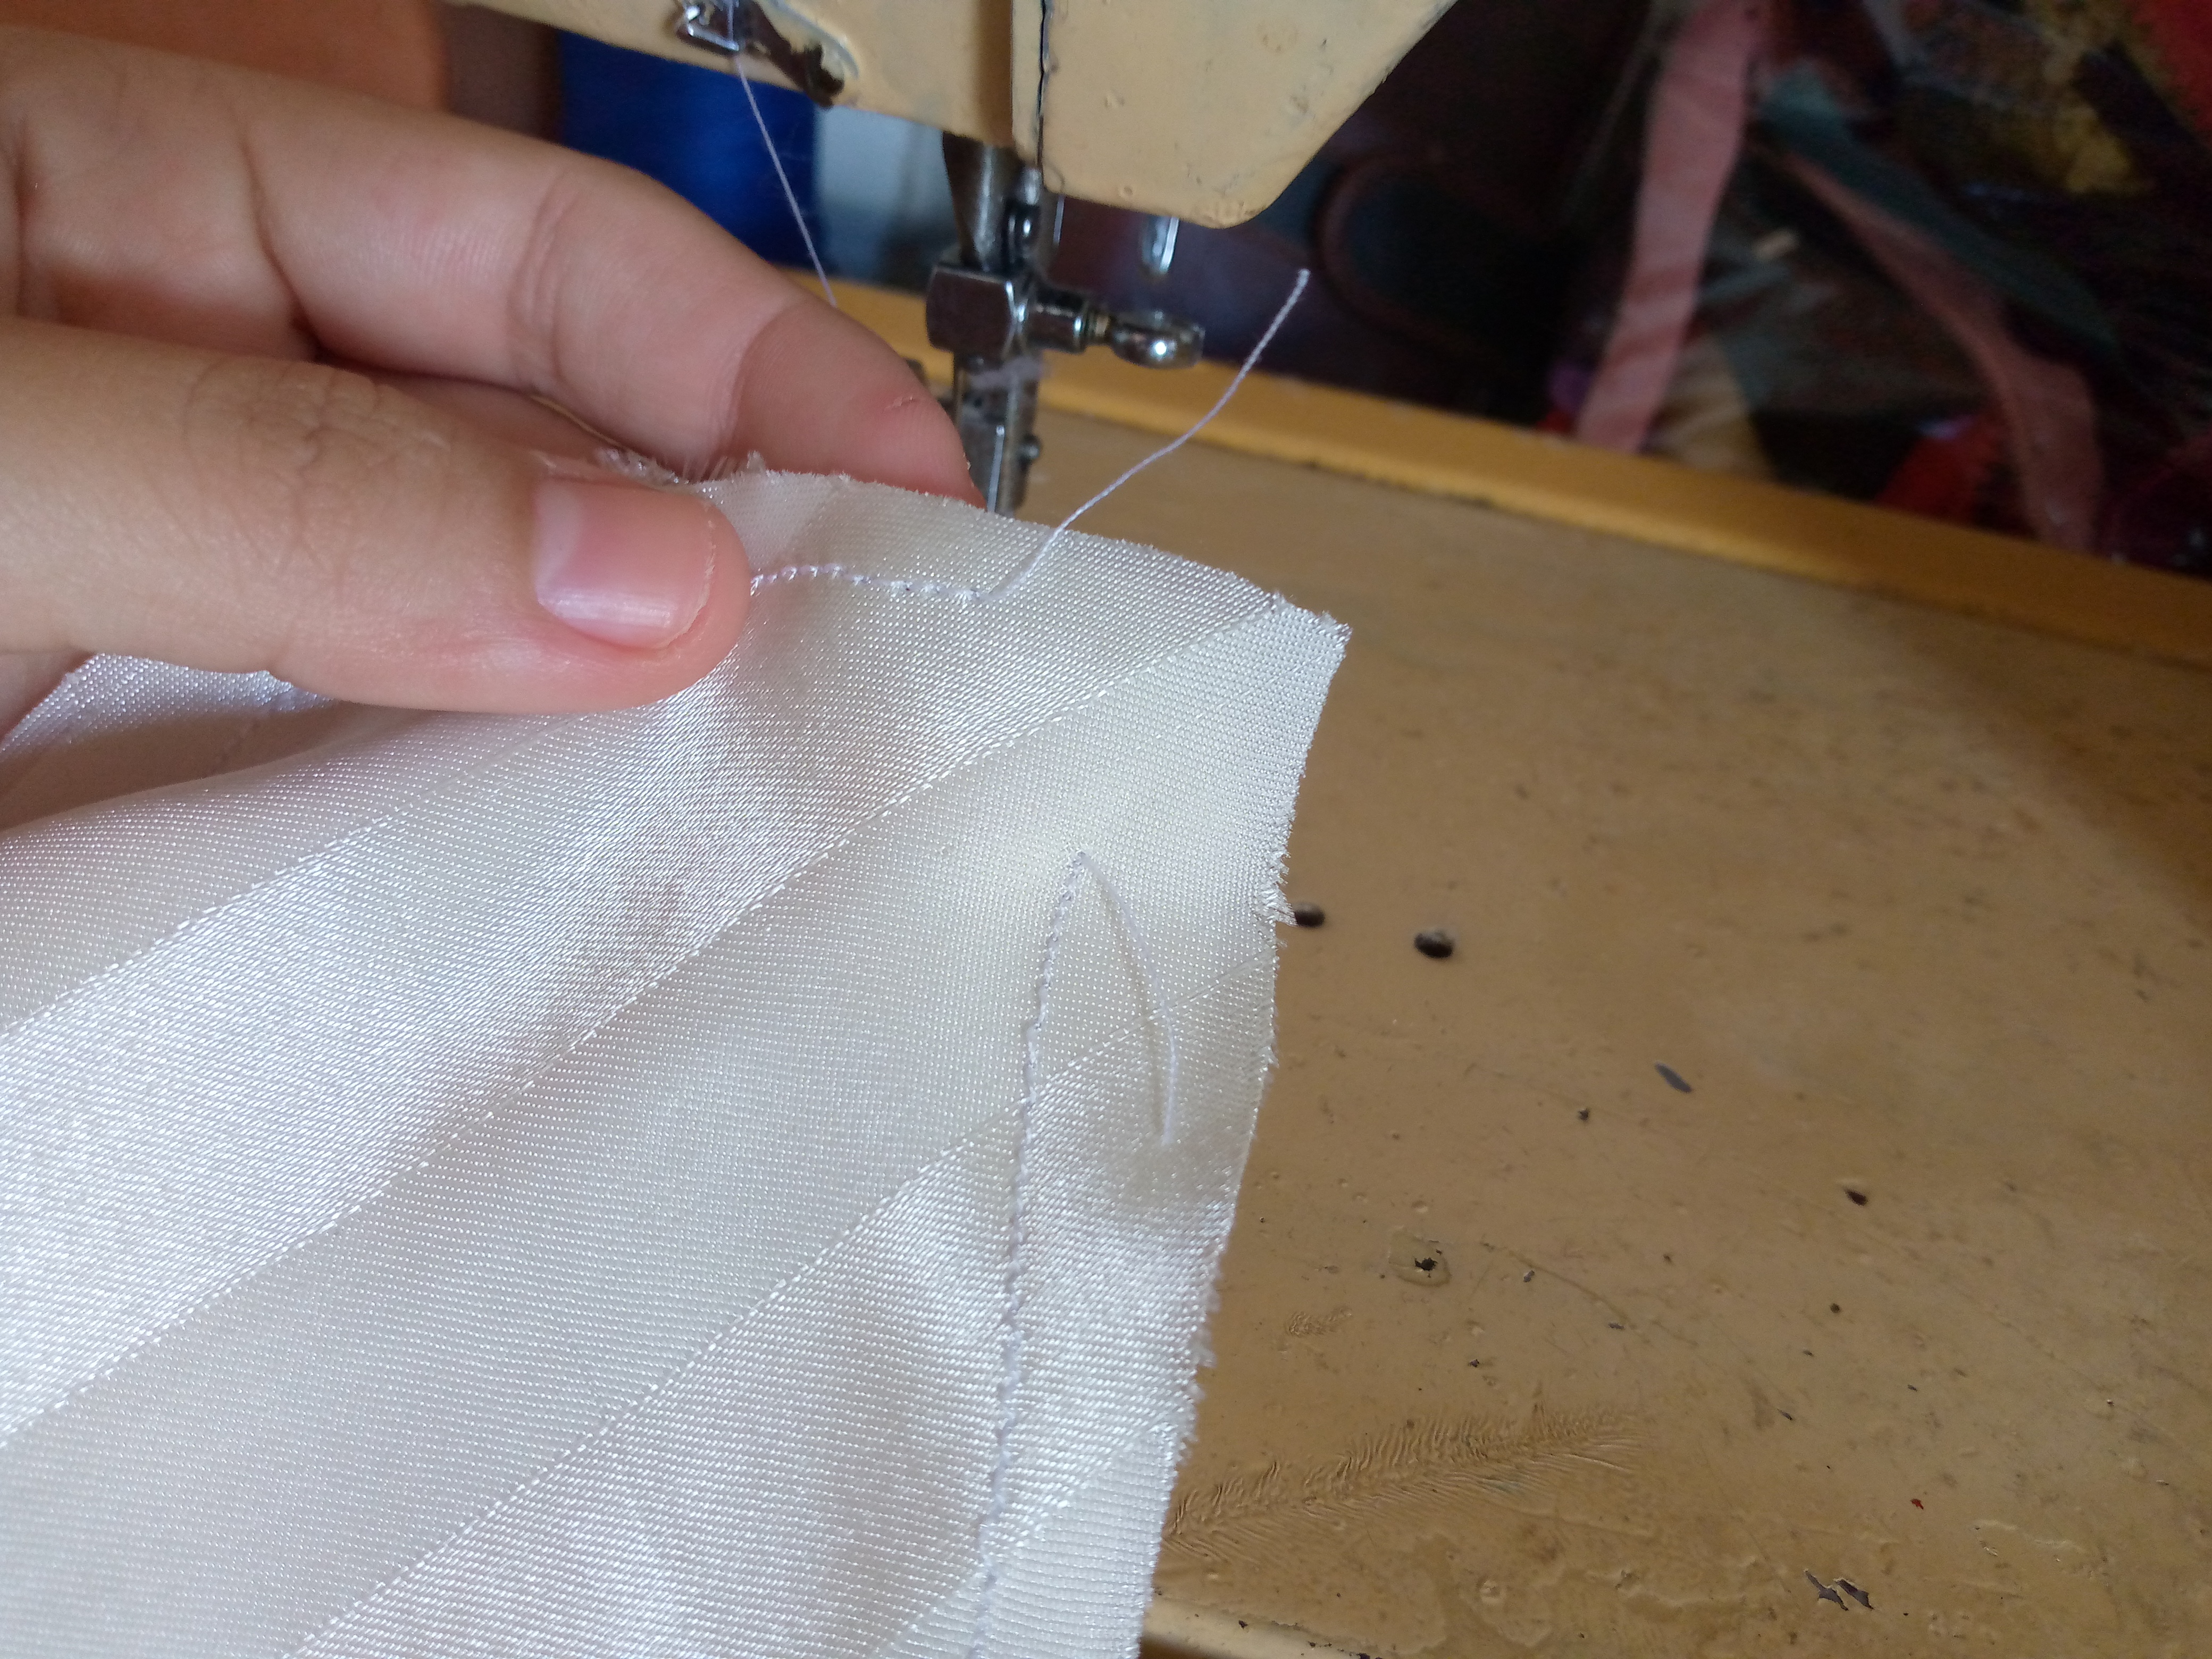
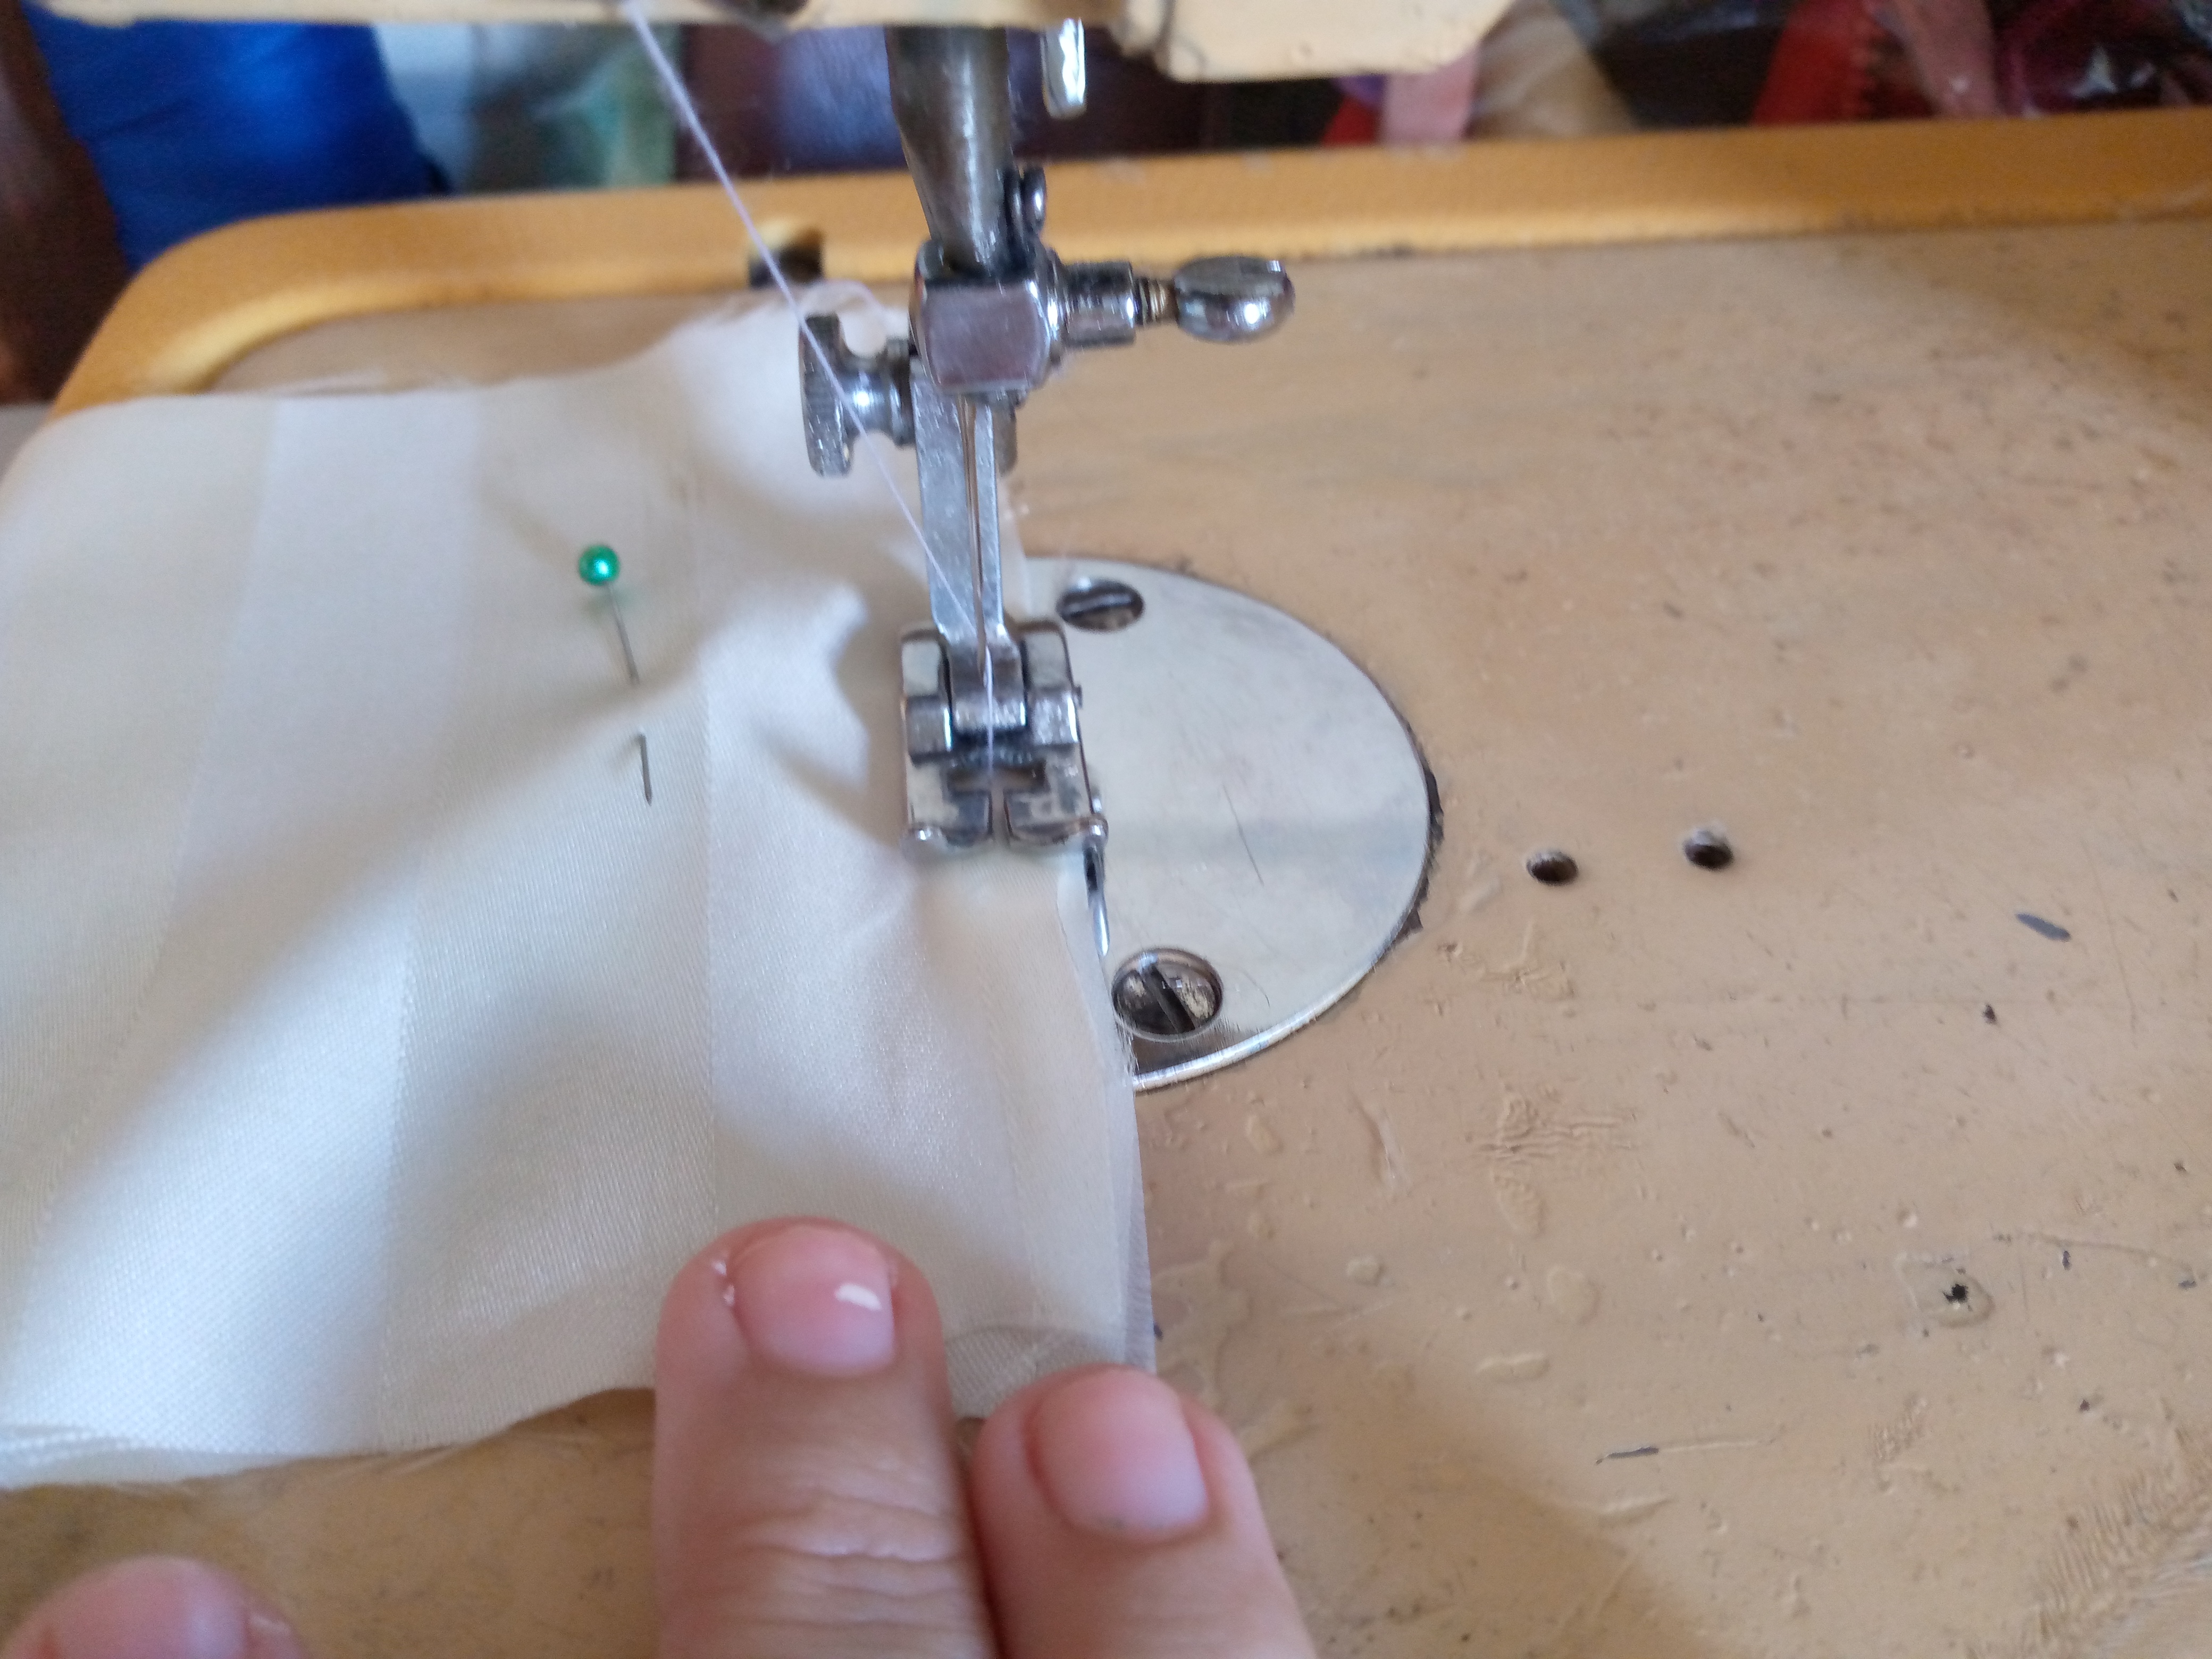
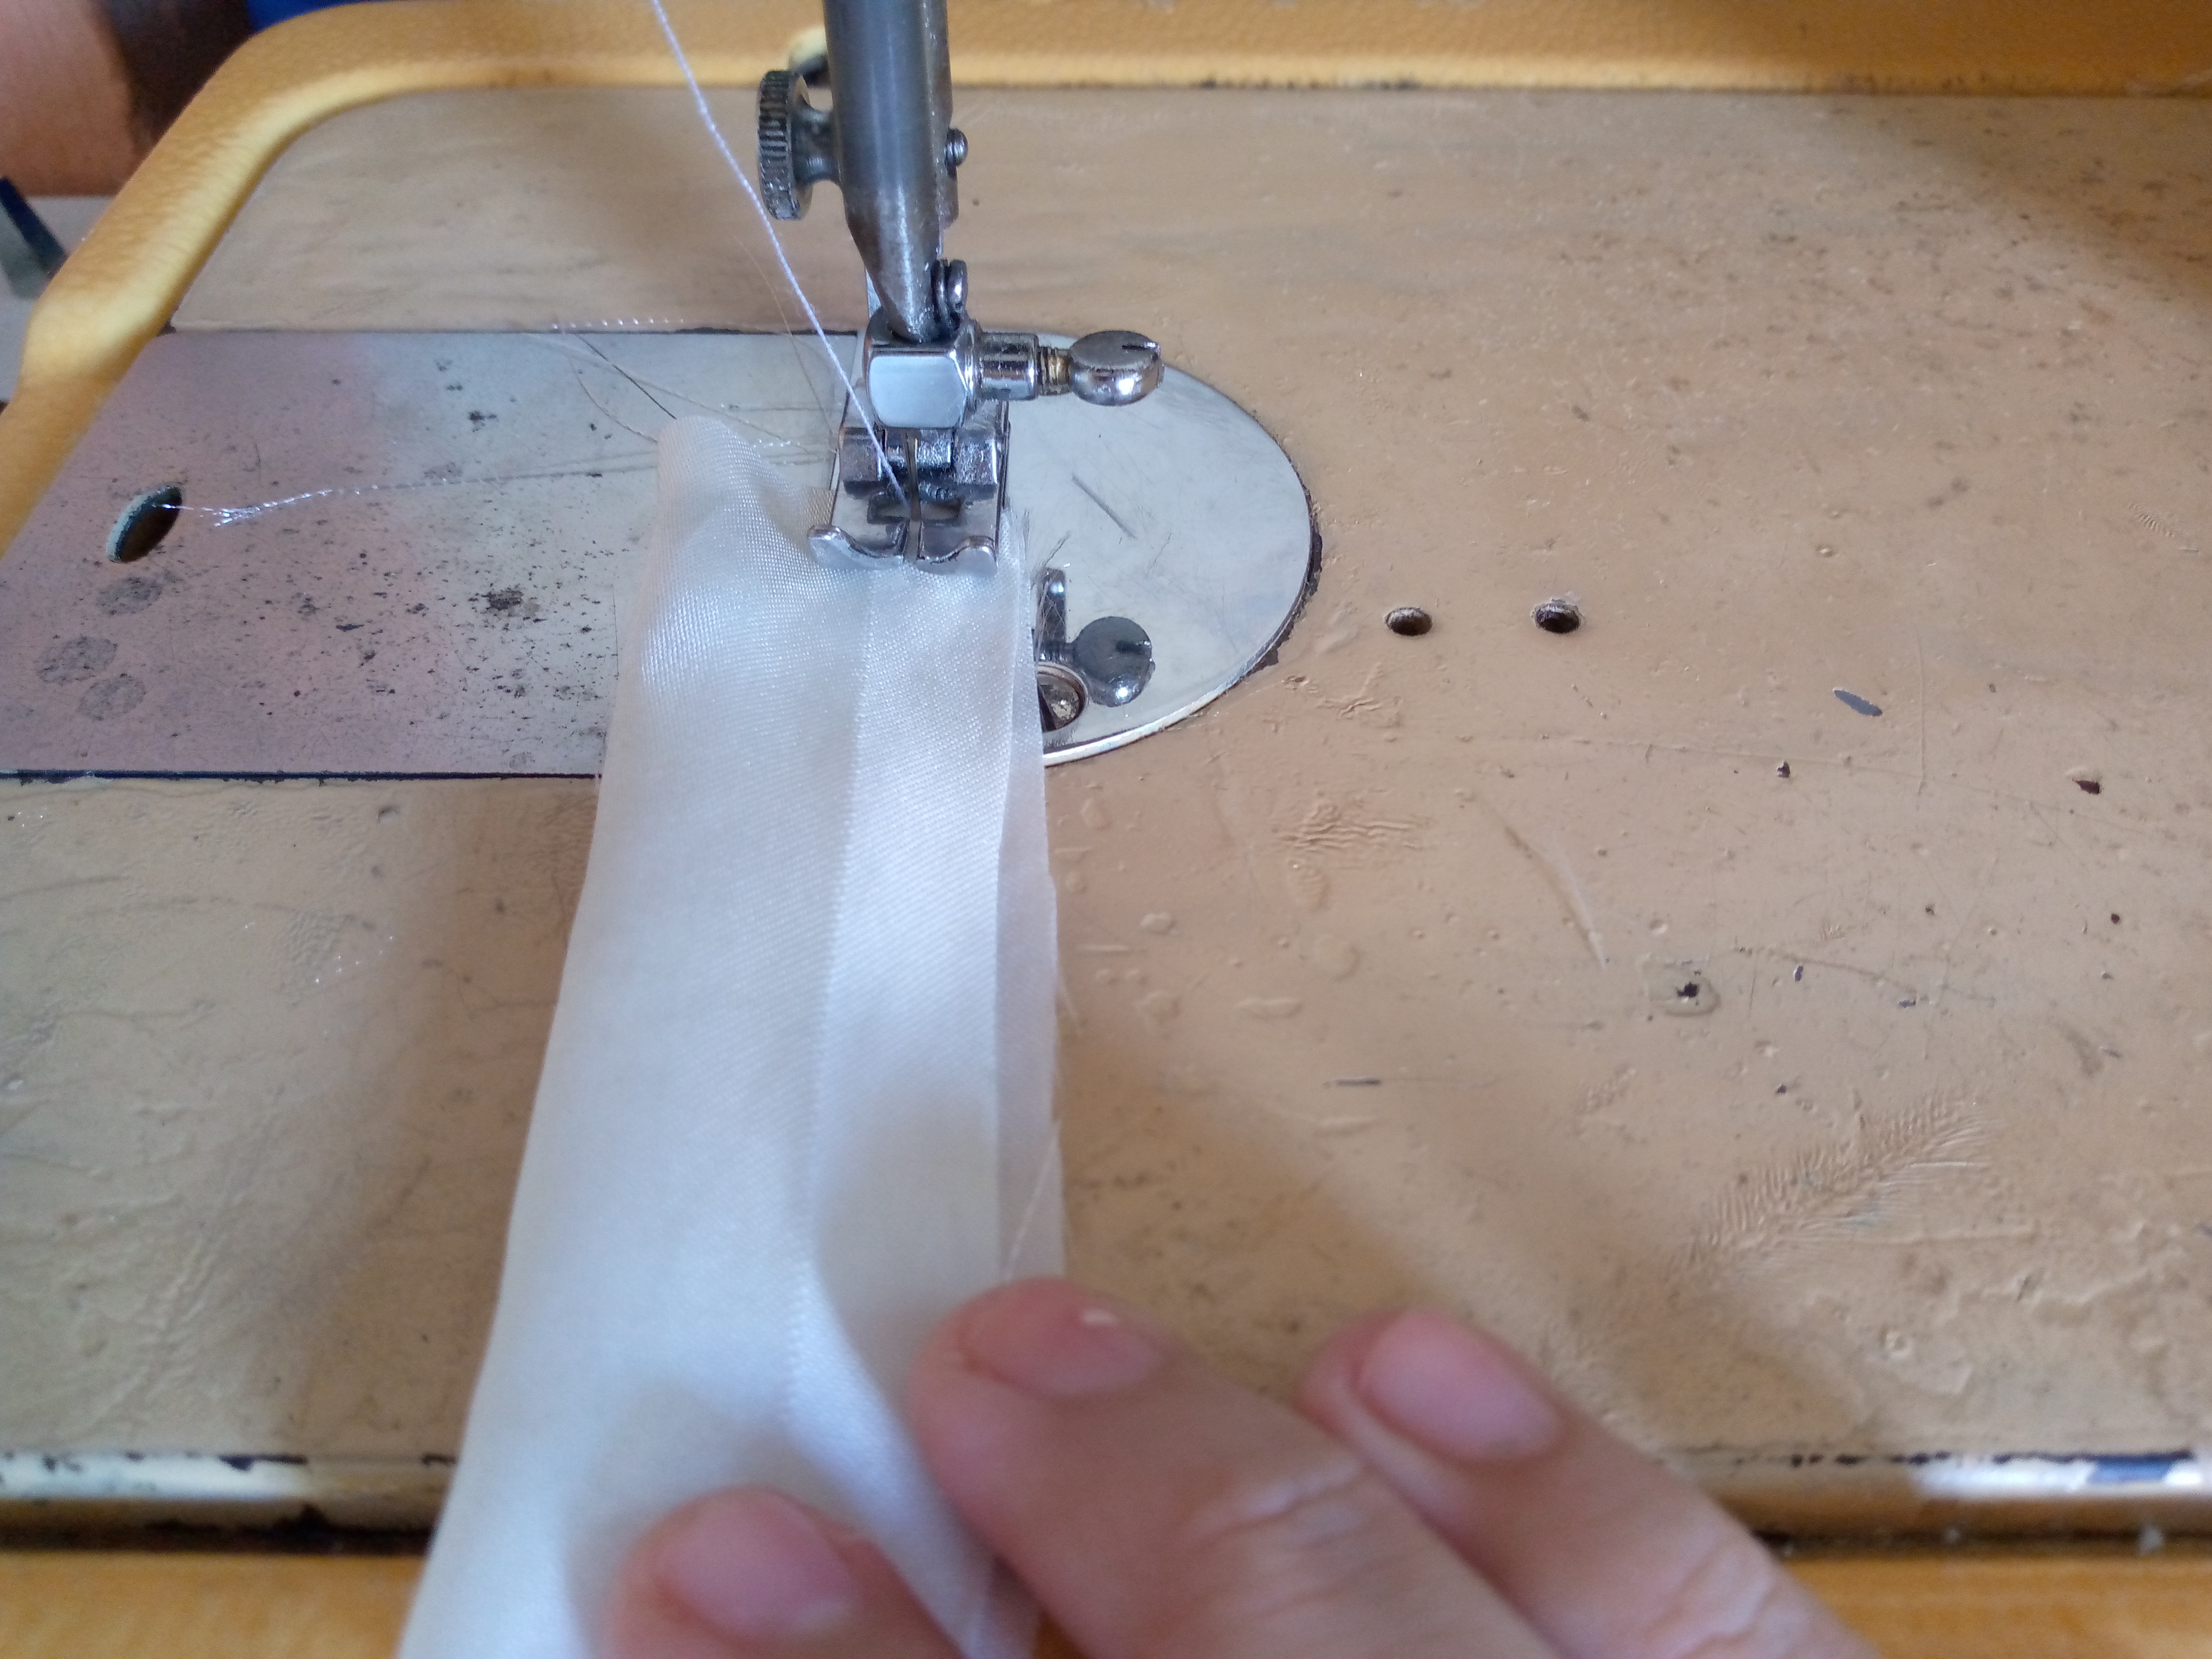
We then moved on to sewing our pieces together. With the pins, I grabbed the double fabric because it tends to bend or roll since it is very soft, but with care I was able to start sewing the triangle, which is the main piece of the bow. I am going to leave a small opening at the top of the triangle so I can turn it over there.

Paso 03
Step 03
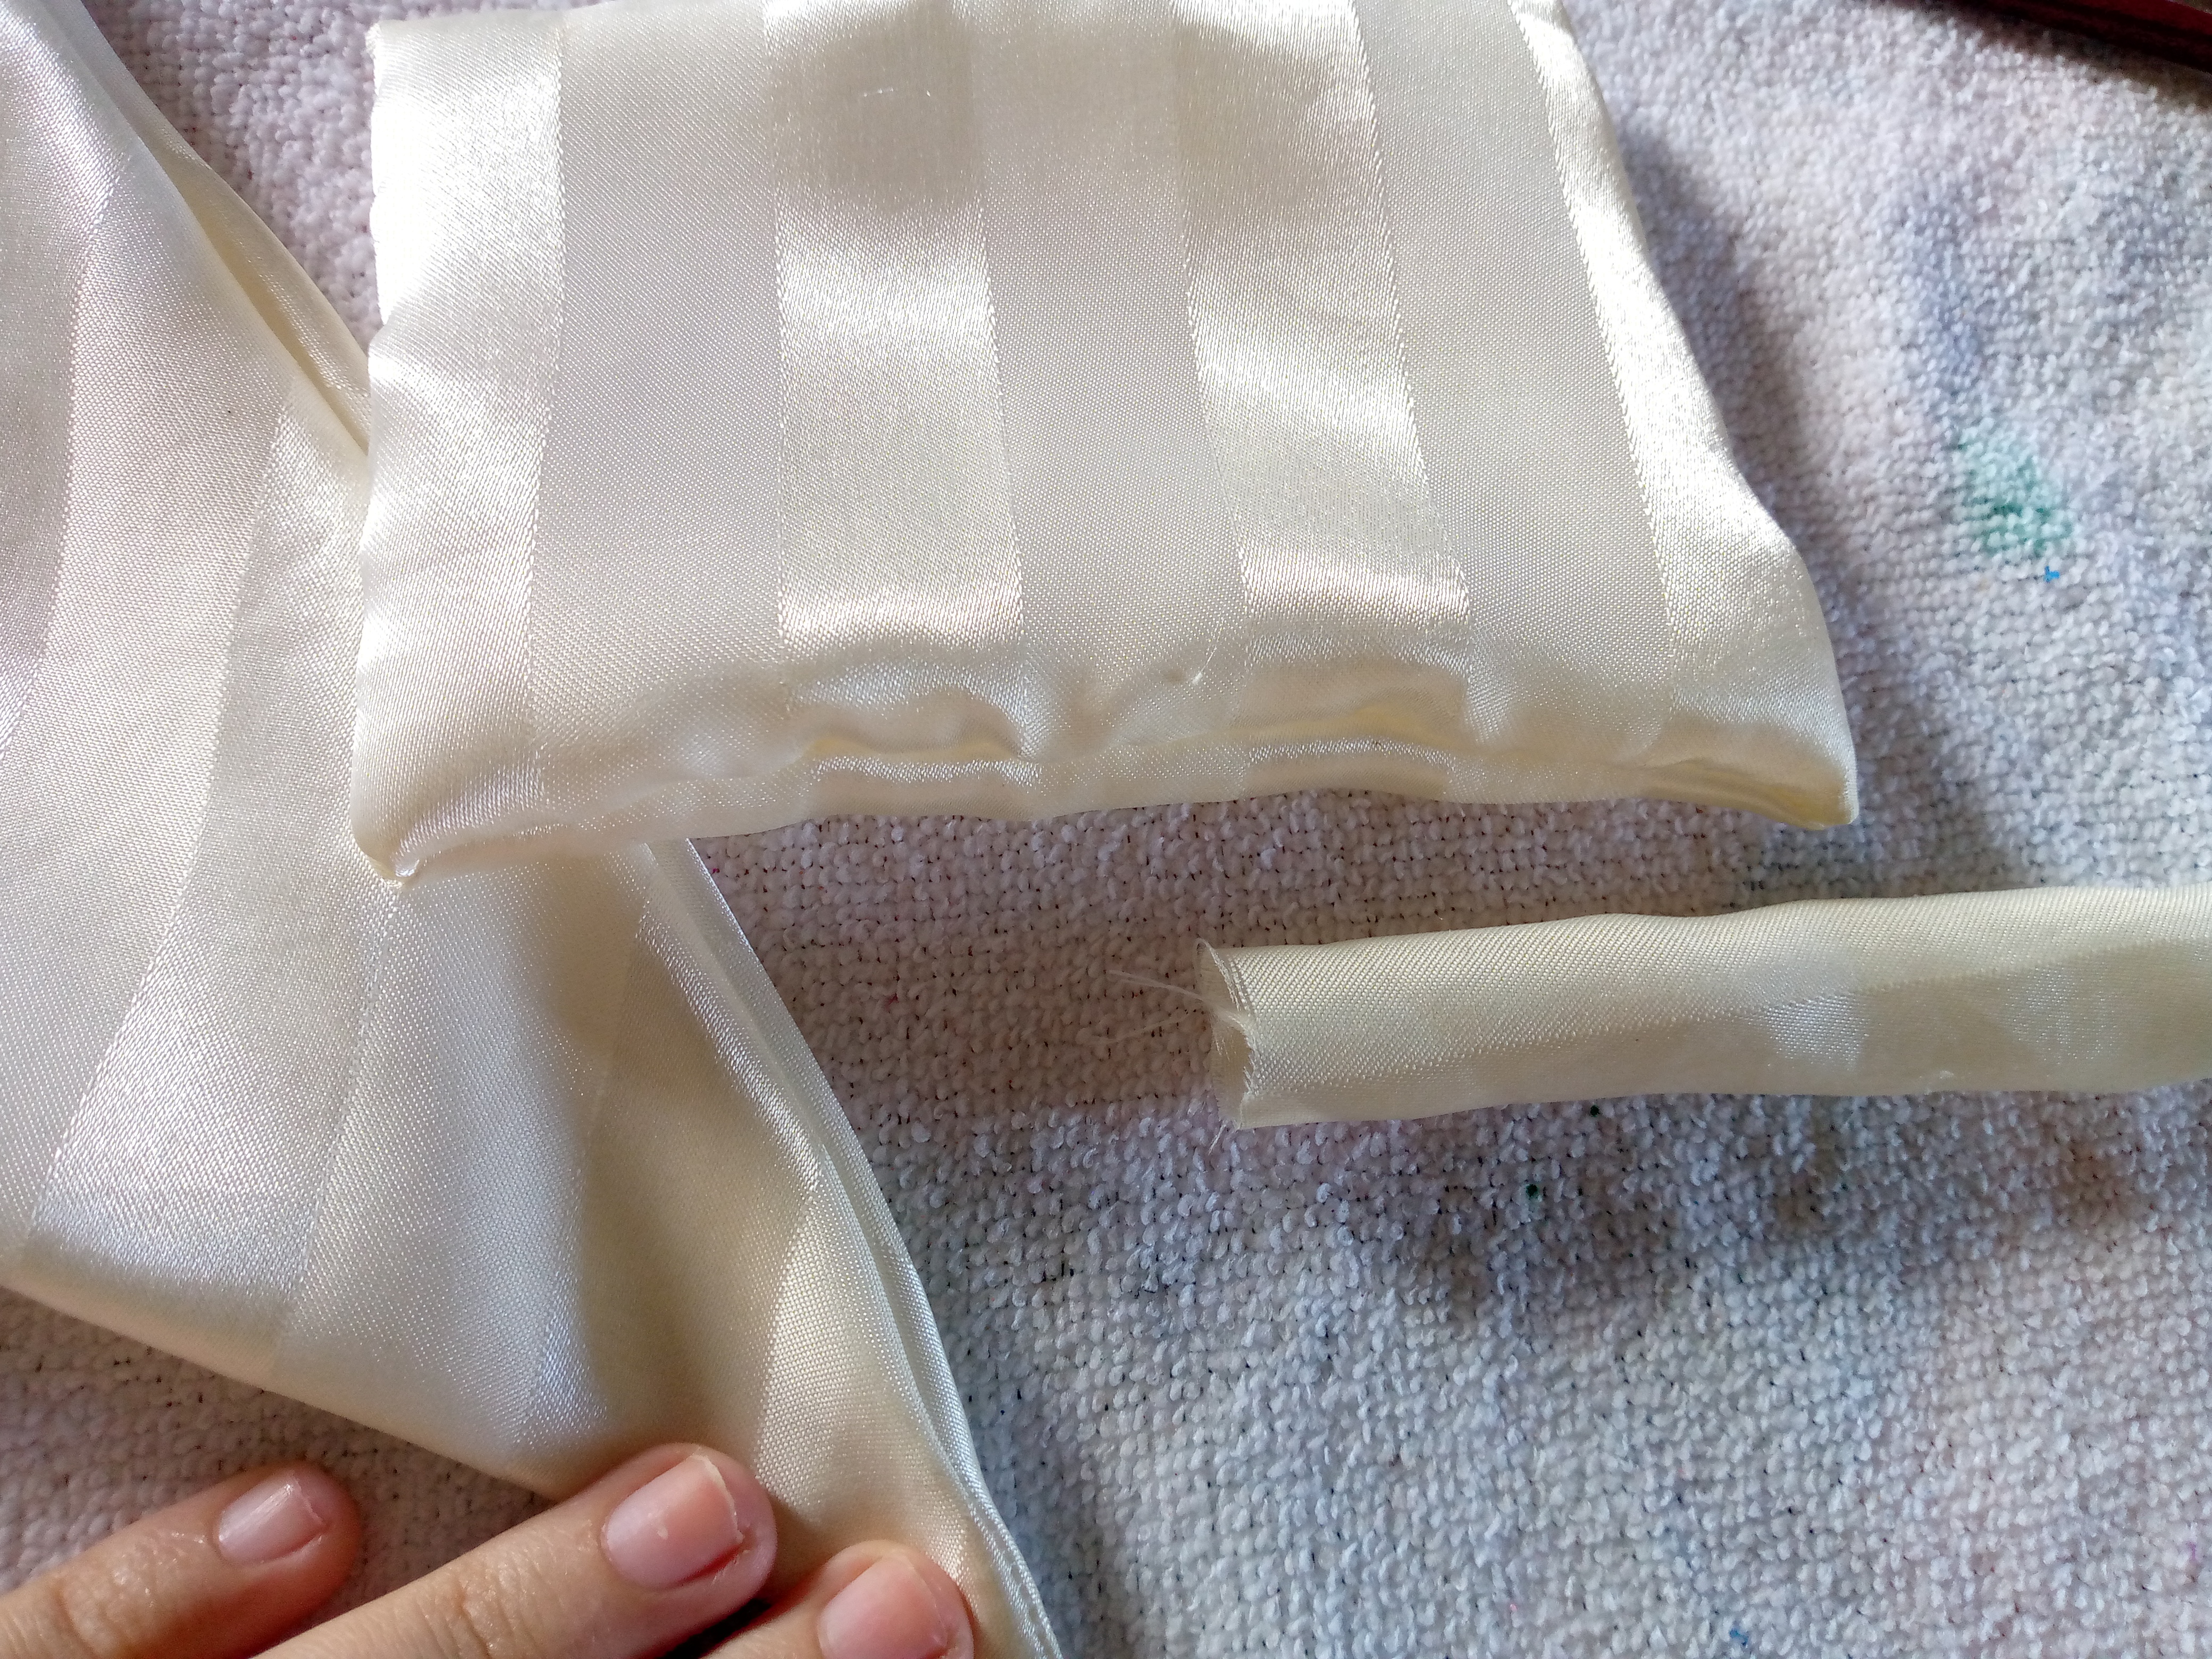
I will continue sewing the pieces, this time I will sew the top part of the frame and also in one part I will leave an opening to be able to turn the frame over, I also sewed the piece that joins my bow, it has a straight seam along the edge and can now be easily turned over, to give it a nicer finish I decided to iron the pieces once they were turned over.

Paso 04
Step 04
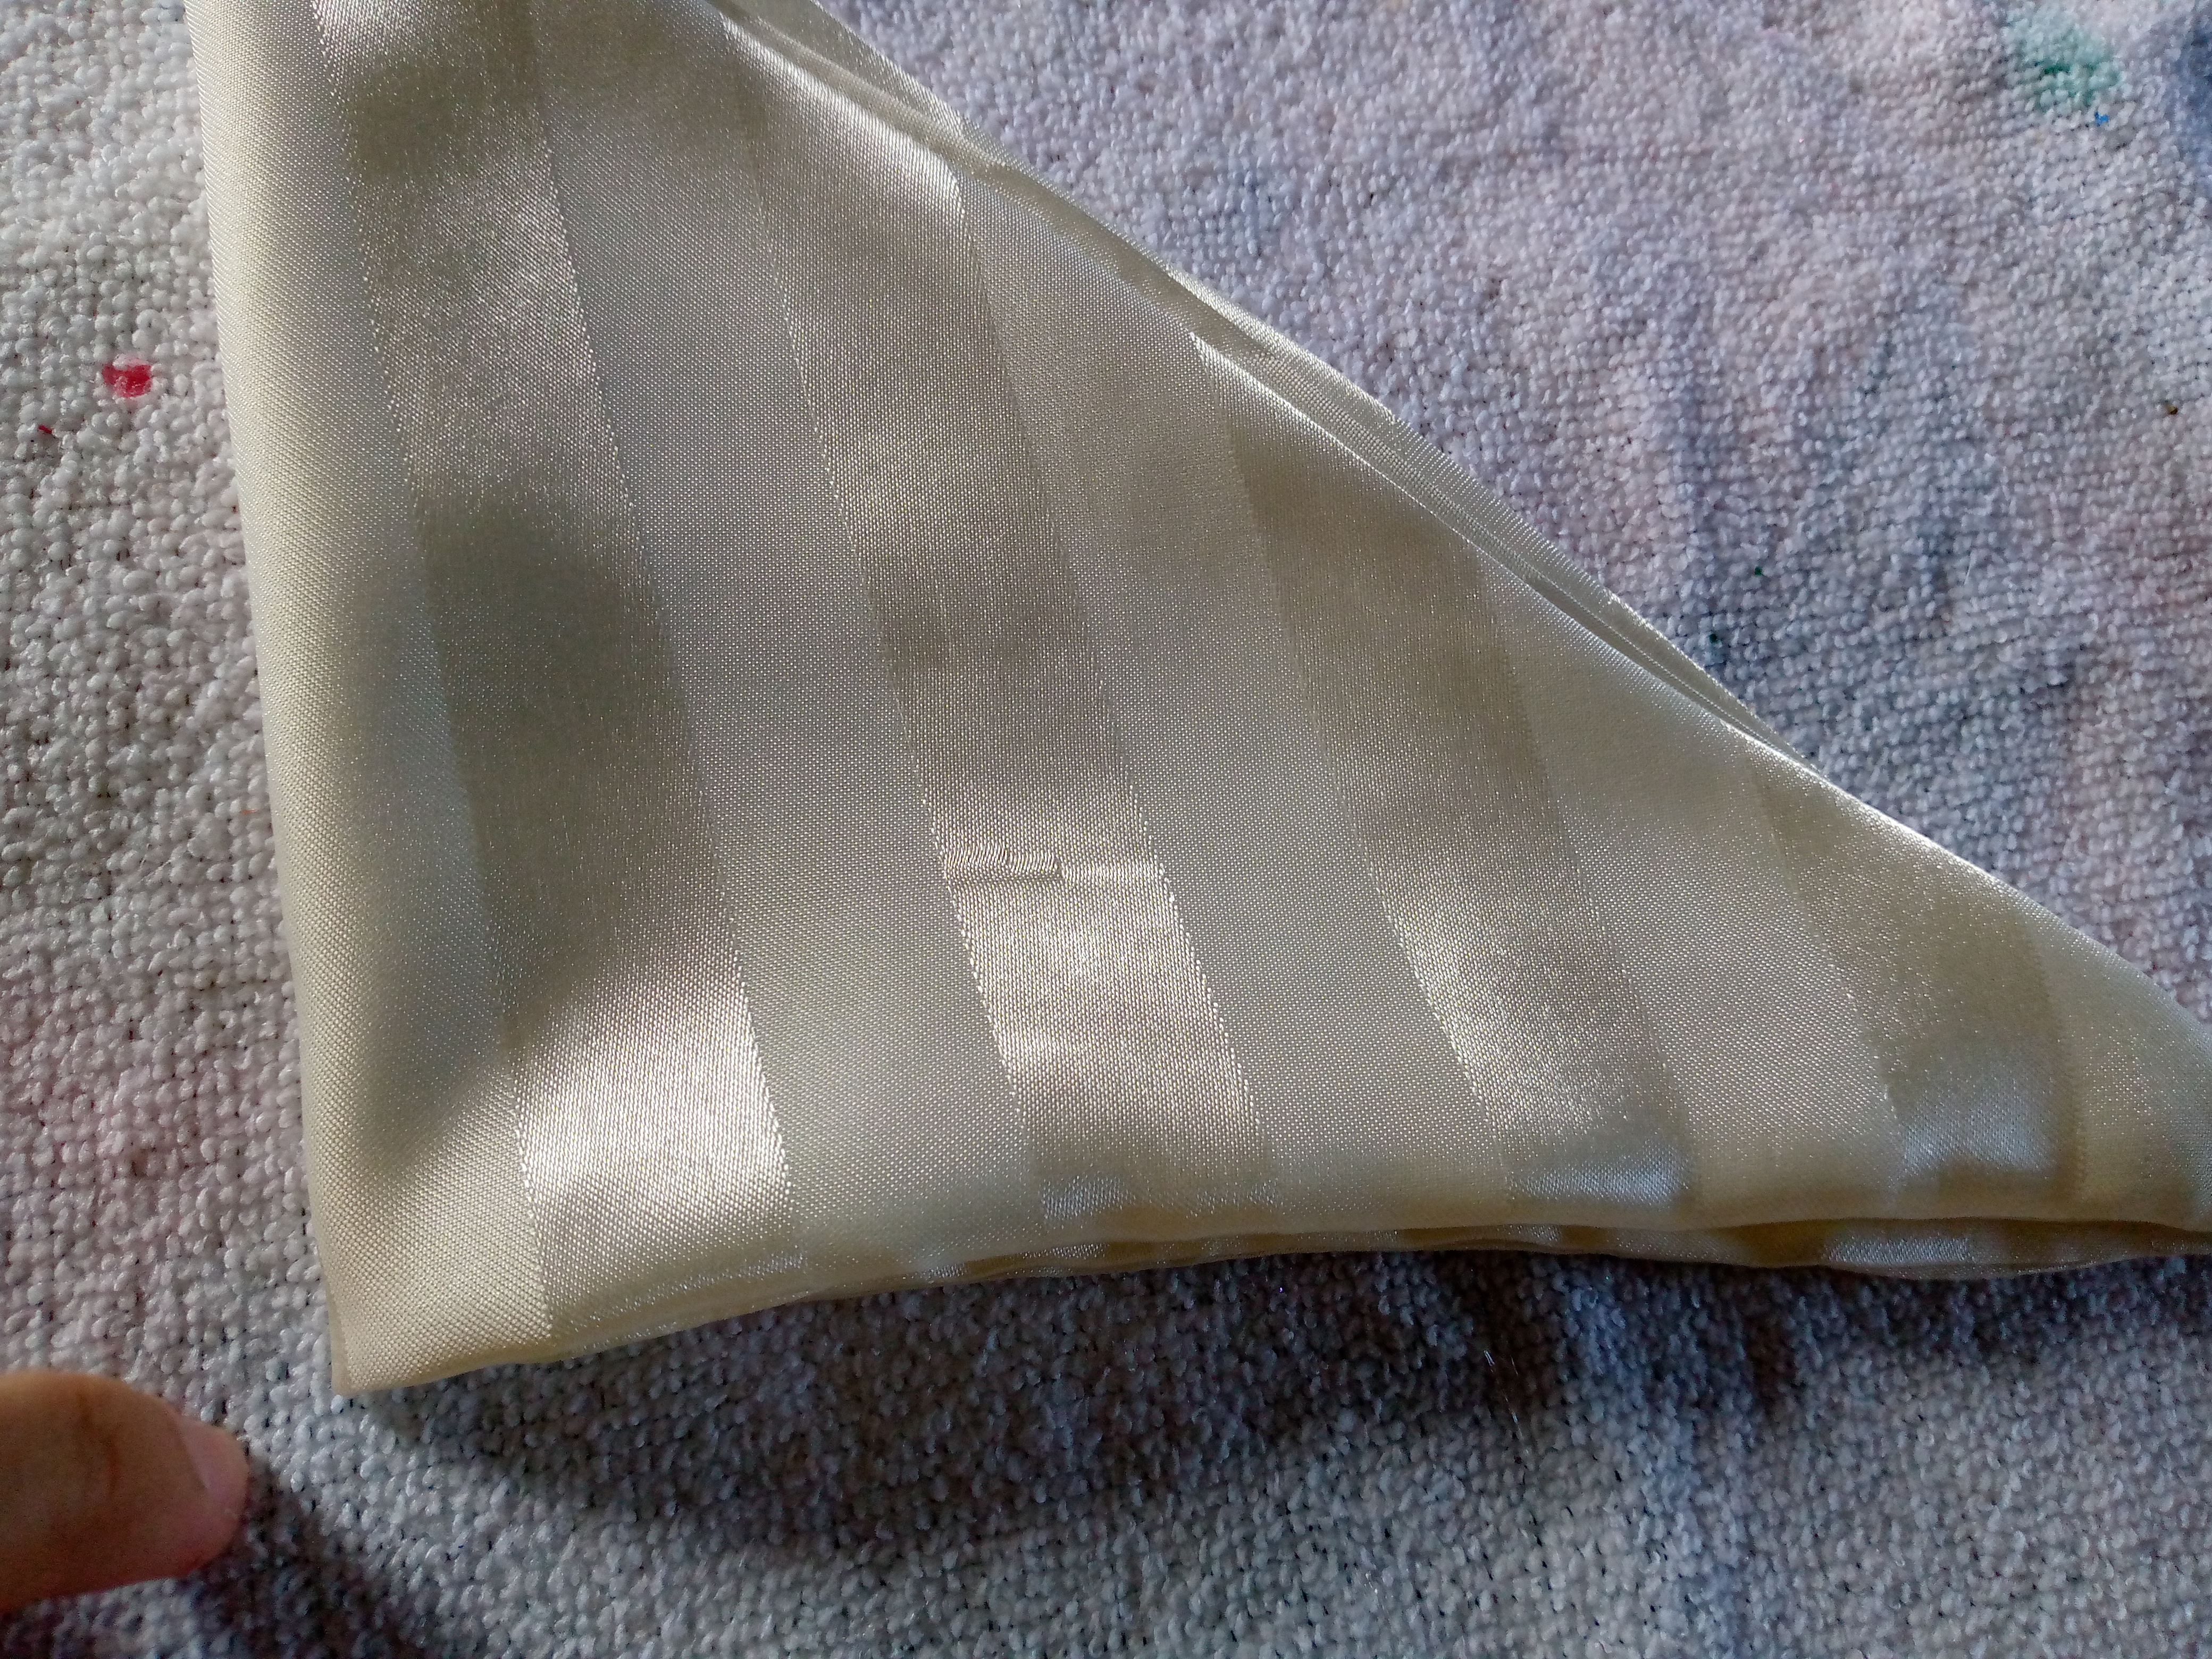
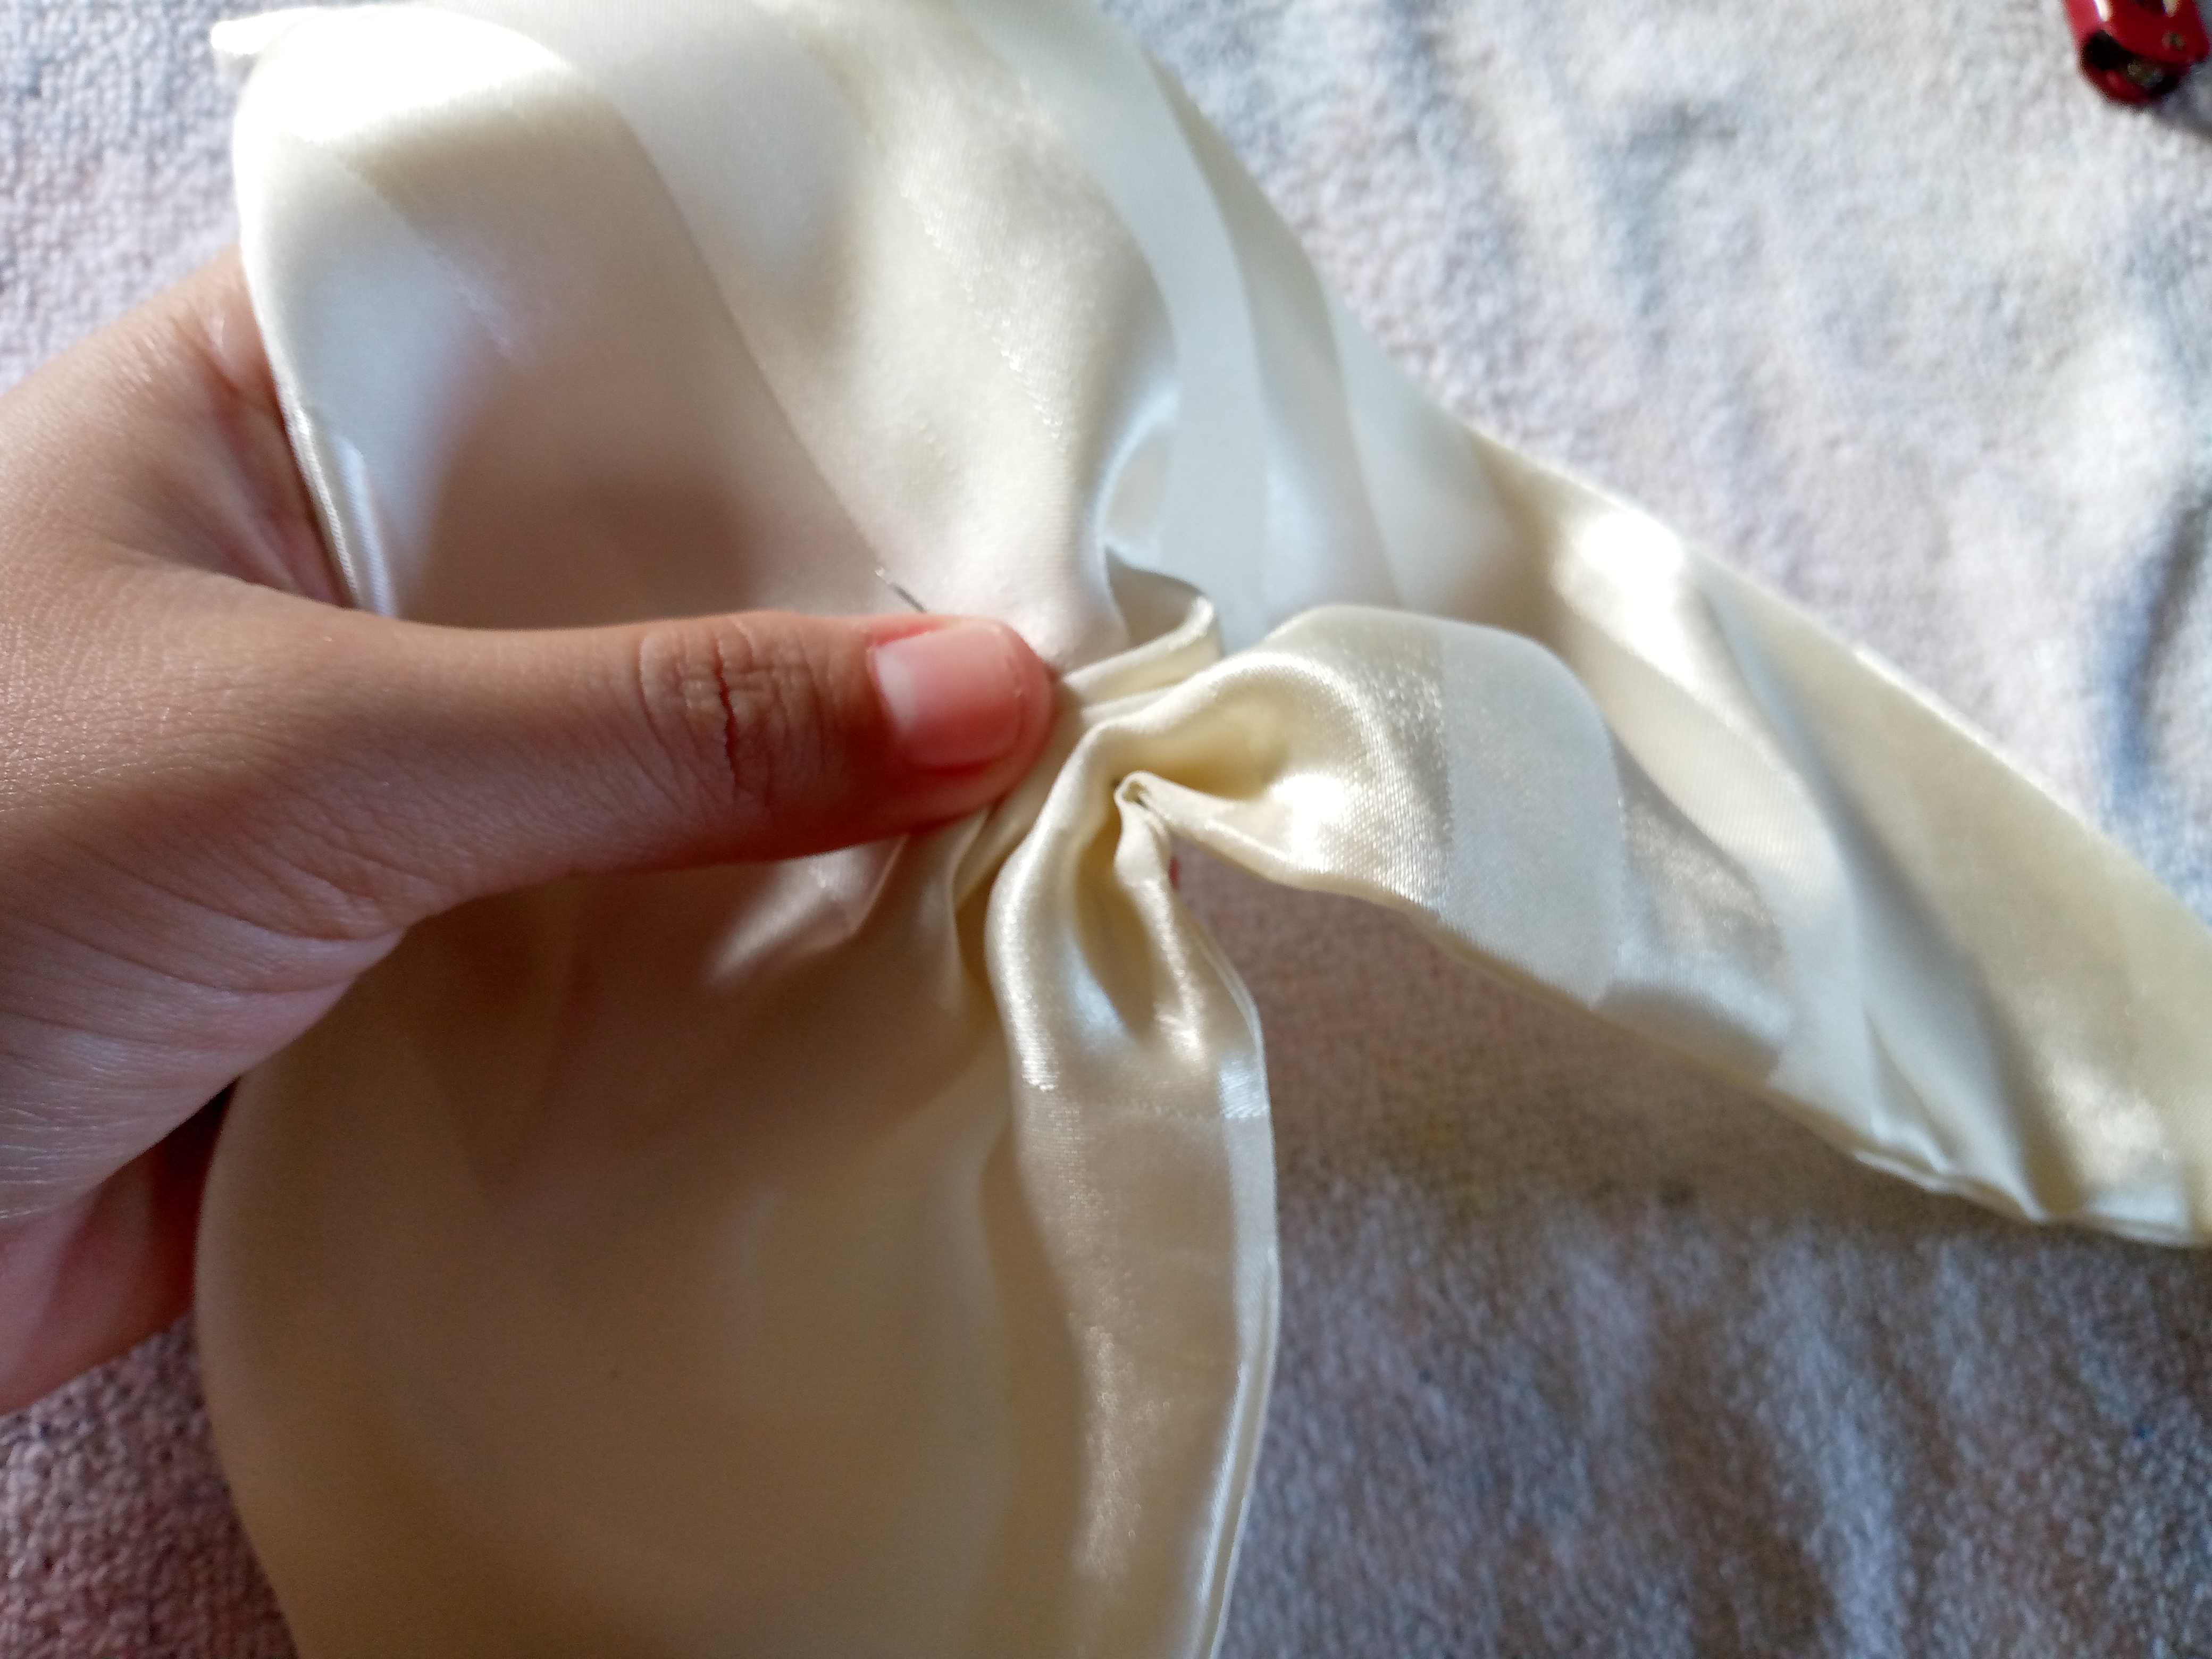
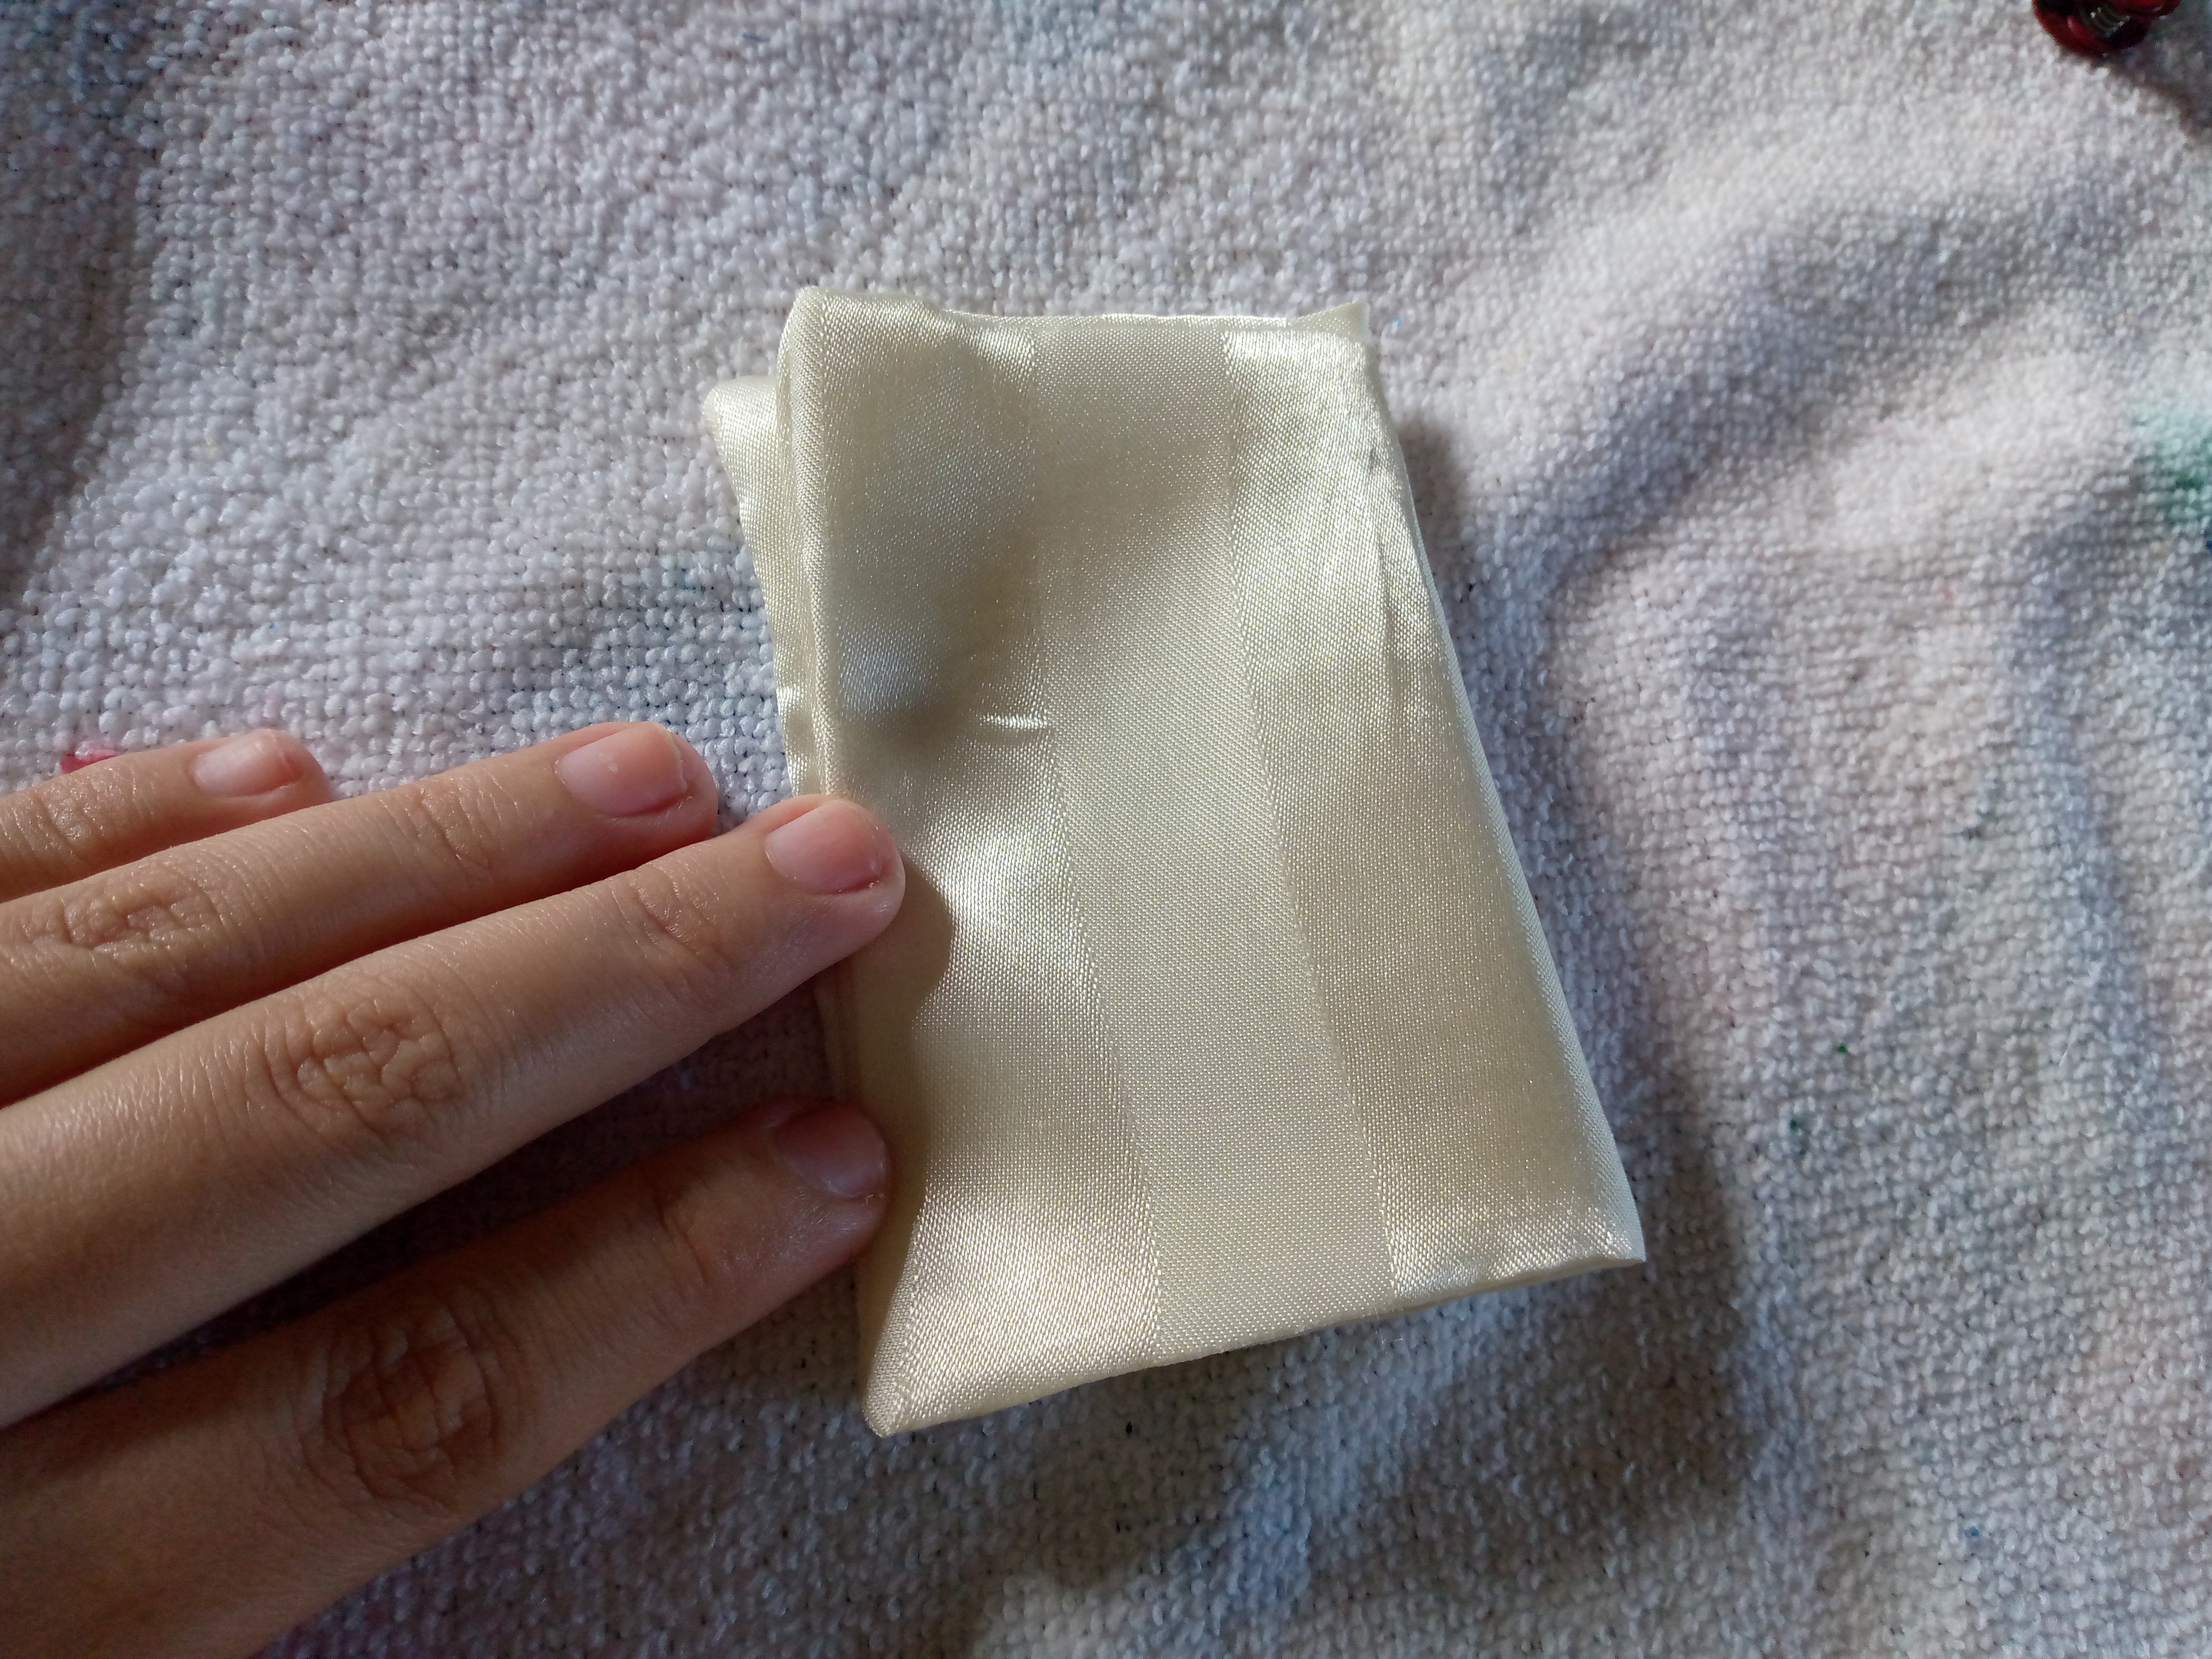
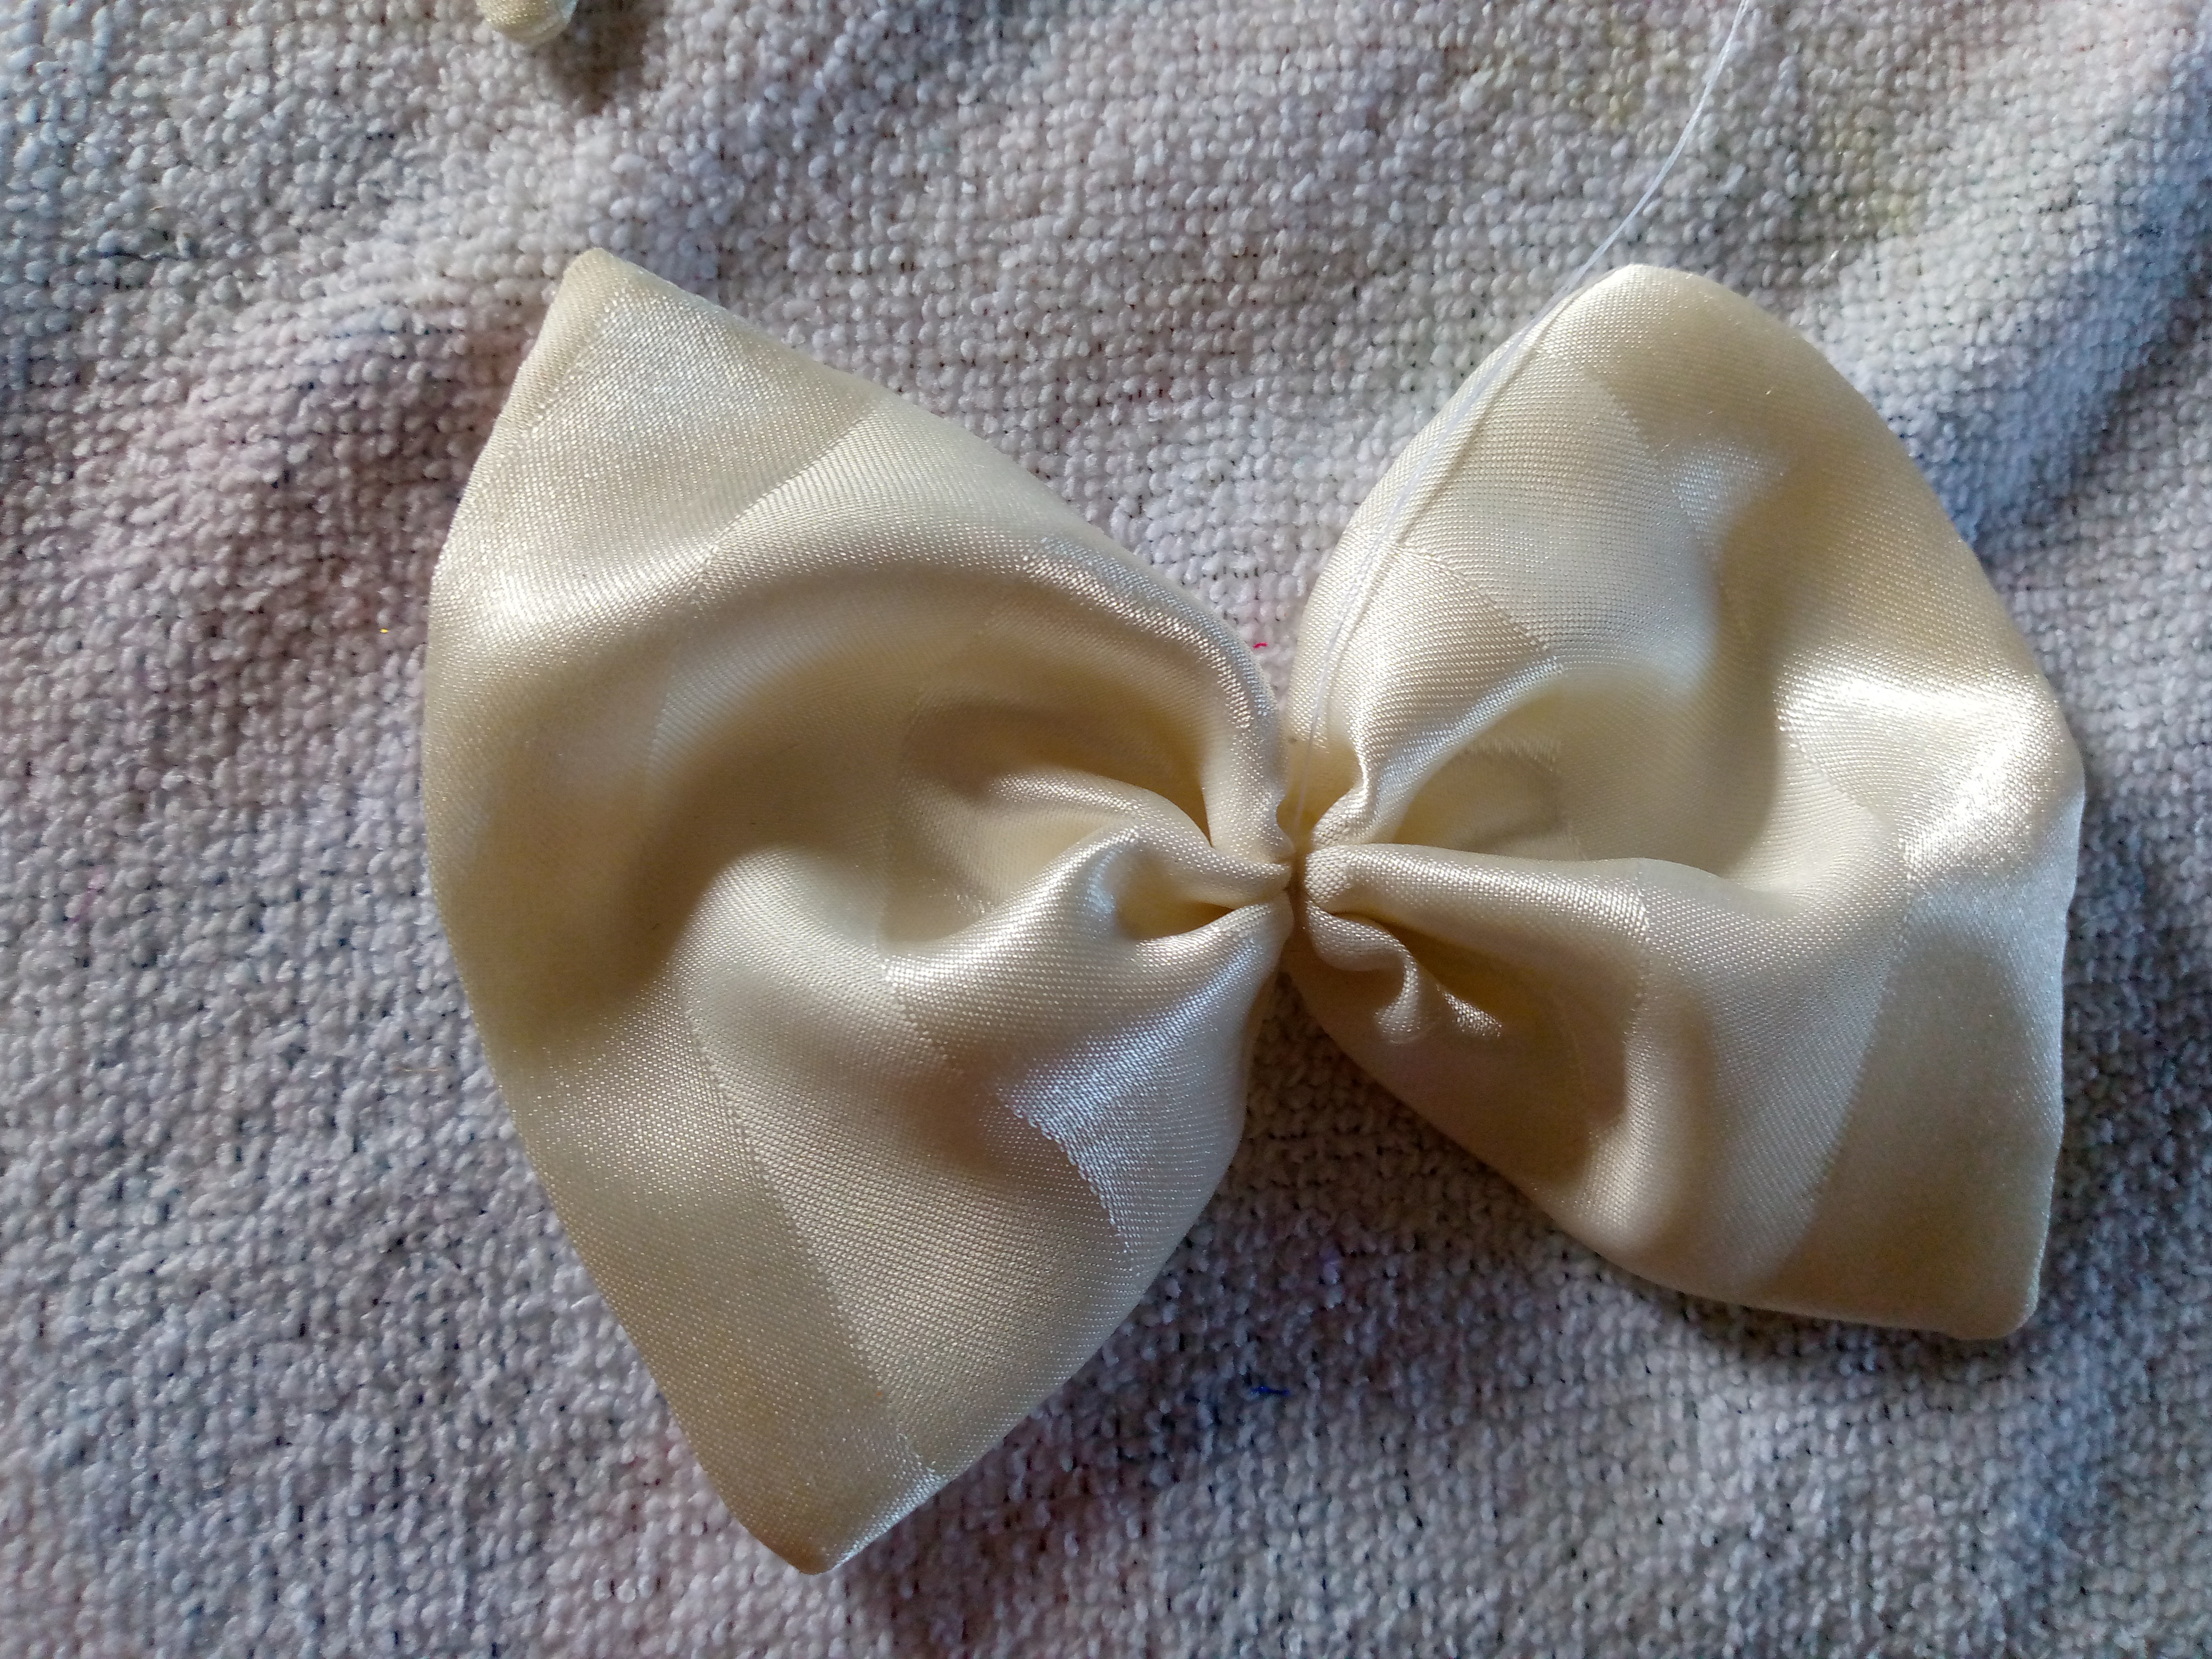
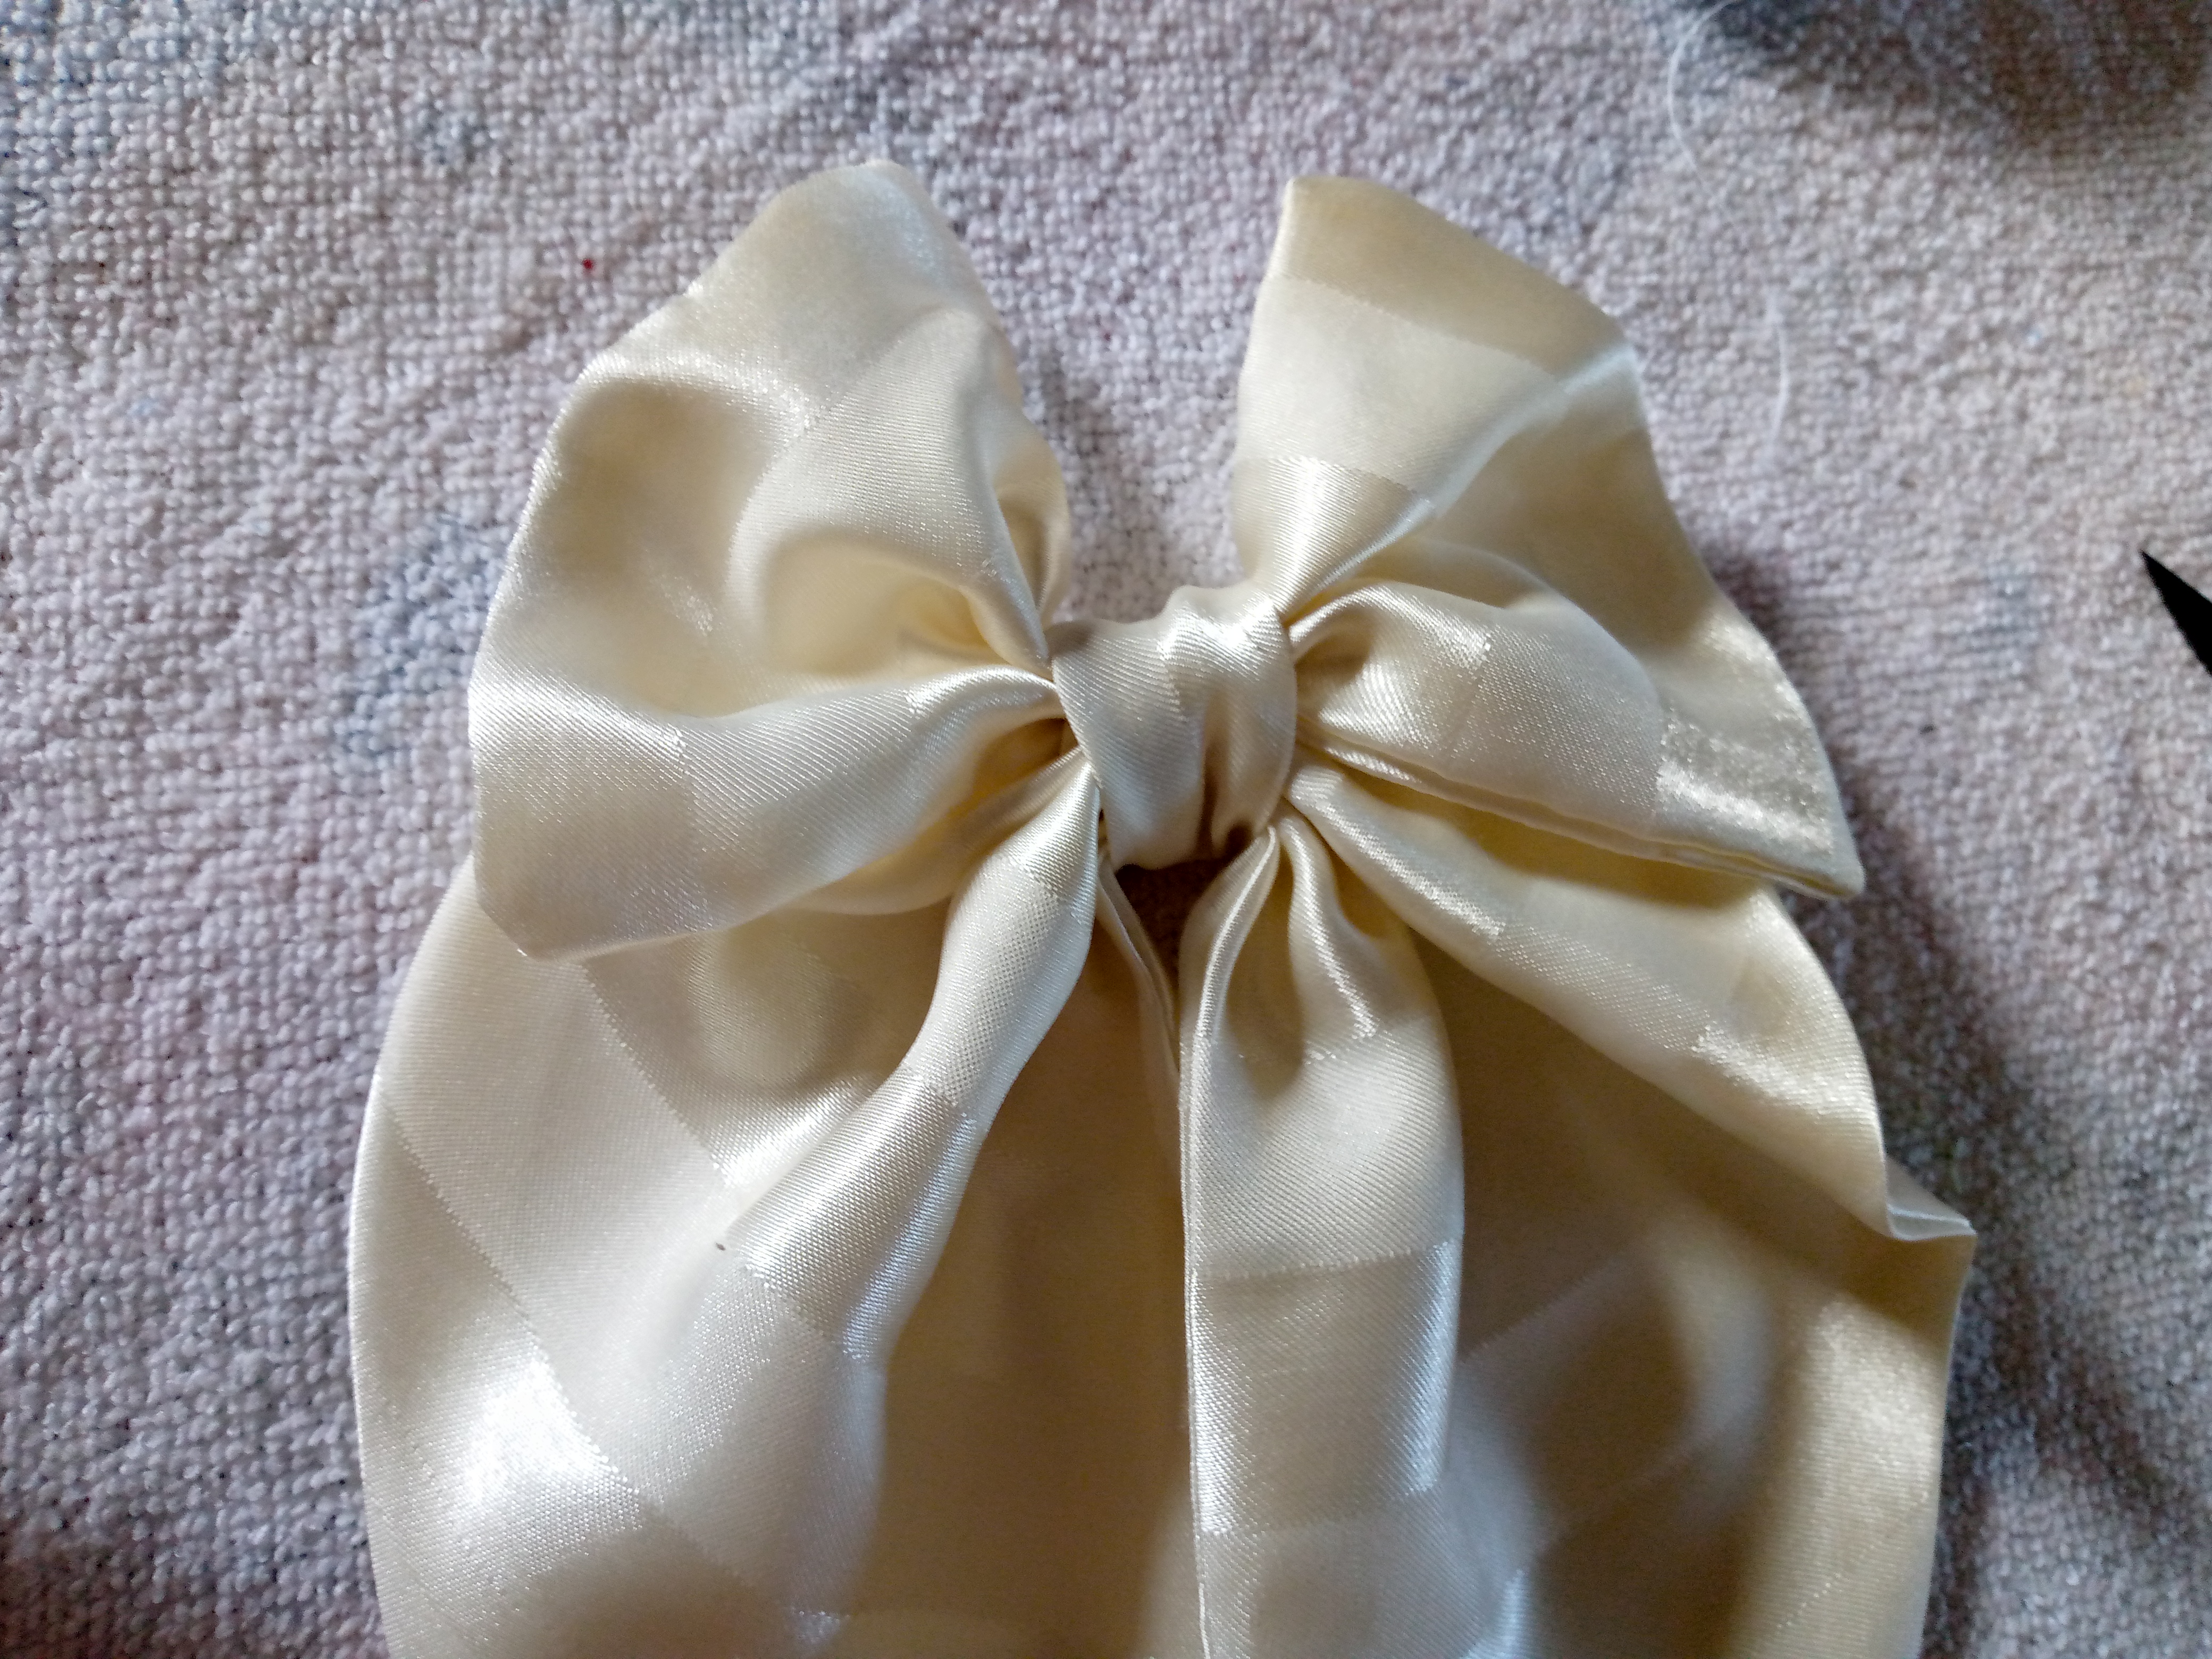
We proceed to mark the triangle piece in the middle, for this I can fold it slightly in half and where it was marked when folding it we will pass our needle and thread and gather this piece, we do the same step with the square at the top but for this one we make four folds or planks with the help of our hands and we pass the needle and thread and give it three turns, gather and seal the seam so that it does not come out and thus we form this piece.


Paso 05
Step 05
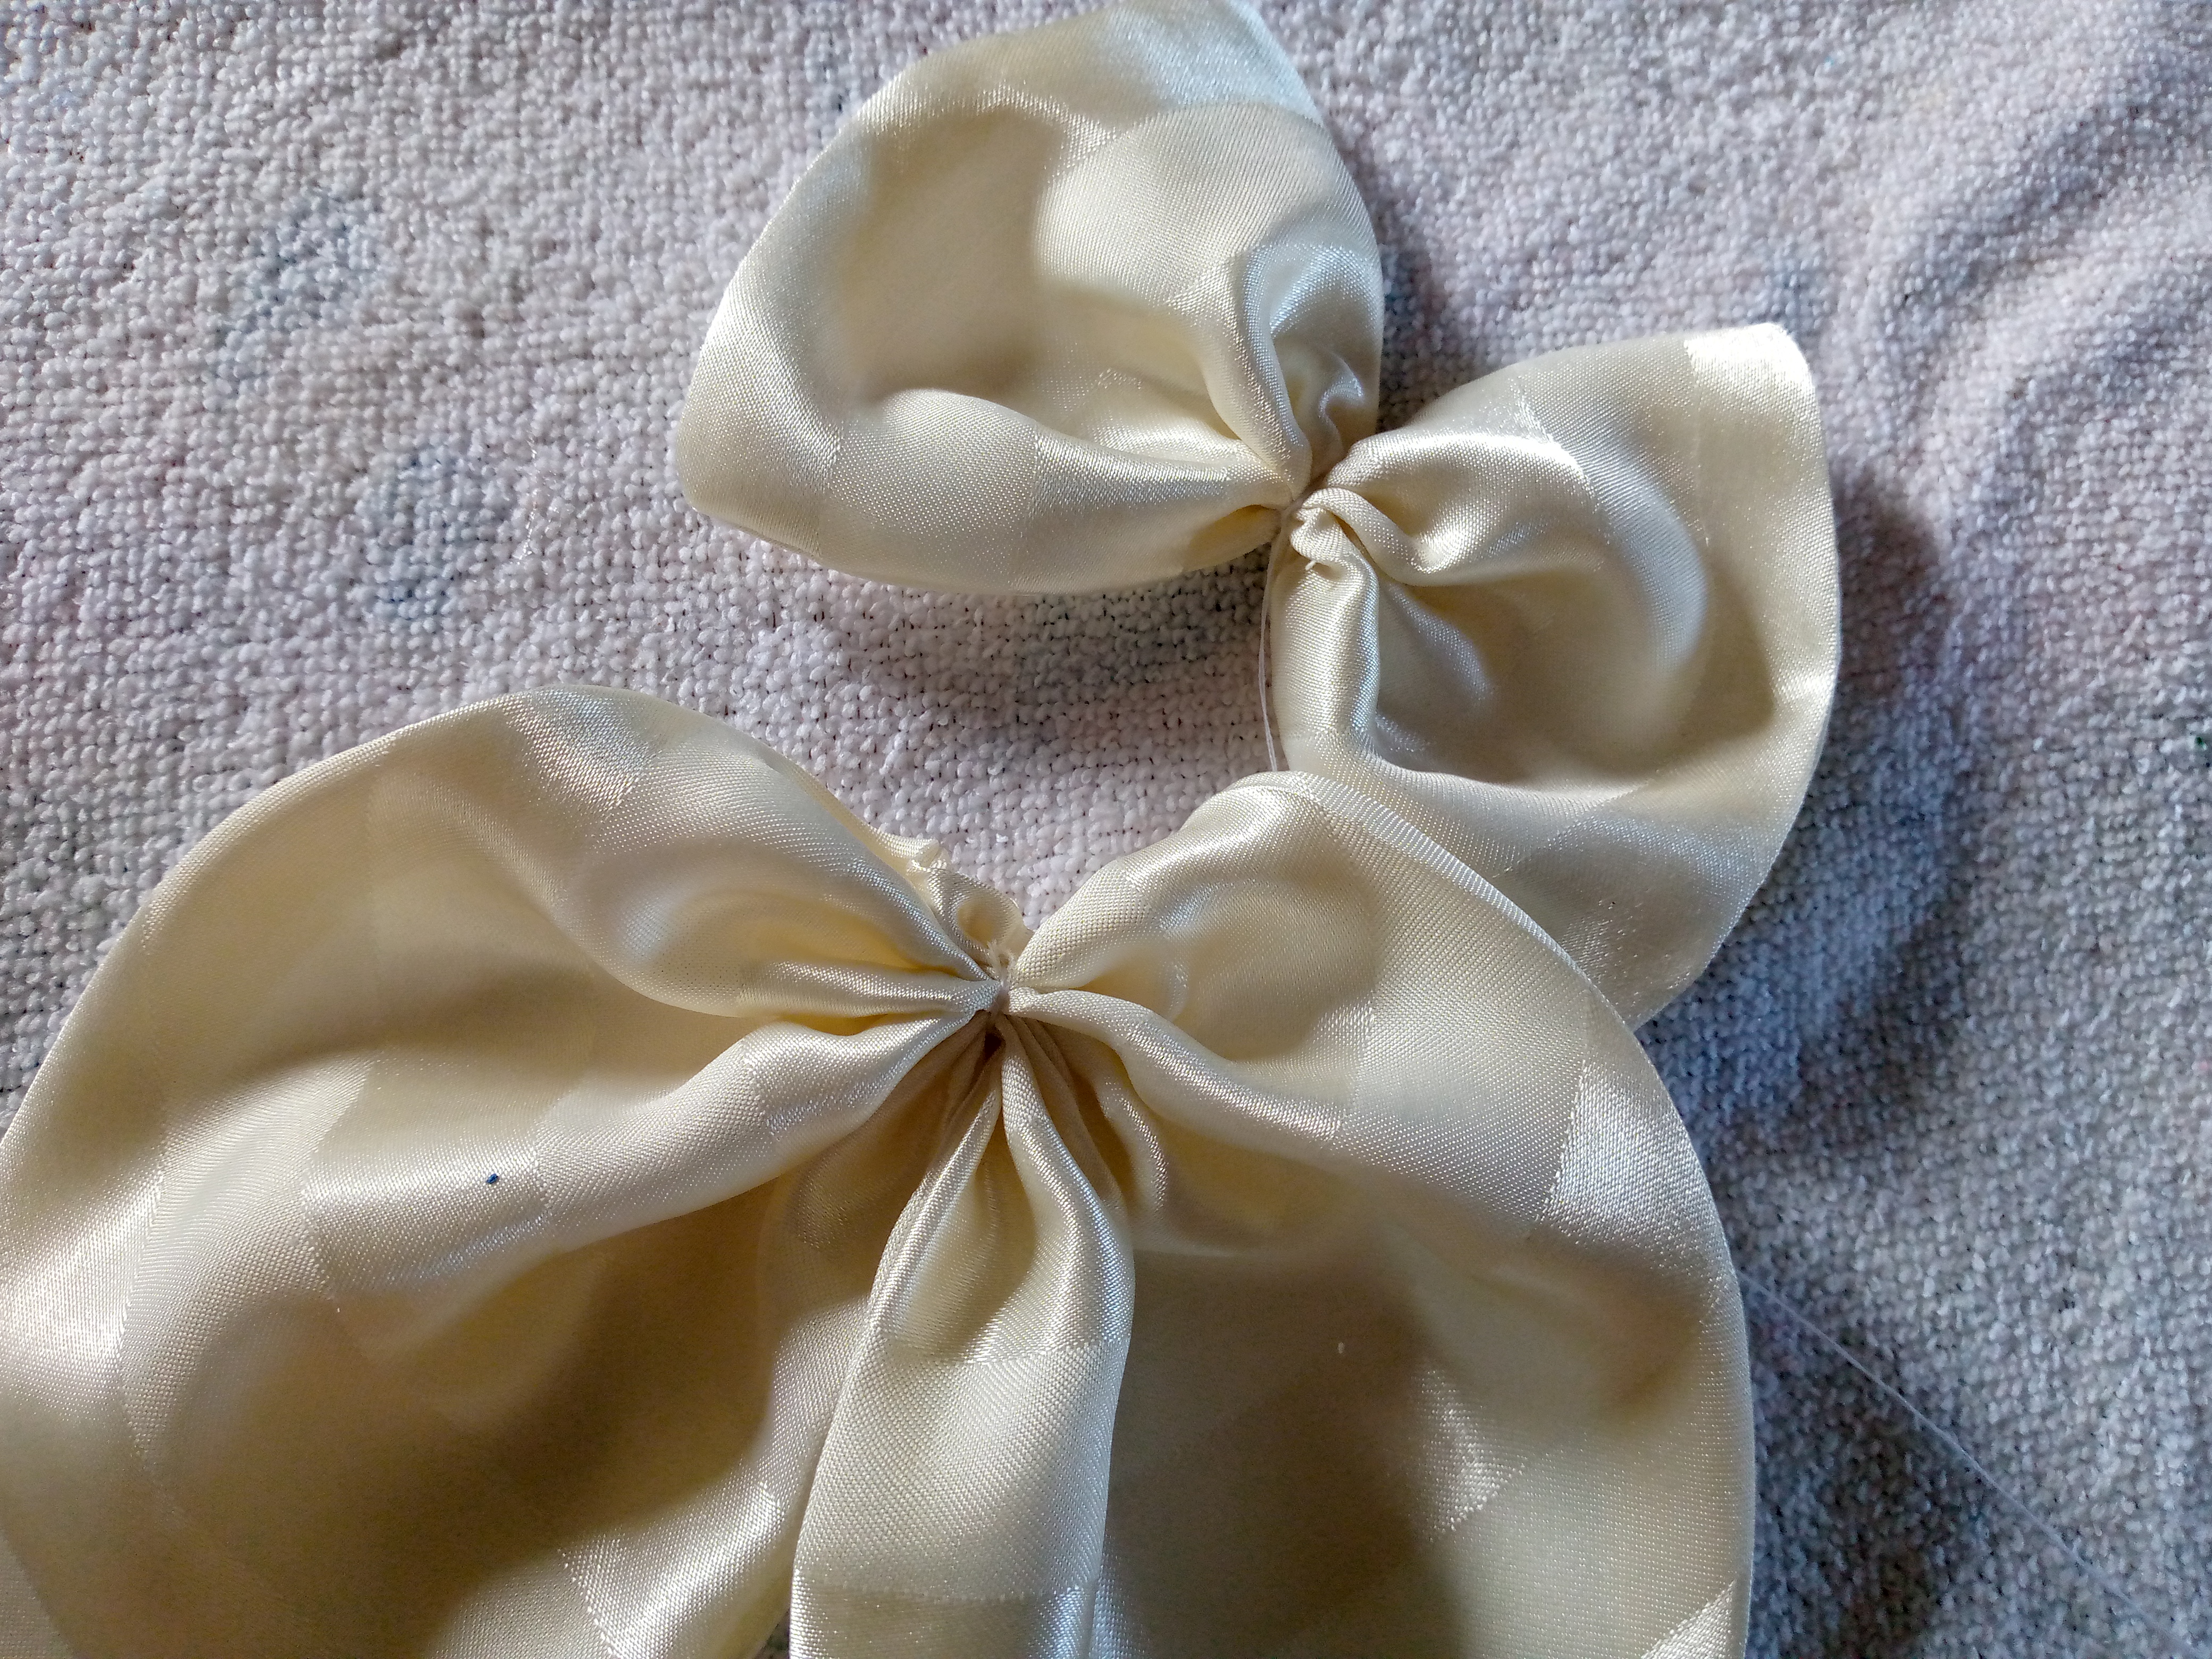
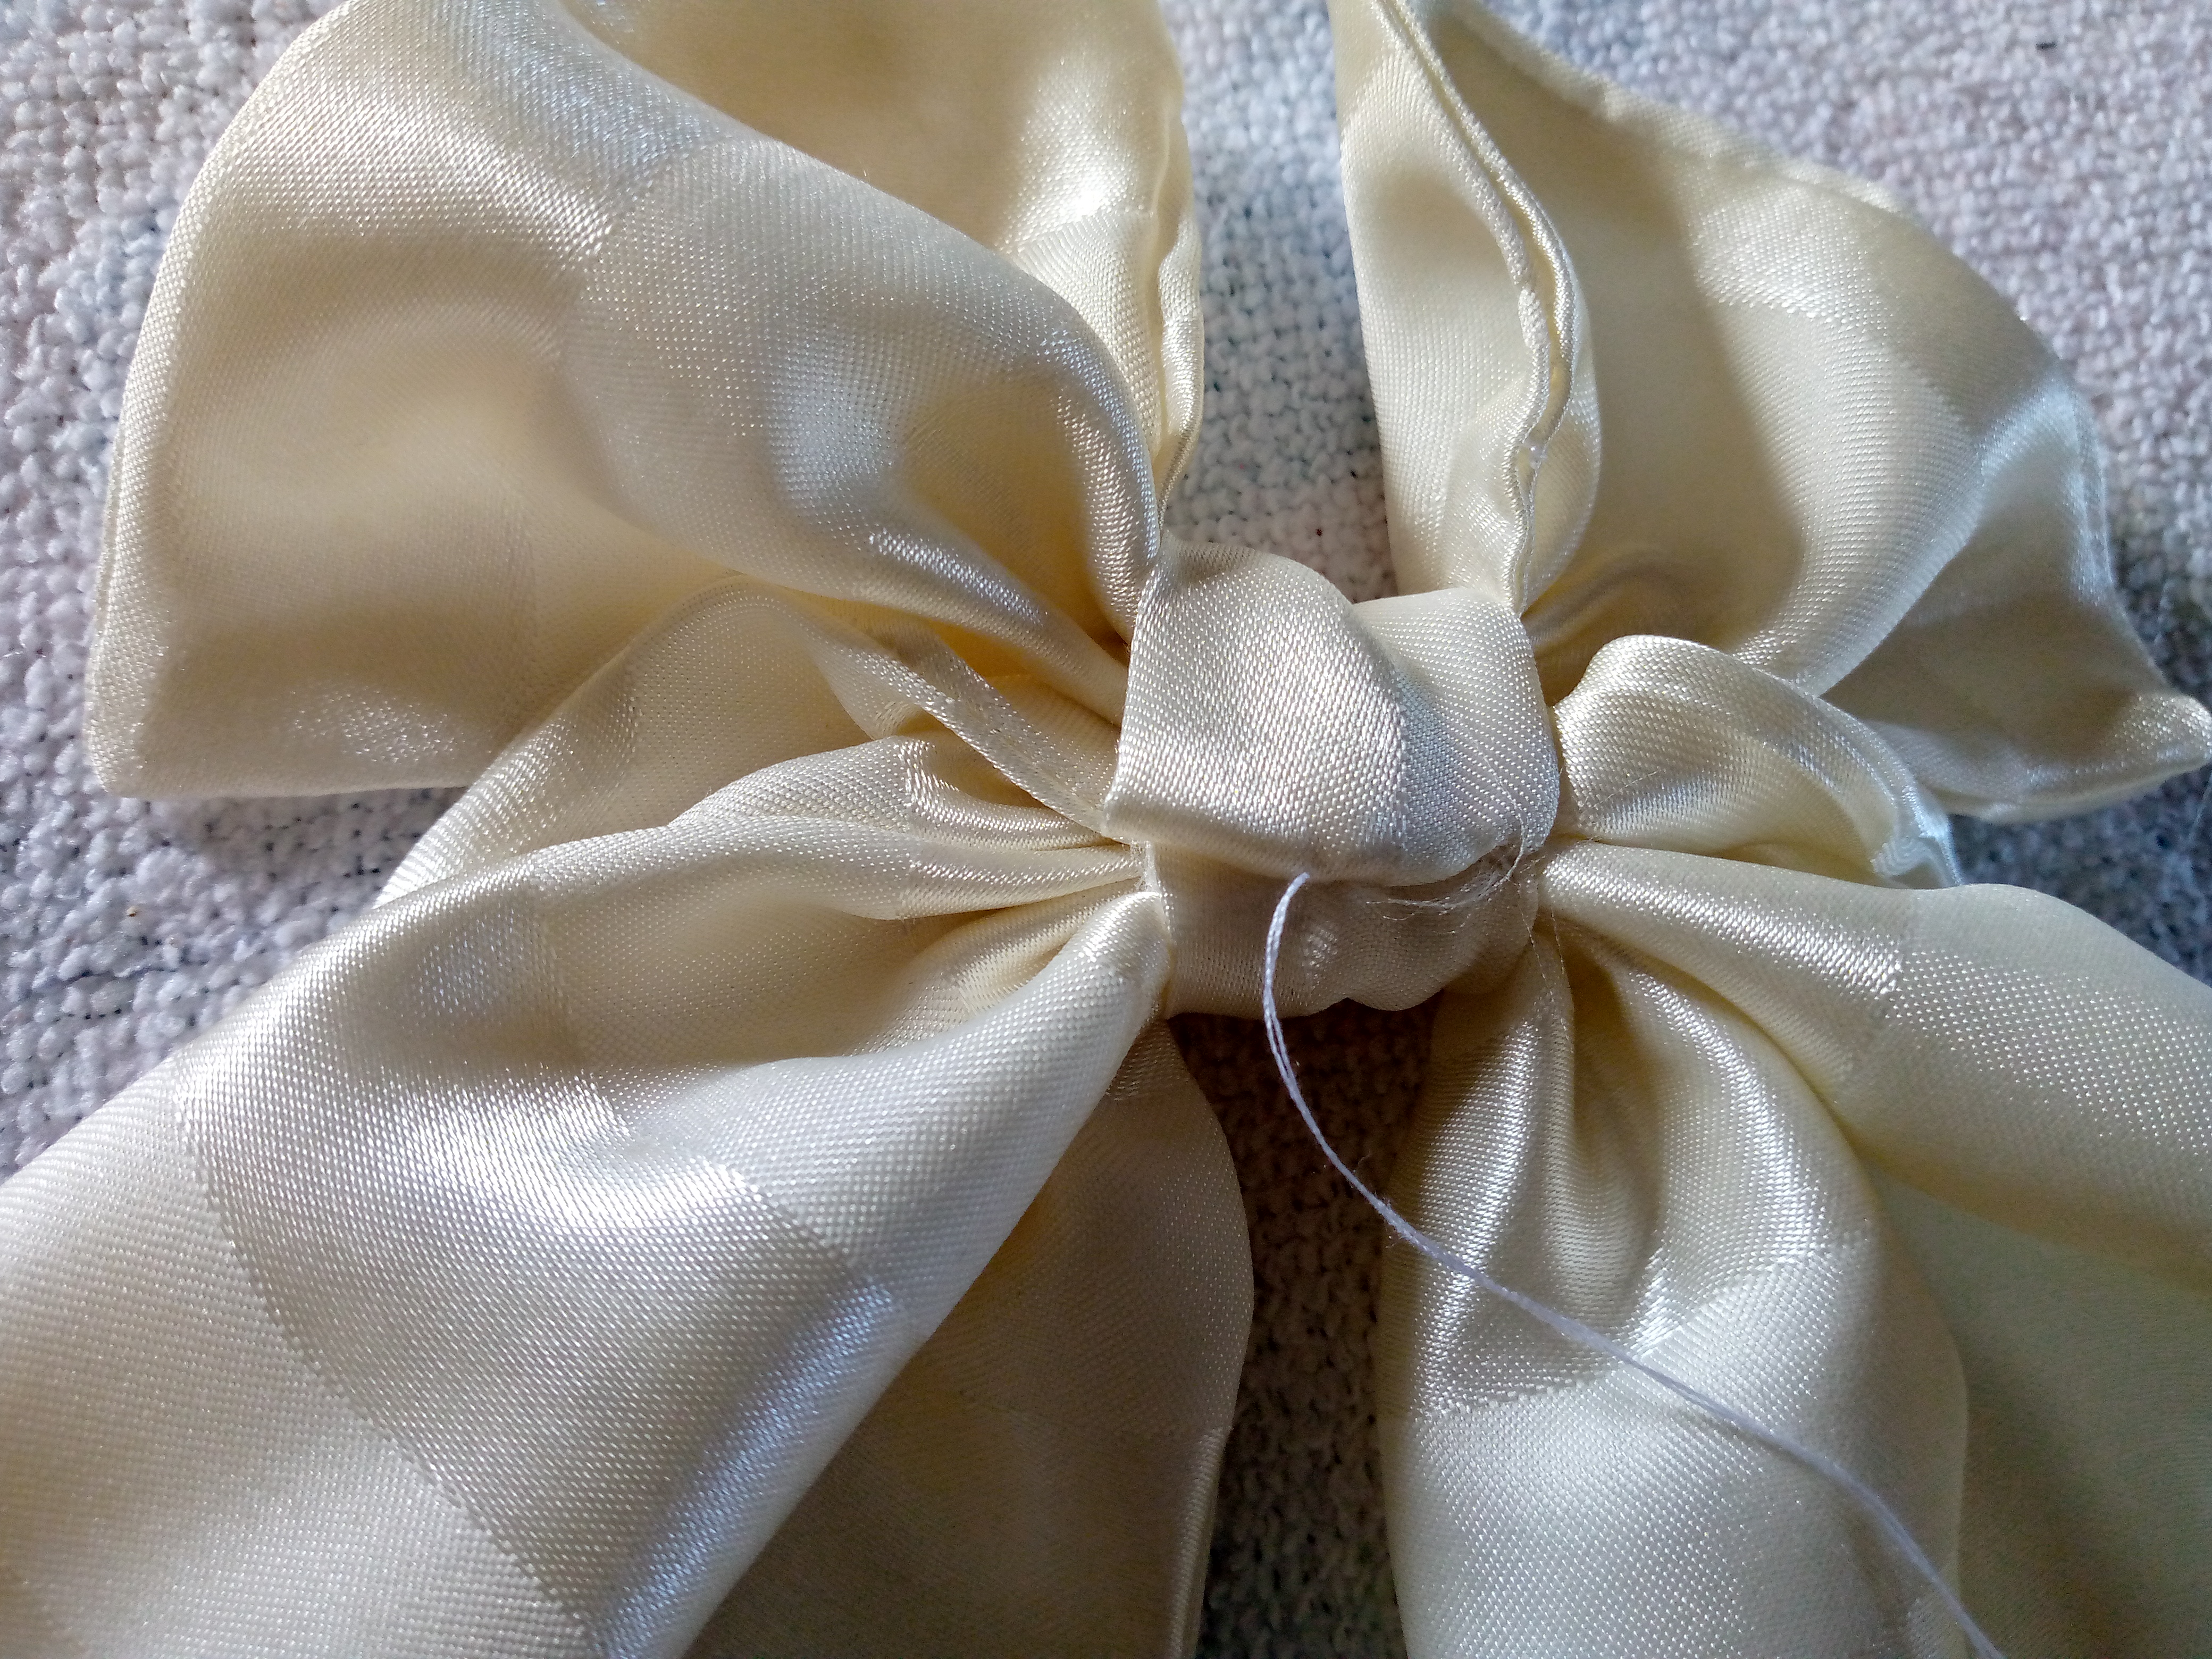
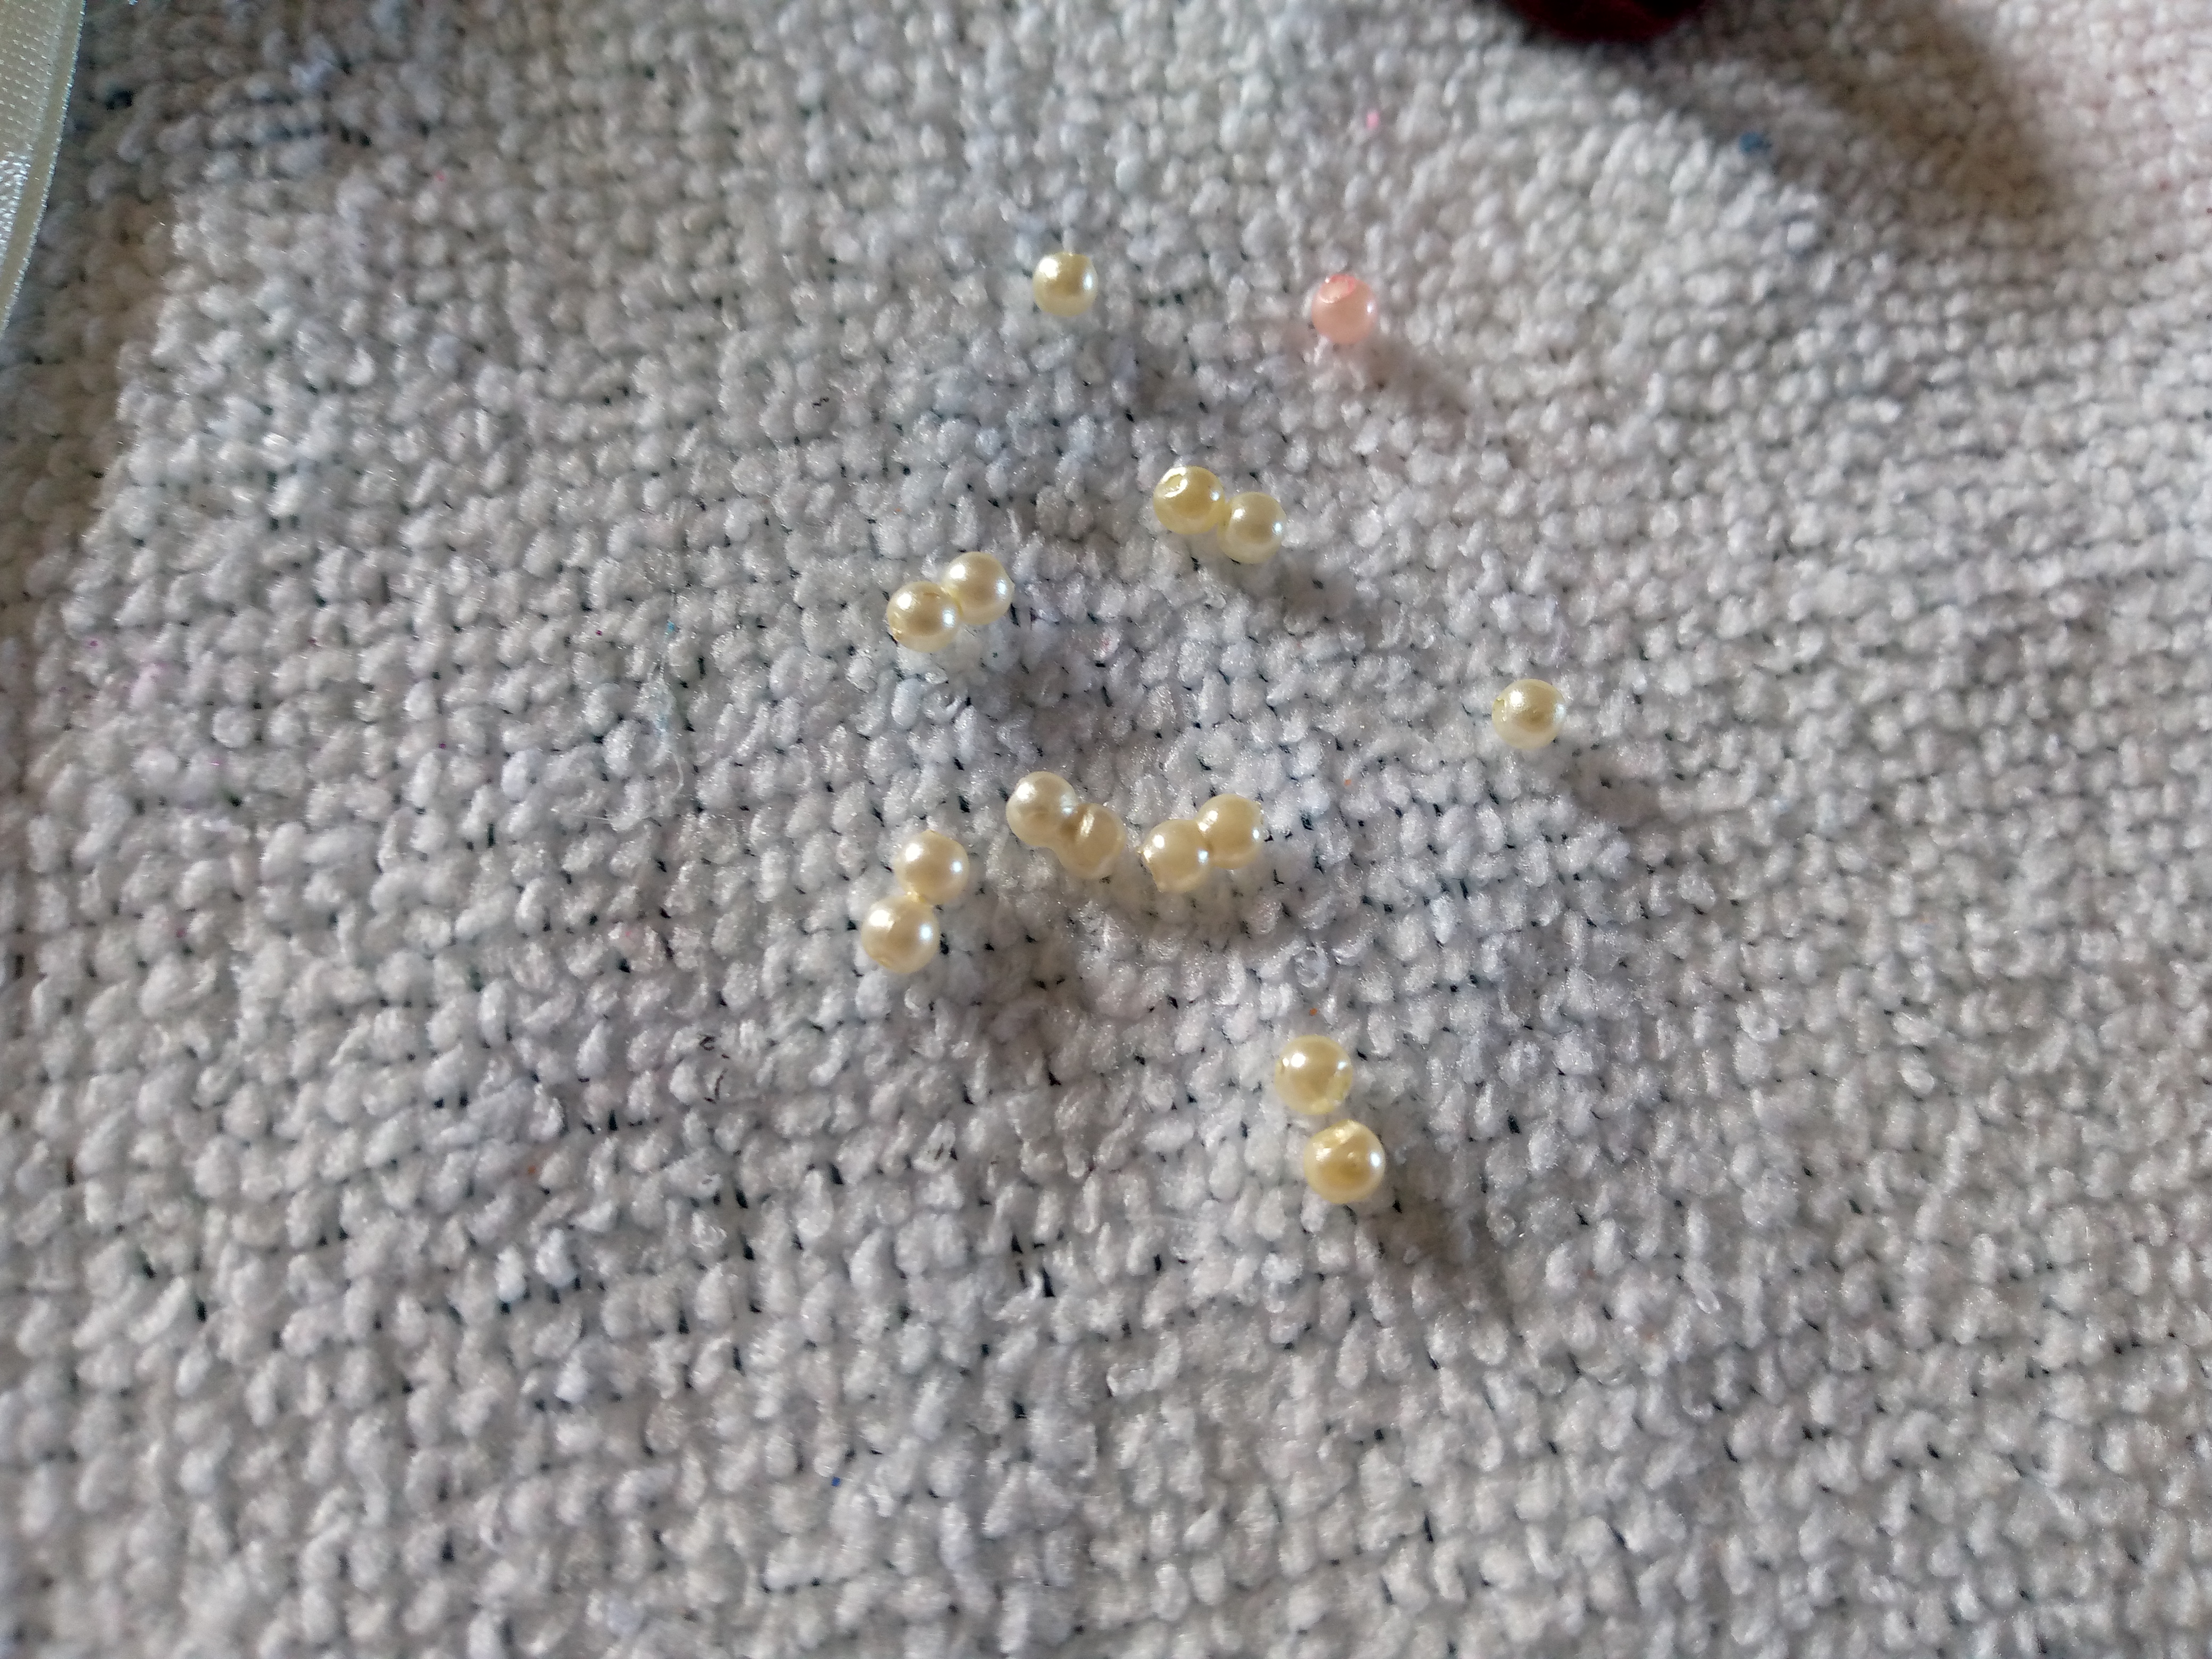
I proceed to assemble the pieces of the bow with my needle and thread, I will join both pieces making two turns and gathering to hold well, then with the piece that goes in the center we will join the bow and sew along the back with invisible stitching, turn around and assemble the bow, leaving a small space to insert the hook later when placing it, to decorate with my pearls I have decided to place them in the bottom corners of my bow, I will only sew three on both sides because I realized that some were glued and the pearls did not have a hole so I sewed the ones I had and that is how I decorated this bow.
.jpg)
Resultado //Result:
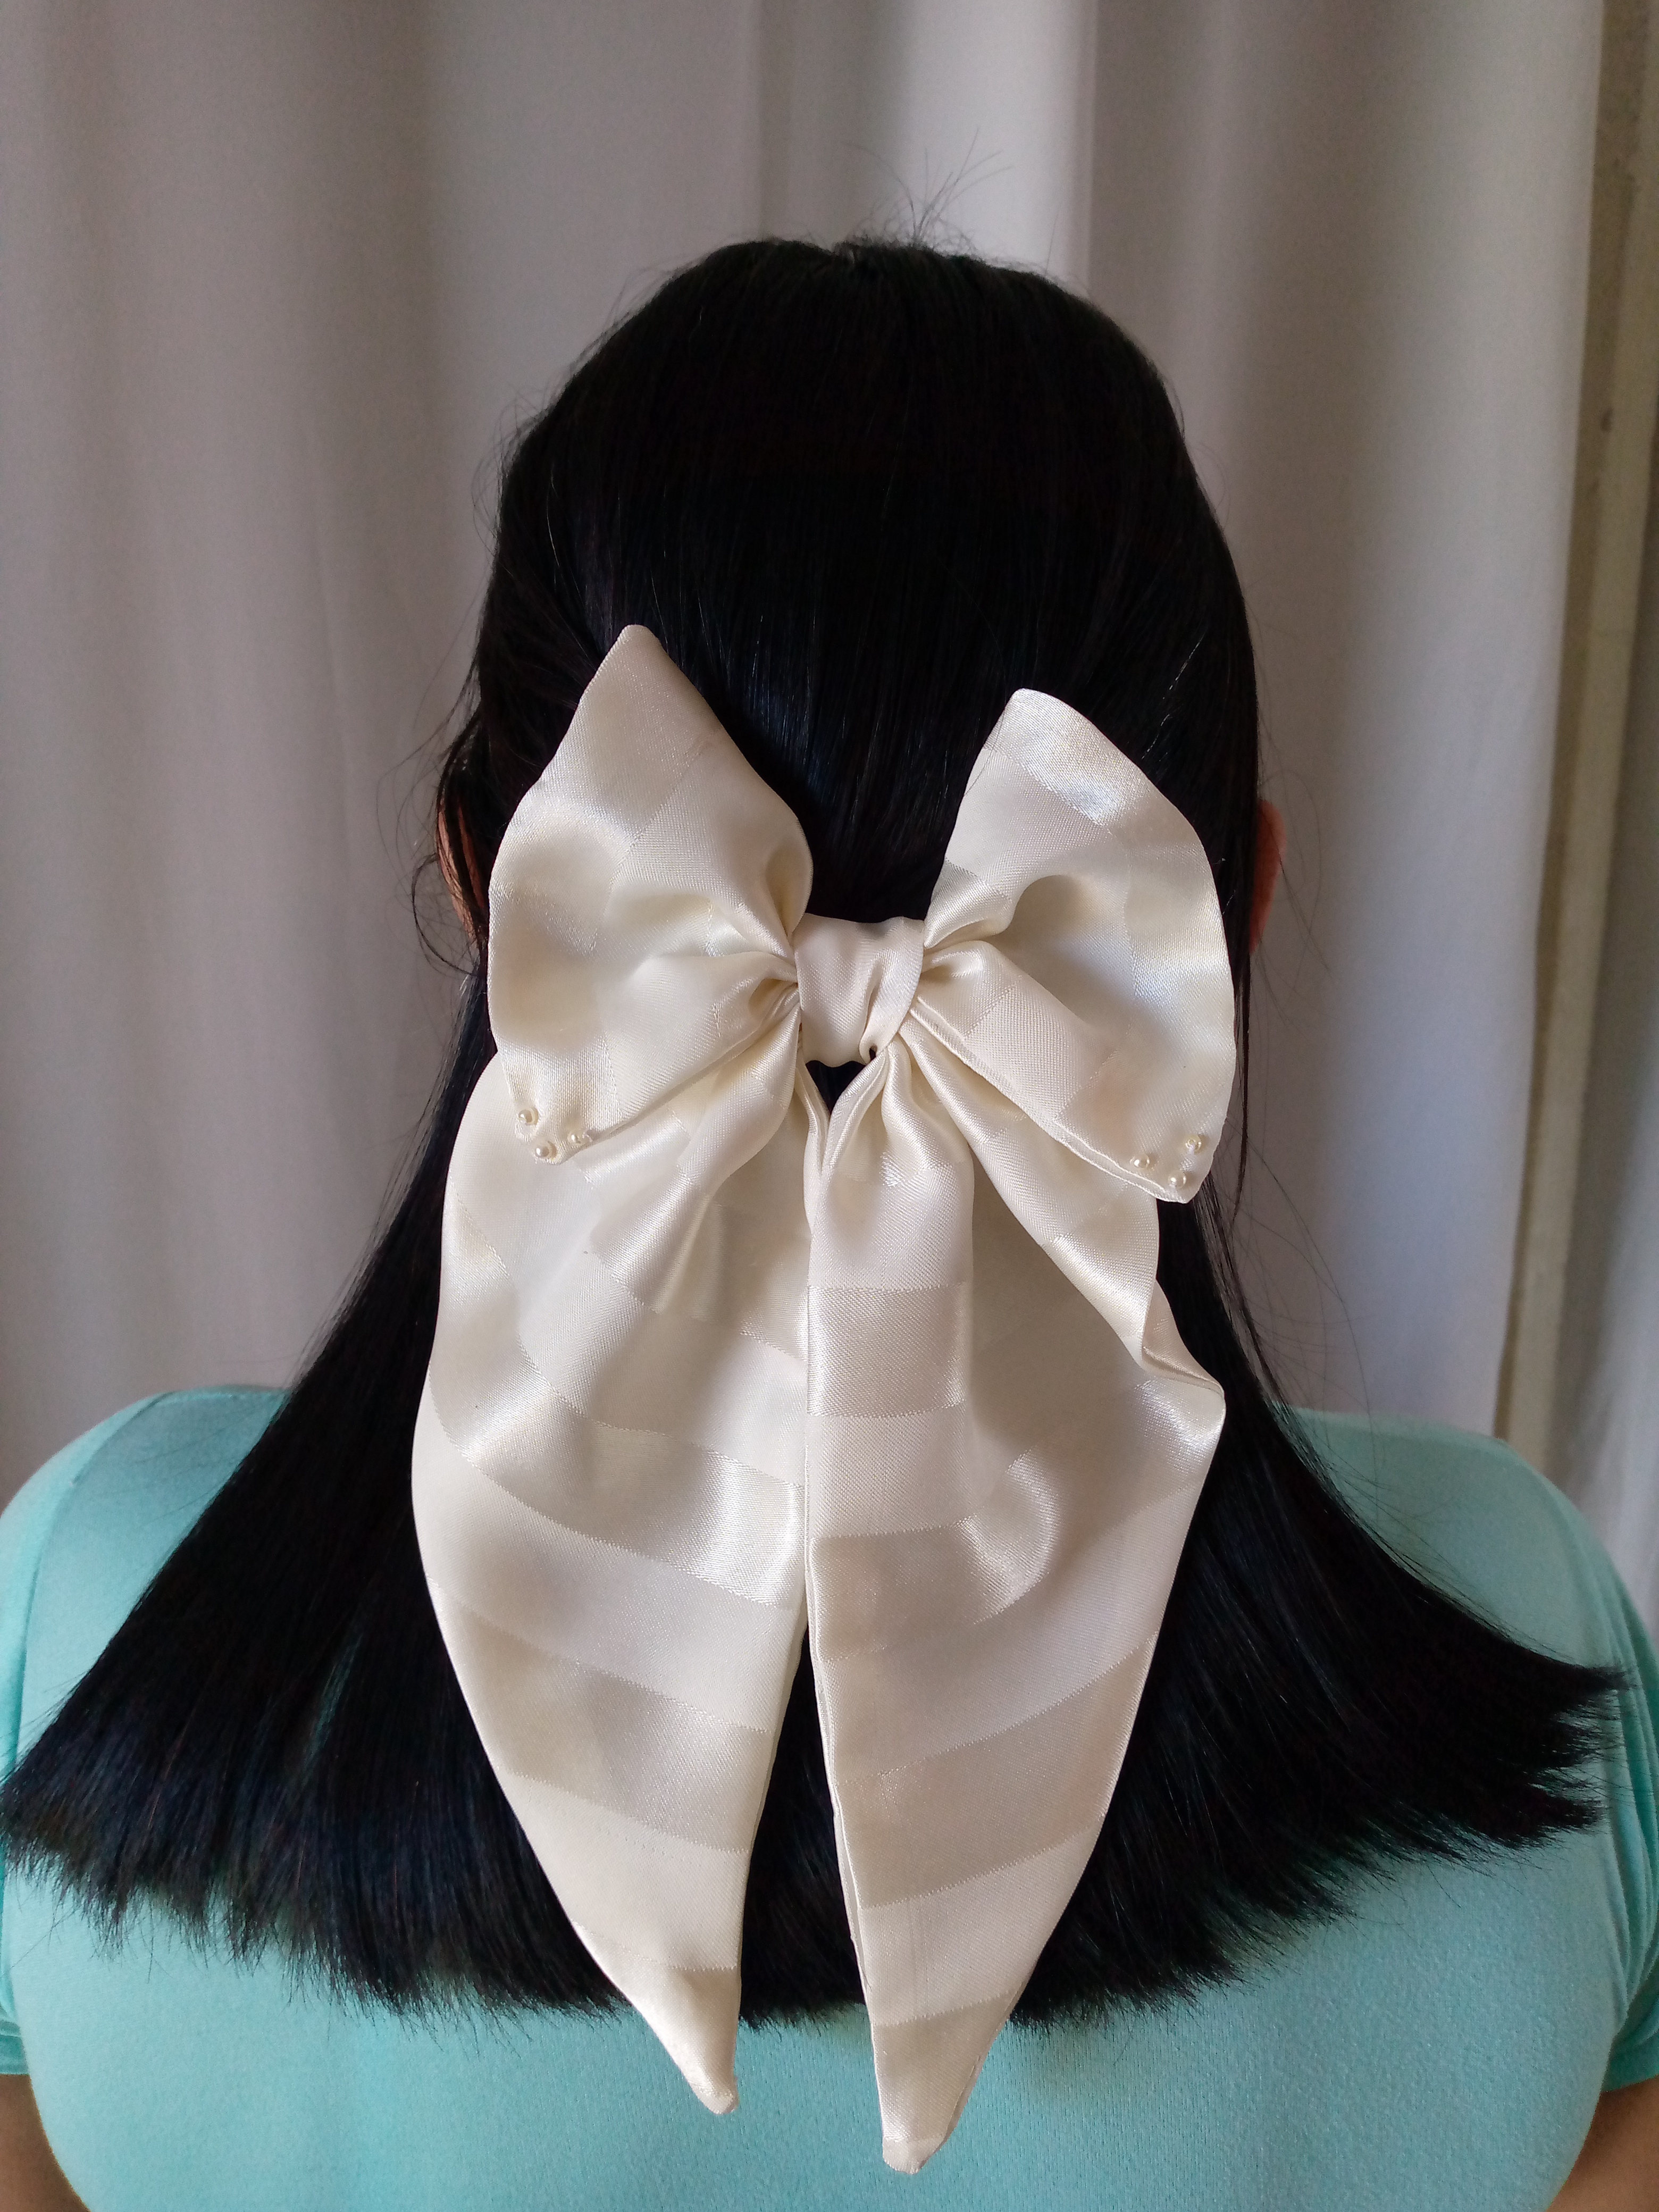
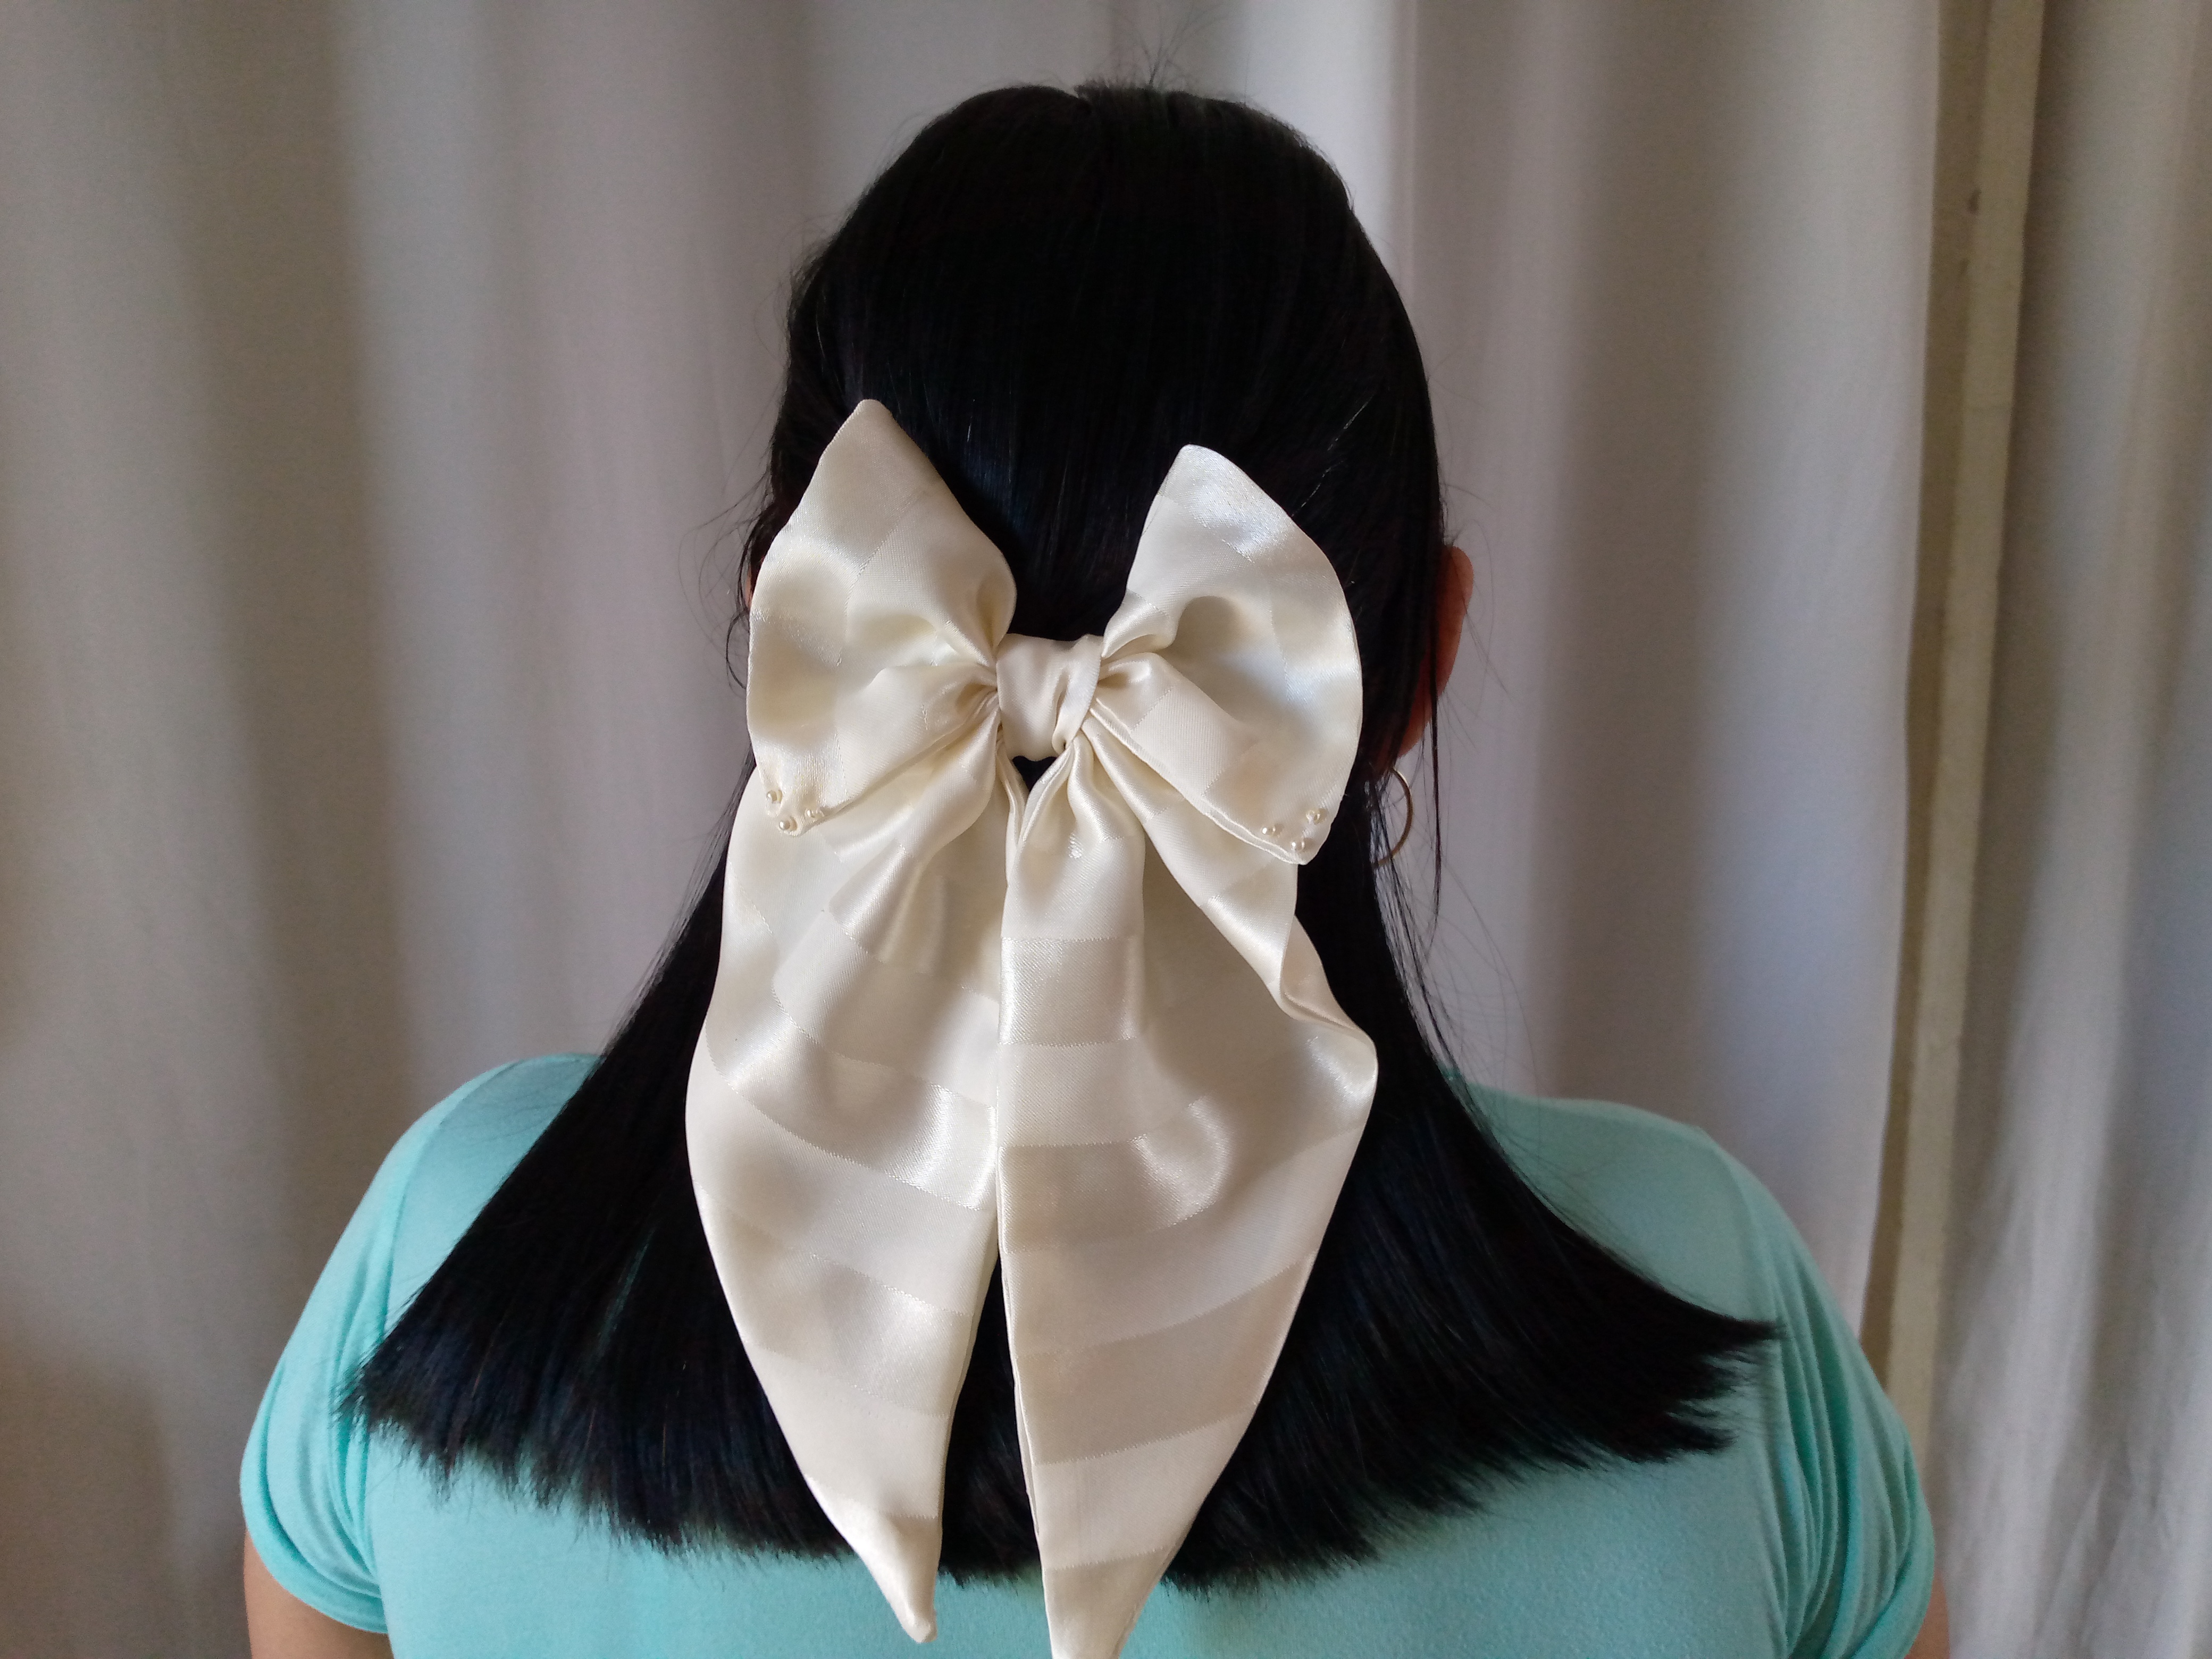
In this way my bow has turned out very pretty friends, I hope you really liked this elegant bow, as I have other colors of this bow model, that is why I have not glued the clip since I like the clip so much that I have decided to make these bows like this with the intention of inserting some clip and being able to remove it whenever you want to change the bow, this is what I like a lot about making bows like this, so here I leave you the tutorial in case you want to make this pretty bow and you have no idea how to make one, I say goodbye to you wishing you a happy afternoon and I will see you soon in another blog.
.jpg)
Creating things with love 🌷❤️
🦋✨ All the images in this publication are my author ,📱taken with my TecnoSpark8C cell phone |📸Photos edited in PicsArt and Canva. Text translated in Google Translate.
Follow me for more content 📌
It is stylish, elegant, and beautiful. It shows your skills. It looks great. Nice work! Thanks!
Oh thank you @diyhub ☺️😄
No matter how old we get, we would always have one bow accessory, it is my favorite too, I make them for my daughters too. Thanks for sharing, looks beautiful.
Thanks friend 🥰