Fixing The Double Knock With Less Than Intended


Well Hello There Fellow Technicians And Hivers
A few days ago I posted about this megatronic, you can read all about it here in this post I spoke about this megatronic going in for repairs at the dealers and that he wanted to claim from insurance to fix the current problem he has.
Since then I left the megatronic unwashed and pushed it into one corner so that the assessor can come and assess the failure, well as expected the insurance wont be covering him as it is after all an electrical failure because the computer board died. So needless to say this will be on him, unfortunately.
Since we are going to send the plate to someone in a different city who will replace it for us with a refurbished one it will take sometime for it to get here, seeing that we only sent it today.
In the mean time I can slap the rest of it together can't I?
Well remember these? I do and I am excited! I don't know why but it's hella fun building these megs! I can do one after the other and never get bored of it, perhaps because it is something entirely different than the normal gear head work I do.
None the less they've got to be cleaned, so I removed most of the sensitive parts that absolutely don't want any paraffin touching it, such as rubber seals and o-rings.
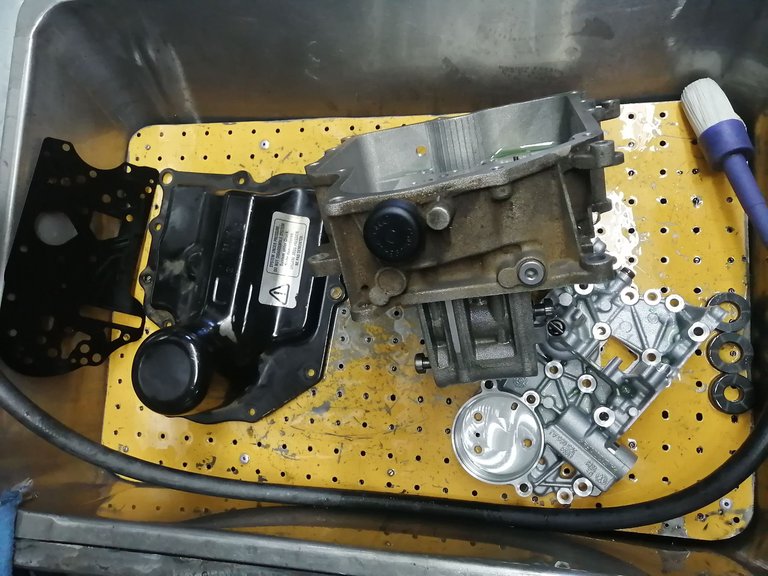
The washing can take up sometime but since this was already a rebuild it went somewhat quicker than the usual.
Now these things have to be built like a puzzle, the one thing can't go in without the next thing and so forth.
With everything stacked out neatly so that one can see what needs to be done is vital, I hate a mess of parts just strewn around. Neatness in this regard is everything to me, especially with things as delicate as these.
Doesn't it look nice when everything is shiny?
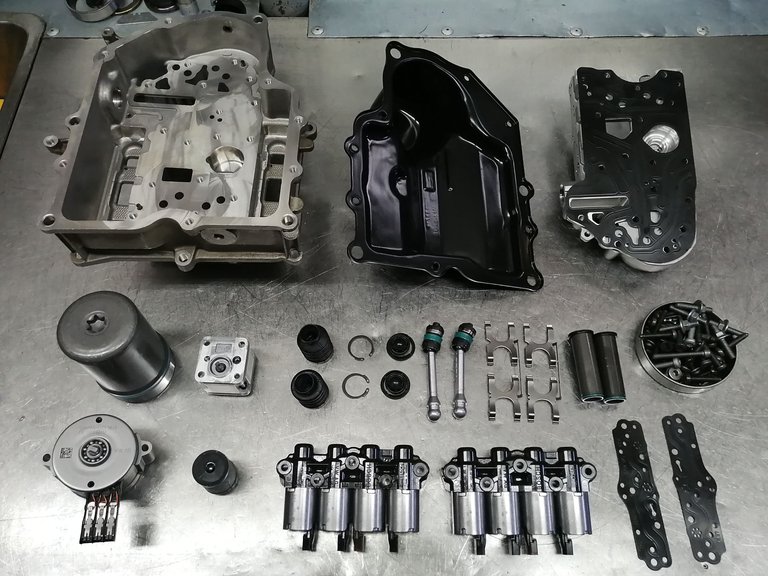
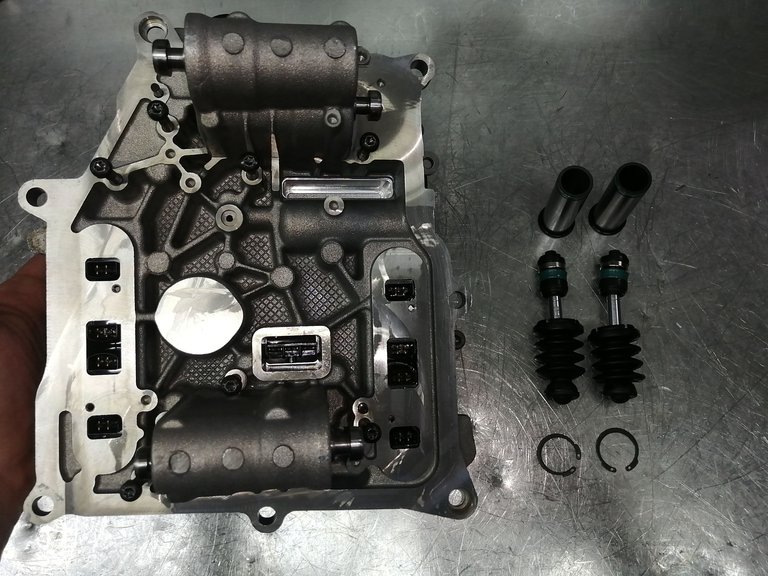
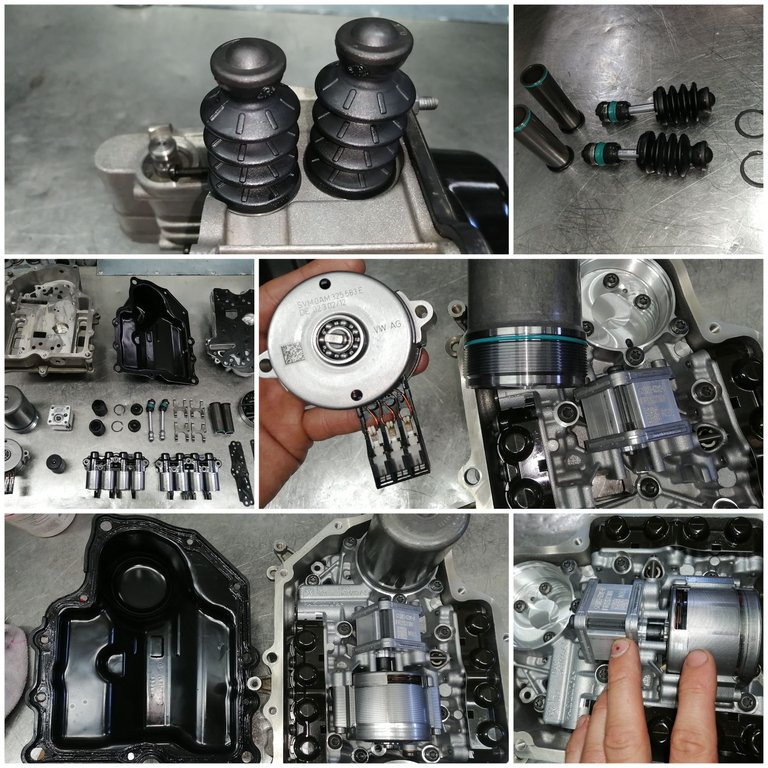
I have a little routine I tend to stick to when building these things and for some weird reason I assemble the pistons first even though they go in last... I think it might be to clear up some of the parts, less "noise" on the table if I can say that.
Referring back to the image above it's mostly everything lying in the middle of the bunch of parts.
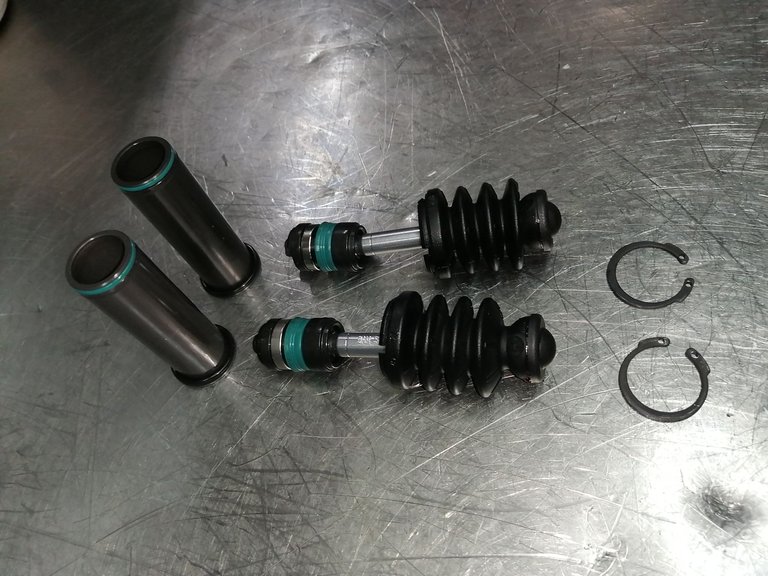
Since they are assembled I can just pop them in when I'm done with the whole build.
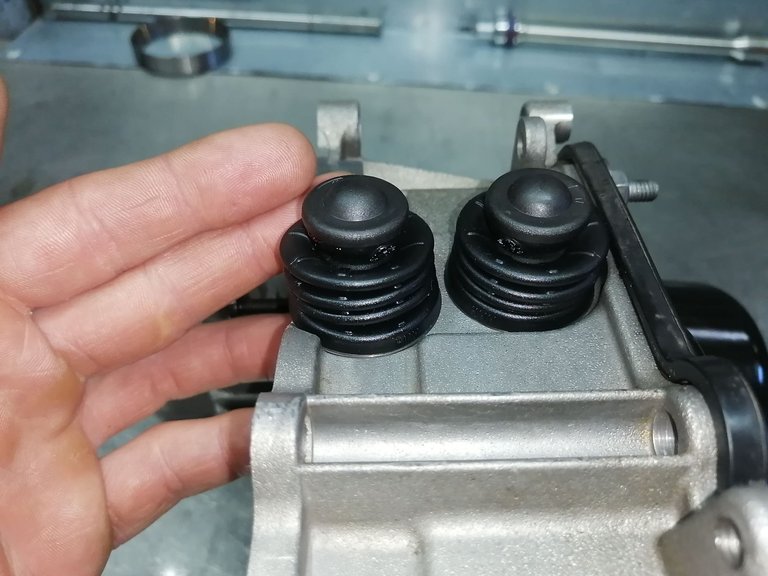
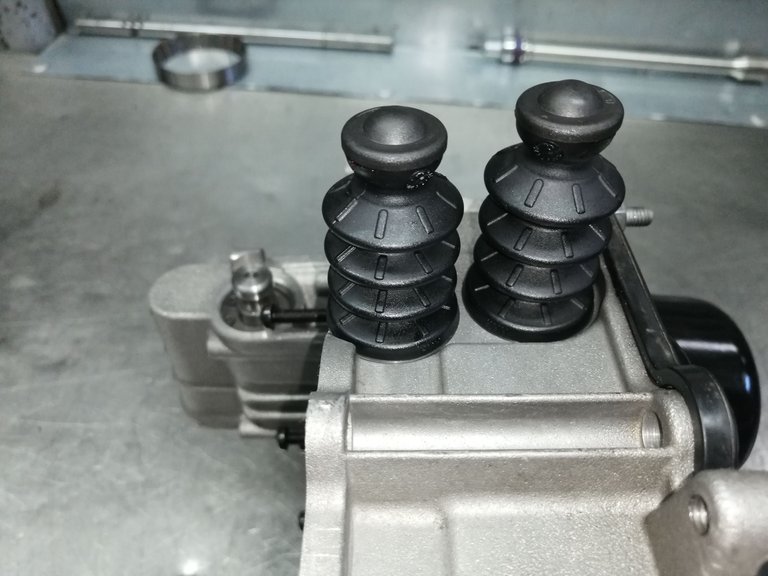
These pistons is what acts as a clutch lever slave cylinder, yeah they release the clutch.
This might sound unbelievable but I think there might be more bolts in this little piece of machinery than there are to remove the transmission from the vehicle, no jokes.
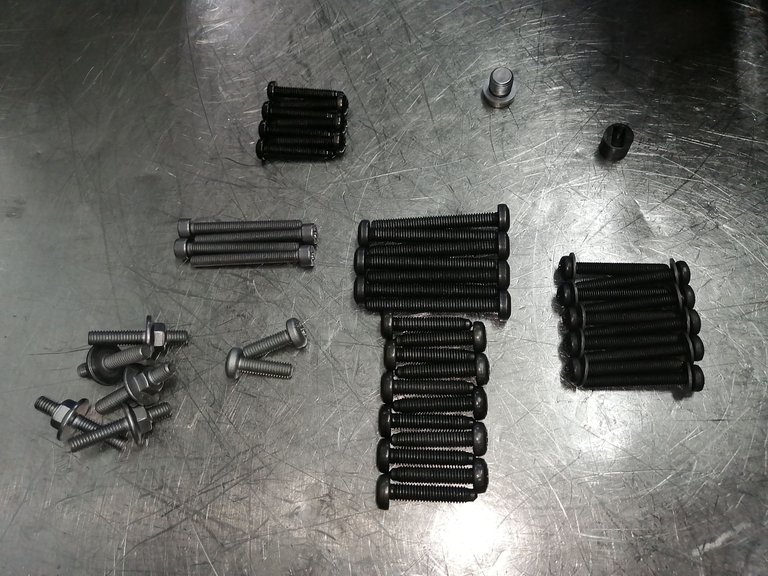
This is where I saved some time not having to remove all the solenoids and washing them one by one, they should be clean and since it gets new oil it should be fine, after all he doesn't want to pay for anymore than what is needed! so here we are!
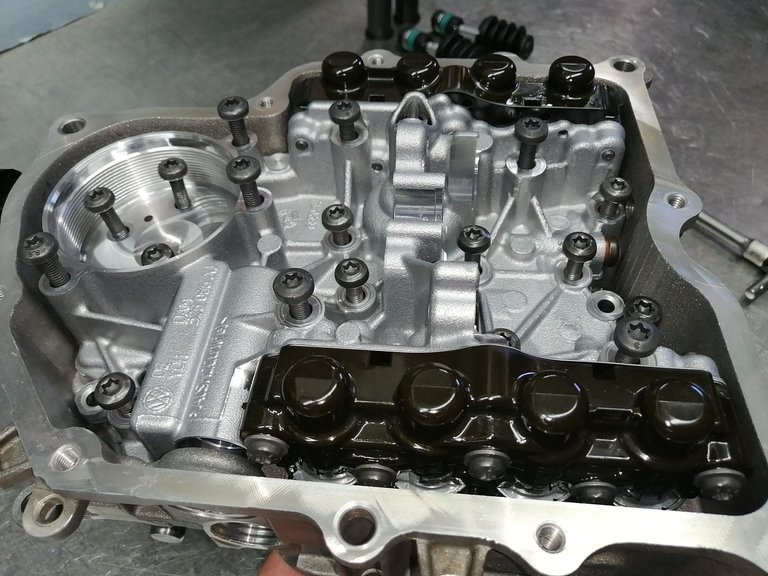
The solenoids have to be fitted to the block before we can bolt down the block to the casing.
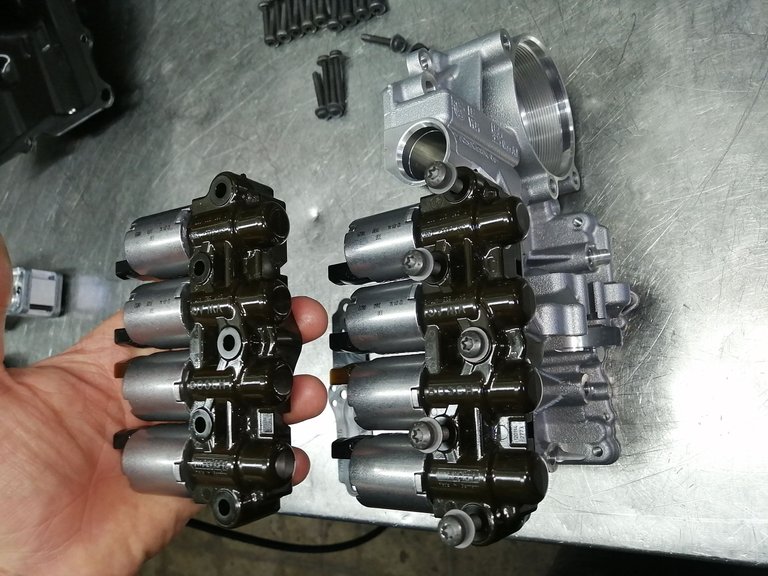
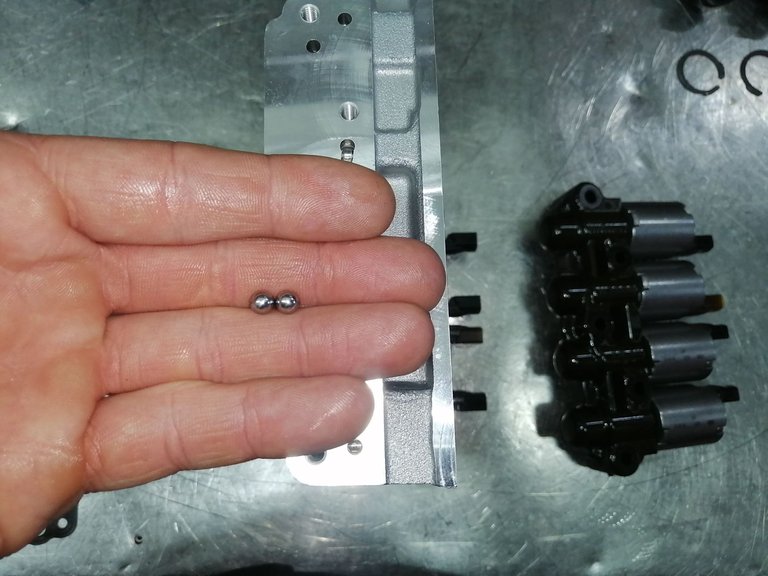
Now these little goons are more than often forgotten or lost or both, depends on who is working on the megatronic. But they are vital and they need to put back in place. The one side takes two goons and the other takes only one goon.
But dayum it's easy to overlook them, very easy.
The next step is to insert the block into the casing, making sure it seats properly, I know I know people tend to over exaturate but it's very easy for the filter to miss align and then end up squeezing the hell out of the filter, which obviously would not filter anymore and it might cause an oil flow restriction as well.
That black gasket placed on top is also a must otherwise everything would be spilling out oil and well this whole thing relies on pressure, so pressure is well needed.
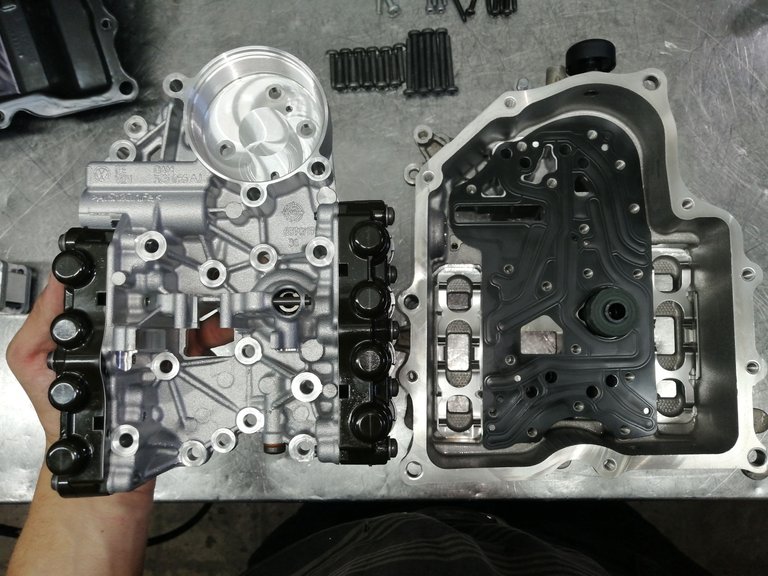
After fitting it in nicely, I love to play around a little, the bolts look like little heads peeking out or am I crazy? Laughs!
Do not ever overtighten these bolts they will crack the aluminum casing, since aluminum is very soft and of-course we technicians are strong, working with care is some fine art!
Certainly not every technicians strong point, no pun intended.
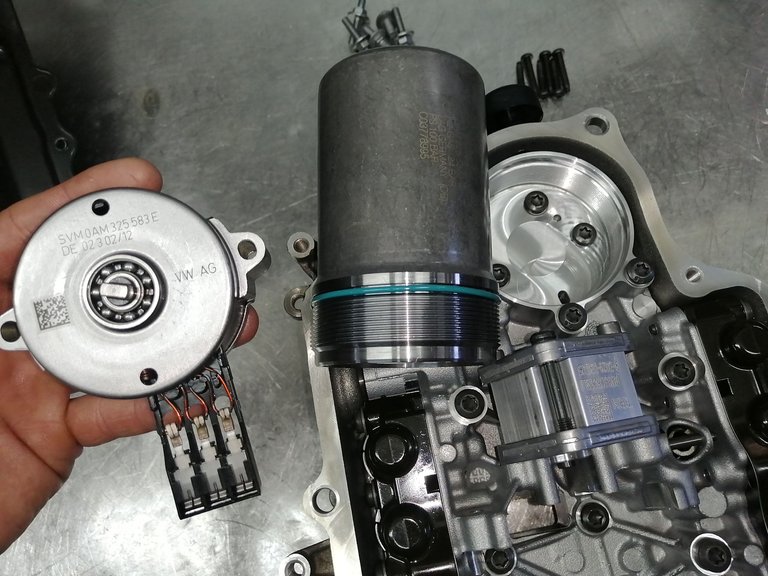
We are almost at the finishing line, all we need to add is the pump, the pump relay and the kinergo and then we can close her up on this side. as you can see the pump is already fitted and I've got the pump relay in my hand and the kinergo is the one with the green line which is actually an o-ring.
The pump and pump relay have to be inserted and bolted down before I can add the kinergo other wise I wont be getting in those damn pesky long bolts!
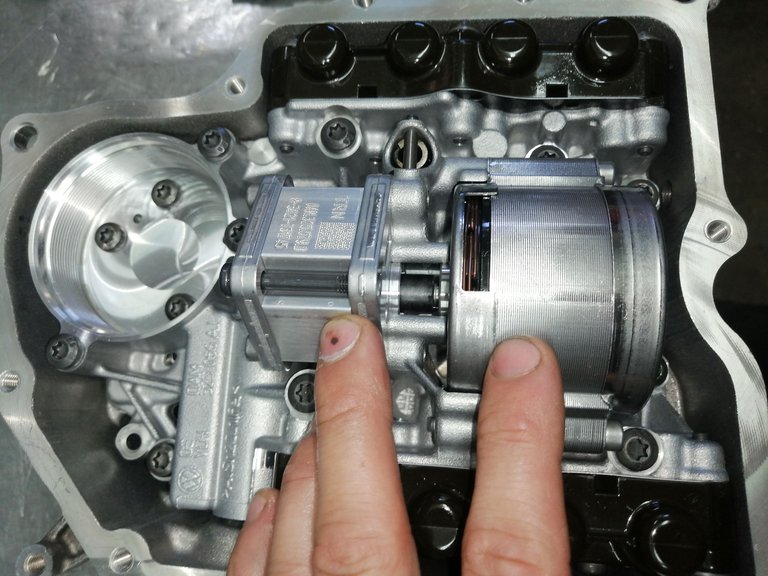
Just a little reference to see what it looks like before adding the kinergo.
Almost last but not least, I can now close the casing and well almost be done with the job, sort of.
I always tend to add a little bit of grease on the seals, any seal for that matter it just makes it possible for the rubber to move around as it gets tighten rather than biting down and tearing it.
It is definitely not something a lot of technicians do but it is for sure something that I have learned to do through and through I'd never be able to work any other way than greasing a seal before fitment.
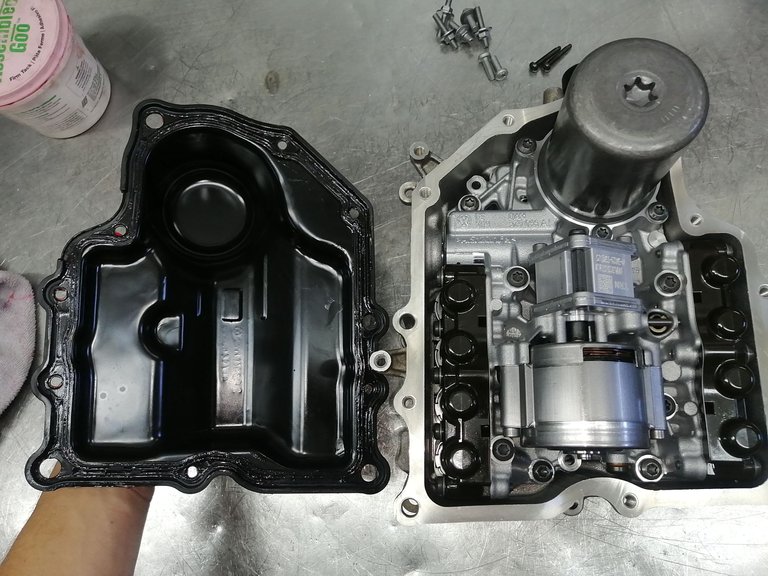
Well I would say that settles it, all I've left to do is pop in the two small pistons I assembled at the start and then I can wait for the computer board to arrive, it would probably only be next week though, let's hope for this week but I am not optimistic on that side.
The computer board fits on the face showing towards you. it also seals off the megatronic inside so that the oil does not spill out leak out, that is given you put the seals back and not damage them during the process.

Dated 07/03/2023


Connecting the people of #HIVE across South Africa. #hive
Just seeing this I absolutely want to go physically assault whoever the engineer of this machine is.
It's really cool that you are taking the time and effort to repair this.
Hahaha, laughs most people would😂 i like a challenge though😂
That's definitely a pretty big challenge I've got some mechanically gifted friends and I know how to turn a wrench but that looks like you got to know exactly what you're doing.
Awesome job! Keep up the hard work and amazing content!
My friend @technicalside (72) I congratulate you for your neat and organized work, it says a lot of good things about you.
Thanks a lot bud! Much appreciated!!
!PIZZA
!LUV
!BEER
@leanpoqui, @technicalside(1/3) sent you LUV. | tools | discord | community | HiveWiki | <>< daily
PIZZA Holders sent $PIZZA tips in this post's comments:
@technicalside(1/5) tipped @leanpoqui (x1)
Please vote for pizza.witness!