Tutorial de como hacer una corona de papel/Tutorial on how to make a paper wreath
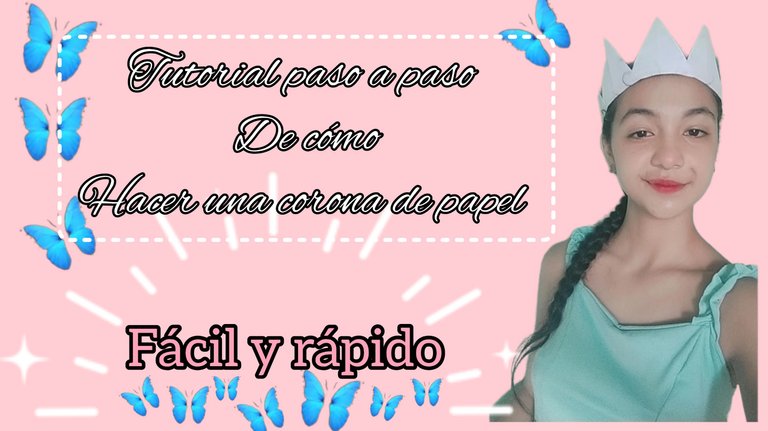
Hola lectores de Hive, espero estén bien todos. Hoy les traigo el tutorial de la corona que use en maquillaje de la Reina roja, bueno, amigos y sin más qué decir empecemos.
Hello Hive readers, I hope you are all well. Today I bring you the tutorial of the crown I used in the red queen makeup, well, friends and without further ado let's get started.
Paso 1:
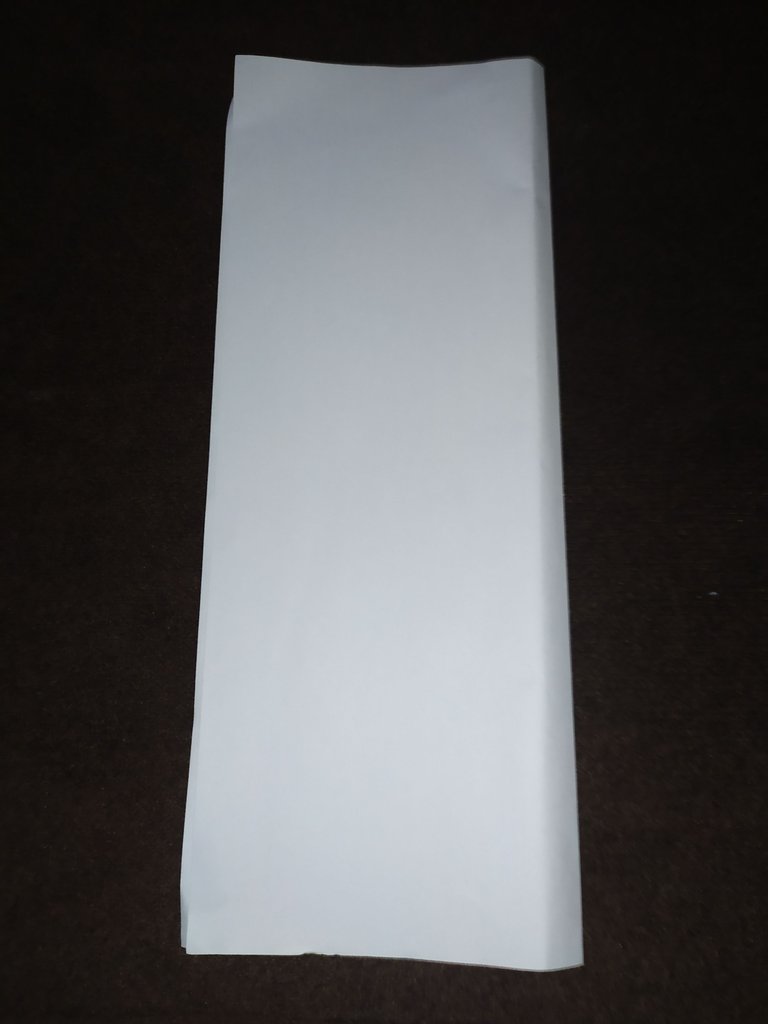
Tomas una hoja blanca y la doblamos a la mitad, traté de que quedé en toda la mitad de la hoja.
You take a white sheet of paper and fold it in half, I tried to fold it in half.
Paso 2:
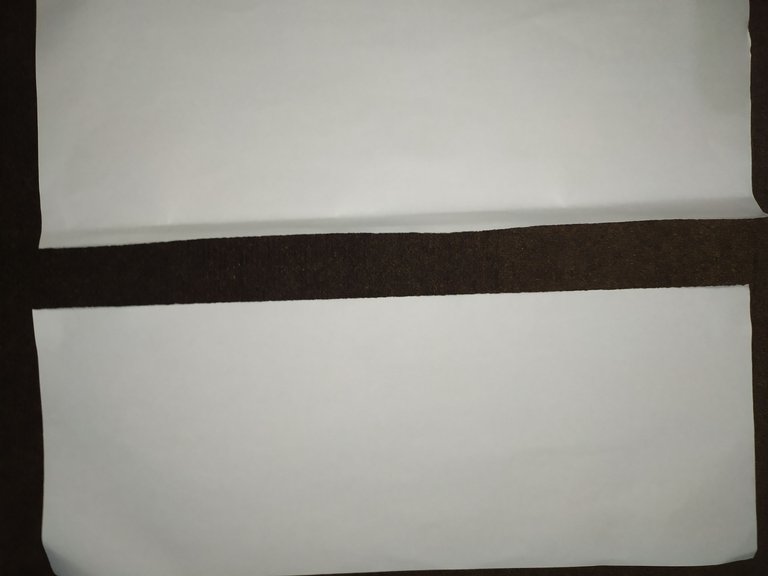
Luego la hoja que doblamos la cortaremos a la mitad.
Then the folded sheet is cut in half.
Paso 3:
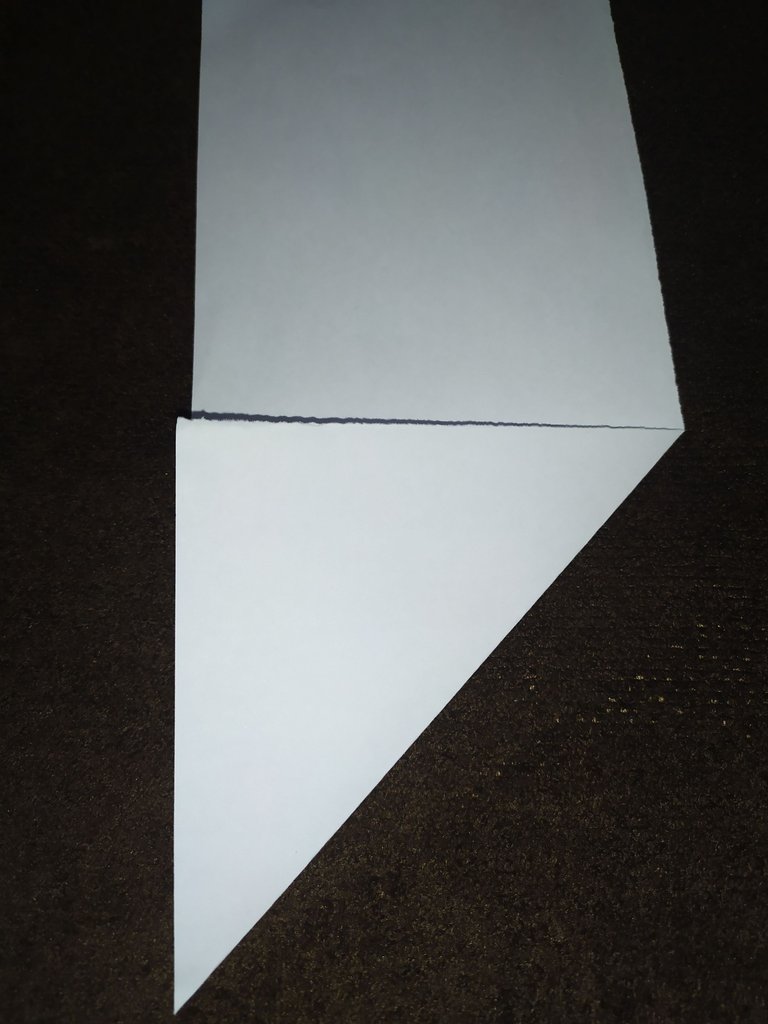
La doblamos en forma de triángulo como se ve en la foto, y lo seguimos haciendo hasta que no quede espacio en la hoja.
Fold it in the shape of a triangle as shown in the photo, and continue to do so until there is no space left on the sheet.
Paso 4:
Le vamos a recortar el cuadrado que nos quedó y va a quedar así como se ve en la foto.
We are going to cut out the square that we have left and it will look like this as shown in the photo.
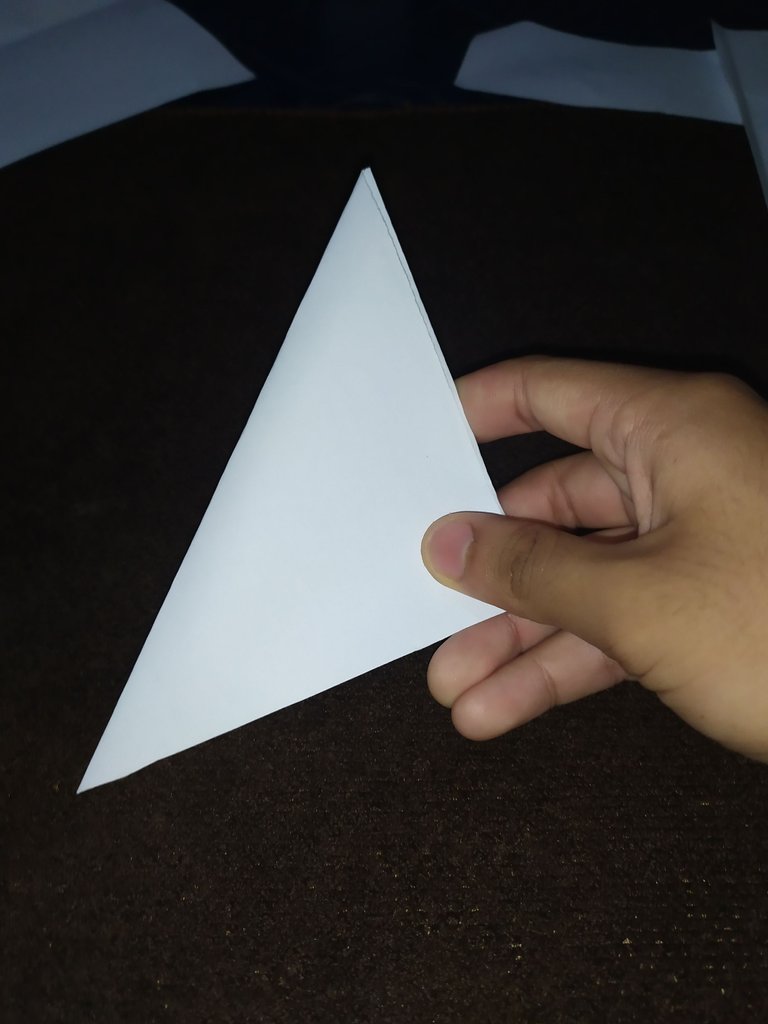
Paso 5:
Luego vamos a abrir el triángulo, después lo recortamos a la mitad.
Then we are going to open the triangle, then cut it in half.
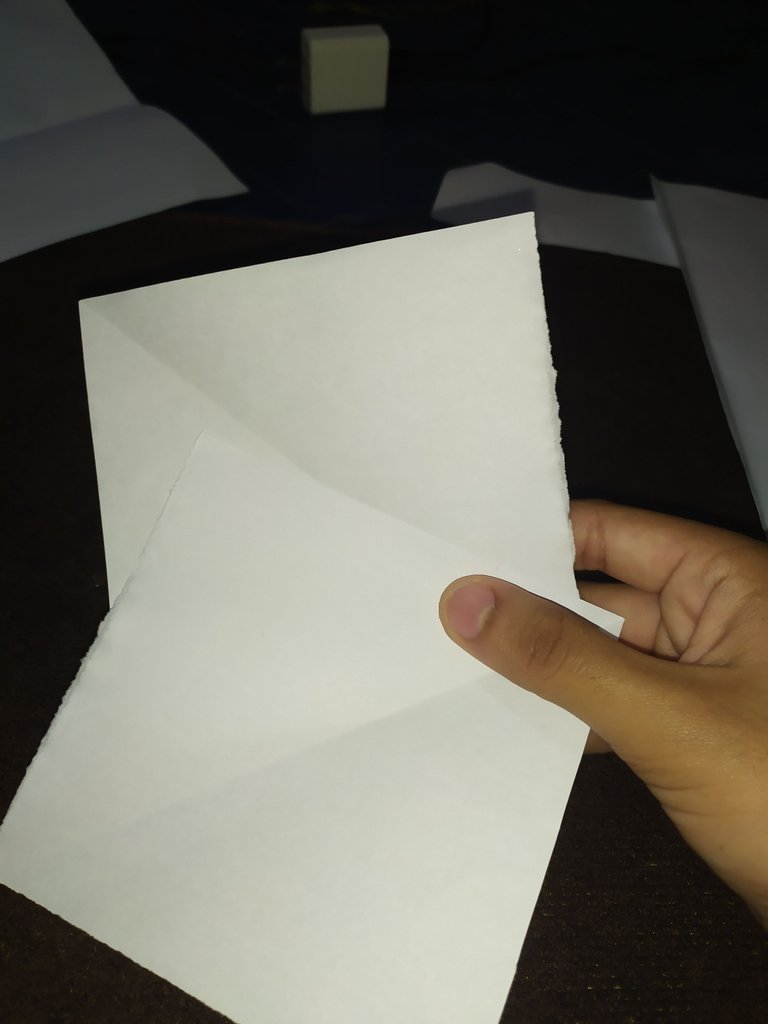
Paso 6:
Nos van a quedar dos cuadrados así, luego vamos a doblar la mitad del triángulo, donde está la marca cuando lo doblamos antes, este paso lo tiene que hacer con las dos puntas.
We are going to have two squares like this, then we are going to fold the middle of the triangle, where the mark is when we folded it before, this step has to be done with both ends.
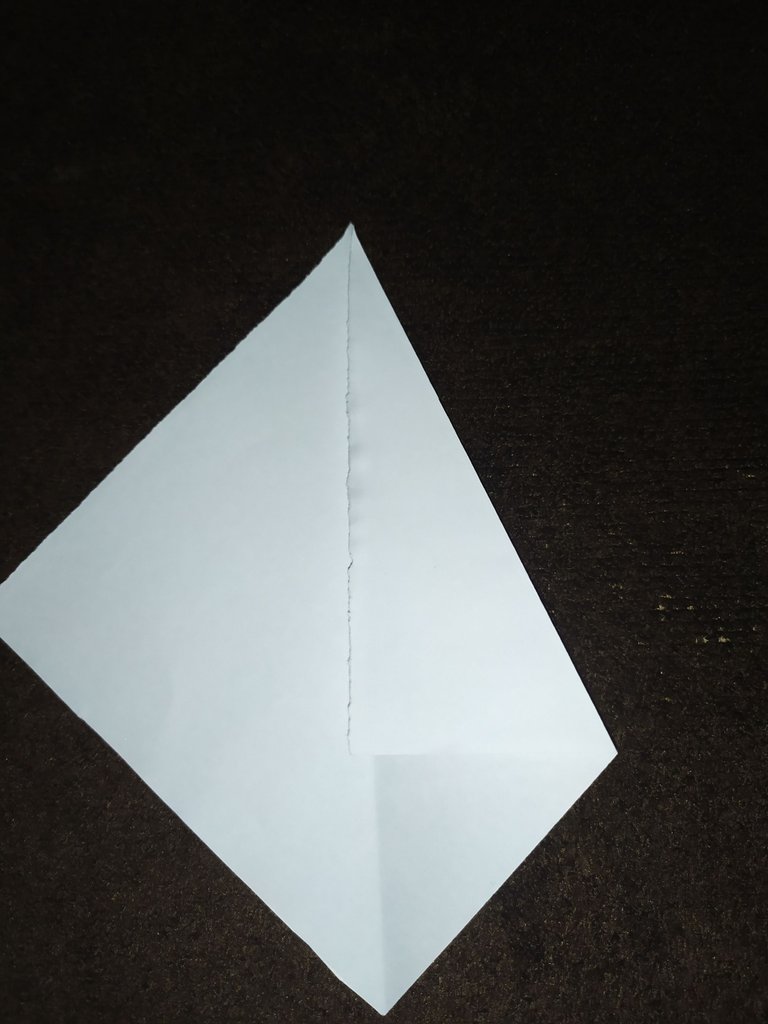
Paso 7:
Después de doblar las puntas no va a quedar un espacio, ese espacio lo vamos a doblar hasta donde llegue. Así como se ve en la siguiente foto.
After folding the ends there will not be a space left, we are going to fold that space as far as it will go. As shown in the following picture.
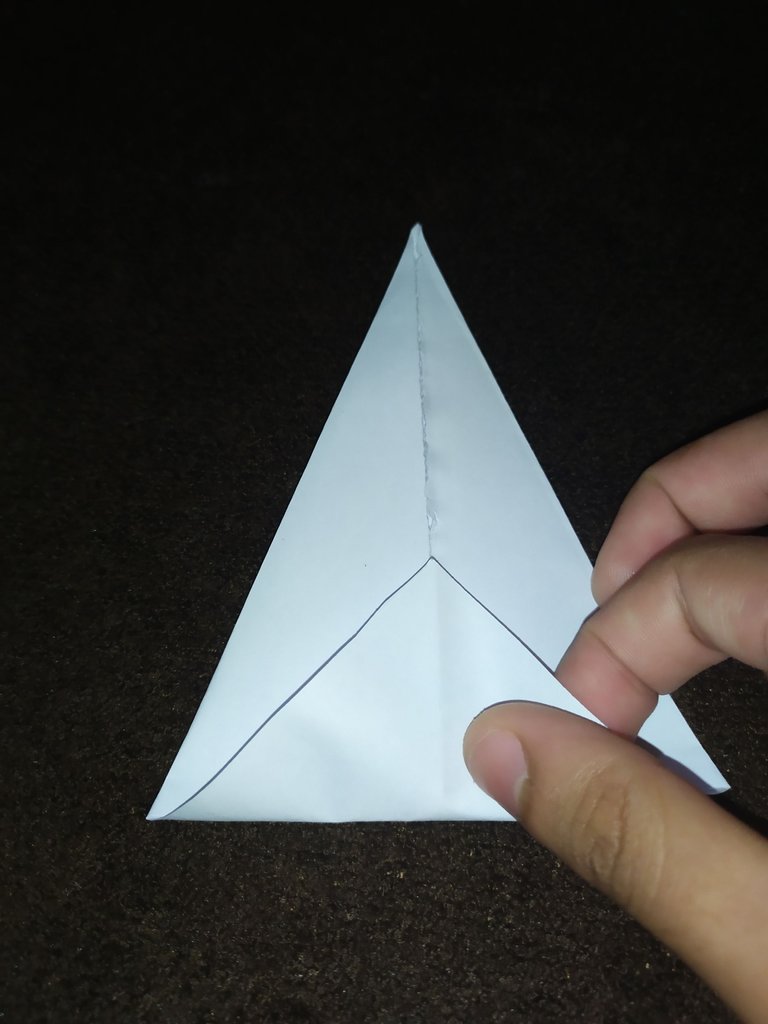
Paso 8:
Ahora vamos a doblar un poquito de la parte de abajo.
Now we are going to fold a little bit of the bottom part.
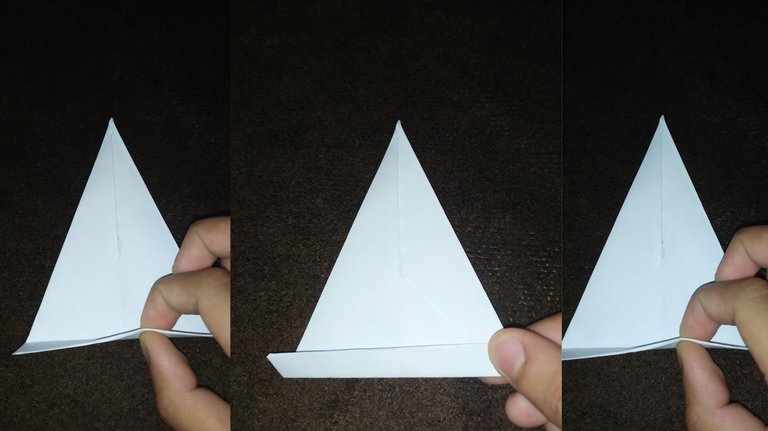
Paso 9:
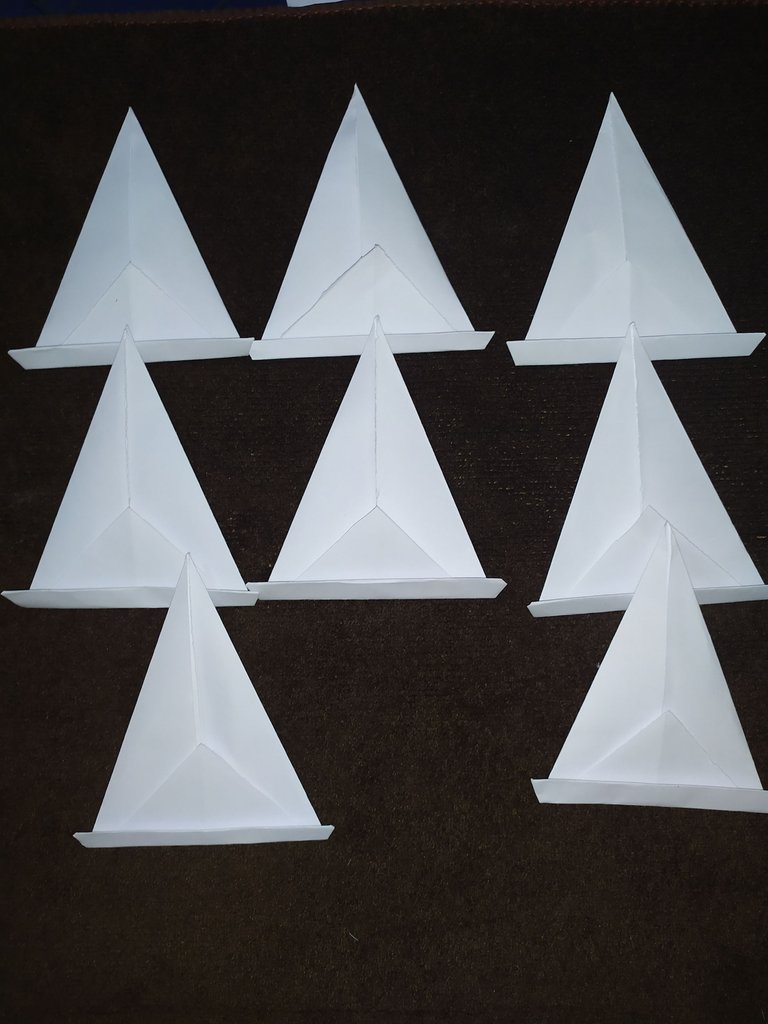
Hacemos 8 triángulos como les expliqué, yo hice 8 por qué quiere que me quedara grande, pero depende del tamaño que la quieras, son los triángulos que vas a hacer.
We make 8 triangles as I explained, I made 8 because I wanted it to be big, but it depends on the size you want, they are the triangles you are going to make.
Paso 10:
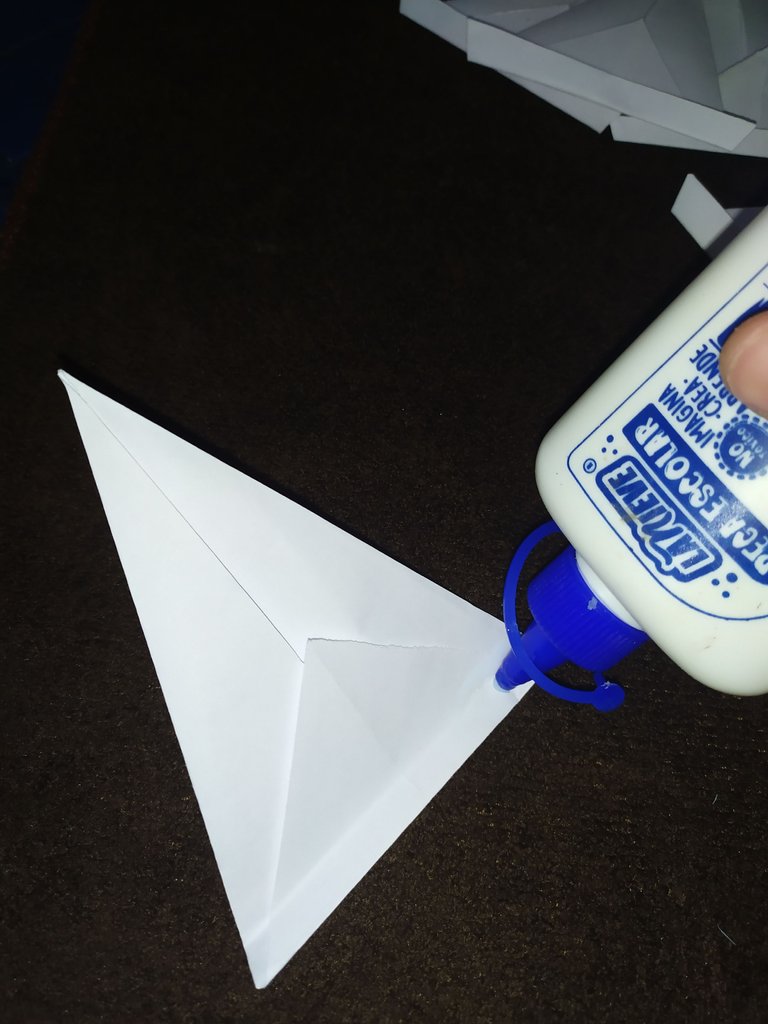
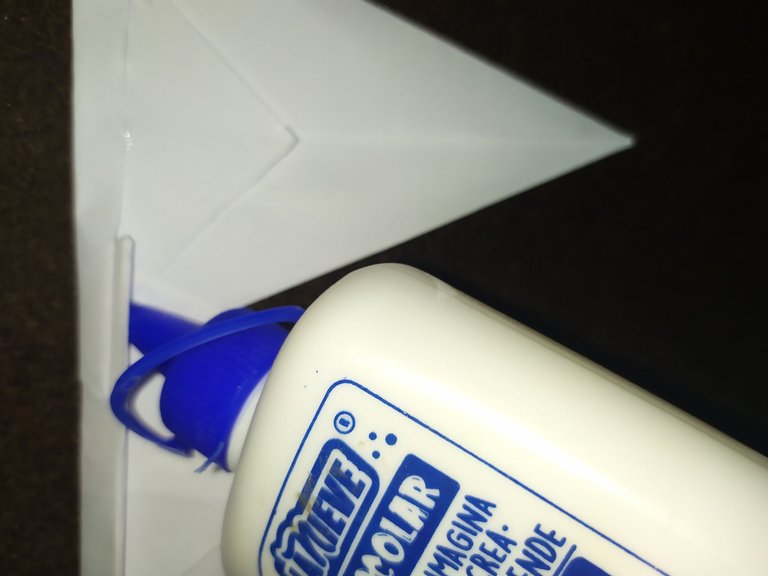
Luego en la punta de abajo que doblamos, en el medio le aplicaremos un poco de pega.
Then on the bottom end that we folded, in the middle we will apply a little glue.
Paso 11:
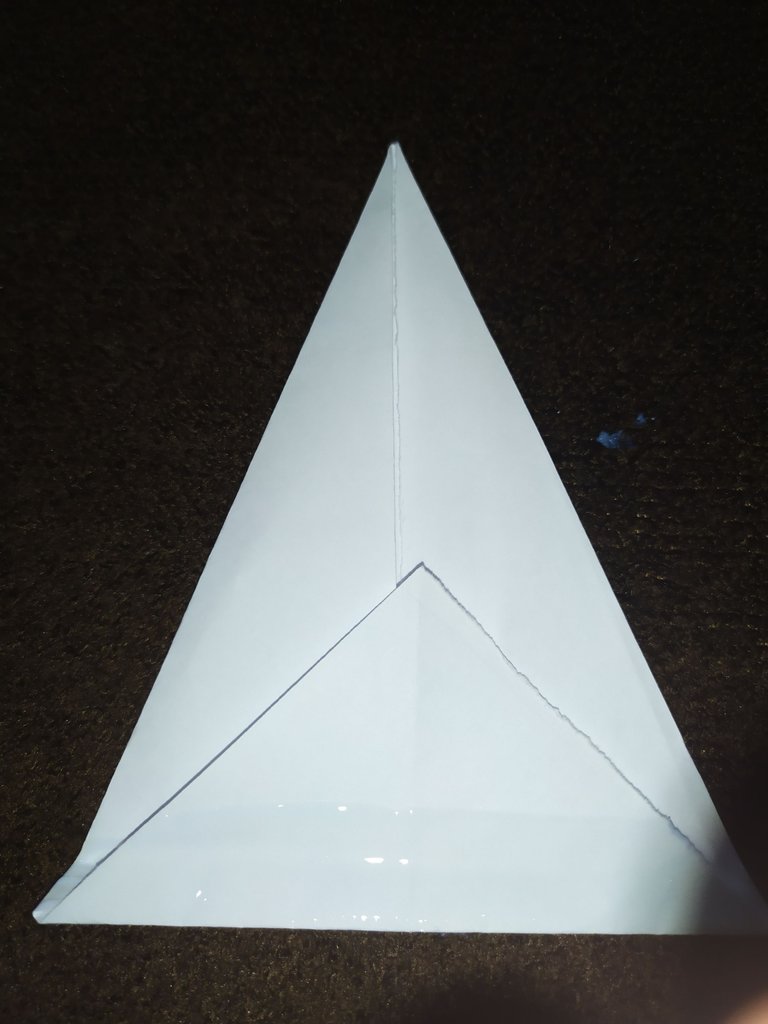
Dónde aplicamos él poco de pega, pondremos el otro triángulo. Así, sucesivamente, con todos, hasta que tengamos el tamaño deseado, pegamos él los dos últimos triángulos.
Where we apply a little glue, we will put the other triangle. So, successively, with all of them, until we have the desired size, we glue the last two triangles.
Paso final:
Cuando estemos pegando los triángulos si quieres le puedes aplicar un poco por los bordes de adentro para que te quede más suelta.
When we are gluing the triangles if you want you can apply a little on the inside edges to make it looser.
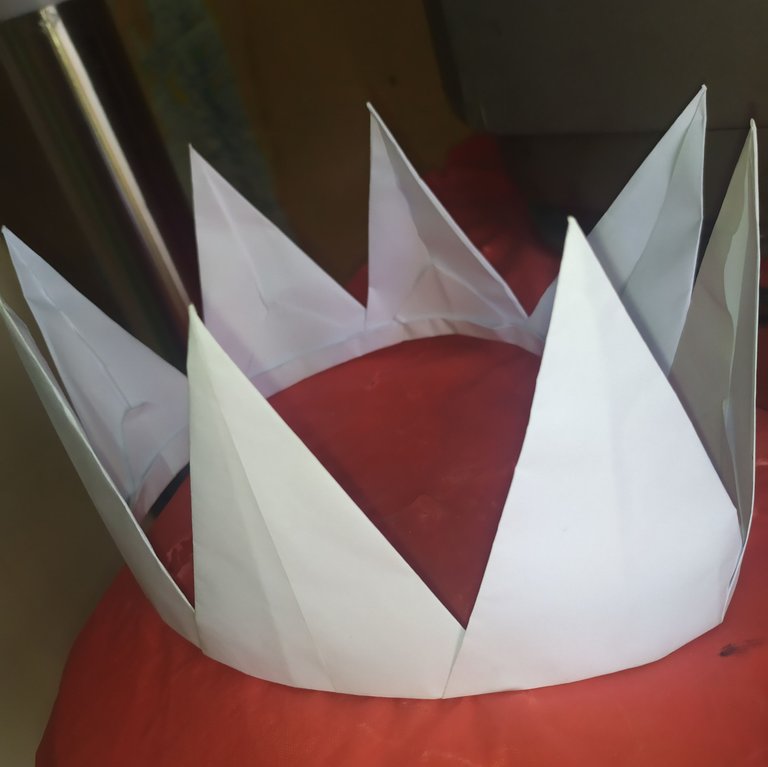
Y así quedó la corona, es muy fácil de hacer y es muy linda, yo la hice con papel, pero también la puedes hacer con papel lustrillo. Bueno, amigos hasta la próxima, pronto les traigo más contenido, adiós 👋🏻
And this is how the wreath turned out, it is very easy to make and it is very pretty, I made it with paper, but you can also make it with lustrillo paper. Well, friends until next time, soon I will bring you more content, bye bye 👋🏻
Traductor usado Deepl.
Used translator Deepl.
Fotos de mi Propiedad tomadas desde mi celular Redmi Note 7.
Photos of my Property taken from my Redmi Note 7 cell phone.
Foto de portada realizada en InShot.
Cover photo taken in InShot.
!DIY
!discovery 30
This post was shared and voted inside the discord by the curators team of discovery-it
Join our Community and follow our Curation Trail
Discovery-it is also a Witness, vote for us here
Delegate to us for passive income. Check our 80% fee-back Program
A befitting crown for a king. Nice work
Muchas gracias.🥰
Congratulations @zvaleska! You have completed the following achievement on the Hive blockchain And have been rewarded with New badge(s)
Your next target is to reach 900 upvotes.
You can view your badges on your board and compare yourself to others in the Ranking
If you no longer want to receive notifications, reply to this comment with the word
STOPDylan dice que te dé un corazón, te quedo genial la Corona, hiciste un buen trabajo, felicitaciones, continua así 😍
Gracias tía bella,si el me dijo, yo le mostré la foto de portada y me dijo te quedó genial, el siempre de lindo.🥰