Making a cardboard organizer for my desk pt. 1 [eng/esp]
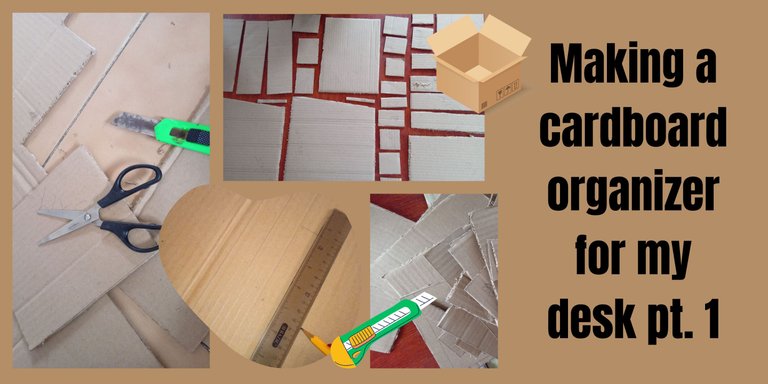
Hello friends of the DIY community, I hope you are well. Today I want to share with you the beginning of the process of making a fairly large cardboard organizer to keep my desk tidy and organized.
Well, it turns out that for a class, we had an evaluation in which each student was given a recycling material with which they had to make a work of art or craft, and as if it were fate, I got cardboard, a material with which I have always worked with because of how much I like to make crafts or organizers just with cardboard. It didn't take me long to know what I had to make a desk organizer, but it did take me a while to decide which one I wanted and could make.
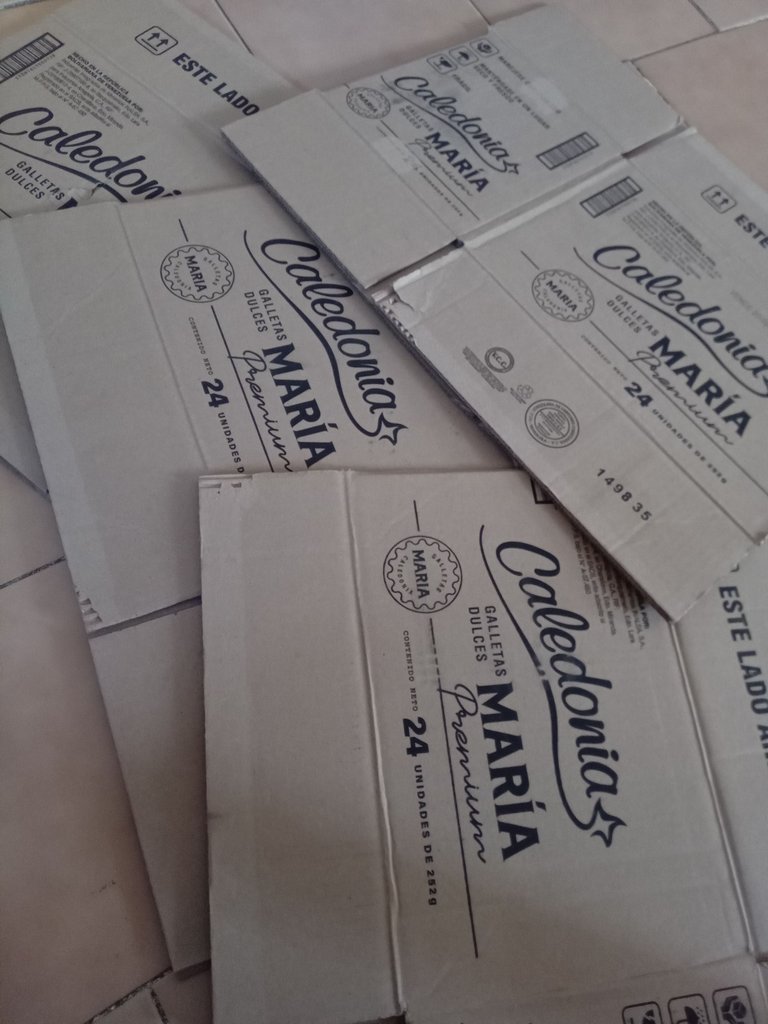
After a few hours deciding, I knew what I wanted to do, so I bought four pieces of cardboard, got four medium sized boxes and got down to work.
Versión en EspañolHola amigos de la comunidad DIY, espero estén bien. Hoy les quiero compartir el inicio del proceso de hacer un organizador de cartón bastante grande para poder tener ordenado y organizado mi escritorio.
Bueno, resulta que para una clase, teníamos una evaluación en la que a cada alumno le tocó un material de reciclaje con el que tenía que elaborar una obra de arte o manualidad, y como si del destino se tratase me tocó cartón, material con el cual he trabajado desde siempre por lo mucho que me gusta hacer manualidades u organizadores justamente con cartón. No tardé nada en saber qué tenía que hacer un organizador de escritorio, en lo que sí tardé fue en decir cuál quería y podía hacer.
Después de unas horas decidiendo, tenía claro qué quería hacer, así que compré unas cuatro cartulinas, conseguí cuatro cajas de tamaño mediano y me puse manos a la obra.
 |  |  |
|---|
 |  |  |
|---|
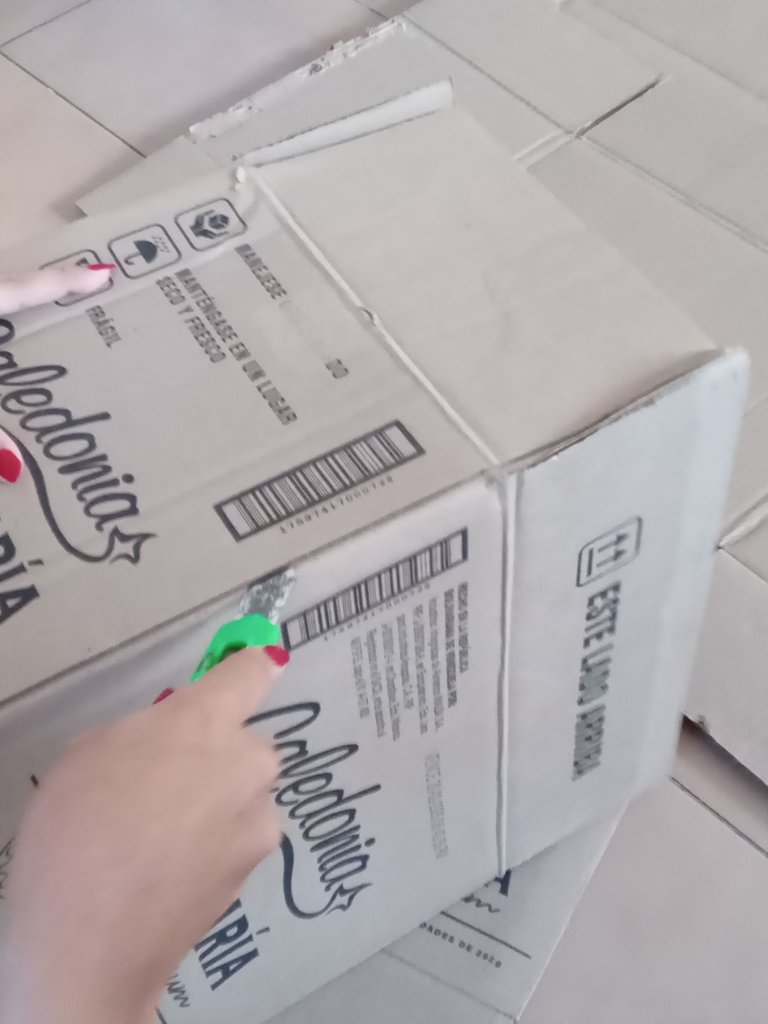
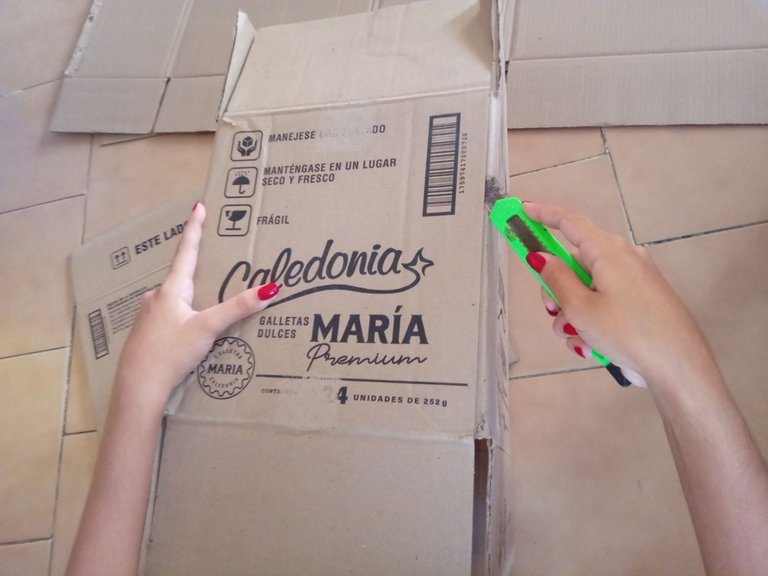
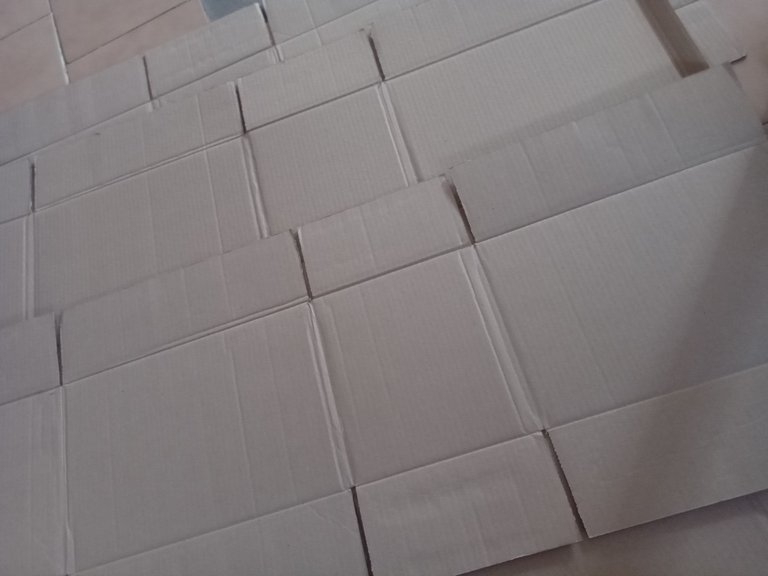
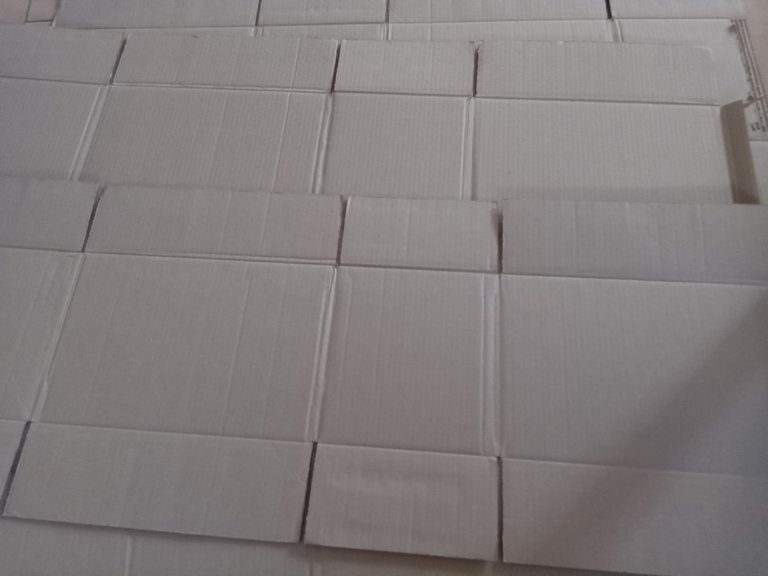
The first day I didn't do much, since I started almost at night, what I did first was to open the boxes completely to be able to work more comfortably, here I show you how the boxes looked before and after opening them, I only measured and marked about four pieces on the cardboard and cut only two. I did this on the floor, as it was more practical for me than on a table.
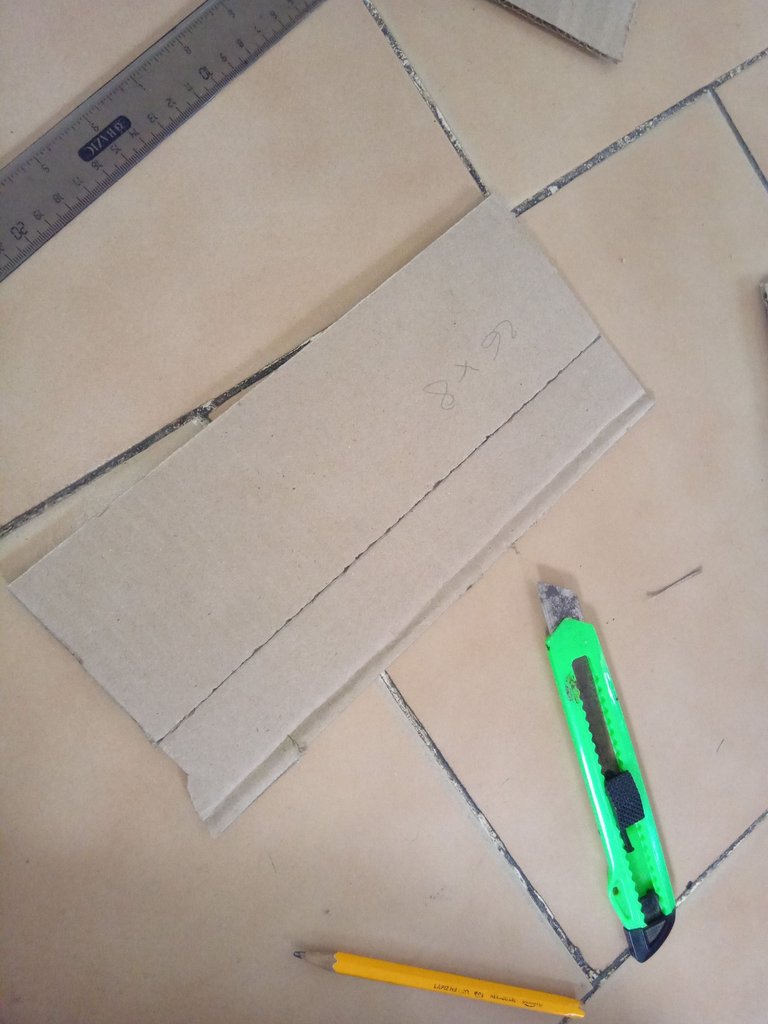
The second day I started early, as I wanted to be focused on this during the whole weekend and have it ready before Monday, although the delivery was a few days later, I knew that during the week I would be busy and I would not have a chance to make the organizer so I didn't stop until I finished it (obviously I had some breaks). I spent the whole morning measuring, marking and cutting, some pieces with cutter or, sometimes, I cut others with scissors because it was a little faster, but the bad thing is that with scissors the cardboard gets a little flattened, so I was alternating the two tools.
Versión en EspañolEl primer día no hice demasiado, ya que empecé casi de noche, lo que hice primero fue abrir las cajas totalmente para poder trabajar más cómodamente, aquí les muestro cómo se veían las cajas antes y después de abrirlas, solo alcance a medir y marcar unas cuatro piezas en el cartón y cortar tan solo dos. Hice esto en el piso, ya que era más práctico para mí que en una mesa.
Al segundo día empecé temprano, ya que quería estar enfocada en esto durante todo el fin de semana y tenerlo listo antes del lunes, aunque la entrega era hasta unos días después, sabía que en la semana iba a estar ocupada y no iba a tener chance de hacer el organizador por ende estuve sin detenerme hasta terminarlo (obviamente tenía algunos descansos). Estuve toda la mañana midiendo, marcando y cortando, algunas piezas con cutter o, a veces, cortaba otras con tijeras porque era un poco más rápido, pero lo malo es que con tijera el cartón se aplasta un poco, por lo que iba alternando las dos herramientas.
 |  |  |
|---|
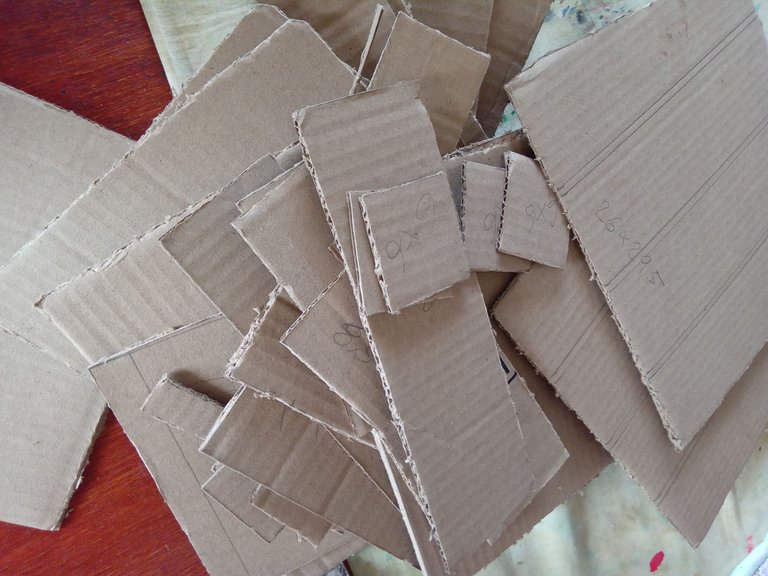
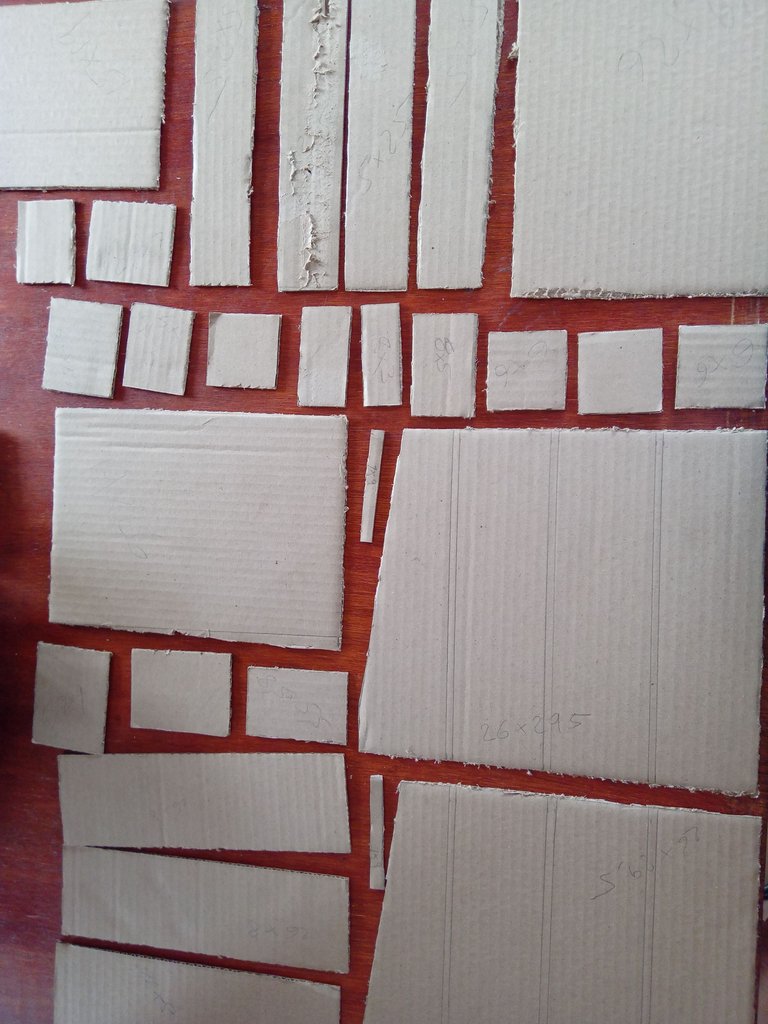
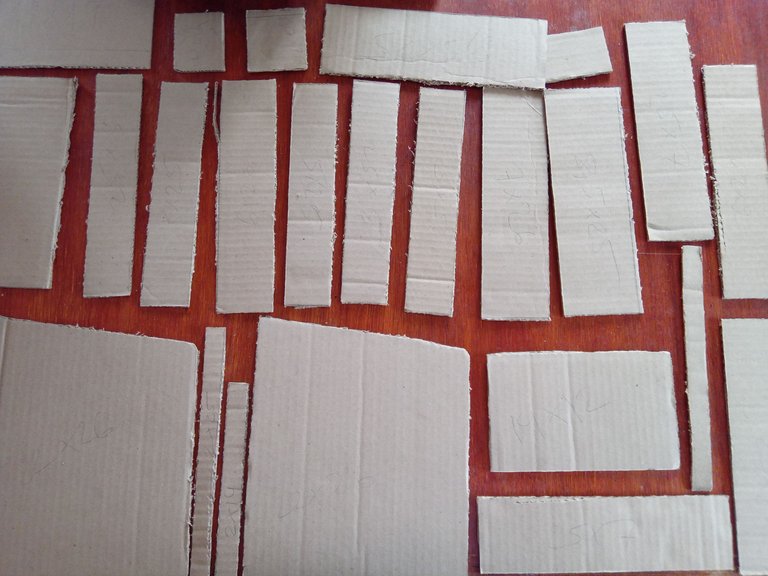
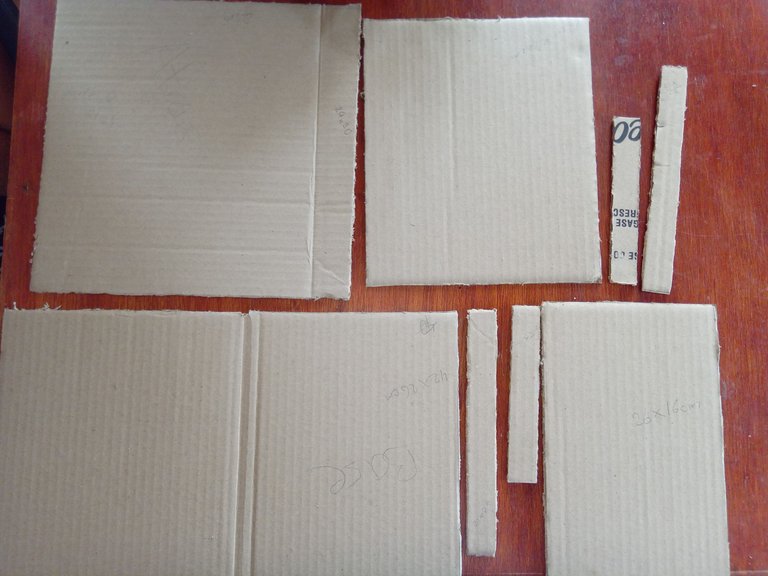
I thought I wouldn't even manage to cut half of the pieces that day because there were too many, but surprisingly I made it before the afternoon. I cut a total of 60 pieces for this organizer, I wanted to take a picture of all of them, but there were so many that I had to sort them several times and take several pictures.
The next thing I did was to start looking at which pieces were going to be fully visible and which were not to be lined with cardstock. I had to see this because if I lined pieces that were not even going to be seen, it would be a waste of material that I did not want to do, plus I was grouping the pieces by sections.
Then I started possibly the most time consuming part, but without a doubt I liked it more than cutting cardboard, which was putting the colorful pieces with cardboard, but you will see that in the next post because I don't want to make this one too long. I hope you read the next post where I will show you the final result and that you liked this one, thanks for reading!
Versión en EspañolCreía que no iba ni a alcanzar a cortar la mitad de piezas ese día porque eran demasiadas, pero sorprendentemente lo logré antes de la tarde. Corté en total 60 piezas para este organizador, le quería tomar una foto a todas, pero eran tantas que tuve que ordenarlas varias veces y hacer varias fotos.
Lo siguiente que hice fue empezar a ver qué piezas se iban a ver totalmente y cuáles no para forrarlas con cartulina. Tenía que ver esto porque si forraba piezas que ni siquiera se iba a ver, sería un malgasto de material que no quería hacer, además fui agrupando las piezas por secciones.
Luego empezaba posiblemente la parte más tardada, pero sin duda me agradaba más que cortar cartón, que fue ir poniendo las piezas coloridas con cartulinas, pero eso ya lo verán en el siguiente post porque no quiero hacer muy largo este. Espero lean el próximo post donde les mostraré el resultado final y que les haya gustado este, ¡gracias por leer!
 |  |  |
|---|
This post was shared and voted inside the discord by the curators team of discovery-it
Join our Community and follow our Curation Trail
Discovery-it is also a Witness, vote for us here
Delegate to us for passive income. Check our 80% fee-back Program
You can query your personal balance by
!DIYSTATSThis is truly outstanding and creative of you, well done
Congratulations @yuusaa! You have completed the following achievement on the Hive blockchain And have been rewarded with New badge(s)
Your next target is to reach 20 posts.
You can view your badges on your board and compare yourself to others in the Ranking
If you no longer want to receive notifications, reply to this comment with the word
STOPWould have been great to see the final result but nevertheless, looking forward to it.
Thank you for sharing
!diy
!discovery 50