(ESP/ENG) ¡Cosiendo a Mano! Tutorial - Hermosos Zarcillos de Estrella ⭐ Arcoiris 🌈 en Fieltro
(Edited)
¡Saludos 👋 Queridos 💞 Amigos de #Jewelry😘! // Greetings 👋 Dear 💞 Friends of #Jewelry😘!
Saludos mis queridos amigos de esta maravillosa comunidad, es un placer para mí pasar por aquí y dejarles un hermoso 😍 tutorial de cómo hacer unos lindos zarcillos de estrella arcoiris 🌈⭐para las pequeñitas de la casa, como siempre quise hacerlos en fieltro ya que me encanta trabajar con este material.
Greetings my dear friends of this wonderful community, it is a pleasure for me to stop by and leave you a beautiful 😍 tutorial on how to make some cute rainbow star tendrils 🌈⭐for the little ones of the house, as always I wanted to make them in felt since I love working with this material.
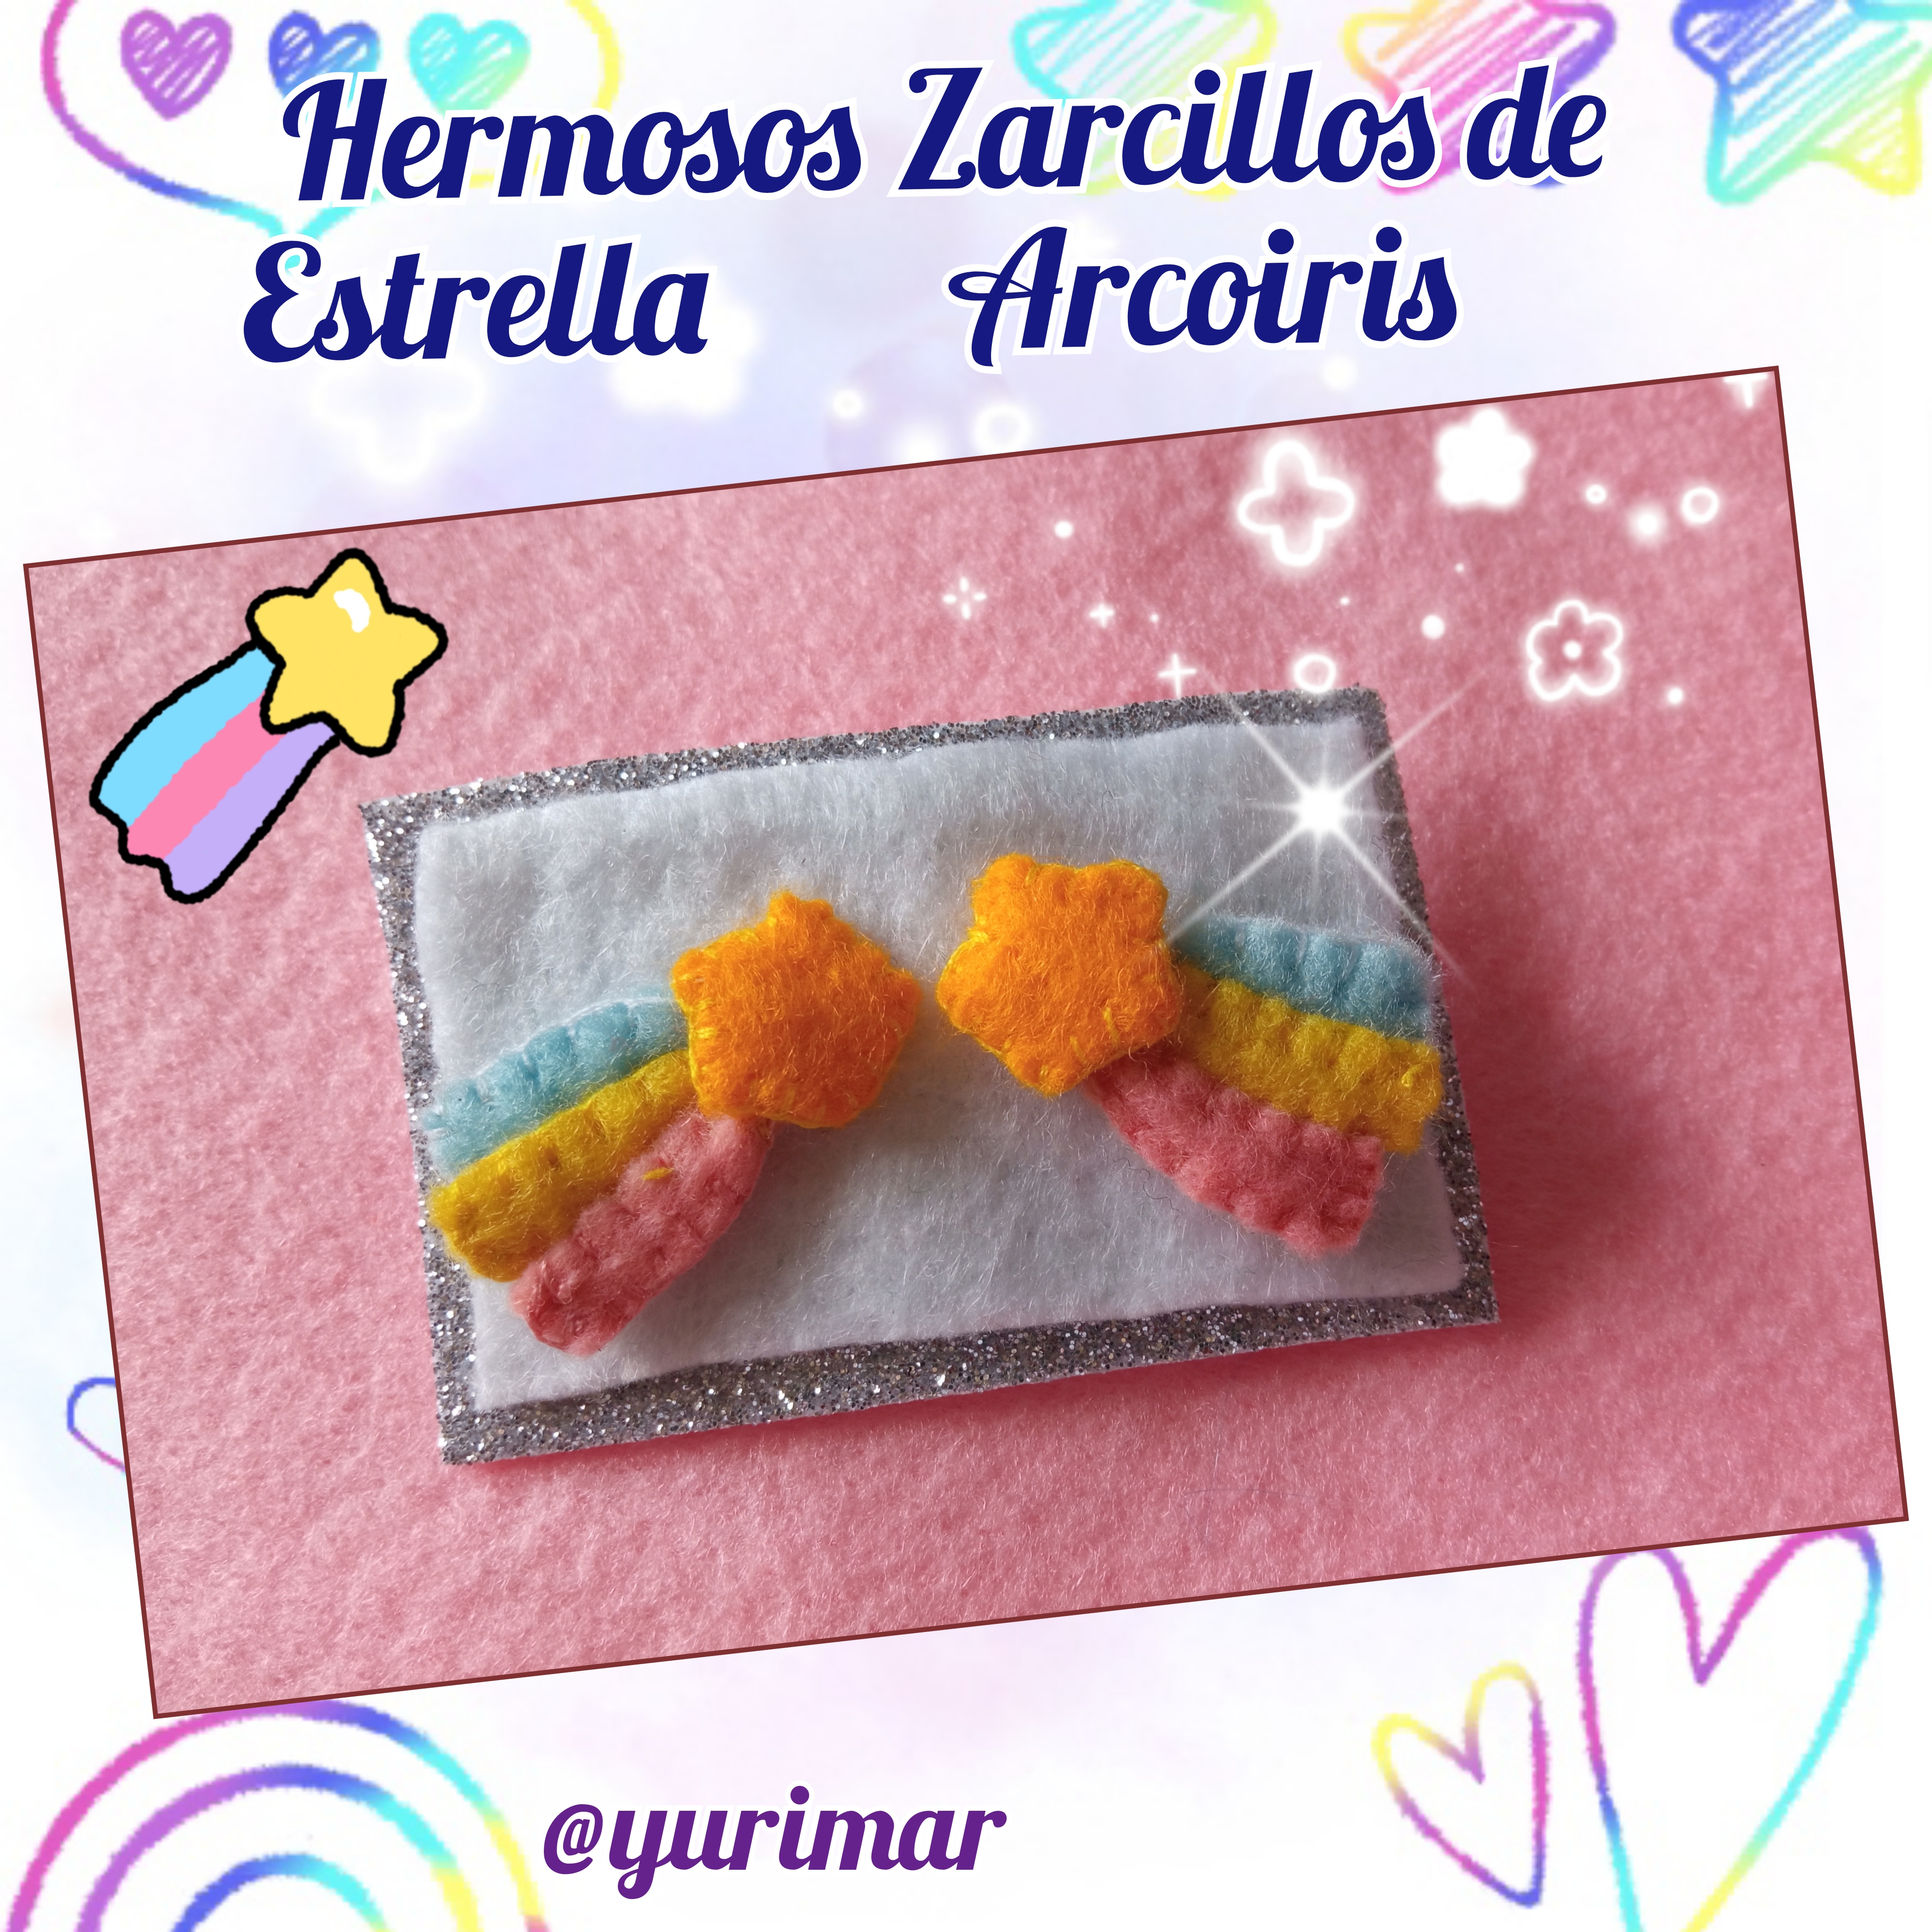
La verdad que no tenía nada en en mente cuando me senté frente de mis retazos de fieltro, pero mi hija Camila se me acercó y me dijo mamá hazme unos zarcillos arcoiris 🌈⭐con una estrella, a ella le encanta los arcoiris así que pensé en hacer una estrella fugaz que usará los colores del arcoiris.
I really didn't have anything in mind when I sat down in front of my felt scraps, but my daughter Camila came up to me and said mom make me some rainbow tendrils 🌈⭐ with a star, she loves rainbows so I thought of making a shooting star using the colors of the rainbow.
Les comento que estos zarcillos son muy fáciles de hacer solo hay que tener un poco de paciencia ya que no es fácil tener que coser a mano figuras tan pequeñas jejeje!! Pero como dice el dicho "La práctica hace al maestro" 😉.
I tell you that these tendrils are very easy to make you just have to have a little patience as it is not easy to have to hand sew such small figures hehehehe!!!! But as the saying goes "Practice makes perfect" 😉.
Antes de comenzar con este tutorial les voy a detallar cada material que use para su elaboración.
Before starting with this tutorial, I am going to detail each material I used for its elaboration.

- 🌈Fieltro de color amarillo (dos tonos).
- 🌈Fieltro de color rosado.
- 🌈Fieltro de color azul claro.
- 🌈Hilos de color amarillo, rosado y blanco.
- 🌈Base plana para zarcillos.
- 🌈Tapones de goma para zarcillos.
- 🌈Aguja de coser.
- 🌈Tijera.
- 🌈Lápiz.
- 🌈Una hoja blanca.
- 🌈Pistola de Silicon.

- ⭐Yellow felt (two-tone).
- ⭐Pink felt.
- ⭐Light blue felt.
- ⭐Yellow, pink and white threads.
- ⭐Flat base for tendrils.
- ⭐Rubber plugs for tendrils.
- ⭐Sewing needle.
- ⭐Scissors.
- ⭐Pencil.
- ⭐White sheet of paper.
- ⭐Silicon gun.

Paso 1🌈:
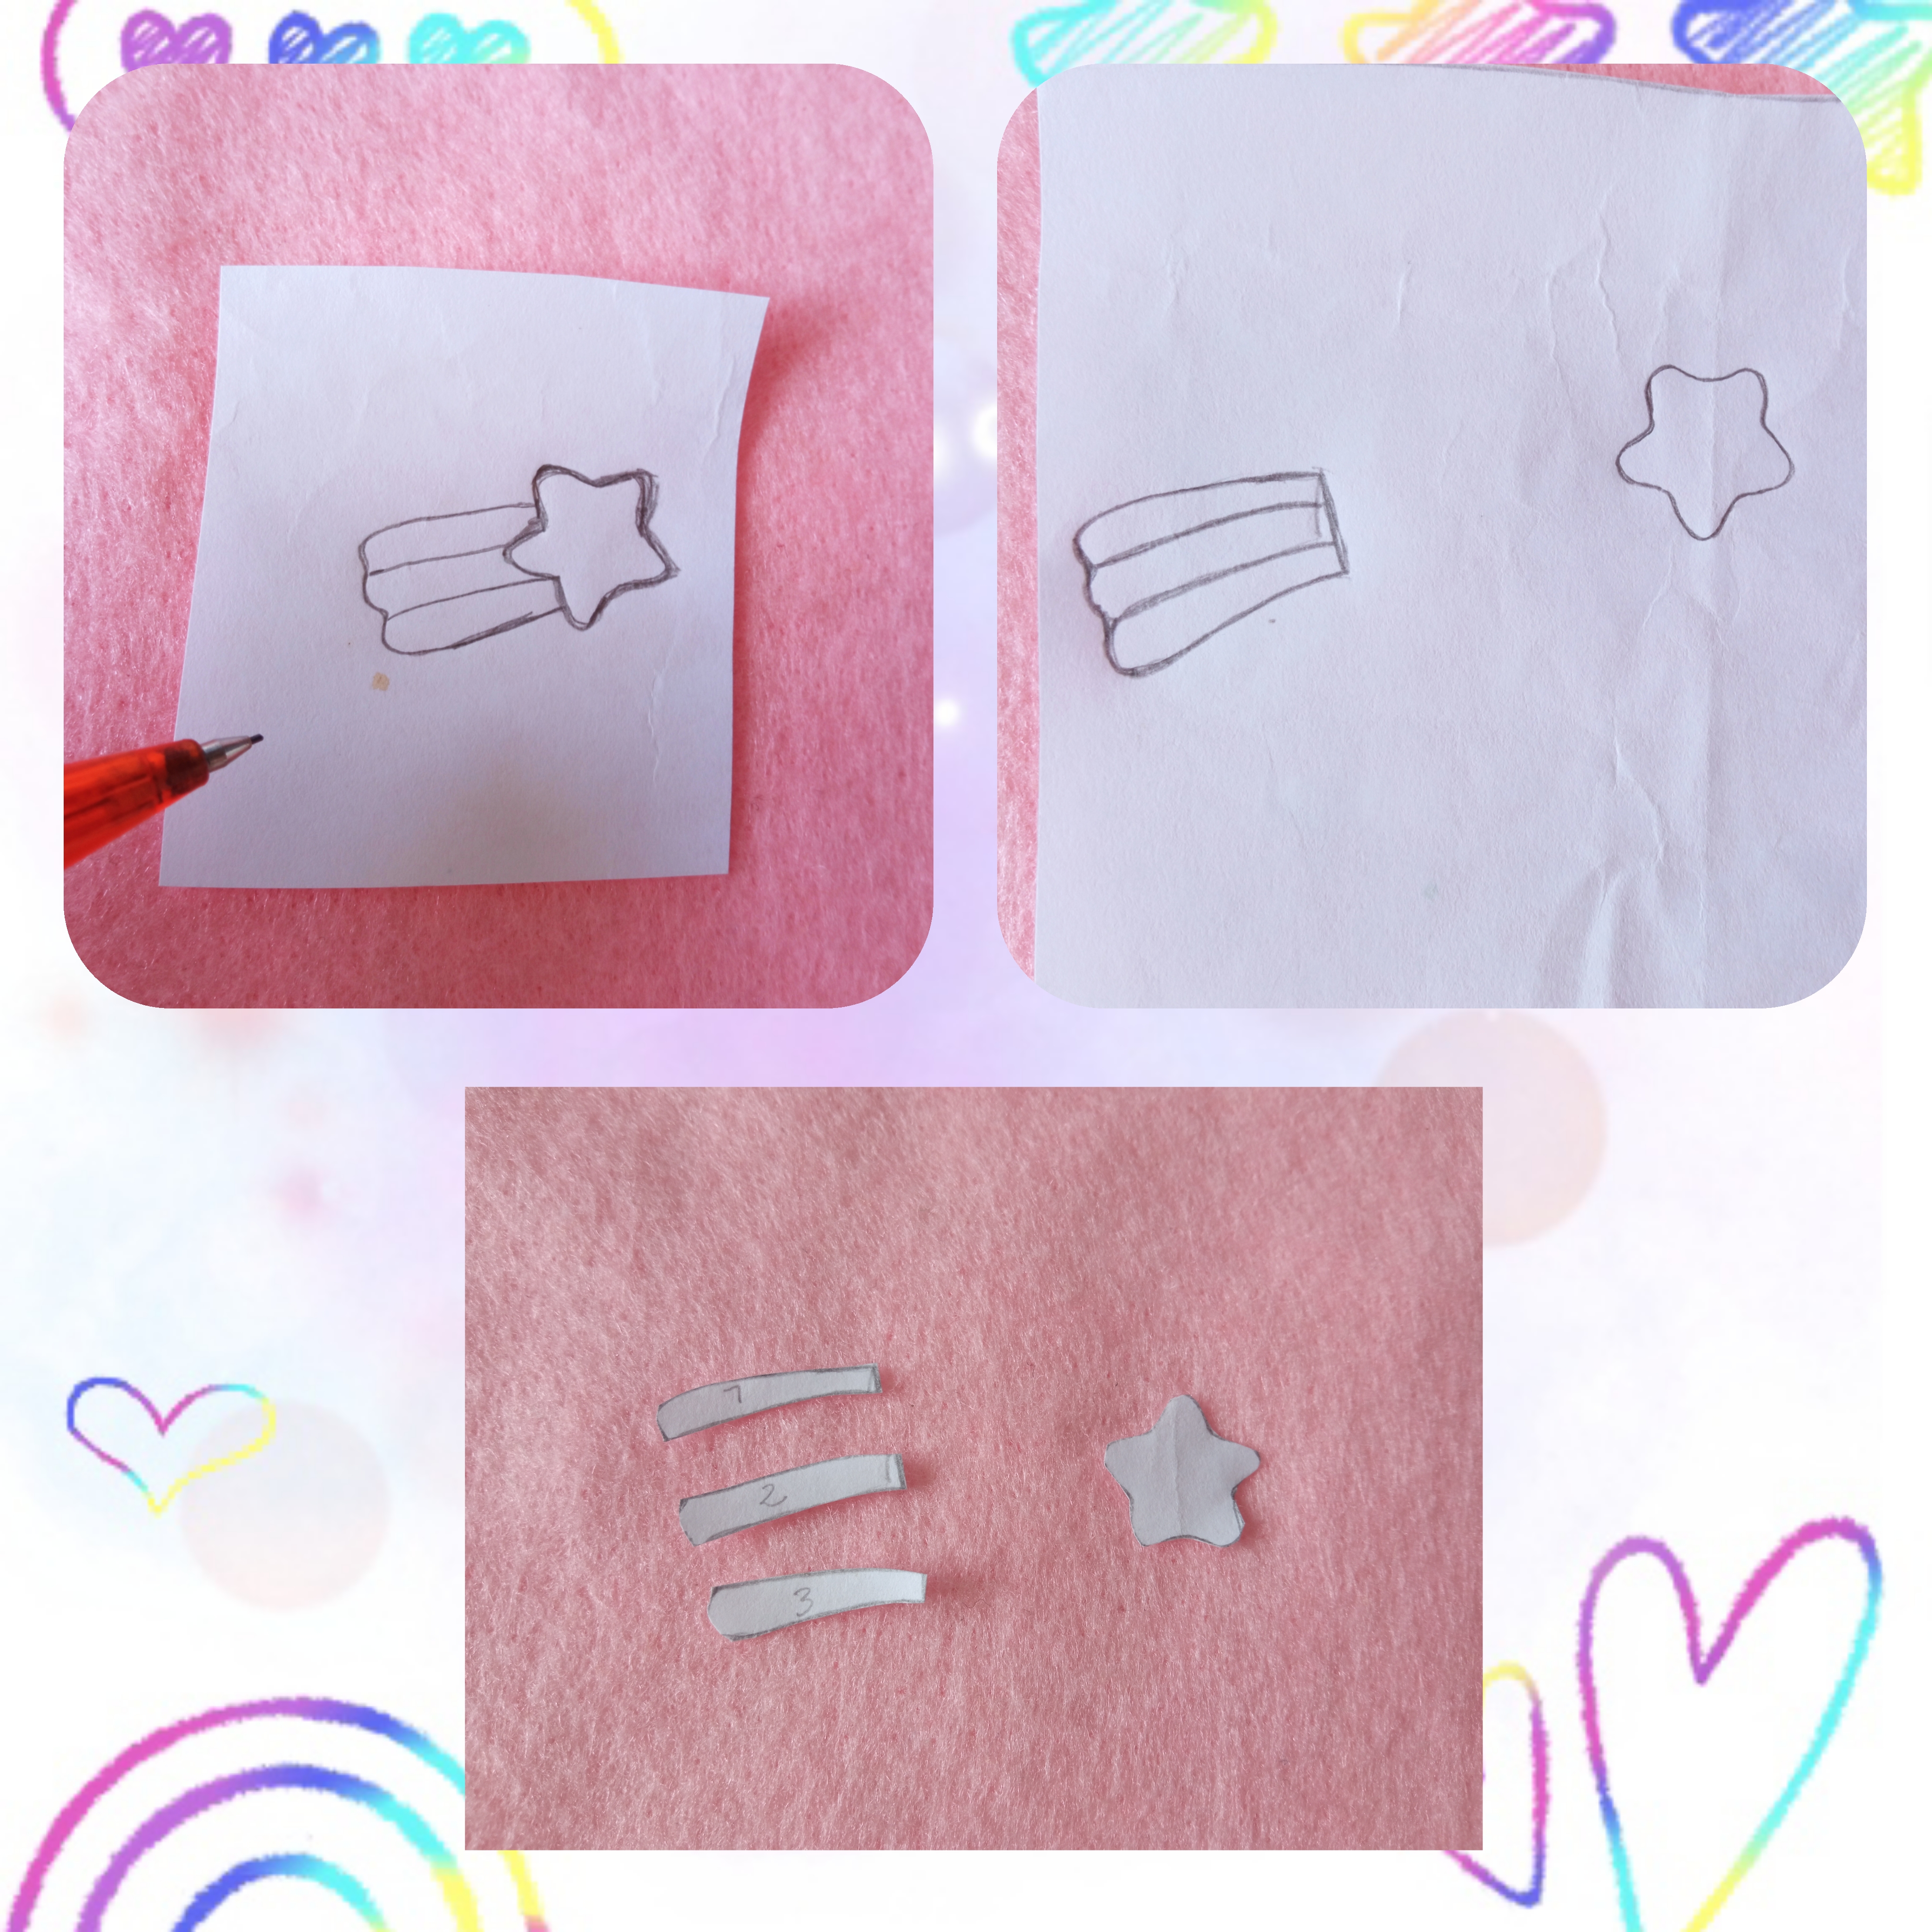
Para comenzar tomo la hoja blanca y el lápiz luego dibujo una estrella ⭐ con un arcoiris 🌈 así como ven en la imagen, ahora cortamos para usarlo de patrón, el arcoiris lo enumeramos para no confundirnos a la hora de marcarlo en el fieltro.
Step 1⭐:
To start I take the white sheet and the pencil then I draw a star ⭐ with a rainbow 🌈 as you see in the picture, now we cut to use it as a pattern, the rainbow we number it so we don't get confused when marking it on the felt.
Paso 2🌈:
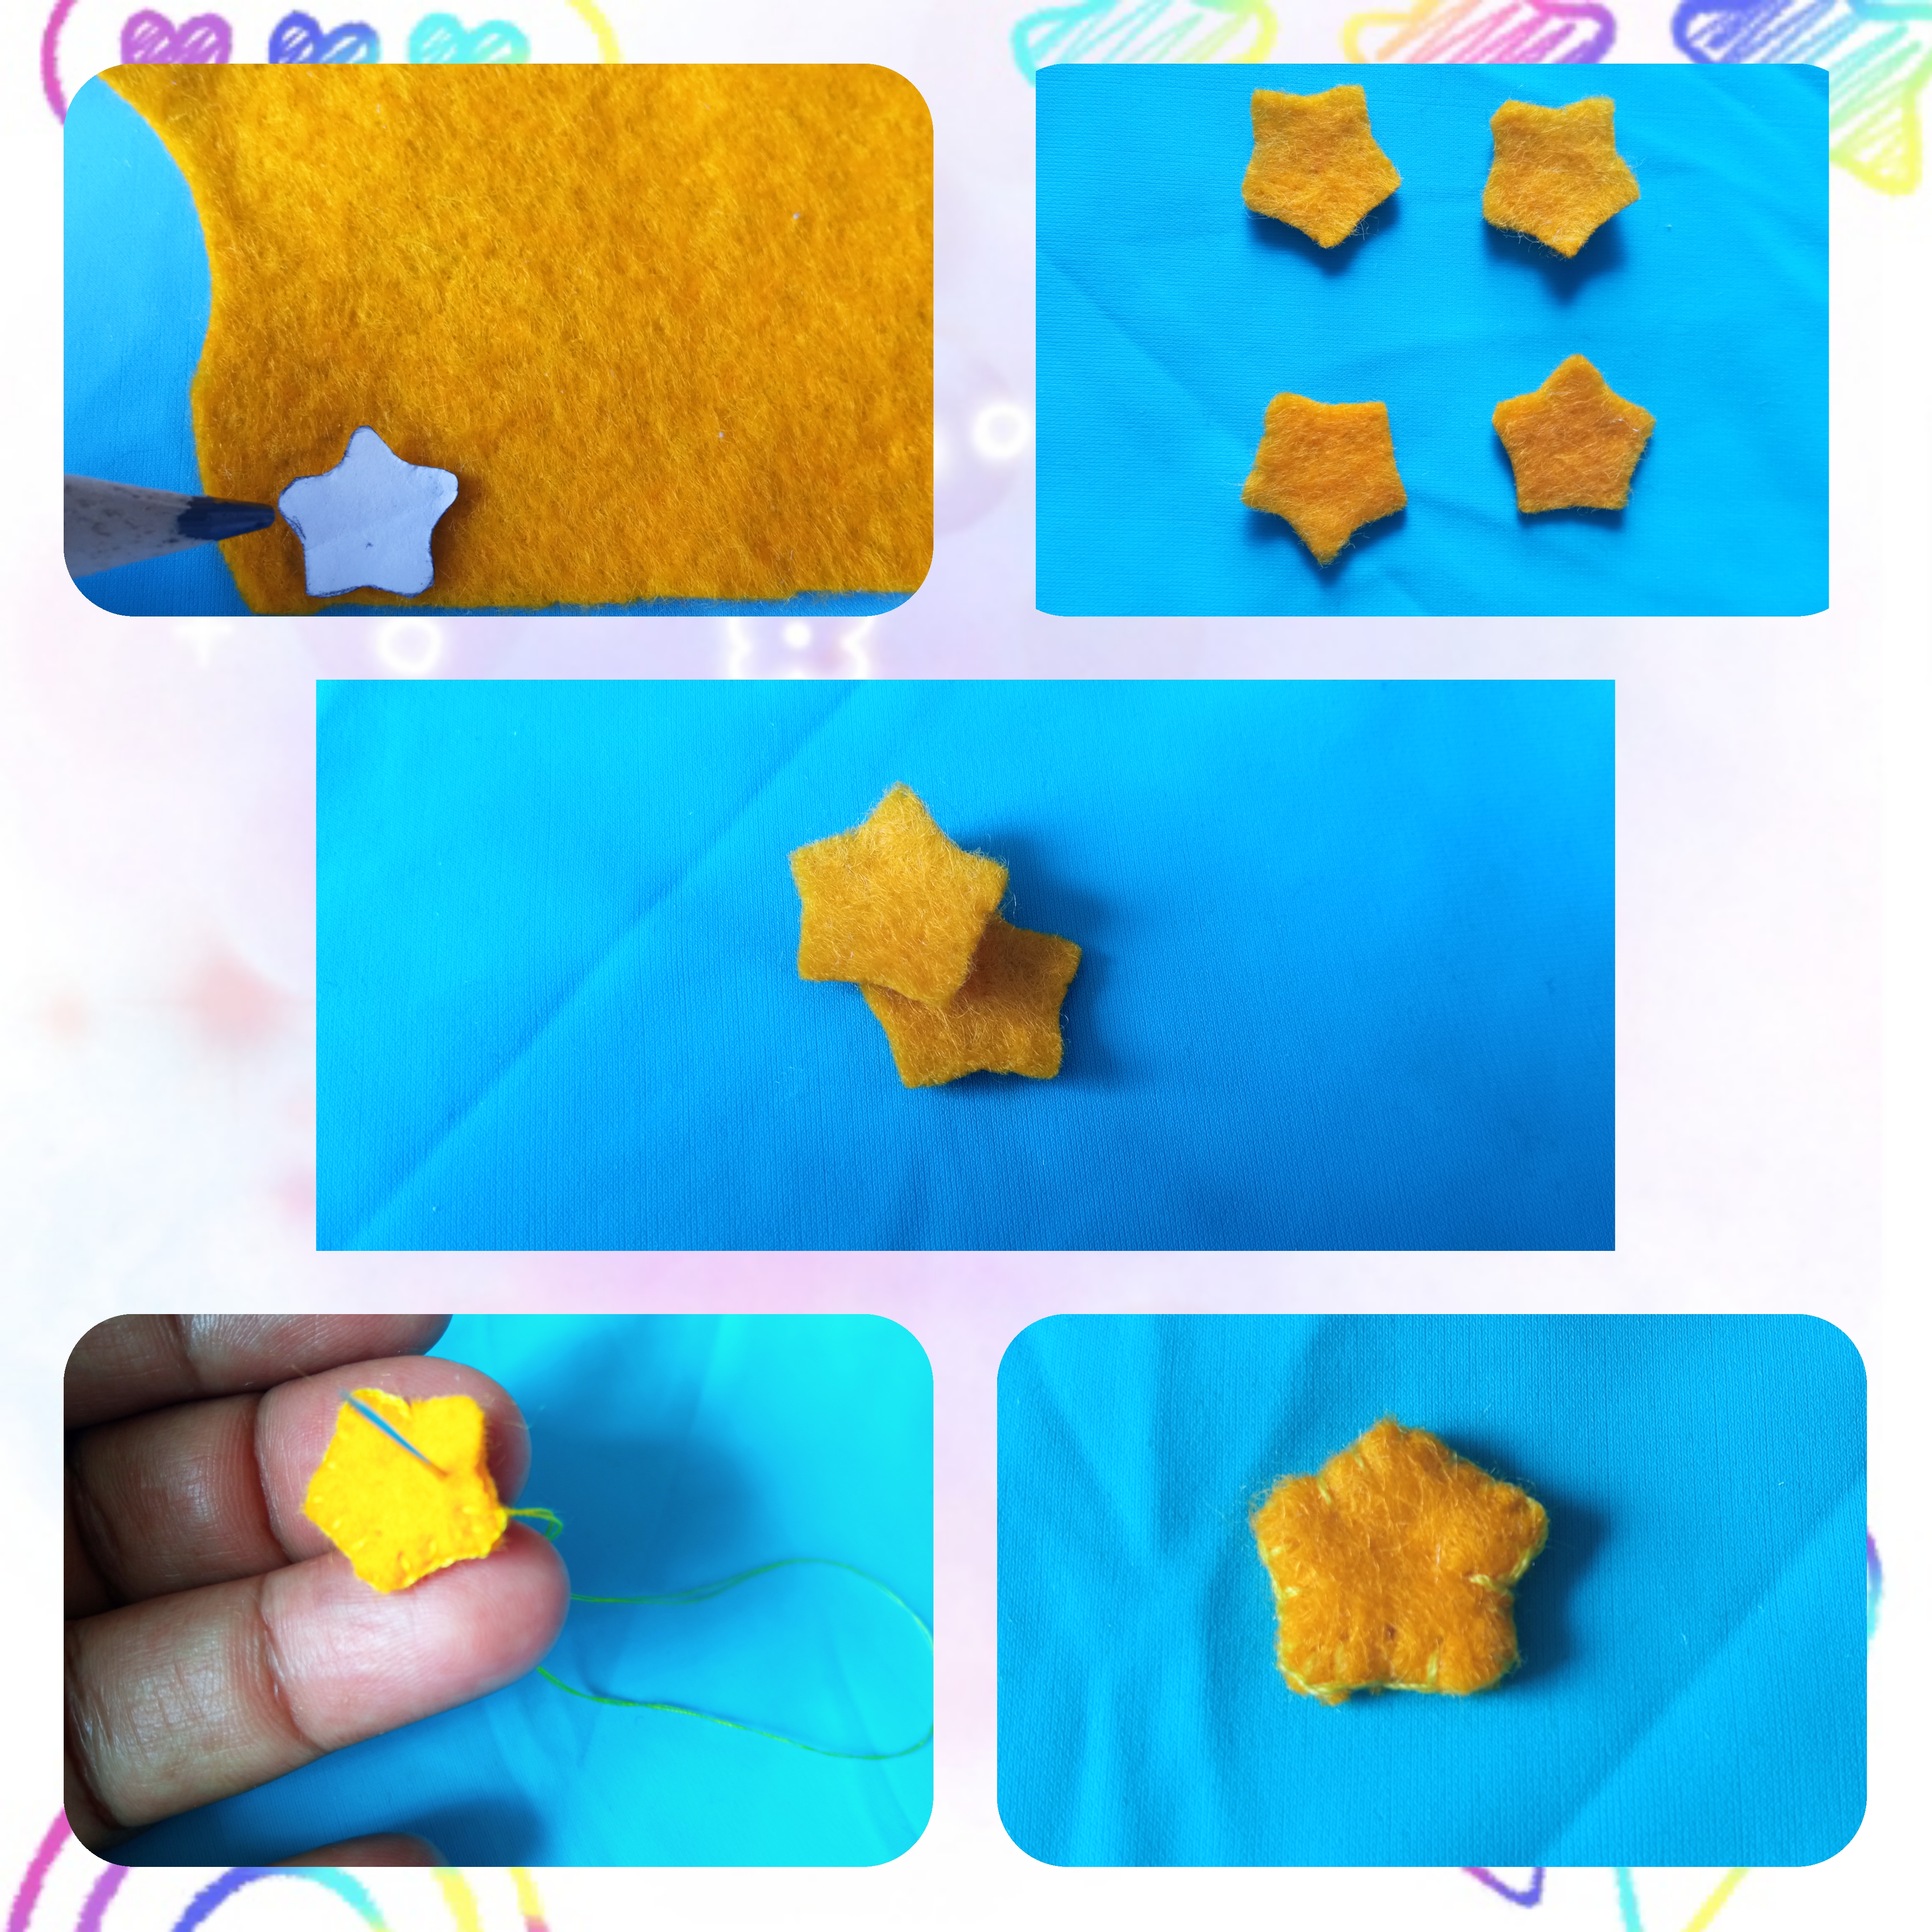
Tomo mi patrón de estrella ⭐ y lo marco 4 veces en el fieltro amarillo luego corto las estrellas. Uno dos estrellas y con hilo de color amarillo coso en punto ojal por todo el alrededor, al terminar repito el proceso con las otras dos estrellas.
Step 2⭐:
I take my star pattern ⭐ and mark it 4 times on the yellow felt then cut out the stars. One two stars and with yellow thread I sew in buttonhole stitch all the way around, when finished I repeat the process with the other two stars.
Paso 3🌈:
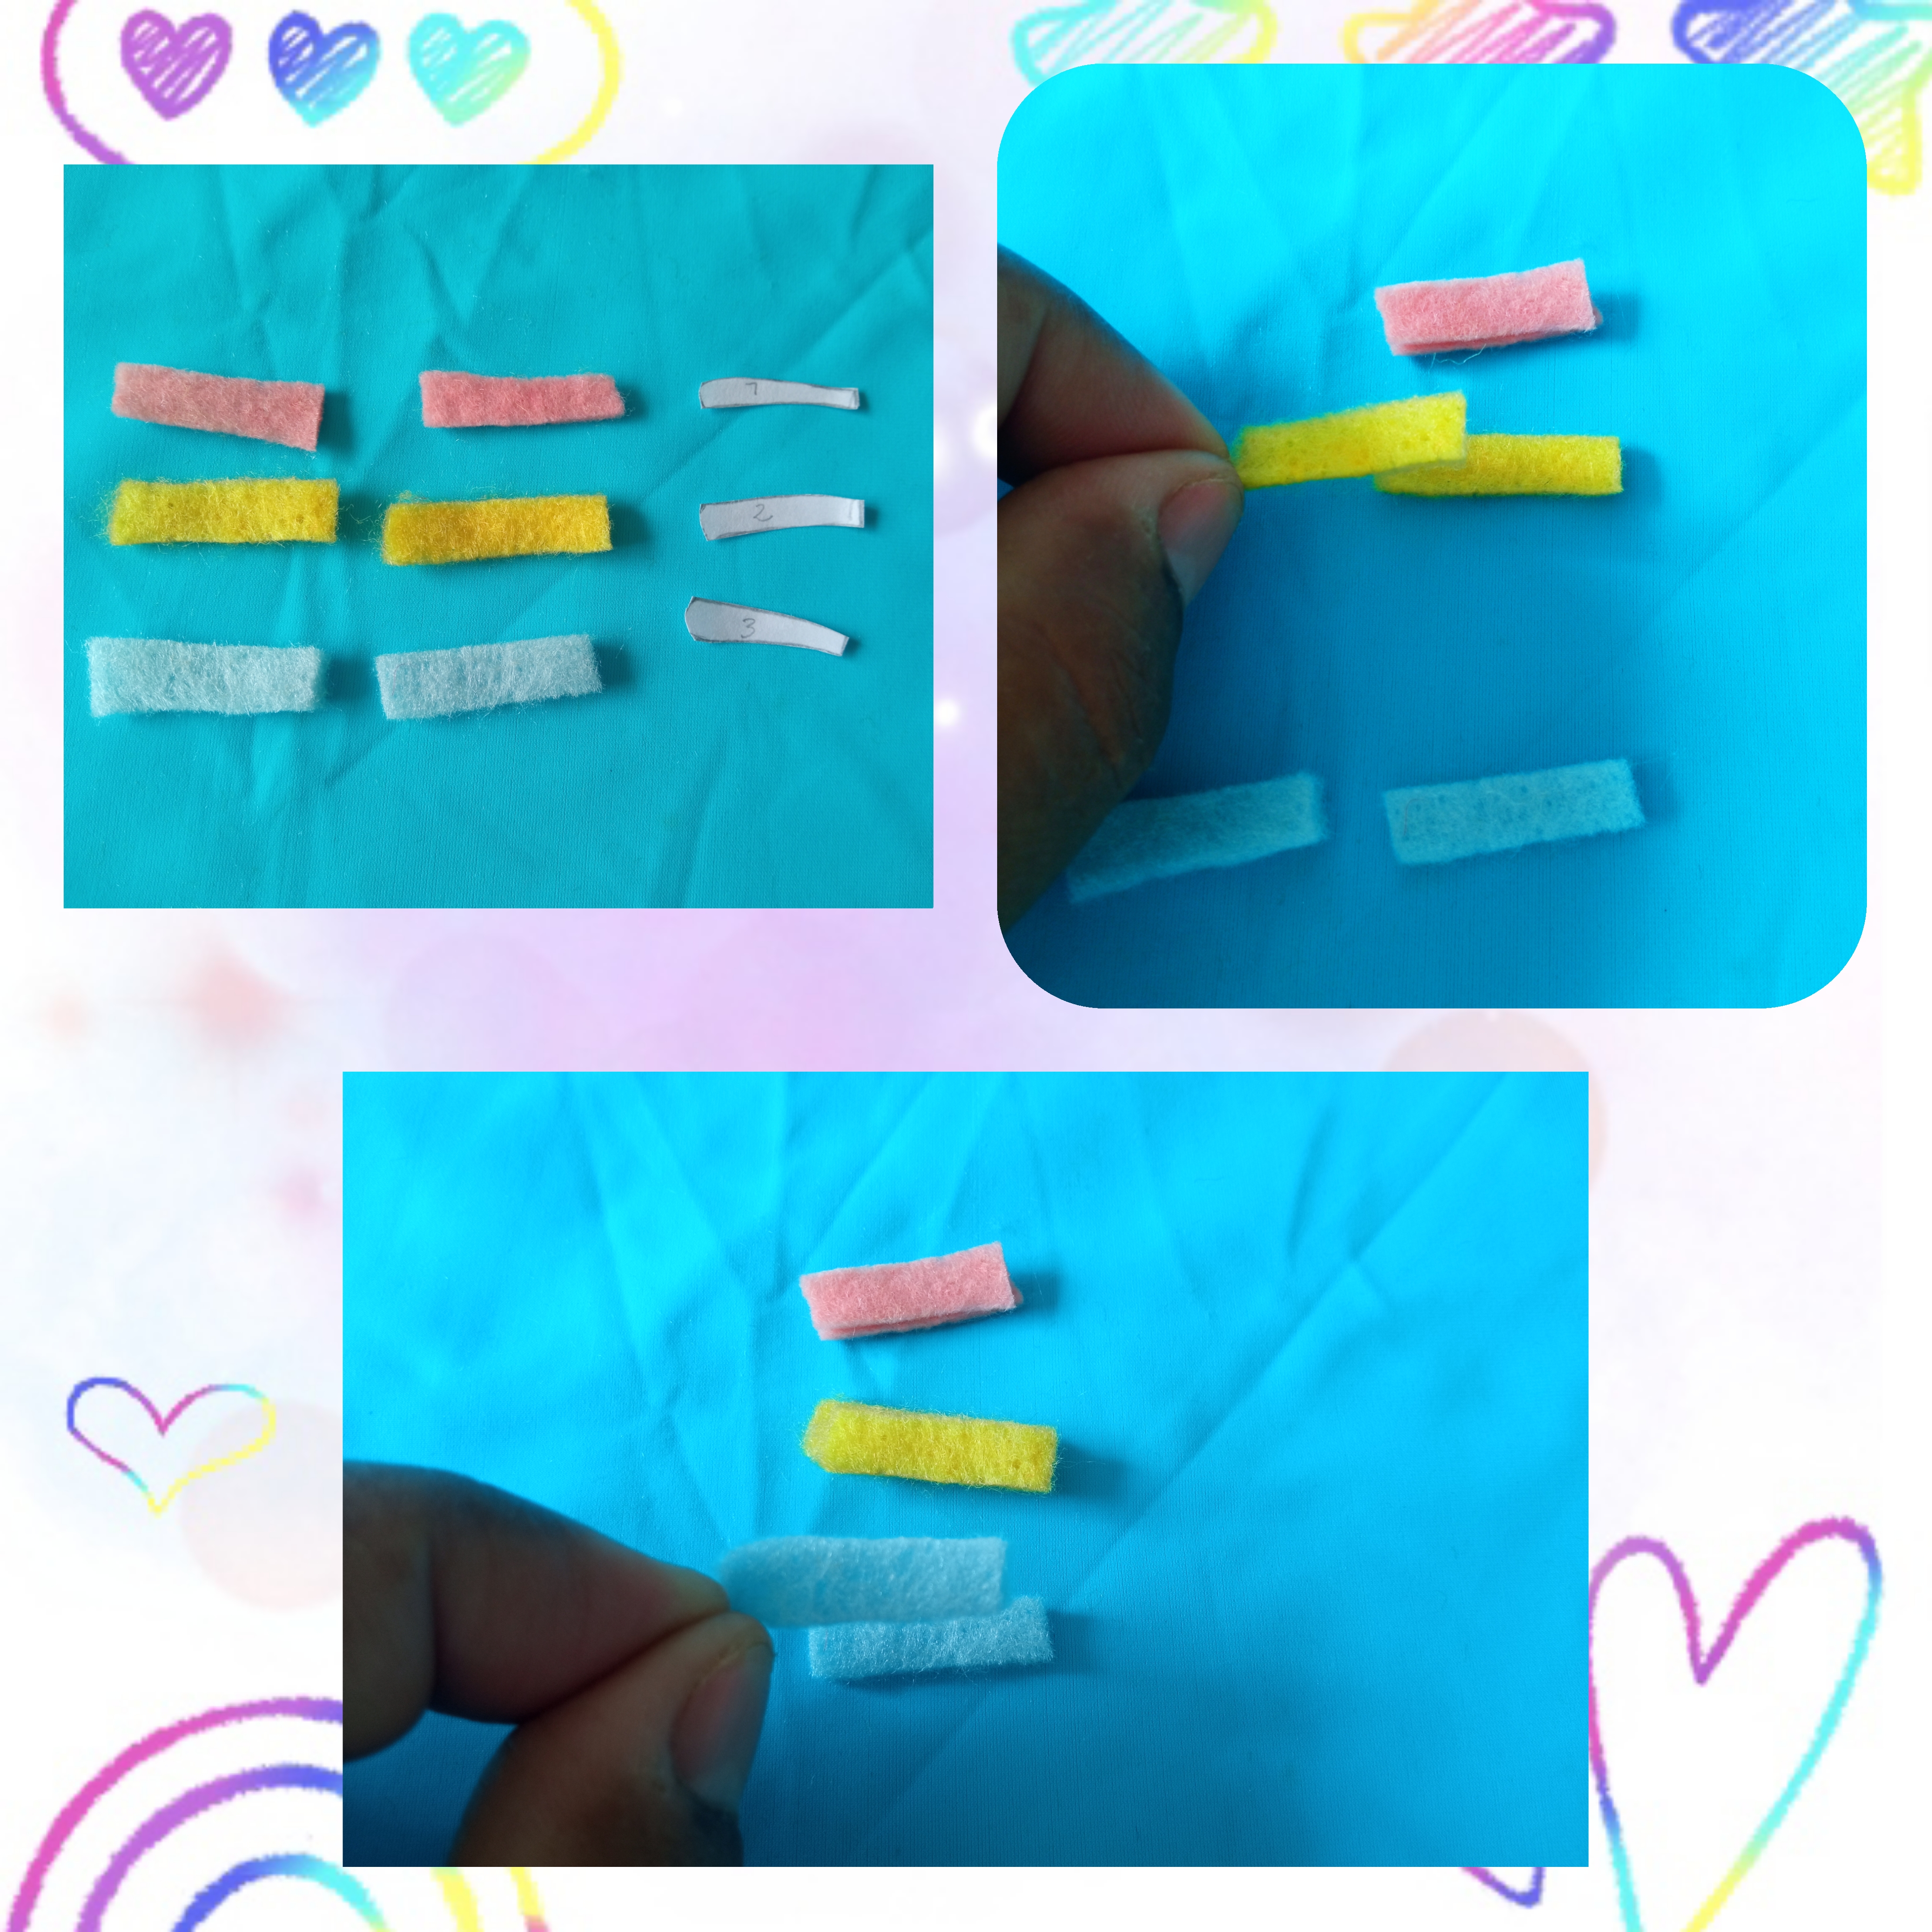
Con la ayuda de los patrones enumerados cortamos el arcoiris 🌈 así como se muestra en la imagen por cada color cortamos dos, luego unimos cada color.
Step 3⭐:
With the help of the listed patterns we cut the rainbow 🌈 as shown in the picture for each color we cut two, then we join each color.
Paso 4🌈:
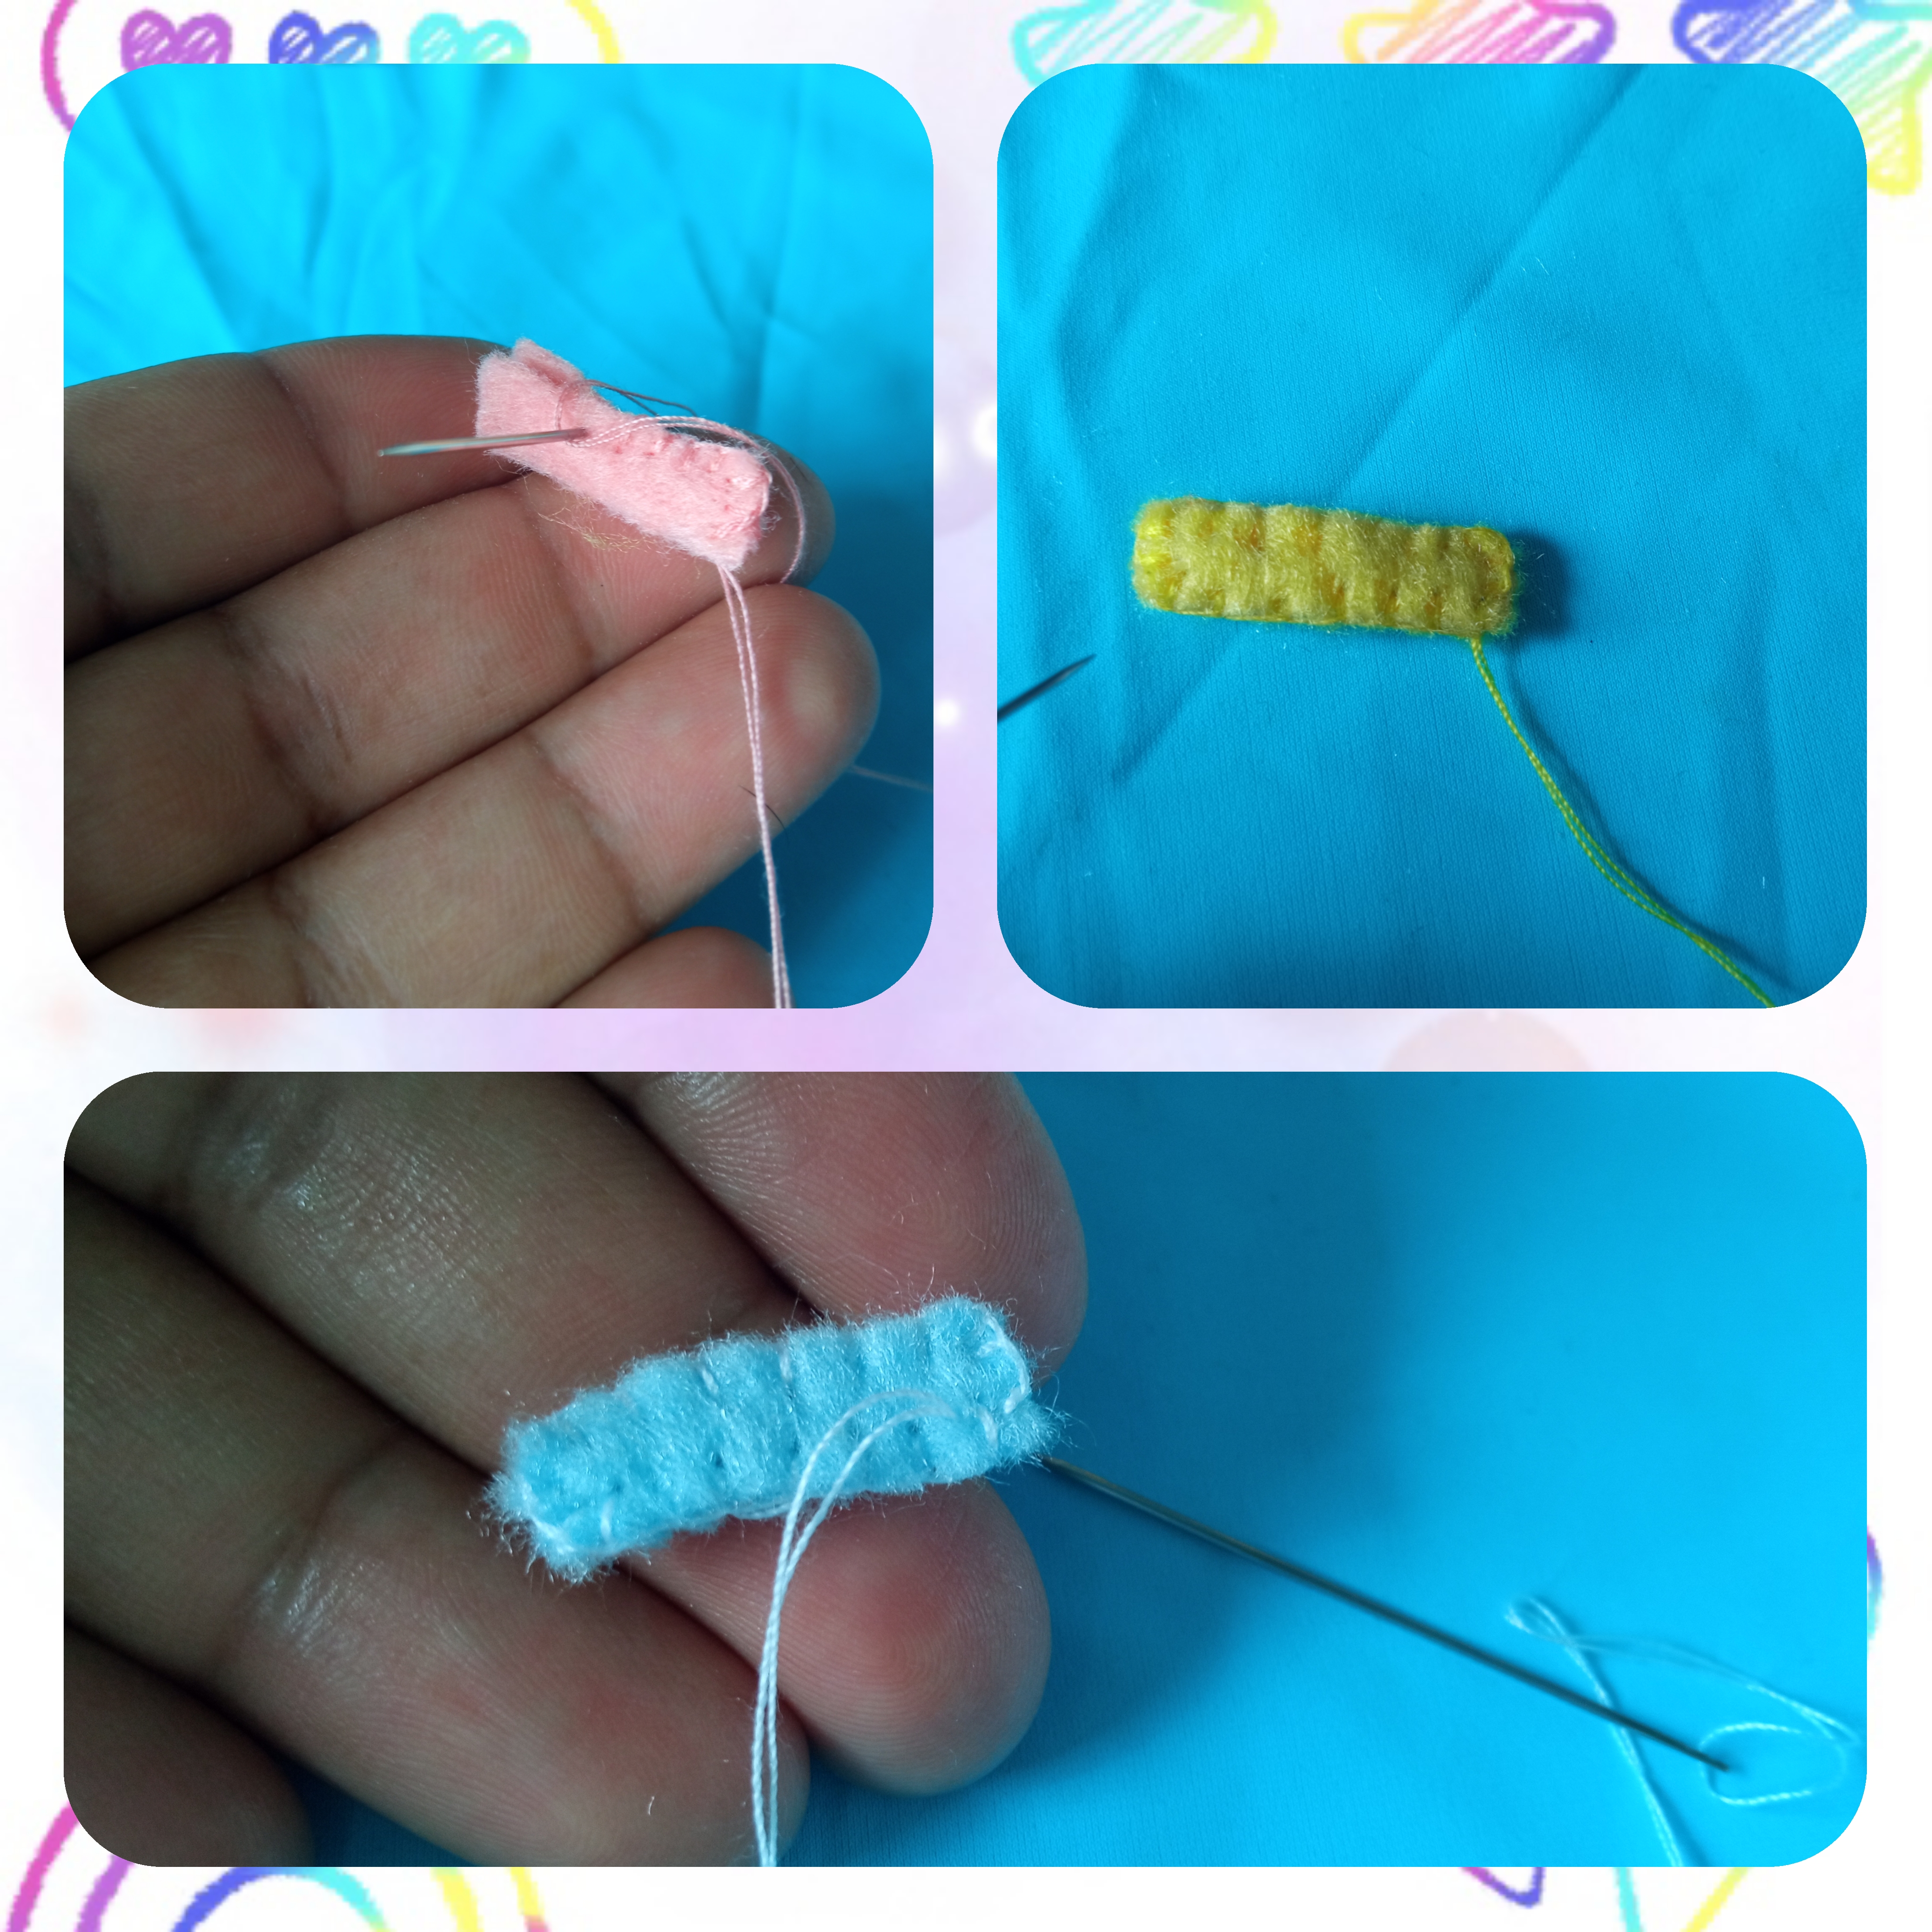
Después de unir cada fieltro por su color tomamos la aguja y cosemos en punto ojal con el color de hilo correspondiente así como se muestra en la siguiente imagen.
Step 4⭐:
After joining each felt by its color, we take the needle and sew in buttonhole stitch with the corresponding thread color as shown in the following image.
Paso 5🌈:
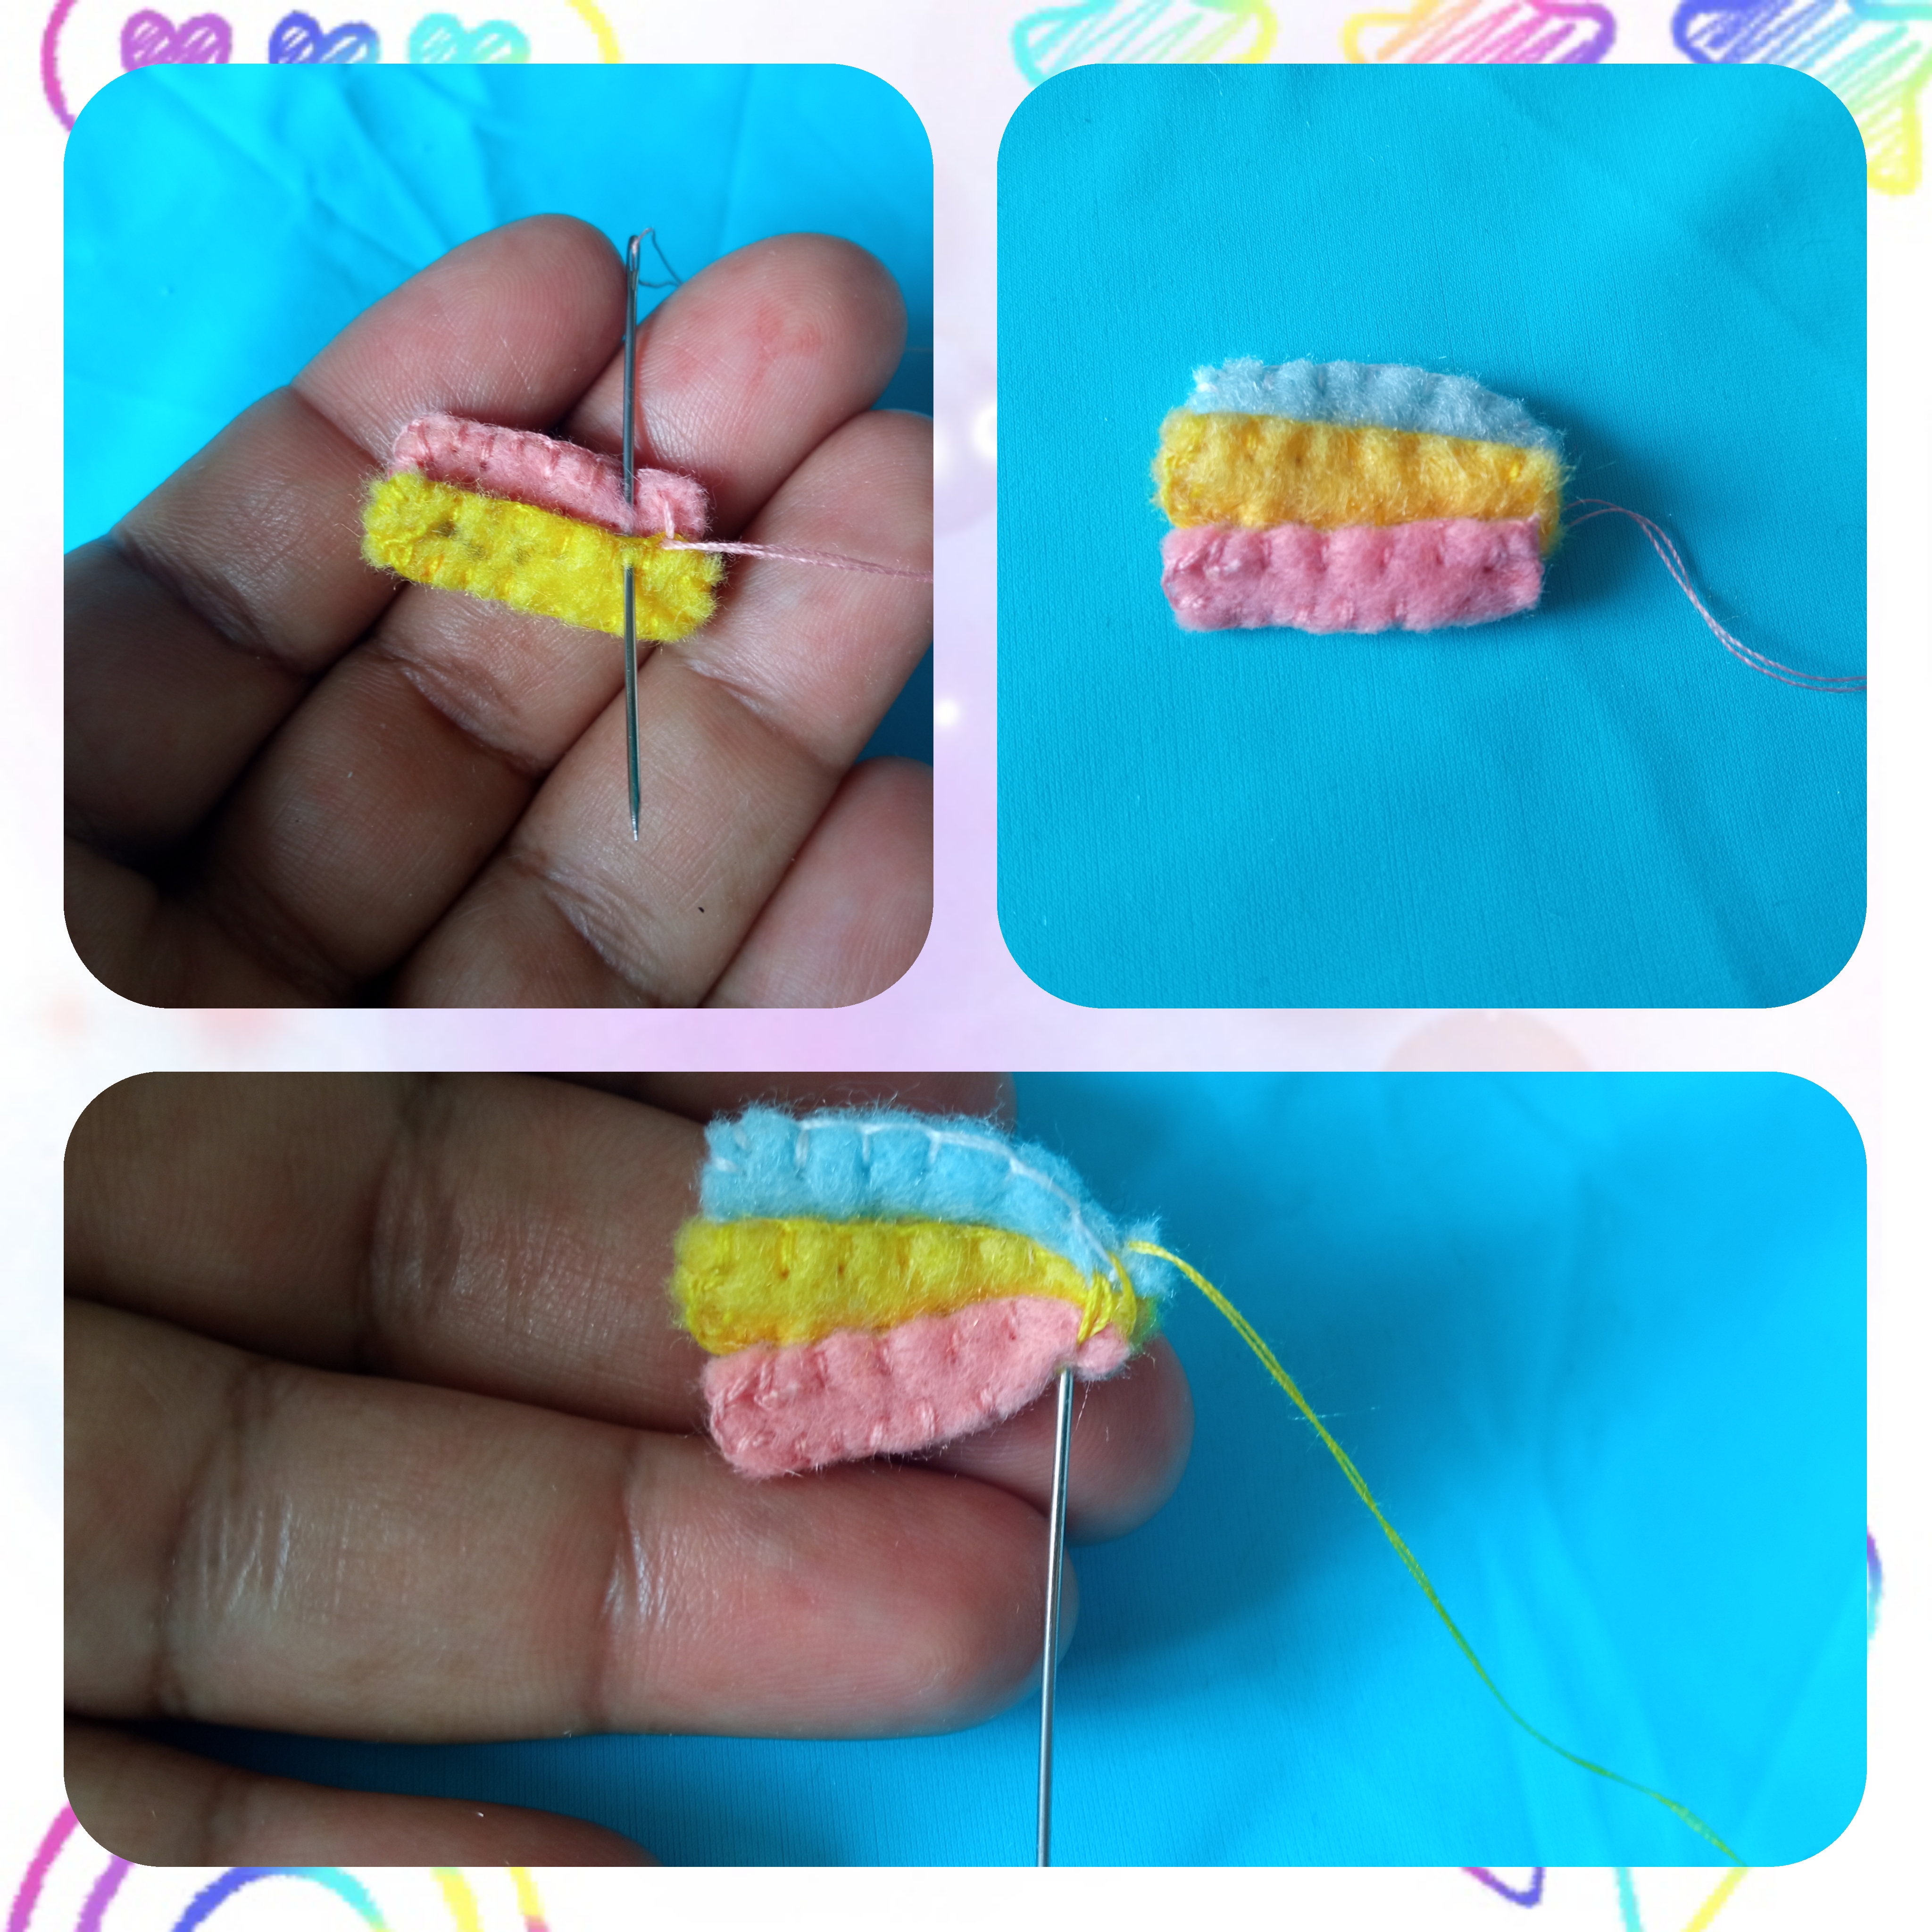
Al terminar cosemos cada color para forma el arcoiris 🌈 luego cosemos en la punta haciendo un poco de presión y fijamos la costura.
Step 5⭐:
When finished we sew each color to form the rainbow 🌈 then we sew at the tip making a little pressure and fix the seam.
Paso 6🌈:
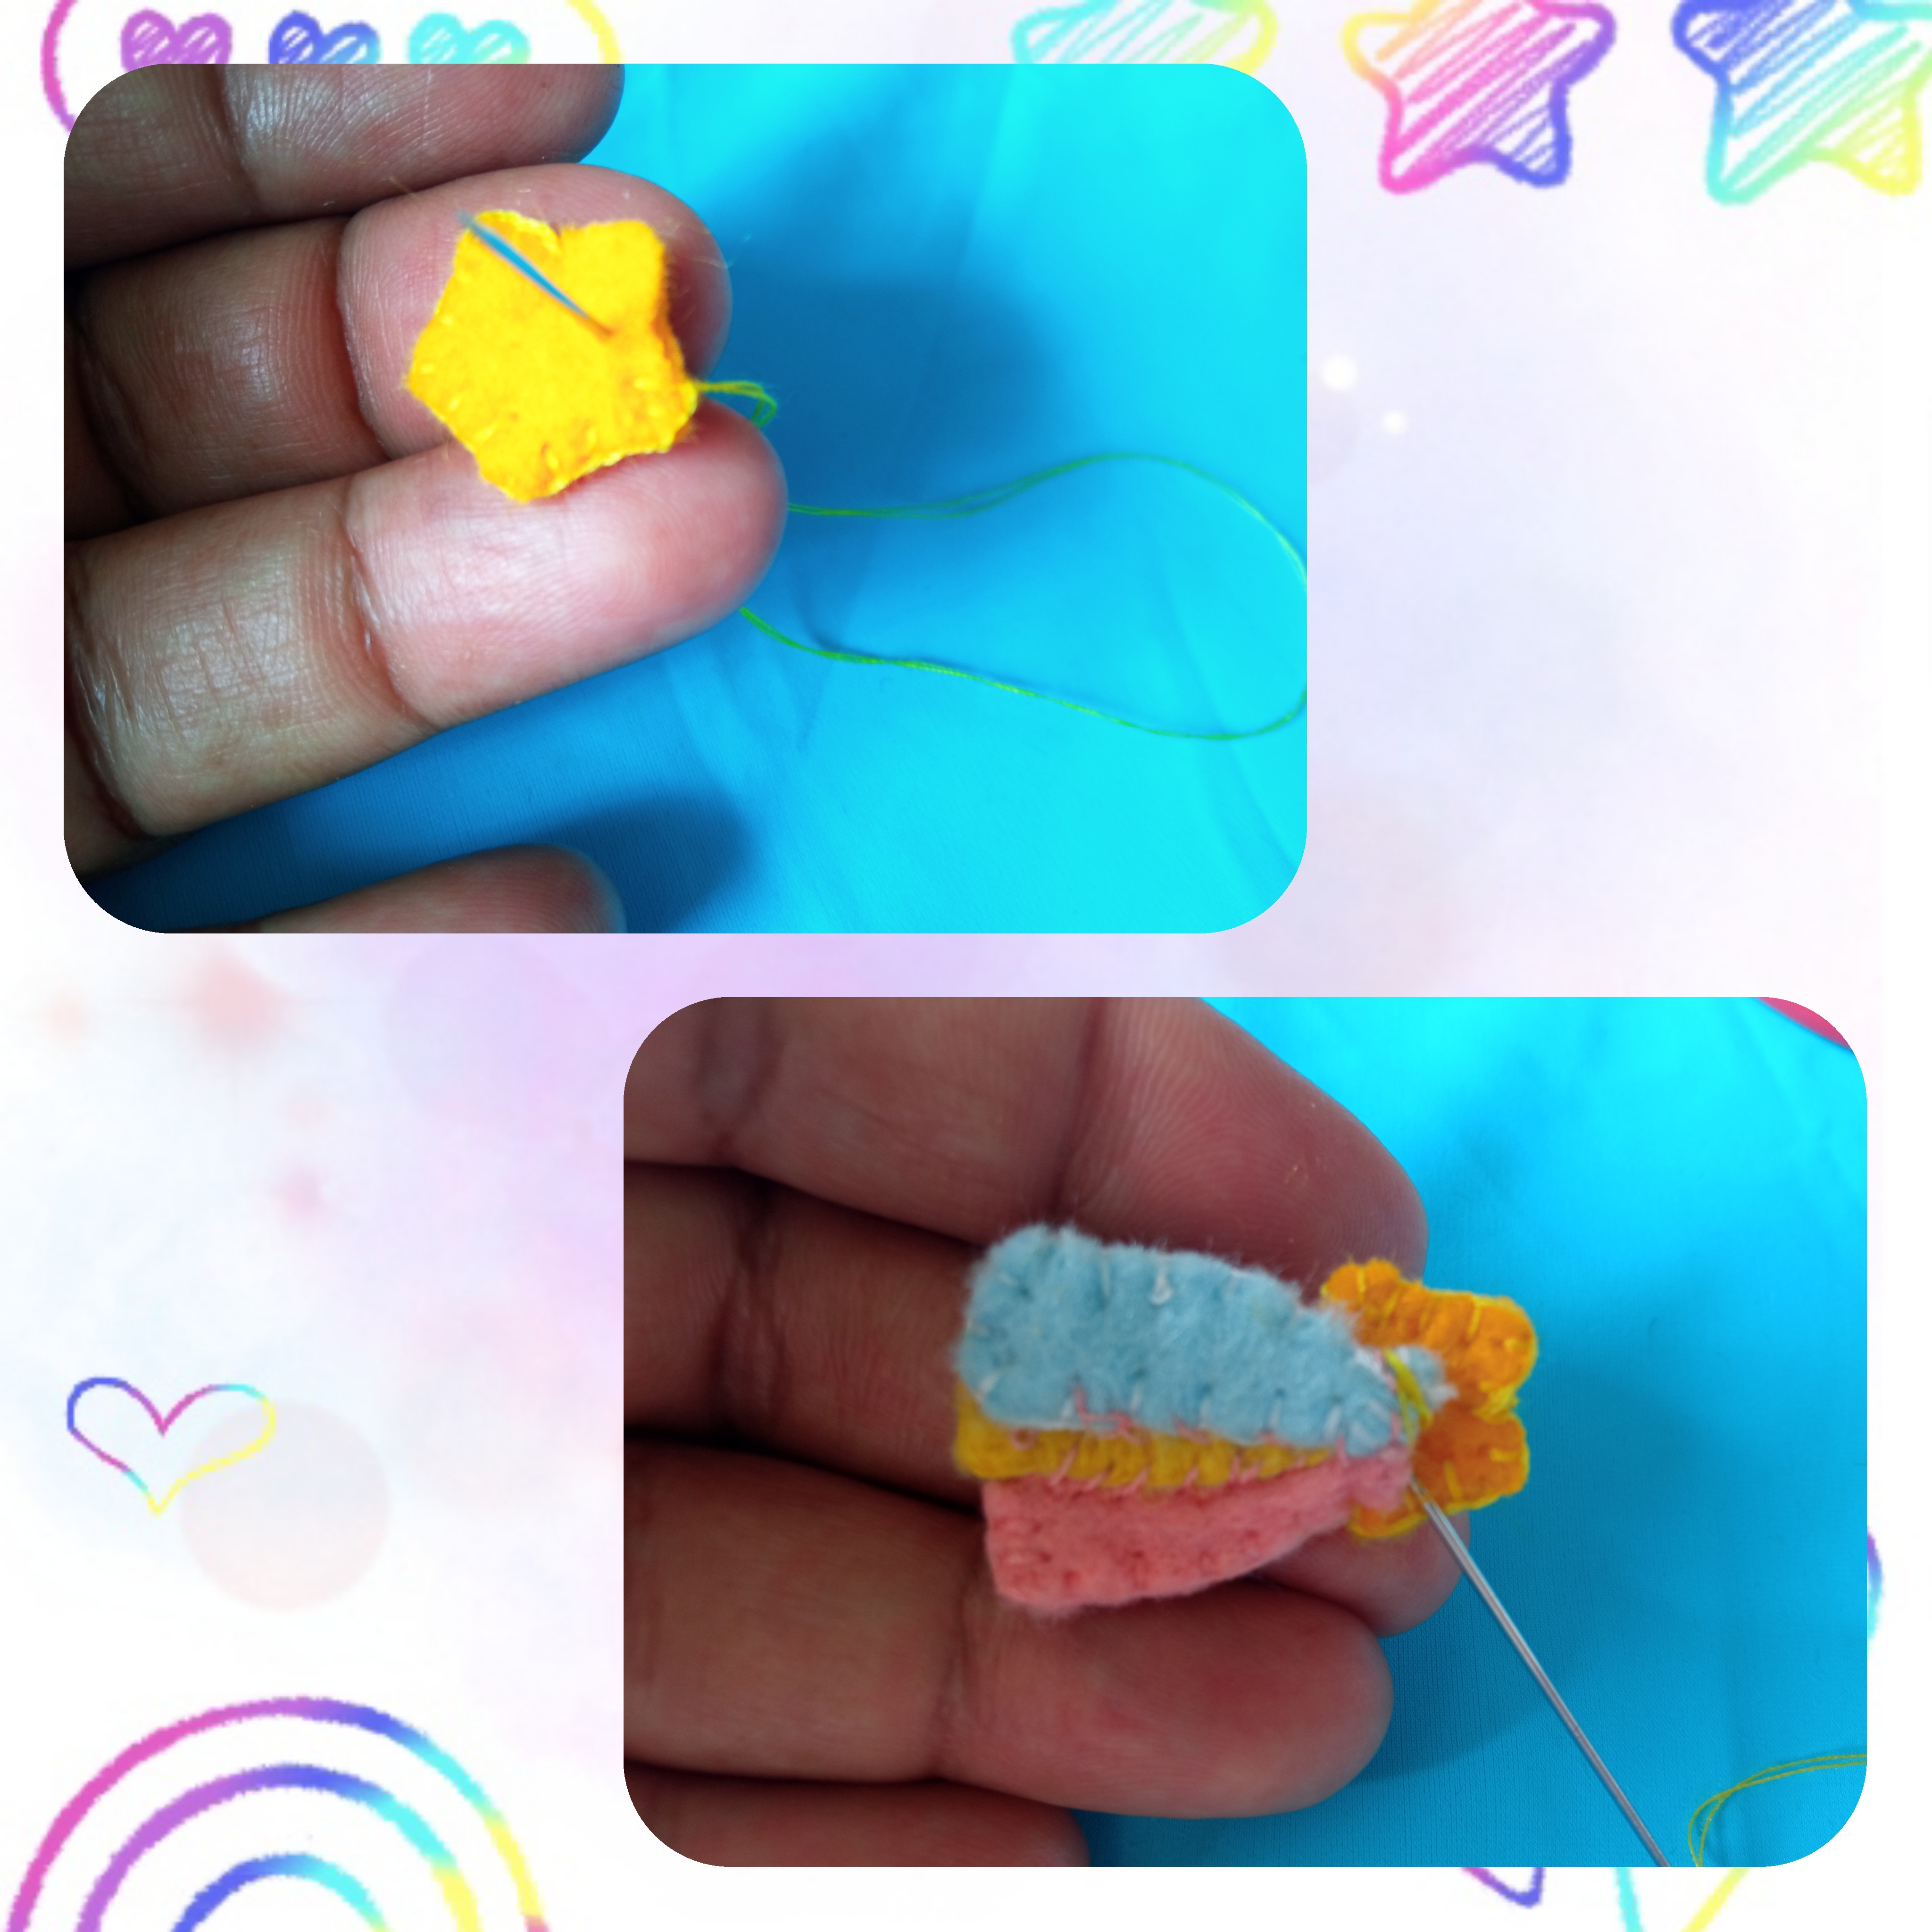
Tomamos nuestra estrella ⭐ y la cosemos al arcoiris 🌈 muy bien para que no se suelte.
Step 6⭐:
We take our star ⭐ and sew it to the rainbow 🌈 very well so that it doesn't come loose.
Paso 7🌈:
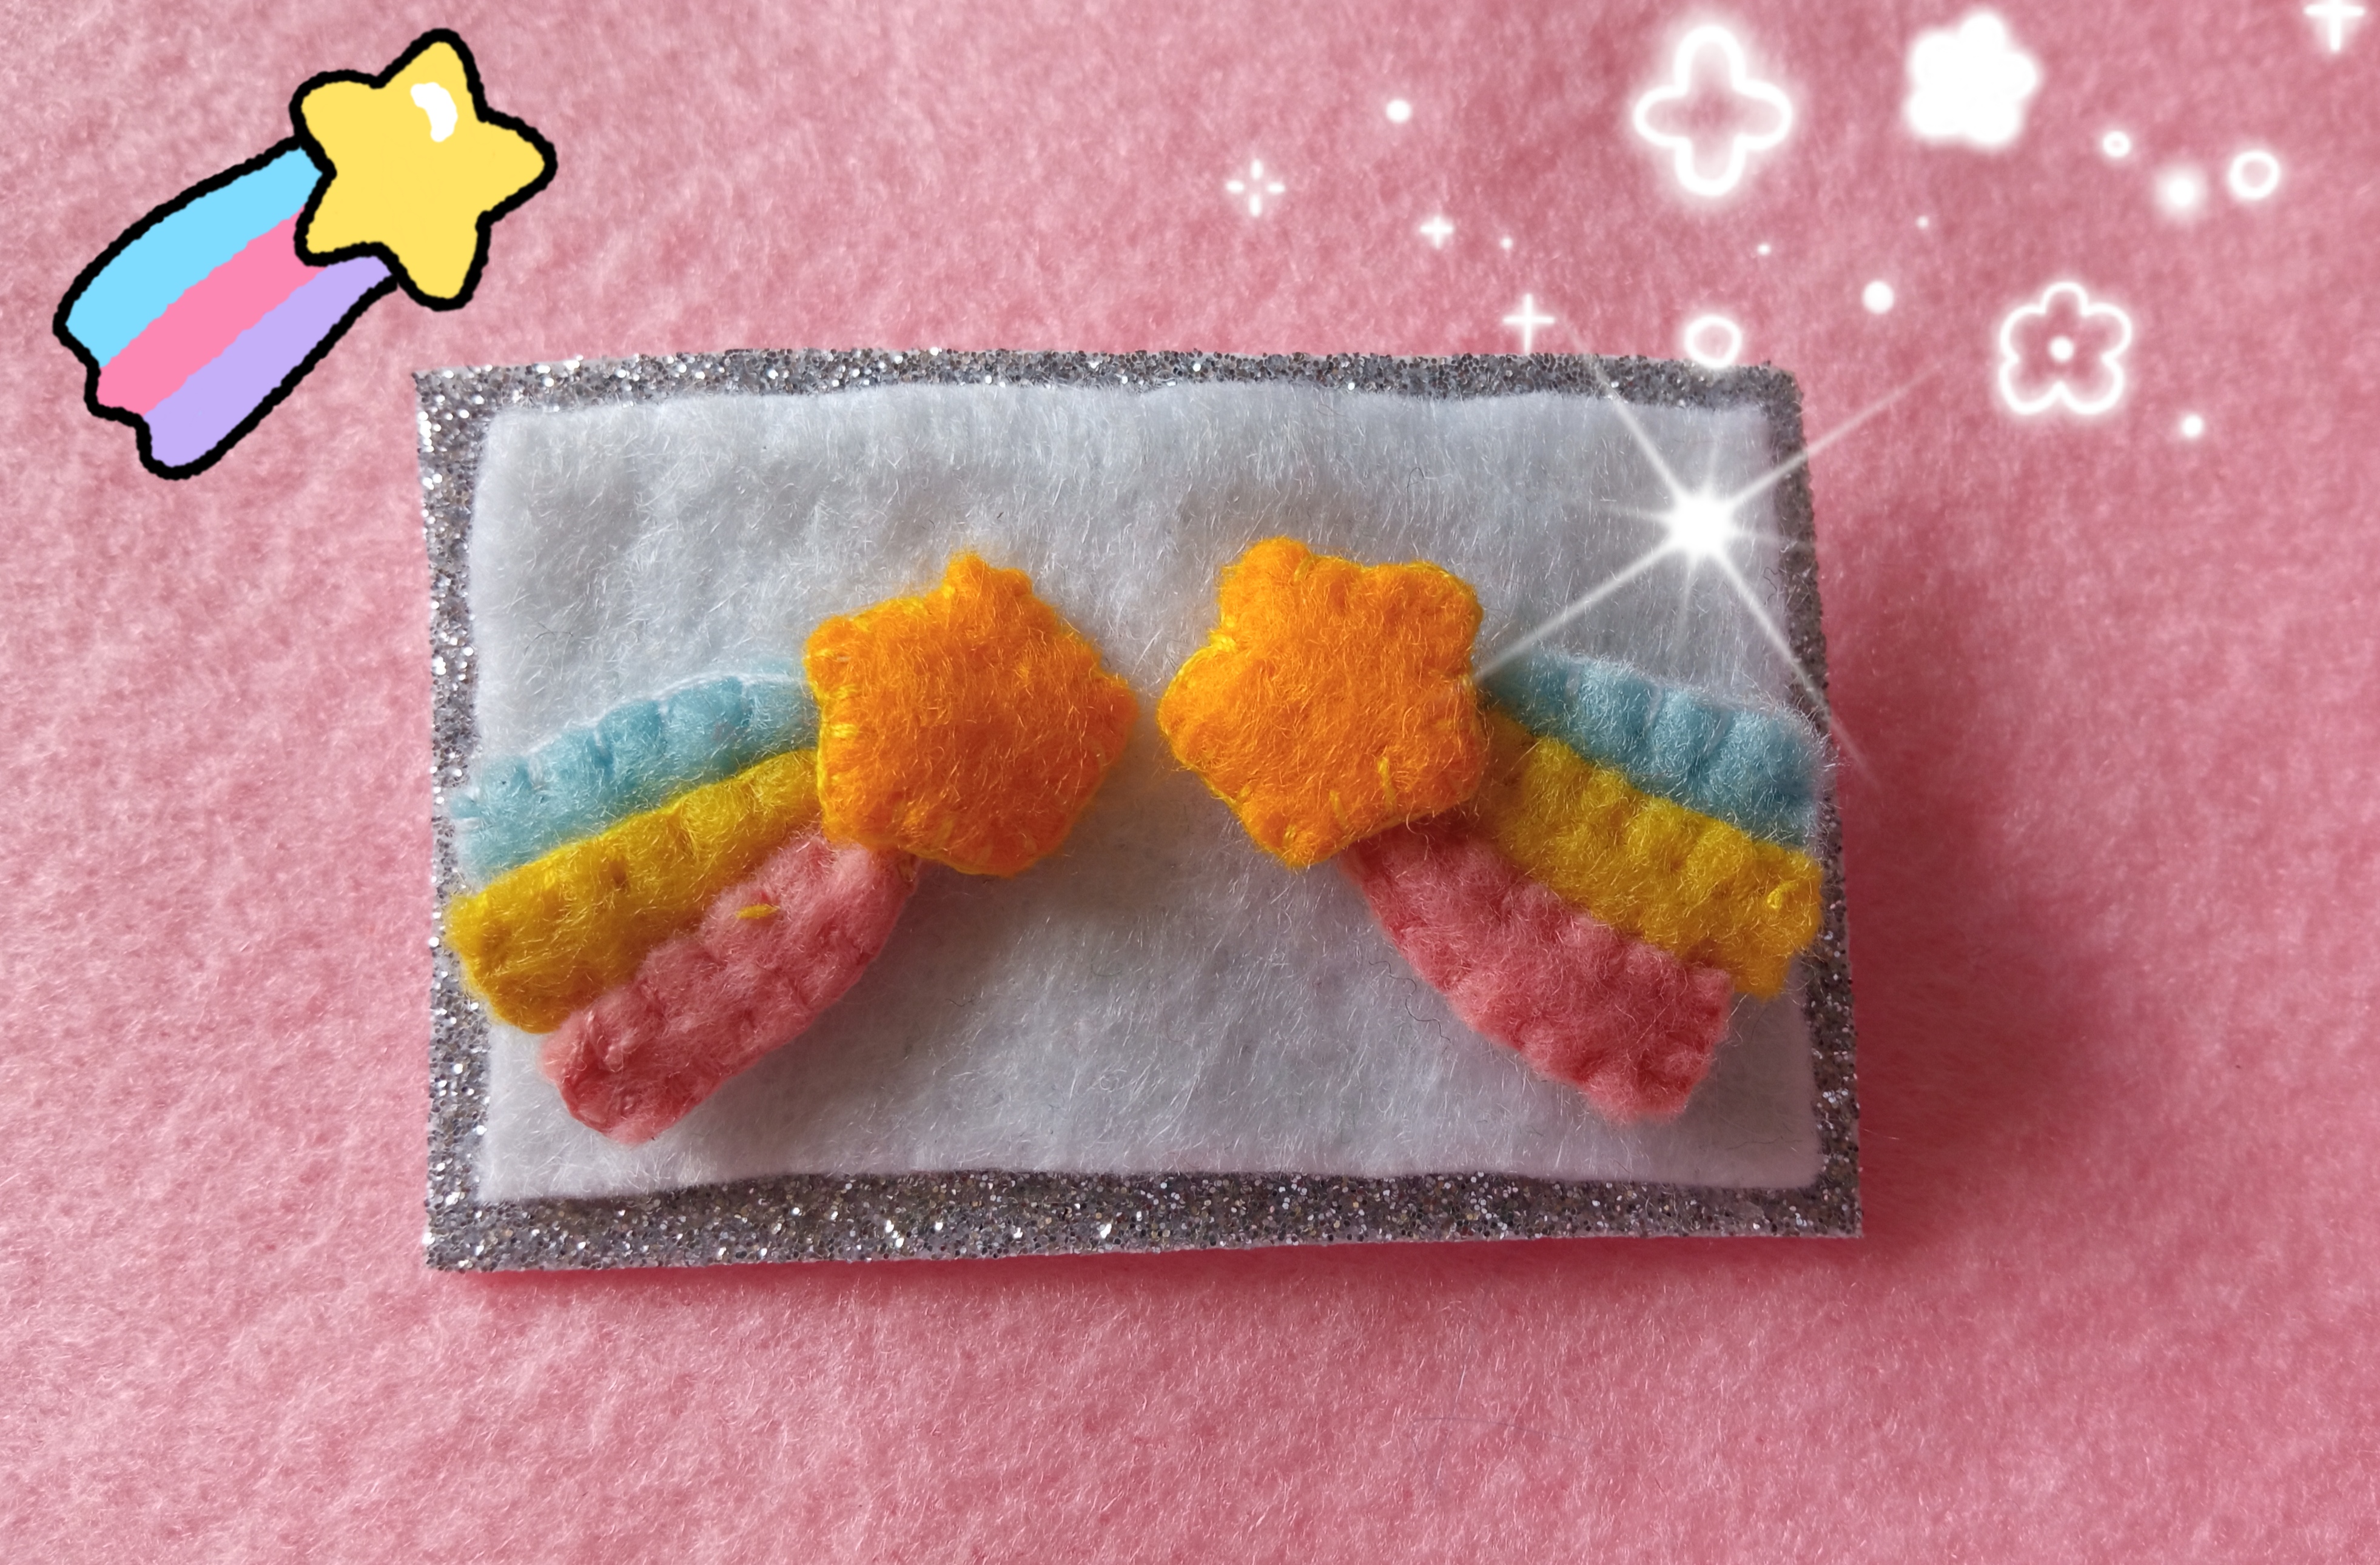
Por la parte de atrás de la estrella ⭐ pegamos con silicon caliente la base plana para zarcillos sujetamos por unos segundo hasta que sequé un poco el Silicon.
Step 7⭐:
On the back of the star ⭐ we glue with hot silicon the flat base for tendrils and hold it for a few seconds until the silicon dries a little.

¡Ya Los Zarcillos de Estrella ⭐ Arcoiris 🌈 están Terminados! // The Star Tendrils ⭐ Rainbow 🌈 are finished!
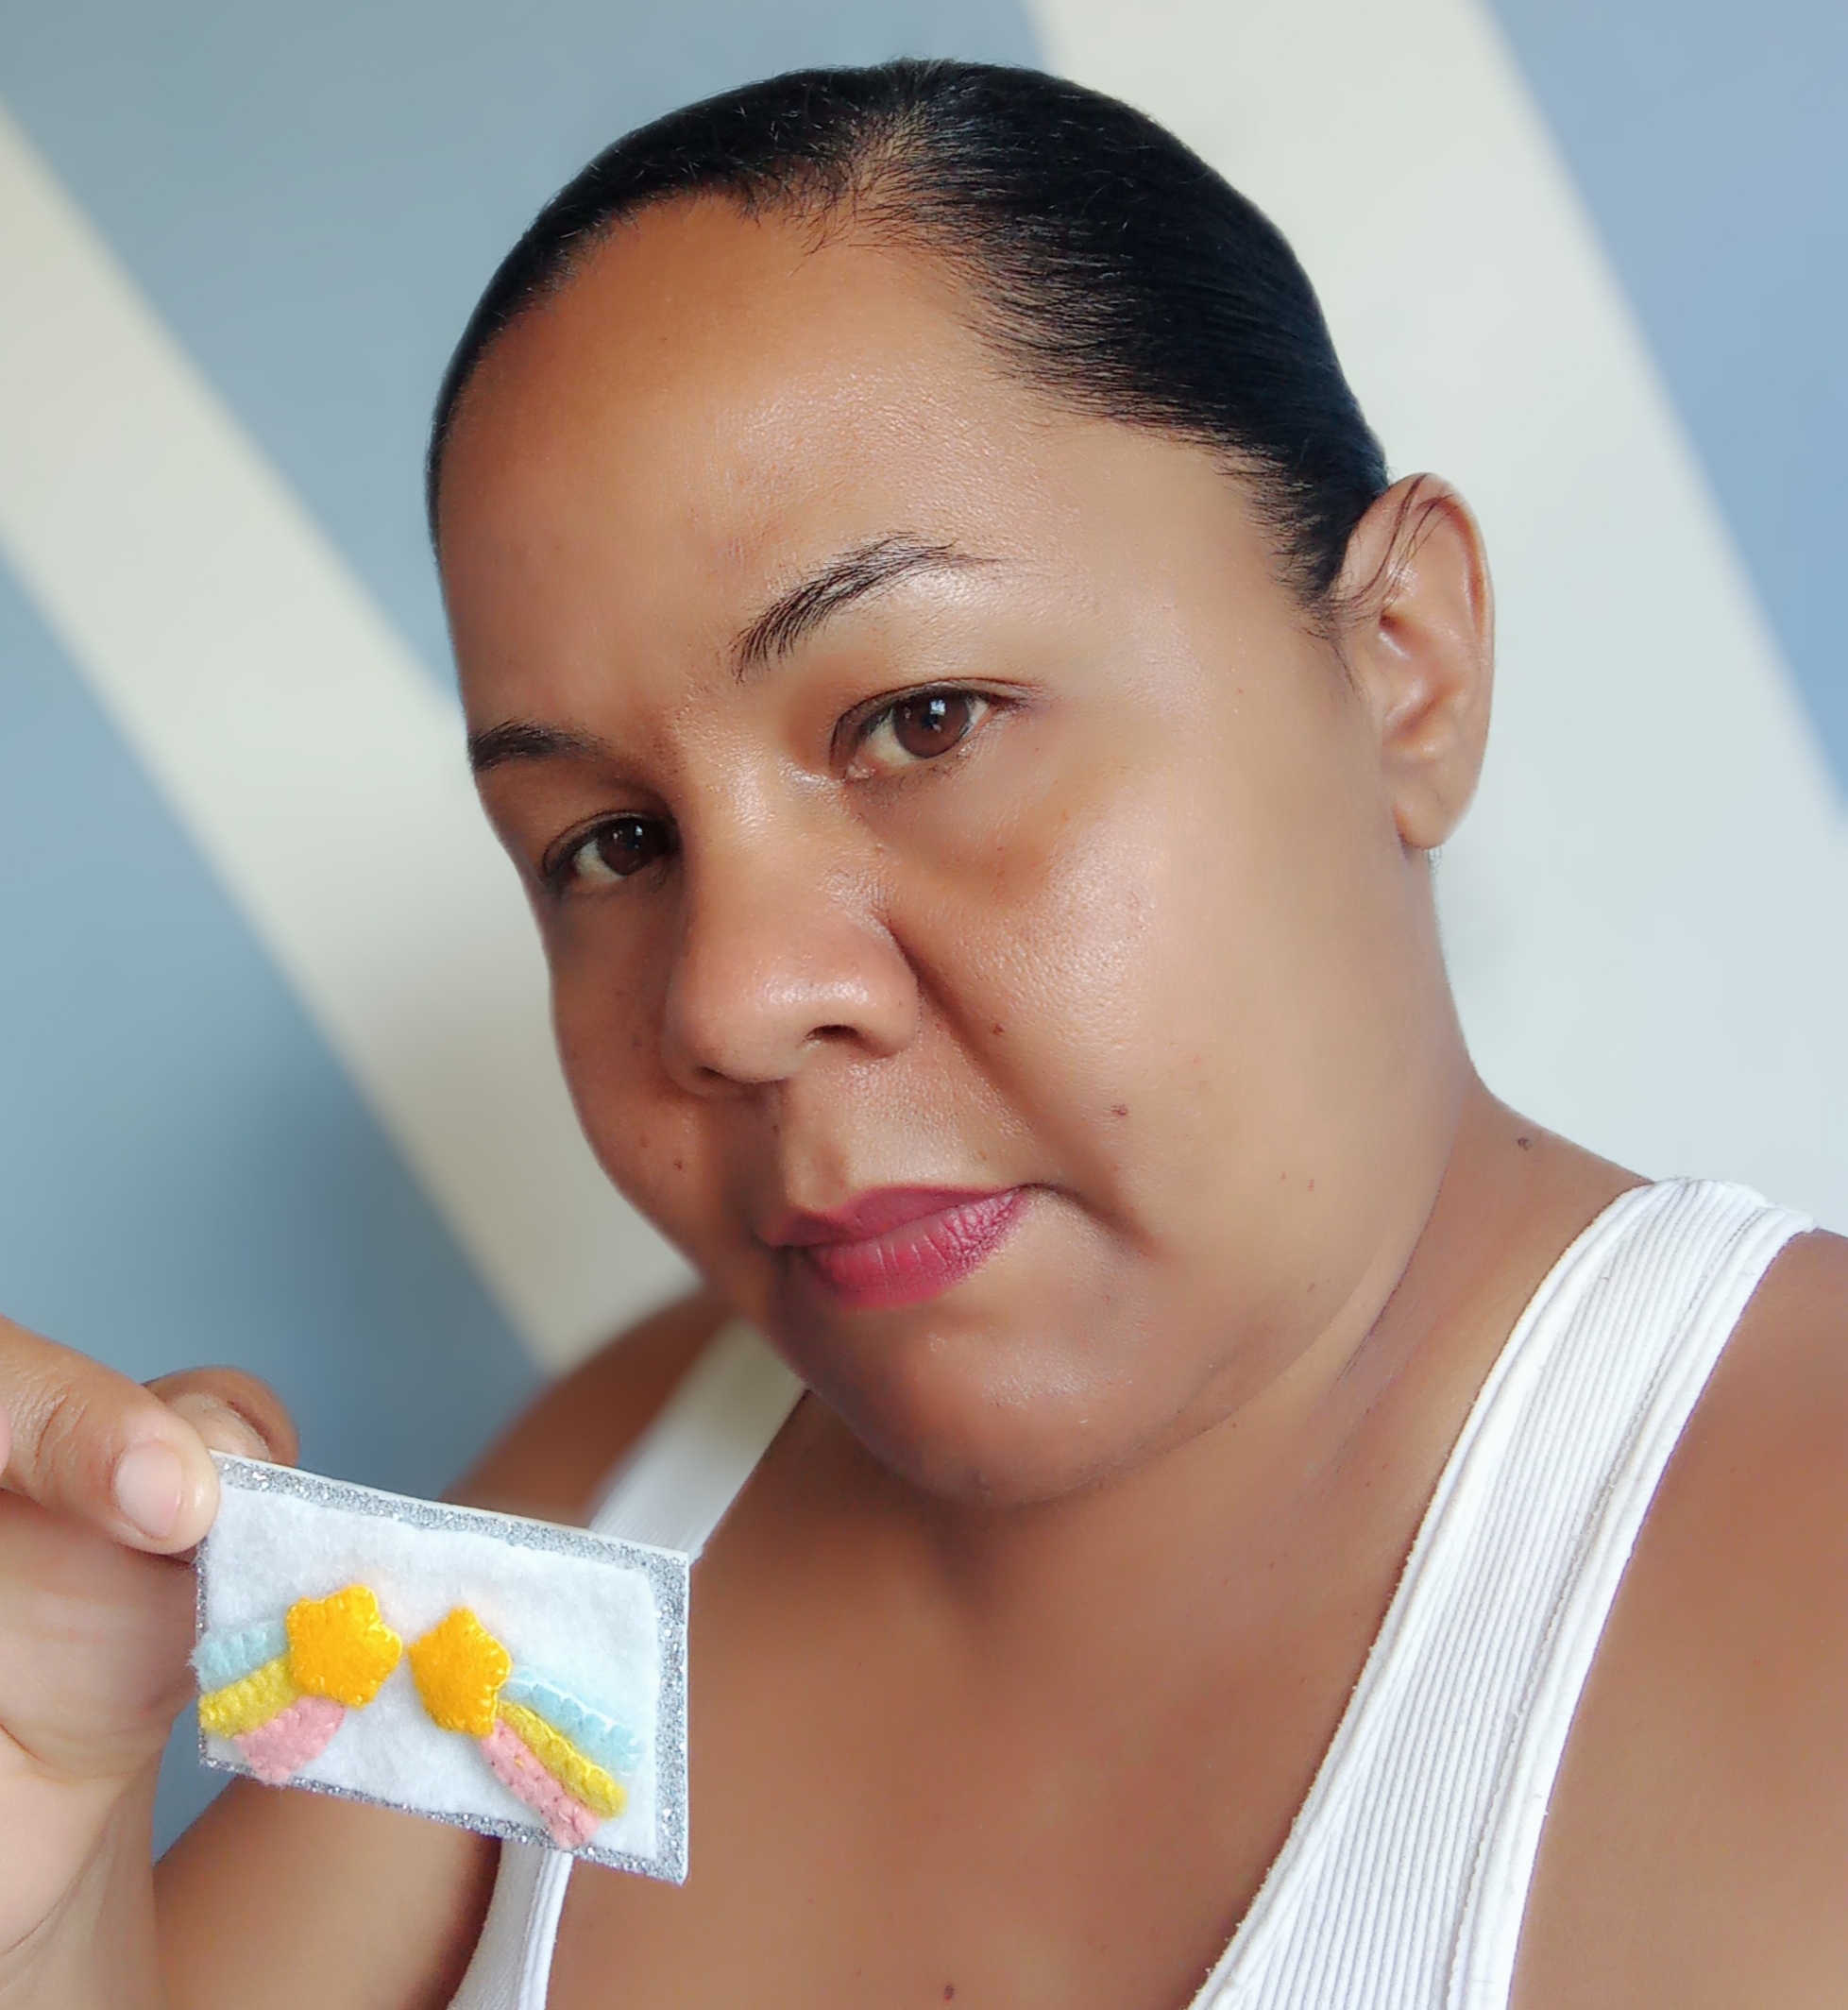
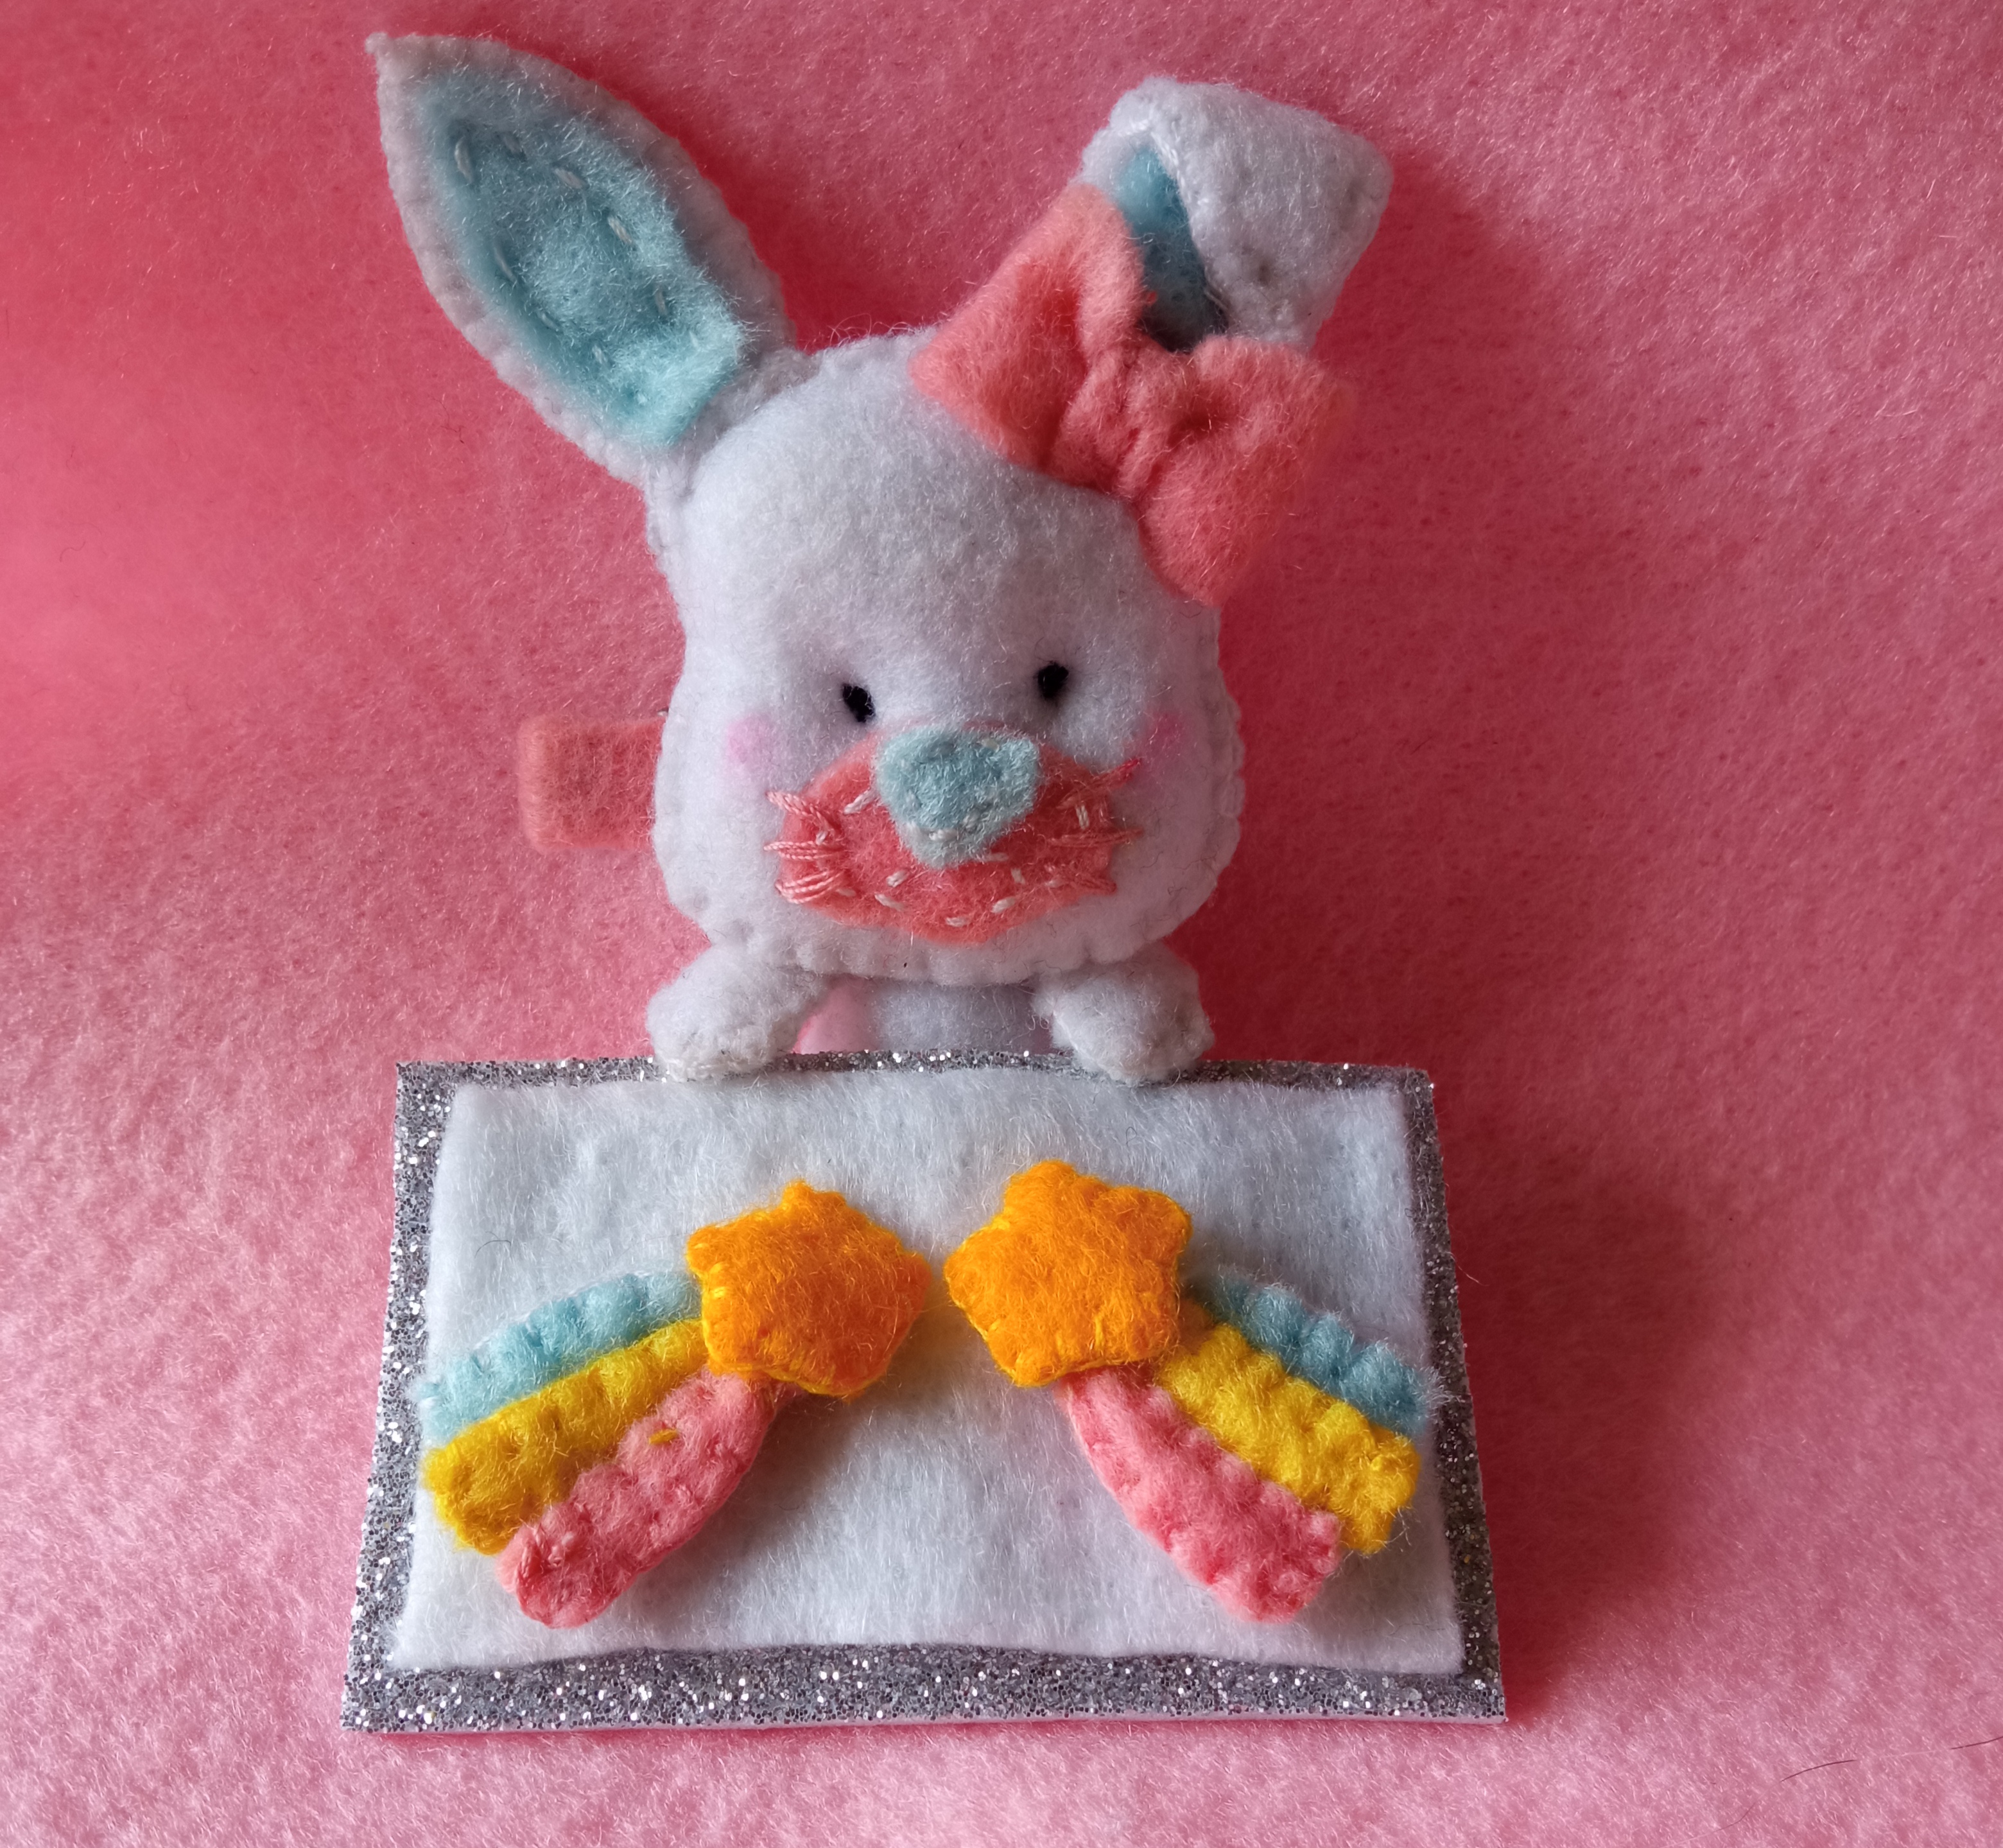
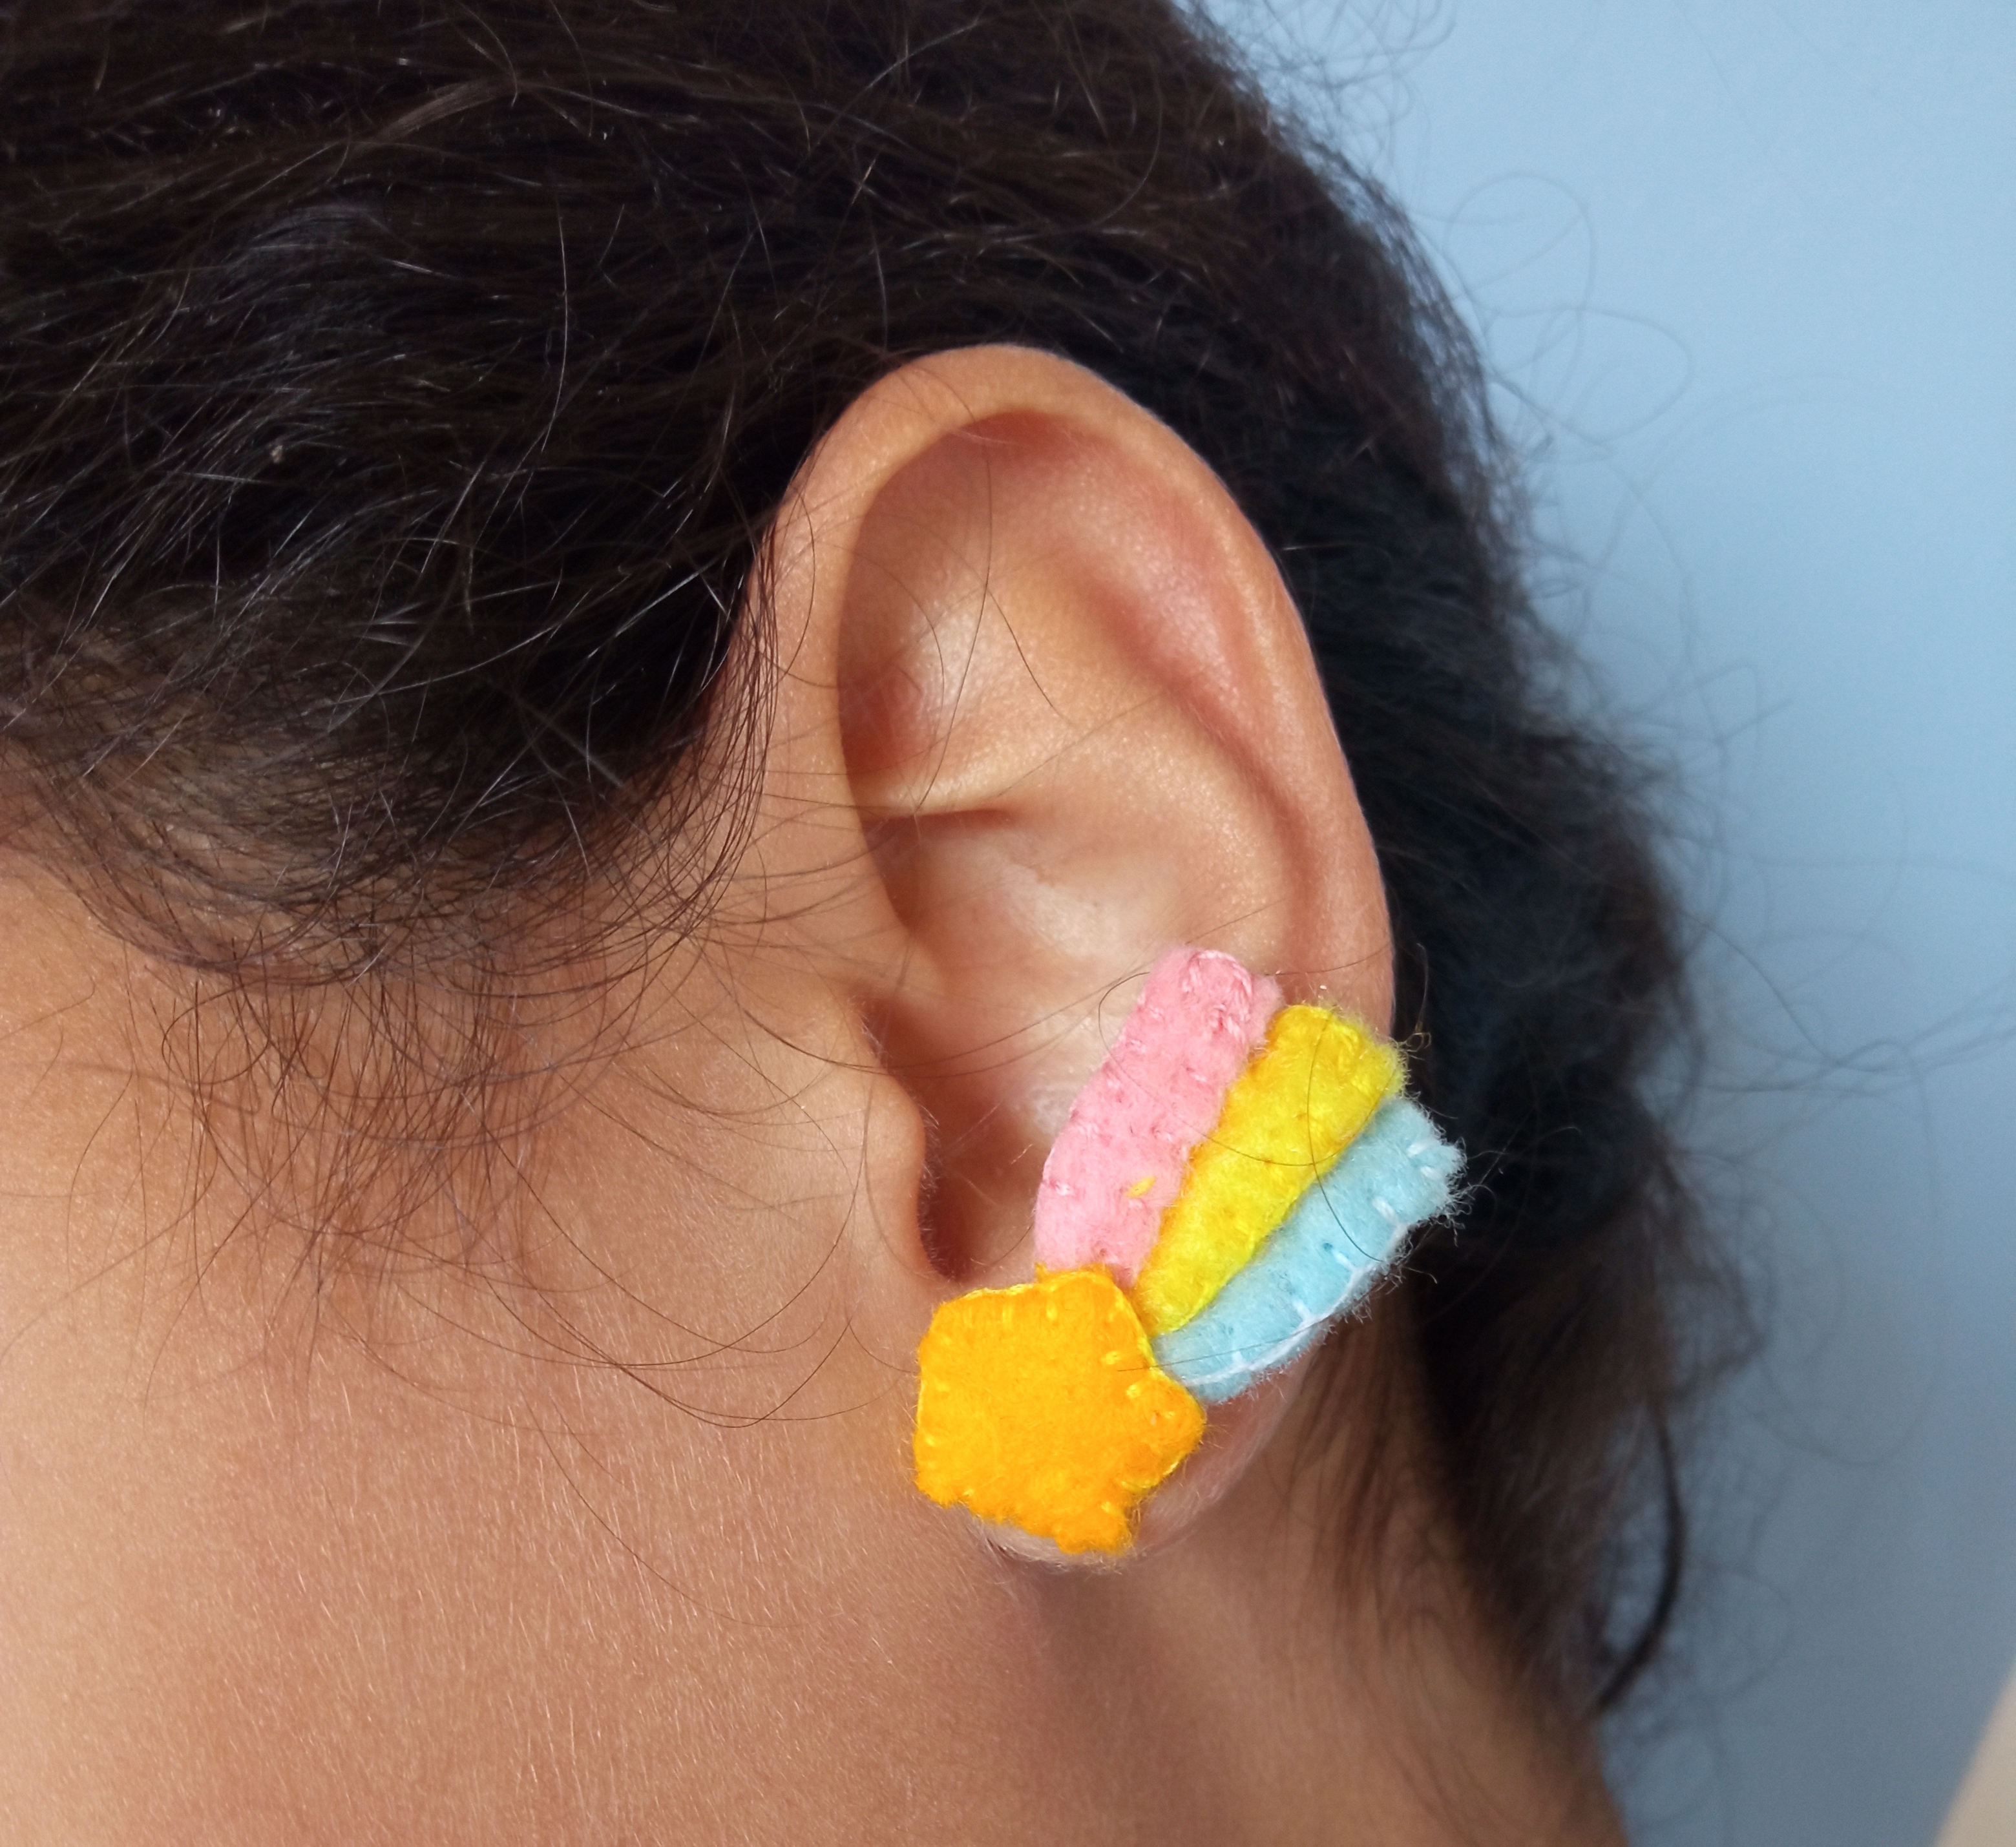
Este tutorial llegó a su final, espero les hayan gustado como quedó este delicado trabajo cocido a mano, a mi hija Camila le encantó cómo le quedaron sus zarcillos y sus amiguitas ahora quieren unos también jejeje!! Así que seguiré creando.
This tutorial came to an end, I hope you liked how this delicate handmade work turned out, my daughter Camila loved how her earrings turned out and her little friends now want some too! So I will continue creating.

Como siempre agradecida con la comunidad por permitirme mostrar mis trabajos por aquí y a los usuarios Hive que pasan a darme su apoyo 🥰 y dejarme un lindo comentario. Pronto estaré nuevamente mostrándoles creaciones.
As always grateful to the community for allowing me to show my work here and to the Hive users who come by to give me their support 🥰 and leave me a nice comment. Soon I will be back again showing you creations.
¡Gracias 😁 por Visitar mi Blog!
Thank you 😁 for Visiting my Blog!
Todas las Fotografías fueron tomadas con mi teléfono Redmi 9. Imagen editada en Polish. / All pictures were taken with my Redmi 9 phone. Image edited in Polish.
Traducción realizada con la versión gratuita del traductor / Translación performed with the free version of the translator www.deepl.com/translator

0
0
0.000
https://twitter.com/campos_yurimar/status/1570873648264916993
The rewards earned on this comment will go directly to the people sharing the post on Twitter as long as they are registered with @poshtoken. Sign up at https://hiveposh.com.
Muchas gracias por su gran apoyo 🥰!
Que lindos zarcillos de fieltro en forma dd arcoiris, que lindo ver como.puedes crearlos cocidos, este tipo de zarcillos es muy hermoso para niñas, los colores que elegiste son hermosos, gracias por tu hermoso tutorial.
Muchas gracias por tan lindas 😍 palabras ❤️ se los elabore a mi hija Camila y les encantaron.
Congratulations @yurimar! You have completed the following achievement on the Hive blockchain and have been rewarded with new badge(s):
Your next target is to reach 8000 upvotes.
You can view your badges on your board and compare yourself to others in the Ranking
If you no longer want to receive notifications, reply to this comment with the word
STOPCheck out the last post from @hivebuzz:
Support the HiveBuzz project. Vote for our proposal!
Tienes un gran talento en tus manos y se que aprenderemos bastante de ti. Te felicito
Muchas gracias amiga aprecio mucho tus palabras ❤️
Sin duda es algo que usaría🌈
Gracias 😁 amiga!