Esp/Eng Beautiful cotillions, with Christmas motifs, made with paper bag (tutorial)
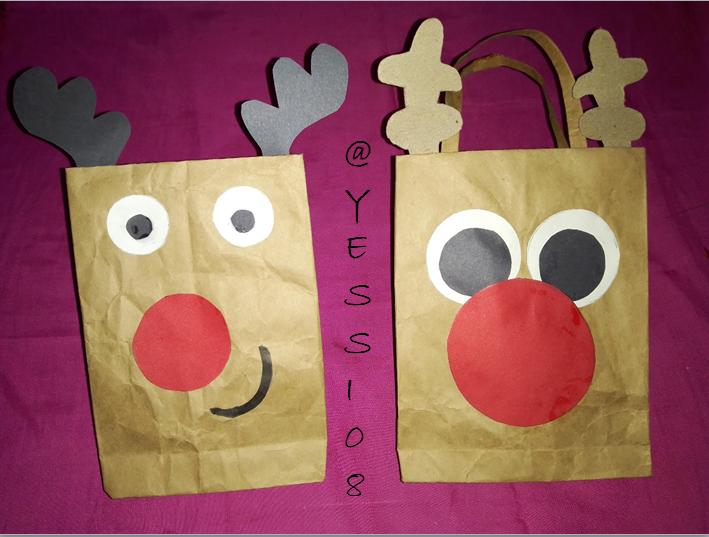
Feliz martes amigos creativos en todo el mundo, bienvenidos a mi blog!
Hoy les traigo una propuesta que será muy útil a la hora de realizar una fiesta, o cumpleaños, y queremos dar cotillones a los pequeños; ya no es necesario que los compres; con este #tutorial puedes elaborarlos tu mismo de forma personalizada.
Son súper sencillos y económicos, que sólo te tomará un poco de tiempo su elaboración; acompañenme a elaborarlos:
Happy Tuesday creative friends around the world, welcome to my blog!
Today I bring you a proposal that will be very useful when you have a party, or birthday, and we want to give cotillions to the little ones; it is no longer necessary to buy them; with this #tutorial you can make them yourself in a personalized way.
They are super simple and inexpensive, it will only take you a little time to make them; join me to make them:

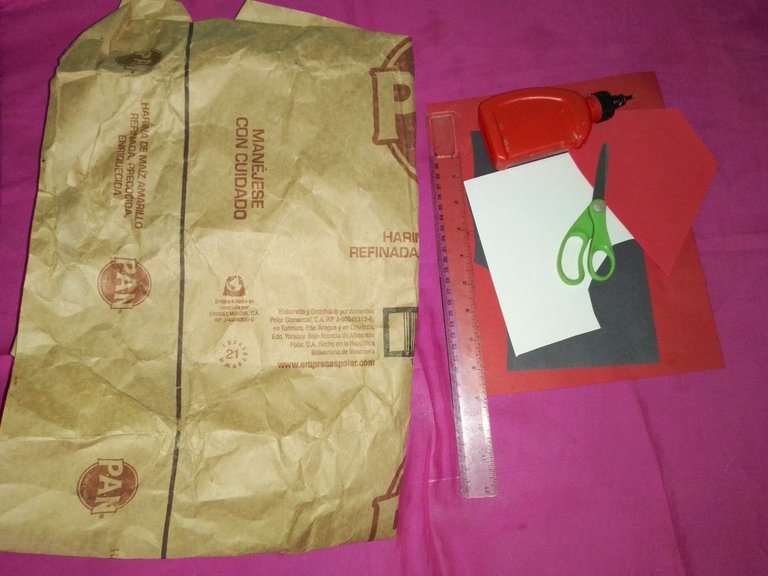
1 bolsa de papel reciclable (utilicé una de harina pan)
pega
tijera
regla
trozos de cartulina rojo, negro y blanco.
1 recyclable paper bag (I used a bread flour one).
glue
scissors
ruler
pieces of red, black and white cardboard.

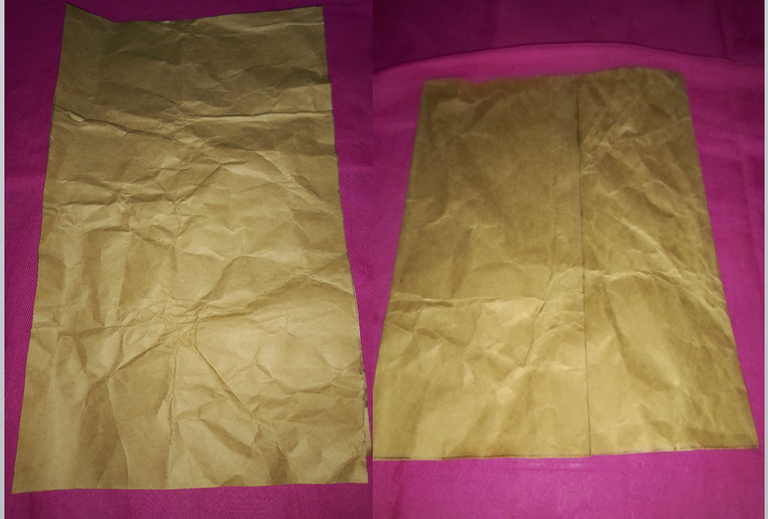
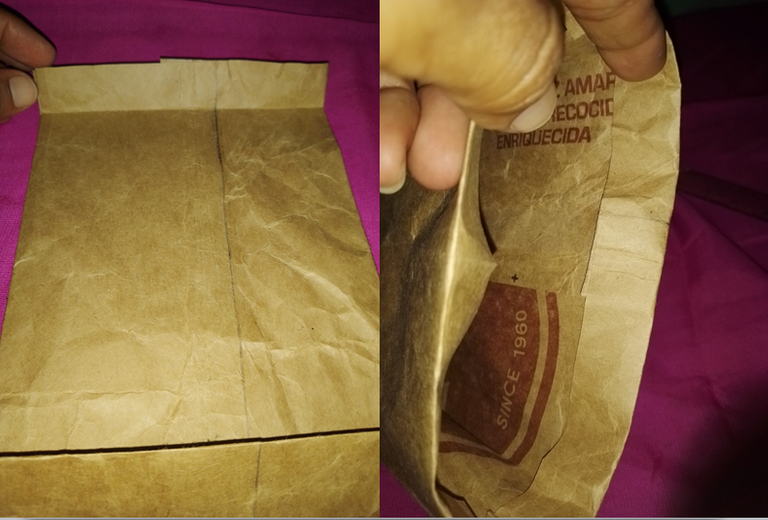
Cortamos un trozo de papel de 25cm por 40cm.
Lo colocamos de forma horizontal, lo doblamos y sellamos ambas puntas con pega.
Doblamos 5cm por el extremo inferior, y las esquinas doblamos hacia adentro, y sellamos para formar la base de la bolsa.
Cut a piece of paper 25cm by 40cm.
Place it horizontally, fold it and seal both ends with glue.
Fold 5cm at the bottom end, and fold the corners inwards, and seal to form the base of the bag.
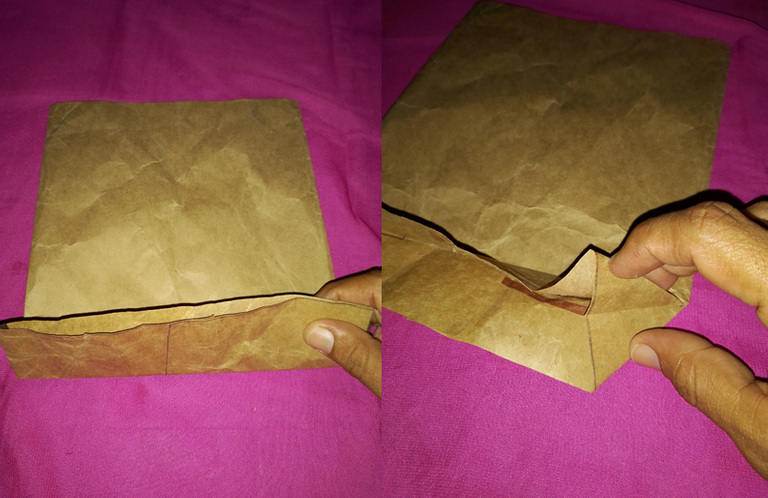
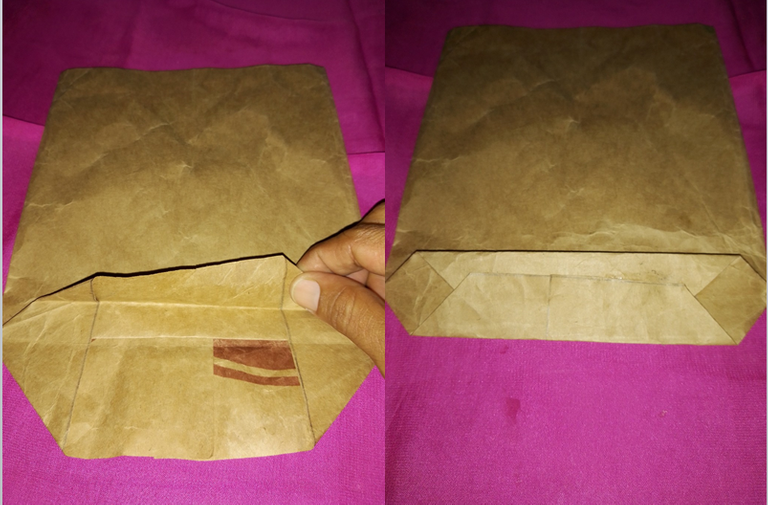

Guiandonos por la base, doblamos los lados de la bolsa, haciendo coincidir el extremo con la parte final de la abertura.
Luego los lados los introducimos hacia adentro por la marca hecha en el paso anterior, y asi tenemos los lados de la bolsa.
Guided by the base, fold the sides of the bag, matching the end with the end of the opening.
Then we introduce the sides inwards through the mark made in the previous step, and so we have the sides of the bag.
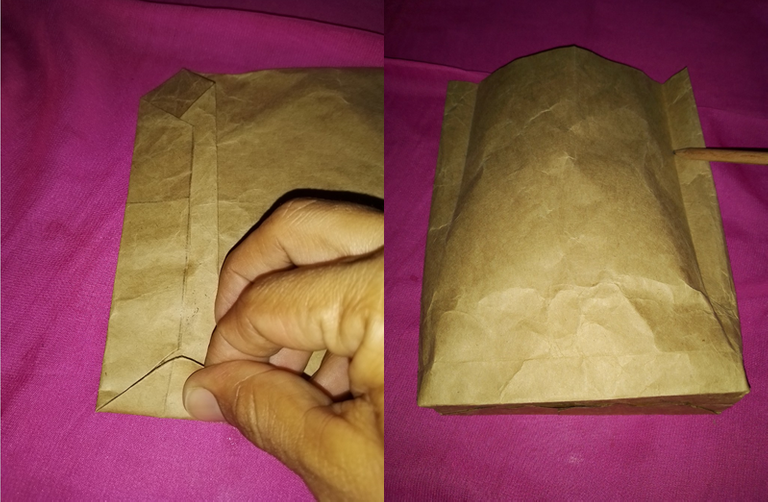
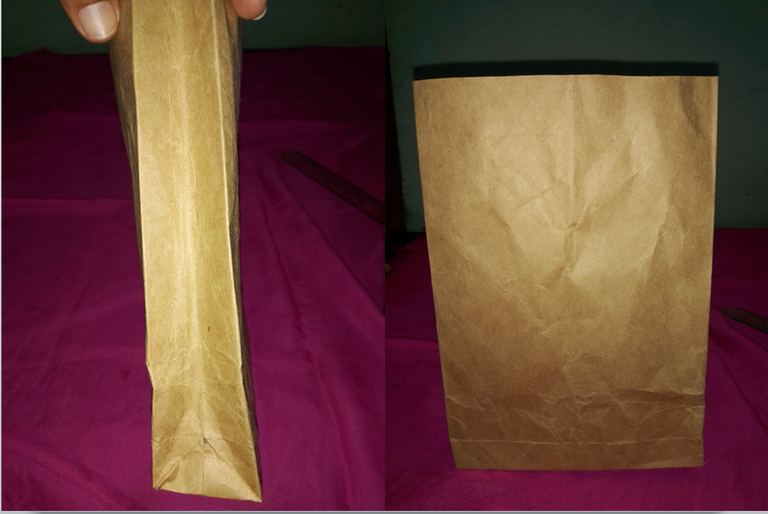

Doblamos 2cm la parte inferior, y lo introducimos hacia adentro.
Fold the bottom 2cm, and insert it inwards.

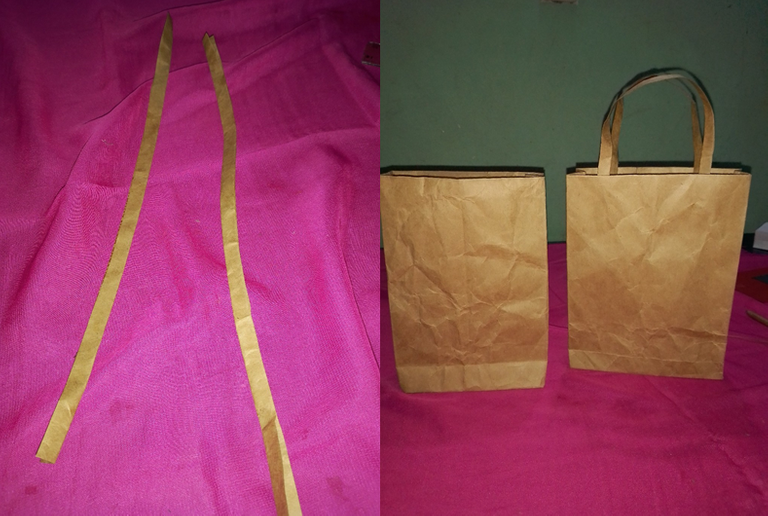
Para hacer las asas, cortamos 2 tiras de papel , y las doblamos pegandolas, luego las pegamos en cada lado de la bolsa.
To make the handles, cut 2 strips of paper, fold them and glue them together, then glue them on each side of the bag.

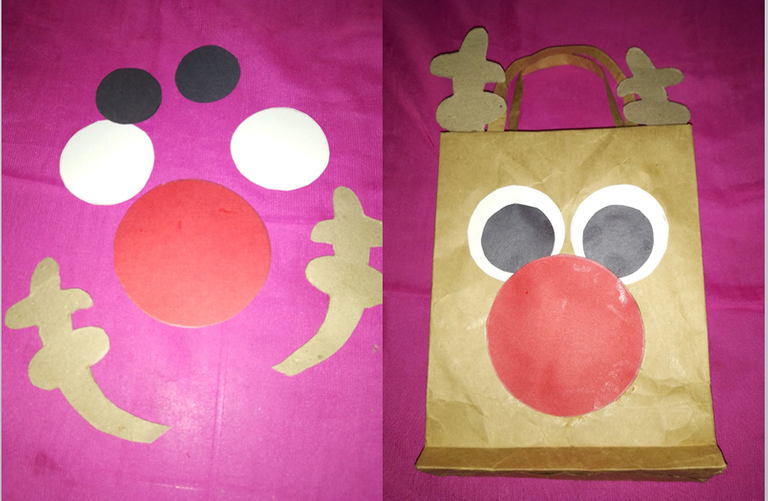
Lista la bolsa, sólo queda decorarla.
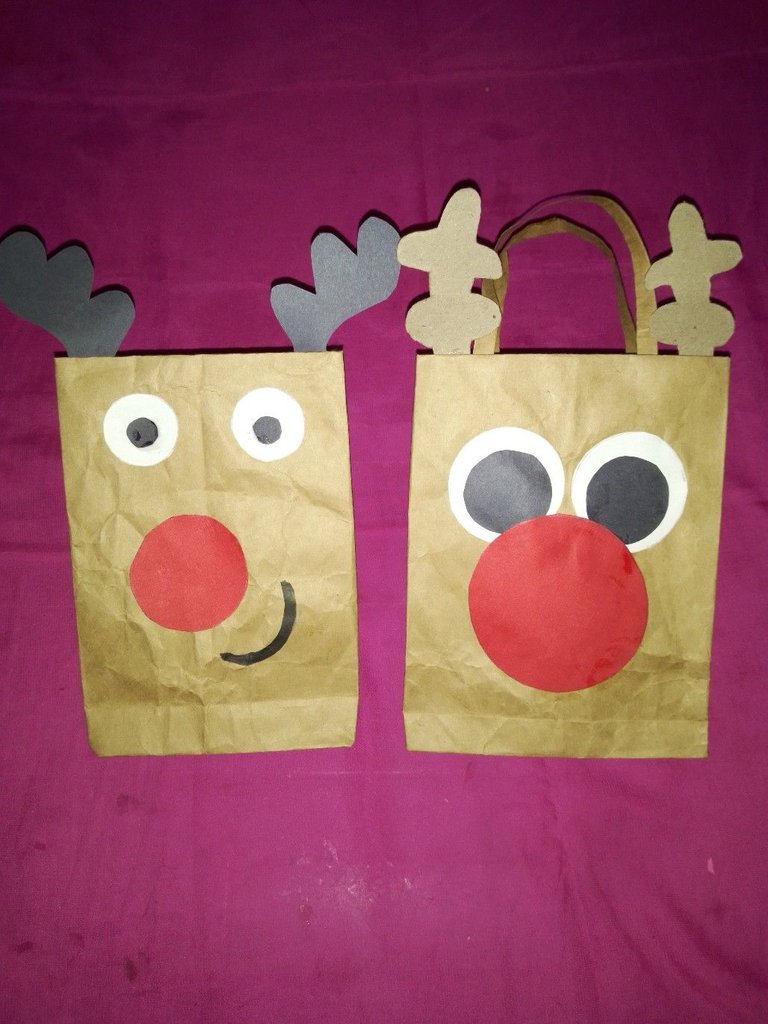
Yo la decore de un reno; asi, que , recorté los ojos, nariz, boca y astas, y las pegué a la bolsa.
The bag is ready, all that remains is to decorate it.
I decorated it with a reindeer; so, I cut out the eyes, nose, mouth and antlers, and glued them to the bag.

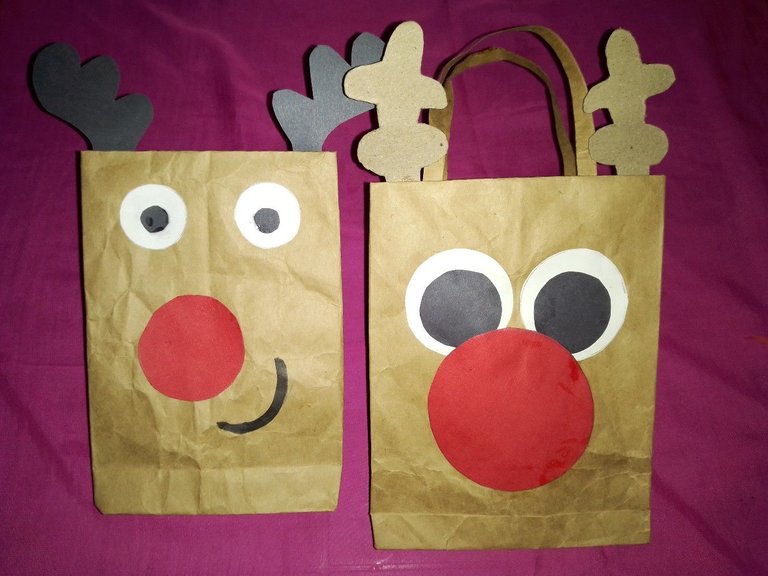
Hice otro modelo, es cuestión de imaginación y gusto!
I made another model, it's a matter of imagination and taste!

Espero les hayan gustado estos hermosos cotillones!
I hope you liked these beautiful cotillions!


Gracias por visitar mi post,
Dios te bendiga!
Thanks for visiting my post,
God bless you!
Translated with https://www.deepl.com/translator
      Todas las imágenes son de mi autoría, capturadas con mi teléfono ZTE.

   All images are my own, captured with my ZTE phone.
Thank you for sharing this post in the DIYHUB Community!
Your content got selected by our fellow curator semarekha & you just received a little thank you upvote from us for your great work! Your post will be featured in one of our recurring compilations which are aiming to offer you a stage to widen your audience within the DIY scene of Hive. Stay creative & HIVE ON!
Please vote for our hive witness <3
Thank you for your support!
Best regards!
This post has been rewarded with an upvote from city trail as part of Neoxian City Curation program
 . We are glad to see you using #neoxian tag in your posts. If you still not in our discord, you can join our Discord Server for more goodies and giveaways.
Do you know that you can earn NEOXAG tokens as passive income by delegating to @neoxiancityvb. Here are some handy links for delegations: 100HP, 250HP, 500HP, 1000HP. Read more about the bot in this post. Note: The liquid neoxag reward of this comment will be burned and stake will be used for curation.
Thanks for the support @neoxian-city , it is very valuable to me!
What a good art work. I love the finishing touch. Maybe I could give it a try.
Glad you liked it @adega , I invite you to try it at home, it's very simple!
Merry Christmas to you!
Muy lindas y creativas amiga, además son muy fáciles de elaborar 😍
Gracias amiga, me alegra que te hayan gustado!
Son muy sencillas y hermosas, además económicas, jejej