Una abejita con material de reciclaje (Esp/Ing)
Hola, hola mi gente bella. Vuelvo por aquí para compartir una nueva manualidad, se trata de una abeja con material de reciclaje, ideal para decorar en una fiesta. Le hice este juguete a mi nieta, pues le encanta este pequeño insecto. Al verlo sonríe, pues recuerda el video Abejita chiquitita, donde aparece el popular Plim Plim, un personaje icónico para los pequeños.
Les voy a transcribir los materiales que usé y, por supuesto, el procedimiento.
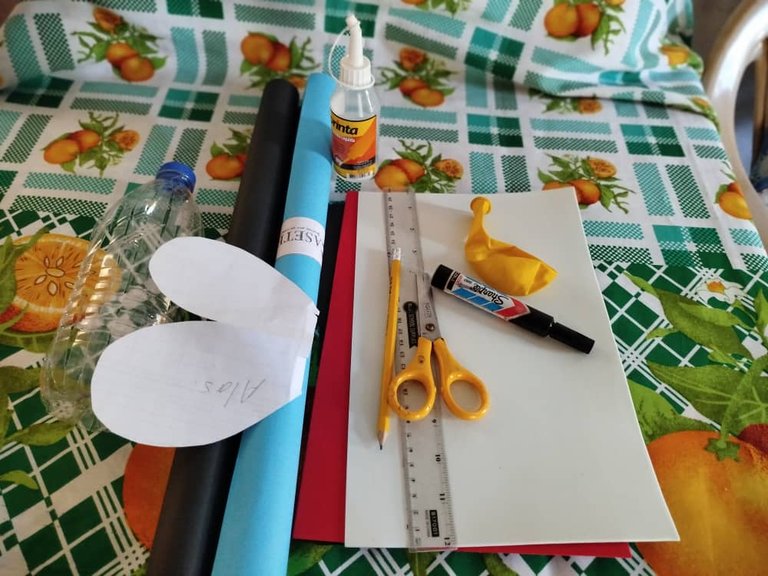
Materiales:
- 1 botella plástica
- 1 globo amarillo
- Papel bond
- Tijera
- Alcohol
- Exacto
- Marcador
- Cartulina azul y negra
- Foami blanco y rojo
- Silicón líquido
- Regla
- Patrón o molde
- Lápiz
Procedimiento:
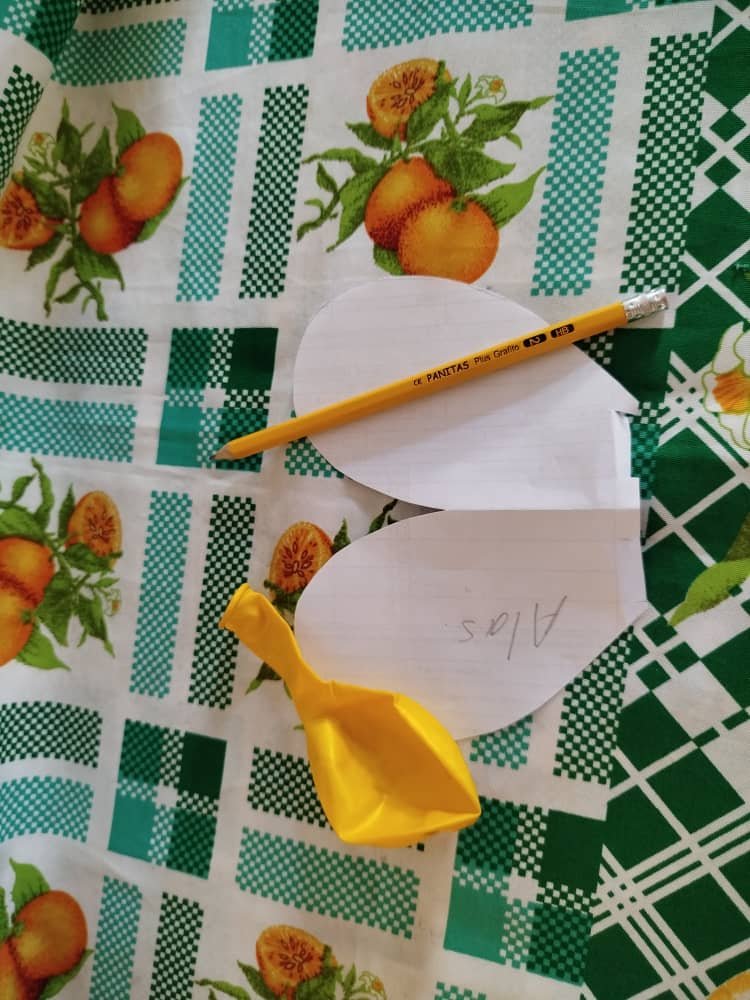
Empezamos marcando los patrones en el papel bond: las alas, los ojos, la boca, las antenas y el aguijón.
Posteriormente, limpiamos la botella y con la regla marcamos unas líneas con una distancia de cinco centímetros, luego con la ayuda del exacto quemamos la punta y hacemos unas perforaciones por donde introduciremos la tijera y cortaremos por las líneas ya marcadas (serán nuestra referencia), para que las tiras abran con más facilidad, recordando que la botella no tiene que perder su forma.
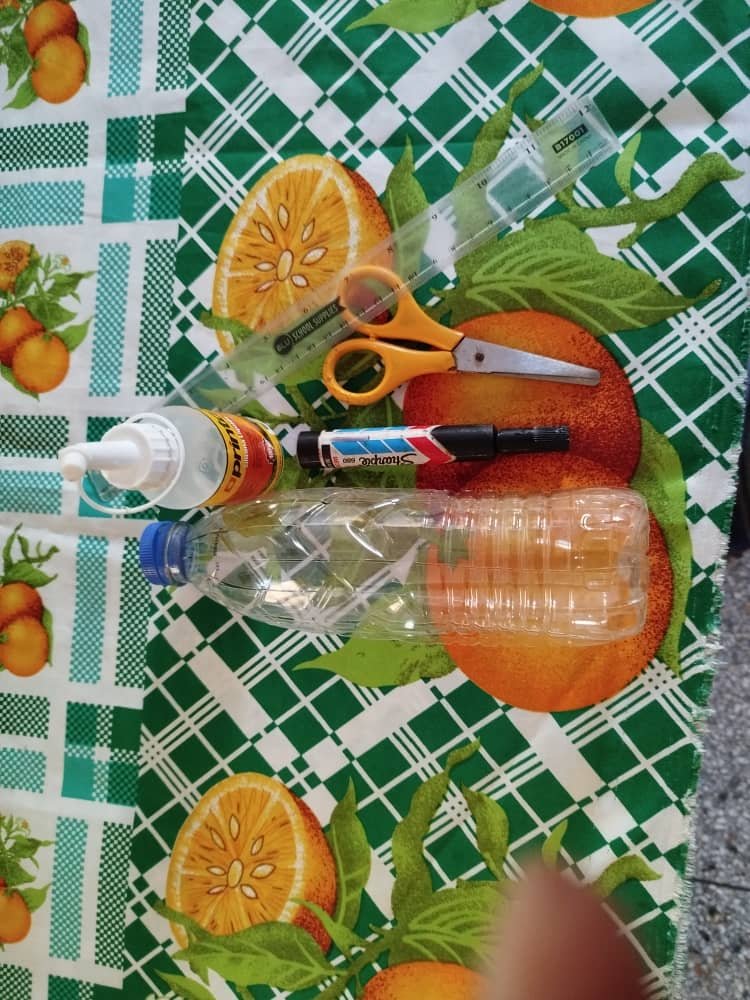
Luego, limpiamos con el alcohol toda la botella para quitar las manchas. El alcohol funciona muy bien para eliminar estas líneas.
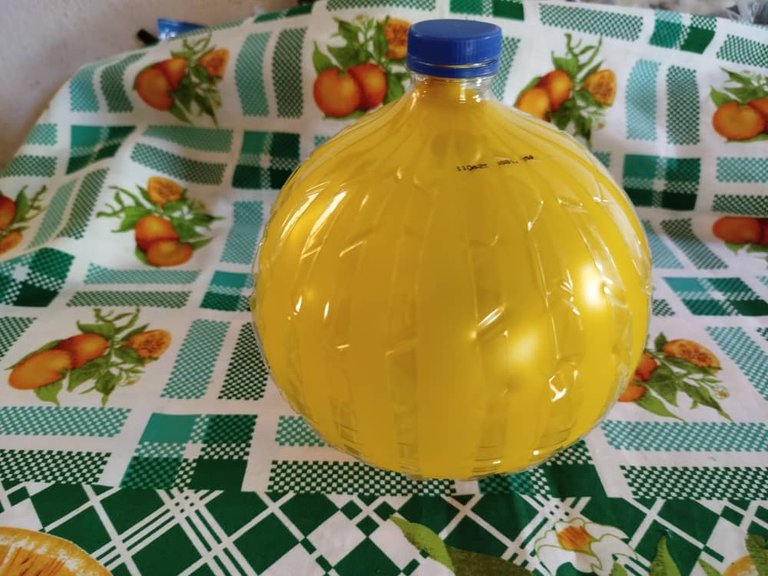
Después se introduce un globo en la botella e inflamos hasta que quede bien apretado y lo aseguramos con un nudo y le colocamos la tapa a la botella.
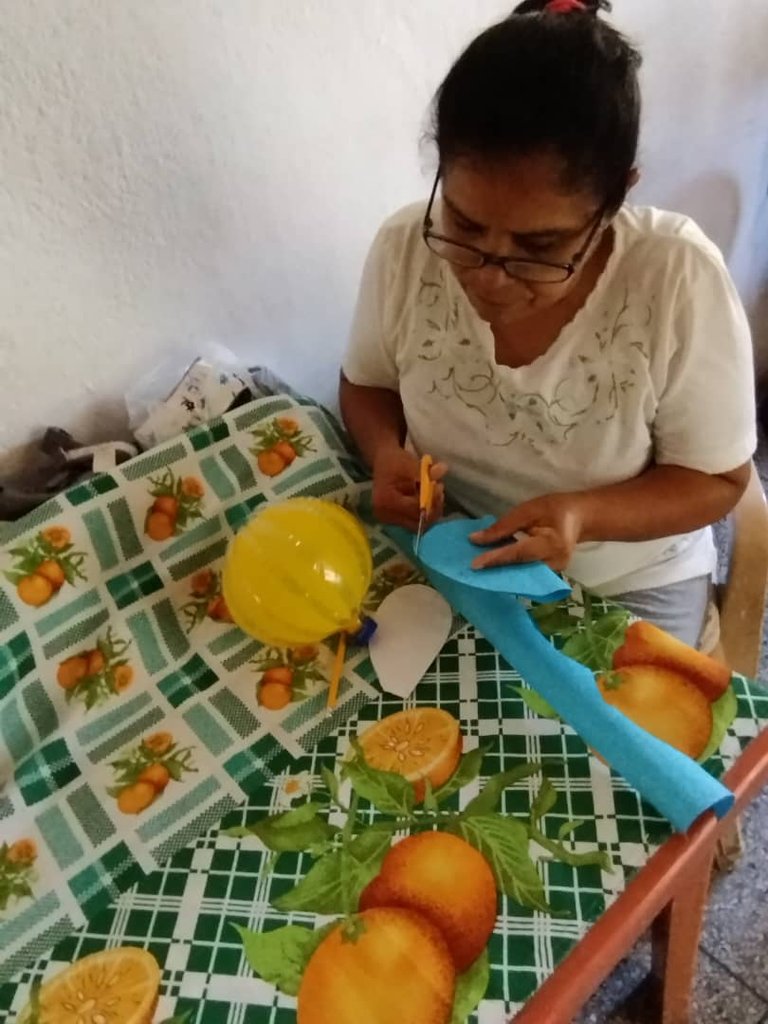
Tomamos la cartulina azul y con la ayuda del patrón marcamos las alas dos veces y cortamos, como pueden ver tienen forma de corazón. En la parte inferior le hacemos unas pestañas por donde le colocaremos el silicón.
Luego en la cartulina negra marcamos dos tiras largas delgadas, dos antenas, dos círculos medianos y el aguijón para luego cortar.
En el foami rojo sacamos la boca.
En el foami blanco dos círculos grandes y dos pequeños, esto serán los ojos.
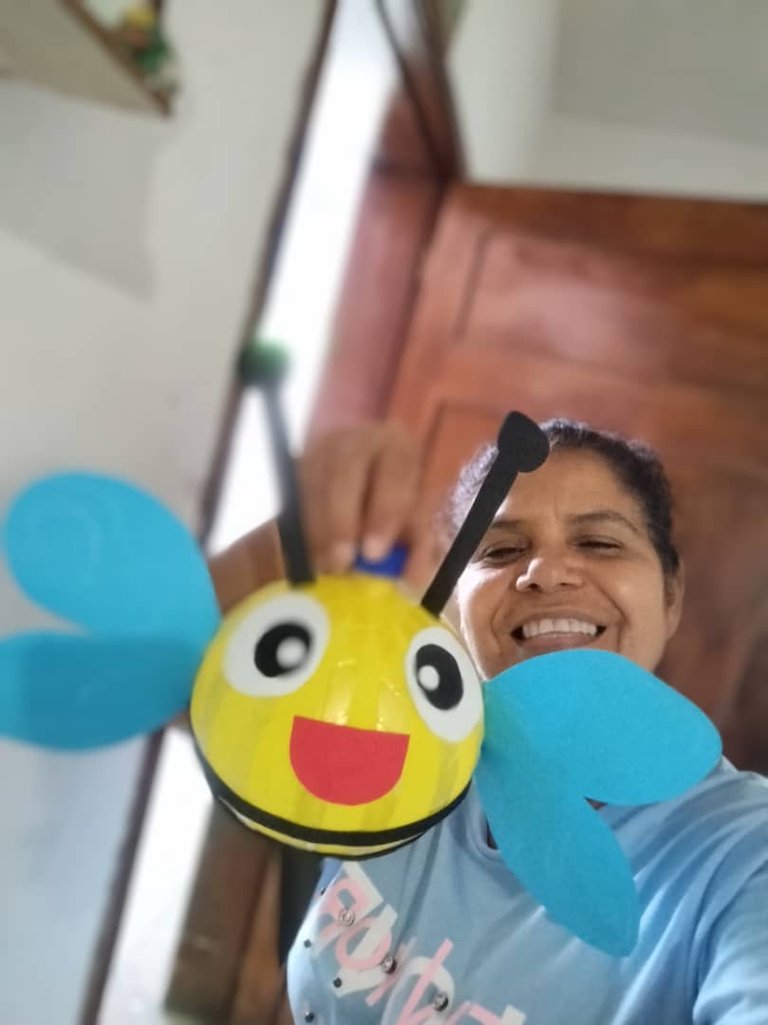
Ya estamos lista para armar nuestra abejita. Tomamos la botella y en la parte de arriba del pico en cada lado colocamos silicón y pegamos las antenas, un poco más abajo pegamos los ojos, el circulo blanco grande y encima pegamos el círculo negro mediano y, por último, el círculo pequeño blanco. Un poco más abajo de los ojos pegamos la boca.
Y de ambos lados pegamos las alas, centrándolas muy bien. Las alas pueden ser decoradas a tu gusto.
Un poco más abajo pegamos las dos tiras delgadas, una debajo de la otra como se ve en la foto.
Por último, pegamos el aguijón en la parte de abajo.
Estas abejitas quedan súper bonitas para cualquier evento, ejemplo: decoraciones infantiles, desfiles escolares y también como lámparas decorativas, teniendo en cuenta que el globo después de varios días se desinfla poco a poco.
También le puedes colocar la tapita del encendedor, esos que tienen un bombillito dándole un toque de navidad.
Espero que les haya gustado esta abejita, tanco como le encantó a mi nieta.
Hello, hello my beautiful people. I'm back here to share a new craft, this is a bee with recycled material, ideal for decorating at a party. I made this toy for my granddaughter, because she loves this little insect. When she sees it, she smiles, because she remembers the video "Little Bee", where the popular Plim Plim appears, an iconic character for the little ones.
I am going to transcribe the materials I used and, of course, the procedure.
Materials:
- 1 plastic bottle
- 1 yellow balloon
- Bond paper
- Scissors
- Alcohol
- Exactly
- Marker pen
- Blue and black cardboard
- White and red Foami
- Liquid silicone
- Ruler
- Pattern or mold
- Pencil
Procedure:
We start by marking the patterns on the bond paper: the wings, the eyes, the mouth, the antennae and the sting.
Then, we clean the bottle and with the ruler we mark some lines with a distance of five centimeters, then with the help of the exact burn the tip and make some perforations where we will introduce the scissors and cut along the lines already marked (they will be our reference), so that the strips open more easily, remembering that the bottle does not have to lose its shape.
Then, we clean the whole bottle with alcohol to remove the stains. Alcohol works very well to remove these lines.
Then we put a balloon in the bottle and inflate it until it is tight and secure it with a knot and put the cap on the bottle.
We take the blue cardboard and with the help of the pattern we mark the wings twice and cut them, as you can see they have a heart shape. At the bottom we make some tabs where we will place the silicone.
Then on the black cardboard we mark two long thin strips, two antennae, two medium circles and the stinger to cut later.
On the red foami we draw the mouth.
In the white foami two large and two small circles, these will be the eyes.
Now we are ready to assemble our little bee. We take the bottle and on the top of the beak on each side we put silicone and glue the antennae, a little further down we glue the eyes, the big white circle and on top we glue the medium black circle and finally the small white circle. A little below the eyes we glue the mouth.
And on both sides we glue the wings, centering them very well. The wings can be decorated as you like.
A little further down we glue the two thin strips, one below the other as shown in the photo.
Finally, we glue the stinger at the bottom.
These little bees are super nice for any event, for example: children's decorations, school parades and also as decorative lamps, taking into account that the balloon after several days deflates little by little.
You can also place the lighter cap, those that have a light bulb giving it a touch of Christmas.
I hope you liked this little bee, as much as my granddaughter loved it.
✓Fotos de mi galería personal.
✓ Texto traducido con DeepL.
--- ❤️❤️❤️---
✓Photos from my personal gallery.
✓Text translated with DeepL.