[EN-ES] DIY Miniature Flowerpot: Monstera
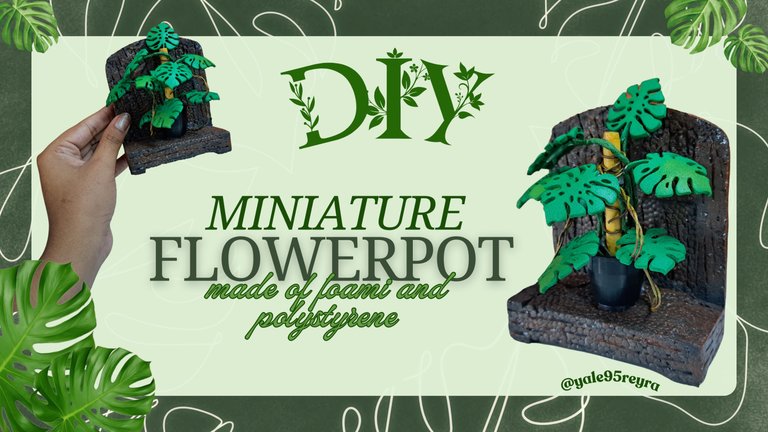
Hello craftsman friend, I am a lover of interior decoration and home remodeling documentaries, and I was noticing that one of the plants that is most present in them is the "Monstera". It should be noted that it is a beautiful plant with its lush leaves. Researching it a little, it turns out that it attracts good luck and positive energy to our homes, and to maintain good health should be placed in bright places but without sunlight. I already wanted one, I believe a lot in these things, but they are big plants and I don't have much space at home, besides being small.
I came up with an alternative, I would make a miniature one and I got down to work. For it I was seeing several images of these and I saw that to many of them they placed a moss tutor, which is like a support stake because they are climbing plants. And so I did it, with tutor and all. Below I show you the materials I used and a summary of the step by step, in the video you will find the whole process in detail, so I invite you to watch it.
Hola amigo artesano, soy amante de los documentales de decoración de interiores y remodelaciones de casas, y estuve fijándome que una de las plantas que más está presente en ellos es la Monstera. Cabe destacar que es una planta preciosa con sus exuberantes hojas. Investigándola un poco, resulta que atrae la buena suerte y la energía positiva a nuestros hogares, y para que conserve una buena salud se deben colocar en lugares luminosos pero sin que les de el sol. Ya quería una, creo mucho en esas cosas, pero son plantas grandes y en casa no tengo mucho espacio, además de ser pequeña.
Se me ocurrió una alternativa, haría una en miniatura y me puse manos a la obra. Para ello estuve viendo varias imágenes de estas y vi que a muchas le colocaban un tutor de musgo, que es como una estaca de soporte porque son plantas trepadoras. Y así la hice, con tutor y todo. A continuación te muestro los materiales que utilicé y un resumen del paso a paso, en el video se encuentra todo el proceso detallado, así que te invito a verlo.
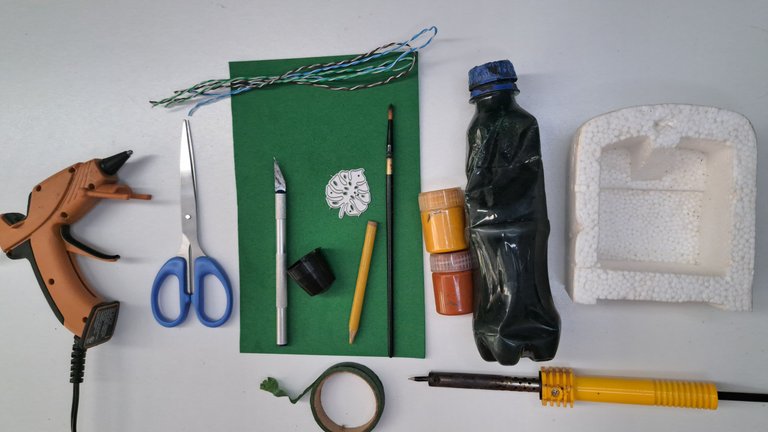
🌿Materials // Materiales🌿
- Green foami sheet / Lámina de foami verde
- Silicone / Silicona
- Floral tape / Tape floral
- Scissors / Tijera
- Precision cutter / Cúter de precisión
- Coffee capsule / Cápsula de café
- Leaf die / Troquel de hoja
- Wire / Alambre
- Pencil / Lápiz
- Brush / Pincel
- Paints / Pinturas
- Polystyrene / Poliespuma
- Cautin / Cautín
🌿Step by step // Paso a paso🌿
 |
 |
 |
 |
 |
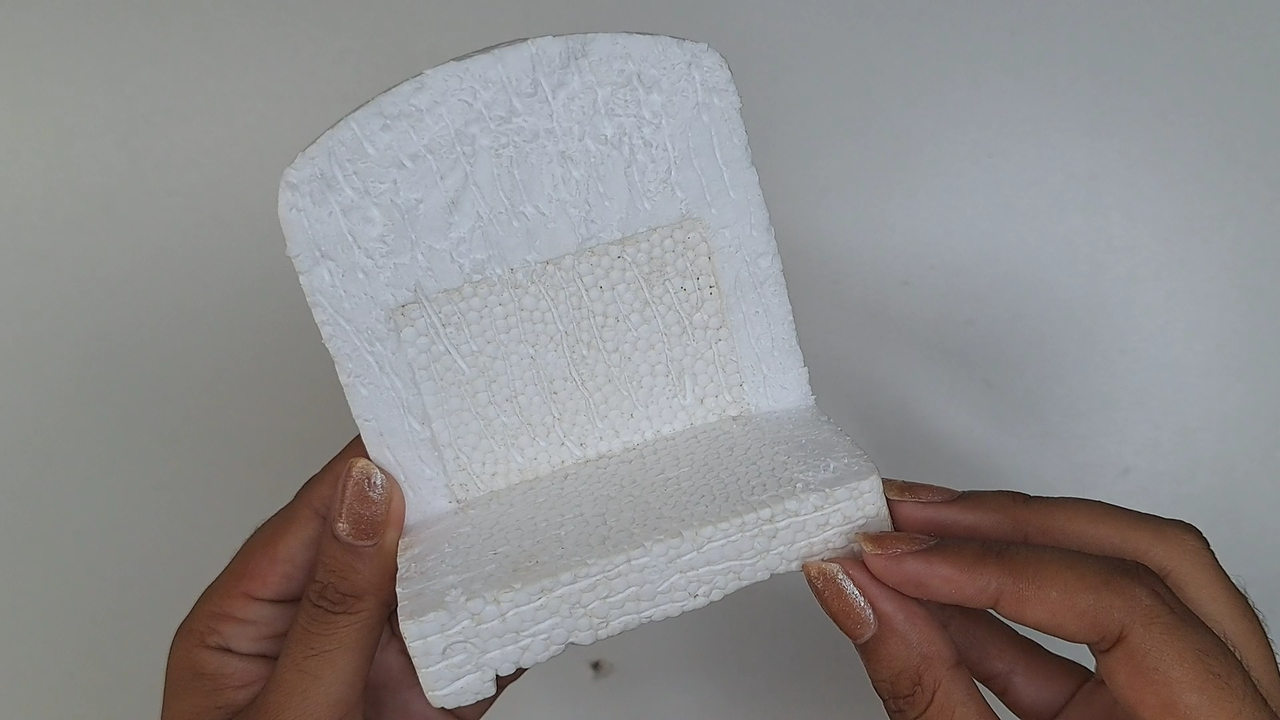 |
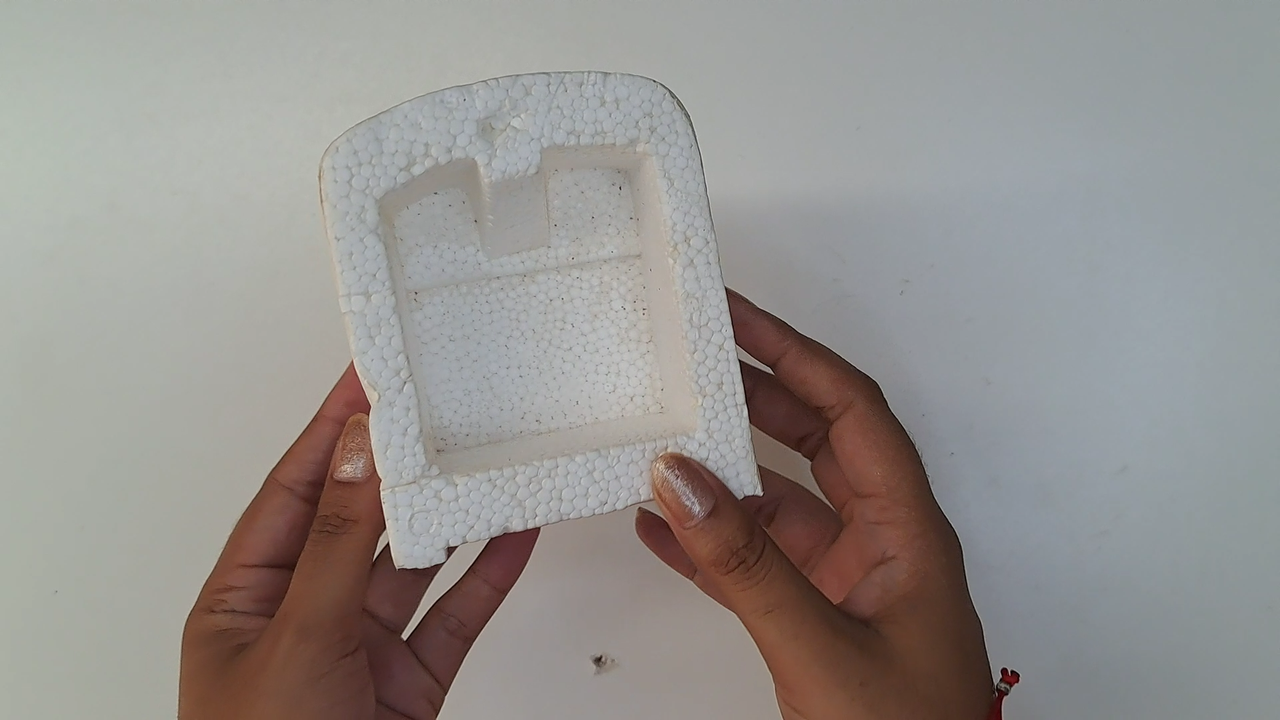
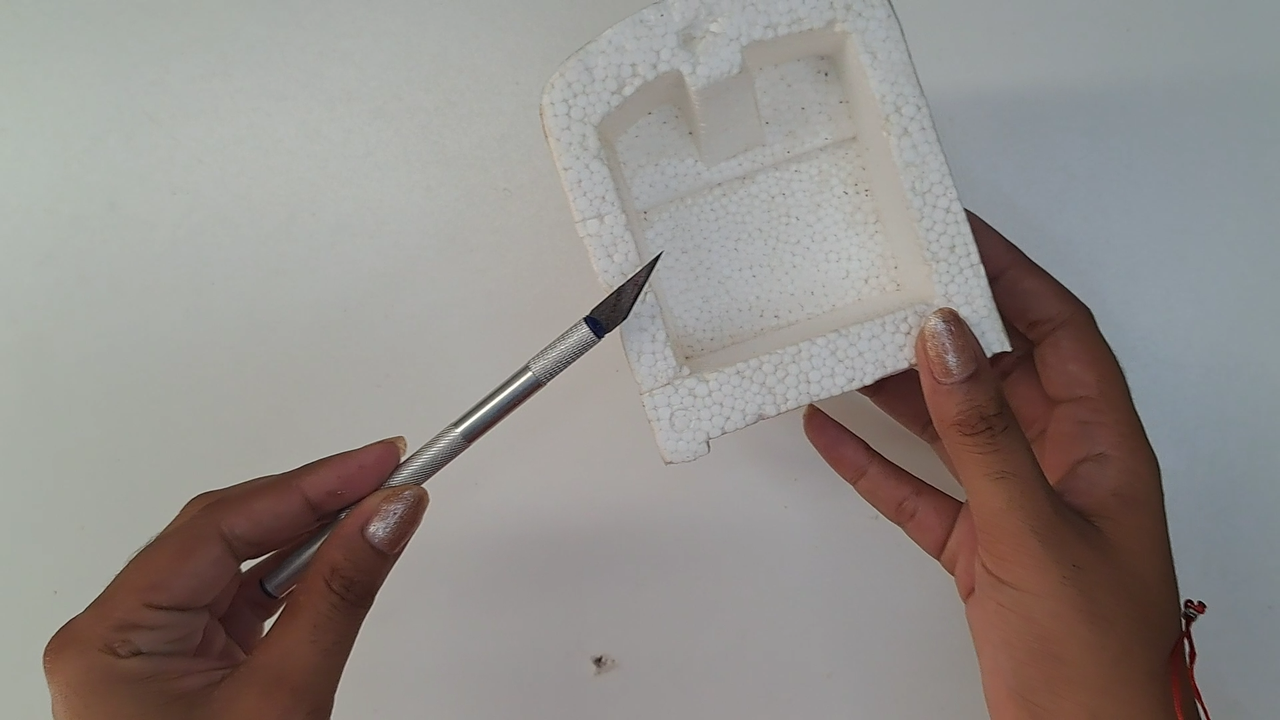
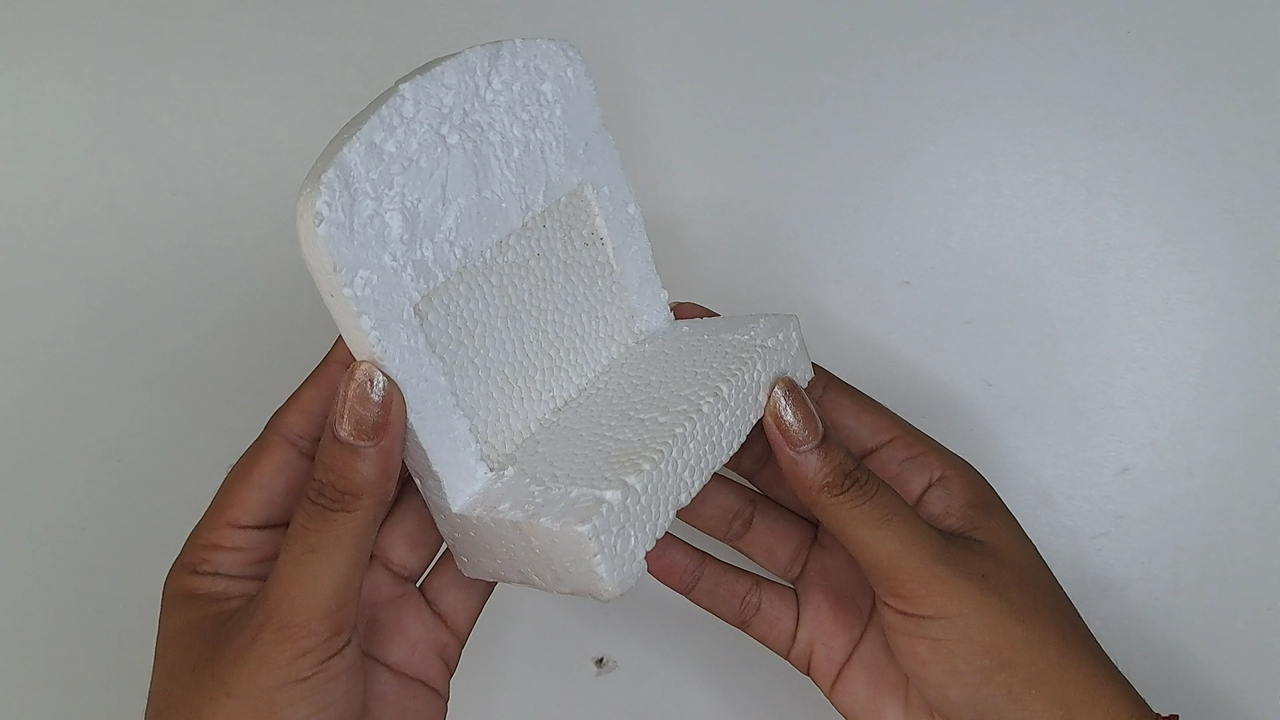
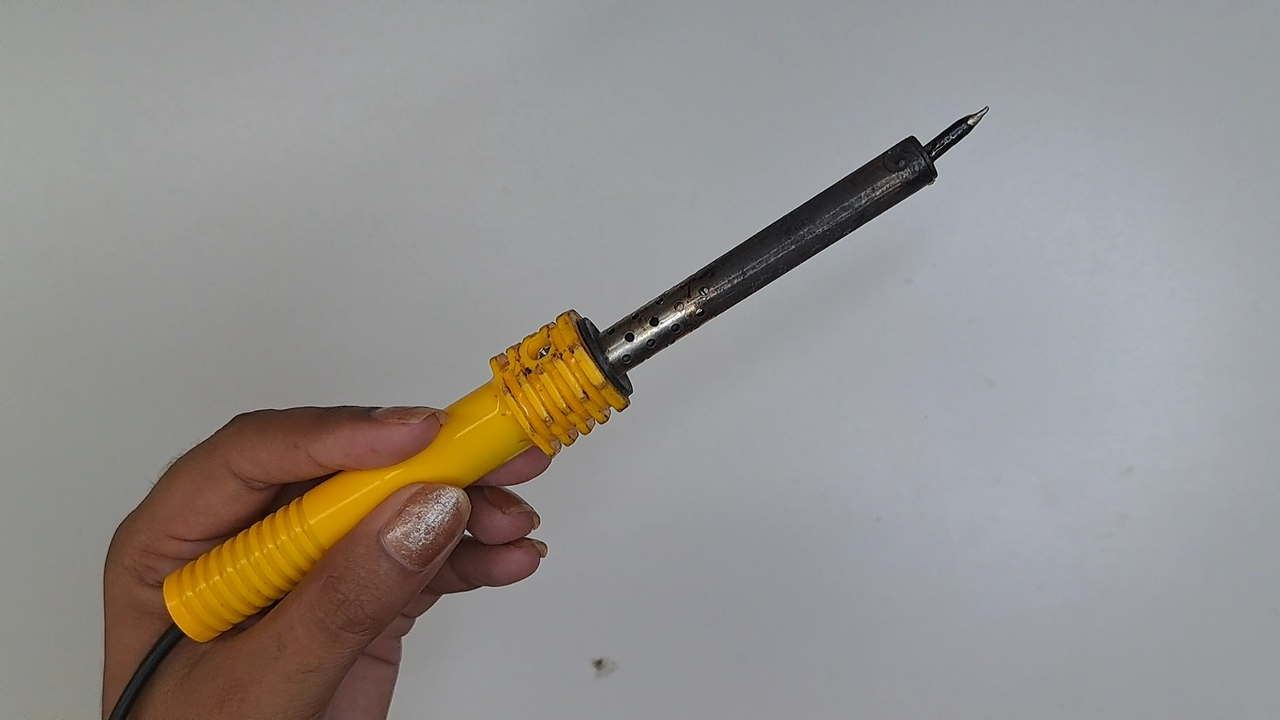
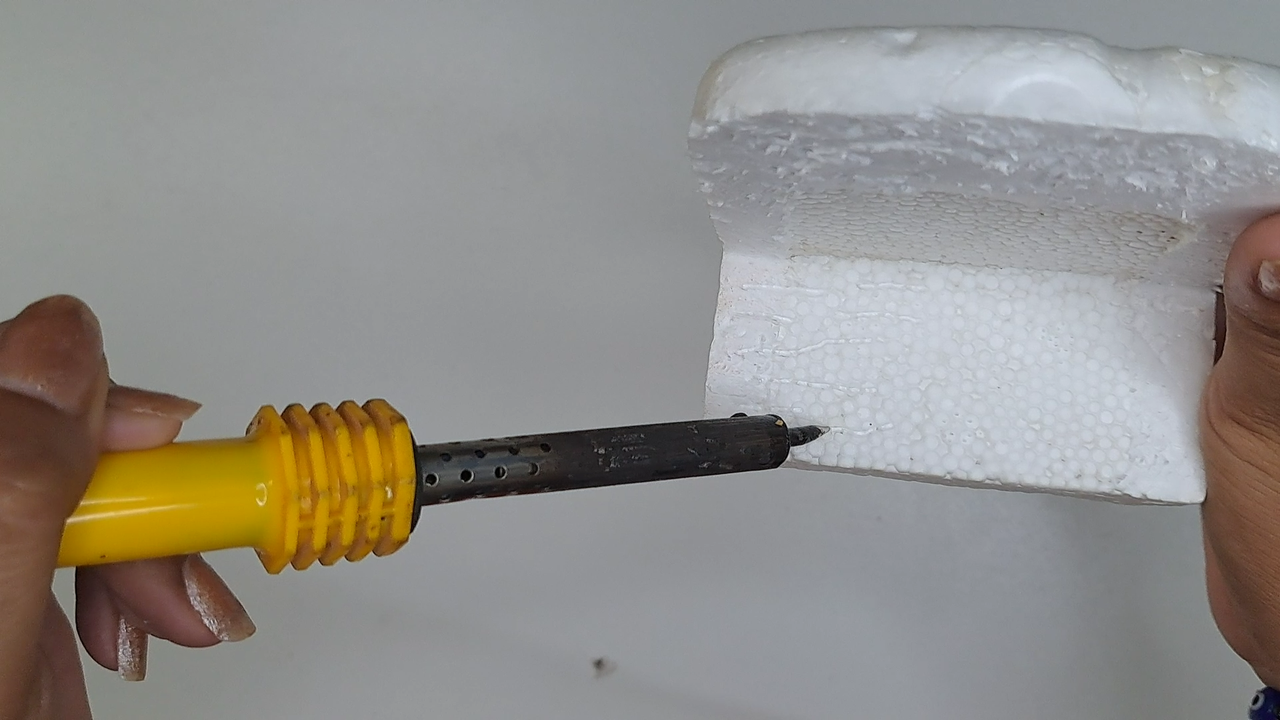
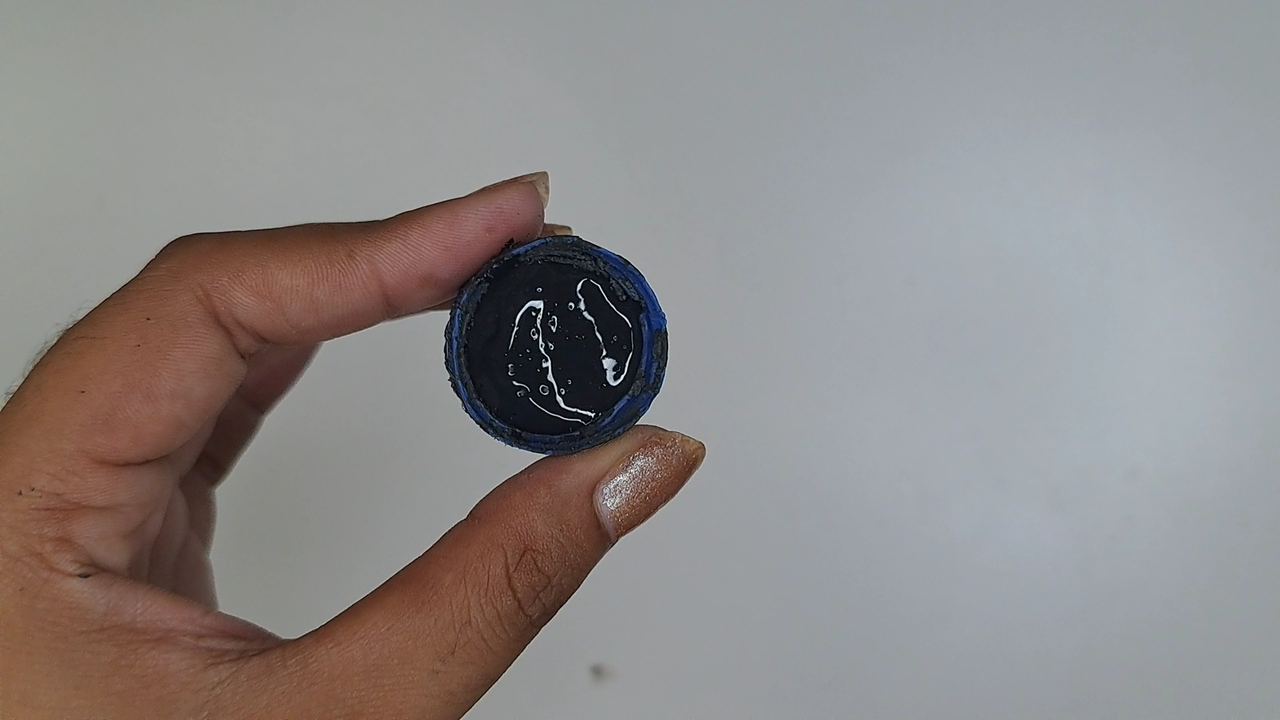
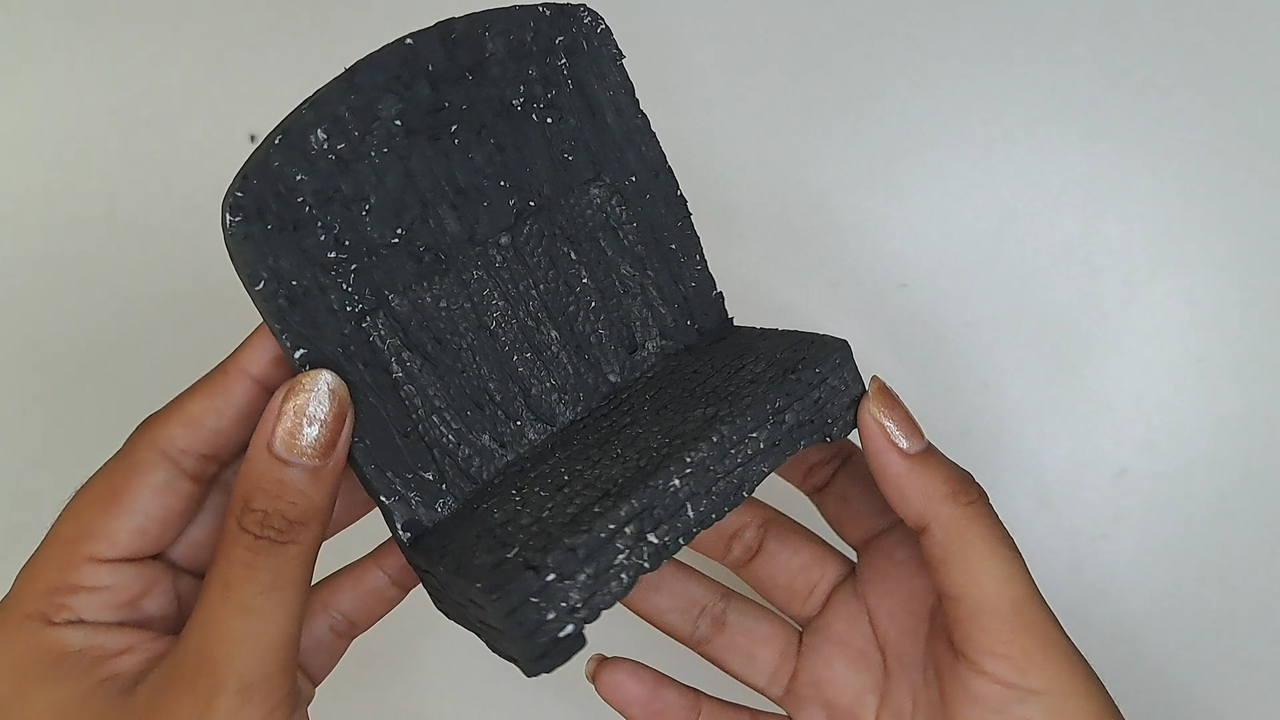
For the base take a piece of polyfoam and with a cutter give it this shape. It can also be made of cardboard but I decided to make it out of this material, because with the help of the soldering iron I could mark random lines to simulate wood. Wood would be ideal, but I didn't have the materials and tools to work with it.
Para la base tomar un pedazo de poliespuma y con un cúter darle esta forma. También se puede hacer de cartón pero decidí hacerlo de este material, pues con ayuda del cautín podía marcar líneas aleatorias para simular la madera. De madera sería lo ideal, pero no contaba con los materiales y herramientas para trabajarla.
 |
 |
 |
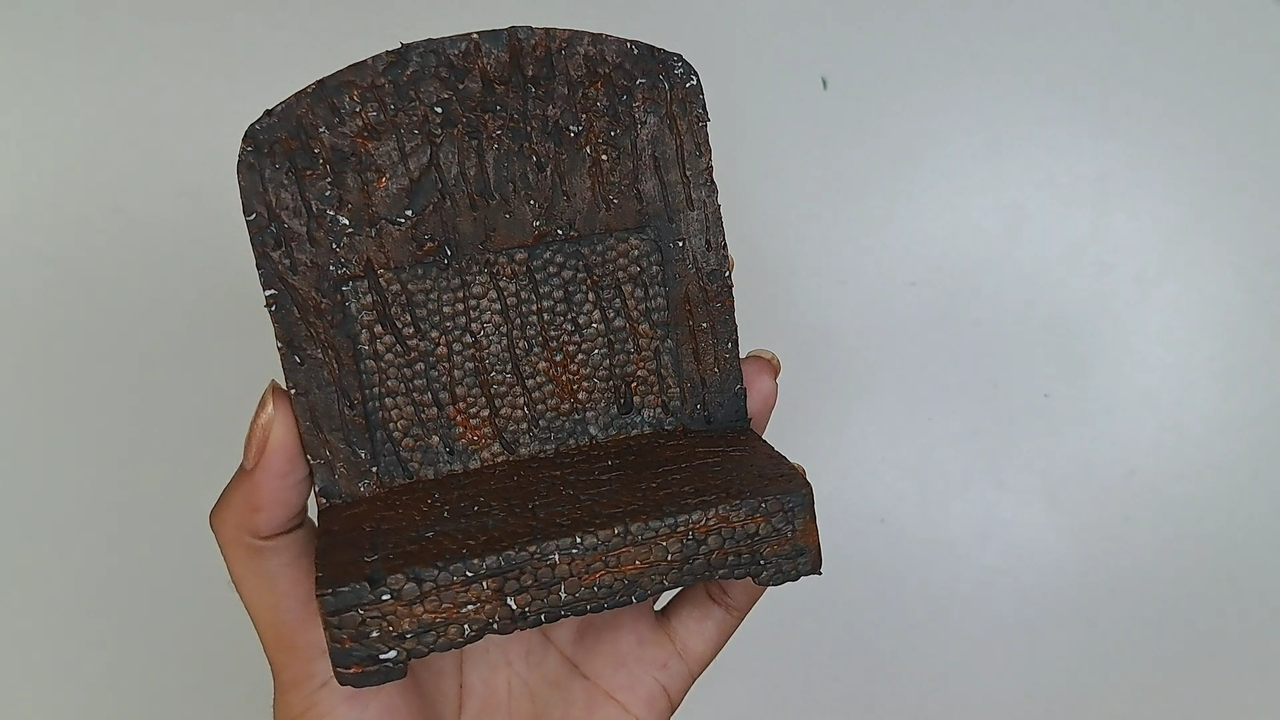 |
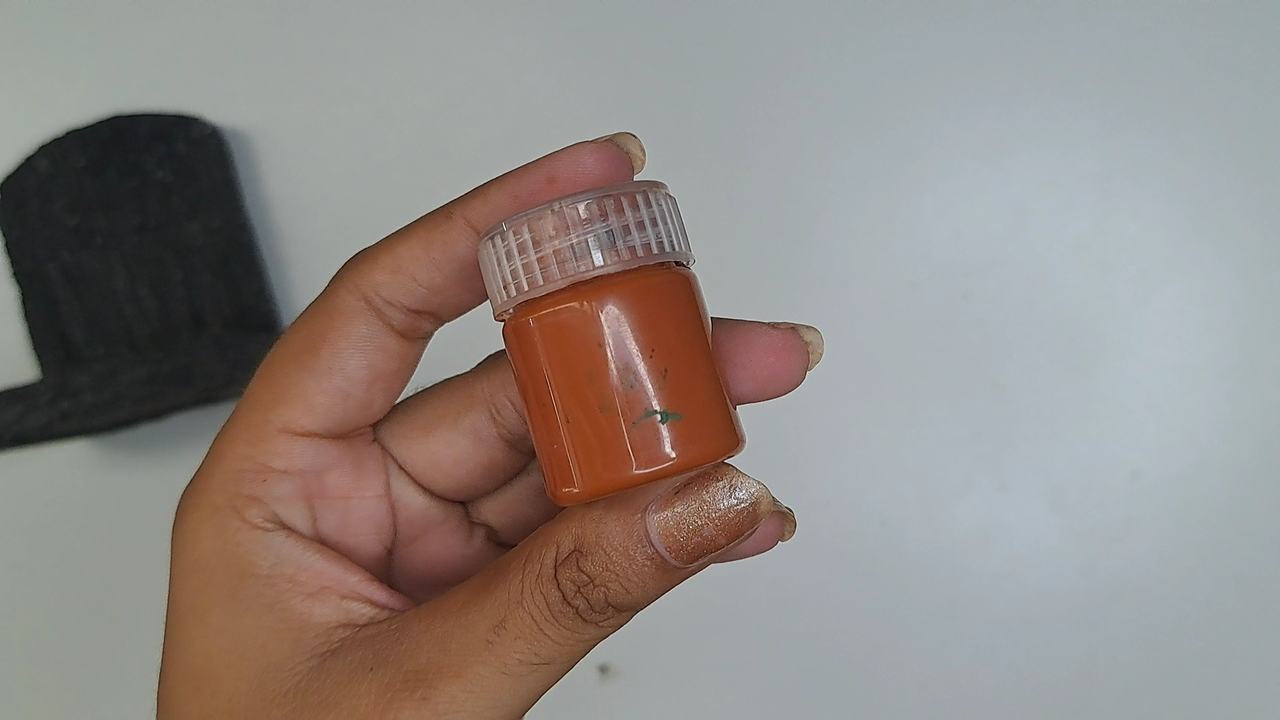
Give a black base color and with a half dry brush, paint carmelite over it.
Dar una base de color negro y con el pincel medio seco, pintar de carmelita encima.
 |
 |
 |
 |
 |
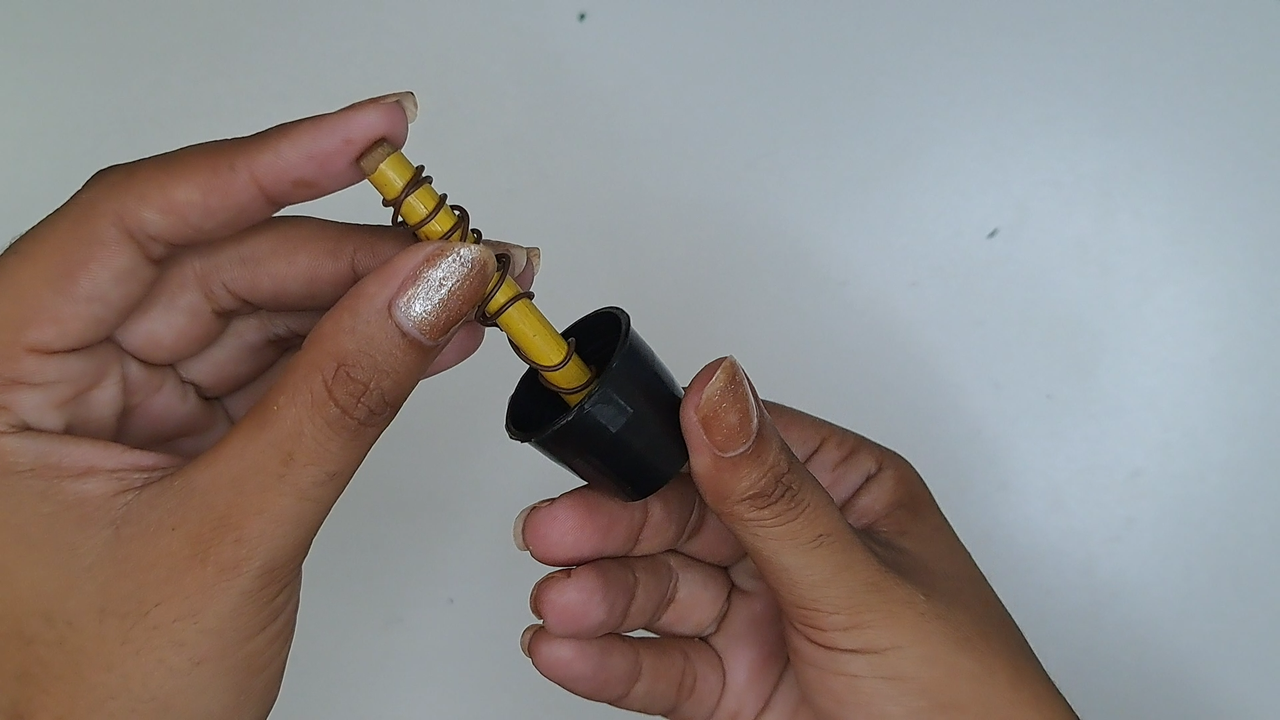 |
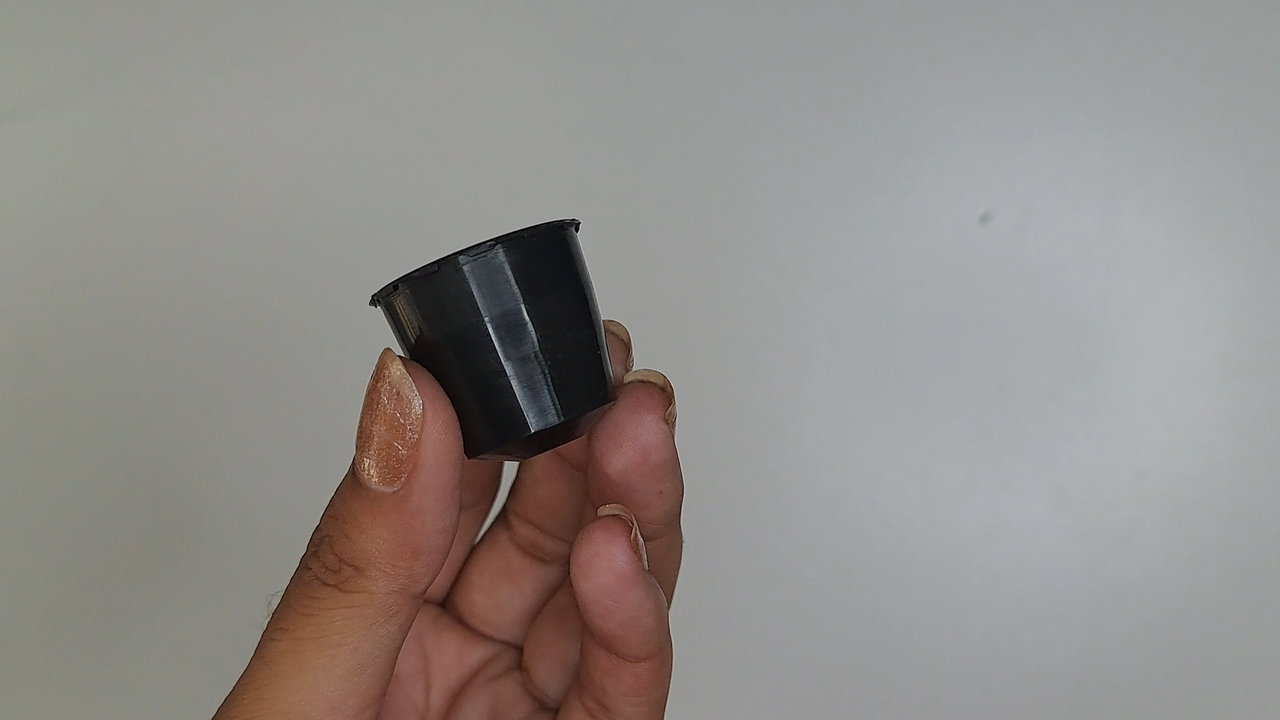
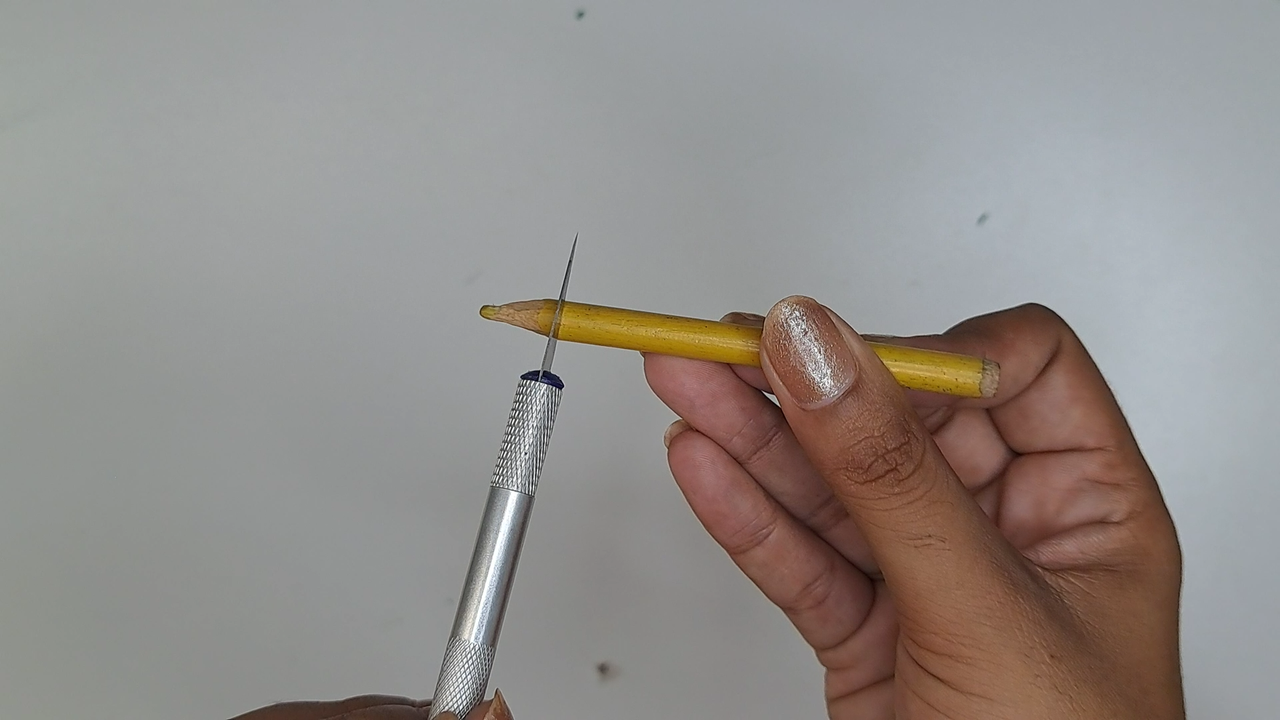
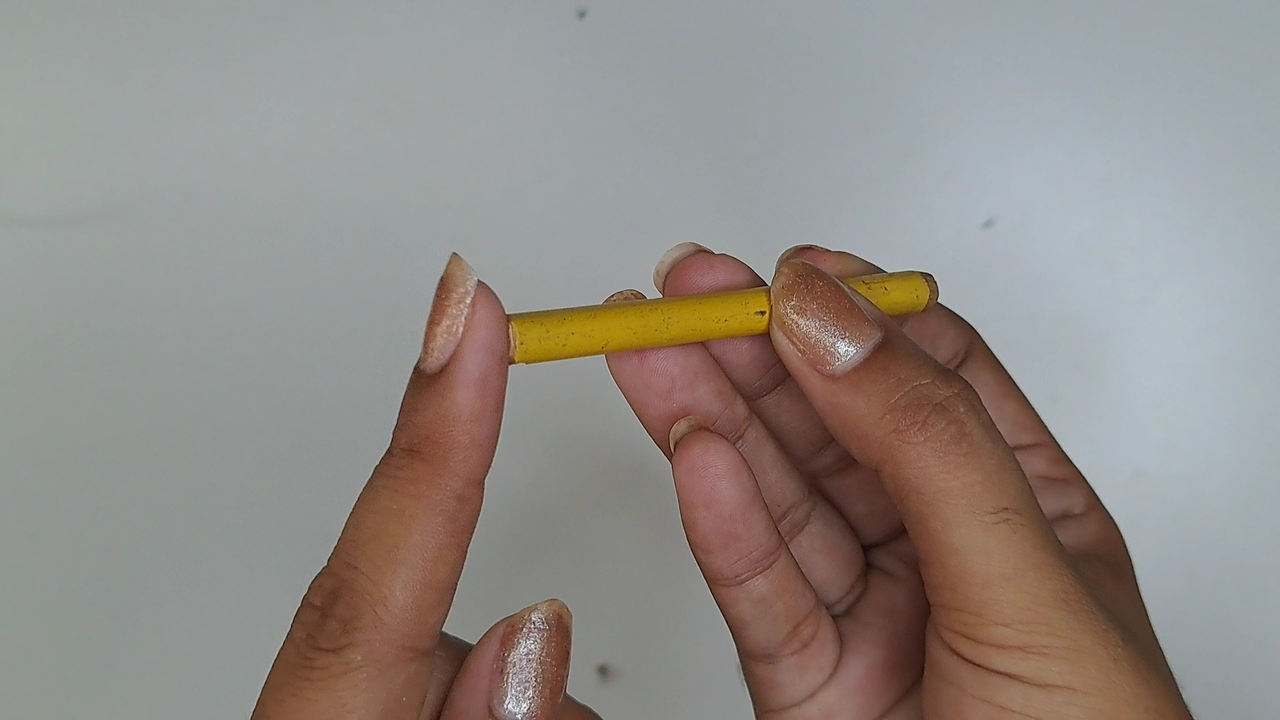
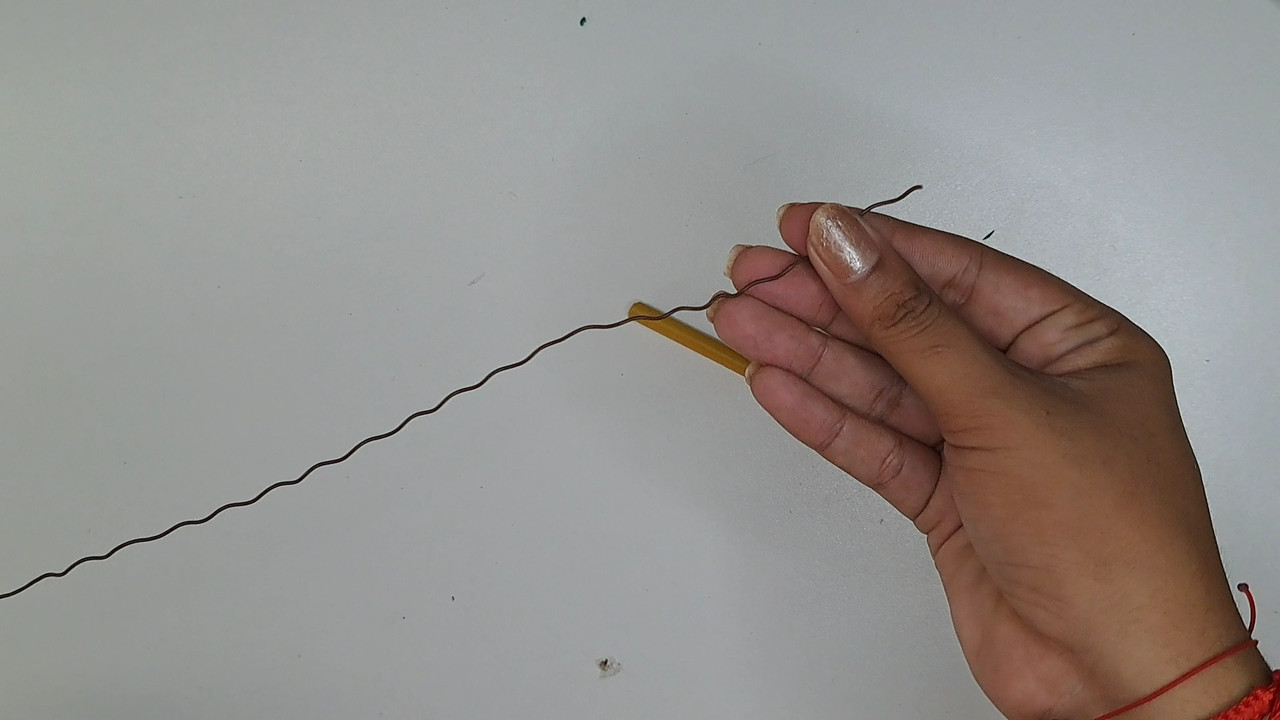
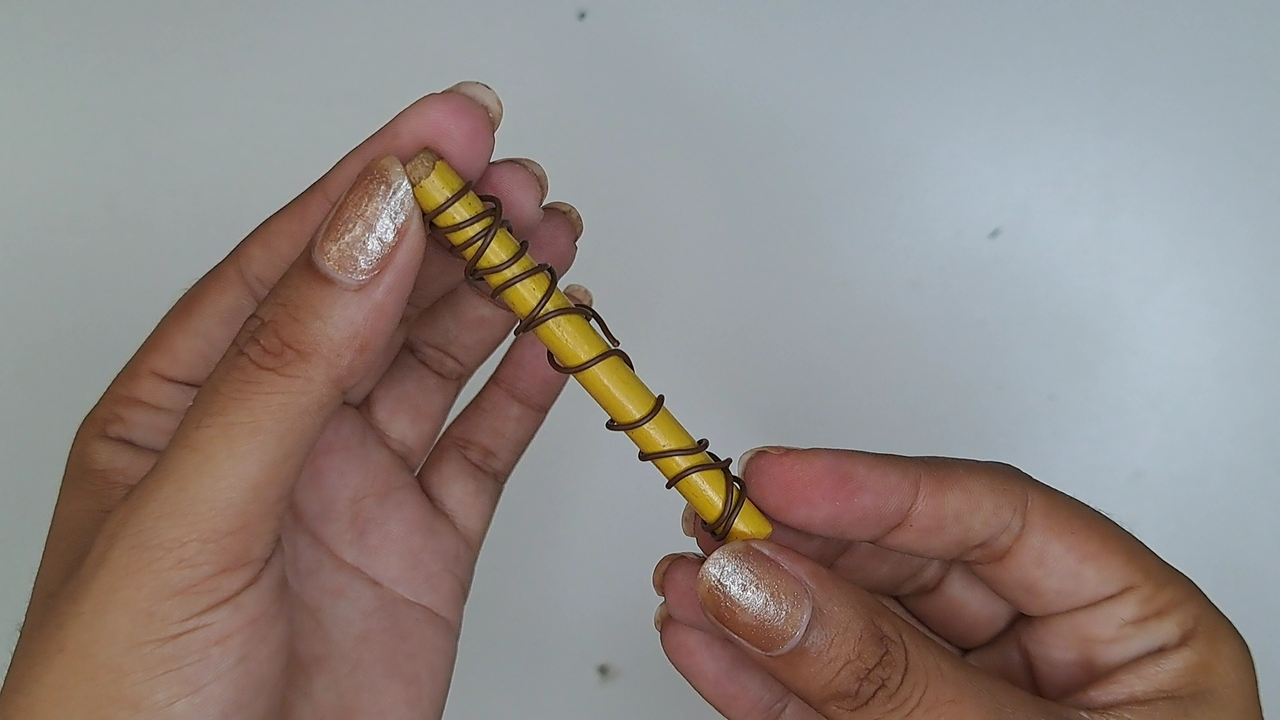
For the pot I used a machine coffee capsule because it had the perfect shape. With a colored pencil that I no longer use I elaborated the tutor, for this I cut the tip and rolled with wire the entire surface of the pencil to simulate the roots that are entangled in it. Then glue in the center of the pot.
Para la maceta utilicé una cápsula de café de máquina ya que tenía la forma perfecta. Con una lápiz de color que ya no uso elaboré el tutor, para ello corté la punta y enrollé con alambre toda la superficie del lápiz para simular las raíces que se enredan en él. Luego pegar en el centro de la maceta.
 |
 |
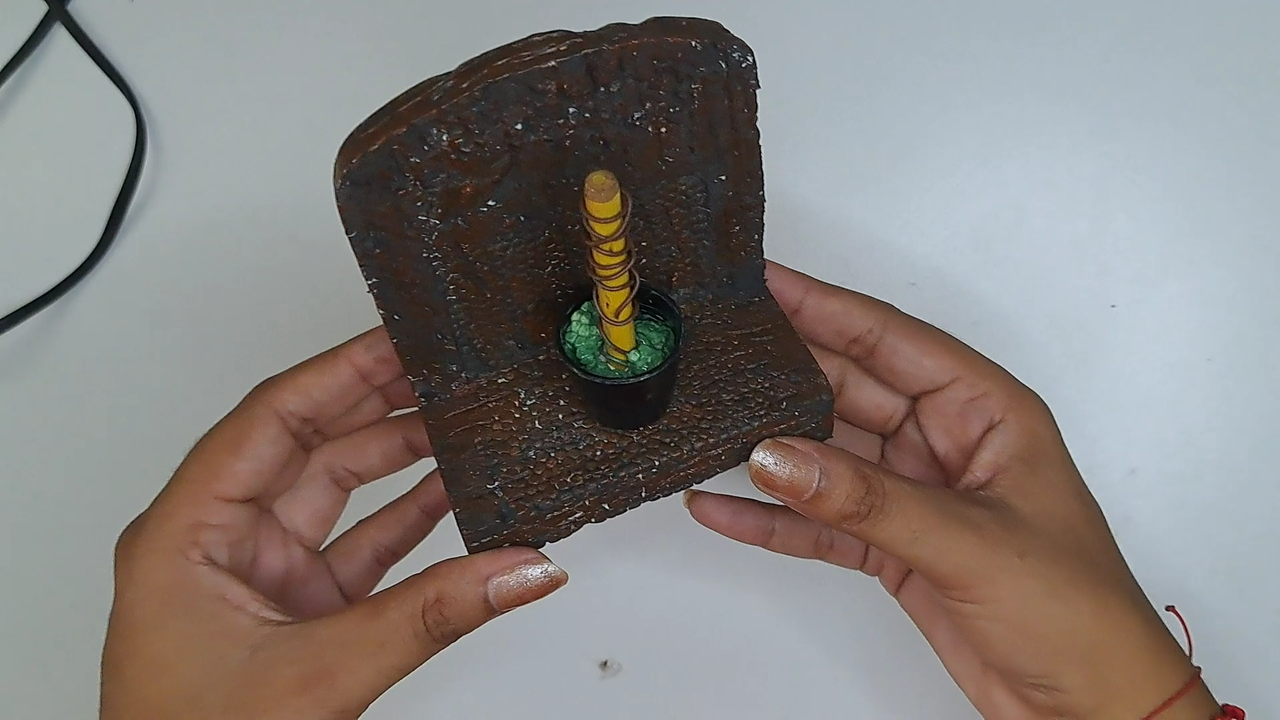 |
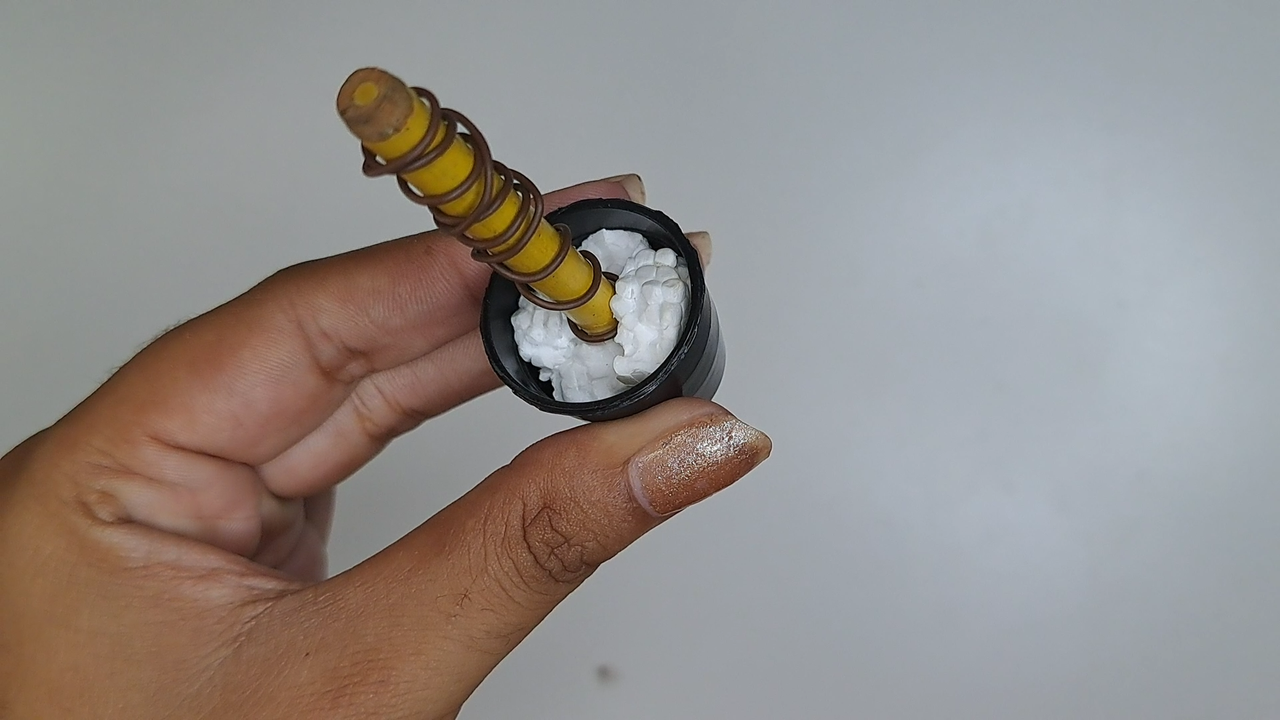
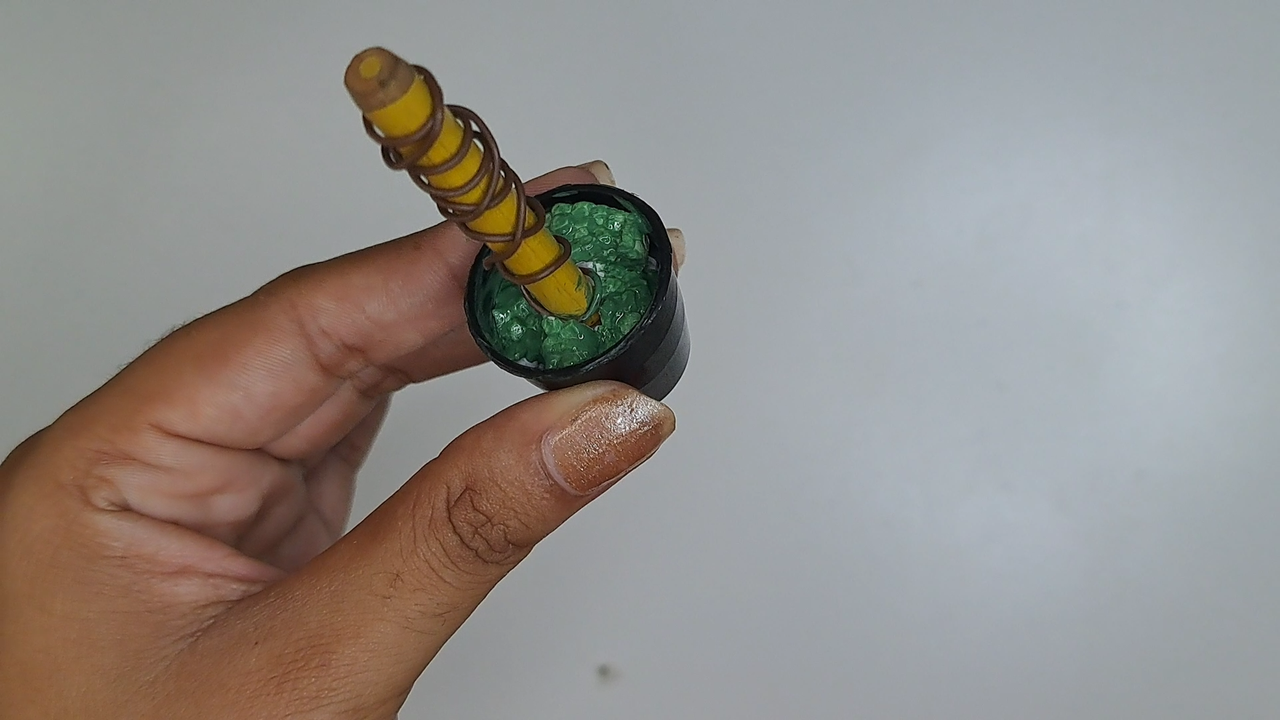
Fill the inside of the pot with polystyrene foam and paint it green. Then place it in the center of the base.
Rellenar el interior de la maceta con poliespuma y pintar de verde. Luego situarla en el centro de la base.
 |
 |
 |
 |
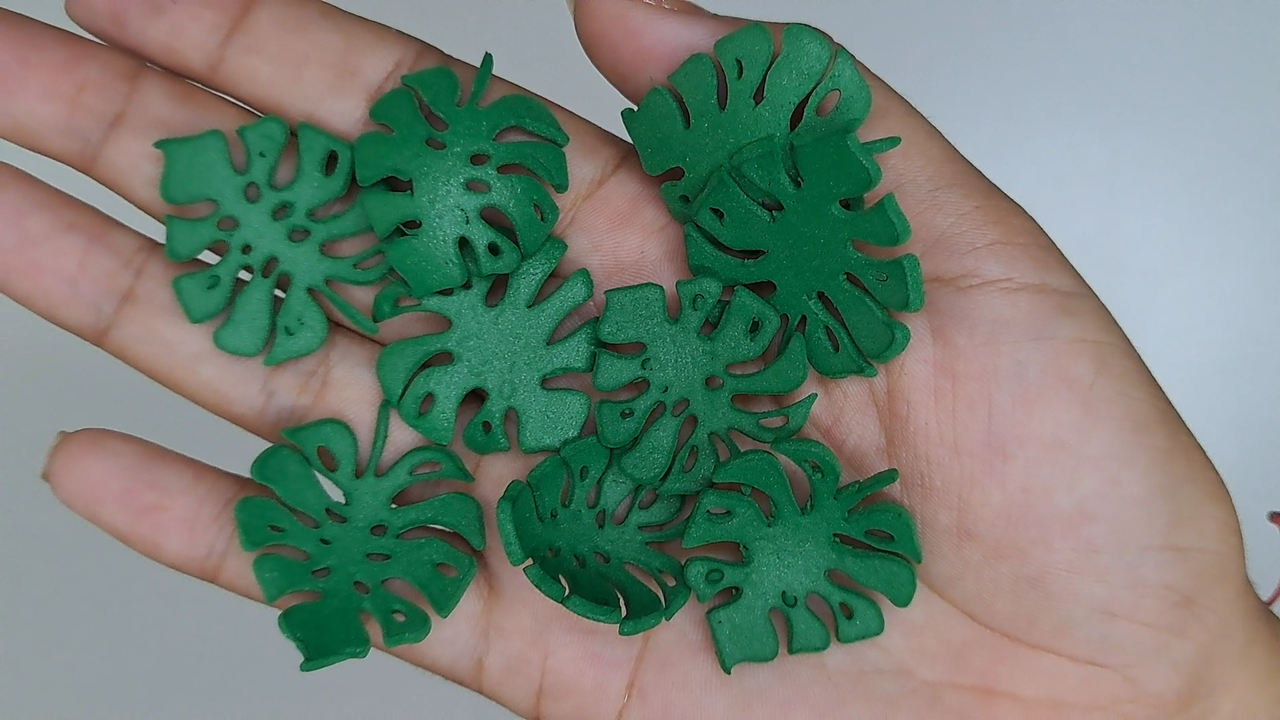 |
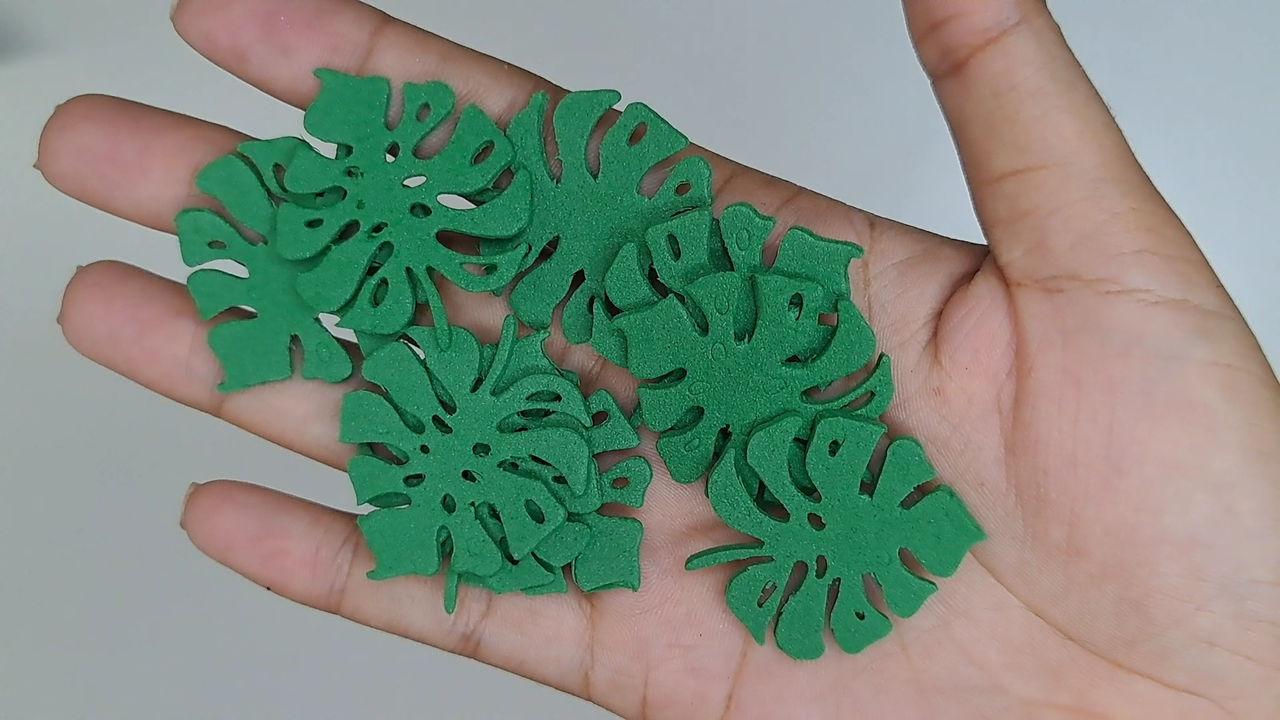
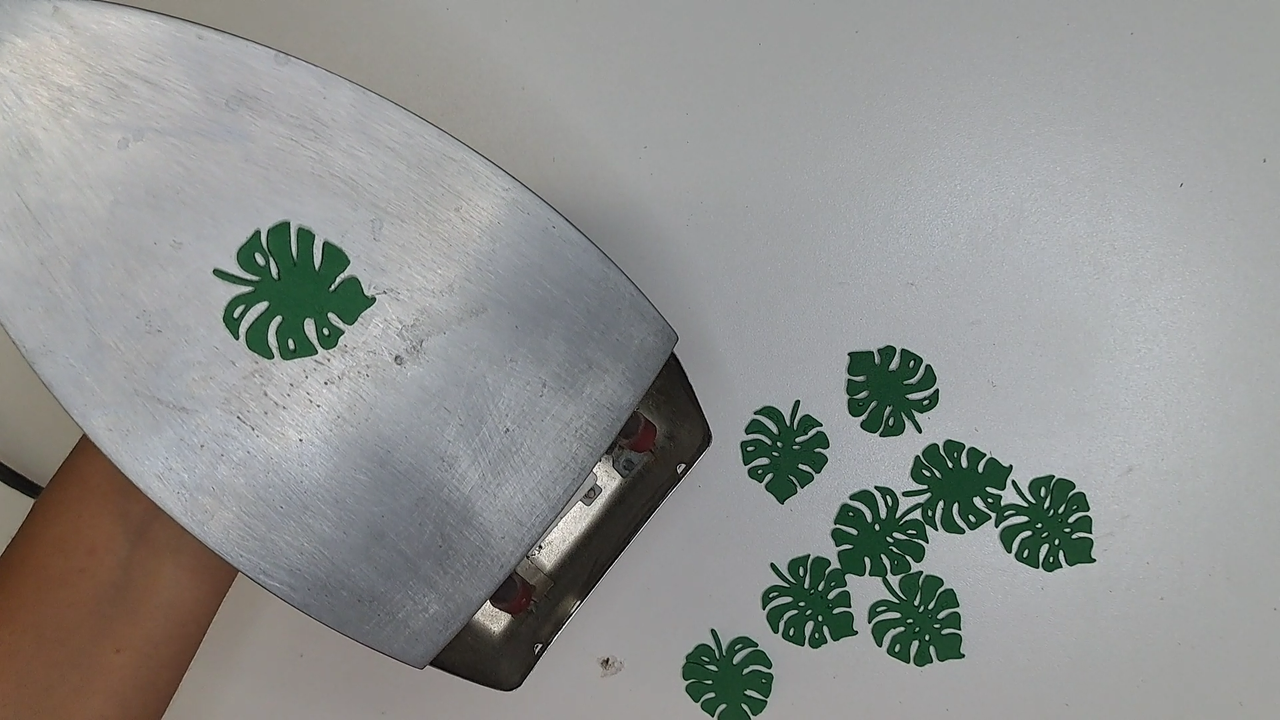
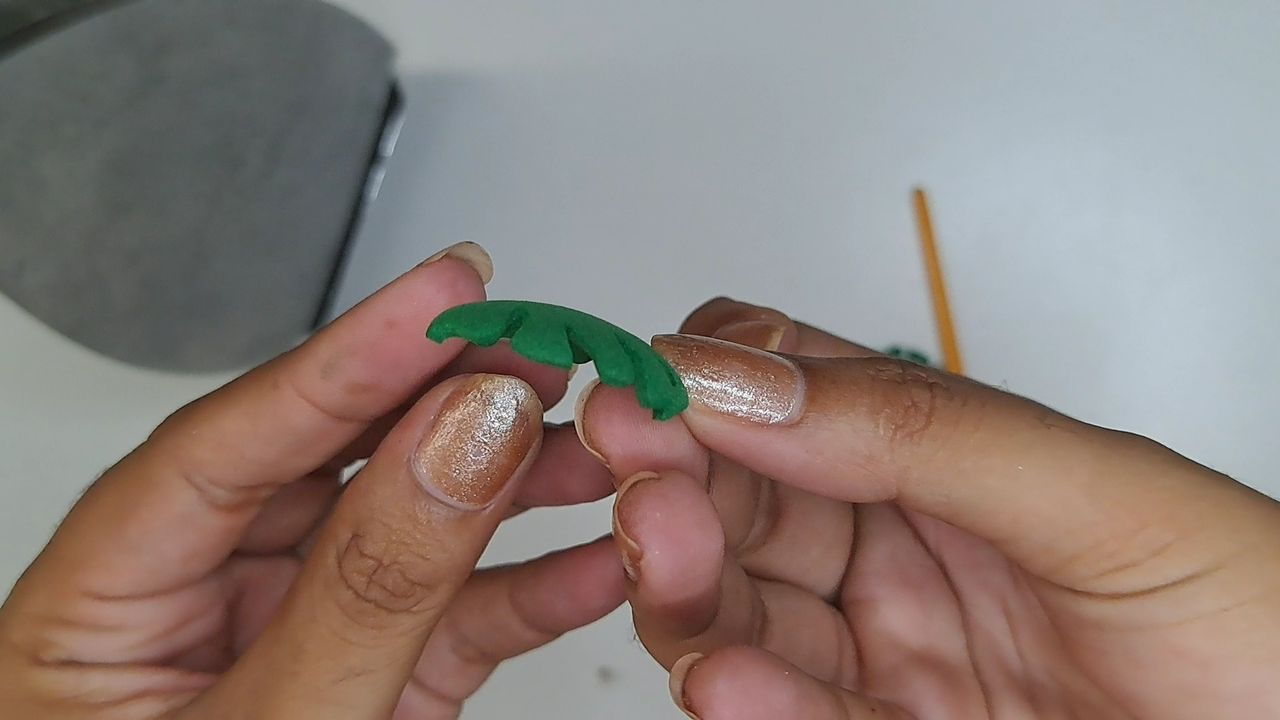
I used a die to mark the silhouettes of the leaves and thermoformed them using an iron to make them arch and look as natural as possible.
Utilicé un troquel para marcar las siluetas de las hojas y las termoformé usando una plancha para lograr que se arquearan y se vieran lo más natural posible.
 |
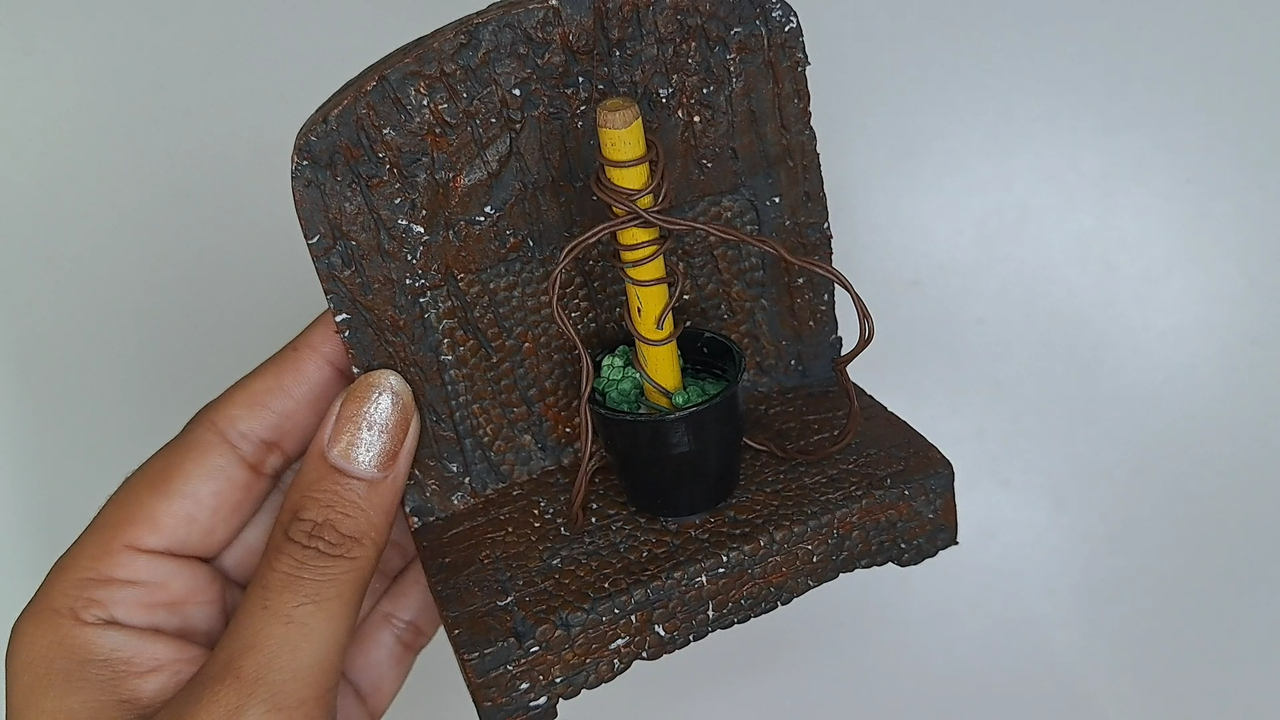 |
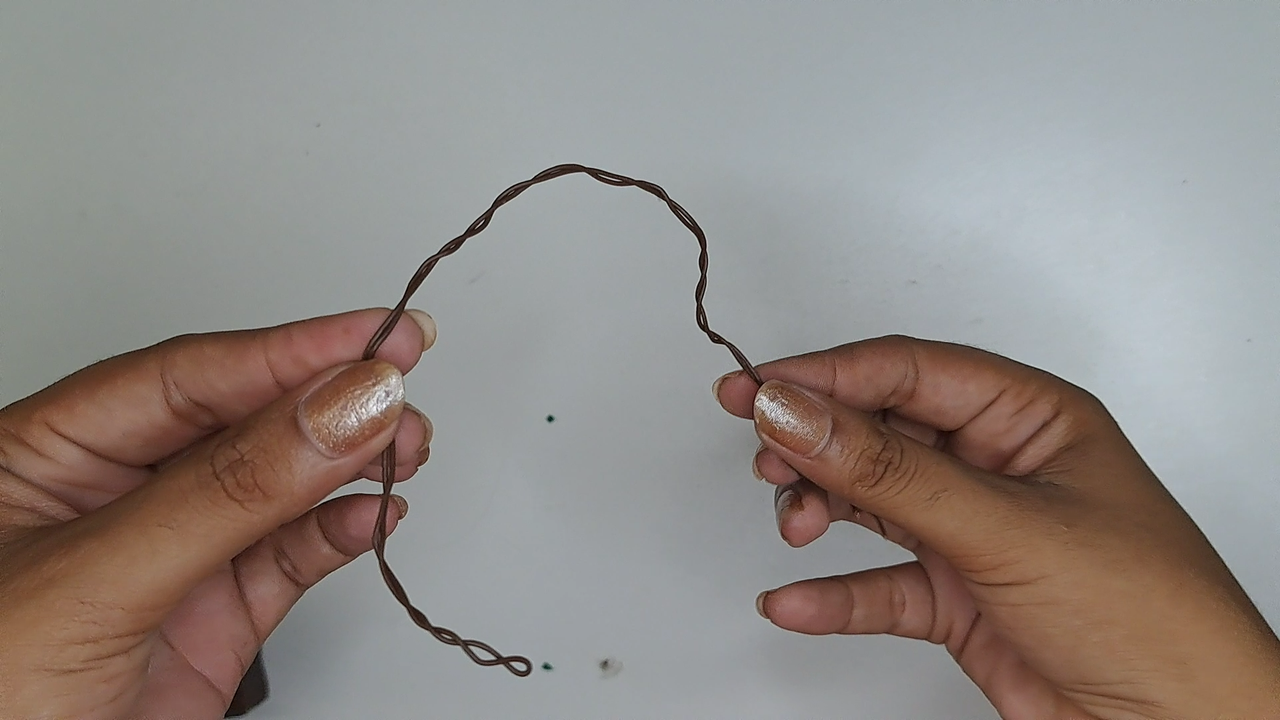
I placed other carmelite-colored vines overhanging the plant's tutor.
Coloqué otras enredaderas de color carmelita que sobresalieran del tutor de la planta.
 |
 |
 |
 |
 |
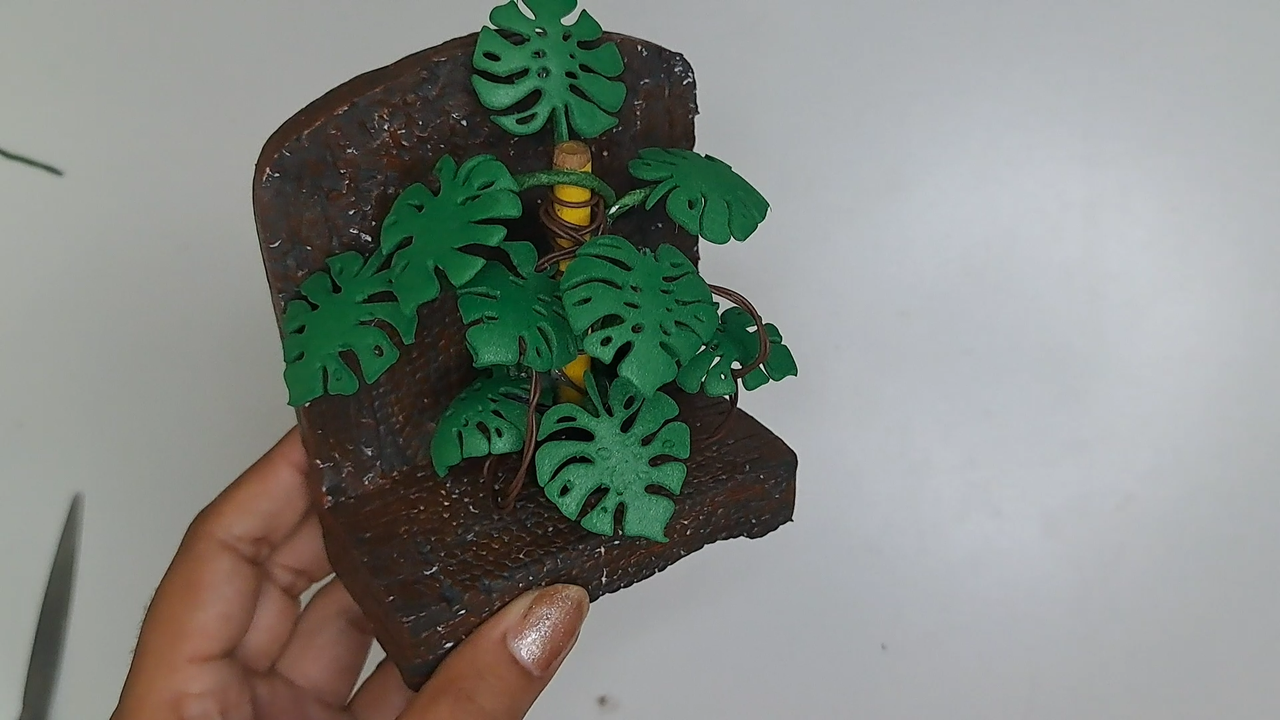 |
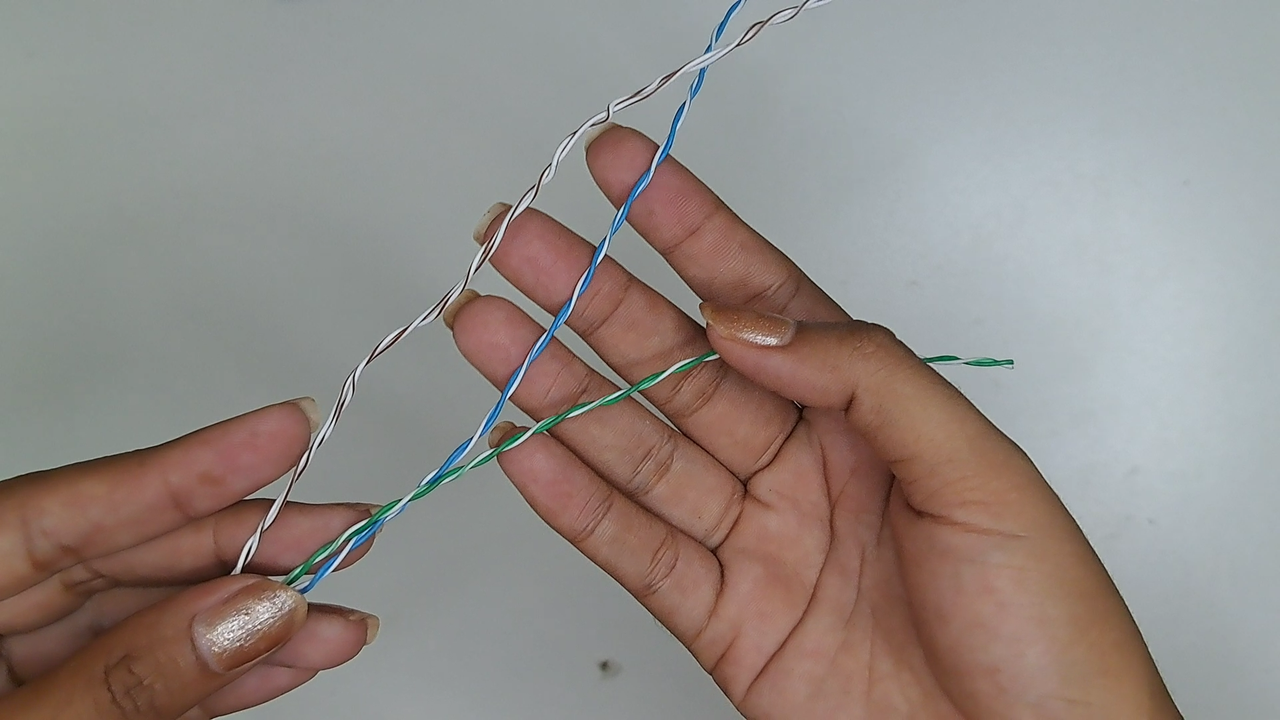
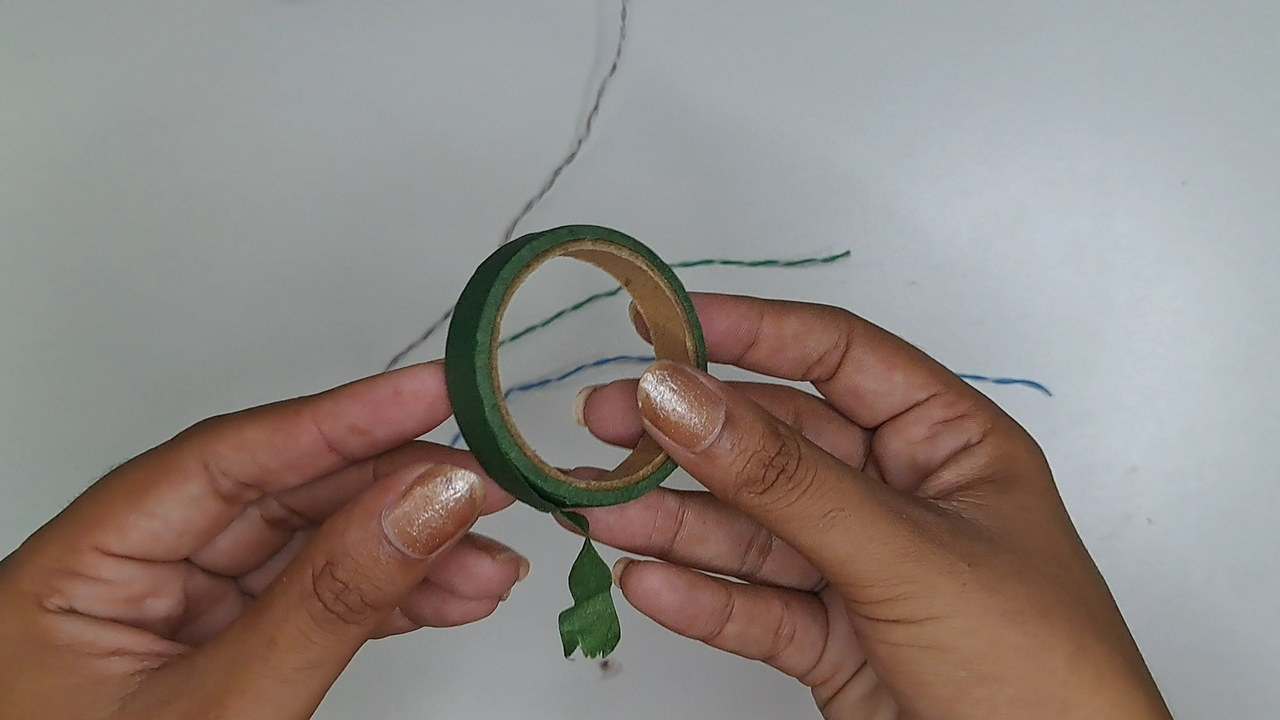
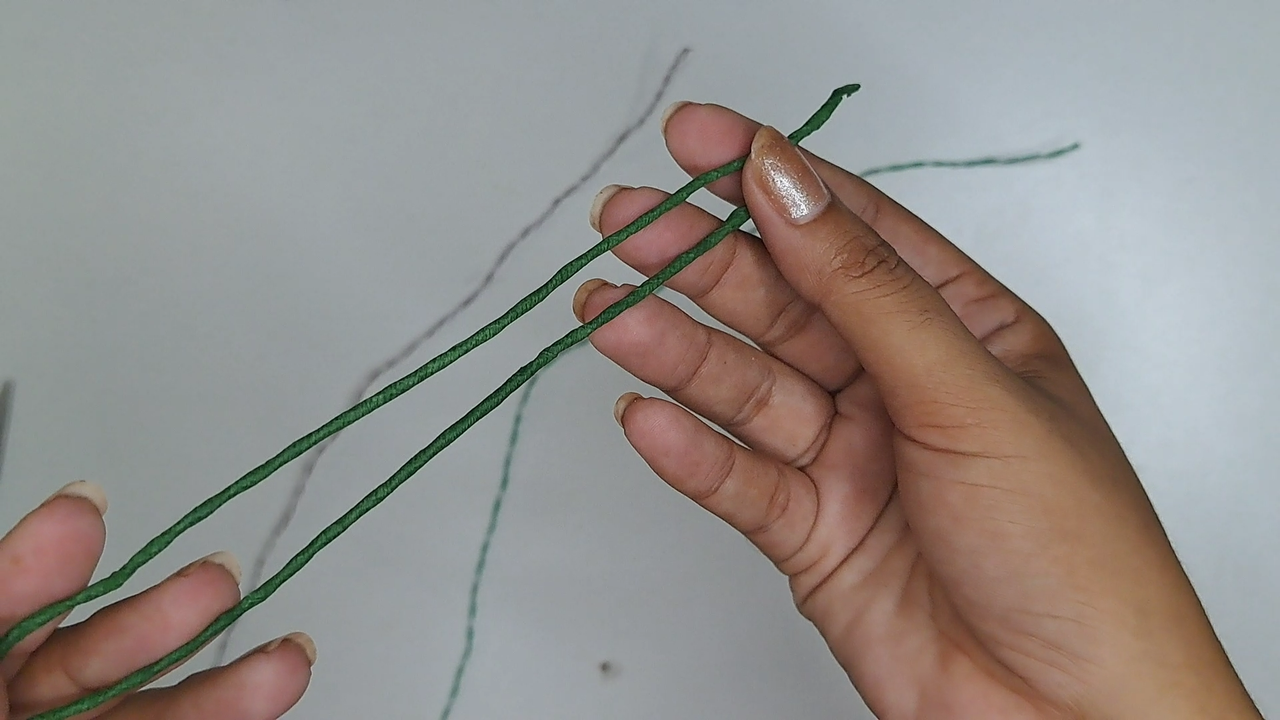
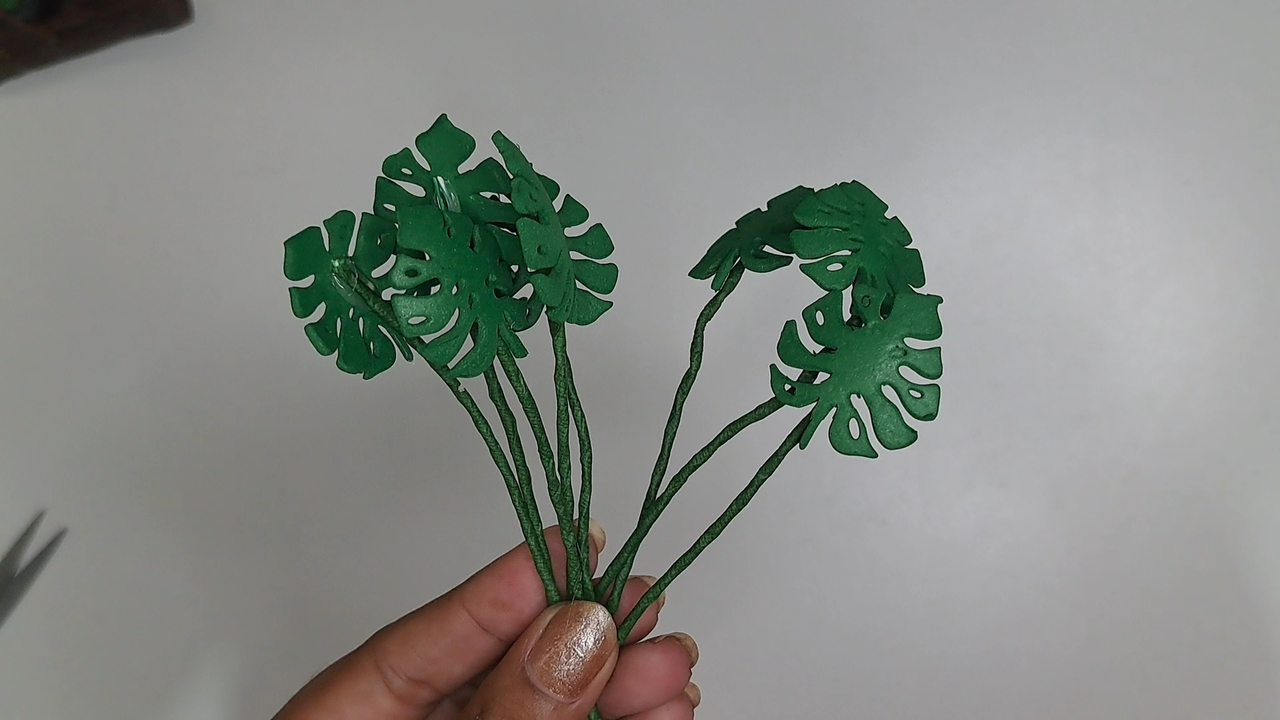
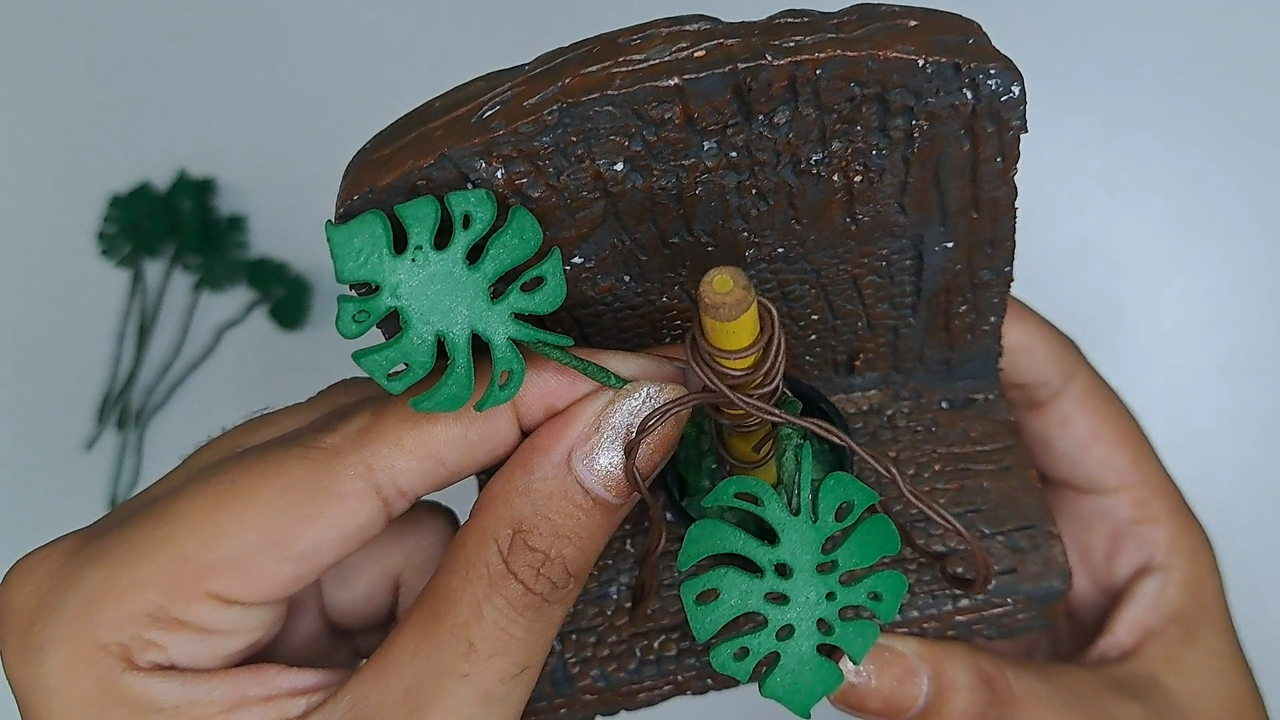
I used some long twisted wires to make the stems of the plant, lined them with floral tape and glued the leaves at one end. With them all ready, I started to place them around the tutor and give the location to the leaves, as the stem is made of wire you can twist, turn and shape it any way you want.
Utilicé unos alambres torcidos y largos para hacer los tallos de la planta, los forré con tape floral y pegué las hojas en un extremo. Con todas listas, comencé a colocarlas alrededor del tutor y darle la ubicación a las hojas, como el tallo es de alambre puedes torcer, girar y darle la forma que quieras.
 |
 |
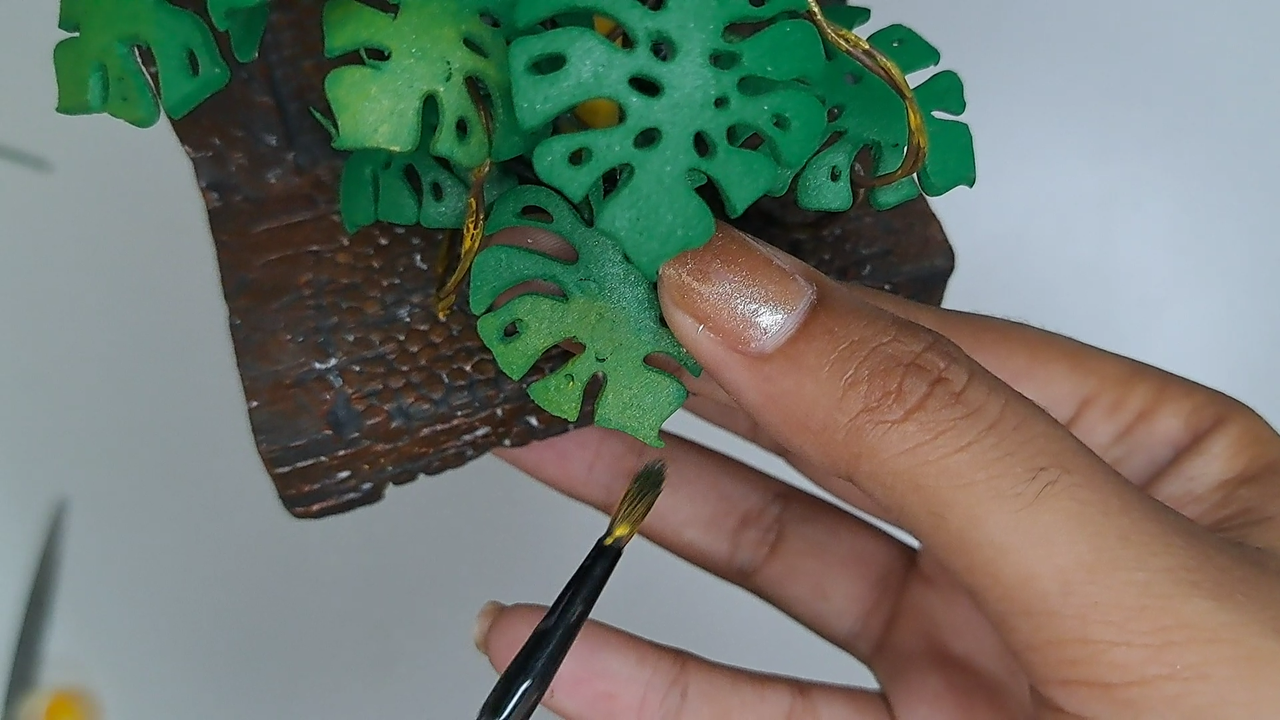 |
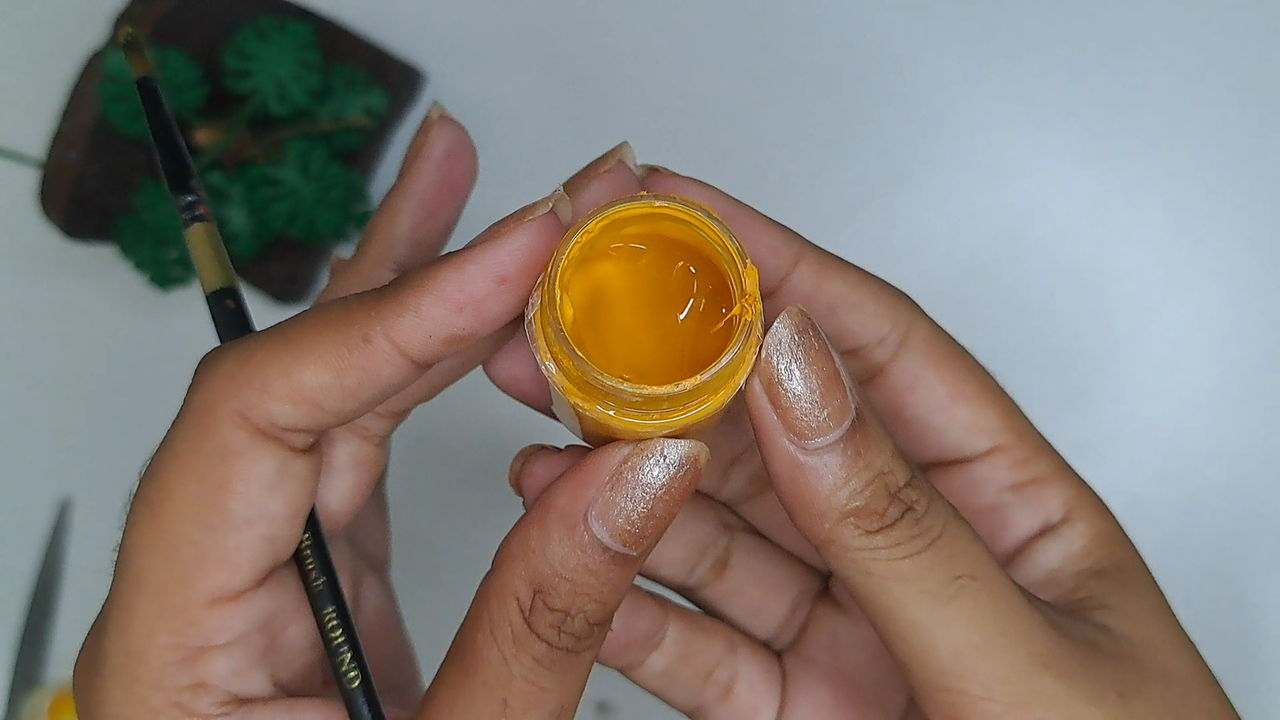
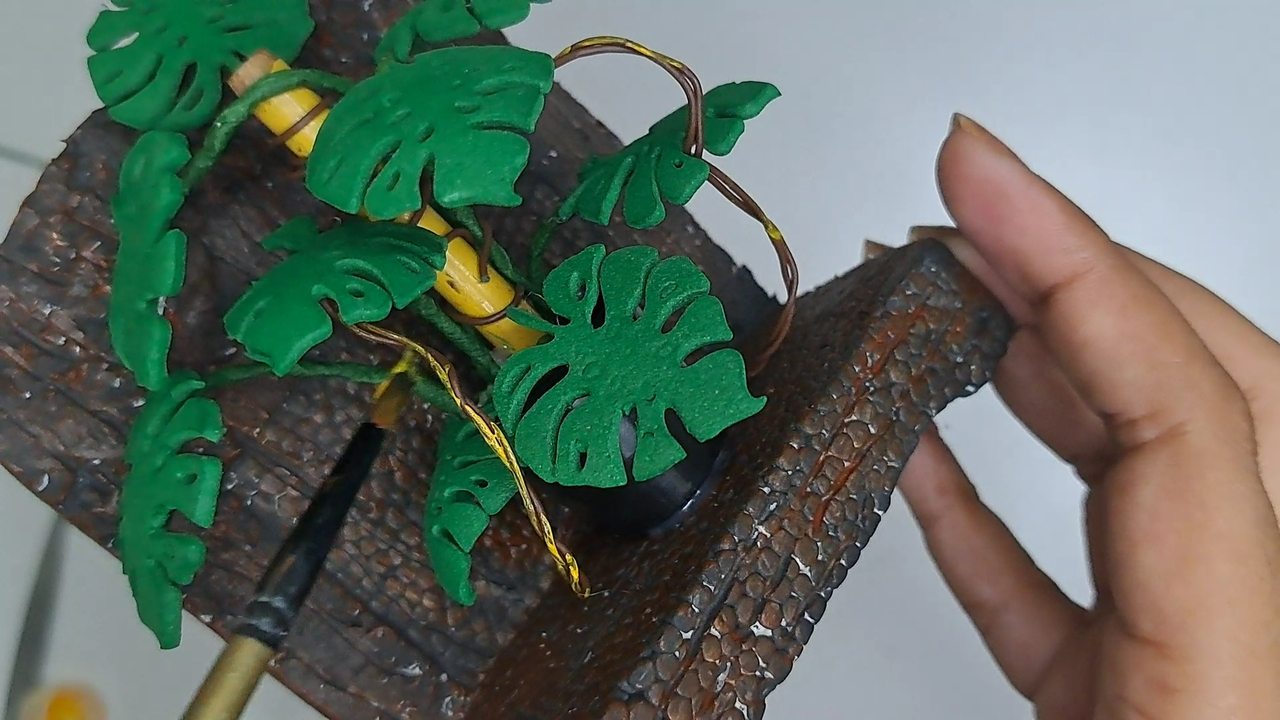
With yellow paint the roots and some leaves on the surface are illuminated a little bit. This gives it more naturalness, because in real plants, some leaves take a yellowish color.
Con pintura amarilla se iluminan un poquito las raíces y a algunas hojas en la superficie. Esto le da más naturalidad, pues en las plantas reales, algunas hojas toman un color amarillento.
 |
 |
 |
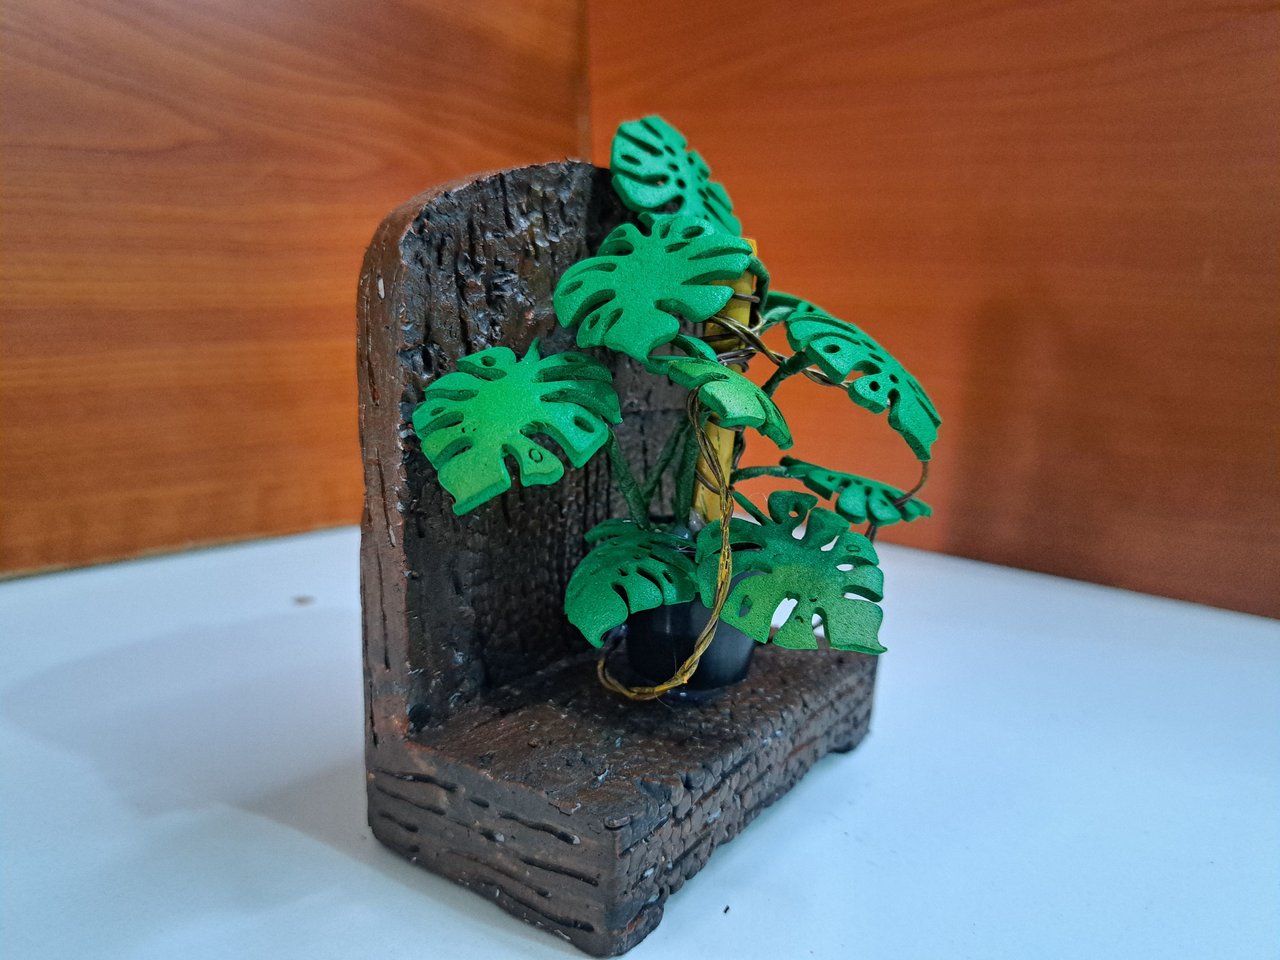 |
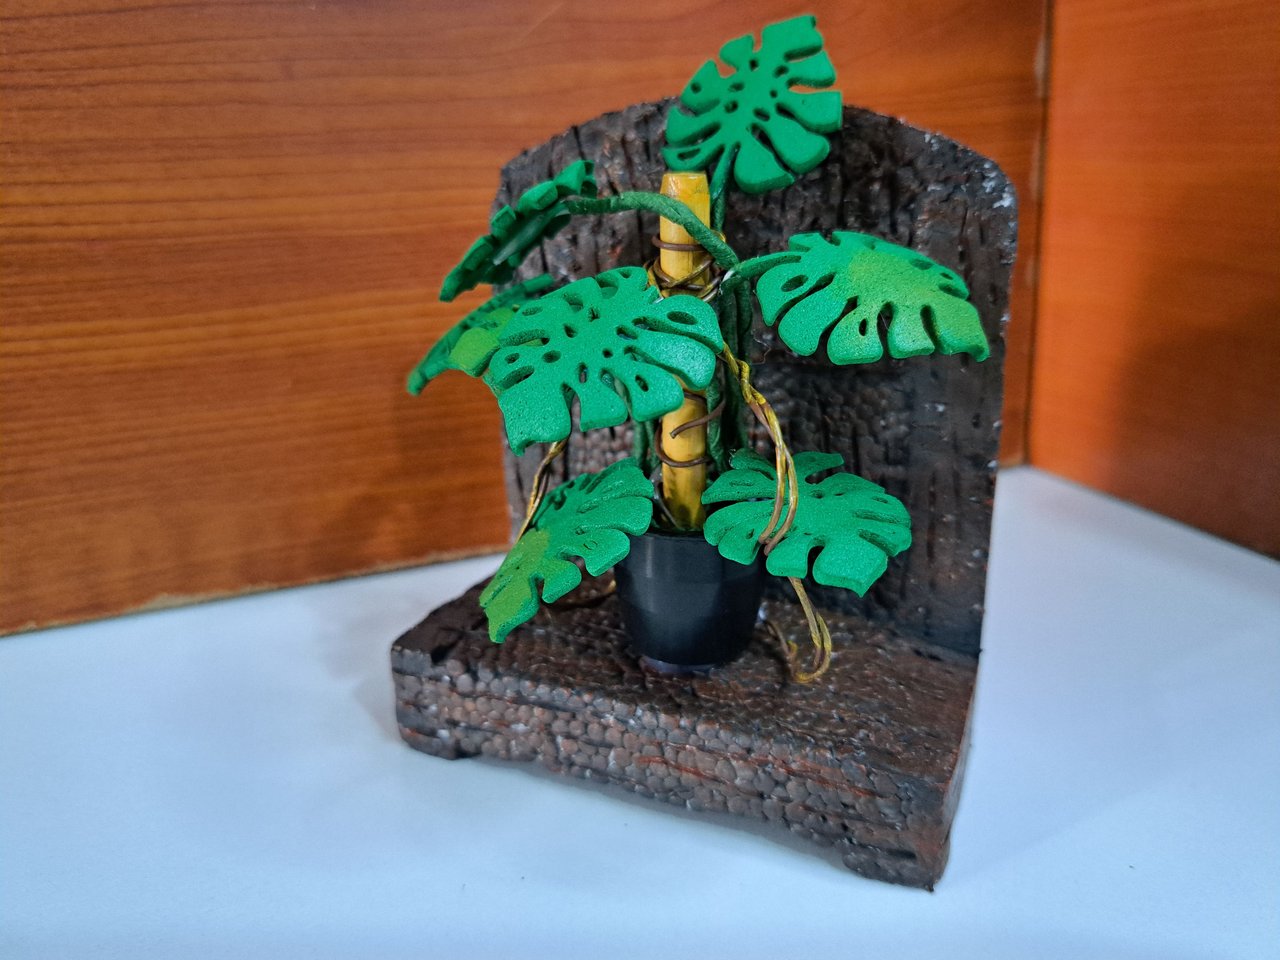
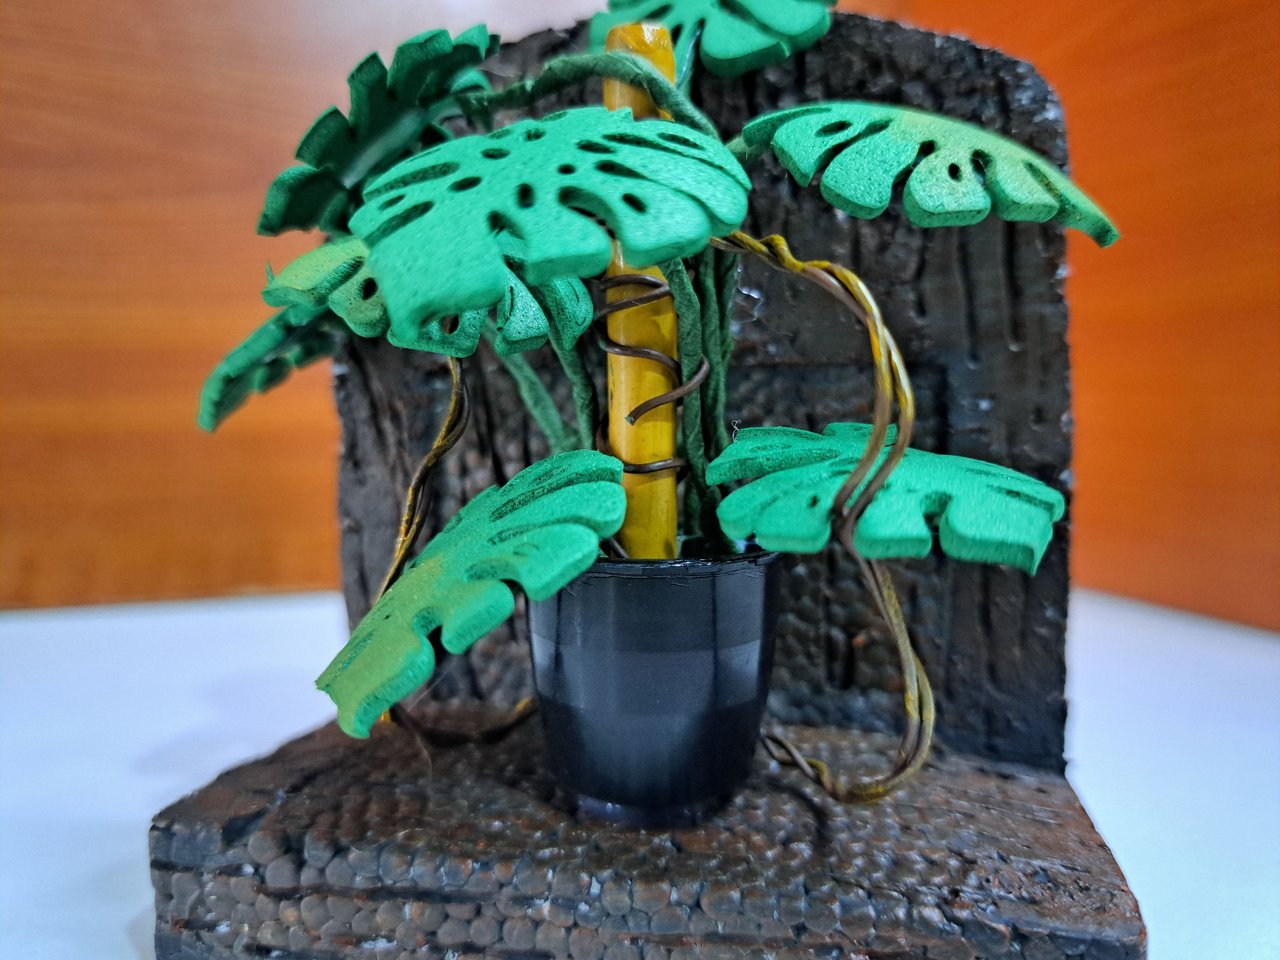
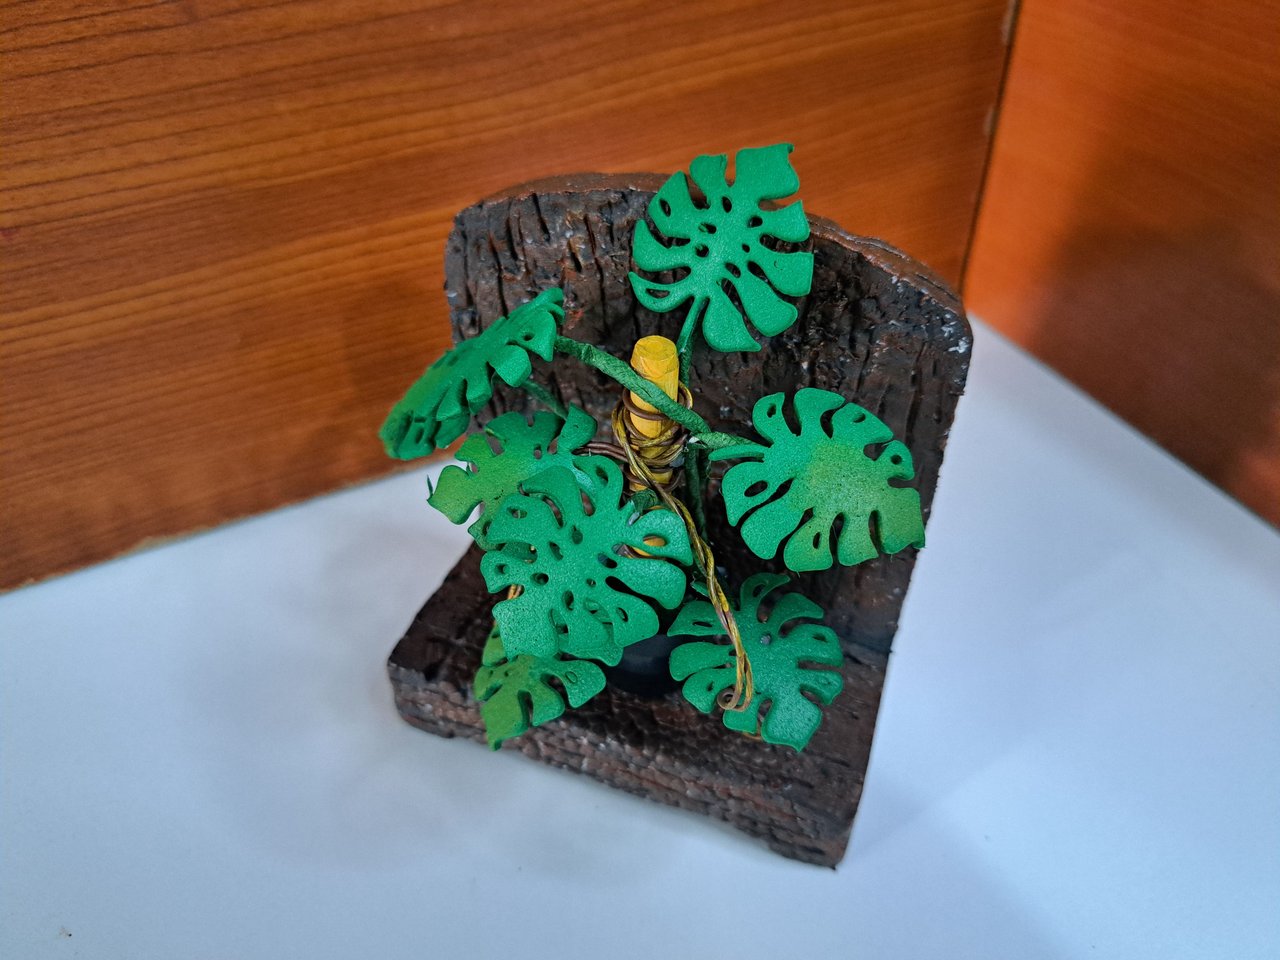
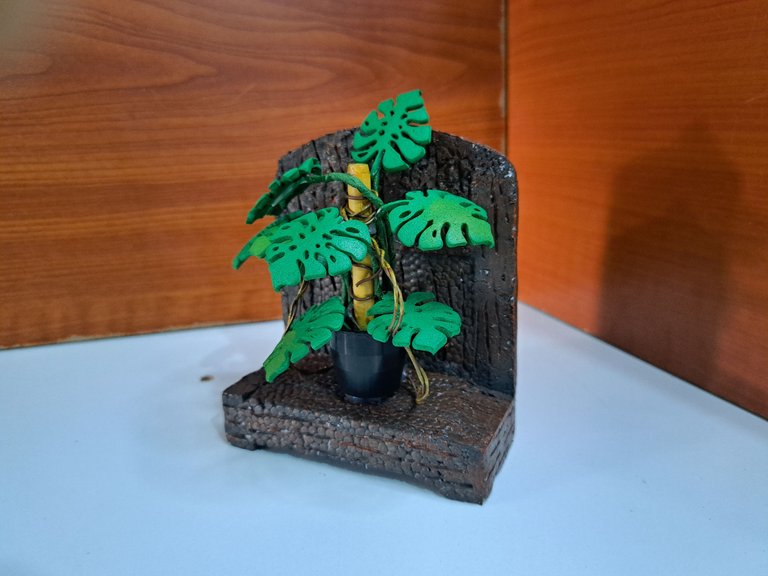
And my beautiful miniature Monstera is now finished, I hope it also brings luck and positive energy , just like the real plants 😅. I loved the final result. This can also be a beautiful gift for a special occasion, to use as a nightstand ornament, paperweight, or whatever you wish, it can be adapted to key holder or put on the wall. The decision is yours, I hope you use this tutorial to inspire you to create new crafts. Best regards.
Y ya está terminada mi preciosa Monstera en miniatura, espero también traiga suerte y energía positiva , al igual que las plantas reales 😅. Adoré el resultado final. Este también puede ser un hermoso regalo para una ocasión especial, para usarlo como adorno para la mesita de noche, pisapapeles, o lo que desees, se puede adaptar a portallaves o ponerlo en la pared. La decisión es tuya, espero te sirva este tutorial para inspirarte a crear nuevas manualidades. Un saludo.
Cover made in Canva
English is not my native language, translated by DeepL
Edited in Movavi Editor
Music by DayFox from Pixabay
▶️ 3Speak
Quedó preciosa, me encantan las hojas, lo bien que se ven. Excelente trabajo.
Muchas gracias 🥰
este bellísimo, es un trabajo lindo y dedicado!
this is beautiful, it is a nice and dedicated work!
Muchas gracias 🥰, hecho con mucho amor, saludos 🤗
Aaaaw, qué cosita más pequeña y linda! Me encanta, y ese color verde es uno de mis favoritos.
Muchas gracias 🥰, es un verde precioso 💚
It looks so pretty and I'm so glad that you made it from waste products that you have at you home,🙂
it looks great. Keep doing your efforts 👍
Thank you very much 🥰, I almost always use recycled materials, so I contribute to the environment. Greetings 🤗
wow it's a really amazing work may God bless you with my heart
Thank you very much, I'm glad you liked it, thanks again for your sincere wishes 🥰.
yes my friend you are most welcome my friend my pleasure
Que trabajo tan lindo 🥰👏 se nota el esmero en los detalles, me encantan las hojas 💖 y la textura que le diste a la base de anime 👍
Muchas gracias 🥰, siempre intentando dar lo mejor de mi para que les guste, cuando hacemos algo con amor se nota en los resultados. Me alegro que te haya gustado 🤗
Es muy cierto, el amor impreso en nuestras creaciones siempre se nota 😊
Que tengas un buen día 🤗
Está bellísimo 👍
Muchas gracias 🥰