DIY TUTORIAL ON HOW I MADE THESE BROWN LEATHER FOOTWEAR
Greetings to everyone, It's great to be back among brilliant minds who publish amazing Diy projects, and as part of the ongoing contest, I'd love to show you a new pair of shoes I recently built for a friend. He's been asking me to assist him with one for a while, but I've been too busy with my teaching duties up until lately, when we finished the exam.
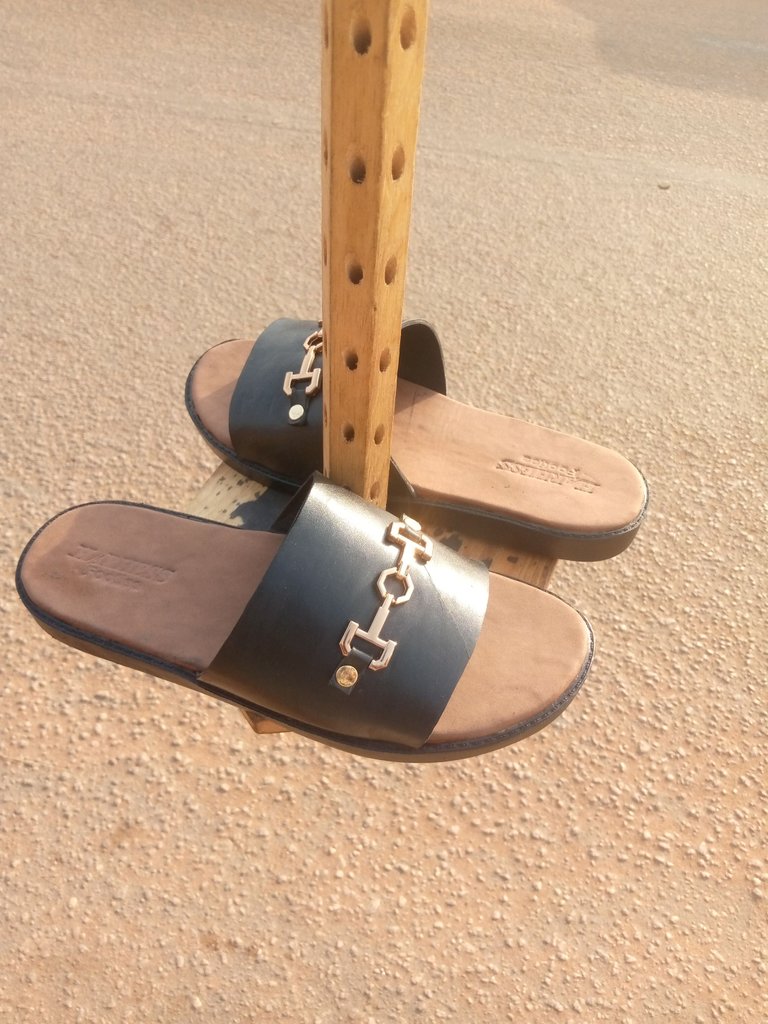
Prior to taking this teaching position, shoemaking was my primary source of income. However, since starting my teaching career, I have not had the time to devote to shoemaking as much as I once did. Due to my busy schedule, this particular project, for instance, took me about three days to finish. Fortunately, I was successful in finishing it, and the tutorial for how I made it is provided below.

MATERIALS/TOOLS USED
- Brown leather material
- Black leather material
- Polyurethane outsole
- Marco size 4
- OCI Gum
- eyelet
- Pliers
- Biro
- Hammer
- Filing machine
- Logo design
- Super Glue

TUTORIAL PROCESS OF THE MAKING
- Making a footwear is something that requires lot of experience, consistent practice and perfection, because once you making any mistake during the cutting of the leathers or shape, they'll total ruin the outcome of the footwear, so to avoid this, for a newbie it's better they first cut their desire shape and design on a Paper before transferring it to the leathers.
- Since I'm already vast with this, I just pick up my biro and draw the shape I wanted neatly on the black leather, and that's how I got the shape and cut it out.
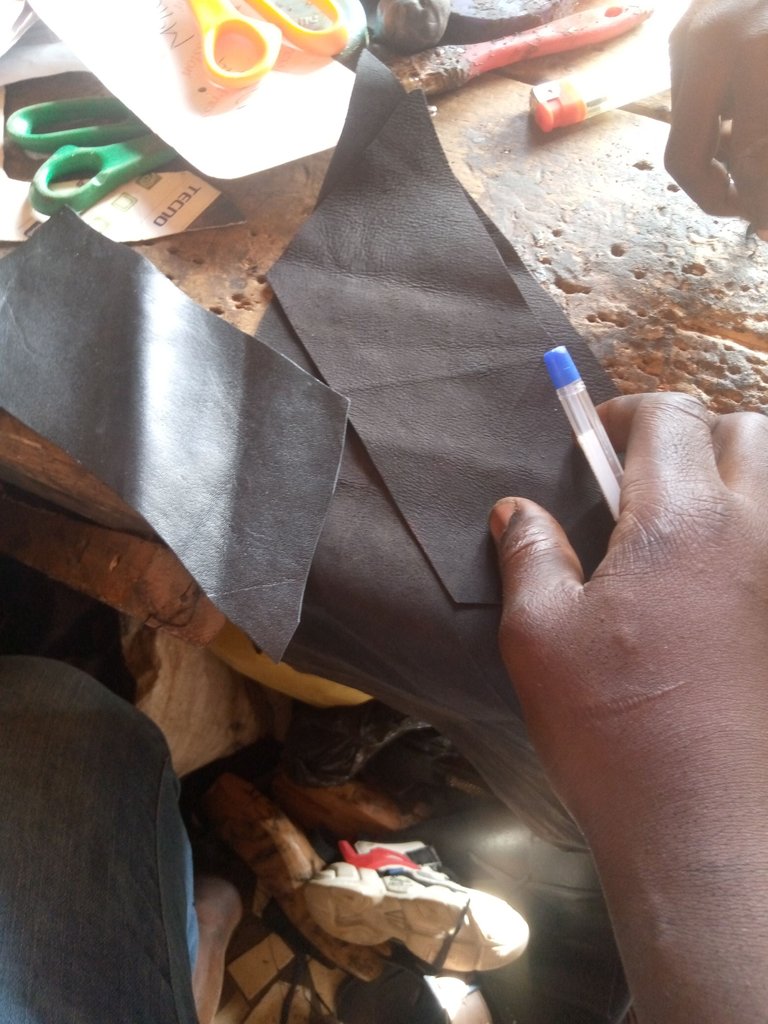
The next thing I did on the upper parts of the footwear I just cut out was to place it on a black linning material to cut out the same shape, which I then attach together with the aid of the OCI gum.
I then smoothen the surface with my hand, then pick up my logos and join them to the upper parts of the footwear we just cut with the aid of eyelet pin and a pliers.
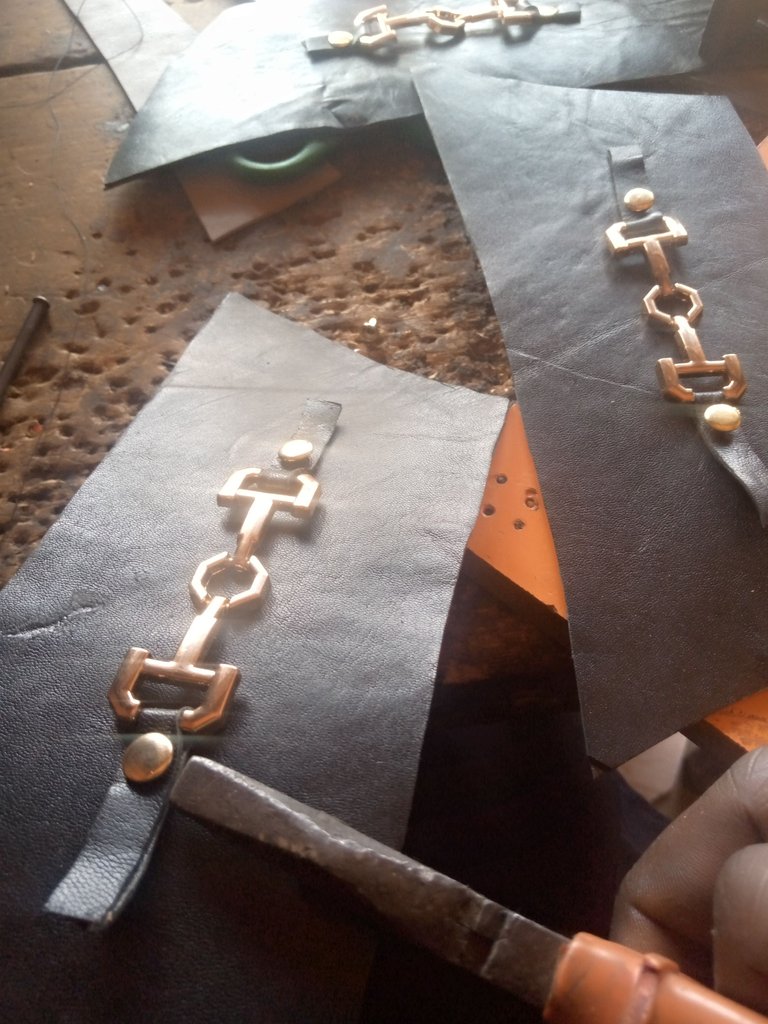
That completed the work on the upper past of the footwear, after which I move to the creation of the insole, which was done by drawing out the shape of my friend foot on the marco material, after which I added few more inches around the one I just drew before cutting it out.
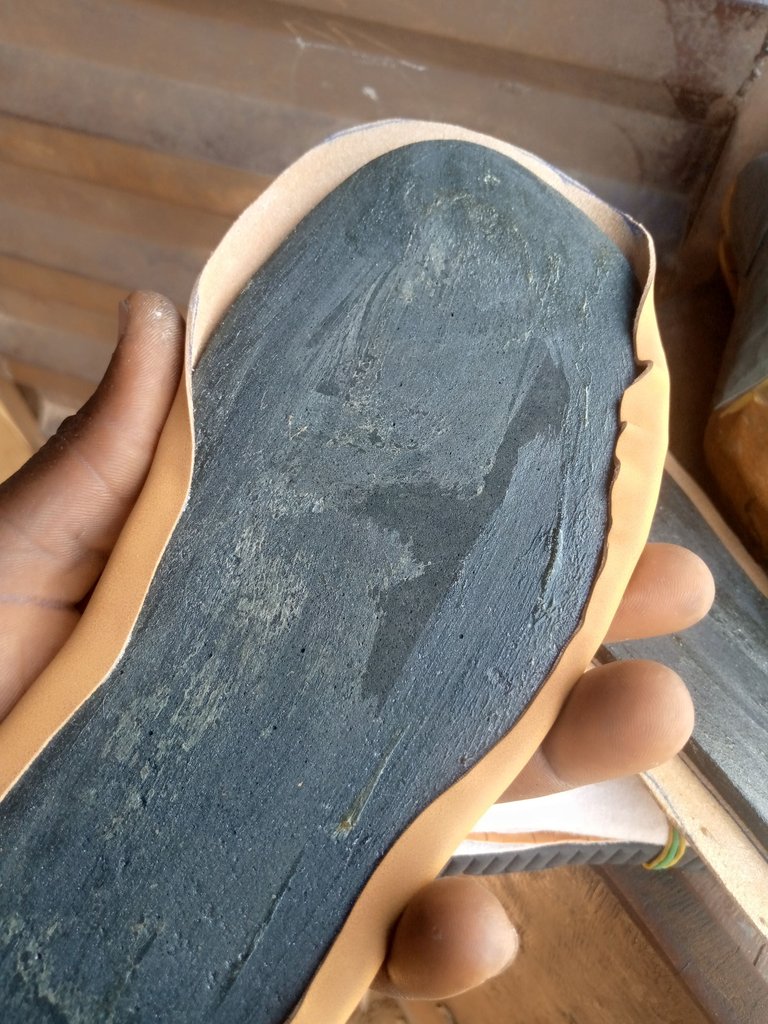
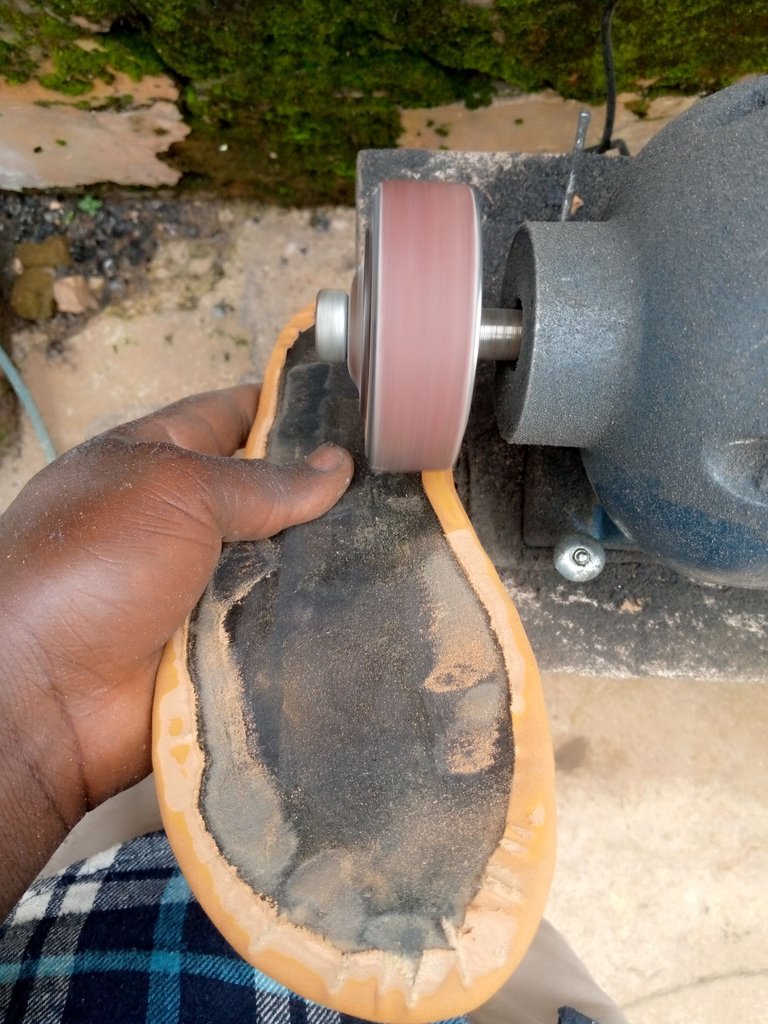
After cutting the marco, I also pick up my brown leather and cut it in a bigger shape than the Marco, then I apply gum on it and the Marco, I let it dry for some minutes before wrapping it on the Marco, which I them took to the filling machine for filling to enable me have a rough surface that'll make lasing of the footwear easier.
| Joining | filing |
|---|---|
 |  |
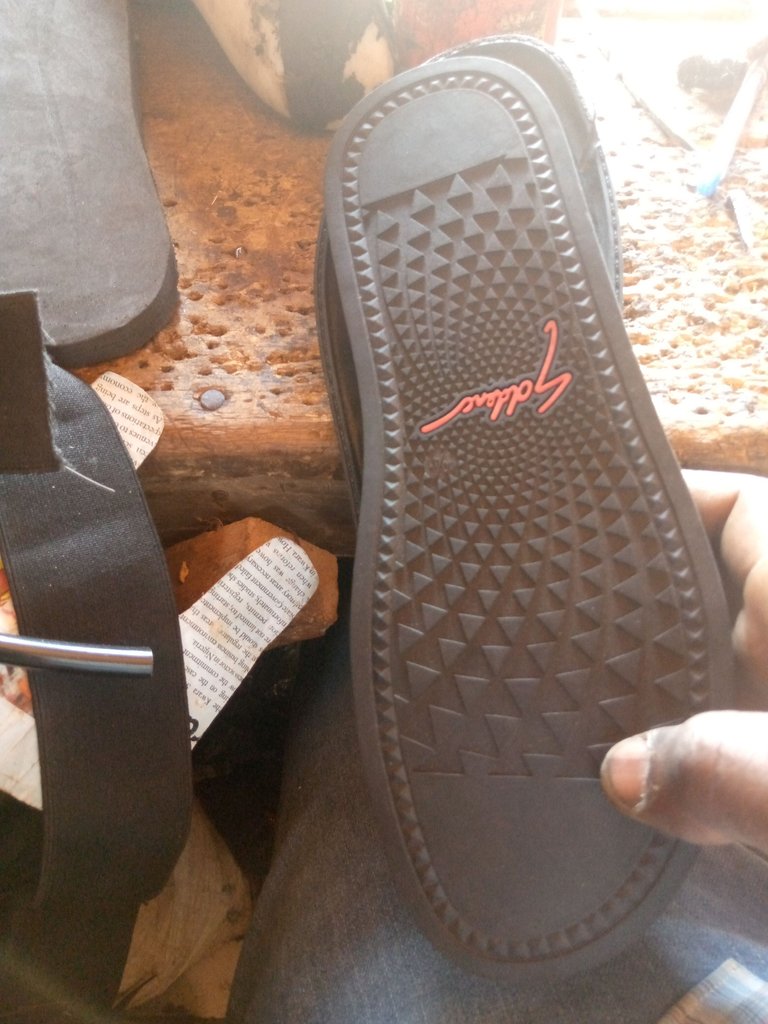
- With that accomplished, I join the upper of the footwear to the insole, and I pick up my polyurethane outsole and filing it in the filing machine, and then apply gum on it alongside the back of my insole, before joining them together.
| Outsole | Lasing |
|---|---|
 | 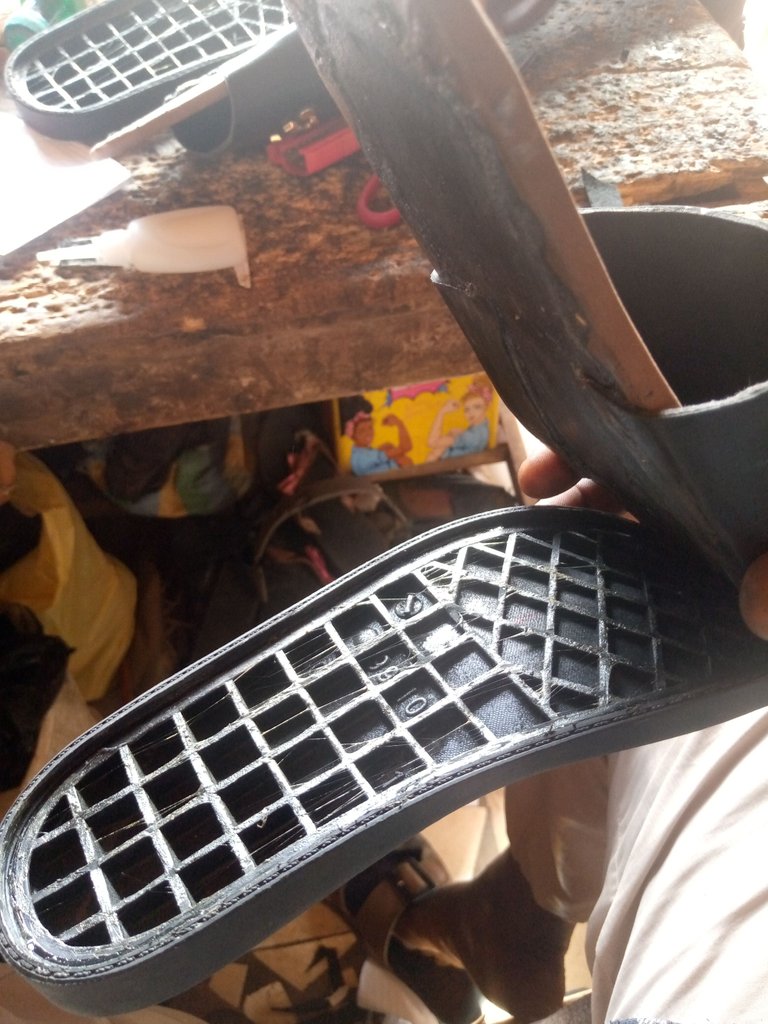 |
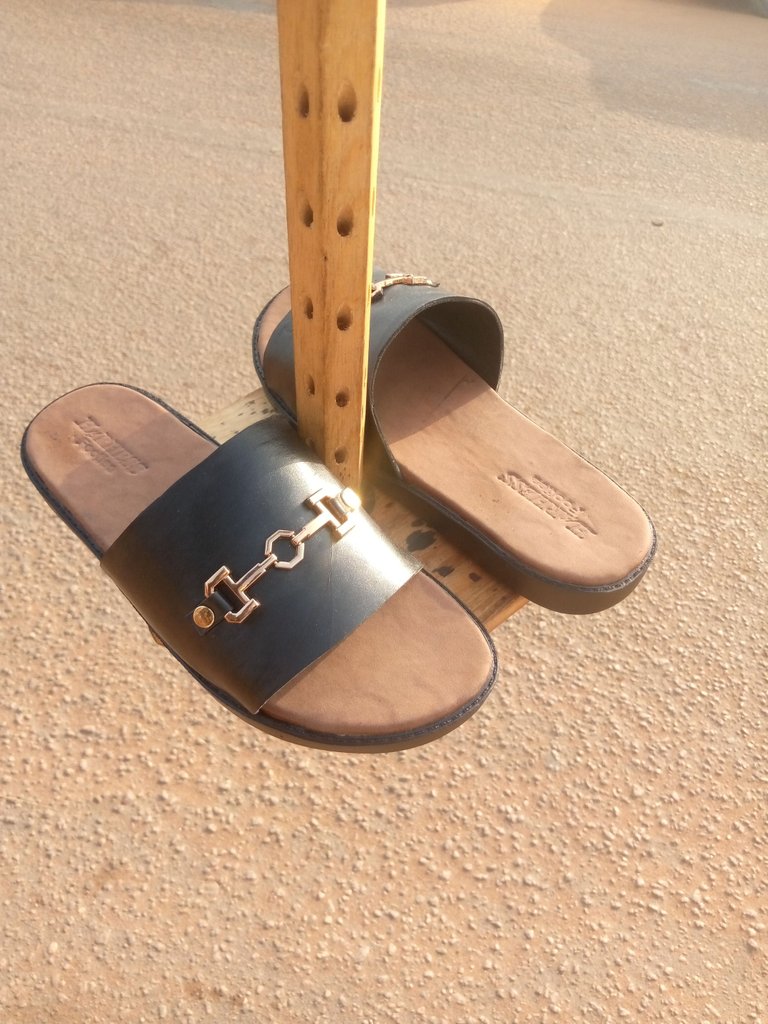
By the time it was perfectly joined together, I apply so super glue on the edge, the then I use my hammer to hit it gently, so it can perfect and long lasting, below is the end result of the footwear I made for my friend.

Despite my busy schedule, I've enjoyed showing you how I produced this pair of shoes for my friend. I sincerely hope you took away anything from this; if you have any comments, questions, or recommendations, please post them below.
Thanks so much for reading, have a blessed and productive week.
Congratulations @vickoly! You have completed the following achievement on the Hive blockchain And have been rewarded with New badge(s)
Your next target is to reach 55000 upvotes.
You can view your badges on your board and compare yourself to others in the Ranking
If you no longer want to receive notifications, reply to this comment with the word
STOPCheck out our last posts:
Thank you for sharing this post in the DIYHUB Community!
Your content got selected by our fellow curator sharminmim & you just received a little thank you upvote from us for your great work! Your post will be featured in one of our recurring compilations which are aiming to offer you a stage to widen your audience within the DIY scene of Hive. Stay creative & HIVE ON!
Please vote for our hive witness <3
Thanks so much, I really do appreciate.
I did vote for your witness earlier
This is a great tutorial and it was explained accurately.
I will follow this step-by-step guide to try this out.
You have done great content here bro, you are amazing!!!
This post has been manually curated by @theindiankid from Indiaunited community. Join us on our Discord Server.
Do you know that you can earn a passive income by delegating to @indiaunited. We share 100 % of the curation rewards with the delegators.
Here are some handy links for delegations: 100HP, 250HP, 500HP, 1000HP.
Read our latest announcement post to get more information.
Please contribute to the community by upvoting this comment and posts made by @indiaunited.
Nice one from you bro. It nice to see the simple way of making those shoes. It look cool and nice. But is there an alternative to the use of filling machine?
This looks really nice.
It's good to see your contents on shoe making once again after a long time.
Thanks so much, yea it's good to be back share that aspect of me again.
Sure, it is.
Actually thought you closed up the shop after relocating to Lagos.
I hope your friend is quite happy, they have turned out very well. You can tell that he has experience at work, seeing the publication seems easy, but it takes skill to do the job well.