Crafting My Own Leather Palm Sandals: Step by Step Guide
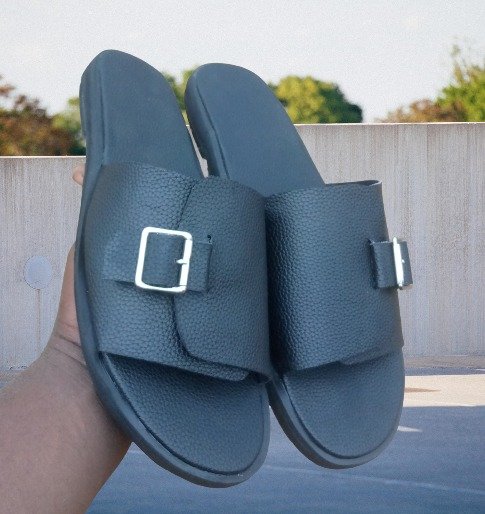
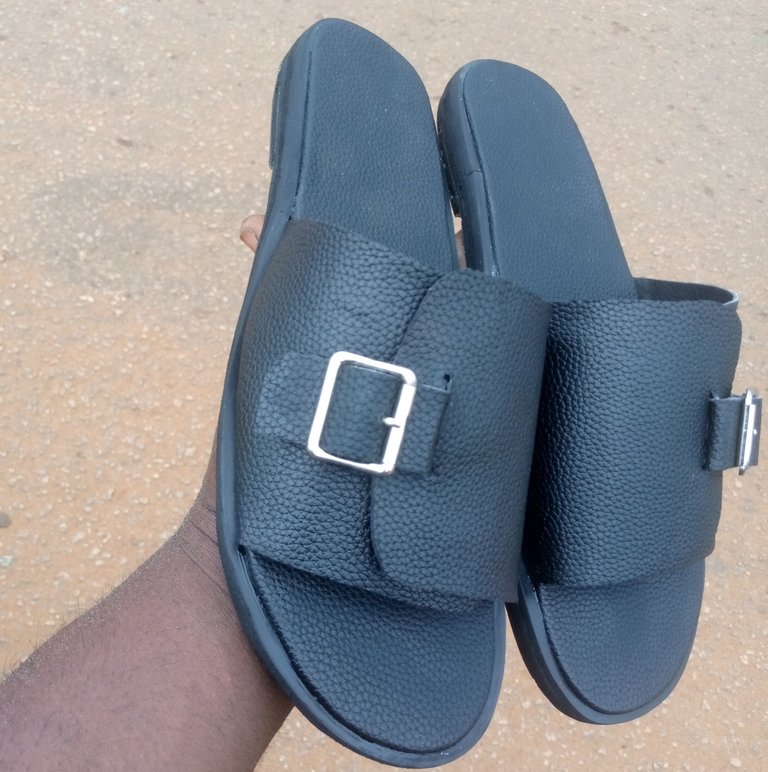
Hello friends and fellow hiveans, It's a beautiful Sunday morning, and I'm here to show you one of my creative pieces that I recently made. You see, there has been consistent rain for the past few months, and the results of that are that it has damaged most of our footwear because we've got a bad road. The same happened to me as two of my sandals are now in bad shape, and luckily I'm a shoemaker, so I decided to make another pair of palm sandals for myself, and today I'll love to show you step by step how I made these black leather palm sandals.
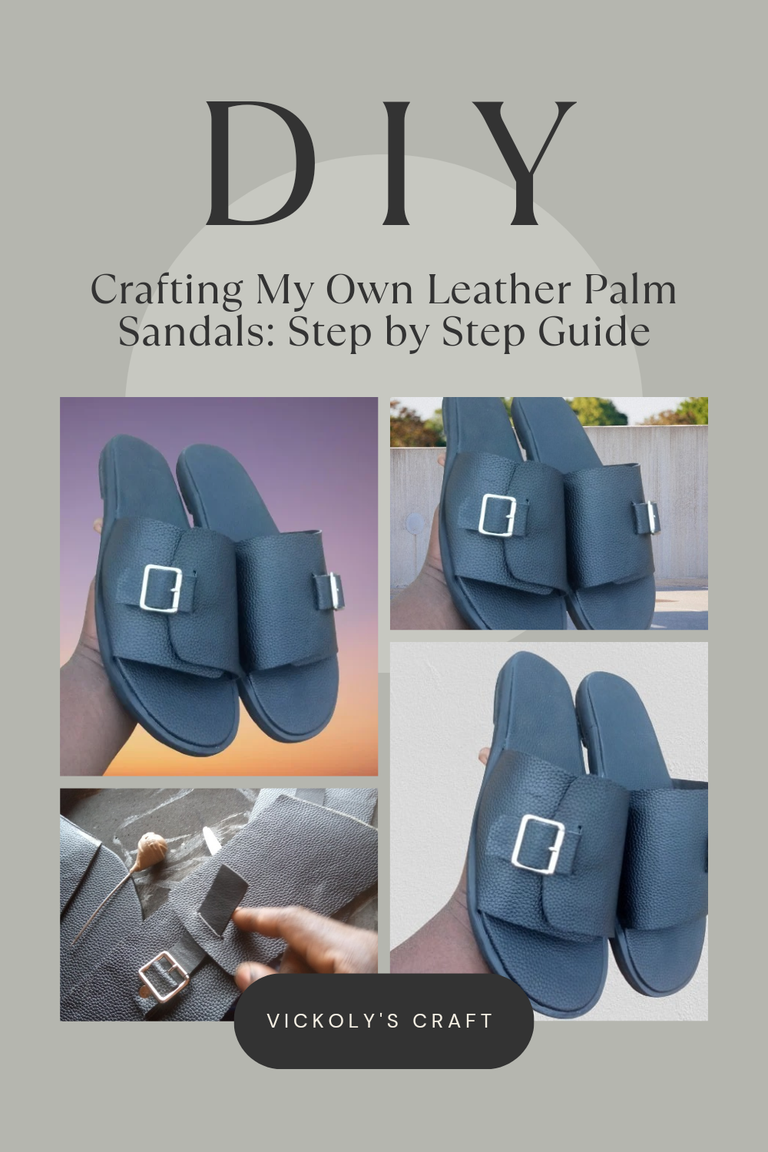
To make the palm sandals, I don't really need much stress of measurements because it's my footwear, and this isn't the first time I'm making a football for myself, so to make this, I began by paying a visit to the leather store, a shop where all kinds of leather and footwear items are sold, and there I purchased everything I'll be needing for this footwear, from the leather to the heel, buckle, and the like, and you can catch a glimpse of everything I made use of and how I made the palm sandals below.
Materials and equipment used
- Black leather
- Nora (outsole)
- Maco( insole)
- Buckle
- Eyelet pin
- Eyelet plier
- Brush
- Gum
- Filing machine
- Black lining
- Super glue, etc.
Making Processes
- I had some of the materials I needed to make the footwear, so it's not all I purchased at the market, things like the lining and buckle were already own, so I picked the black leather I just purchased, use my biro to draw the shape I'll like the upper of the footwear to have.
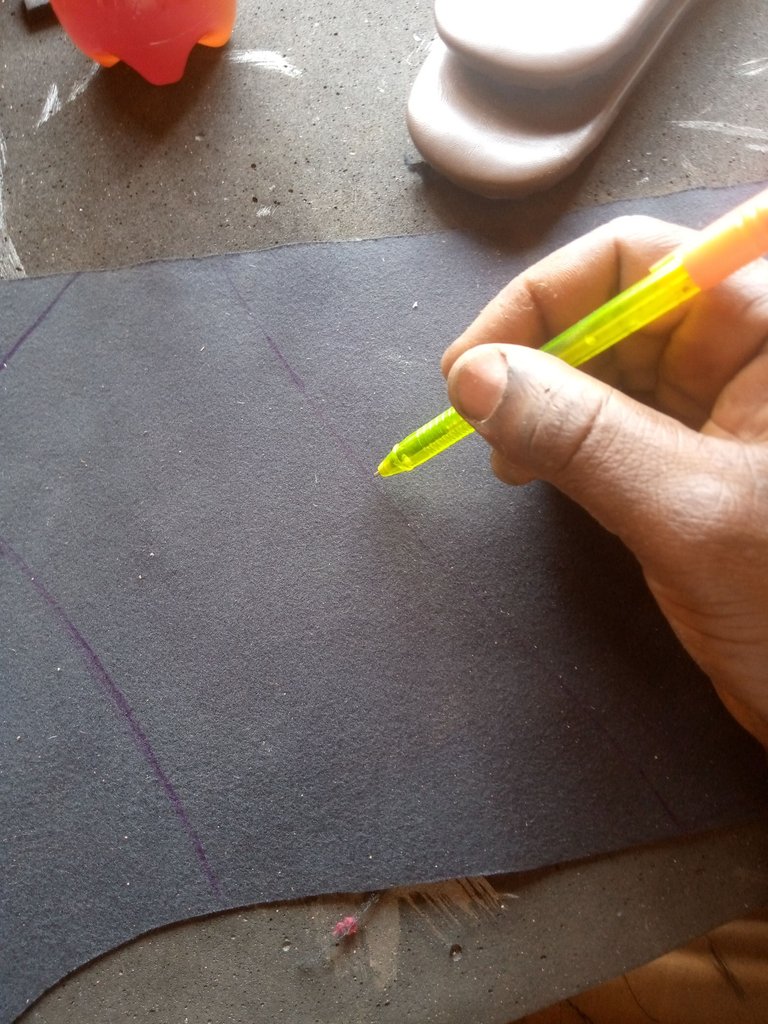
- After completely drawing the shape, I then cut our the drawn part with my scissors.
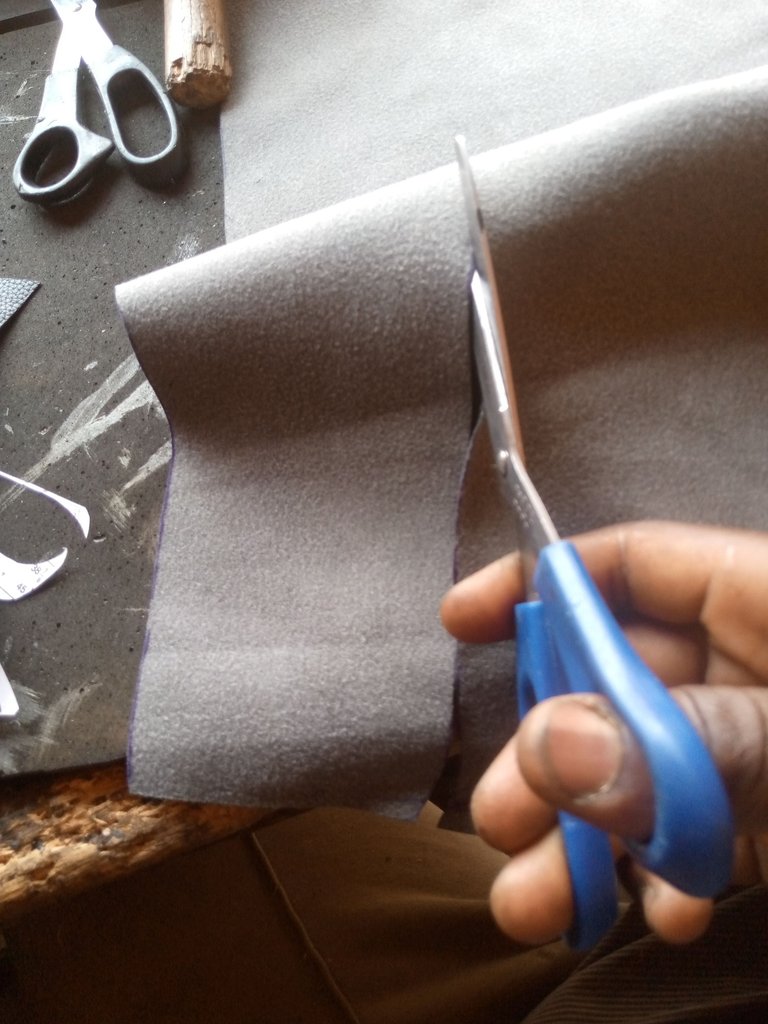
- For the next stage, I placed the part of the leather I just cut on the lining, because I'll need to cut out the same size, use a gum to join them together, so the footwear can have a solid and firm body.
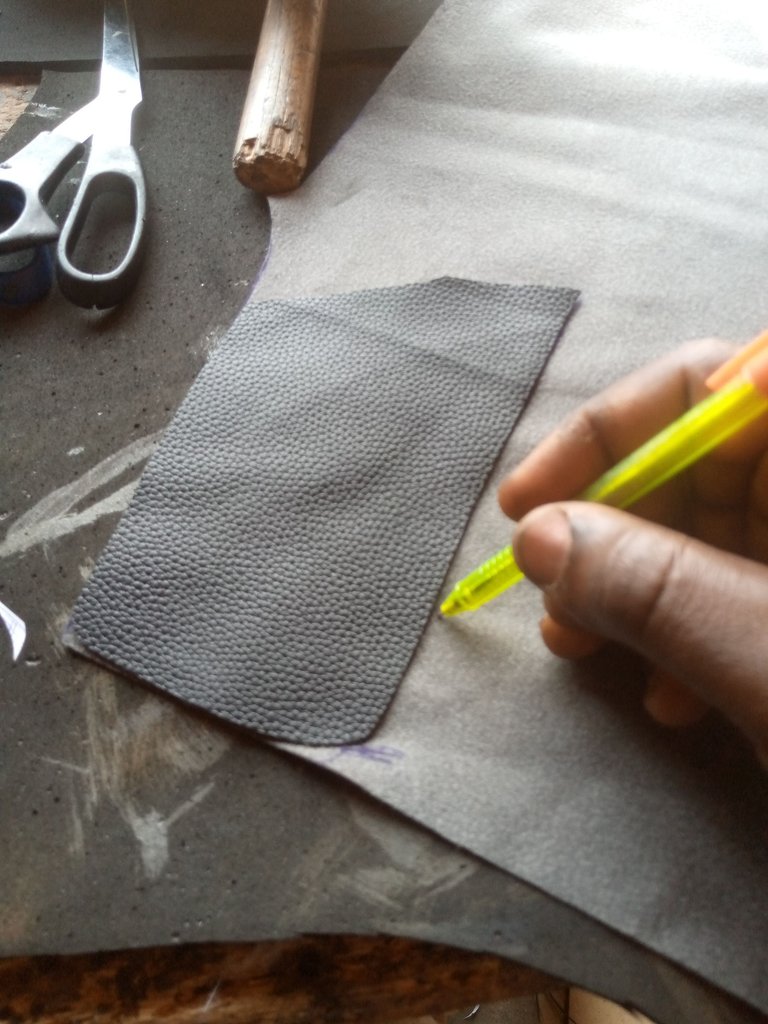
- After joining the lining with the leather, I punch a straight hole on a part in it, then put a straight leather through it, on that I attach the buckle and use the eyelet pin to stick it firmly, that would make the leather adjustable.
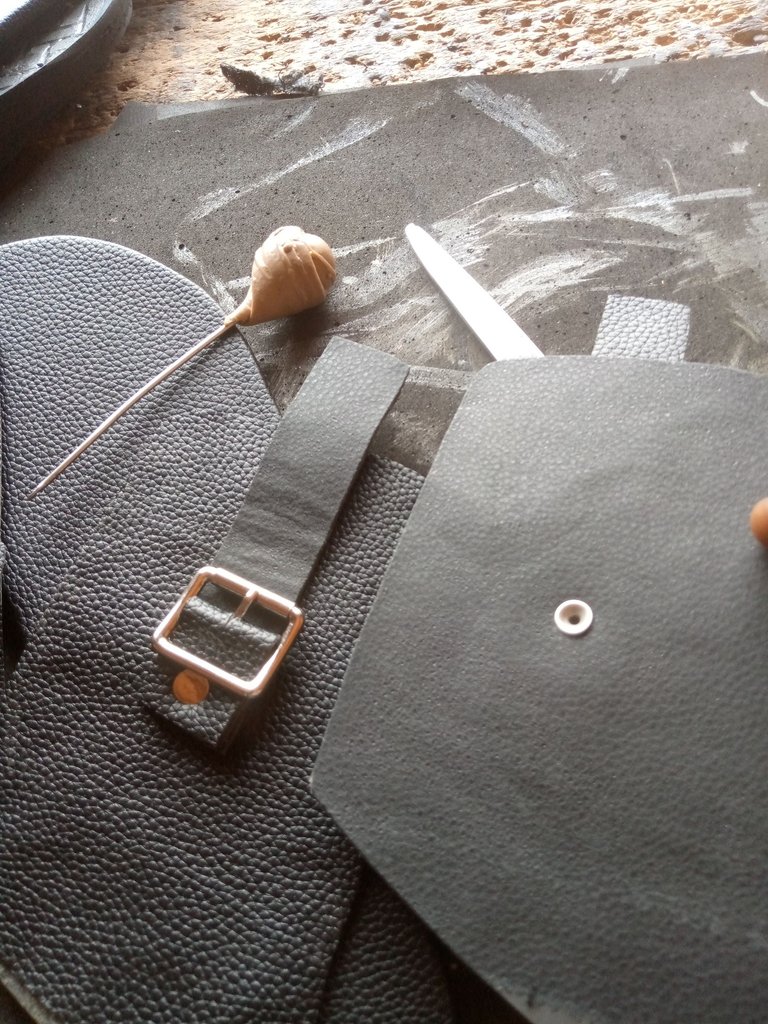
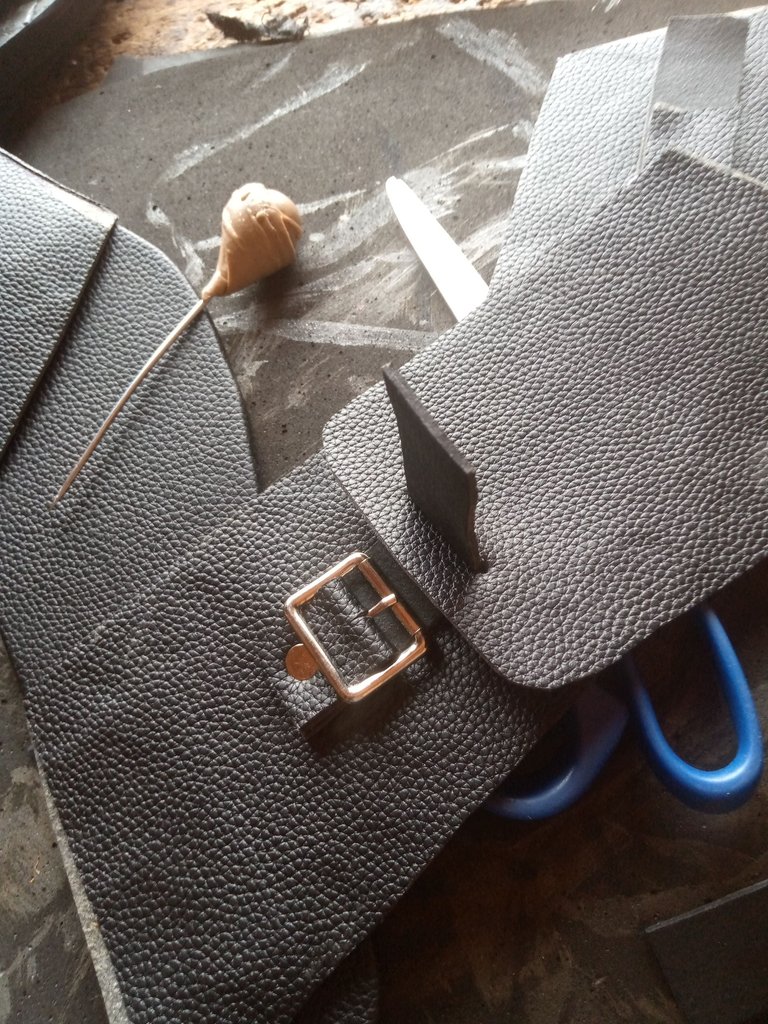
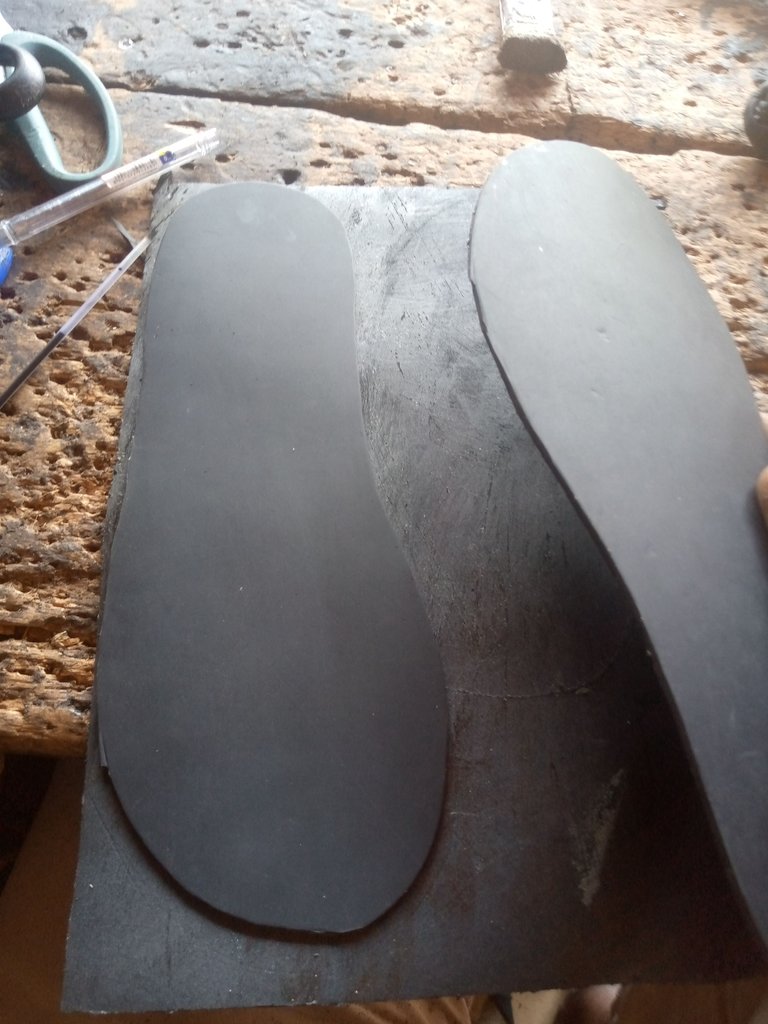
- I proceed to the insole, cutting the maco into my own foot size, applying gum all over it inside side and doing the same on the lining, after some time about a Minute, I joined both together and make sure they stick smoothly.
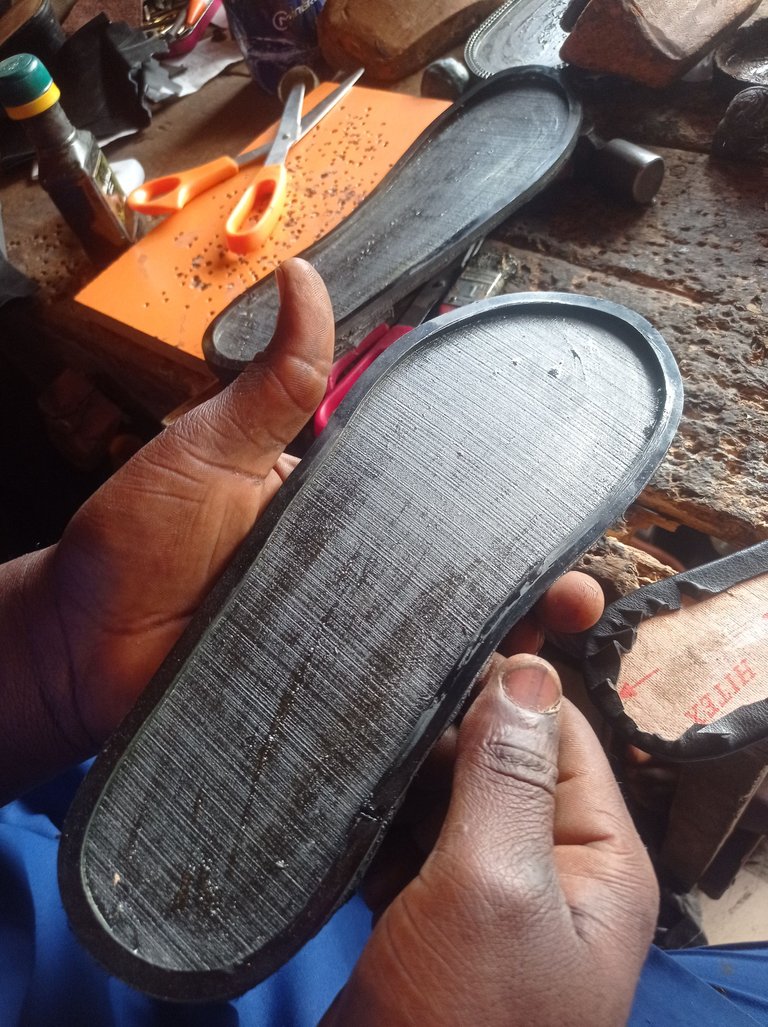
- This last section was me applying the shoe wet all around the edge of the outsole made of Nora, then applying gum on it inner part so I can join it yo the upper design, I also let it dry for some time before joining them and that was how I made these my palm sandals.
This is how my palm sandals look like and I can't wait to start wearing it all around, and it will serve me untill I have time to repair the two damage footwear affected by the rain.
Thanks so much for your time, I hope you enjoyed the read or even learnt something, have a wonderful day and stay bless.
All photos are mine.
Posted Using InLeo Alpha
Congratulations, you received an ecency upvote through the curator @ahmedhayat.
Thanks so much, I'm grateful.
Muy buen trabajo artesanal de zapatería, gracias por compartir el proceso, que sigan las creaciones muchas bendiciones!
Congratulations @vickoly! You have completed the following achievement on the Hive blockchain And have been rewarded with New badge(s)
You can view your badges on your board and compare yourself to others in the Ranking
If you no longer want to receive notifications, reply to this comment with the word
STOPGreetings @vickoly, your sandals are beautiful, it is a great advantage that you are a shoemaker, so you can create the designs to your liking.
Have a great week!
Yea it's indeed a big advantage for me, thanks so much for your kind words.
Have a wonderful week ahead.
Wow amazing work😯
Thank you.
https://x.com/hivediy47901/status/1815481839286468902