TUTORIAL: 🐻GORRO CON OREJITAS A CROCHET / CROCHET HAT WITH EARS/ ESP-ENG
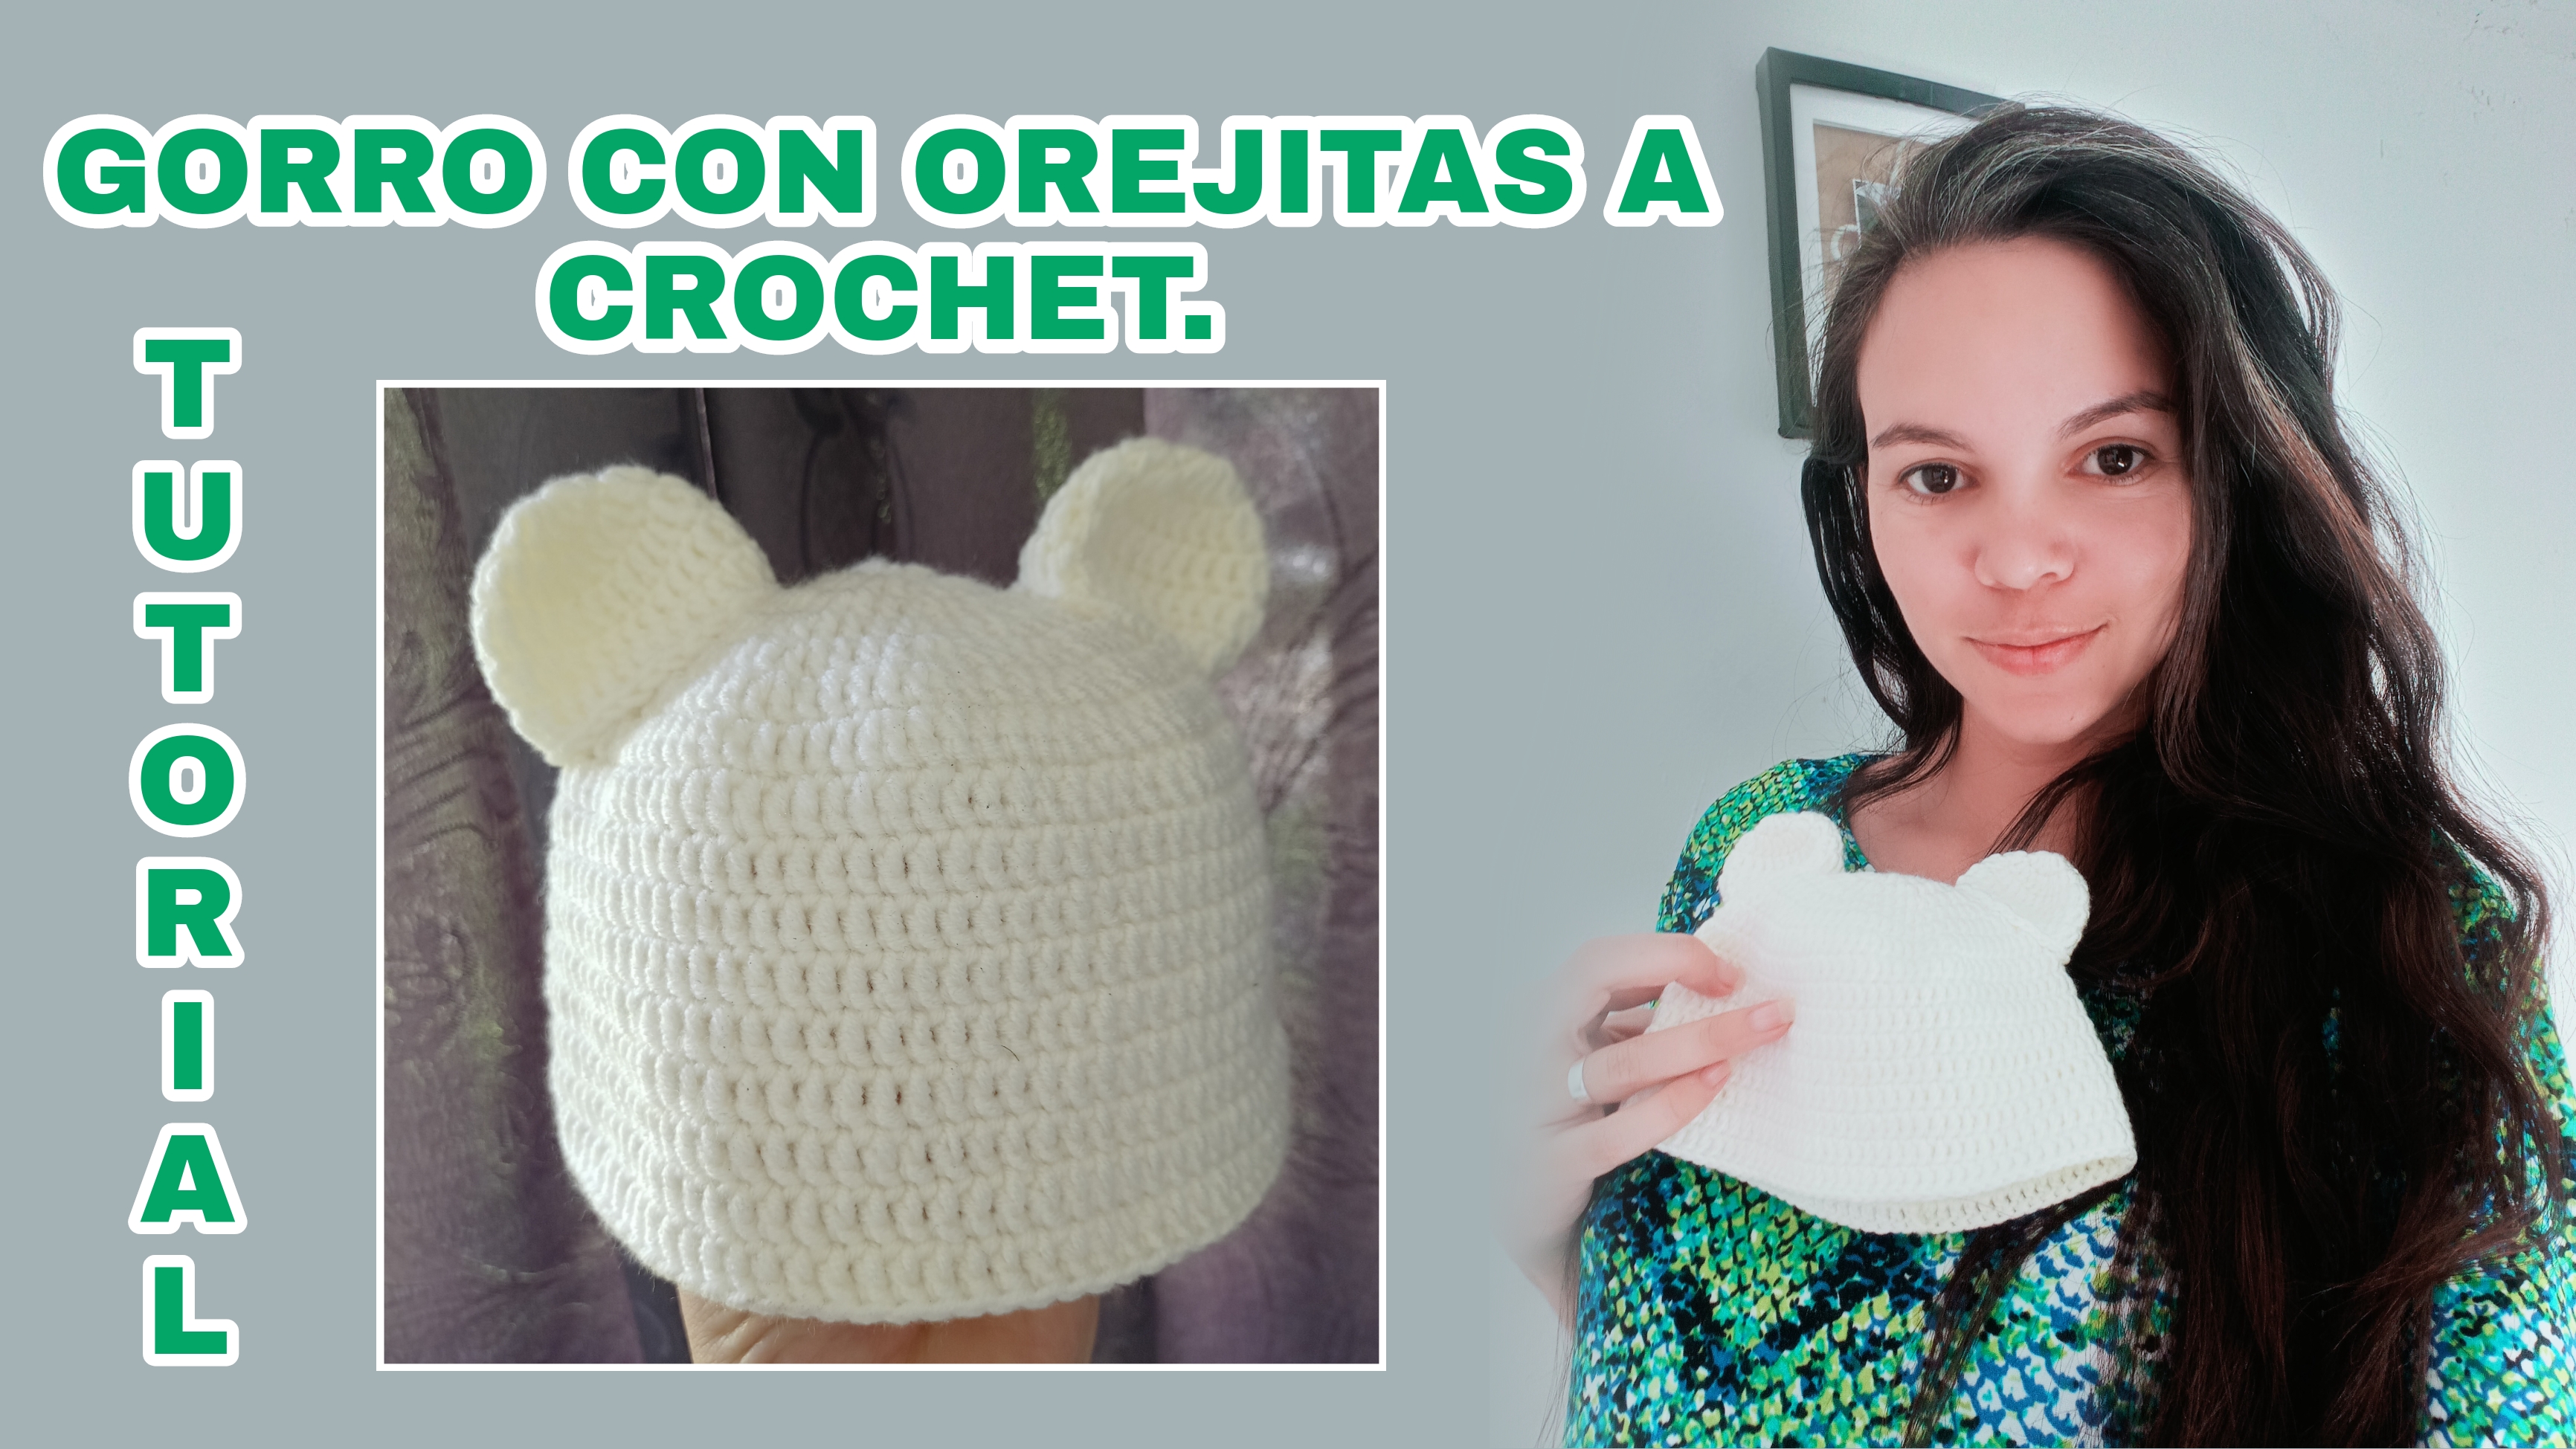
hello creative friends of #hivediy, I am happy to greet you again and this time sharing one of my new creations for my baby who is on the way, this time I made a beanie little hat but I put little ears on it, yes, believe it or not, it is very easy.
I tell you that it was my first attempt, and that I must admit that you have to be very patient so that when you make a mistake, you simply correct and continue, and don't give up.
The truth is that I thought it would be more complicated but here I am going to show you a small step by step in case you dare to try it, it is ideal for your baby or to give it as a gift. Without further ado here I leave the steps to follow, this time we will use the following materials:
MATERIALES / MATERIALS
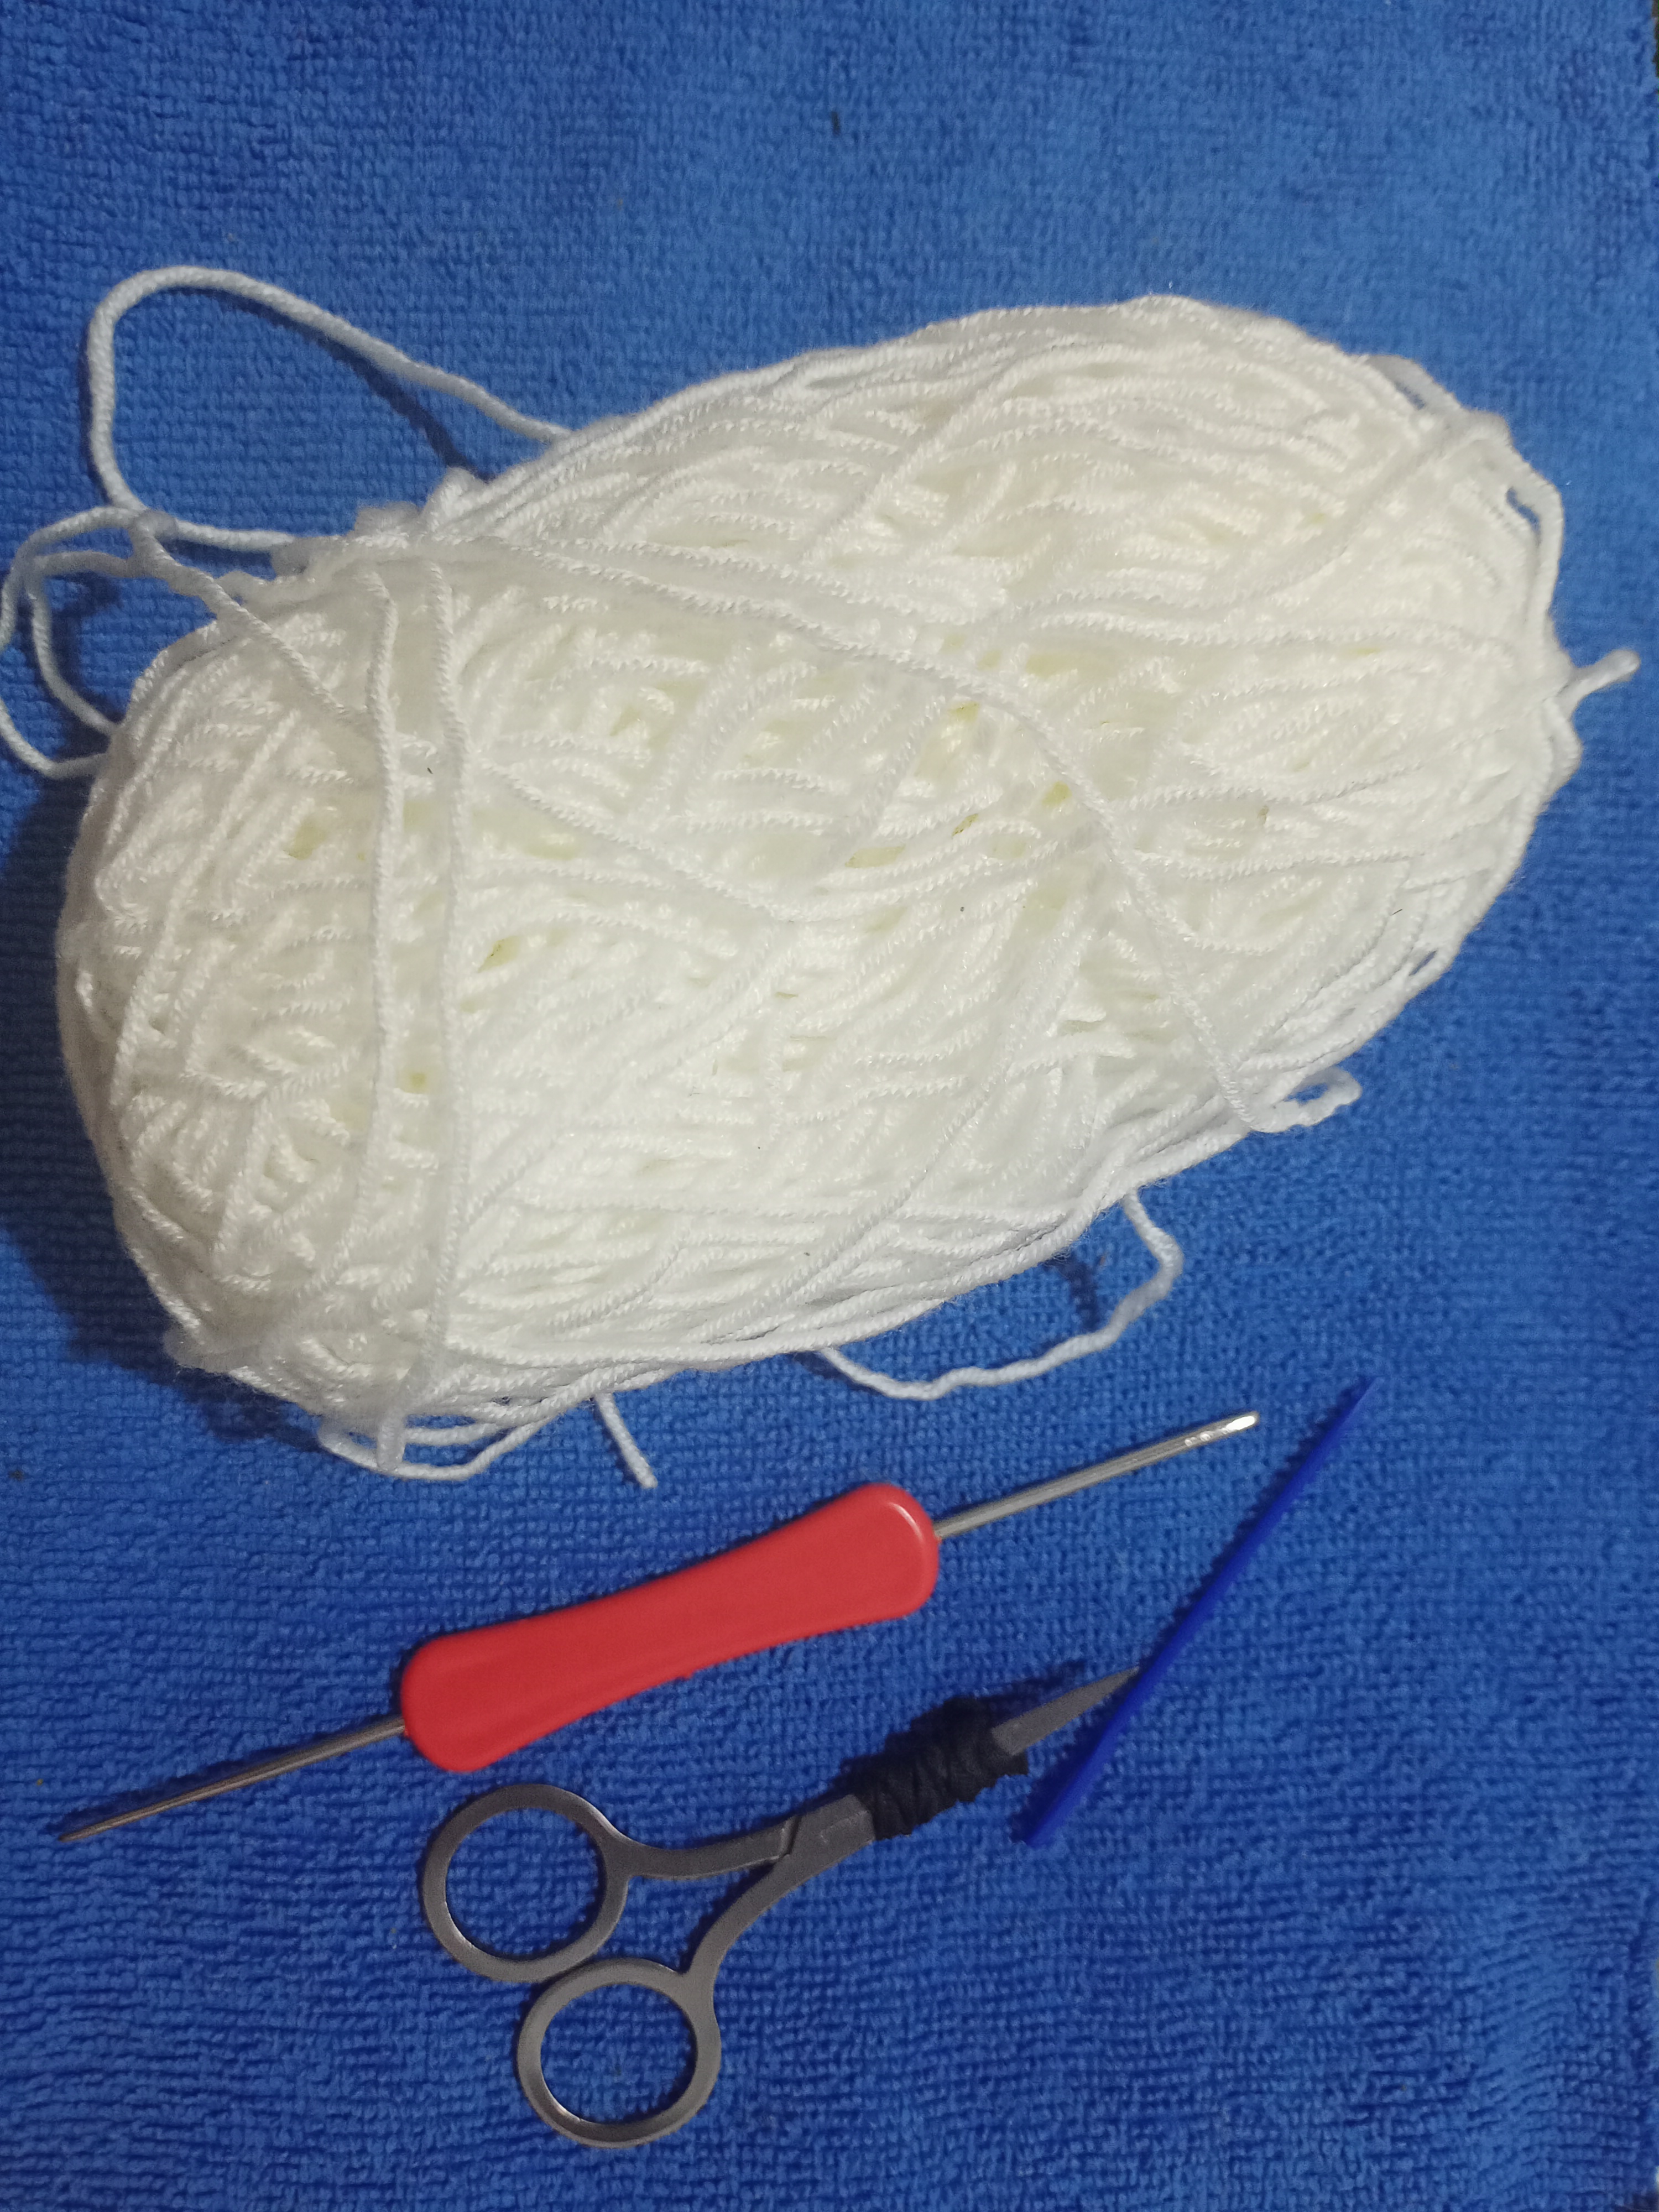
- lana de algodón blanca/ cotton wool White
- tijera/ Scissors
- aguja para crochet de 2. / 2 crochet needle.
- cinta métrica/ Measuring tape
PASO A PASO
STEP BY STEP
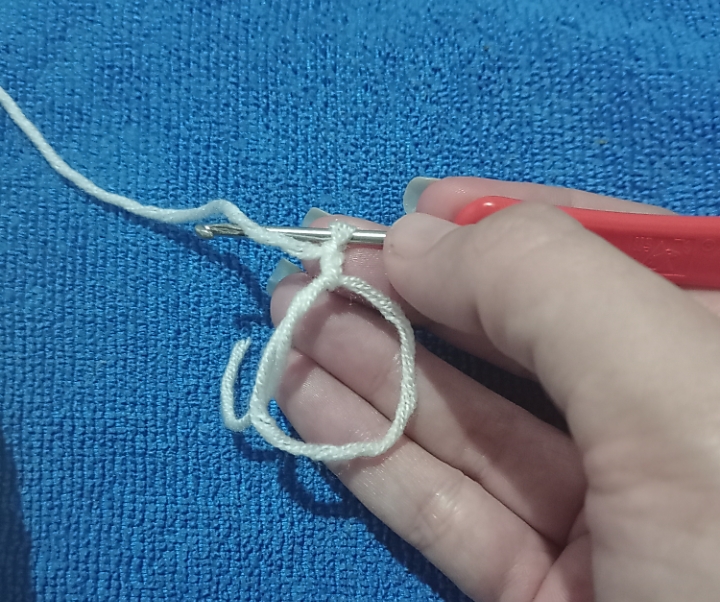
1 . What we must do is select the color of the thread with which we will make the hat, in my case I will use white, we take the knitting needle and make a magic ring, and we will make two chains.
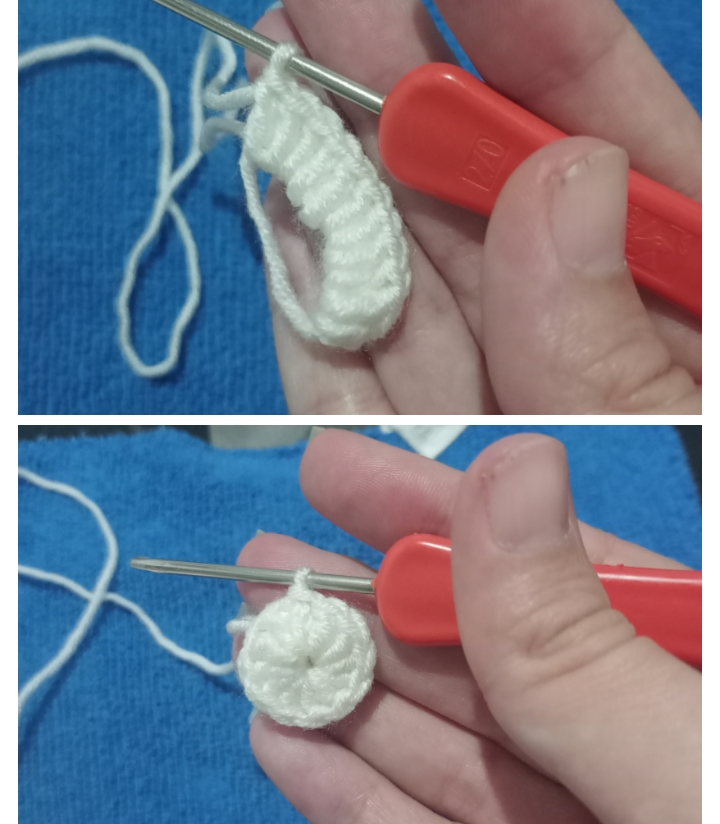
2 . Then I made 11 double crochets inside the magic circle, we must pull the short tip to close this circle, after it is well closed we are going to finish sealing with a stitch slipped, this will be lap number 1.
3 . For round number 2 I will chain two and increase in high points all around. When we reach the end we close with a slip stitch.
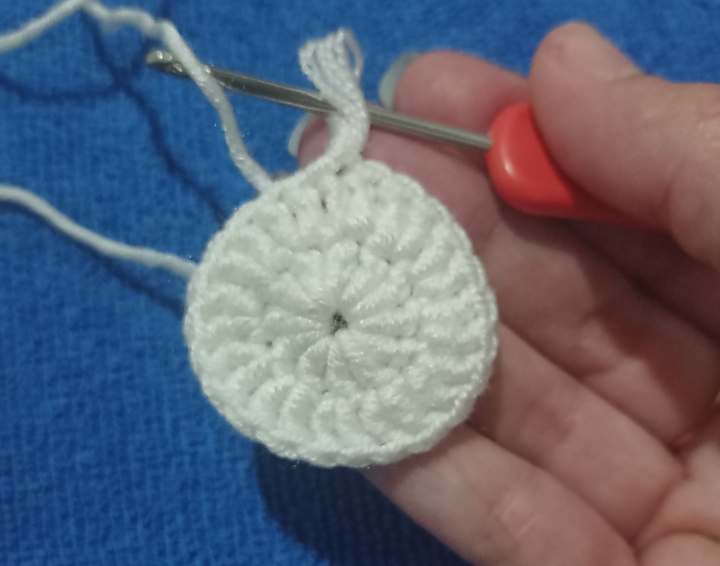
4 . For round number 3 we will make two chains, followed by an increase, then a double crochet, we continue with an increase and so on until closing with a slip stitch.
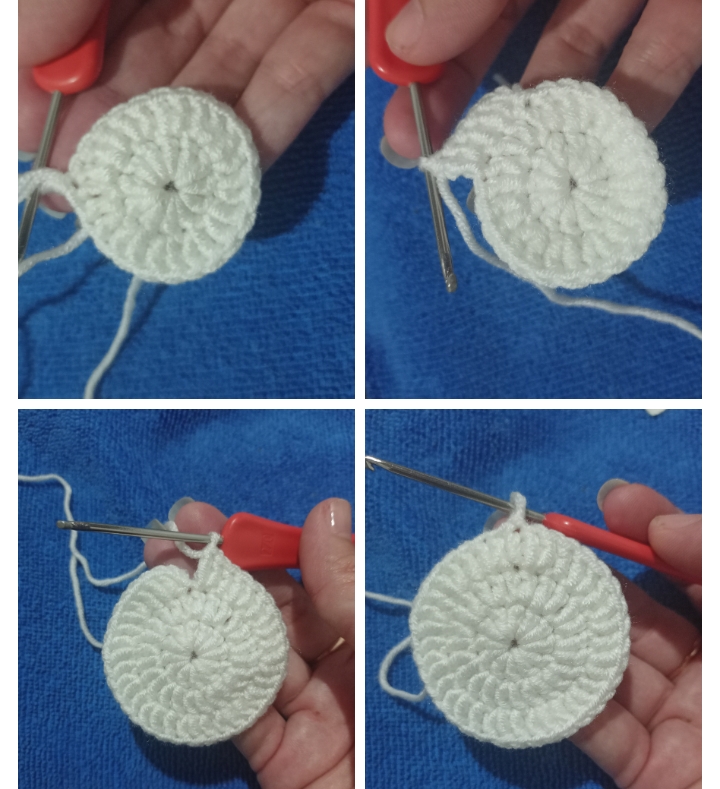
5 . Round 4 will be very similar to round 3 except that we will do 2 double crochets instead of one: two chains- one increase-2 double crochets- 1 increase...
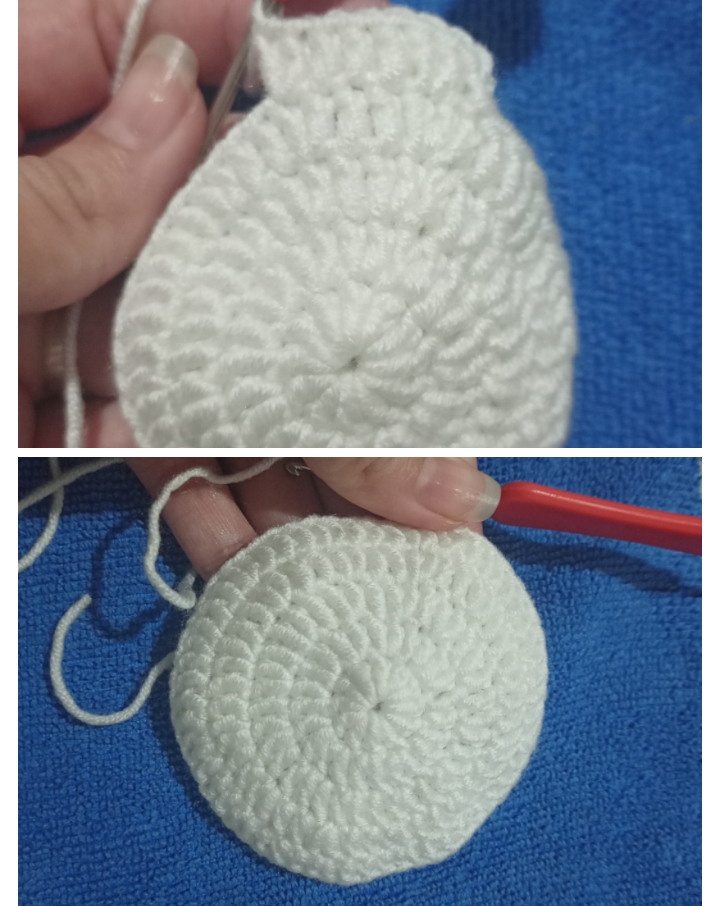
6 . Lap 5 will be the same but making three double crochets in a row, we will continue with the same dynamic as the previous laps.
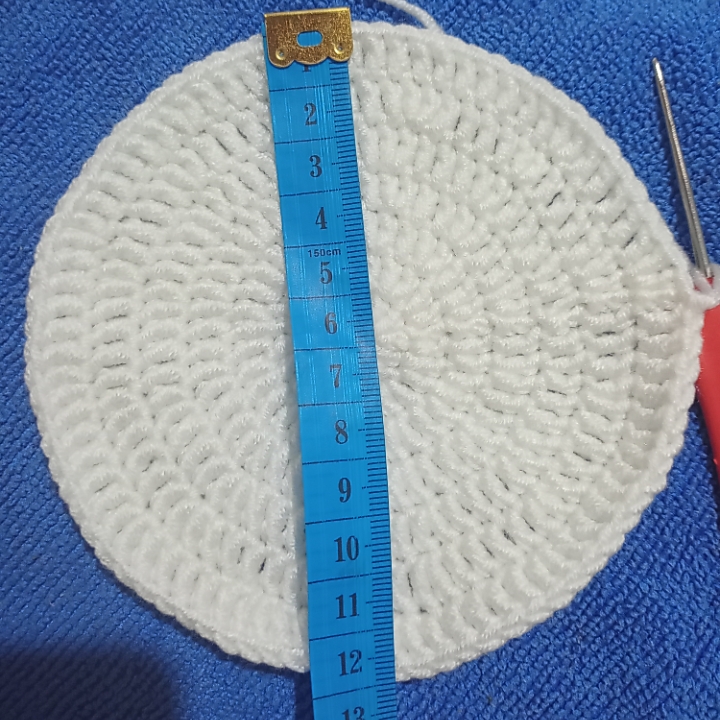
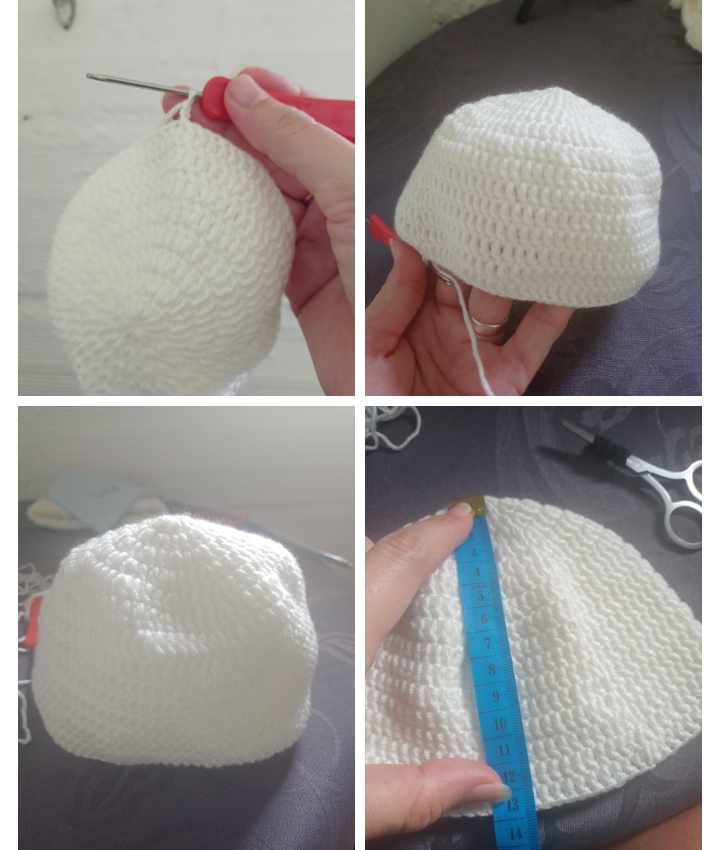
7 . In this way, following the same sequence, only by increasing one more stitch in each round, we will do it until we reach the eighth round. This base that we have just made should measure about 12 cm. If you want to do it for a child older than 3 months, you will simply increase the turns.
8 . Now we will make 10 laps that will be made up only of double crochets, that is, we start with two chains and from there we will make double crochets all around our base.
9 . To make the ears we begin by making a magic knot, two chains and 11 high points, we pull the short thread together with a slip stitch.
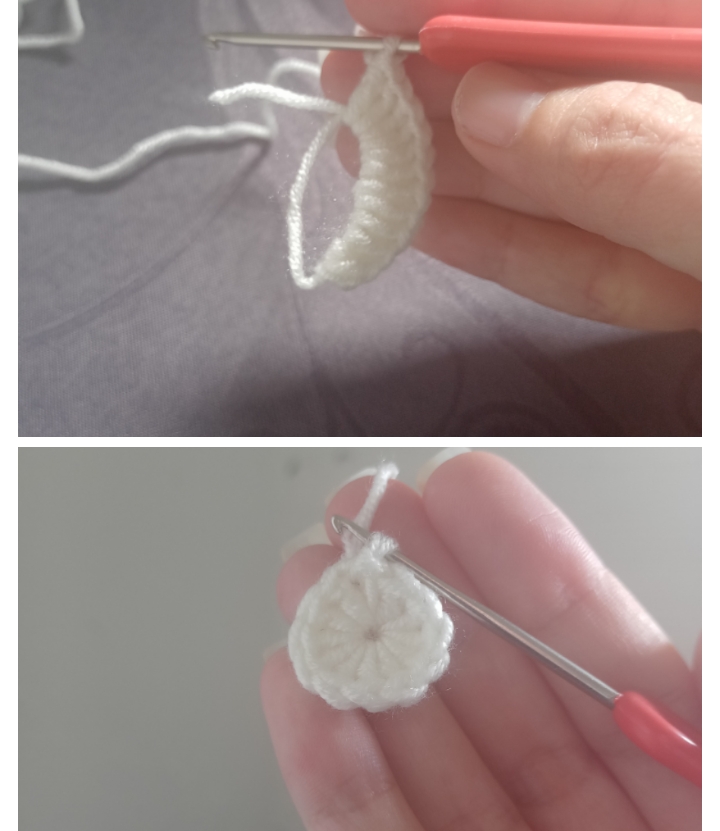
10 . We continue making two chains and we make increases in each., Closing with slip stitch
11 . For round 3 we make two chains, an increase, seven double crochets, an increase like this until we reach the last stitch where we close with a slip stitch.
12 . For round 4 and 5 we make two chains and high points, so our ears will be ready.
13 . Now we simply make a small knot and proceed to glue.
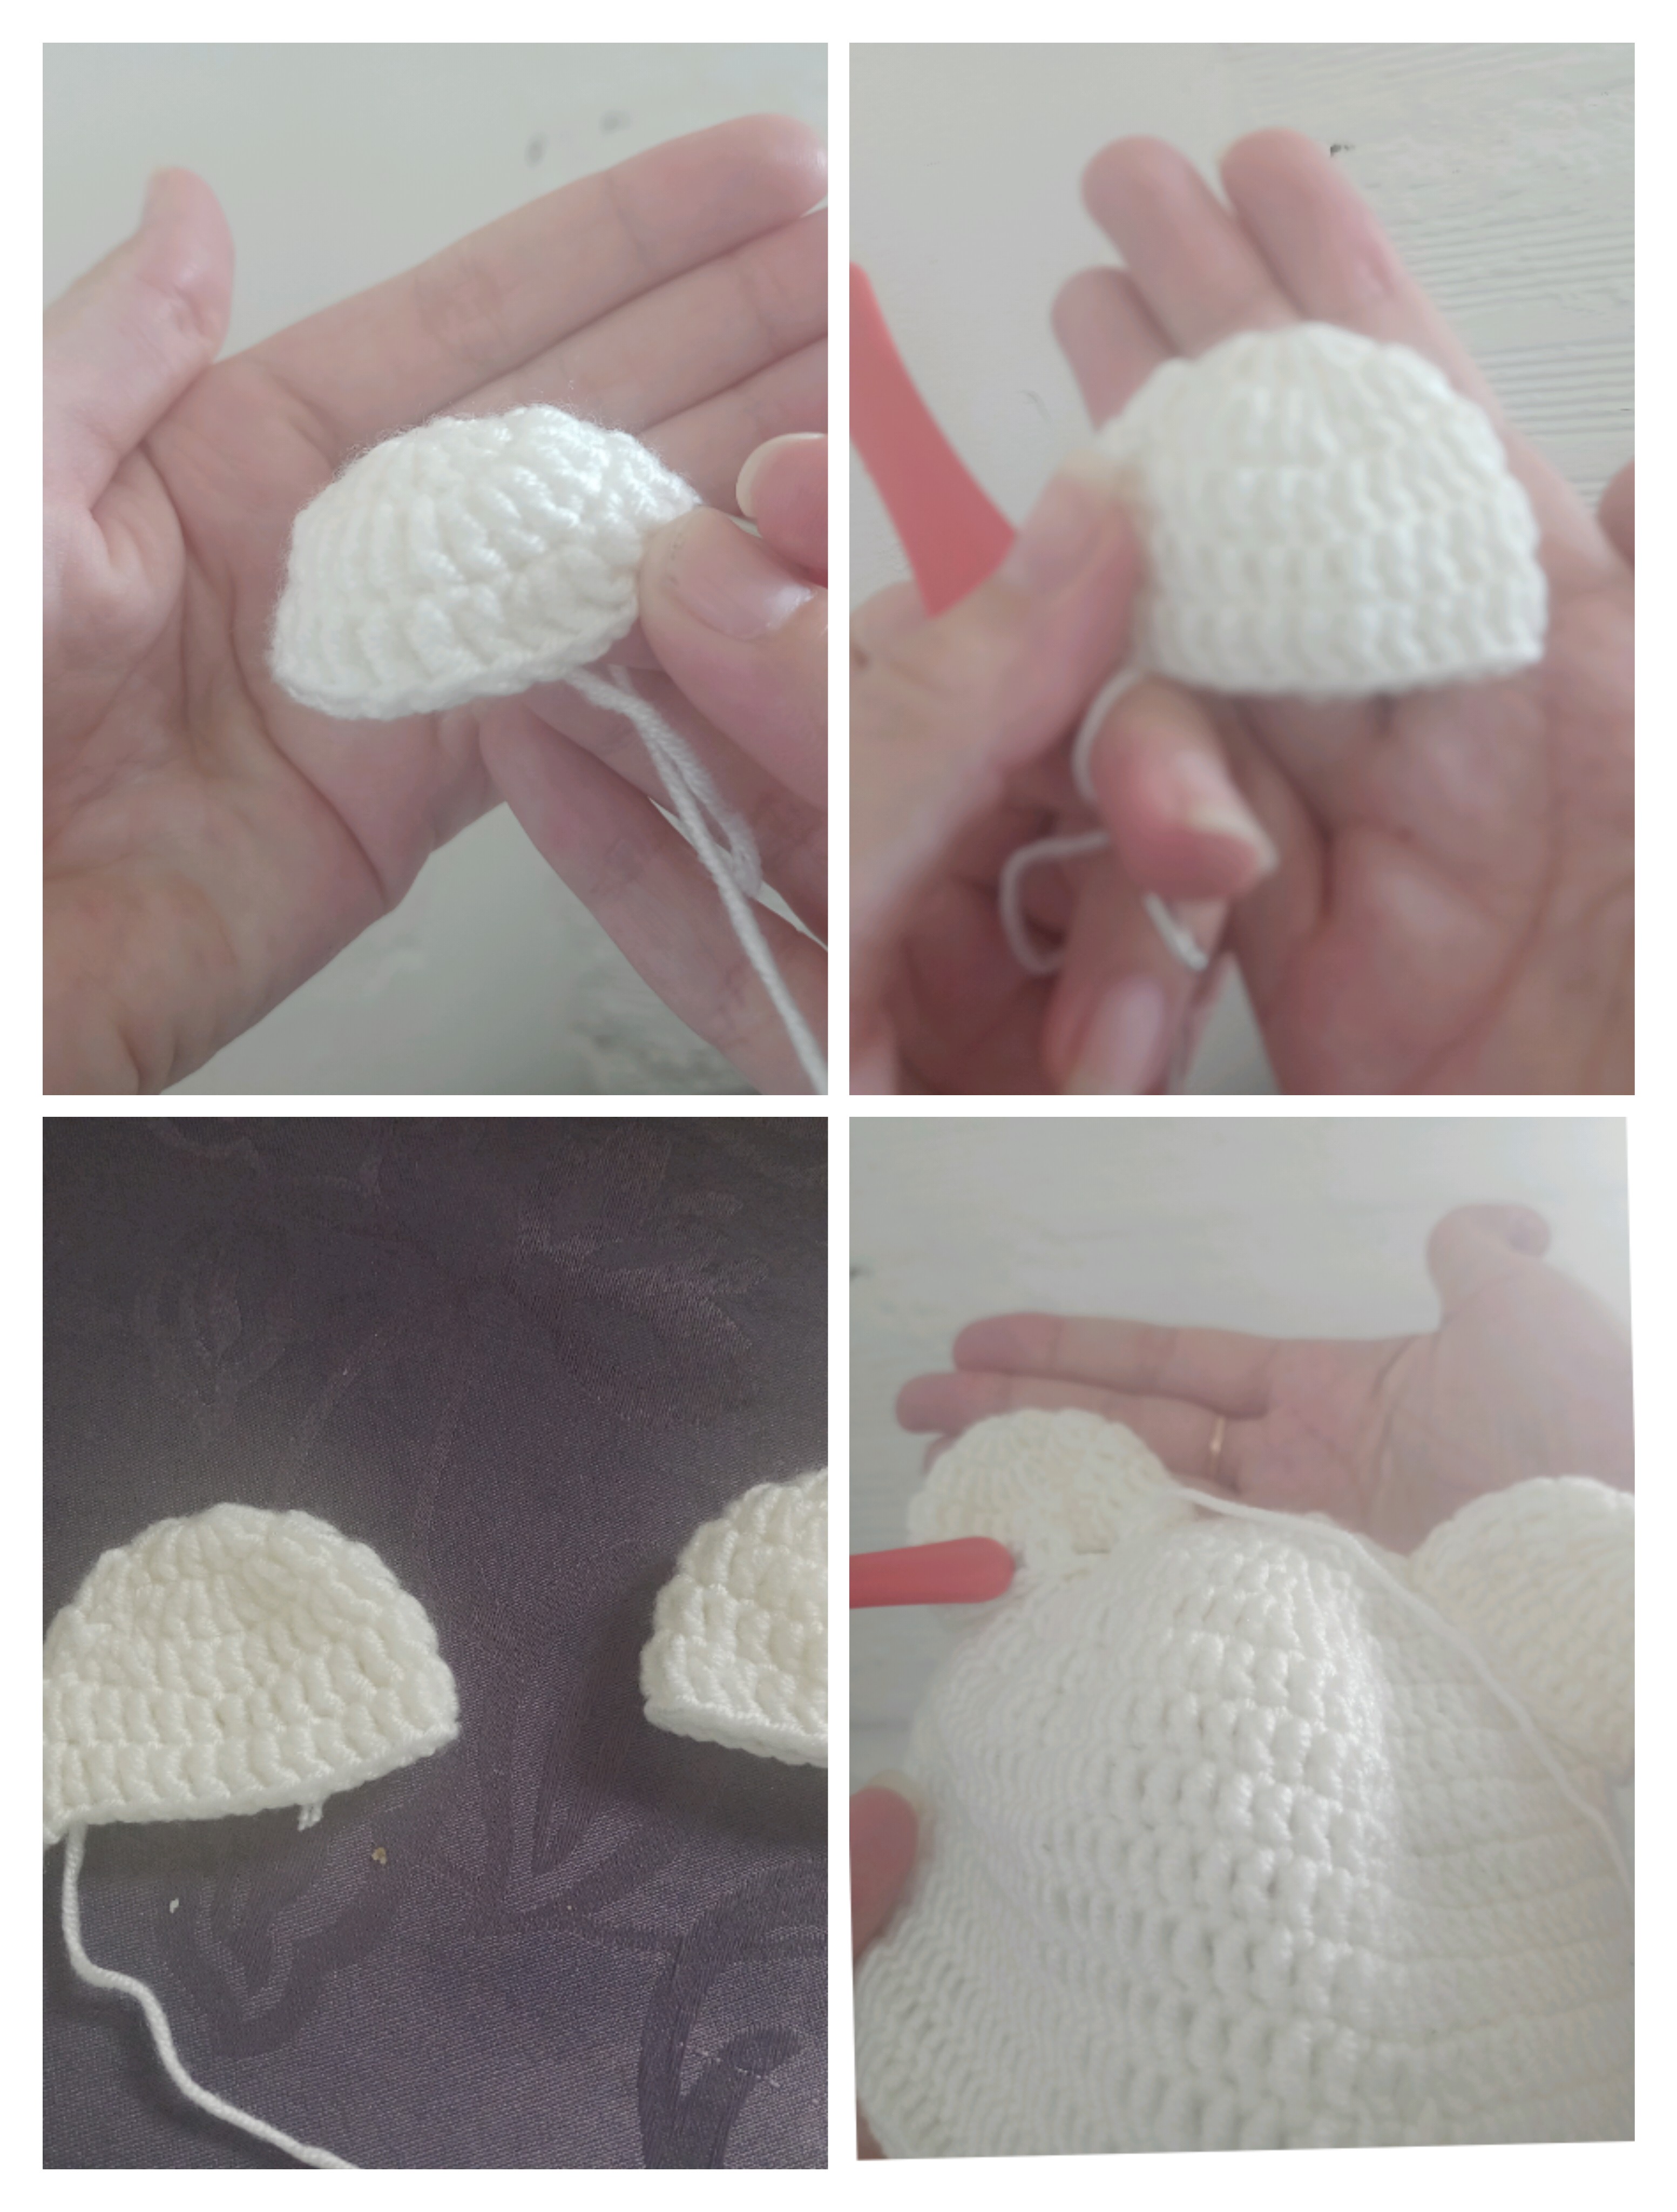
Done, so the new hat will be ready, I really loved it, and if you want to see how easy it is to practice, try it, you'll see that it will look beautiful on you.
RESULTADO FINAL
FINAL SCORE
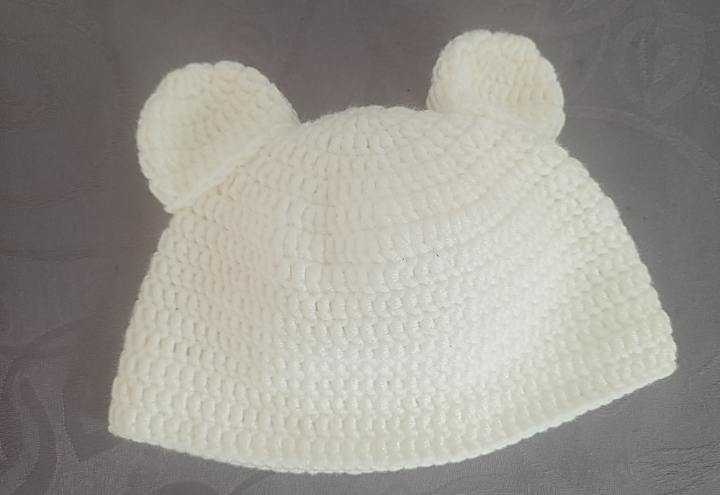
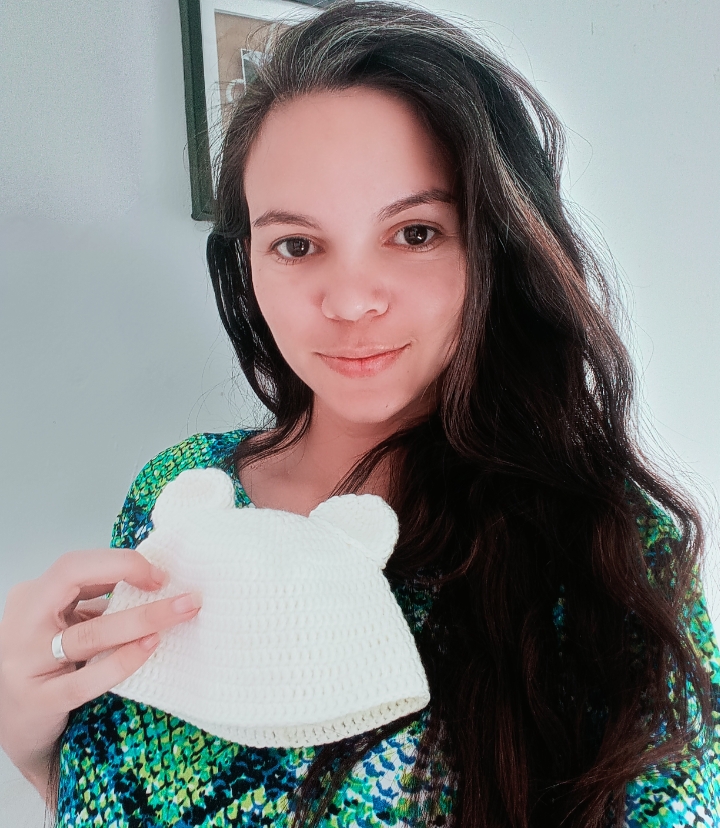
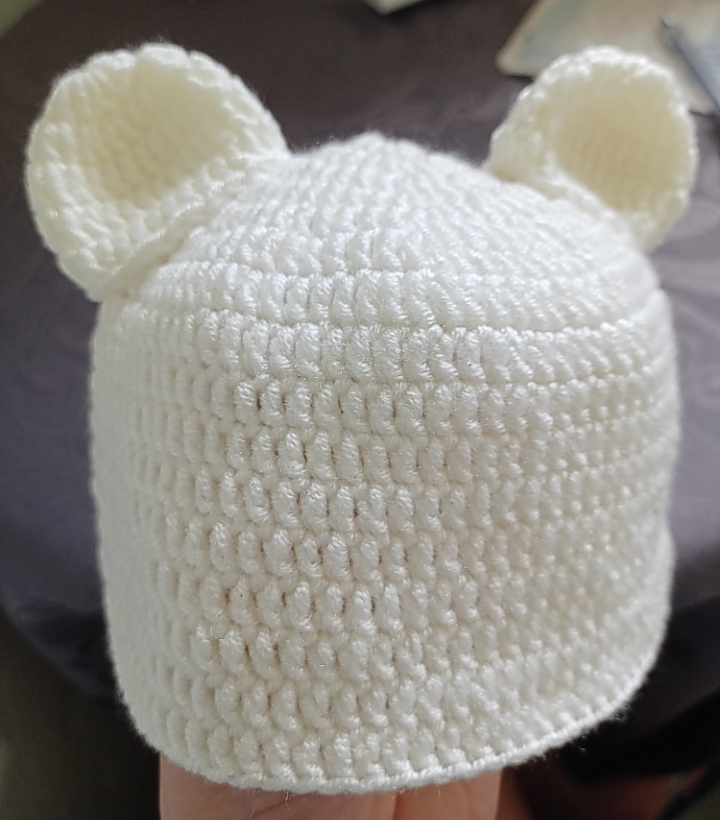
REMEMBER THAT YOU CAN GIVE IT YOUR PERSONAL TOUCH!
Happy to share with you friends, one more of my projects, I hope you liked it! It was made with love and dedication😊
I think it turned out very well for having been my first attempt, thank you very much for having come this far!
Fotografías propias tomadas con mi REALME 7i
Contenido 100% exclusivo
Own photos taken with my REALME 7i
100% exclusive content
Se ve un tejido muy lindo. Te cuento que para mí esto si es difícil, de verdad el que te teje tiene mi admiración. Me gustó mucho tu gorro . Saludos
Mi hermana dice lo mismo, se le hace bastante difícil, desde que inicié me di cuenta de todo el trabajo que esto conlleva. Gracias por tu visita! Me alegra saber que te gustó! ☺️
¡Felicidades! Esta publicación obtuvo upvote y fue compartido por @la-colmena, un proyecto de Curación Manual para la comunidad hispana de Hive que cuenta con el respaldo de @curie.
Si te gusta el trabajo que hacemos, te invitamos a darle tu voto a este comentario y a votar como testigo por La Colmena.
Si quieres saber más sobre nuestro proyecto, te invitamos a acompañarnos en nuestro servidor de Discord.
Hermoso trabajo!! 😍 esta idea me sirve mucho porque quiero comenzar a tejer cositas para un bebé de mi hermana que aún no sabemos si será niño o niña y este gorrito es unisex, así que lo voy a tener en cuenta.🌼 Muchas gracias por compartirlo!! 🌷
Está hermoso, me encantó, es un lindo detalle para tu bebé, por supuesto, lleno de cariño. Saludos y bendiciones para los dos.