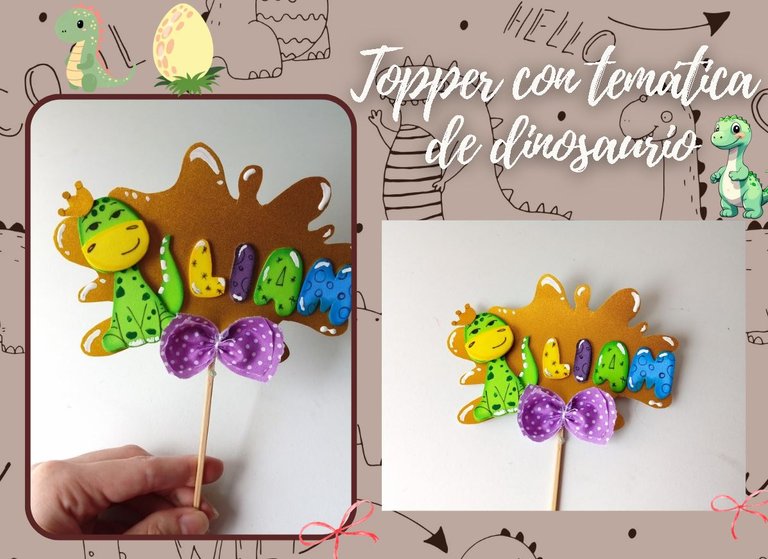
[Esp/Eng] ✨Topper con temática de dinosaurio . // Dinosaur Themed Topper . ✨
✨¡Hola amigos amantes de la creatividad! Espero que hayan pasado un muy buen comienzo de semana.✨
🔸Sin más que añadir, a continuación los dejo con el paso a paso:
✨¡Hello friends who love creativity! I hope you had a very good start to the week.✨
¡Good afternoon friends! I hope you are having a great week. For my part, I am quite happy. On this occasion I share with you the step by step to make a beautiful dinosaur-themed topper. A couple of months ago, I made a beautiful creation with this theme and the truth is that I didn't have much faith in it, but the result has been one of my favorites. That is why I wanted to give it another chance and made this beautiful topper, perfect for cakes or sweets.
I don't usually make toppers because I don't have some of the necessary materials, because in my opinion, to make the work a little easier, you should use small scissors, since there are many small pieces that must be cut out and very small spaces that are difficult to cut with such big scissors.
🔸Without more to add, then I leave you with the step by step:
♥️ESPERO QUE TE GUSTE,
¡Empecemos!
♥️I HOPE YOU LIKE IT,
Let's start!

✂️ MATERIALES | ✂️ MATERIALS

- Cartulina escarchada dorada.
- Foami verde.
- Foami amarillo.
- Foami morado.
- Foami azul.
- Pinturas y marcadores.
- Palito de altura.
- Lazo.
- Hoja blanca.
- Pegamento.
- Tijeras.
- Lápiz.
- Gold frosted cardstock.
- Green foam.
- Yellow foam.
- Purple foam.
- Blue foam.
- Paints and markers.
- Tall stick.
- Ribbon.
- White sheet.
- Glue.
- Scissors.
- Pencil.

🌟 PROCEDIMIENTO | 🌟 PROCESS

- PASO 1:
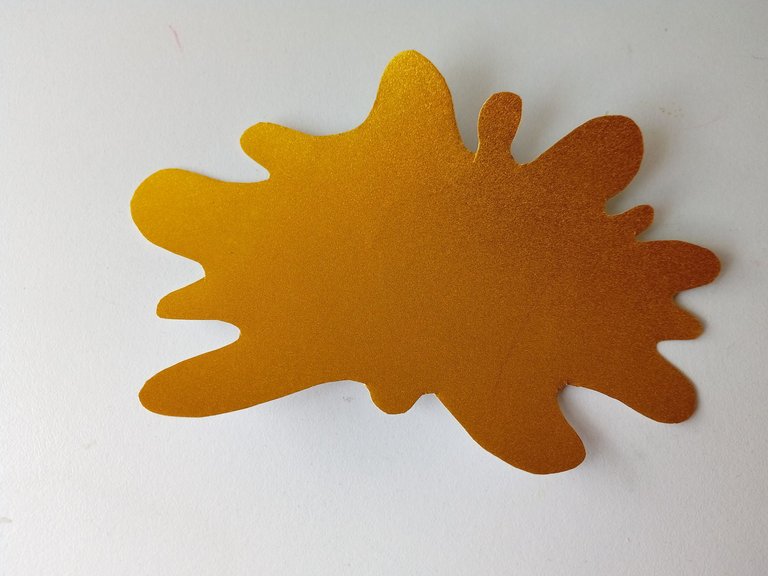
Comencé elaborando el fondo del topper, en esta ocasión quería un fondo con la apariencia de una mancha de pintura, así que dibujé la forma a mi gusto en una hoja blanca y luego lo transferí a la cartulina escarchada y recorté.
- STEP 1:
I started by making the background of the topper, this time I wanted a background with the appearance of a paint stain, so I drew the shape to my liking on a white sheet and then transferred it to the frosted cardstock and cut out.


- PASO 2:
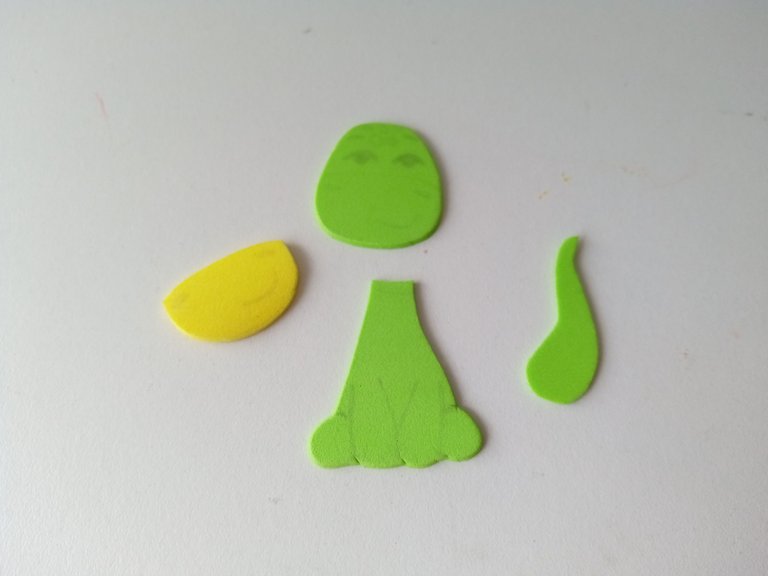
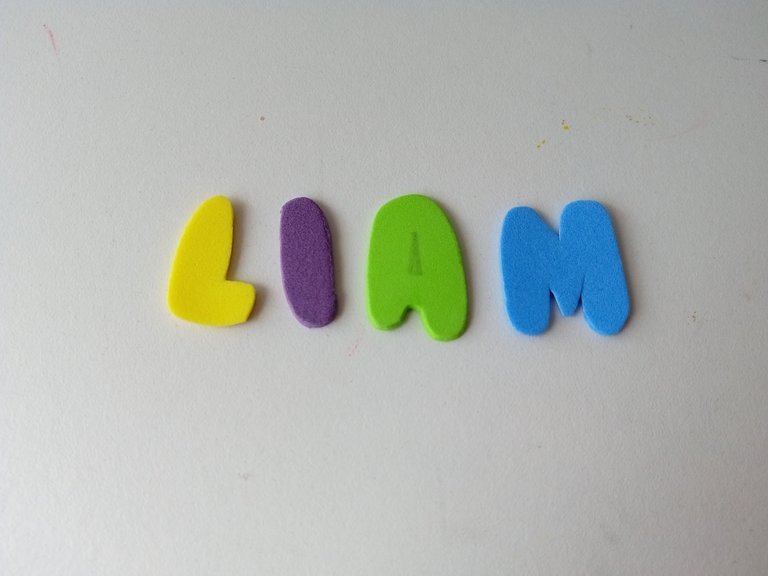
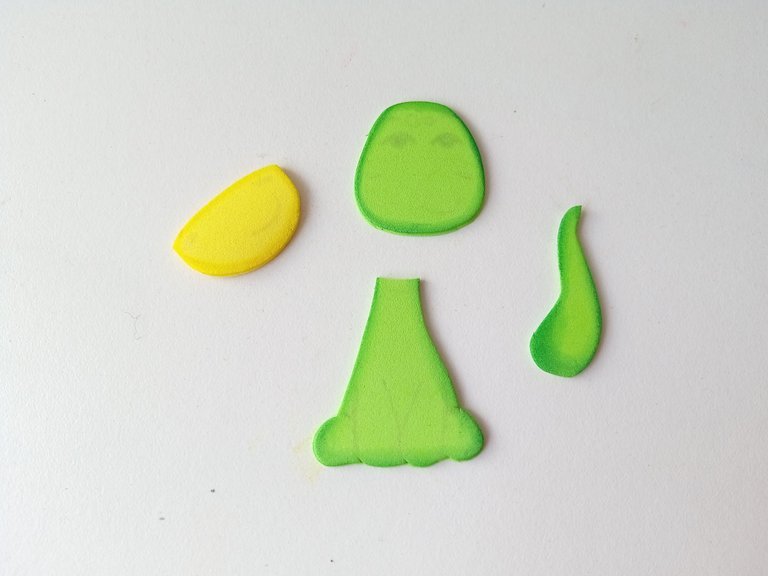
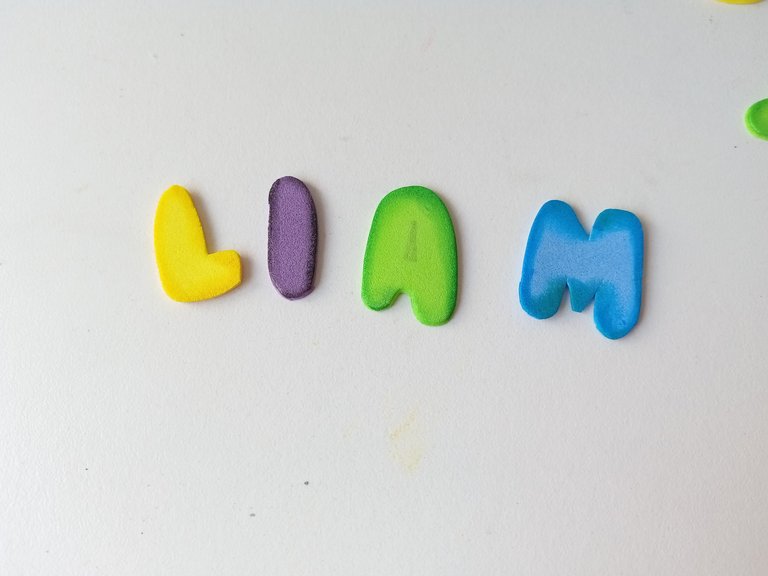
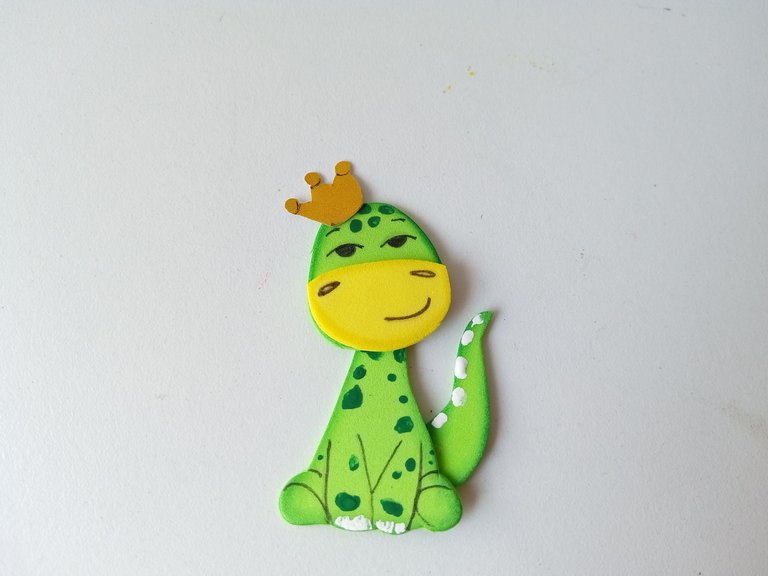
Luego comencé a dibujar los patrones del dinosaurio y las letras del nombre a gusto en una hoja blanca y de ahí los transferí a los colores correspondientes de foami como explico a continuación: cuerpo, cabeza y cola del dinosaurio en foami verde, y hocico en foami amarillo. En cuanto a las letras, transferí cada una a los colores restantes; azul, verde, morado y amarillo, en el orden deseado. También aproveché de dibujar y recortar en foami una corona para el dinosaurio en cartulina escarchada.
- STEP 2:
Then I began to draw the patterns of the dinosaur and the letters of the name as desired on a white sheet and from there I transferred them to the corresponding colors of foam as I explain below: body, head and tail of the dinosaur in green foam, and snout in foam yellow. As for the letters, I transferred each one to the remaining colors; blue, green, purple and yellow, in the desired order. I also took advantage of drawing and cutting out a crown for the dinosaur in frosted cardboard out of foam.


- PASO 3:
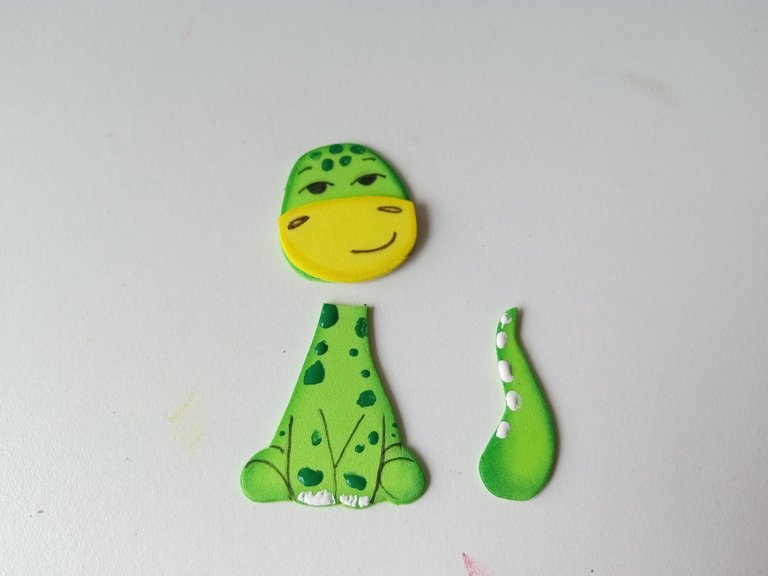
Una vez listas todas las piezas, pase color a los bordes con pinturas, un tono más oscuro que cada una de las piezas del dinosaurio. Luego, di más detalles con pintura a las manchas del cuerpo, pesuñas y los detalles del rostro y cuerpo con ayuda de un marcador negro. Dejé a un lado a esperar que seque.
- STEP 3:
Once all the pieces are ready, color the edges with paint, a tone darker than each of the dinosaur pieces. Then, I gave more details with paint to the spots on the body, hooves and the details of the face and body with the help of a black marker. I set it aside to wait for it to dry.


- PASO 4:
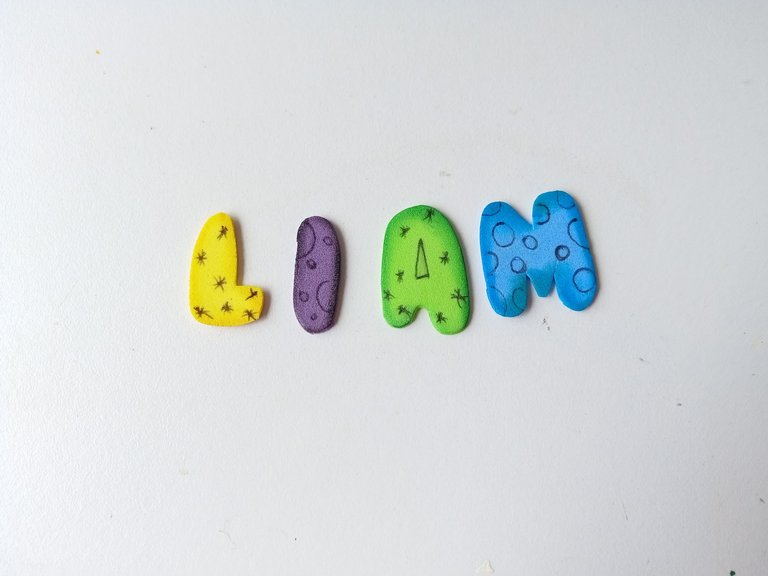
Luego, repetí más o menos el mismo proceso, pero esta vez con las letras, así que pasé color por los bordes con pinturas que hicieran contraste con cada uno de los colores y dibujé figuritas por dentro de cada una de las letras con marcador negro.
- STEP 4:
Then, I repeated more or less the same process, but this time with the letters, so I colored the edges with paints that contrasted with each of the colors and drew figures inside each of the letters with black marker.


- PASO 5:
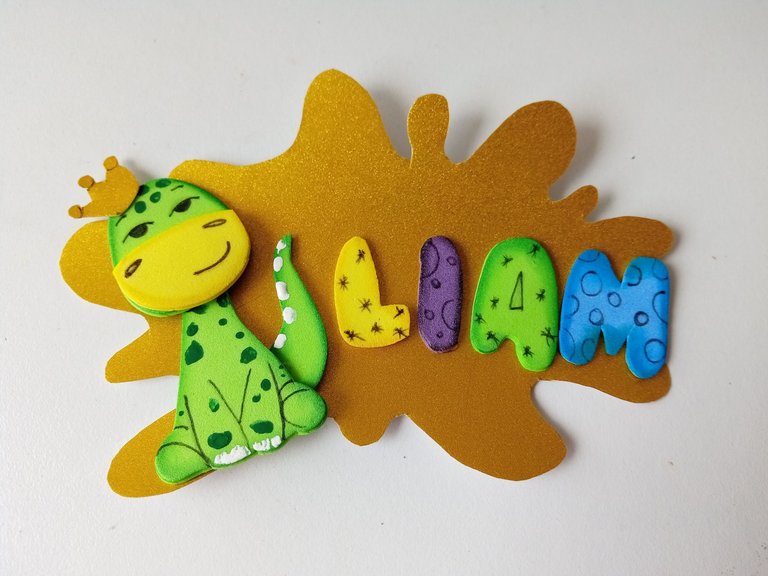
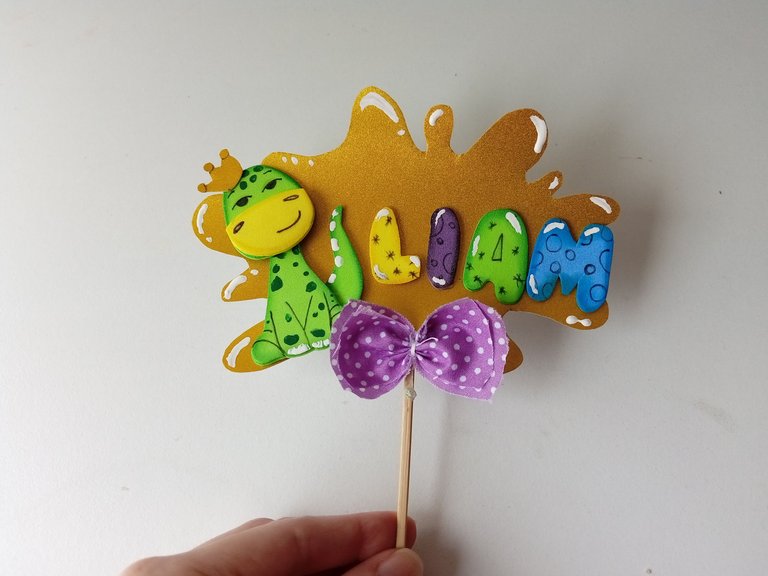
Al estar totalmente seco el dinosaurio (en mi caso porque utilicé pinturas), pegué cada una de las piezas en el orden correspondiente y sobre la cabeza la pequeña corona de cartulina escarchada dorada. Después, pegué el dinosaurio en el fondo que elaboramos al inicio y a un lado pegué las letras formando el nombre.
- STEP 5:
Once the dinosaur was completely dry (in my case because I used paints), I glued each of the pieces in the corresponding order and on the head the small gold frosted cardboard crown. Then, I glued the dinosaur on the background that we made at the beginning and on one side I glued the letters forming the name.


- PASO 6:
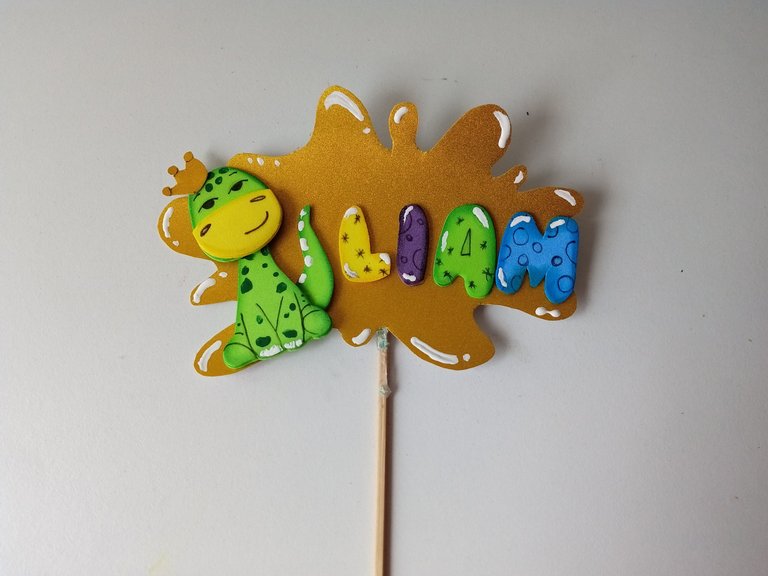
Seguidamente, di puntos de luz a todas las letras y al fondo con pintura blanca y en el orden deseado. Luego, pegué el palito de altura centrado en la parte trasera del fondo. Finalmente, pegué un lazo justo en la parte que conecta el palito con el fondo.
- STEP 6:
Next, I gave highlights to all the letters and the background with white paint and in the desired order. Next, I glued the height stick centered on the back of the background. Finally, I glued a bow right on the part that connects the stick to the bottom.

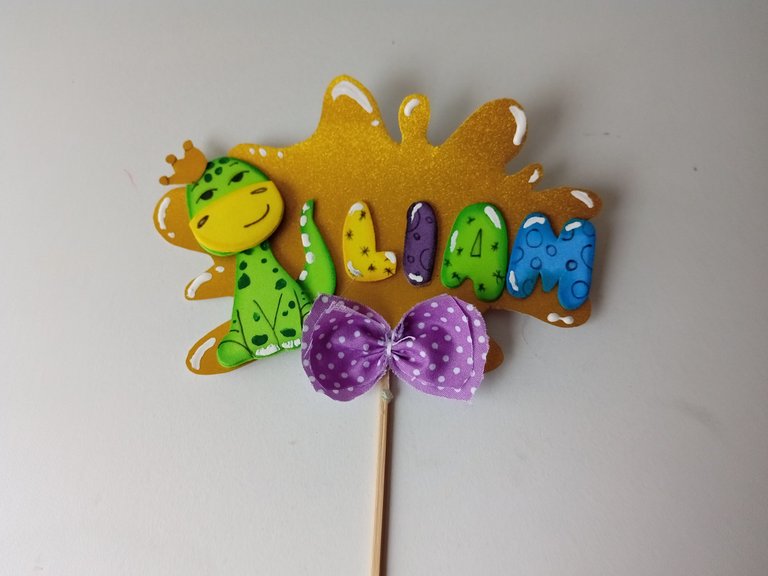

✨¡And ready!✨ This is how you can make a nice topper for your little one's birthday or with the desired theme. It seems like a pretty simple idea to me, but I don't know, what do you think, did you like it? I hope you liked it and are encouraged to make this step by step.
❤️Until the next post.

✨RESULTADO: | ✨RESULT:



Todas las fotografías son de mi propiedad.
Separador y Fotos editadas en Canva
All photographs are my property.
Photos edited in Canva
This is beautiful, I love your creativity, keep up the good job, thanks for sharing.
Muchas gracias, amiga! Me alegra mucho que te haya gustado y por tus lindas palabras.
Saludos ✨
De nada amigo, sigue con el gran trabaj
Pero eso quedó hermoso! Amo los dinosaurios en dibujos 😍
Muchas gracias mi Eve 💕. Jaja sí, son muy tiernos 🤭
Que preciosura de topper ami 😍 Esa temática es super linda y ese estilo que le diste me encanta, te quedó hermoso y muy original el diseño ❤️
Muchas gracias mi Mary!! Pues si tú lo dices , yo te creo porque para mí tu eres la mejor haciendo Toppers 💕
Gracias Ami 😘
Te quedó súper lindo este topper y amé la expresión del dinosaurio ♥ saludos!
Muchas gracias, bella! Me alegra que te haya gustado 🤭. Sí, tiene una expresión chistosa 😄
Bueno ami para tener poco materiales, quedó HERMOSOOOO, a Chris le encantaria jeje ama los dinosaurios 😍
Gracias Mili hermosa! Es verdad, debe quedar bonita una fiesta con esta temática para Chris Ami 💕
De eso fueron sus 3 añitos amiii, todo bello de dinosaurios jeje el los amaaaa hasta la fecha
Me encantó, tendré en cuenta esta temática para el cumpleaños de mi sobrino, a él le gustan mucho los dinosaurios.
Qué linda! Pus espero que esta idea te sirva , amiga 💕. A mí se me hace una temática muy bonita para los cumpleaños de los pequeñitos.💕
Saludos ✨
Te quedó muy bonito amiga, los topper a mí me parecen una belleza total les dan un gran toque a los arreglos o a las tortas🥰
Muchas gracias mi Yage! Bueno, tu sabes un poquito más de Toppers que yo y te quedan súper bellos 💕
Congratulations, your post has been curated by @dsc-r2cornell. You can use the tag #R2cornell. Also, find us on Discord
Felicitaciones, su publicación ha sido votada por @ dsc-r2cornell. Puedes usar el tag #R2cornell. También, nos puedes encontrar en Discord
Muchas gracias por el apoyo amigos ☺️💕
Qué bonito, tiene mucha dulzura, y a que niño no le gusta un dinosaurio, este topper es una grandiosa idea. Me encanto el paso a paso. Gracias por compartir querida @valenpba
Qué linda! Muchas gracias amiga, me alegra muchísimo que te haya gustado todo el proceso y el resultado final 💕
¡¡Hay si amiga, quedo superlindo!!
Amiga la verdad es que te quedó súper lindo, se nota el amor que le pones a cada trabajo sea muy o poco elaborado. Me encantó ❤️
Muchas gracias mi Vane! Agradezco tus lindas palabras y que se note ese amor que le pongo a mis creaciones 💕🥺
Excelente post, te quedo muy lindo el topper. Continúa haciendo cosas hermosas.