[Esp/Eng] ✨ Organizador de escritorio.// Desk organizer.✨
✨🖍️¡Hola amigos amantes de la creatividad! Espero que hayan pasado un muy buen comienzo de semana.✨
🔸Sin más que añadir, a continuación los dejo con el paso a paso:
✨🖍️¡Hello friends who love creativity! I hope you had a very good start to the week.✨
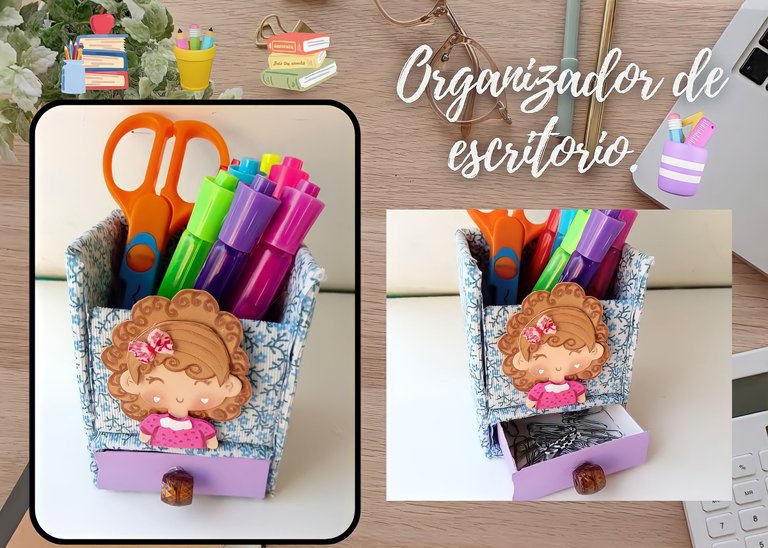
I hope you are doing well and had a nice Monday. On this occasion I share with you the step by step of a beautiful desk organizer. It is evident that the organizer can be used for children or adults, but this time it is created with the little ones in mind, for their study area. One of my favorite creations are organizers, I am excited to see how beautiful shelves or drawers are made with few materials to organize our materials.
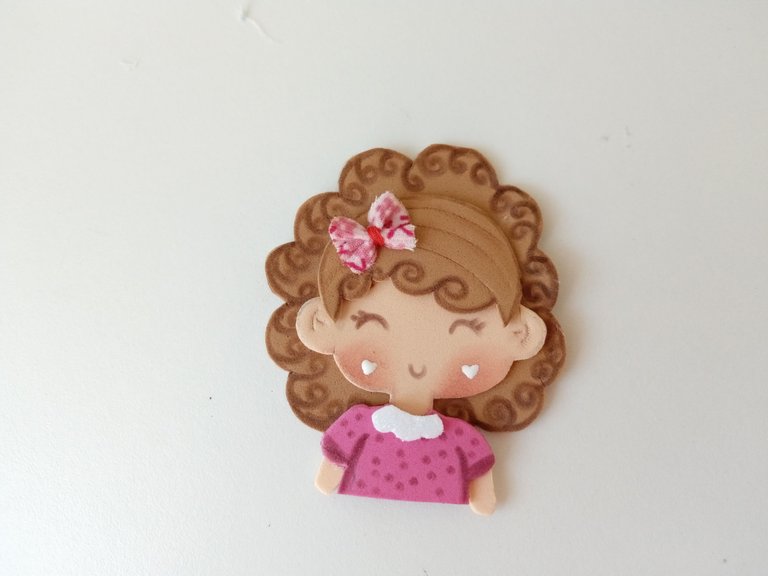
In this case, I wanted to make an organizer for a girl and apart from the organizer, I made the figure of a little girl to decorate. This also seemed like a good idea for them to create the figure with the appearance of their children and make them excited to see themselves in a small figure.
🔸Without more to add, then I leave you with the step by step:
♥️ESPERO QUE TE GUSTE,
¡Empecemos!
♥️I HOPE YOU LIKE IT,
Let's start!

✂️ MATERIALES | ✂️ MATERIALS

- Cartón.
- Tela con el diseño
deseado. - Pinturas.
- Marcadores.
- Tizas.
- Foami fucsia.
- Foami carne.
- Foami marrón.
- Pegamento.
- Hoja blanca.
- Regla.
- Lápiz.
- Cardboard.
- Fabric with design
wanted. - Paintings.
- Markers.
- Chalks.
- Fuchsia foami.
- Foami meat.
- Brown foam.
- Glue.
- White sheet.
- Ruler.
- Pencil.

🖍️ PROCEDIMIENTO | 🖍️ PROCESS

- PASO 1:
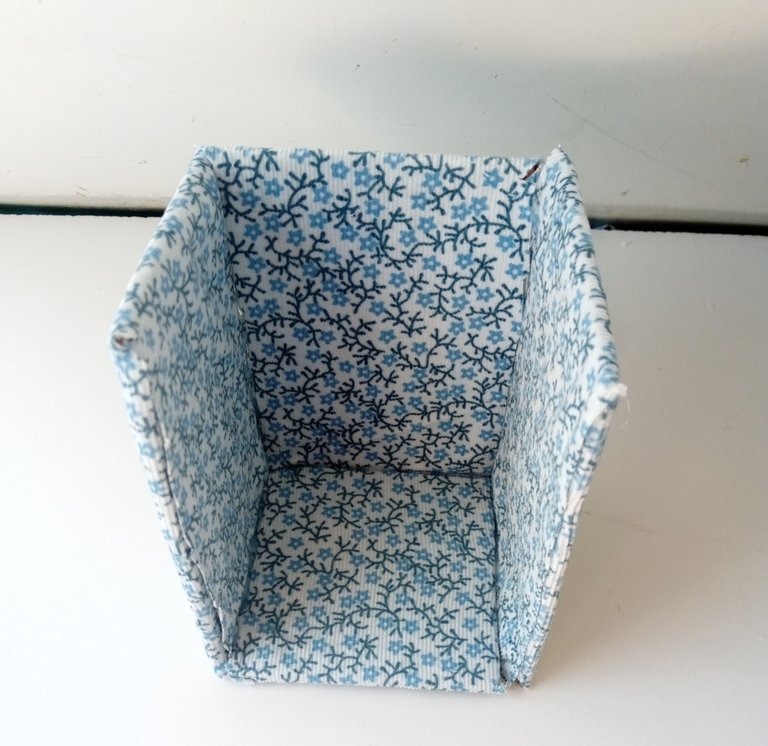
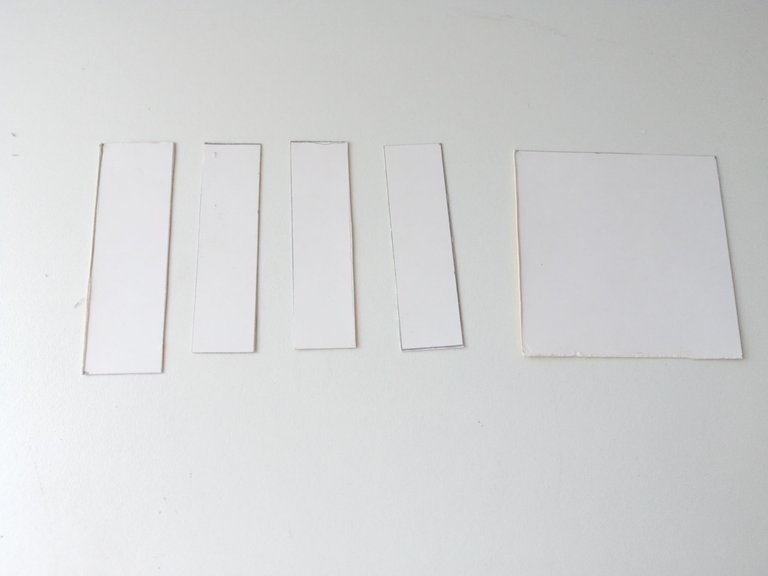
Lo primero que hice fue trazar y recortar las medidas que quería para la estructura de mí organizados. En este caso, hice 3 paredes que fueron 2 laterales y 1 trasera de 12 cm x 8 cm, otras 2 piezas que serían la base, y para darle forma al cajón de 8 cm x 8.5 cm, y otra pieza más pequeña de 8 cm x 6 cm. Una vez recortadas, tomé la tela, recorté el doble del tamaño de cada pieza de cartón y 1 cm más grande a los laterales, con el fin de forrar perfectamente por ambos lados, como les muestro en las siguientes imágenes…
- STEP 1:
The first thing I did was trace and cut out the measurements I wanted for the structure to be organized. In this case, I made 3 walls that were 2 side and 1 rear of 12cm x 8 cm, another 2 pieces that would be the base, and to shape the drawer of 8 cm x 8.5 cm, and another smaller piece of 8 cm x 6cm. Once cut out, I took the fabric, cut twice the size of each piece of cardboard and 1 cm larger on the sides, in order to line it perfectly on both sides, as I show you in the following images…

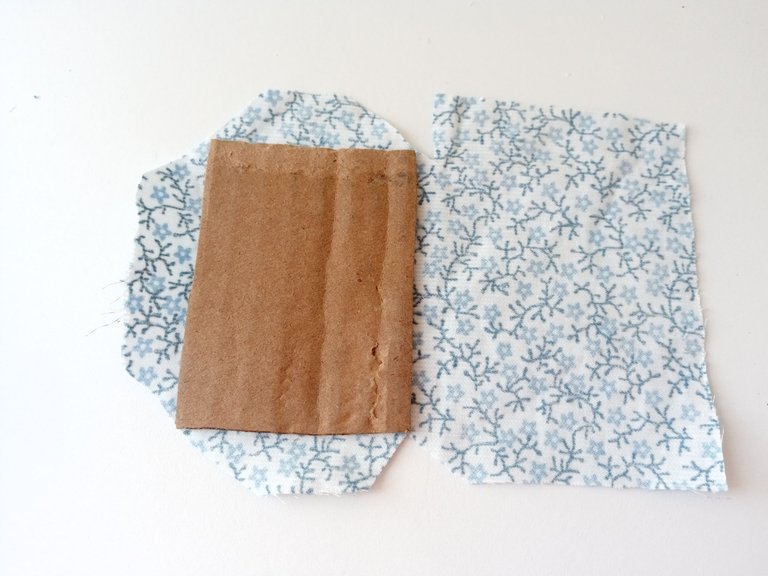
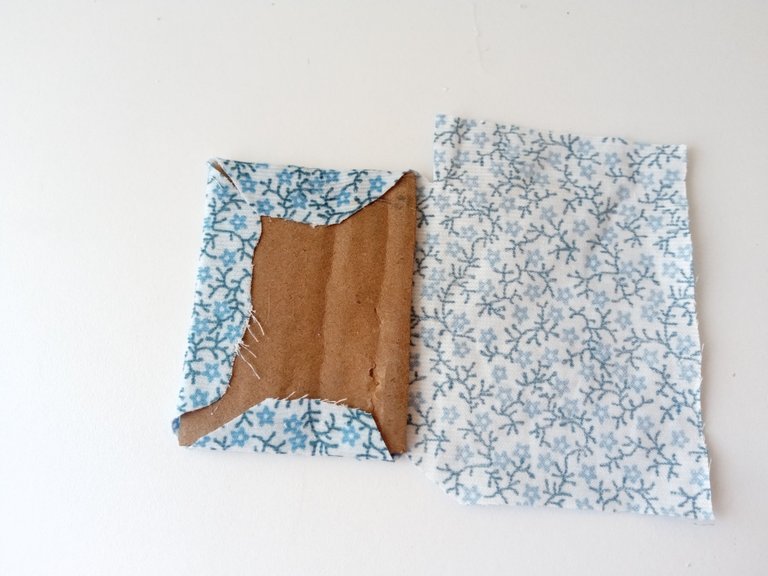
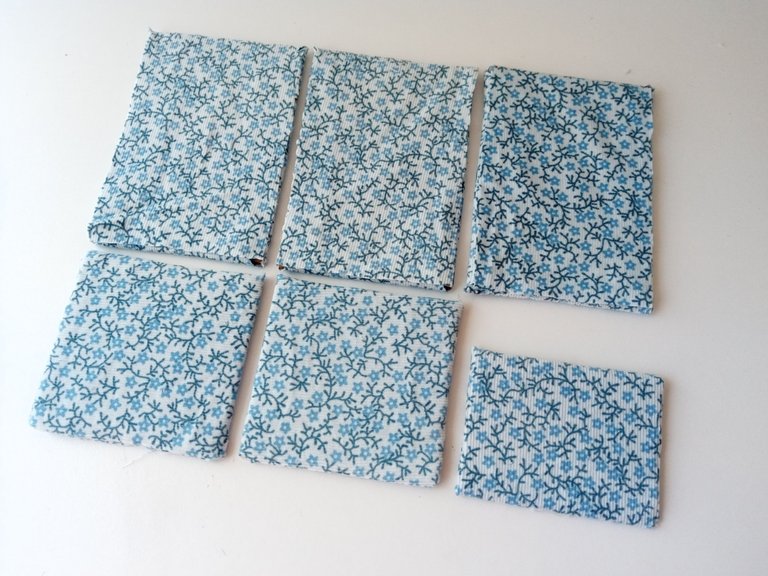

- PASO 2:
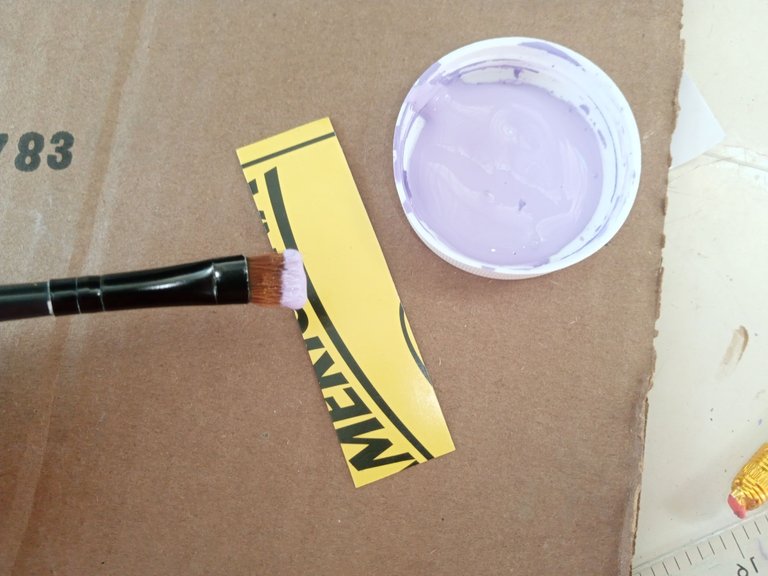
Una vez las piezas estuvieron forradas, comencé a armar. A la base le pegué las 3 paredes de forma vertical, procurando que ningún espacio quedara sin pegamento. Mientras secaba, tracé y recorté las piezas para el cajón, pero esta vez utilicé un cartón más delgado. Las medidas fueron las siguientes: la base de 7.5 cm x 7.5 cm, para las paredes, 3 piezas de 7.5 cm x 2 cm y 1 pieza de 8 cm x 3 cm para el frente. Al estar recortadas las pinté con pintura lila, para contrastar con el azul de la tela que estaba utilizando.
- STEP 2:
Once the pieces were lined, I began to assemble. I glued the 3 walls vertically to the base, making sure that no space was left without glue. While it dried, I traced and cut out the pieces for the drawer, but this time I used thinner cardboard. The measurements were as follows: the base of 7.5 cm x 7.5 cm, for the walls, 3 pieces of 7.5 cm x 2 cm and 1 piece of 8 cm x 3 cm for the front. When they were cut out, I painted them with lilac paint, to contrast with the blue of the fabric I was using.


- PASO 3:
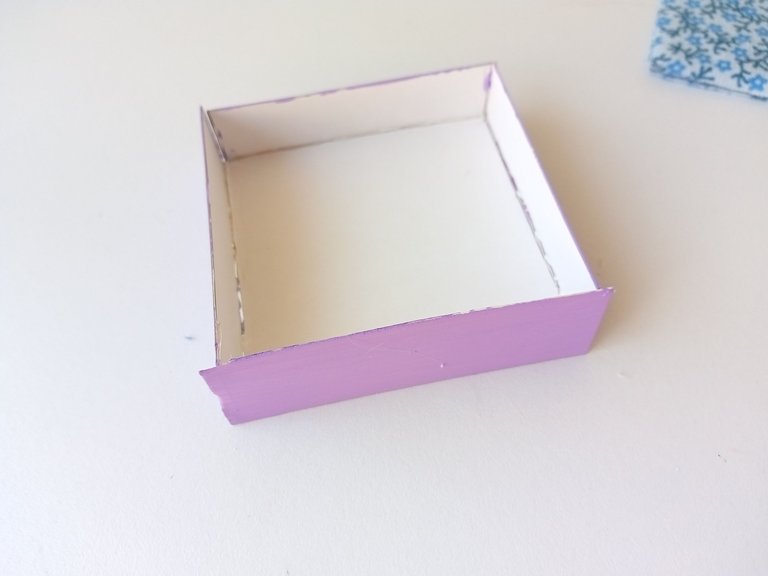
Una vez secas las piezas, armé el cajón y pegué una perla en medio. Coloqué en el organizador y arriba pegué la otra pieza cuadrada y de forma vertical la pared más pequeña.
- STEP 3:
Once the pieces were dry, I assembled the drawer and glued a pearl in the middle. I placed it in the organizer and on top I glued the other square piece and the smaller wall vertically.

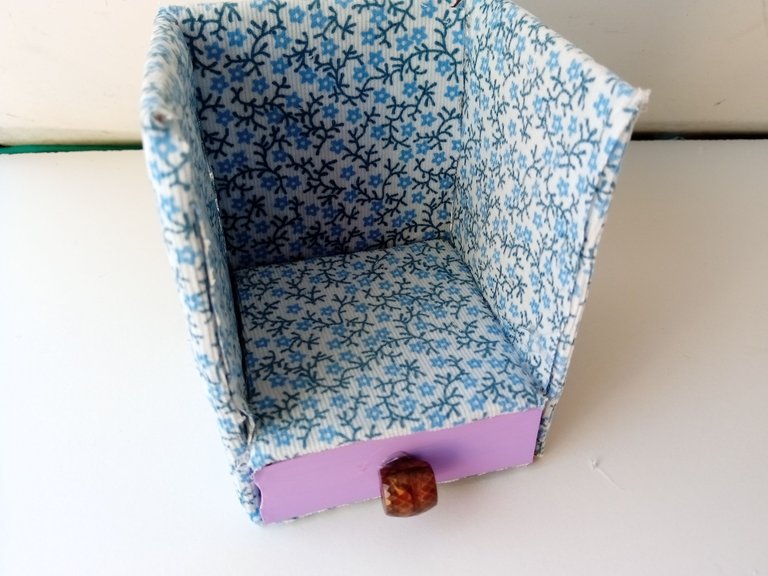
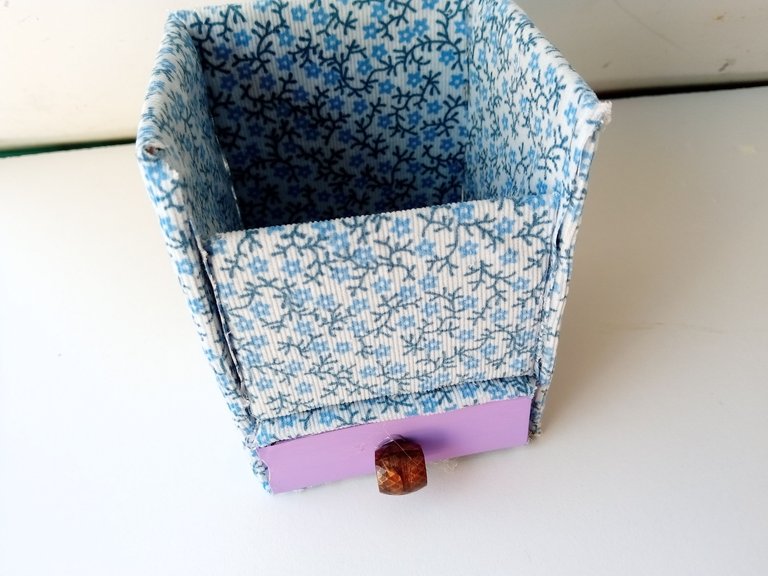

- PASO 4:
Luego, dibujé el patrón de la muñeca que iba a utilizar como decoración y lo transferí al color correspondiente de foami. Para esta figura utilicé foami marrón para el cabello, fucsia y blanco para la ropa y color piel para su rostro y brazos. Con marcador marrón di detalles de rulos en el cabello, ropa y rostro. También di color a las mejillas con tiza.
- STEP 4:
Then, I drew the pattern of the doll that I was going to use as decoration and transferred it to the corresponding color of foami. For this figure I used brown foam for the hair, fuchsia and white for the clothes and skin color for his face and arms. With brown marker I gave details of curls in the hair, clothes and face. I also colored the cheeks with chalk.

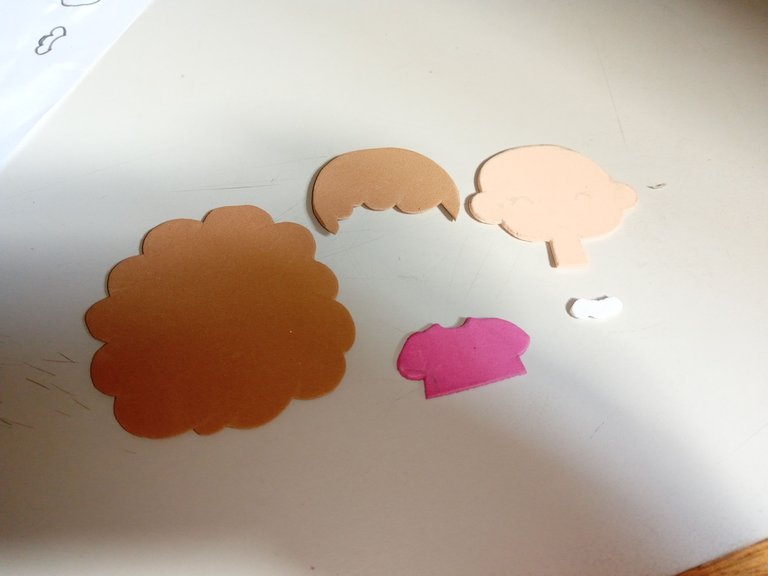
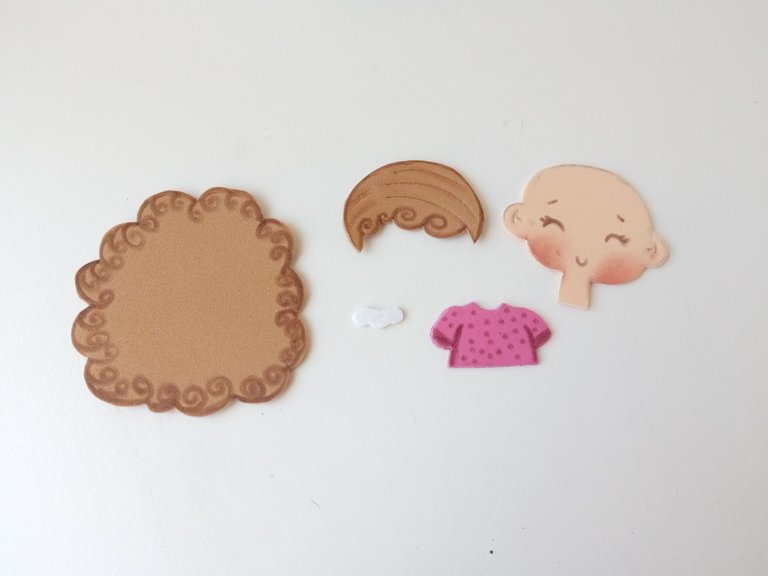

- PASO 5:
Luego, pegué las piezas en su lugar, di luz a las mejillas dibujando unos corazones con pintura blanca y pegué un pequeño lazo que tenía guardado. Por último, pegué la figura en la pared más pequeña.
- STEP 5:
Then, I glued the pieces in place, highlighted the cheeks by drawing some hearts with white paint, and glued on a small bow that I had saved. Lastly, I glued the figure to the smaller wall.

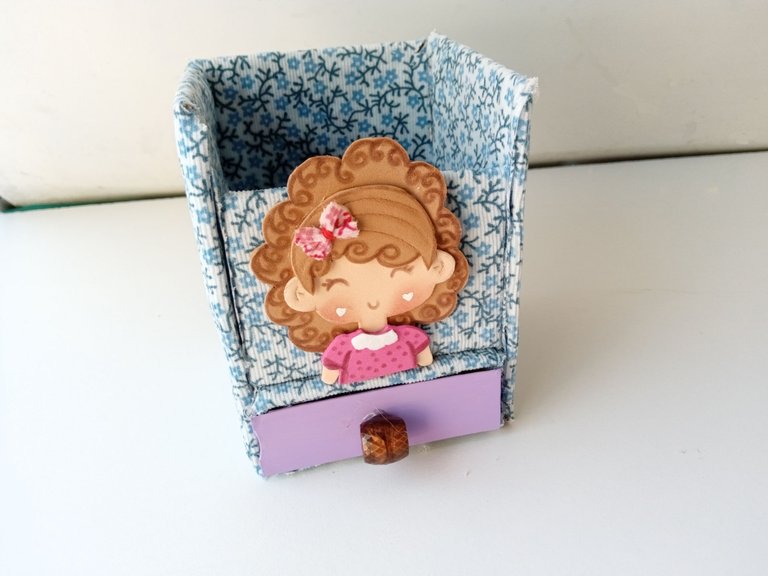

✨🖍️¡And ready!✨This way you can make a nice organizer for the little ones at home or for yourself, because in the end it is a nice idea for everyone and it does not require a large amount of materials to carry out this idea. I hope you liked the step by step and are encouraged to make it.
❤️Until the next post.

✨RESULTADO: | ✨RESULT:

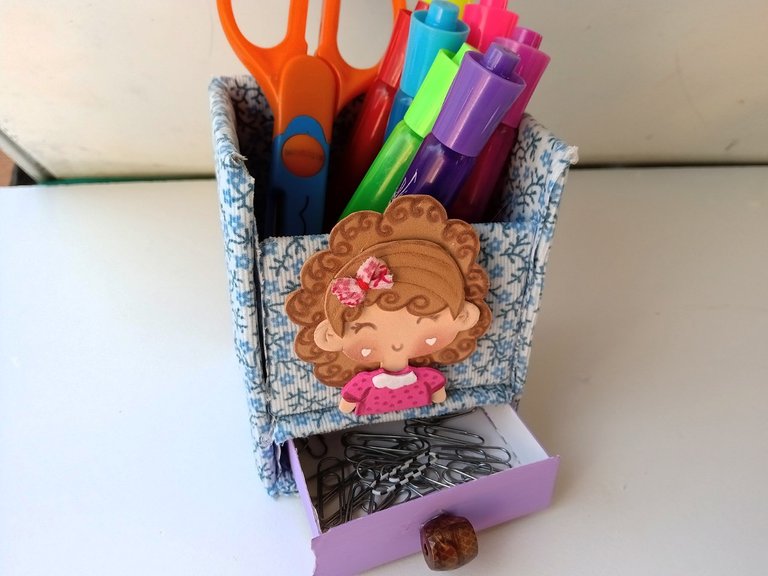


Todas las fotografías son de mi propiedad.
Separador y Fotos editadas en Canva
All photographs are my property.
Photos edited in Canva
Pero es que esta niña se pasa con esas bellezas chocalassss ¡Me enamore! Quiero uno de estos, esa gavetita tan cuchi💗
El cabellito de la muñequita, NOOOOOO una belleza total ✨💗
Jaja chocalas!! Gracias amiga hermosa. Tienes que hacerle uno así a Lio para que meta sus ganchitos. ❤️
Ahjaja quedó chistoso ese cabellito.🤭💗💗 Gracias preciosa.
Esta muy lindo amiga, me encanta que sueles incorporar tela y eso le da un toque muy lindo al trabajo.
Esta esta súper tierna.
hermoso me encanto fácil y rápido de hacer , gracias por compartir tus bellas manualidades
Muchas gracias, amiga! Me alegra que te haya gustado esta creación.
Saludos.✨💕
Pero que preciosura amiii, yo necesito empezar a crear cositas pero este año empecé floja jajaja este organizador me encanta, necesito algo así, espero hacer uno pronto, la idea me sirve para inspirarme 🥰
It is so beautiful and useful. Love its design. It shows your skills and creativity! Great job!
Thank you very much for taking my creations into account and always leaving a nice comment. Greetings ✨💗
https://twitter.com/hivediy47901/status/1747328979890065748
Qué precioso 😍, me encantó la gavetica, se ve genial, muy buen trabajo.
Quedó lindo
Te quedo muy bonito y sobre todo es muy útil. También puede servir para colocar pinceles, gachos para el pelo. Felicitaciones por tu proyecto.
Saludos @valenpba
Congratulations, your post has been upvoted by @dsc-r2cornell, which is the curating account for @R2cornell's Discord Community.
Enhorabuena, su "post" ha sido "up-voted" por @dsc-r2cornell, que es la "cuenta curating" de la Comunidad de la Discordia de @R2cornell.
Muchas gracias amigos. Saludos 💕💗✨
Gracias por compartir esta idea para organizador de escritorio. Mi madre es maestra de escuela y estoy segura le le encantaría tener uno de estos. Saludos.
Que bonito! Estoy segura de que le encantaría un detallito como este.
Muchas gracias, linda. Saludos.❤️
Aww que adorable el detalle de la niña. Te quedó hermoso mi Valen y a demás, super creativo! El detalle de la gaveta esta increíble. Me encantó 😍
Tan bella Ami! Muchas gracias por tus bonitos comentarios de siempre.
Ay si, esa gaveta es de un tierna 🤭
¡¡¡Buen trabajo!!! Gracias por publicar tu excelente contenido en Hive Diy.
Que lindo, y que creatividad tienes de verdad y son materiales que en casa siempre tenemos. Y la explicación de como hacerlo se nos hace muy fácil ponerlo en practica .. ☺️