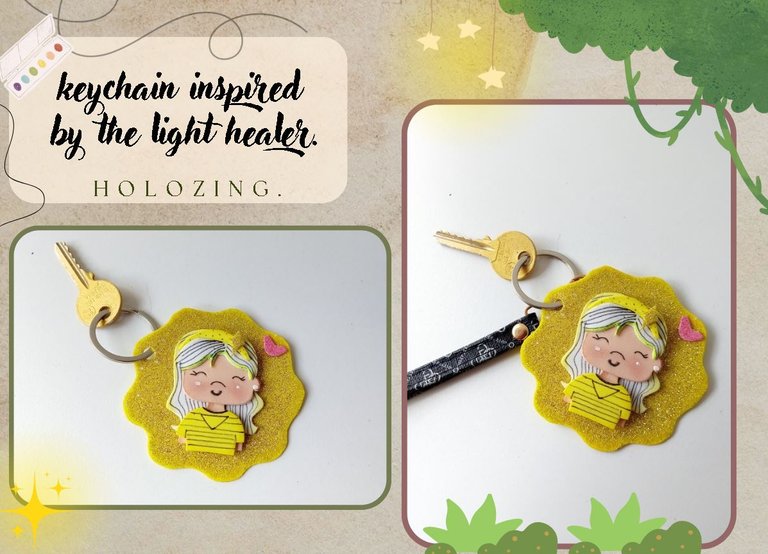
[Esp/Eng] ✨keychain inspired by the light healer.✨
🔸Sin más que añadir, a continuación los dejo con el paso a paso:
Good afternoon, holozing friends! I hope you are all doing well. For this part, I am doing well, thank God. As always, I am happy to come back here to share with you a nice keychain idea, inspired by the light healer. You already know that I am venturing into making characters that I have not made before, so this time it was another healer's turn. The thing is that sometimes I have a hard time taking risks with characters because I think that maybe the ideas I have do not look good in foam, but by combining colors and trying to make it look similar I achieve the result that I generally want and I am happy with it.
🔸Without more to add, then I leave you with the step by step:
♥️ESPERO QUE TE GUSTE,
¡Empecemos!
♥️I HOPE YOU LIKE IT,
Let's start!

✂️ MATERIALES | ✂️ MATERIALS

- Foami escarchado dorado.
- Foami blanco.
- Foami amarillo.
- Foami beige.
- Aro metálico.
- Abre huecos.
- Pegamento.
- Hoja blanca.
- Tijeras.
- Lápiz.
- Golden frosted foam.
- White foam.
- Yellow foam.
- Beige foam.
- Metal ring.
- Hole punch.
- Glue.
- White sheet.
- Scissors.
- Pencil.

✨ PROCEDIMIENTO | ✨ PROCESS

- ✨ PASO 1:
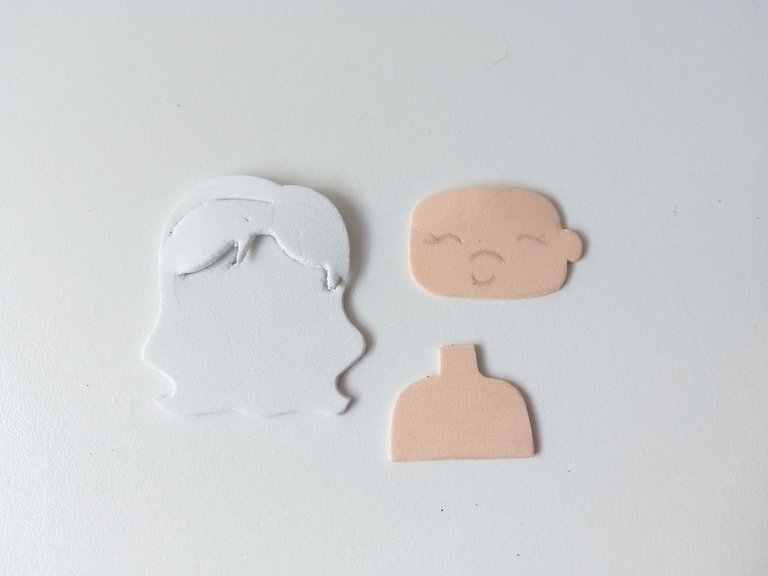
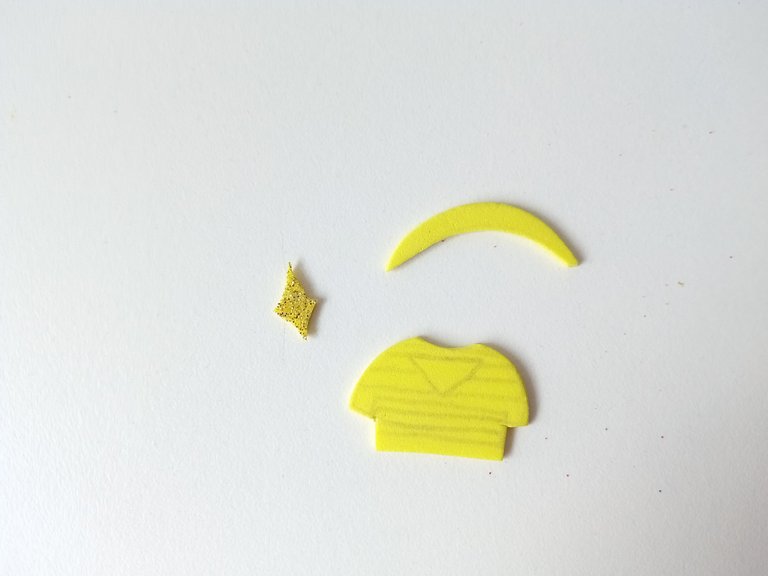
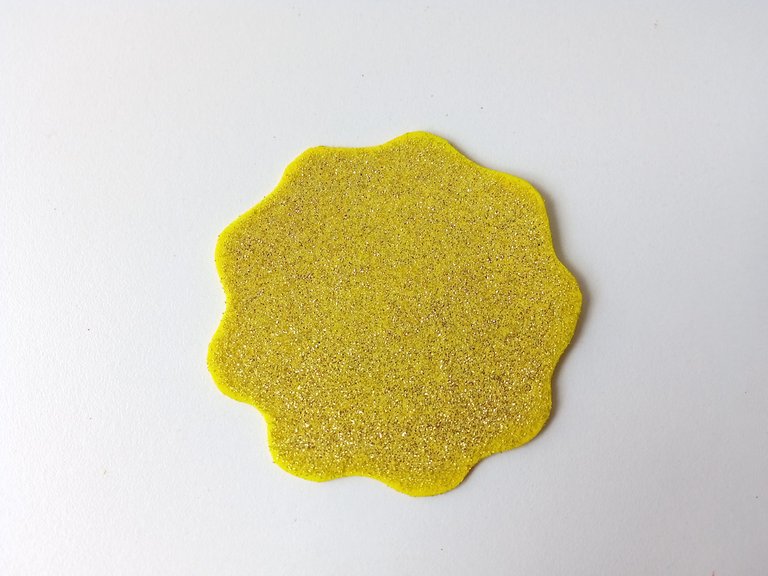
Lo primero que hago es el patrón de todas las decoraciones en una hoja blanca y luego, como siempre, lo transferimos a los colores correspondientes de foami, como les explico a continuación: la base circular con bordes ovalados en foami escarchado dorado; cabello de la sanadora en foami blanco; cuerpo en foami beige; ropa y accesorio en foami amarillo y escarchado dorado.
- ✨ STEP 1:
The first thing I do is the pattern of all the decorations on a white sheet and then, as always, we transfer it to the corresponding colors of foam, as I explain below: the circular base with oval edges in gold frosted foam; the healer's hair in white foam; the body in beige foam; clothes and accessories in yellow and gold frosted foam.


- ✨ PASO 2:
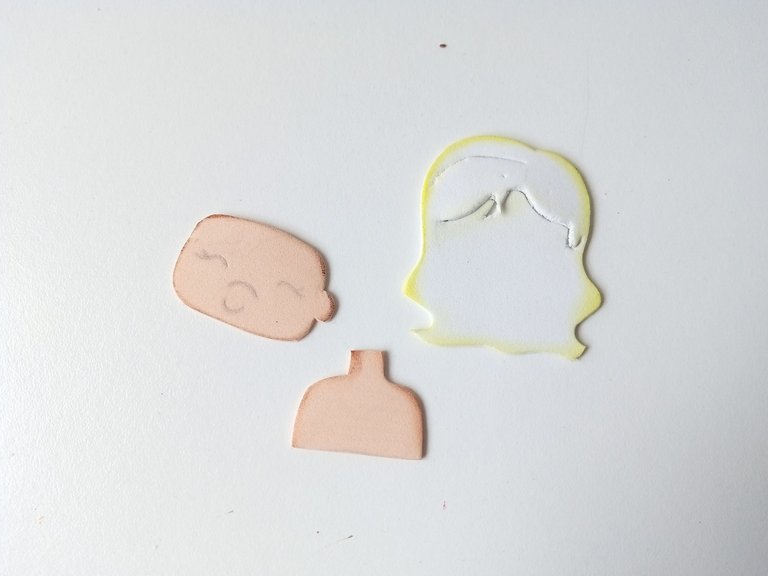
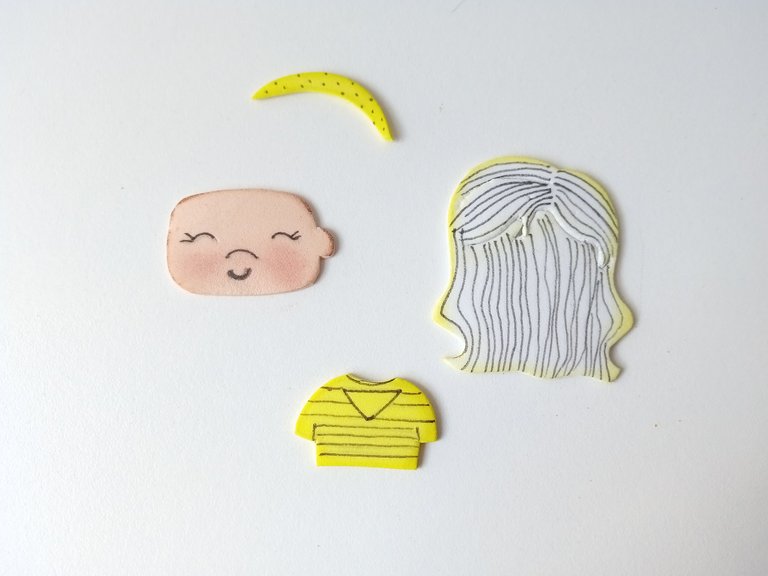
Como siempre, seguimos con mi parte favorita que es dar color a los bordes utilizando pinturas que contrasten con cada pieza de foami liso, utilizando un pañito para difuminar. Seguidamente, con un marcador negro, di más detalles al rostro, cabello, ropa y accesorios. Además, con un poco de rubor, pinté las mejillas.
- ✨ STEP 2:
As always, we continue with my favorite part, which is to color the edges using paints that contrast with each piece of smooth foam, using a cloth to blend. Next, with a black marker, I gave more details to the face, hair, clothes and accessories. Also, with a little blush, I painted the cheeks.


- ✨ PASO 3:
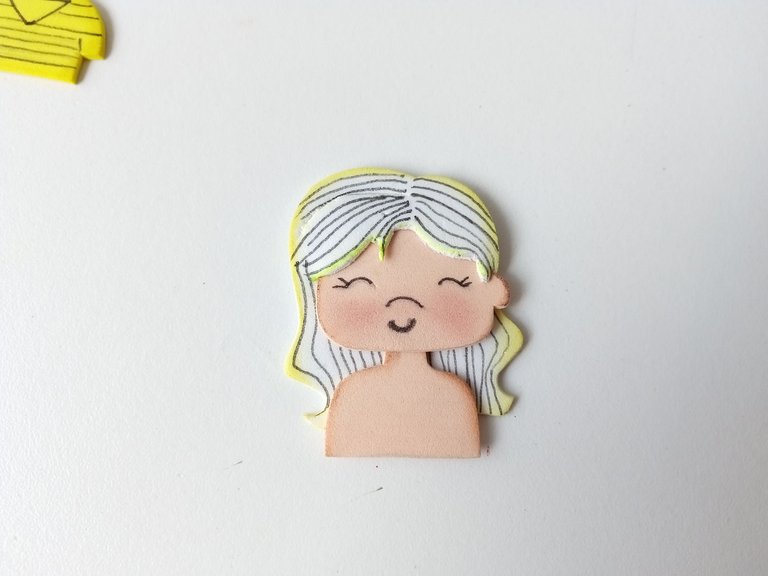
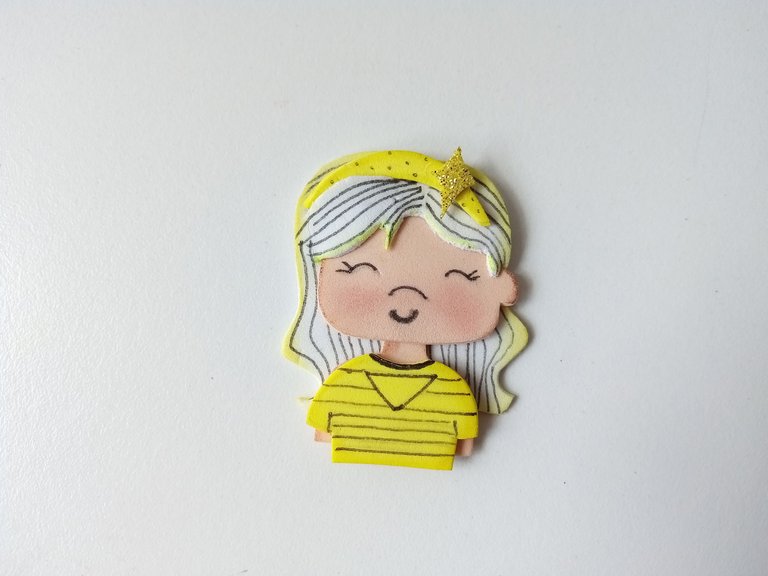
Al estar todas las piezas secas, comencé a pegar cada una de las piezas, hasta formar a la sanadora, comenzando por el cabello, cabeza, cuerpo y finalizando por la ropa y accesorios.
- ✨ STEP 3:
Once all the pieces were dry, I began to glue each of the pieces together, until the healer was formed, starting with the hair, head, body and finishing with the clothes and accessories.


- ✨ PASO 4:
Luego, pegamos a la sanadora en medio del círculo con bordes ovalados, le pegué un pequeño corazón en foami escarchado rosa, pero esto es opcional. Con un abridor de huecos, hice el orificio por donde metí el aro metálico y las llaves.
- ✨ STEP 4:
Then, we glued the healer in the middle of the circle with oval edges, I glued a small heart in pink frosted foam, but this is optional. With a hole punch, I made the hole where I put the metal ring and the keys.

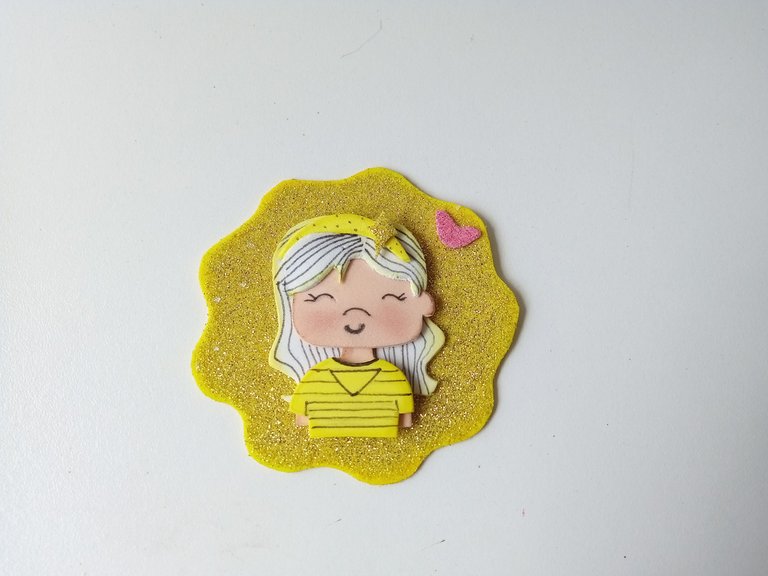
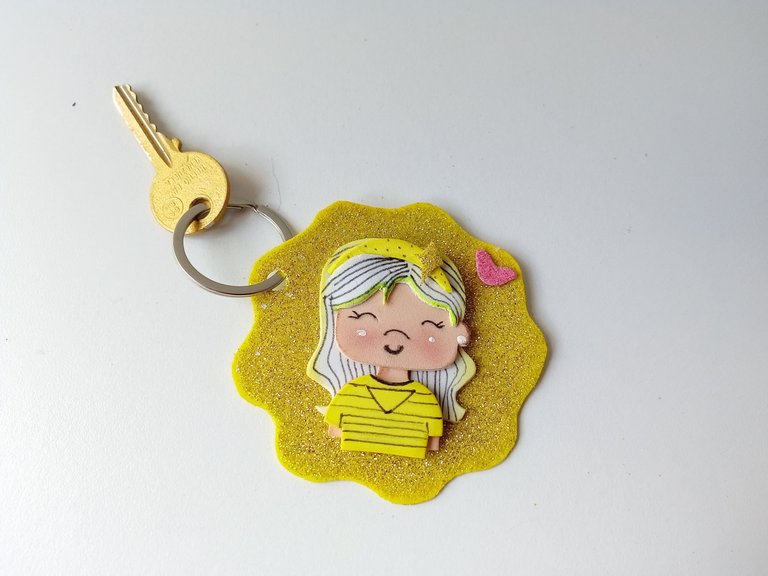

✨¡And ready!✨ This is how you can make a nice keychain of the healer of light or any of the characters or creatures that you like the most. I think it's quite simple and it gives a touch to the keys. I hope you liked the step by step and are encouraged to make it.
❤️Until the next post.
❤️ Hasta la próxima publicación.
❤️ Until the next post.


Todas las fotografías son de mi propiedad.
Separador y Fotos editadas en Canva
All photographs are my property.
Photos edited in Canva
amiii no creo que puedas dudar de tus habilidades jeje si todo te queda bello amiii, sobretodo las manualidades de foami siento que lo manejas muy bien, me encantó ese llavero🥰
Ay Mili bella, gracias por esas palabras 💕. A veces si me quedan muy lindas, pero otras veces dudo bastante de si quedará bien o no.
Gracias Ami 💕
Que hermoso ese llavero Ami😍
Muchas gracias Yage! Me alegra que te haya gustado.💕
Amiga ese llavero esta demasiado tierno, hasta para darselo como detalle a una persona! Que lindo y que Creatividad! 🤗
Gracias amiga! Así es, puede ser personalizado con apariencia de alguna persona y darle ese detalle 🤭. Gracias por tus palabras 💕
Que hermoso llavero amiga, está perefcto para obsequiar el día de los niños o día de las madres.
Saludos!
Es verdad amiga, no lo había pensado, pero si es una buena idea para obsequiar uno de esos día.💕
Me alegra que te haya gustado.
Saludos.✨
Ami no temas en probar porque siempre terminas haciendo bellezas como este llavero tan cuchi. Yo amo como te quedan las caritas, demasiado bellas 💕
Congratulations @valenpba! You have completed the following achievement on the Hive blockchain And have been rewarded with New badge(s)
Your next target is to reach 9500 comments.
You can view your badges on your board and compare yourself to others in the Ranking
If you no longer want to receive notifications, reply to this comment with the word
STOPCheck out our last posts: