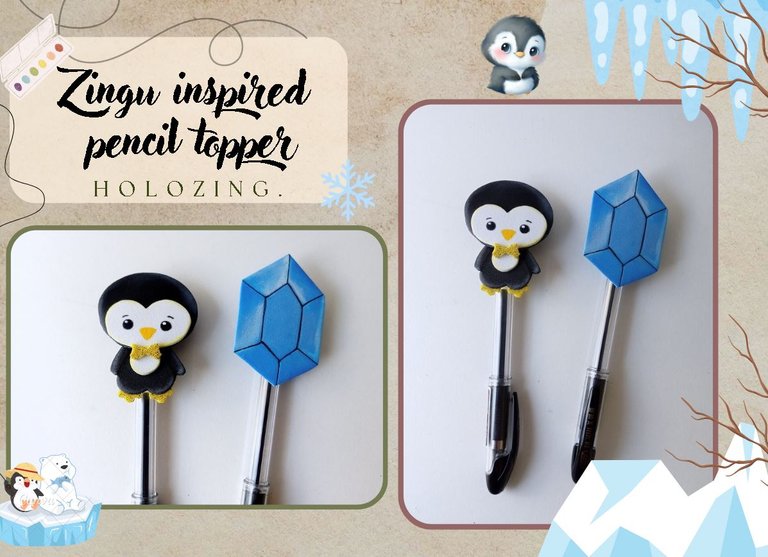
[Esp/Eng] ✨Ideas to decorate your pencils inspired by Zingu✨
🔸Sin más que añadir, a continuación los dejo con el paso a paso:
Good afternoon, holozing friends! I hope you are all doing well, I am happy to stop by here again to share with you some nice ideas to decorate your pencils inspired by Zingu. This idea seems totally cute to me to decorate pencils, what do you think? I wanted to make Zingu and the crystal on his head separately, but obviously those who know this creature know that the crystal is an important part of Zingu.
You already know that I love sharing these mini character decorations, because I think it's something I'm good at and it also helps those who want to use a small amount of materials and make something pretty.
🔸Without more to add, then I leave you with the step by step:
♥️ESPERO QUE TE GUSTE,
¡Empecemos!
♥️I HOPE YOU LIKE IT,
Let's start!

✂️ MATERIALES | ✂️ MATERIALS
- Foami escarchado dorado.
- Foami negro.
- Foami blanco.
- Foami azul.
- Marcadores.
- Pinturas.
- Pegamento.
- Hoja blanca.
- Tijeras.
- Regla.
- Lápiz.
- Golden frosted foam.
- Black foam.
- White foam.
- Blue foam.
- Markers.
- Paints.
- Glue.
- White sheet.
- Scissors.
- Ruler.
- Pencil.
✨ PROCEDIMIENTO | ✨ PROCESS
- ✨ PASO 1:
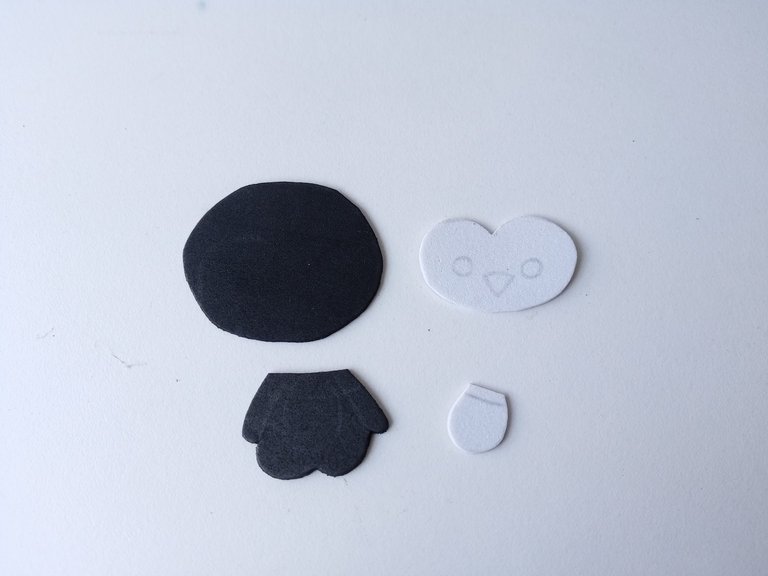
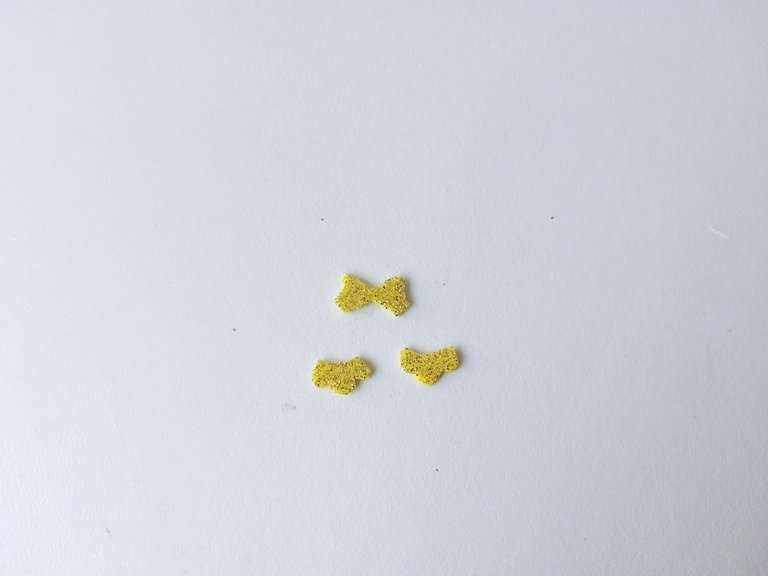
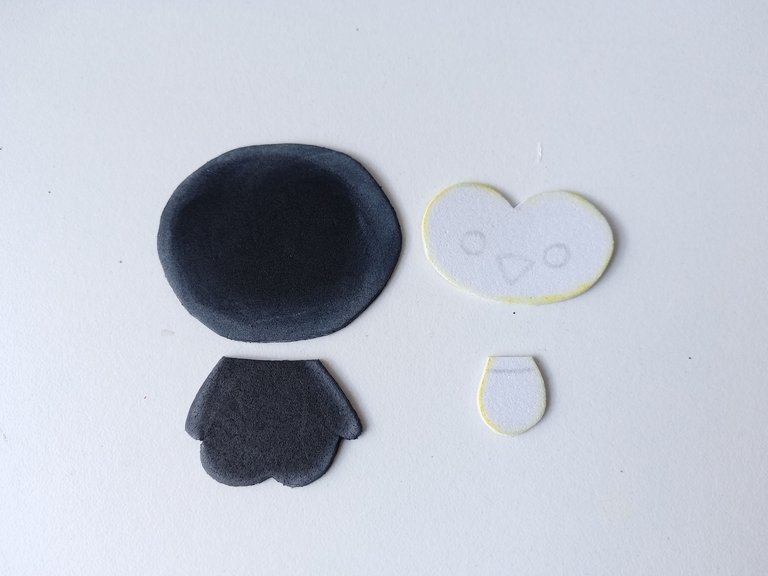
Lo primero que hice fue el patrón o dibujo de Zingu, obviamente no es el dibujo original, pues lo hice pequeñito, con otro rostro y sin su cristal en la cabeza y, por otra parte, también dibujé el cristal del mismo tamaño que el de la criatura. Una vez listos los dibujos los transferí a los colores correspondientes de foami de la siguiente manera: la cabeza y cuerpo de Zingu en foami negro, rostro y parte interna del cuerpo en foami blanco, patas y lazo en foami escarchado dorado. Por otra parte, el cristal en foami azul.
- ✨ STEP 1:
The first thing I did was the pattern or drawing of Zingu, obviously it is not the original drawing, as I made it small, with another face and without the crystal on its head and, on the other hand, I also drew the crystal the same size as the creature's. Once the drawings were ready, I transferred them to the corresponding colors of foam as follows: Zingu's head and body in black foam, face and inner part of the body in white foam, legs and bow in golden frosted foam. On the other hand, the crystal in blue foam.
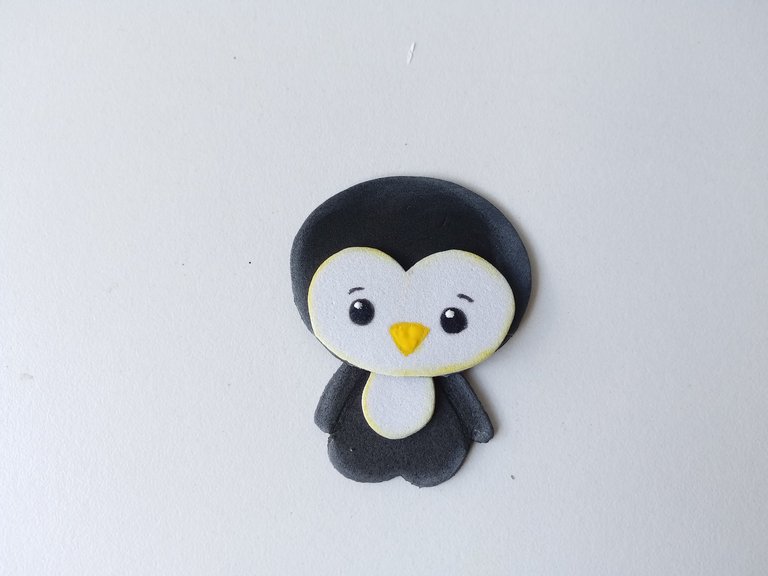
- ✨ PASO 2:
Al tener todas las piezas listas, comencé a dar color a los bordes del cuerpo y cabeza de Zingu con pintura blanca, el rostro y parte interna del cuerpo con pintura amarilla. Al estar seco, pegué hasta formar y di detalles con marcador negro dibujando los ojos, cejas y con pintura amarilla el pico. Además, di puntos de luz con pintura blanca a los ojos.
- ✨ STEP 2:
Once I had all the pieces ready, I began to color the edges of Zingu's body and head with white paint, the face and inner part of the body with yellow paint. When it was dry, I glued it together and gave details with a black marker drawing the eyes, eyebrows and with yellow paint the beak. In addition, I gave points of light with white paint to the eyes.
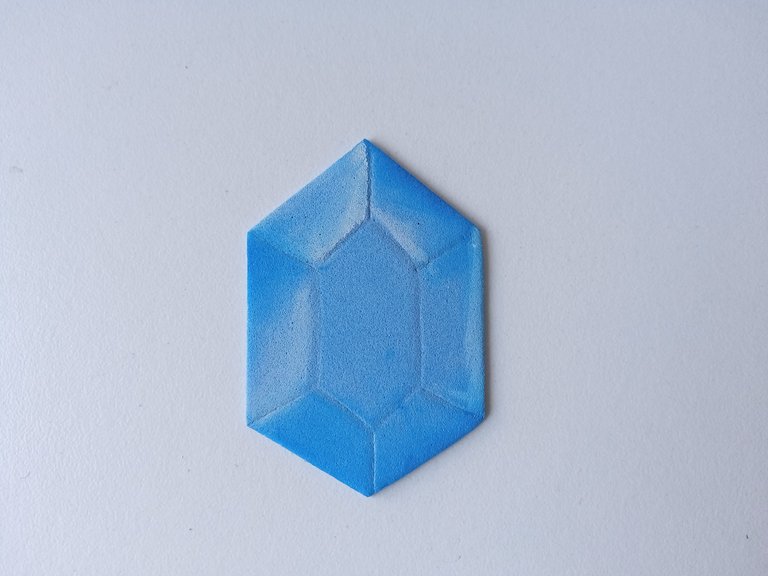
- ✨ PASO 3:
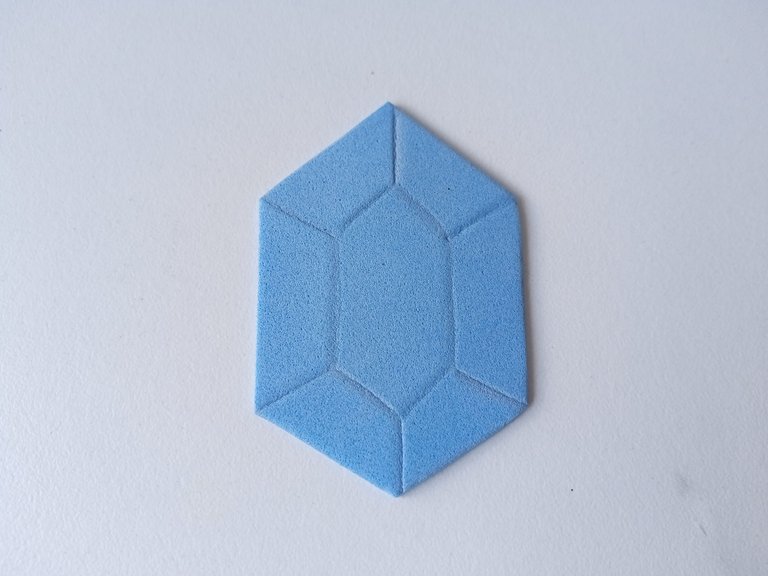
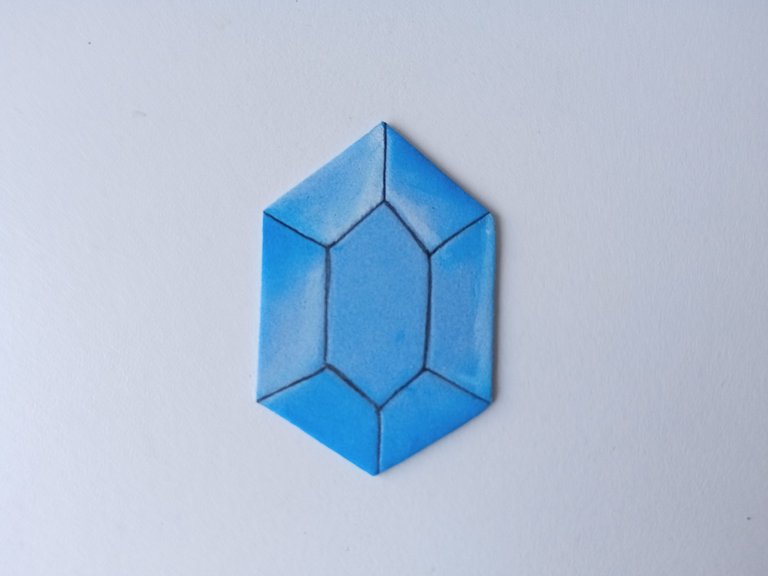
A continuación, comencé a pintar sombras y luces sobre el cristal de la siguiente manera: primero pinté un tono más oscuro de azul alrededor de los bordes y luego pinté de blanco en algunas áreas. Puedes usar el mismo cristal que en el dibujo original de la criatura como referencia. Finalmente, usé un marcador negro para definir mejor las líneas del cristal.
- ✨ STEP 3:
Next, I started painting shadows and highlights on the glass as follows: first I painted a darker shade of blue around the edges and then I painted white in some areas. You can use the same glass as in the original drawing of the creature as a reference. Finally, I used a black marker to better define the lines of the glass.
- ✨ PASO 4:
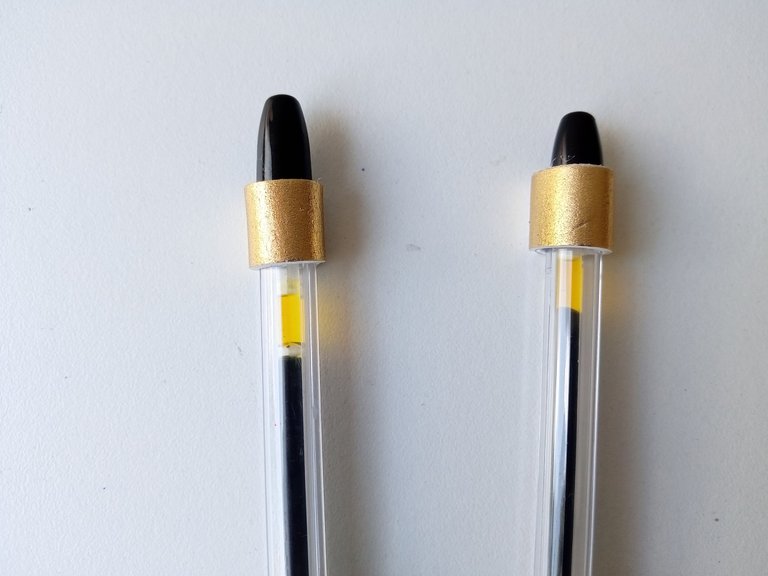
Una vez listo, recorté dos tiras del color de preferencia en foami con un ancho de 1 cm, pegué en la parte superior de los lapiceros y recorté el excedente. Para finalizar, pegué las piezas ya finalizadas en cada uno de los lapiceros.
- ✨ STEP 4:
Once ready, I cut two strips of the preferred color in foam with a width of 1 cm, glued them to the top of the pencil holders and trimmed the excess. Finally, I glued the finished pieces to each of the pencil holders.
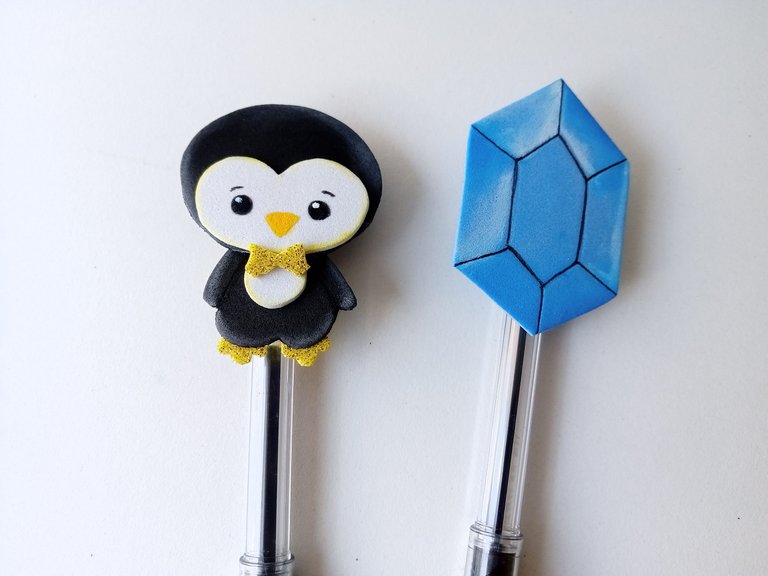
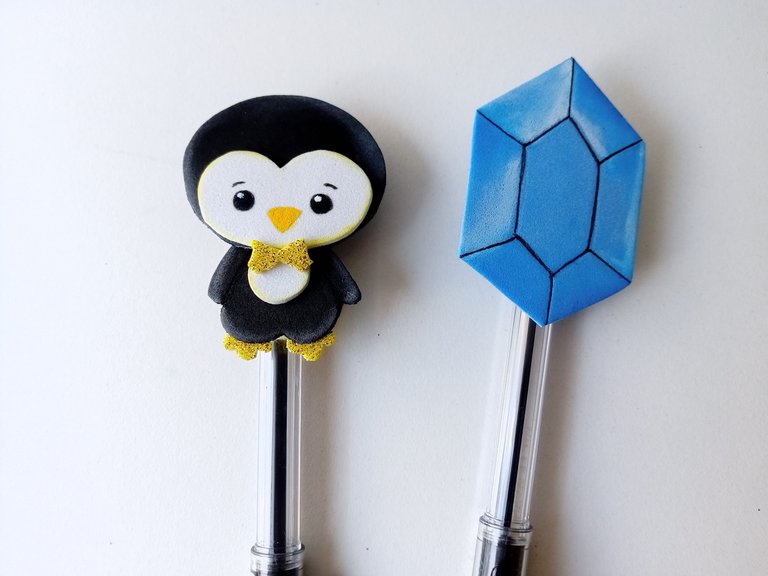
✨¡And ready!✨ This is how I made these beautiful decorations so that you are encouraged to decorate your pencils, pens or markers. As you can see, I used very little material and it was a fairly simple process. I hope you liked the step by step and are encouraged to make this idea or that it serves as inspiration.
❤️Until the next post.
❤️ Hasta la próxima publicación.
❤️ Until the next post.


Todas las fotografías son de mi propiedad.
Separador y Fotos editadas en Canva
All photographs are my property.
Photos edited in Canva
Ay noooo yo amo ese pingüino, se ve demasiado tierno, me encanta, te quedaron preciosos ami bella!
Jaja gracias mi Rosita 💕 Me alegra que te haya gustado el pingüino 💕.
Te mando un abrazote amiga bella.✨💖
Okeyyy pero que belleza es esta? ME ENCANTA AAAAAA🩷✨
Gracias amiga hermosa!! Me alegra que te haya gustado 🤭💕💖
Ayyy pero qué hermosura 😍 lo quierooooo
Ay! Gracias mi Eve, ya te mando uno 🤭💖
Ayyy que ternura mas bella🥰🥰🥰