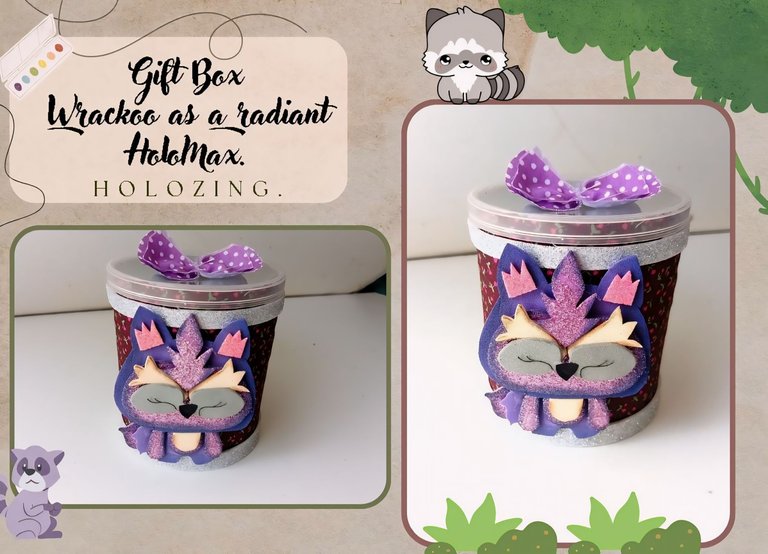
[Esp/Eng] ✨Gift box inspired by the Wrackoo as a radiant HoloMax.✨
🔸Sin más que añadir, a continuación los dejo con el paso a paso:
Good afternoon, holozing friends! I hope you are all doing well. For this part, the rain and heat have been quite strong, but we are fine, thank God. As always, I am happy to stop by here again to share with you a nice idea of a gift box inspired by the Wrackoo as a radiant HoloMax. It was time to make a radiant creature, so I decided on the raccoon, but first I had to look among my materials if I still had these colors, because soon I have to buy materials to equip myself and be able to continue with the creations.
🔸Without more to add, then I leave you with the step by step:
♥️ESPERO QUE TE GUSTE,
¡Empecemos!
♥️I HOPE YOU LIKE IT,
Let's start!

✂️ MATERIALES | ✂️ MATERIALS

- Envase de preferencia.
- Tela con diseño de preferencia.
- Foami escarchado plateado
morado y rosa. - Foami morado, beige y gris.
- Pinturas y marcadores.
- Lazo.
- Pegamento.
- Regla.
- Tijeras.
- Preferred packaging.
- Fabric with preferred design.
- Silver frosted foam
purple and pink. - Purple, beige and gray foam.
- Paints and markers.
- Ribbon.
- Glue.
- Ruler.
- Scissors.

✨ PROCEDIMIENTO | ✨ PROCESS

- ✨ PASO 1:
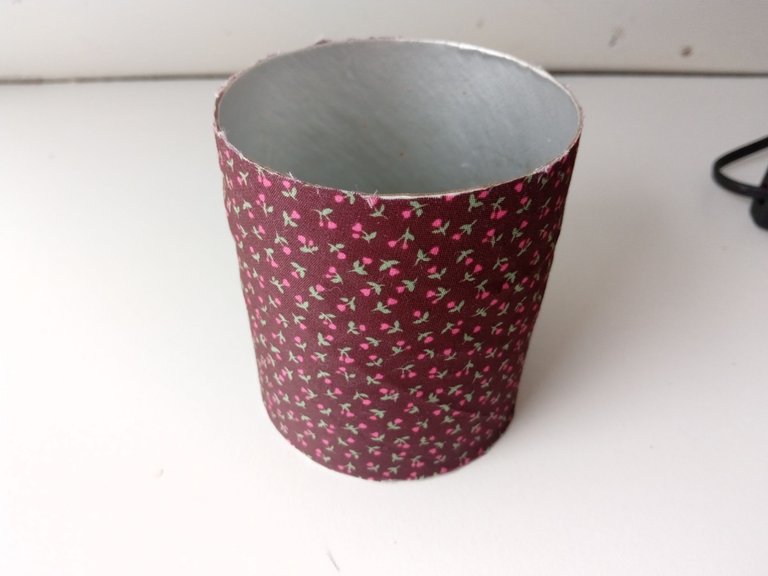
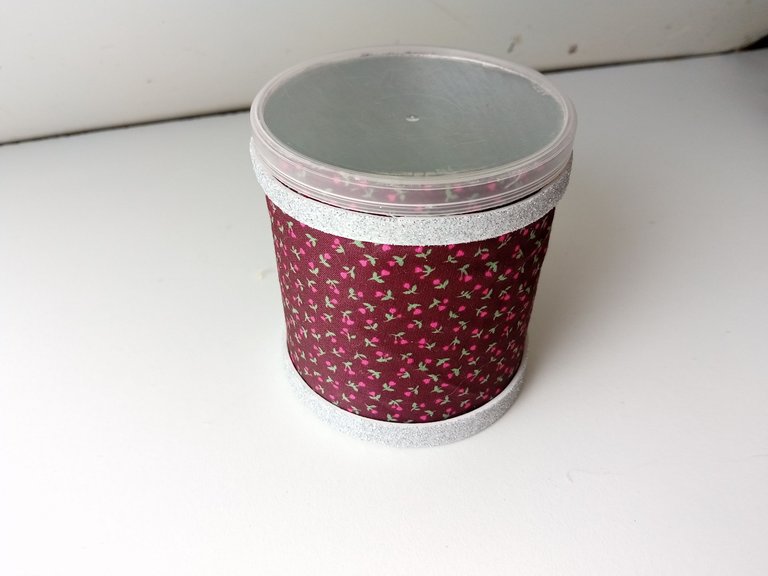
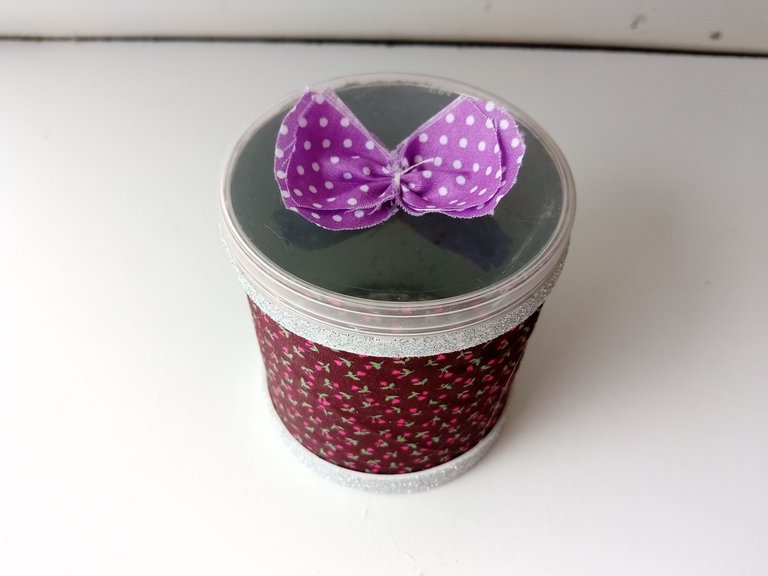
Lo primero que hice fue decorar la cajita o envase que iba a utilizar, así que forré con el trozo de tela todo el cilindro y recorté los excesos de tela. Seguidamente, recorté dos tiras en foami escarchado con las medidas de la circunferencia del envase y lo pegué en el borde superior (más bajo de la tapa) y en el borde inferior. La tapa la dejé igual, solamente le pegué un lazo que combinara con los colores de la decoración.
- ✨ STEP 1:
The first thing I did was decorate the box or container I was going to use, so I covered the entire cylinder with the piece of fabric and trimmed off the excess fabric. Next, I cut out two strips of frosted foam with the measurements of the circumference of the container and glued them to the top edge (below the lid) and to the bottom edge. I left the lid the same, I just glued a bow to it that matched the colors of the decoration.


- ✨ PASO 2:
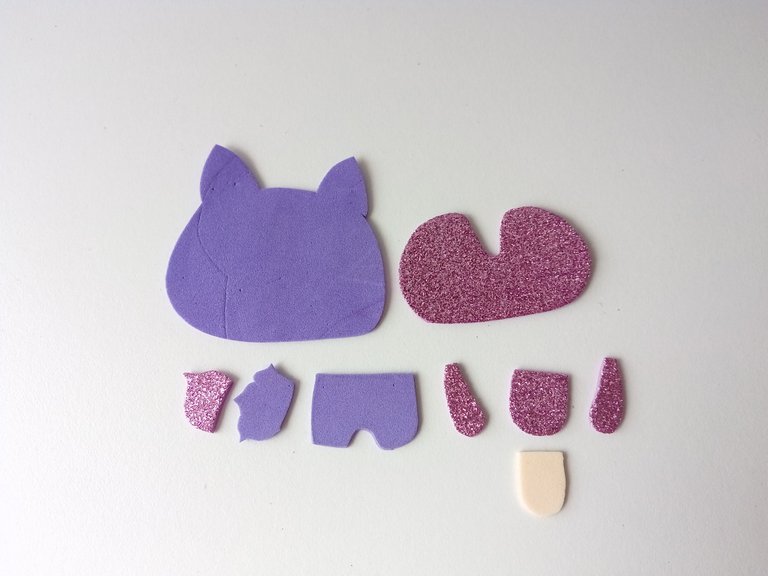
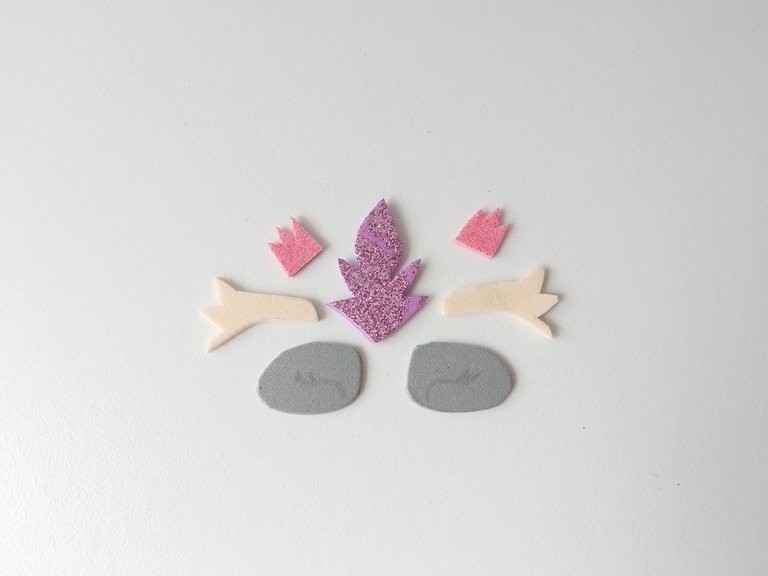
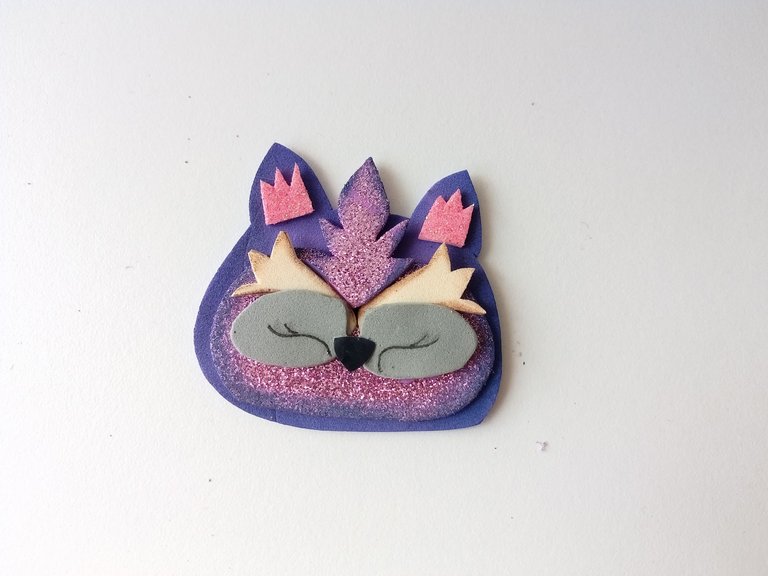
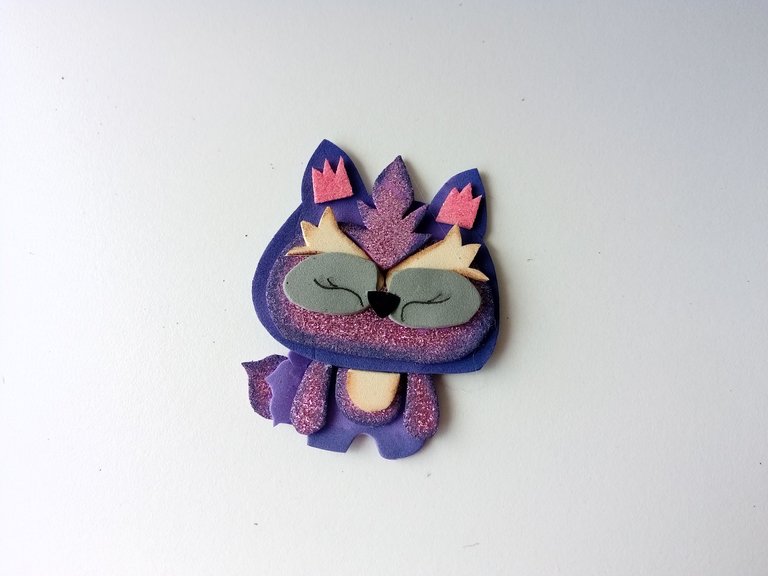
Seguidamente, comencé a dibujar el patrón del Mapache de hierba y luego lo transferí a los colores correspondientes de foami que en este caso es como HoloMax radiante. Así que el cuerpo iba en tonos distintos de morados, y otras partes del cuerpo en beige o crema, la parte de los ojos las elaboré en gris y parte interna de las orejas en rosado escarchado. Al tener todas las piezas en foami, las recorté.
- ✨ STEP 2:
Next, I began to draw the Grass Raccoon pattern and then I transferred it to the corresponding colors of foam, which in this case is like radiant HoloMax. So the body was in different shades of purple, and other parts of the body in beige or cream, the eyes were made in gray and the inner part of the ears in frosted pink. Once I had all the pieces in foam, I cut them out.


- ✨ PASO 3:
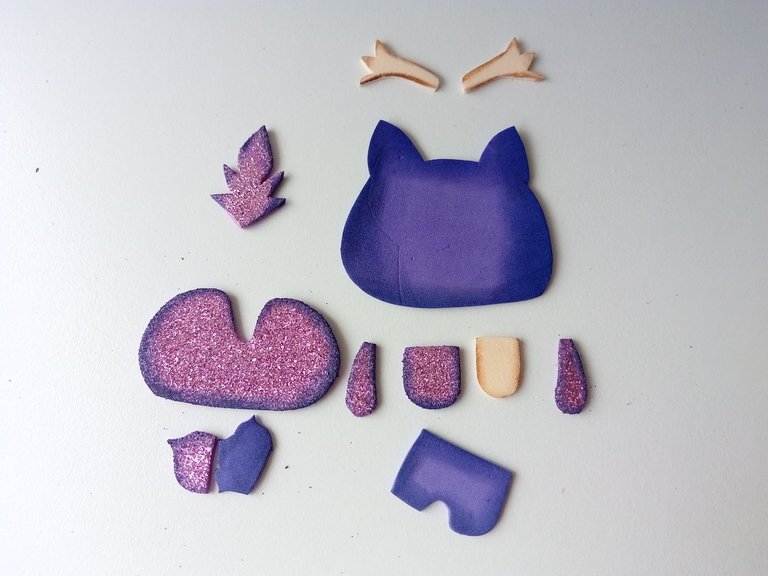
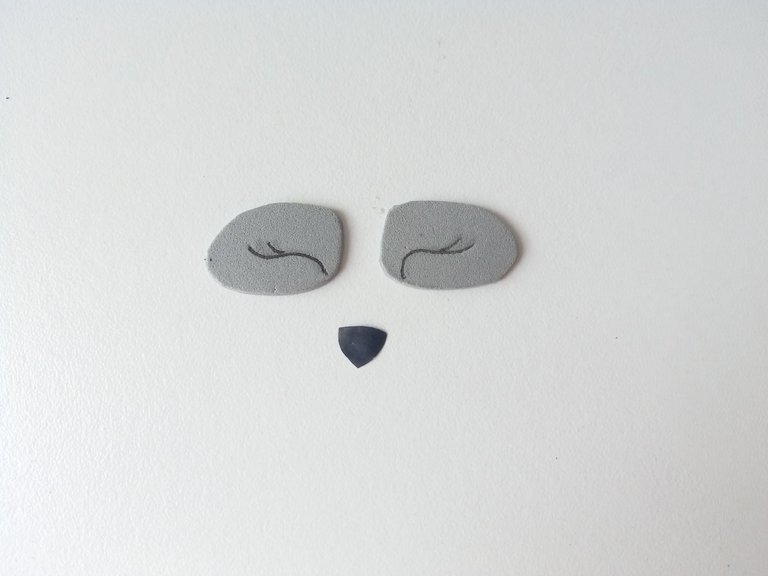
Luego, comencé a dar color a todos los bordes de las piezas, incluidas las piezas de foami escarchado, utilizando colores un tono más oscuro o claro, pero que hiciera contraste. También, dibujé los ojos con marcador y la nariz en hoja blanca.
- ✨ STEP 3:
Then, I began to color all the edges of the pieces, including the frosted foam pieces, using colors that were a darker or lighter shade, but that contrasted. I also drew the eyes with a marker and the nose on a white sheet.


- ✨ PASO 4:
Seguidamente, pegué todas las piezas, comenzando por la parte más complicada que para mí era la cabeza del Mapache y finalmente, pegué el resto del cuerpo que se pueden guiar con las fotos del paso a paso. Por último, lo pegué en medio de la cajita que decoramos al inicio.
- ✨ STEP 4:
Next, I glued all the pieces, starting with the most complicated part, which for me was the Raccoon's head, and finally, I glued the rest of the body, which you can use as a guide in the step-by-step photos. Finally, I glued it in the middle of the box that we decorated at the beginning.

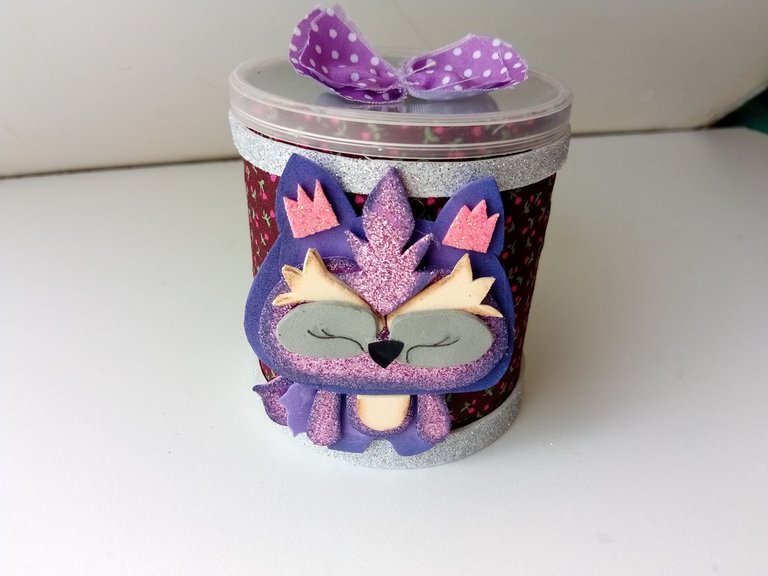

✨¡And ready!✨ This is how you can make this nice idea to give as a gift to the little ones at home or use it as a reference for some other idea you have in mind. I hope you liked it and are encouraged to make the step-by-step.
❤️Until the next post.
❤️ Hasta la próxima publicación.
❤️ Until the next post.


Todas las fotografías son de mi propiedad.
Separador y Fotos editadas en Canva
All photographs are my property.
Photos edited in Canva
Hermosuraaaa 😍 Muero de ternura con esta cajita ami ❤️
Muchas gracias Mary bella! Me alegra mucho que te haya gustado.💕
Siempre haces cosas bien bonitas me gusta mucho
Muchas gracias Miri! Tan linda 💕✨
Congratulations, your post has been curated by @dsc-r2cornell. You can use the tag #R2cornell. Also, find us on Discord
Felicitaciones, su publicación ha sido votada por @ dsc-r2cornell. Puedes usar el tag #R2cornell. También, nos puedes encontrar en Discord
Muchas gracias por el apoyo amigos 💕
Heyyyyyyyyyy🩷
¡Me enamoré! Sabes que este es uno de mis personajes favoritos de Holo, yyyy woowww te quedó hermoso este detalle Ami
Me encanta!!
Awwww such a beautiful gift box you made and like you pointed out it would be a wonderful gift for children. Good job friend!
Thank you so much! That's right, I think it's a nice detail for the little ones. Greetings ✨💕
Wow very creative 🥰
Thank you very much! ✨
Superb fine art, that was such a creative one💕
I'm so glad you liked the creation of this little box ✨
de verdad muy lindo ami tambien me gustan las manuelidades
Viste?? Eres toda una artista con esa manos amijejje que Dios te bendiga ese talento. Quedó hermoso💖💖