[Esp/Eng] ✨Decoración para lápices con temática escolar. // School-themed pencil decoration.✨
✨¡Hola amigos amantes de la creatividad! Espero que estén todos bien✨
🔸Sin más que añadir, a continuación los dejo con el paso a paso:
✨¡Hello friends who love creativity! ✨
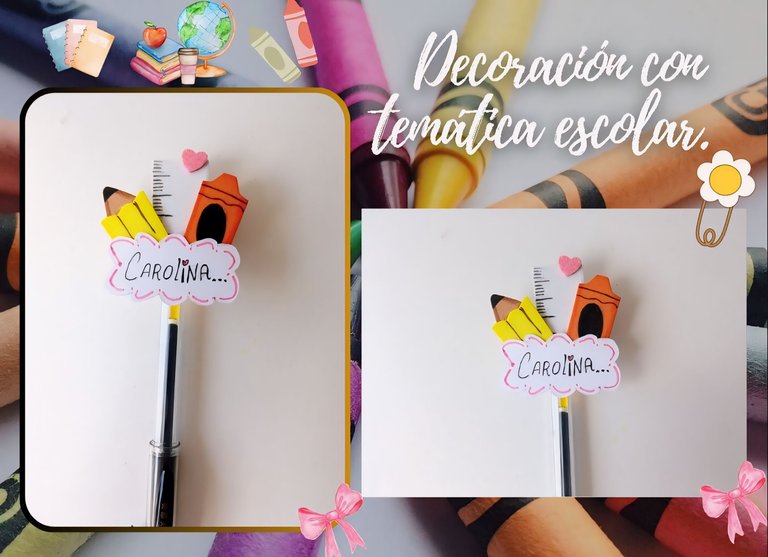
Good afternoon, friends. I hope you are having a great week. For my part, I am happy to stop by here to share a new creation with you. On this occasion, I am sharing with you the step-by-step instructions for making a nice decoration for pencils. A new school year is about to start, so I decided to come up with an idea for the little ones at home so that they arrive with something quite creative and original on their pencils, because it is not only a decoration, but you can also put a name or a phrase on this nice decoration. I wanted to use few materials, but using different colors and obviously with a school theme, creating figures like a pencil, a color and a ruler.
🔸Without more to add, then I leave you with the step by step:
♥️ESPERO QUE TE GUSTE,
¡Empecemos!
♥️I HOPE YOU LIKE IT,
Let's start!

✂️ MATERIALES | ✂️ MATERIALS

- Cartulina blanca.
- Foami naranja.
- Foami beige.
- Foami amarillo.
- Pinturas y marcadores.
- Pegamento.
- Tijeras.
- Lápiz.
- White cardboard.
- Orange foam.
- Beige foam.
- Yellow foam.
- Paints and markers.
- Glue.
- Scissors.
- Pencil.

🌟 PROCEDIMIENTO | 🌟 PROCESS

- PASO 1:
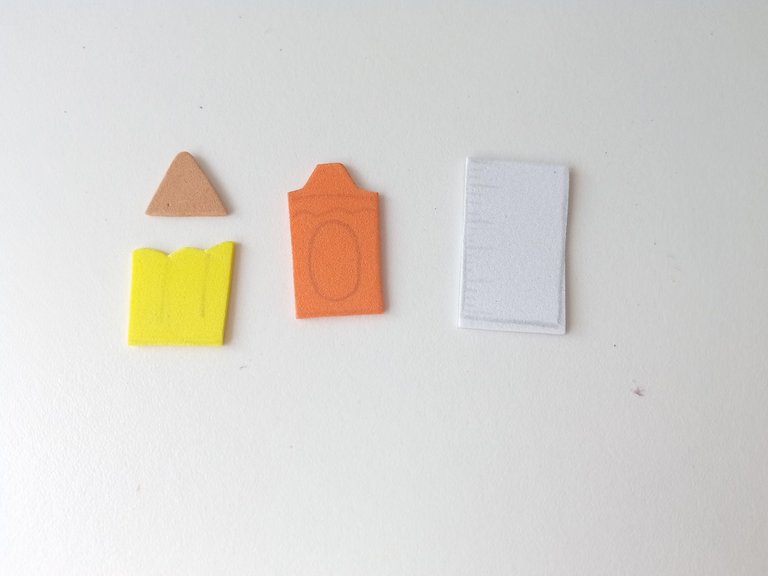
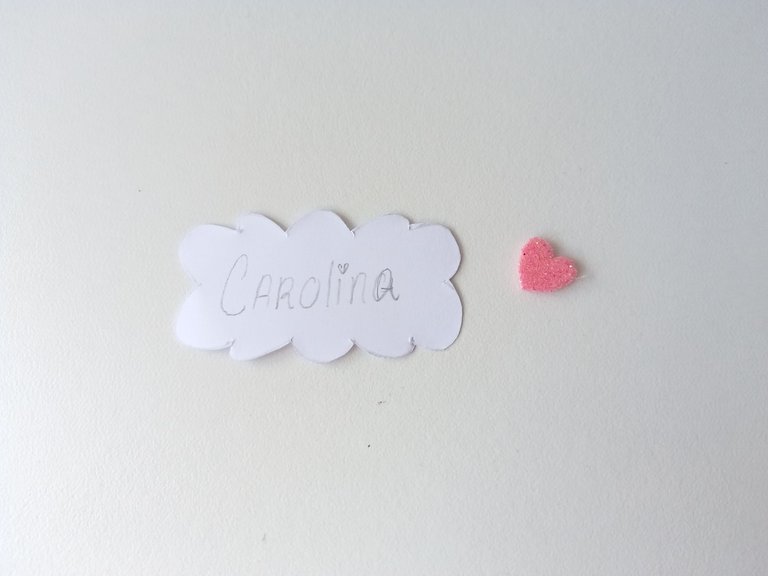
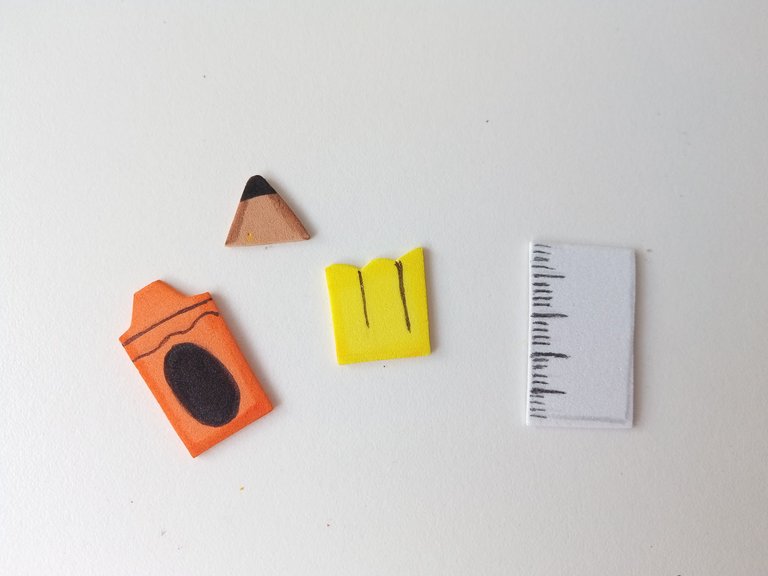
Lo primero que comencé a hacer, como siempre, fue dibujar los diseños para la decoración en una hoja blanca, en este caso dibujé parte de un lápiz, un color y una regla. Luego, transferí estos diseños a los colores correspondientes de foami, de la siguiente manera: lápiz en amarillo y punta en beige; color o crayón en naranja y regla en blanco. Además, recorté una nube en cartulina blanca y como extra, un pequeño corazón en foami escarchado rosa, pero es opcional.
- STEP 1:
The first thing I started to do, as always, was to draw the designs for the decoration on a white sheet of paper, in this case I drew part of a pencil, a color and a ruler. Then, I transferred these designs to the corresponding colors of foam, as follows: yellow pencil and beige tip; orange crayon and white ruler. In addition, I cut out a cloud in white cardboard and as an extra, a small heart in pink frosted foam, but it is optional.


- PASO 2:
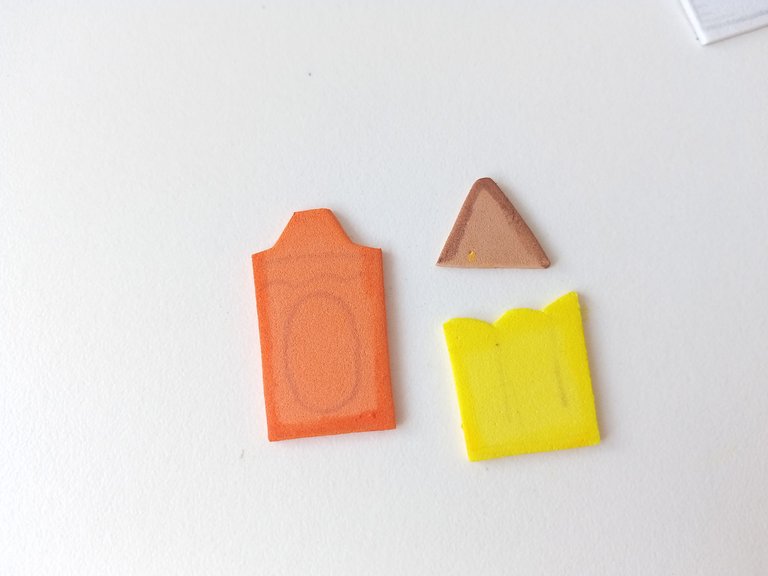
Al tener todas las piezas listas, comencé a dar color a los bordes con pinturas un tono más oscuro, pero esto solo lo hice a las piezas de foami liso. Al estar secas las piezas, di detalles con marcador negro para definir aún más cada figura; a la regla le dibujé los centímetros, al lápiz le pinté la punta y agregué unas líneas a la parte amarilla y al crayón le di los detalles para que pareciera más uno.
- STEP 2:
Once I had all the pieces ready, I began to color the edges with darker paints, but I only did this on the plain foam pieces. When the pieces were dry, I added details with a black marker to further define each figure; I drew the centimeters on the ruler, I painted the tip of the pencil and added some lines to the yellow part and I added the details with the crayon to make it look more like one.


- PASO 3:
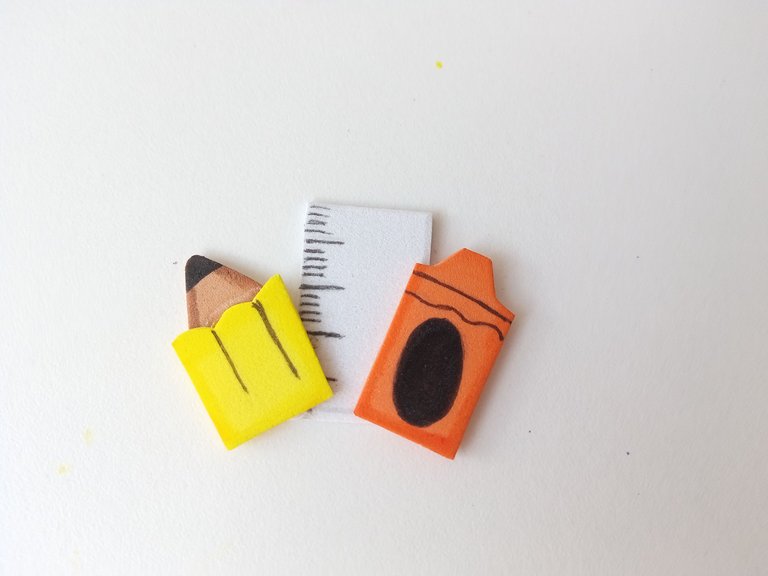
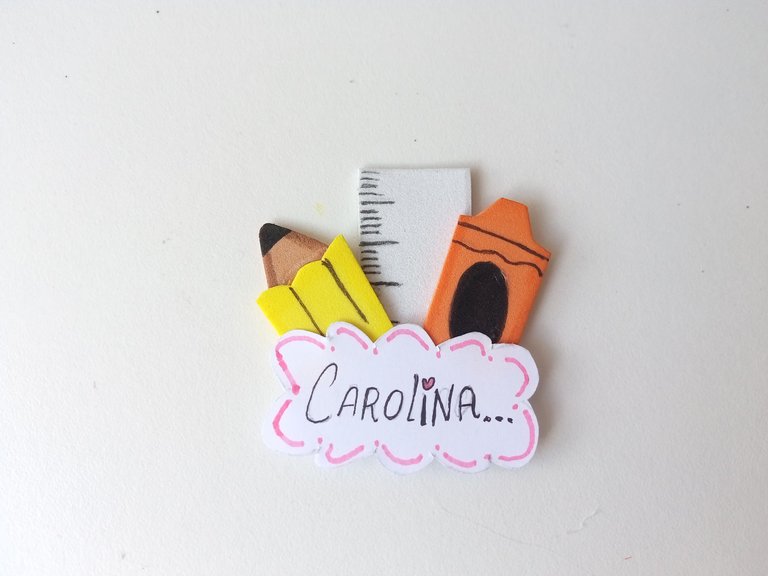
Luego, uní las piezas del lápiz y pegué las piezas de los bordes. Seguidamente, escribí el nombre en la nube de cartulina blanca y remarqué con marcador, además di detalles con marcador rosado a los bordes y pegué a la parte baja de las piezas de foami junto con el mini corazón en la esquina de la regla.
- STEP 3:
Then, I joined the pencil pieces and glued the edge pieces together. Next, I wrote the name on the white cardboard cloud and outlined it with a marker. I also added details to the edges with a pink marker and glued it to the bottom of the foam pieces along with the mini heart in the corner of the ruler.


- PASO 4:
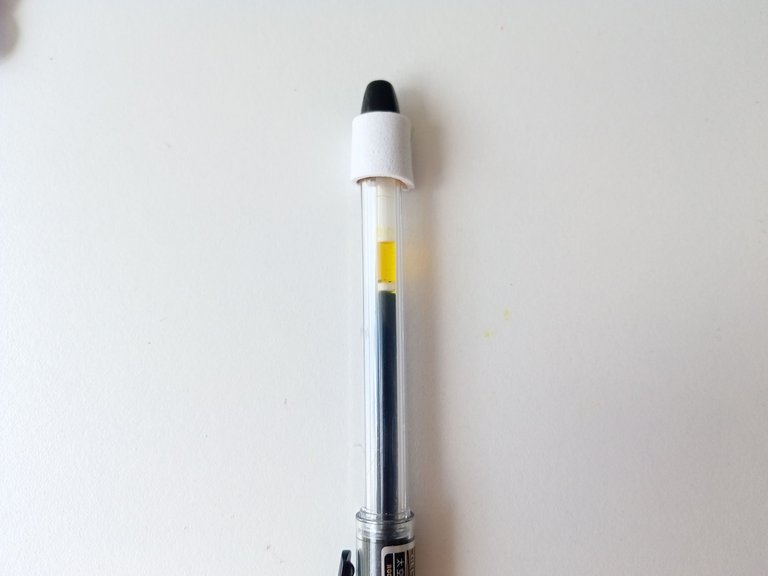
Finalmente, recorté una tira de 2.5 cm x 1 cm en foami la pegué alrededor de la punta del lápiz o lapicero, en caso de quedar un exceso de foami lo recortamos y sobre esta, pegué la decoración escolar que tiene una medida aproximada de 5 cm de largo.
- STEP 4:
Finally, I cut out a 2.5 cm x 1 cm strip of foam and glued it around the tip of the pencil or pen. If there was any excess foam, I cut it out and glued the school decoration on top of it, which is approximately 5 cm long.

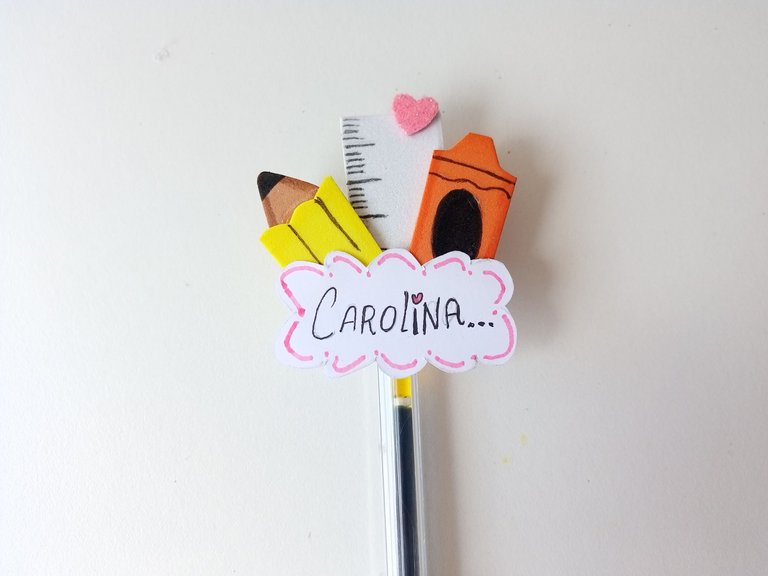

✨¡And ready!✨ This is how you can make cute decorations for your little ones' pencils or pens, or you can be inspired to create decorations, but with any other theme, such as a character from a movie, an animal, etc. In addition, you can make it much smaller or larger, it all depends on the size you want, because in my case I like them to be very small. I hope you liked the step by step and are encouraged to make it.
❤️Until the next post.

✨RESULTADO: | ✨RESULT:

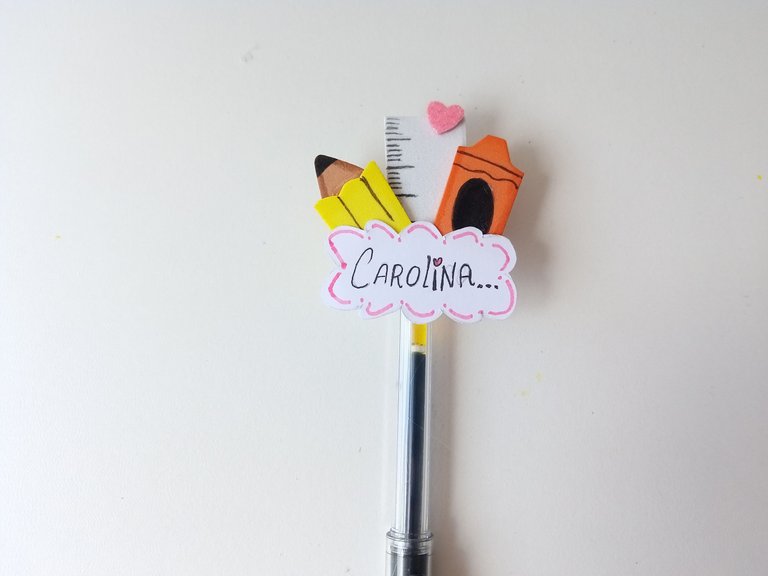


Todas las fotografías son de mi propiedad.
Separador y Fotos editadas en Canva
All photographs are my property.
Photos edited in Canva
This pencil looks so beautiful. Lovely design to it
I am very glad that you liked it, always grateful.💕
It looks so nice a d beautiful, I'm sure the kids will like this so much.
Thanks for sharing the step by step process with us.
That's right, it's perfect for little ones who start school very early. Thank you very much for the support.💕
Te quedó bellísimo Valen, una buena manera de decorar un lapicero o lápiz, me encantó 😍
Muchas gracias mi Vane bella! Así es, no solo es una idea para los pequeños, también para adultos a los que les gustan estos detallitos.🤭
A los niños les gusta comenzar el curso con cosas nuevas para mostrarselas a sus amiguitos, este es un lindo diseño para ser la envidia del aula con sus lápices decorados 😅🙊
Totalmente, llegan contentos con sus cositas nuevas para que vean las cosas bonitas que uno lleva jaja.
🤣🤣 Tienes toda la razón amiga 😄💕
Saludos.✨
¿Coincidimos una vez más? Buuehhh 🤭🤭👩❤️👩
Chama me encantó, está tan bello.. hazme unos para Lío por fa, que se aproxima su inicio a Clases!!
Buehhh 🤭. Siempre coincidimos, nos pasamos las mismas ideas a la mente 😄. Yo se lo hago con gusto a la más chiquita de la casa 💕
Congratulations @valenpba! You have completed the following achievement on the Hive blockchain And have been rewarded with New badge(s)
Your next target is to reach 100000 upvotes.
You can view your badges on your board and compare yourself to others in the Ranking
If you no longer want to receive notifications, reply to this comment with the word
STOPAmiga tienes manos prodigiosas porque esos detalles siempre te quedan lindos! 🥰
Gracias por compartir el paso a paso! 🤗
Muchas gracias Kerit! Me alegra que te haya gustado, y muchas gracias por tus lindas palabras, bella💕
Que cuchitura valen💕, el detalle del nombre me gustó mucho queda mucho más personalizado💕✨
Muchas gracias Yage! 💕 Sí, le da un toque mucho más personalizado para los pequeños 🤭💕
Hola amiga, muy encantador, hermosa decoración, Ideal para este regreso a clases. Saludos.
Hola amiga! Me alegra que te haya gustado 😊. Saludos ✨
Congratulations, your post has been curated by @dsc-r2cornell. You can use the tag #R2cornell. Also, find us on Discord
Felicitaciones, su publicación ha sido votada por @ dsc-r2cornell. Puedes usar el tag #R2cornell. También, nos puedes encontrar en Discord
Muchas gracias amigos 💕