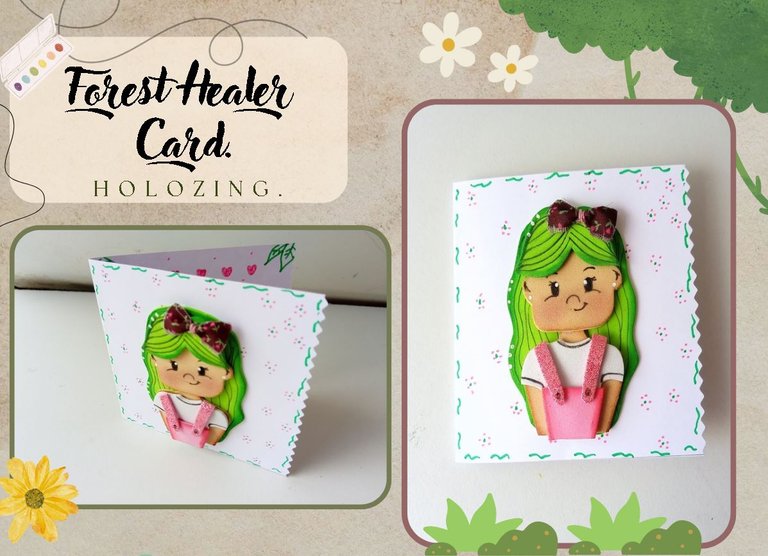
[Esp/Eng] ✨Card inspired by the forest healer.✨
🔸Sin más que añadir, a continuación los dejo con el paso a paso:
Good afternoon, holozing friends! I hope you are all doing well. For my part, it was hot and then suddenly it was cold, because the weather is a bit changeable around here, but as always, I am happy to stop by here again to share a nice idea for a card inspired by the healer of the forest. That's right, I'm back with another creation of the healers after a while, although it is one of my favorite creations to make these characters, I don't usually get ideas so often.
This time I wanted to make something quite simple and delicate, so that all the attention is on the healer and of course, placing a nice message to give a detail to a loved one.
🔸Without more to add, then I leave you with the step by step:
♥️ESPERO QUE TE GUSTE,
¡Empecemos!
♥️I HOPE YOU LIKE IT,
Let's start!

✂️ MATERIALES | ✂️ MATERIALS
- Cartulina blanca.
- Foami escarchado rosa.
- Foami beige.
- Foami rosa.
- Foami verde.
- Foami blanco.
- Pinturas y marcadores.
- Pegamento.
- Lazo.
- Tijeras.
- Regla.
- Lápiz.
- White cardboard.
- Pink frosted foam.
- Beige foam.
- Pink foam.
- Green foam.
- White foam.
- Paints and markers.
- Glue.
- Ribbon.
- Scissors.
- Ruler.
- Pencil.
✨ PROCEDIMIENTO | ✨ PROCESS
- ✨ PASO 1:
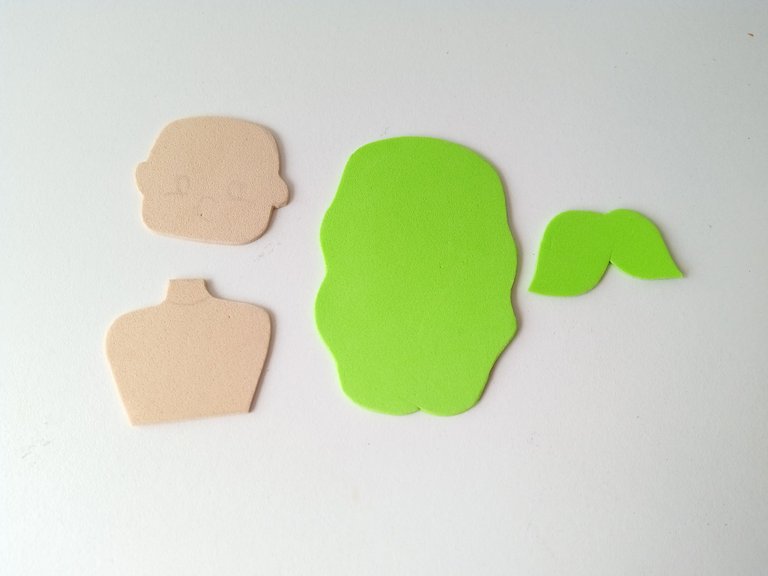
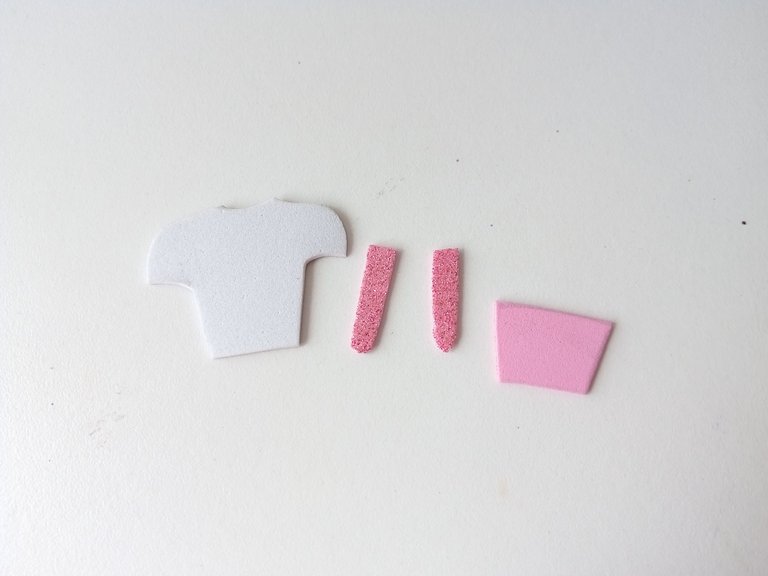
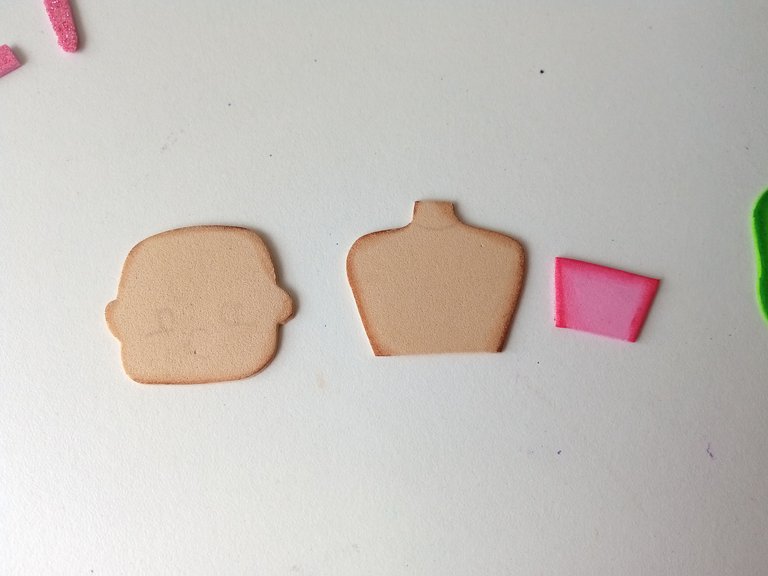
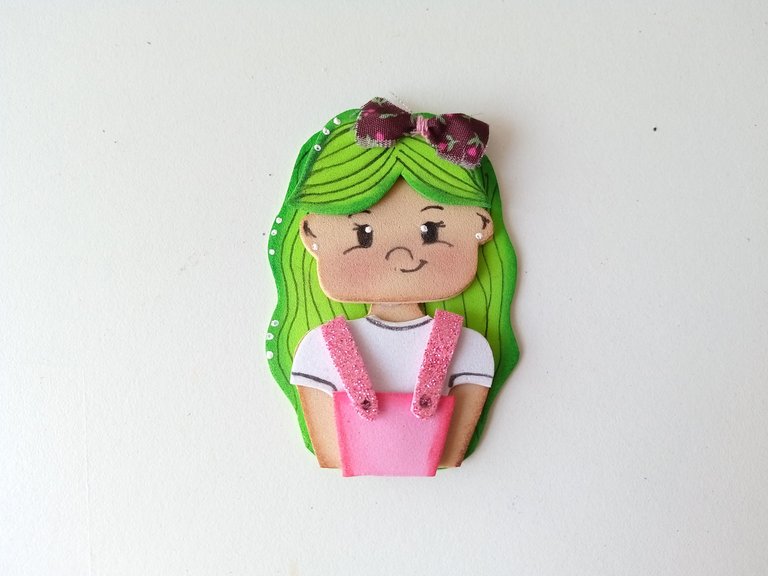
Lo primero que hice fue elaborar el diseño de la sanadora en una hoja blanca y luego de esto transferí a los colores de foami, como les explico a continuación: cuerpo en foami beige, cabello en foami verde, franela en foami blanco, overol en foami rosa y tirantes en foami escarchado rosa.
- ✨ STEP 1:
The first thing I did was to draw the design of the healer on a white sheet and then I transferred it to the foam colors, as I explain below: beige foam body, green foam hair, white foam flannel, pink foam overalls and pink frosted foam suspenders.
- ✨ PASO 2:
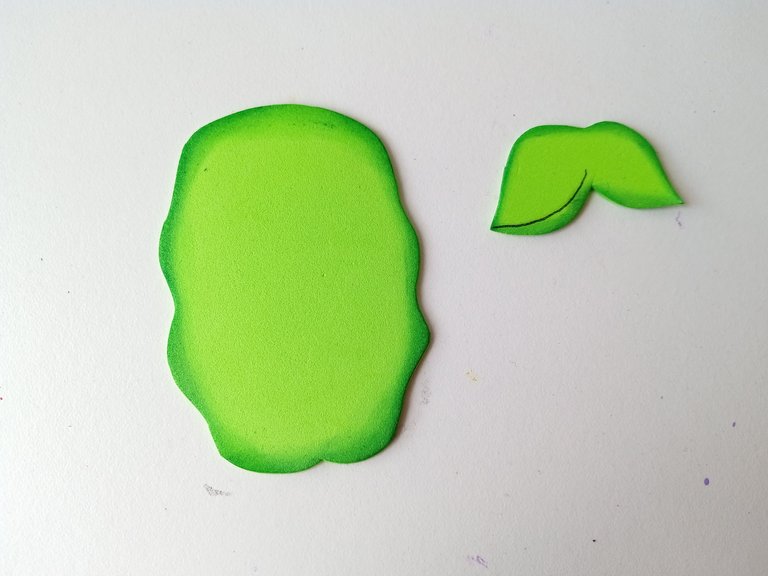
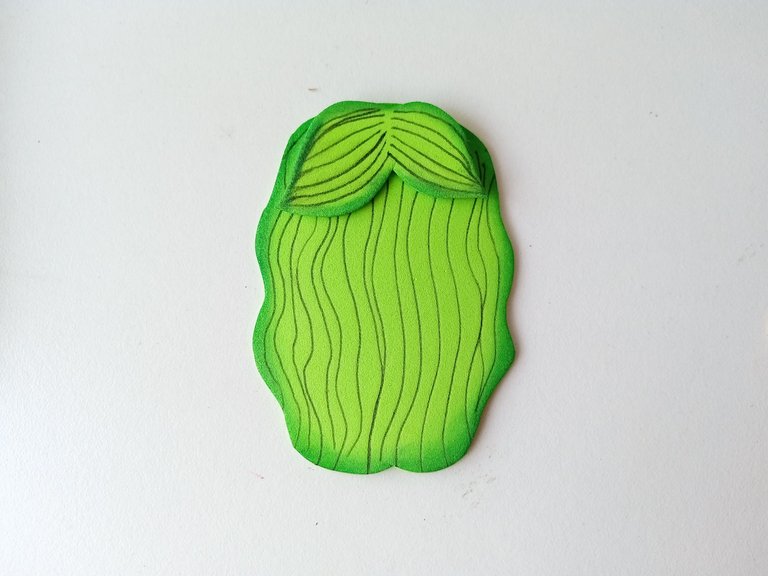
Al estar todas las piezas recortadas, vamos con mi parte favorita que es dar color o vida al foami liso, así que con ayuda de un pañito y pinturas que hicieran contraste con cada pieza lo pasé difuminando los bordes de cada una de las piezas, excepto las de foami escarchado.
- ✨ STEP 2:
Once all the pieces were cut out, we move on to my favorite part, which is giving color or life to the smooth foam, so with the help of a cloth and paints that contrasted with each piece, I went about blurring the edges of each of the pieces, except for the frosted foam ones.
- ✨ PASO 3:
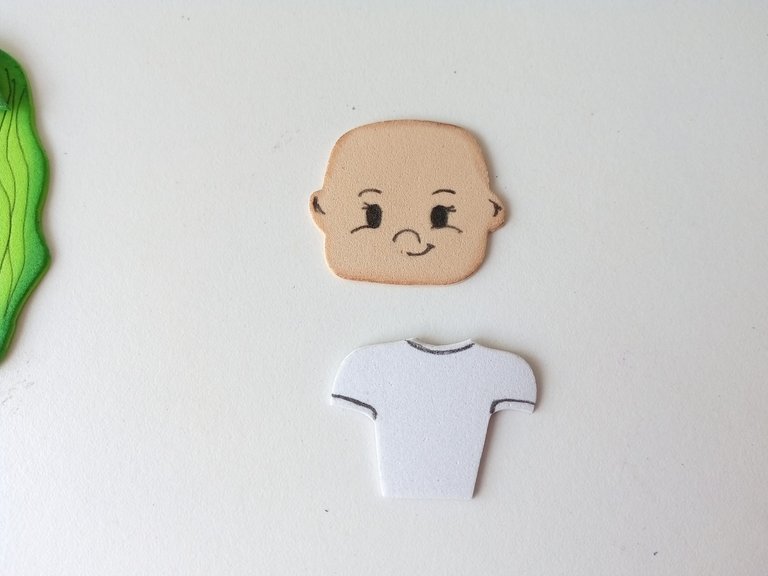
Para dar más detalles y definir, tomé marcador negro, dibujé detalles al cabello, a la franela y dibujé ojos, boca, nariz y orejas con mucho cuidado.
- ✨ STEP 3:
To give more details and define, I took a black marker, drew details on the hair, the flannel and drew eyes, mouth, nose and ears very carefully.
- ✨ PASO 4:
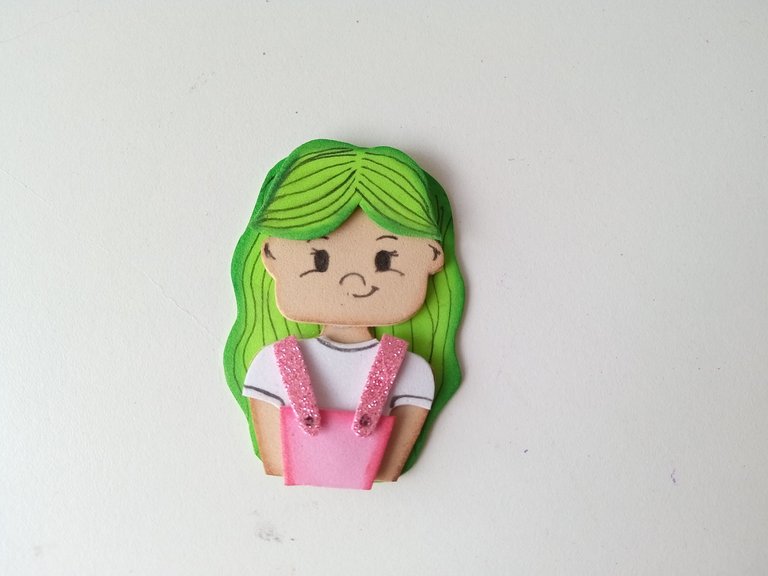
Al estar todos los detalles listos, comencé a pegar las piezas, primero con el cabello, cuerpo y cara, y finalmente, con la franela y el overol. Seguidamente, pegué un pequeño lazo al cabello, di detalles de luz con pintura blanca y pinté mejillas.
- ✨ STEP 4:
Once all the details were ready, I began to glue the pieces, first with the hair, body and face, and finally, with the flannel and overalls. Next, I glued a small bow to the hair, added highlights with white paint, and painted cheeks.
- ✨ PASO 5:
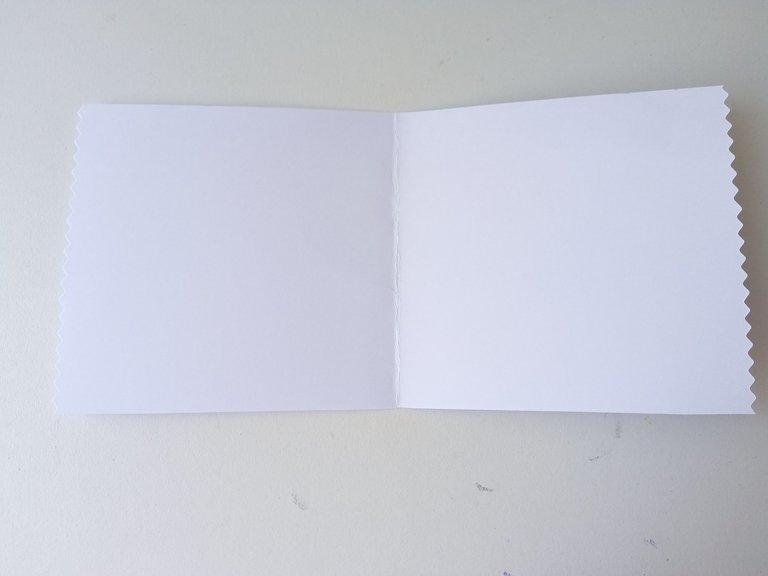
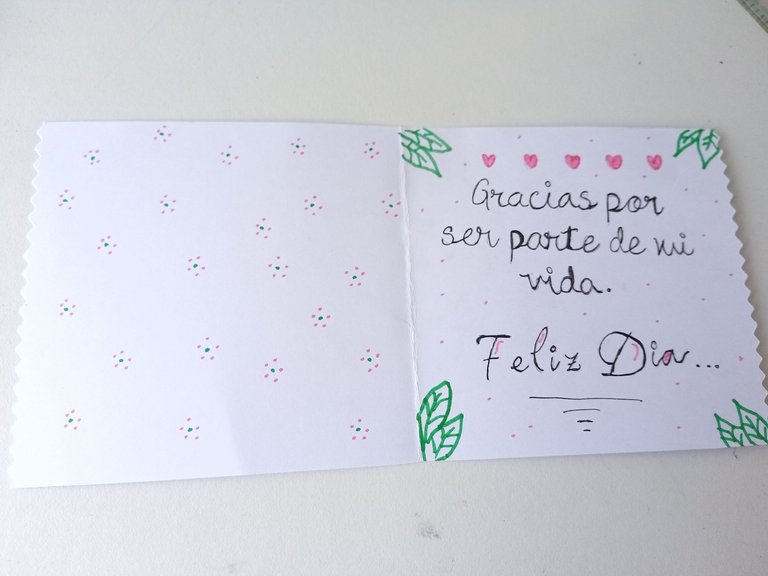
Para la tarjeta, recorté un rectángulo de 20 cm de largo x 10 cm de ancho y lo doble a la mitad por la parte más larga para formar la tarjeta. En la parte interna escribí un mensaje con marcador negro y con marcadores dibujé detalles a color como algunas flores y hojas. En la portada dibujé las mismas flores de puntos y pegué a la sanadora del bosque en medio, la cual tiene un tamaño total de unos 8 cm de largo, así que tengan esto en cuenta a la hora de hacer su tarjeta, que el personaje sea un poco más pequeño.
- ✨ STEP 5:
For the card, I cut out a rectangle 20 cm long x 10 cm wide and folded it in half along the longest side to form the card. On the inside I wrote a message with a black marker and with markers I drew colored details like some flowers and leaves. On the cover I drew the same dotted flowers and glued the forest healer in the middle, which has a total size of about 8 cm long, so keep this in mind when making your card, that the character is a little smaller.
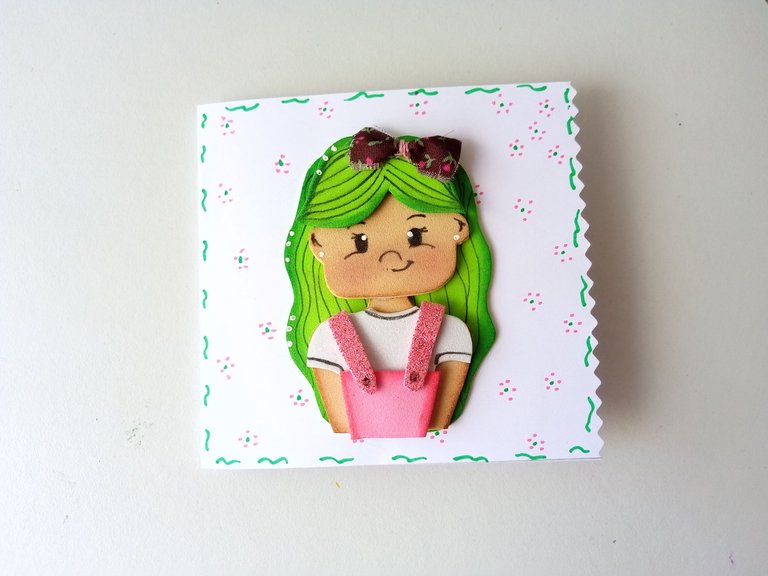
✨¡And ready!✨ This is how you can make a cute card with a theme of the forest healer or one of the other characters or creatures. I hope you liked the step by step and are encouraged to make and create beautiful decorations.
❤️Until the next post.
❤️ Hasta la próxima publicación.
❤️ Until the next post.


Todas las fotografías son de mi propiedad.
Separador y Fotos editadas en Canva
All photographs are my property.
Photos edited in Canva
Un mensaje hermoso tiene esa tarjetica amio y como siempre te quedó lindisima🥰
Muchas gracias Mili hermosa 💕
Amiga que lindo te quedo! Me gusta 🥰
Muchas gracias amiga! Me alegra que te haya gustado.💕
Hermosa tarjeta y mensaje 😍
Gracias mi Eve 💕
Hola @valenpba, la tarjeta quedó hermosa, me encantó el vestuario de la sanadora del bosque, una tarjeta original con un lindo mensaje.
Saludos!