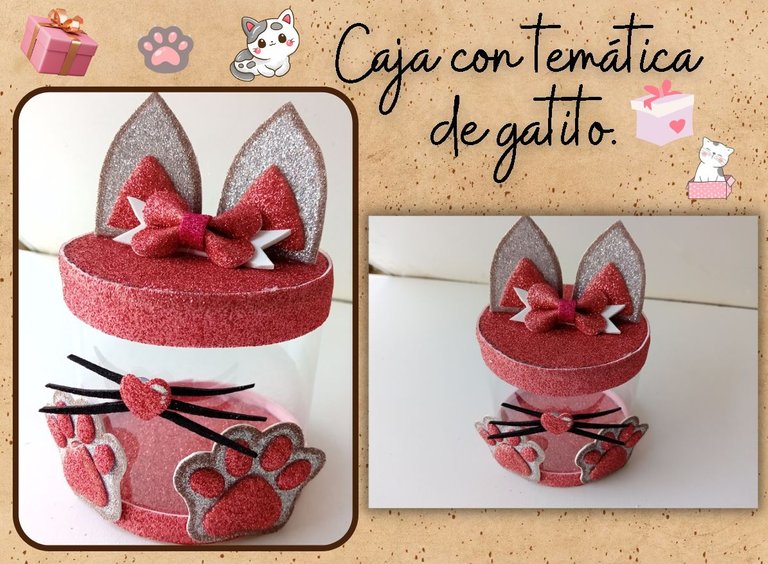
[Esp/Eng] ✨ Caja de regalo con temática de gatito. // Kitty Themed Gift Box ✨
✨🎁😽¡Hola amigos amantes de la creatividad! Espero que hayan pasado un muy buen comienzo de semana😽🎁✨
🔸Sin más que añadir, a continuación los dejo con el paso a paso:
✨🎁😽¡Hello friends who love creativity! I hope you had a very good start to the week.😽🎁✨
I hope you are well and have had a nice Monday. This time I share the step by step to make a beautiful cat-themed box. After thinking about several ideas to share with you, I finally decided to make a box with this theme. I went for this idea, since I had never made something for a kitten, it never caught my attention, but I decided to do it in a very tender way and using a color palette that does not use soil and that, without a doubt, I wanted to use that pink frosty foami for a long time.
It is important to note that I made the decision for this theme, since my first idea was a rabbit, but I had not realized that I shared one with this theme a while ago. However, I am satisfied and happy with the result. It should also be noted that I used useful materials and very few materials to make this tenderness.
🔸Without more to add, then I leave you with the step by step:
♥️ESPERO QUE TE GUSTE,
¡Empecemos!
♥️I HOPE YOU LIKE IT,
Let's start!

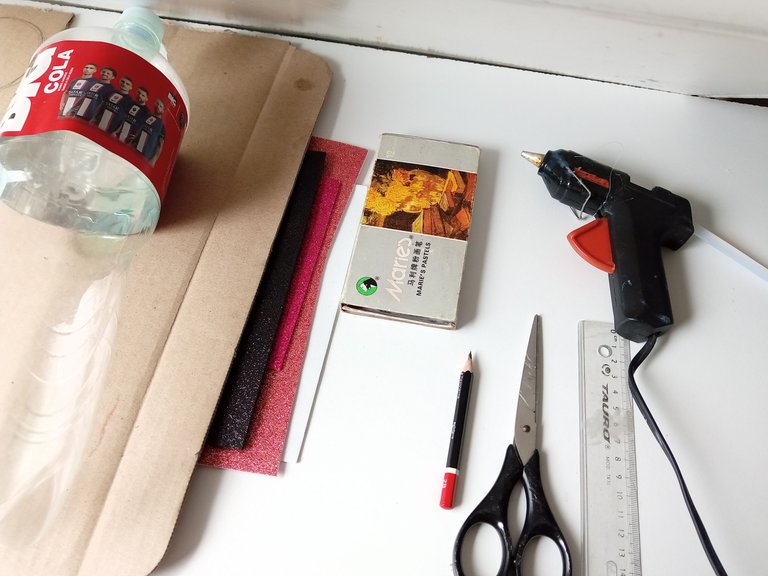
🎁 MATERIALES | 🎁 MATERIALS

- Botella de plástico.
- Cartón grueso.
- Foami escarchado rosado.
- Foami escarchado plateado.
- Cartulina blanca.
- foami negro.
- Tizas de colores.
- Pegamento.
- Hoja blanca.
- Tijeras.
- Regla.
- Lápiz.
- Plastic bottle.
- thick cardboard
- Pink frosty foami.
- Frosted silver foami.
- White cardboard.
- black foam.
- Colored chalks.
- Glue.
- White sheet.
- Scissors.
- Ruler.
- Pencil.


🐾 PROCEDIMIENTO | 🐾 PROCESS

- PASO 1:
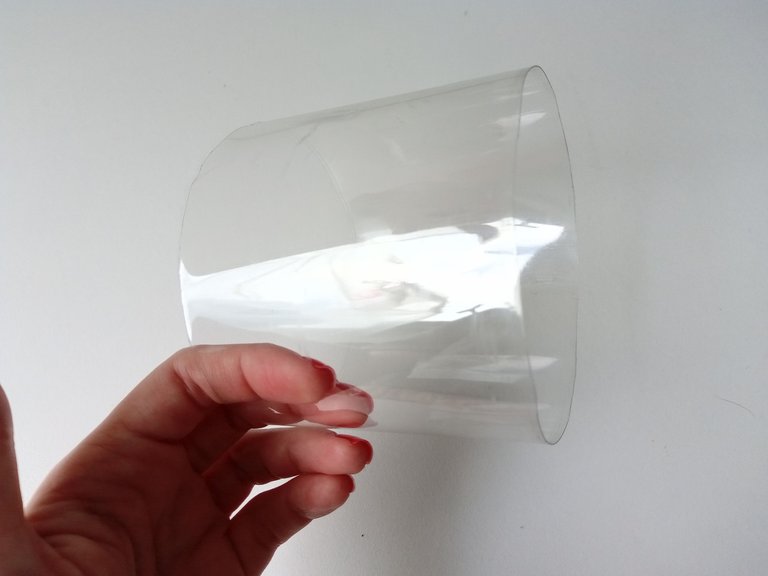
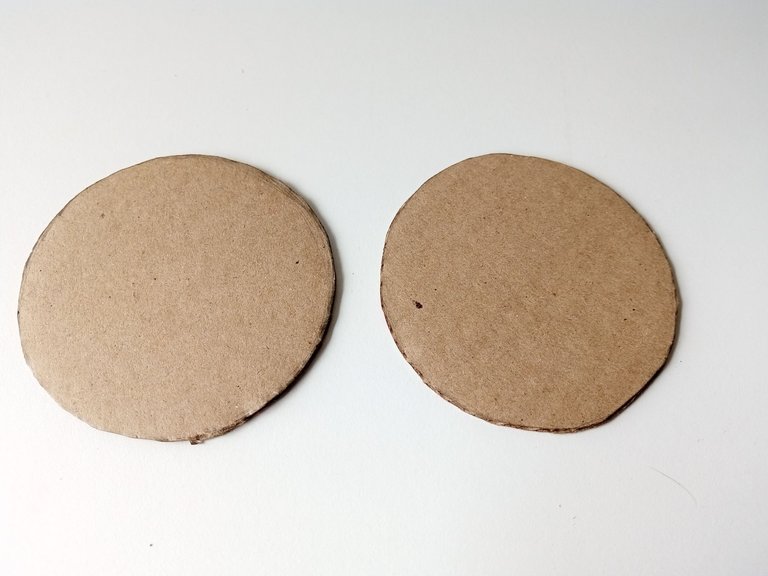
Lo primero que hice fue cortar el cilindro de la botella de plástico, justo el cilindro donde va la etiqueta. Para quitar el exceso de pegamento que quede adherido, añade un poco de alcohol a un disco de algodón y frota hasta que desaparezca todo el pegamento. Luego, tracé 2 círculos del mismo tamaño que los del cilindro sobre cartón grueso y recorté.
- STEP 1:
The first thing I did was cut the cylinder of the plastic bottle, just the cylinder where the label goes. To remove any excess glue that is stuck, add a little rubbing alcohol to a cotton pad and rub until all the glue is gone. Then, I traced 2 circles the same size as the ones on the cylinder on thick cardboard and cut them out.


- PASO 2:
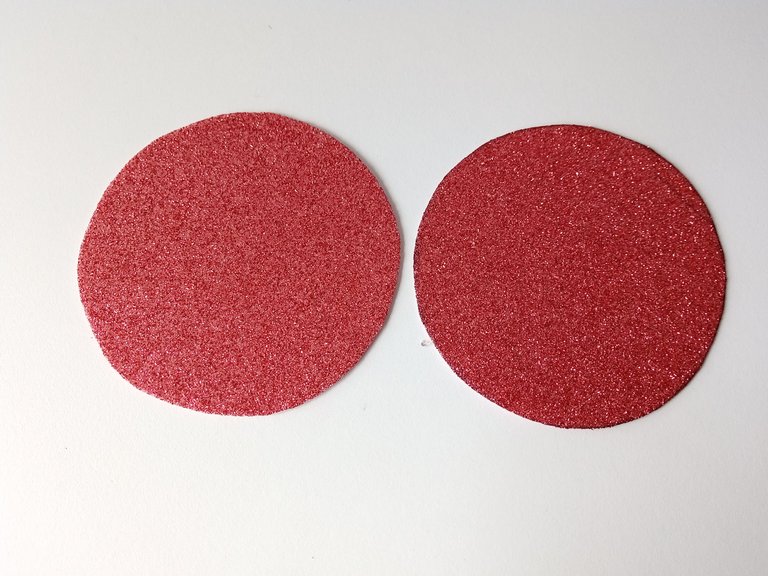
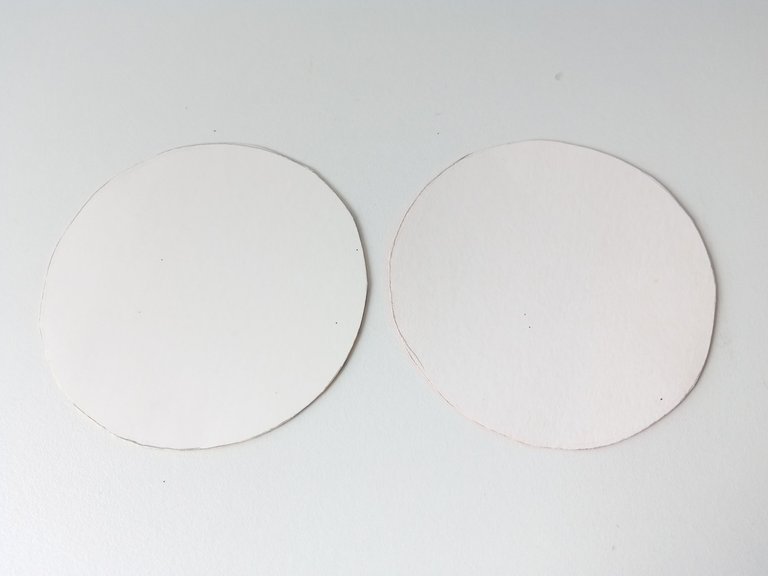
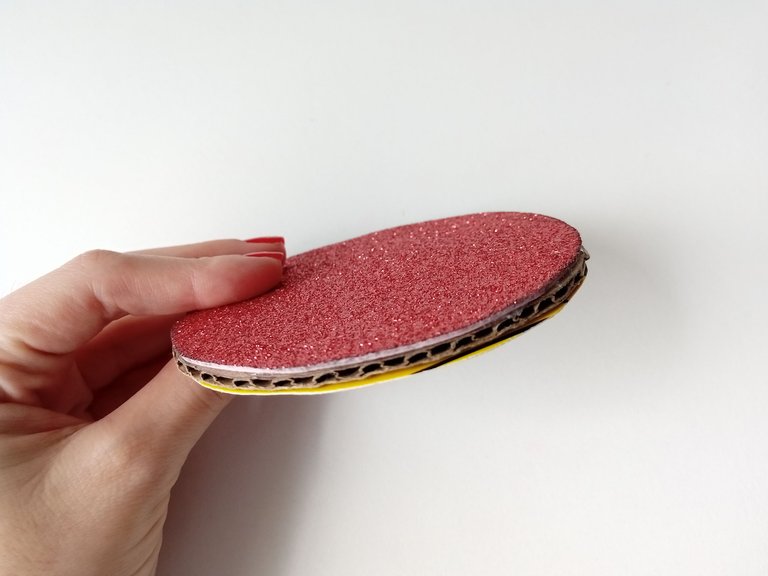
Luego, con las mismas medidas, tracé y recorté 2 círculos en foami escarchado rosado y 2 círculos en cartulina blanca. Puedes omitir esta opción y simplemente, hacer los 4 círculos en foami escarchado. Una vez listas todas las piezas, procedí a pegar en los círculos de cartón, por un lado los de foami escarchado y por el otro lado los de cartulina.
- STEP 2:
Then, with the same measurements, I traced and cut 2 circles in pink frosted foam and 2 circles in white cardboard. You can skip this option and just make the 4 circles in frosted foam. Once all the pieces were ready, I proceeded to paste the frosted foami circles on the cardboard circles on one side and the cardboard circles on the other side.


- PASO 3:
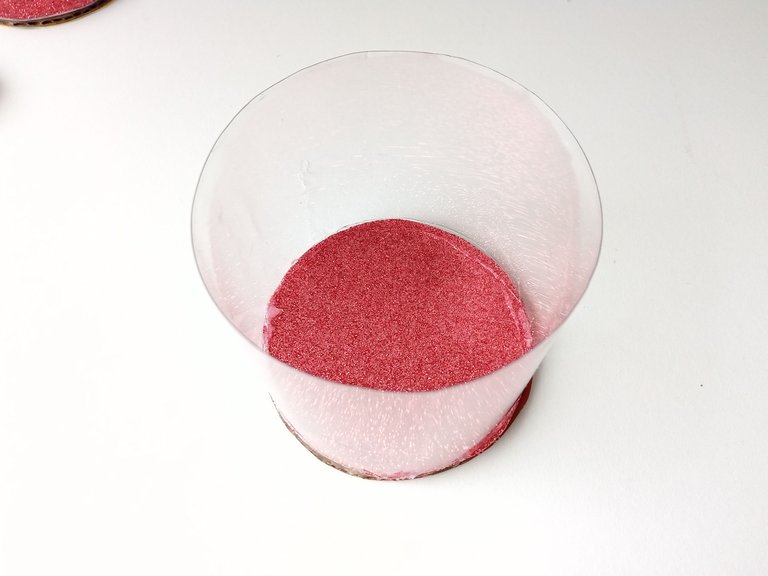
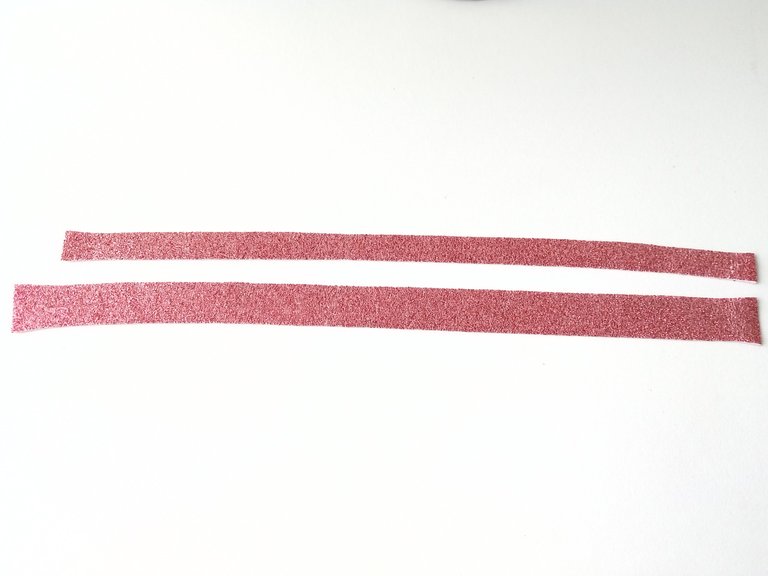
Una vez listo, pegué una de las piezas al cilindro de plástico por el lado del foami escarchado. Luego, recorte 2 tiras del ancho del cilindro, una de 1,5 cm y la otra de 1 cm.
- STEP 3:
Once ready, I glued one of the pieces to the plastic cylinder on the frosted foam side. Then cut 2 strips the width of the cylinder, one 1.5 cm and the other 1 cm.


- PASO 4:
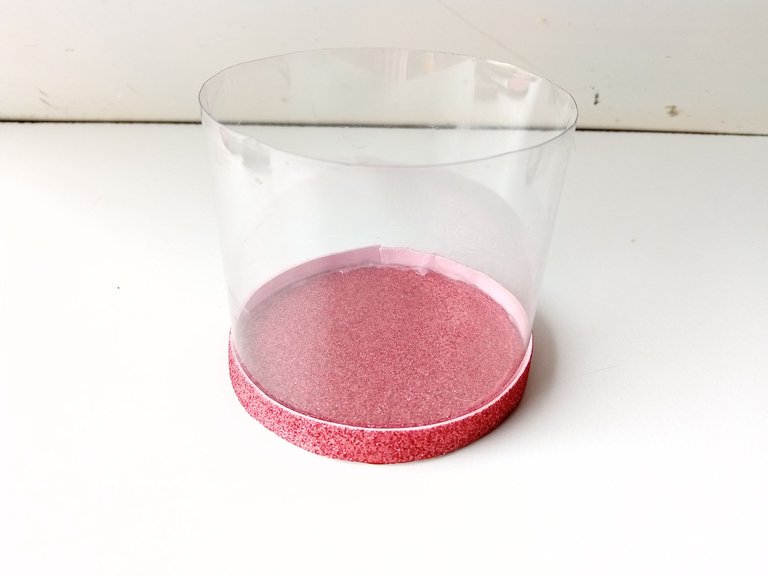
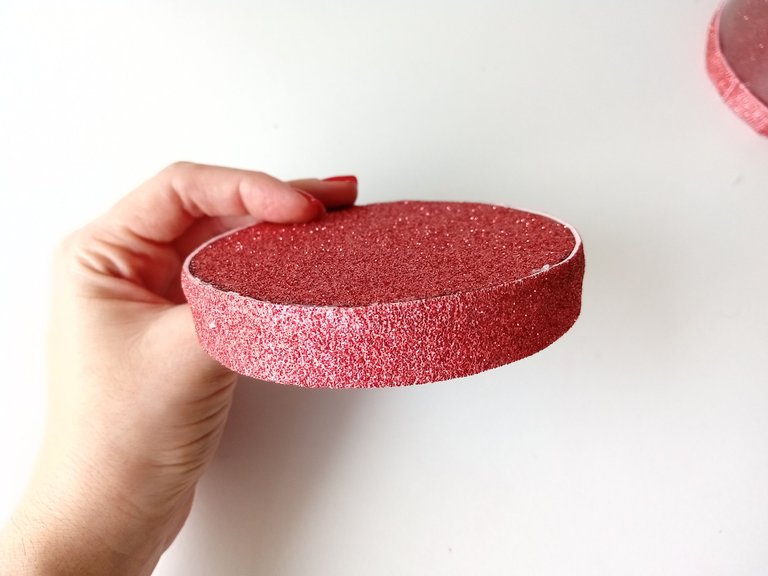
Tomé la más delgada y la pegué por todo el borde superior del cilindro para que quede más prolijo. Después, tomé la tira más ancha y la pegué por todo el borde del otro círculo de cartón para tener lista la tapa de la cajita.
- STEP 4:
I took the thinnest one and glued it all over the top edge of the cylinder to make it neater. Then, I took the widest strip and glued it all over the edge to the other cardboard circle so that I would have the lid of the box ready.


- PASO 5:
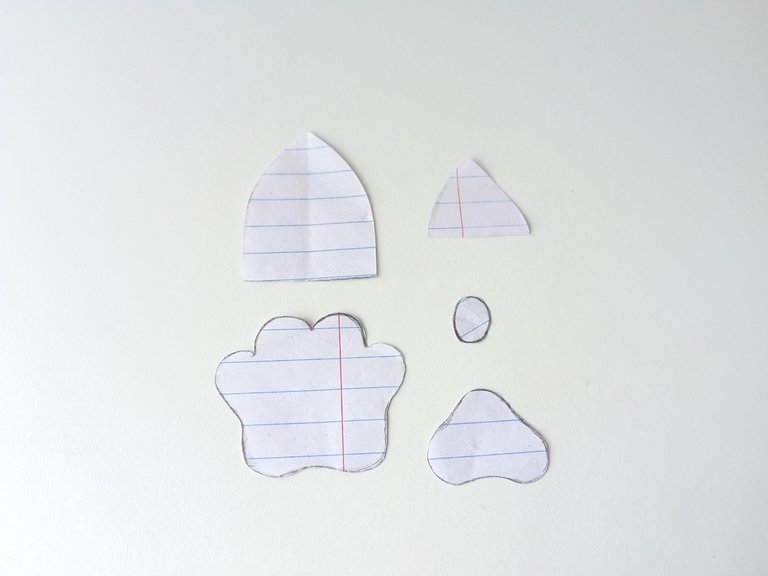
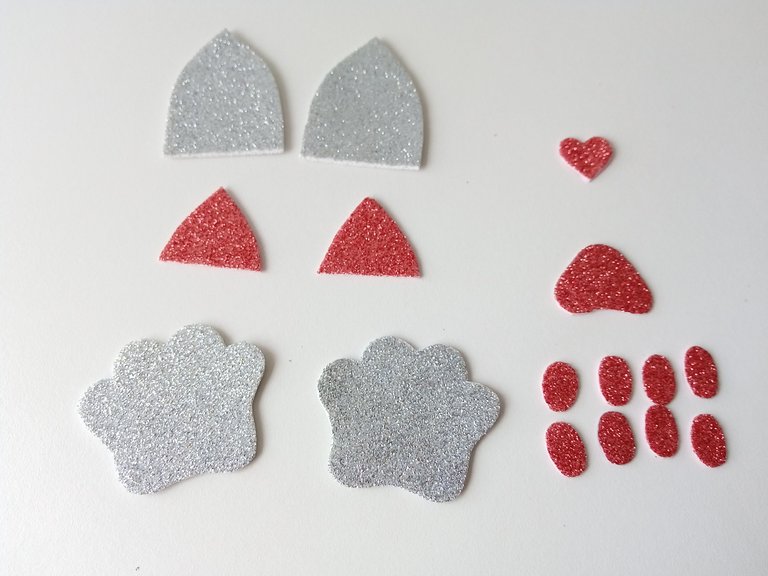
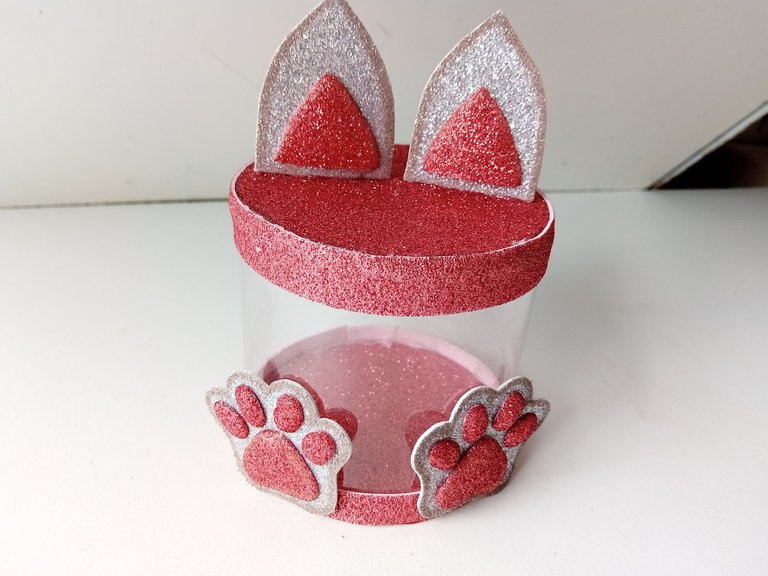
Una vez listo, procedí a dibujar las partes del gato en una hoja. Recorté y pasé cada parte al color de foami correspondiente, en este caso: las orejas de 3 cm, en foami escarchado plateado. La parte interior de las orejas de 1 cm, en foami escarchado rosado. Las patas de 3.5 cm, en foami escarchado plateada y la parte interna, en foami escarchado rosado. Para la nariz corazón, en foami escarchado rosado.
- STEP 5:
Once ready, I proceeded to draw the parts of the cat on a piece of paper. I cut out and passed each part to the corresponding foam color, in this case: the 3 cm ears, in silver frosted foam. The inner part of the ears of 1 cm, in pink frosted foam. The 3.5 cm legs are in silver frosted foam and the internal part is in pink frosted foam. For the heart nose, in pink frosted foam.


- PASO 6:
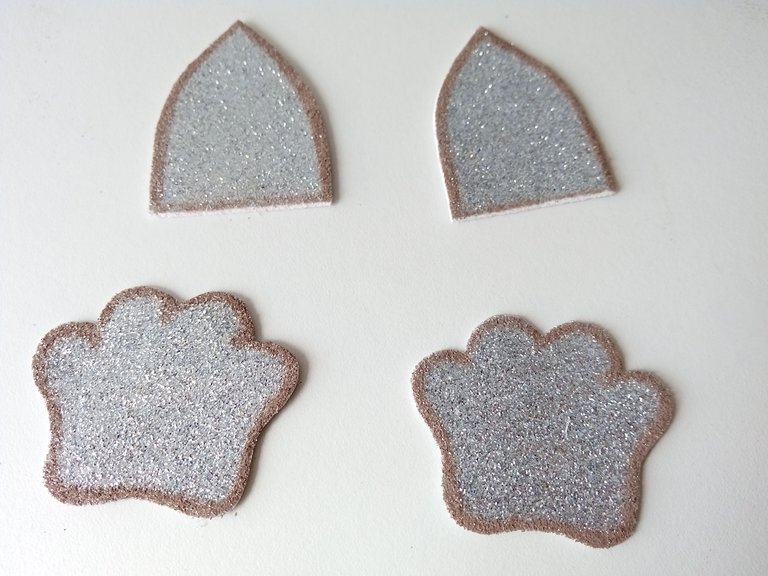
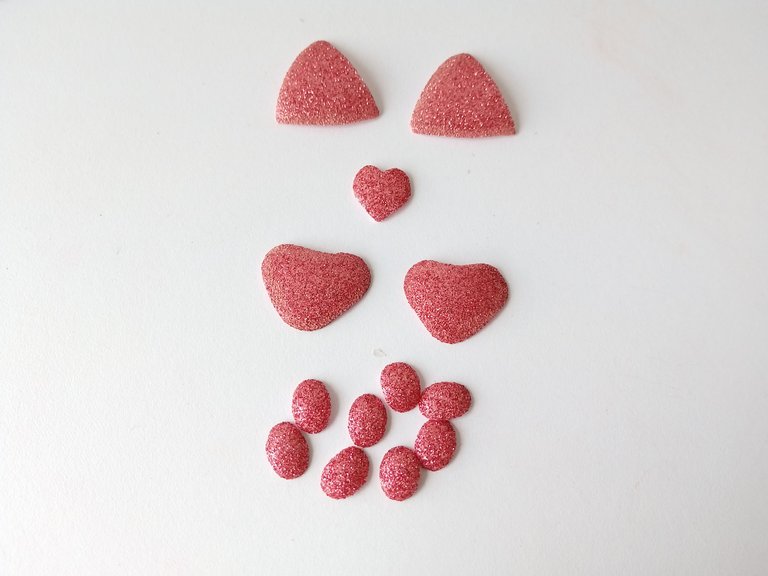
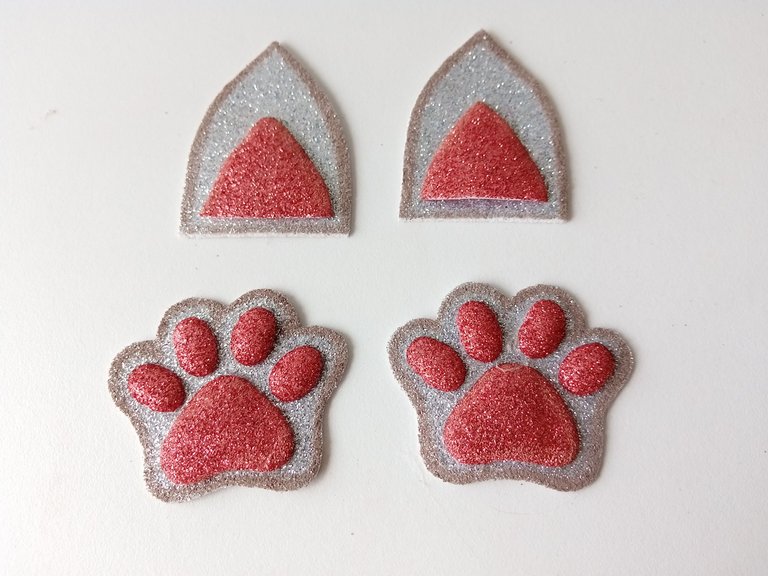
Para dar detalles extras, pase por todo el borde de las piezas plateadas, tiza de color marrón y todas las piezas en foami rosado las pase por la plancha para que abultaran un poco y se viera con relieve. Pegué todas las piezas donde corresponden y luego, las pegué a la caja.
- STEP 6:
To give extra details, I went around the edge of the silver pieces, brown chalk and all the pink foami pieces, I passed them over the iron so that they would bulge a little and it would look embossed. I glued all the pieces where they belong and then glued them to the box.


- PASO 7:
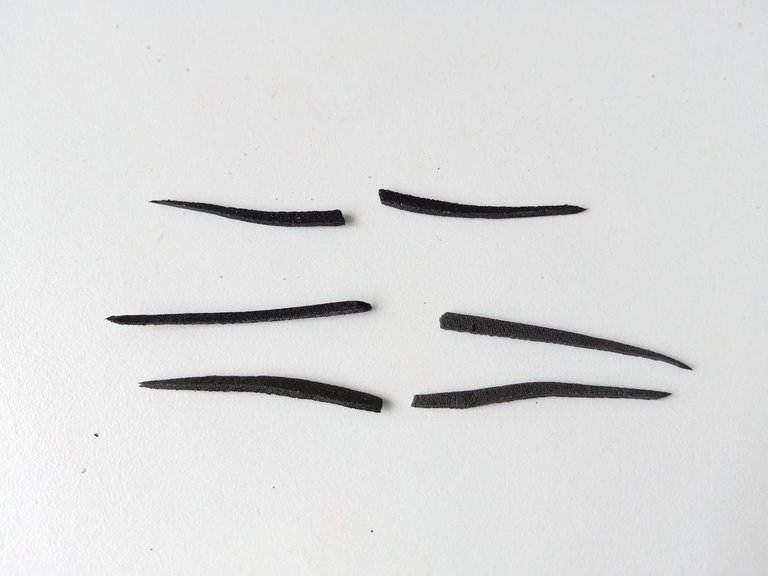
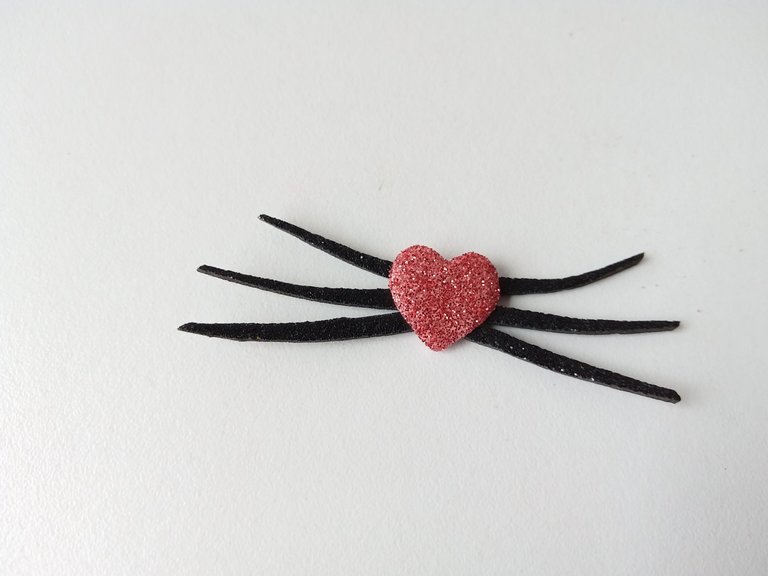
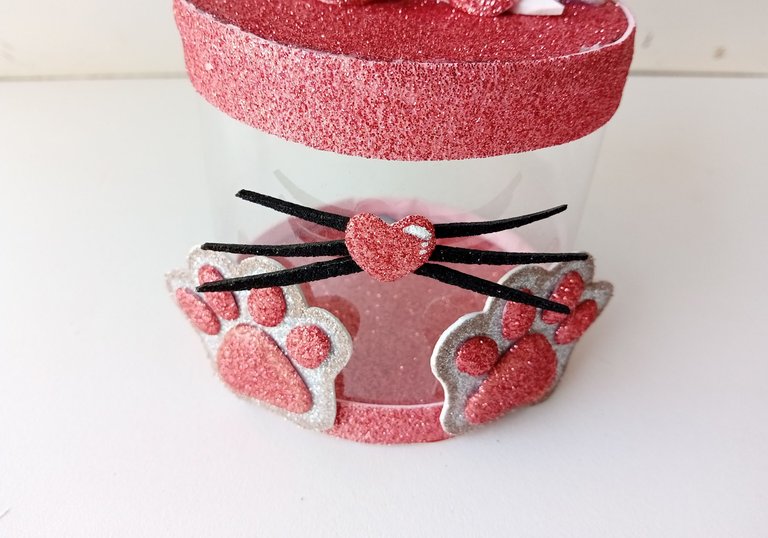
Para el bigote, recorté 6 tiras pequeñas y delgadas en foami negro y pegué 3 a cada lado de la nariz. Una vez lista, pequé justo en el medio de la caja y le di un punto de luz a la nariz, con pintura blanca.
- STEP 7:
For the mustache, I cut 6 small and thin strips in black foam and glued 3 to each side of the nose. Once ready, I sinned right in the middle of the box and gave a point of light to the nose, with white paint.


- PASO 8:
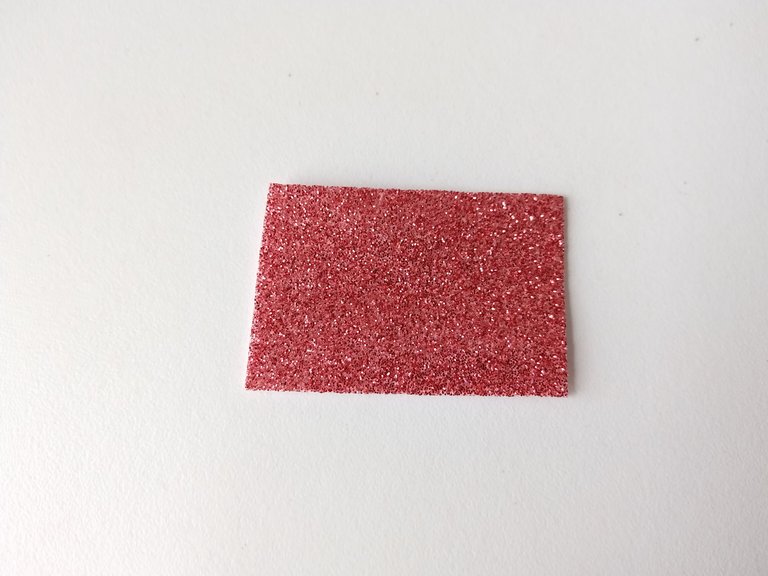
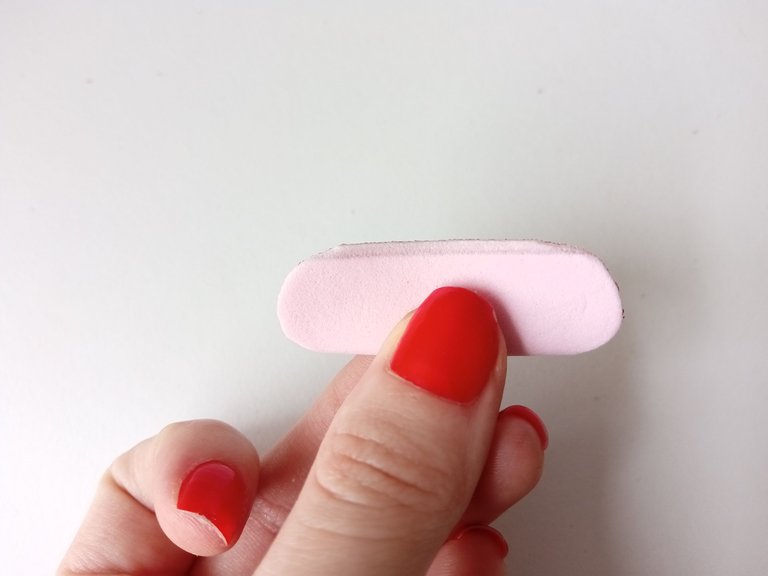
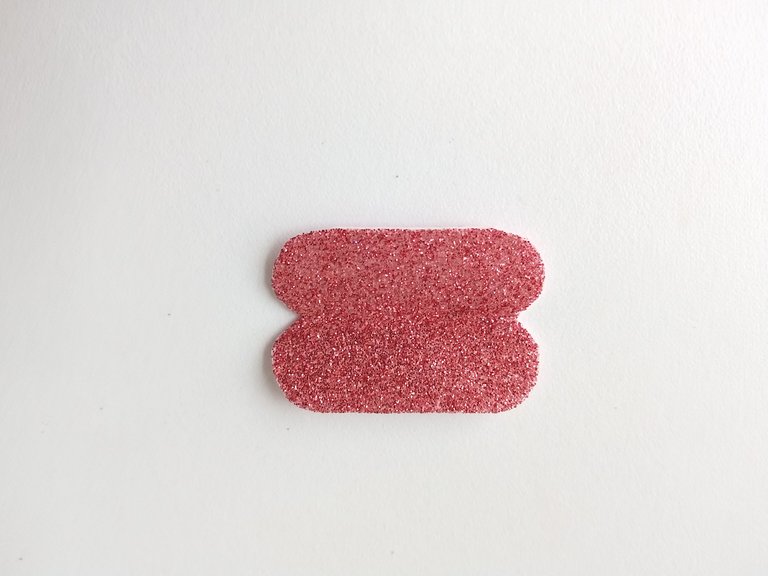
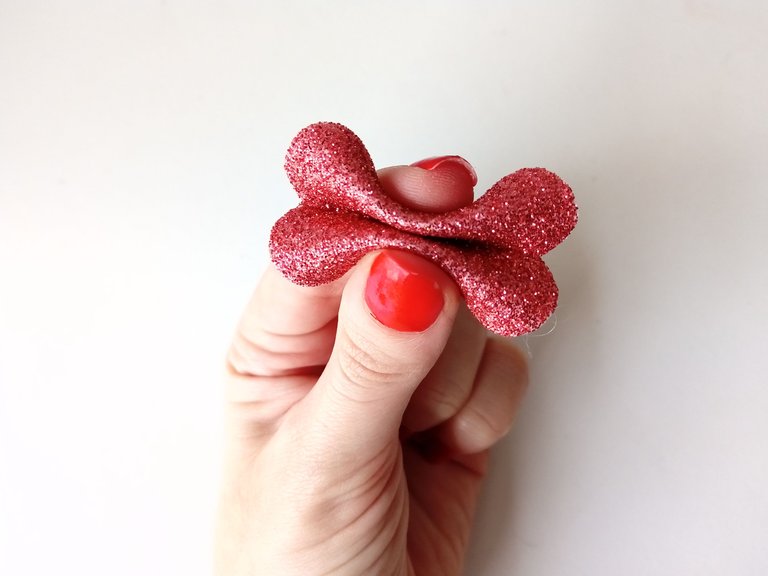
Para terminar, corta un rectángulo de 3 cm x 2 cm, dóblalo por la mitad y recorta los bordes circulares. Cuando se abre, debe verse como se muestra en las siguientes imágenes.
- STEP 8:
To finish, I cut out a 3cm x 2cm rectangle, fold it in half and trim the circular edges. When opened, it should look as shown in the following images.


- PASO 9:
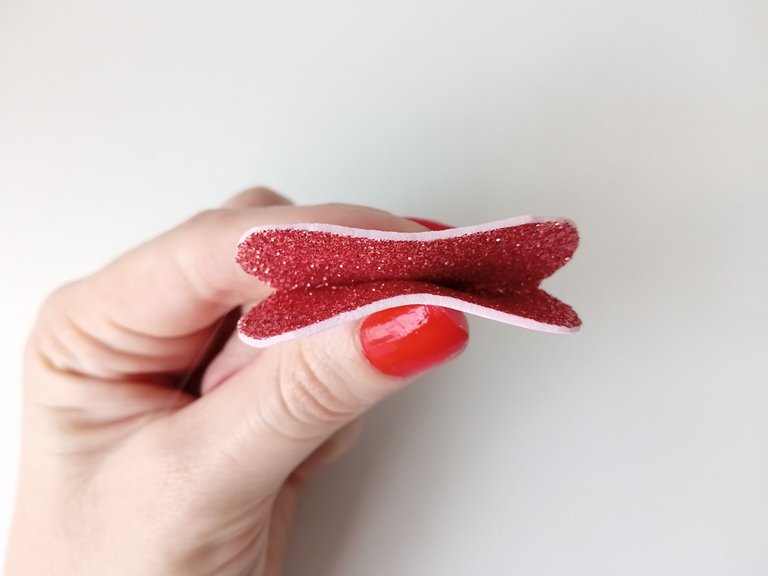
Agregar un punto de pegamento en medio y unir. Luego, un punto de pegamento justo en los bordes de en medio y pegar doblando ambas partes por detrás. Pegar una tira de foami en medio del lazo. También recortar una tira de 4 cm x 1 cm en foami blanco, recortar dando forma de triángulo en las puntas y pegar detrás del lazo y este, a la caja.
- STEP 9:
Add a glue dot in the middle and join. Then, glue a dot together on the middle edges and glue by folding both parts behind. Glue a strip of foami in the middle of the loop. Also cut a 4 cm x 1 cm strip of white foam, cut into a triangle at the ends and glue behind the bow and this, to the box.

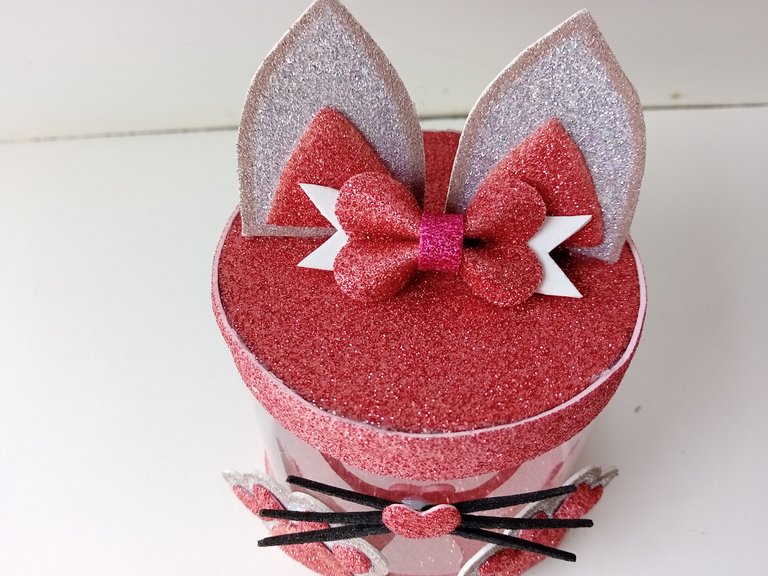

✨🎁😽¡Y listo!😽🎁✨ Así es como hice esta bonita caja de gatito para que des un bonito obsequio a un ser querido, también es perfecto como dulcero para una fiesta. Recuerda que puedes utilizar los colores y la temática que más te gusta. Espero les haya gustado y se animen a elaborarlo.
❤️Hasta la próxima publicación.
✨🎁😽¡And ready!😽🎁✨ This is how I made this pretty kitty box for you to give a nice gift to a loved one, it is also perfect as a candy box for a party. Remember that you can use the colors and the theme that you like the most. I hope you liked it and are encouraged to make it.
❤️Until the next post.

✨RESULTADO: | ✨RESULT:

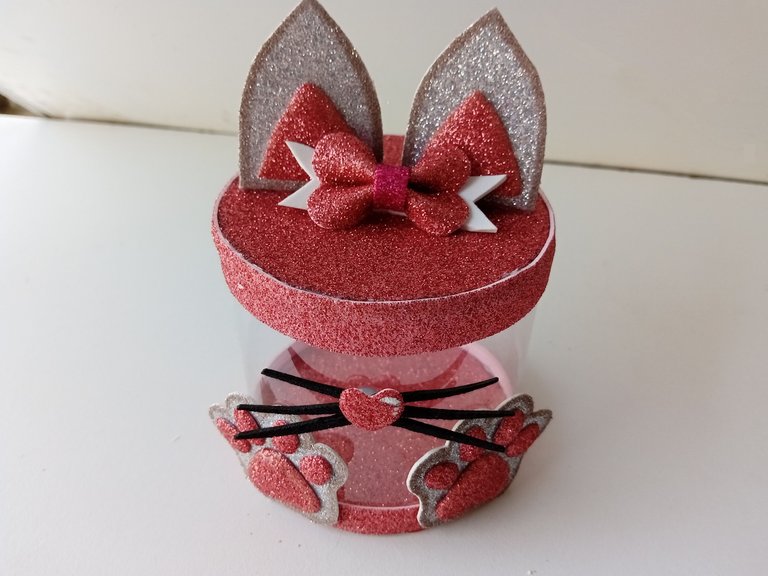
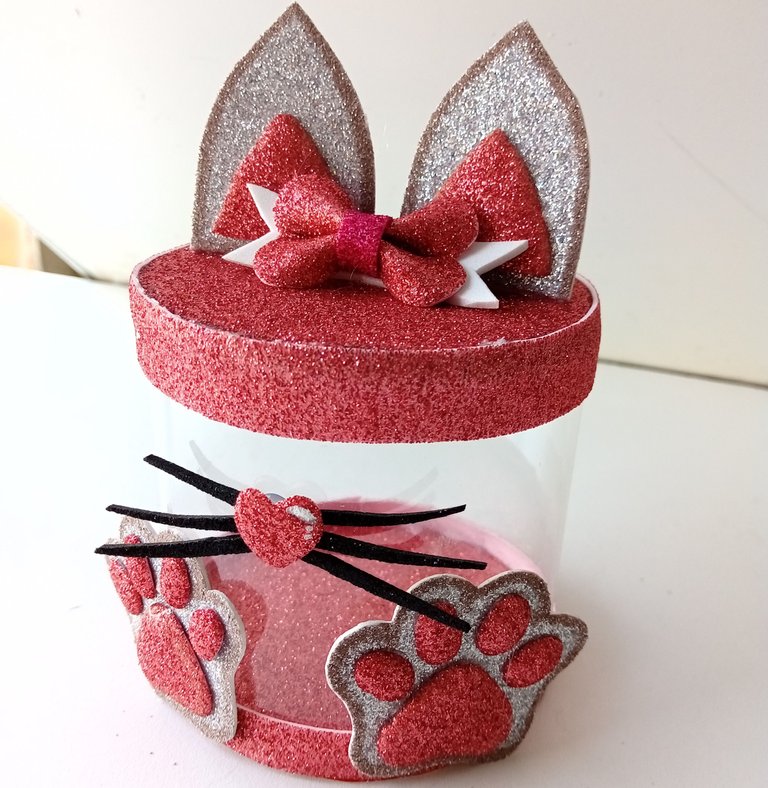


Todas las fotografías son de mi propiedad.
Separador y Fotos editadas en Canva
All photographs are my property.
Photos edited in Canva
Preciosa y adorable esta cajita amiga, me encantó la temática y los detallitos que le hiciste, te quedó super hermosa y es ideal hasta para guardar cositas. Me encanta 😍 !DIY
Muchas gracias amiga ! Totalmente, puede ser un dulcero, cajita de regalos o una cajita para guardar cositas.
Me alegra mucho que te haya gustado Ami! Gracias por el apoyo 💗
You can query your personal balance by
!DIYSTATSDe verdad un hermoso trabajo, se ve el esfuerzo y la dedicación, los detalles impecables🤩
Muchas gracias por tus palabras linda! Eso es lo que intento y es bonito que se noten esos detalles.
Gracias por pasarte 💗
Saludos ✨
Saludos 🤗
#posh
https://twitter.com/Luzscarllet/status/1686422114331512833?s=20
Hermosa está cajita de regalo🥰 Está Adorable con temática de gatito😺 me gusta mucho la forma como combinaste los colores 🌈Saludos
Muchas gracias amiga! 💗 No suelo utilizar este tipo de colores y pienso que debo hacerlo más seguido; probar combinaciones nuevas y salir de lo que estoy acostumbrada.
Gracias por tomarte el tiempo de comentar.💗
Que hermosura valen, me encantó cada detallito se ve tan lindo y perfecto. Gracias por compartir❤️
Muchas gracias Yage! Me alegra mucho que te haya gustado amiga. ✨💗
Pero qué hermosa cajita mi Valen! Me encantó!
Gracias mi Eve! Me alegra que te haya gustado.💗
Que esperas para unirte a nuestro trail de curación y formar parte del "proyecto CAPYBARAEXCHANGE", tu casa de cambio, rapida, confiable y segura
Eso te quedo demasiado bello amiga. Me encanta imaginar ese se puede hacer casi cualquier muñeco, Alison amaría uno de papa pig jajaja. Tengo que ponerme a practicar porque lo haces ver muy fácil. Tienes mucho talento para esto amiga. Gracias por compartir 😊
NOOOO 😍😍😍😍😍 DIOSMIO! Te pasaste! Quedo demasiado cuchi amiga, cada detalle es justo y necesario, gracias por compartir su elaboración 🙏🏻✨❤️
Congratulations @valenpba! You have completed the following achievement on the Hive blockchain And have been rewarded with New badge(s)
Your next target is to reach 4750 replies.
You can view your badges on your board and compare yourself to others in the Ranking
If you no longer want to receive notifications, reply to this comment with the word
STOPCheck out our last posts:
Que trabajo tan bonito, mi valen. Está demasiado cuchi.
!DIY
Pero que lindura de manualidad, la parte que más me gusta son las patitas acolchonadas como la de los gatos, además esos colores combinan a la perfección.