Бісквіт серед тижня: за вуха не відтягнеш
Привіт! Дружина мене балує своїми кулінарними шедеврами дуже часто. Якщо подивитися мій блог за останній тиждень, то майже щодня я викладав рецепти. Равлики з сосисками, налисники с кисломолочним сиром, трубочки зі згущеним молоком, шарлотка з яблуками, пиріжки з гарбузами, оладки з сосисками та зеленню... Та навіть домашній хліб я випікав з допомогою коханої людини.
З таким раціоном мені складно контролювати рівень глюкози. Але й відмовити собі в ласощах також не можу, ймовірно, не вистачає сили волі. У вівторок дружина прийшла з роботи й приготувала неймовірно смачний бісквіт. Весь процес приготування я не фотографував, щоб не заважати. Зробив лише кілька світлин готового бісквіта. А нижче викладаю рецепт. Він нескладний, звичайно, якщо є практичні навички.
Спочатку готуємо тісто. Нам знадобиться 4 яйця. Домашні курочки чомусь не хочуть нести яйця. Тому беремо яйця з магазину. Їх збиваємо з цукром (200 г) до пишної піни. Далі додаємо третину чайної ложки солі, 100 г борошна та 8 г какао. Тісто повинно бути за густиною немов сметана (густа). Готуємо форму, змащуємо її вершковим маслом та викладаємо наше тісто. Випікаємо впродовж 45-60 хвилин при температурі 180 градусів.
Далі переходимо до заварного крему. Звичайно, набагато ефективніше готувати крем, поки випікається бісквіт. Нам знадобиться пів літра молока, 100 г цукру. Змішуємо та доводимо до кипіння.
Окремо беремо 3 яйця, додаємо 3 столові ложки борошна та 100 г молока. Змішуємо ці інгредієнти до однорідної маси. Отриману масу поступово додаємо до молока з цукром, тобто, того, що ми довели до кипіння. Все це варимо до такого стану, щоб консистенція продукту була густою. Сюди ж додаємо 200 г вершкового масла. Варимо цю суміш ще 2 чи 3 хвилини. Крем повинен захолонути.
Повертаємось до нашого бісквіта. Його потрібно розділити на 2 або 3 частини. Зазвичай, дружина розрізає його на три частини. Потім змащуємо кожну частину заварним кремом.
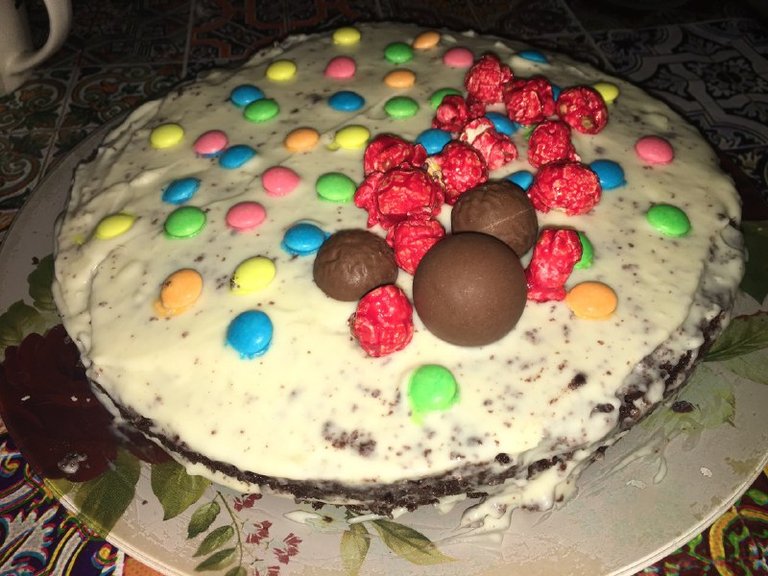
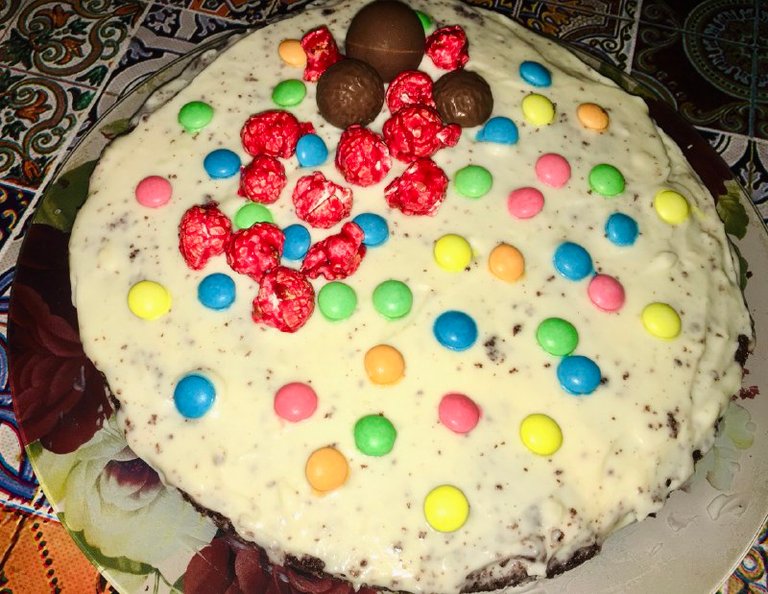
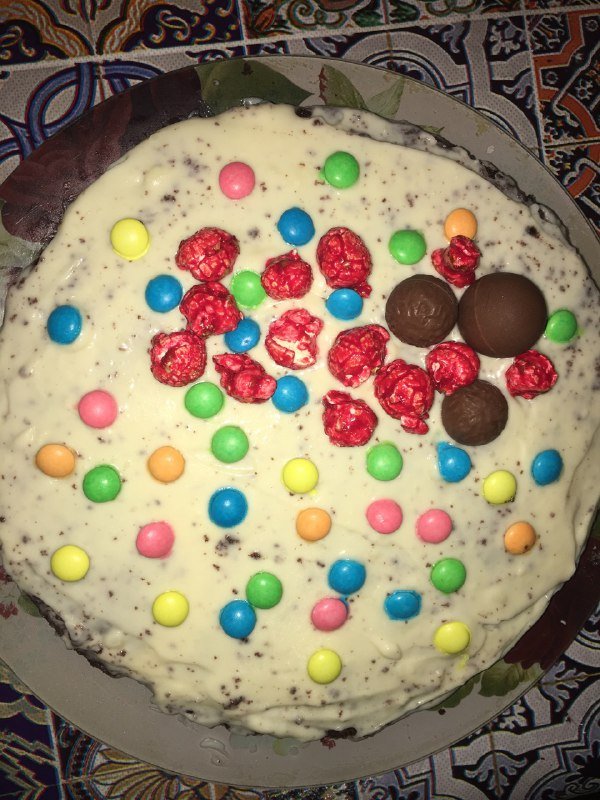
Тепер залишається прикрасити наш бісквіт. Ми використали для цього різнокольорові шоколадні цукерки та попкорн. До речі, попкорн в нашому бісквіті глазурований зі смаком малини та перцю чилі. Смак досить-таки неординарний. Взагалі, фантазія з прикрашання бісквіта не обмежується нічим. Якщо бракує власної фантазії, то можна подивитися пару світлин в мережі.
Всім добра!
Biscuit in the middle of the week: you can't pull it off by the ears
Hello! My wife spoils me with her culinary masterpieces very often. If you look at my blog for the last week, I've been posting recipes almost every day. Snails with sausages, flatbreads with sour milk cheese, tubes with condensed milk, charlotte with apples, pies with pumpkins, pancakes with sausages and greens... I even baked homemade bread with the help of a loved one.
With such a diet, it is difficult for me to control my glucose level. But I can't deny myself treats either, I probably don't have enough willpower. On Tuesday, the wife came home from work and prepared an incredibly delicious sponge cake. I did not photograph the entire cooking process so as not to disturb. I only took a few photos of the finished biscuit. And below I am sharing the recipe. It is not difficult, of course, if you have practical skills.
First, we prepare the dough. We will need 4 eggs. Domestic chickens for some reason do not want to lay eggs. That's why we take eggs from the store. Beat them with sugar (200 g) until fluffy. Next, add a third of a teaspoon of salt, 100 g of flour and 8 g of cocoa. The dough should be as thick as sour cream (thick). We prepare a form, grease it with butter and spread our dough. Bake for 45-60 minutes at a temperature of 180 degrees.
Next, we move on to the custard. Of course, it is much more efficient to prepare the cream while the biscuit is being baked. We will need half a liter of milk, 100 g of sugar. Mix and bring to a boil.
Separately, we take 3 eggs, add 3 tablespoons of flour and 100 g of milk. Mix these ingredients to a homogeneous mass. The resulting mass is gradually added to milk with sugar, that is, what we brought to a boil. All this is cooked until the consistency of the product is thick. Add 200 g of butter here. Cook this mixture for another 2 or 3 minutes. The cream should cool down.
Let's go back to our biscuit. It should be divided into 2 or 3 parts. Usually, the wife cuts it into three parts. Then we grease each part with custard.
Now it remains to decorate our biscuit. We used colorful chocolates and popcorn for this. By the way, the popcorn in our biscuit is glazed with raspberry and chili pepper flavor. The taste is quite extraordinary. In general, the fantasy of decorating a biscuit is not limited by anything. If you lack your own imagination, you can look at a couple of pictures on the Internet.
All good!
Text and photo content are the property of the author, unless otherwise noted. Publications and photos are not published on other social media.
Yay! 🤗
Your content has been boosted with Ecency Points, by @uakulinar.
Use Ecency daily to boost your growth on platform!
Support Ecency
Vote for new Proposal
Delegate HP and earn more
thank!!