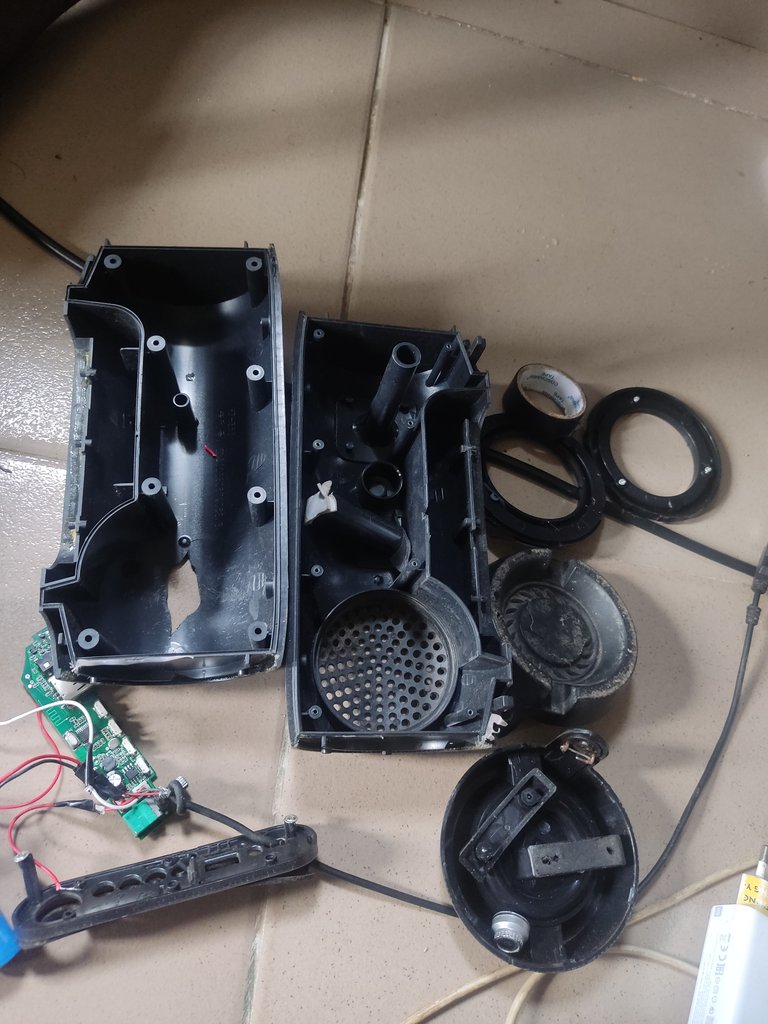
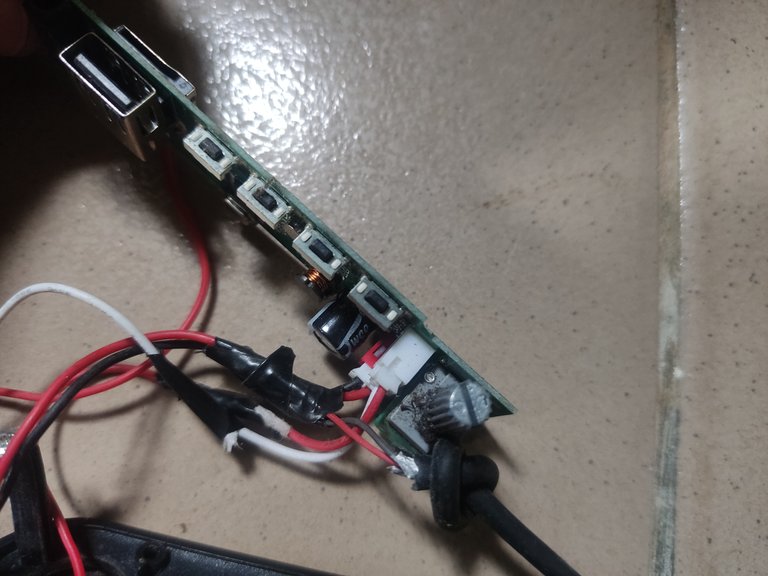
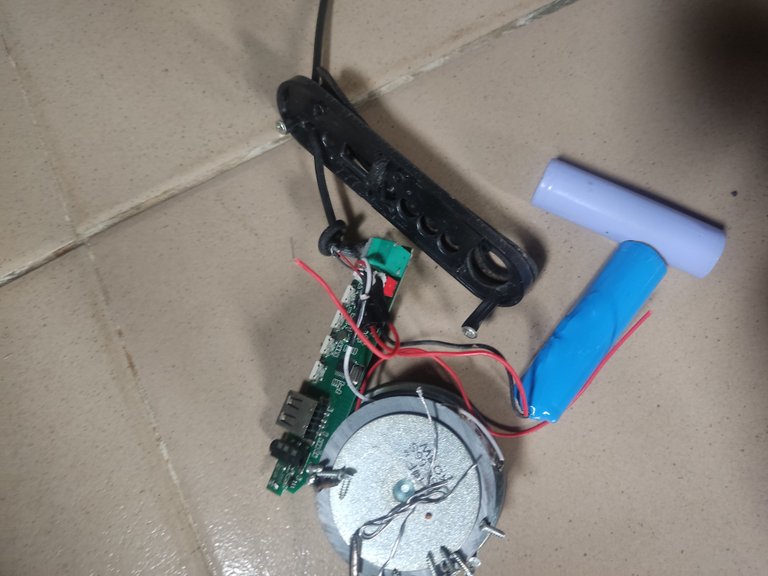
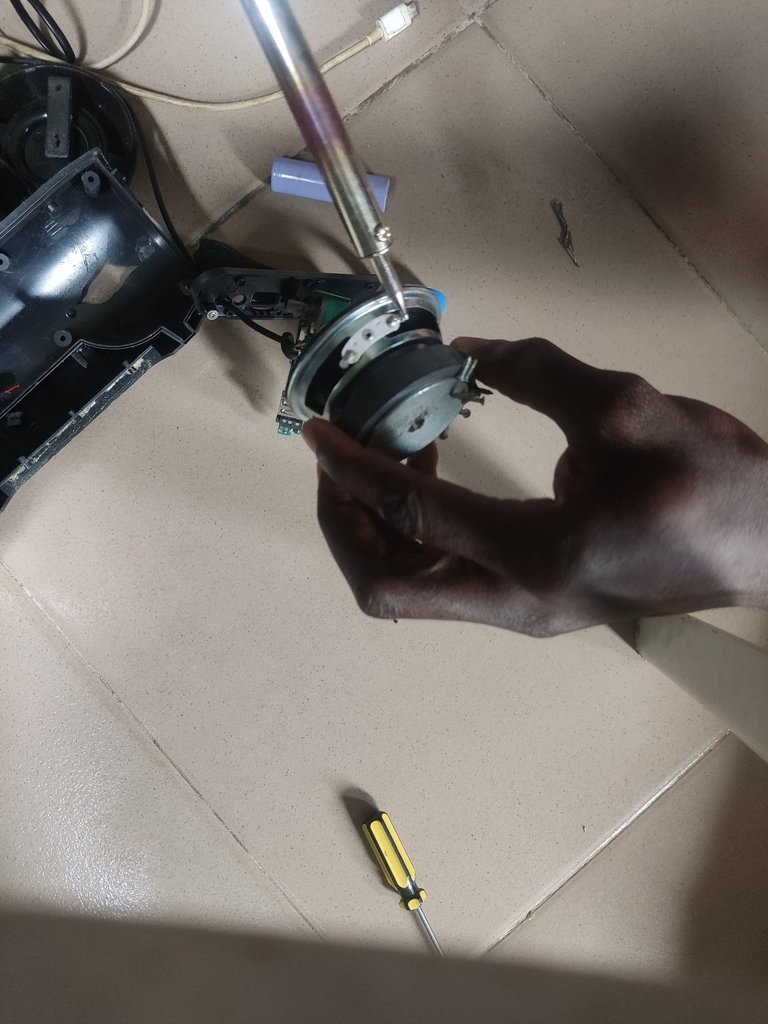
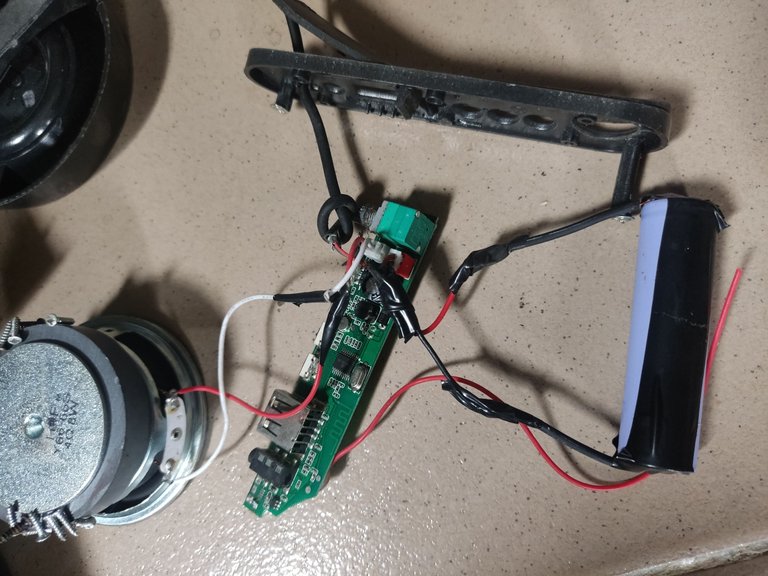
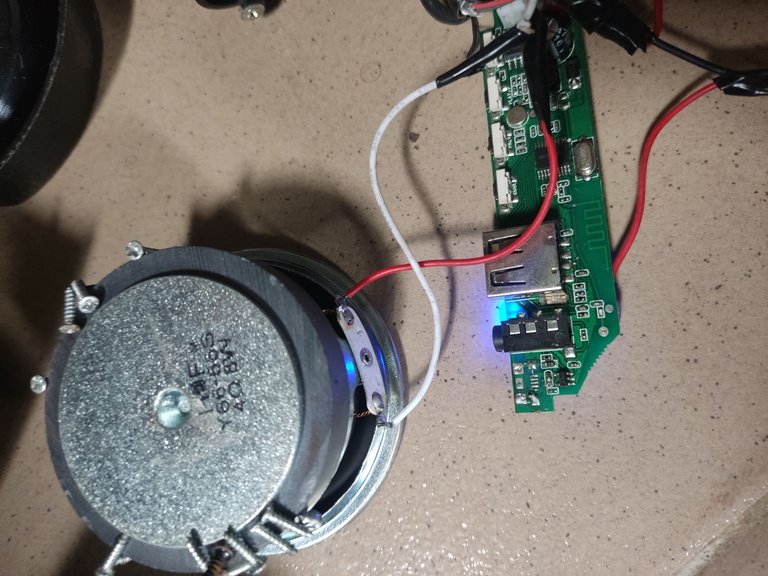
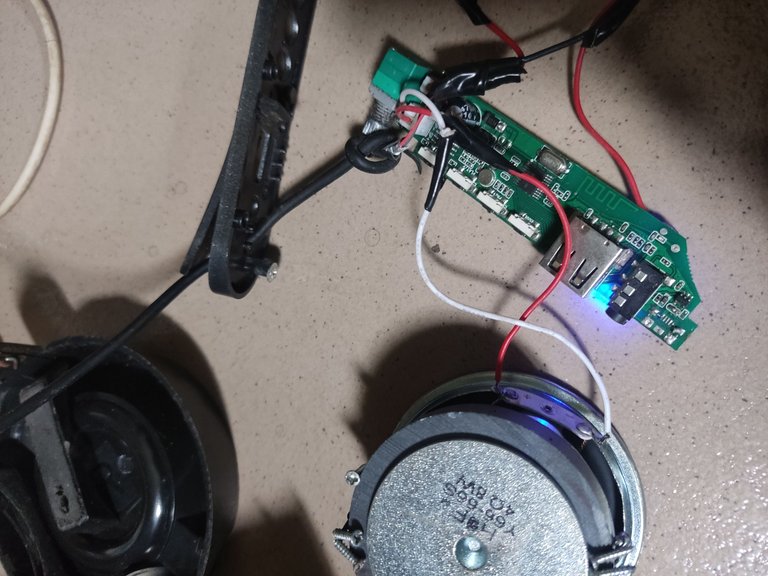
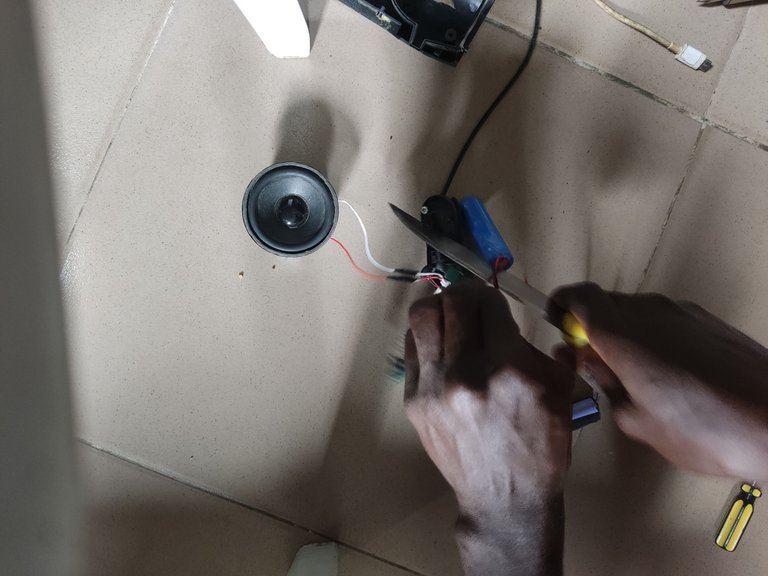
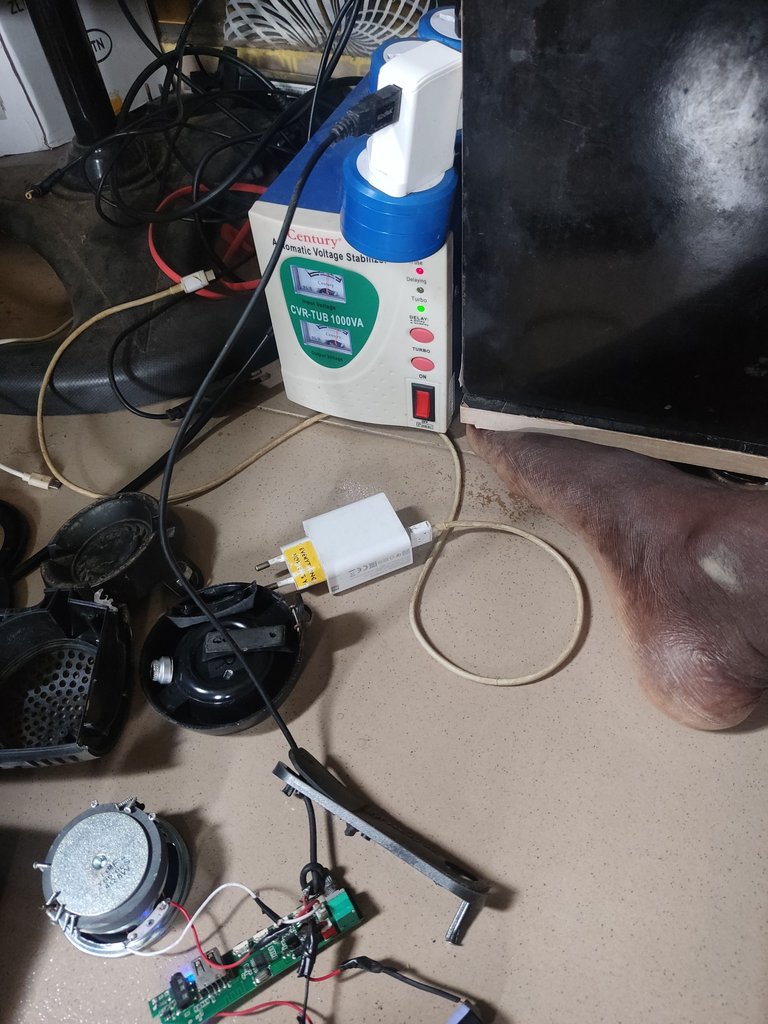
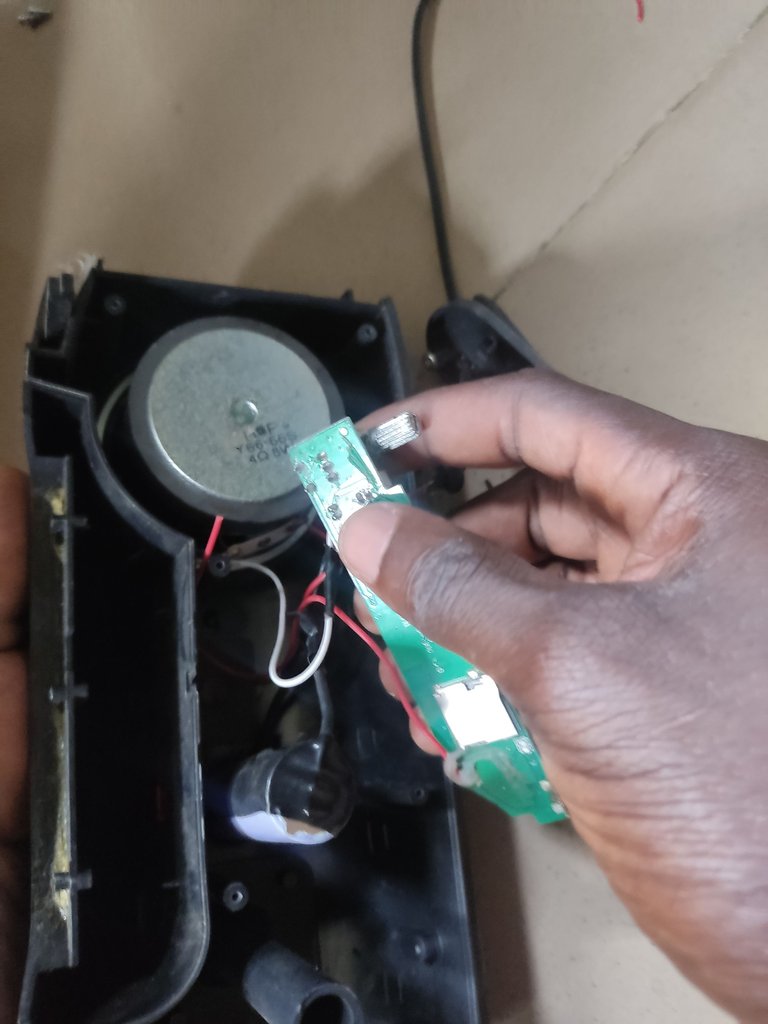
So there was this speaker, which we all know as an MP3 music player that we use to play music and play videos, which a friend had and was planning on disposing of, so I thought to collect it, and I decided to work on it. So while I was working on it, I saw the fault in it, but actually, before losing it, I was already predicting what might happen to it, and luckily for me, it was part of the problem that I was able to discover. While I was working on it, I noticed some parts of the wire connection was not really firm and some had cut off, so I took my soldering iron and the soldering led to make the wires firm so that it can work back.
 |  |
|---|
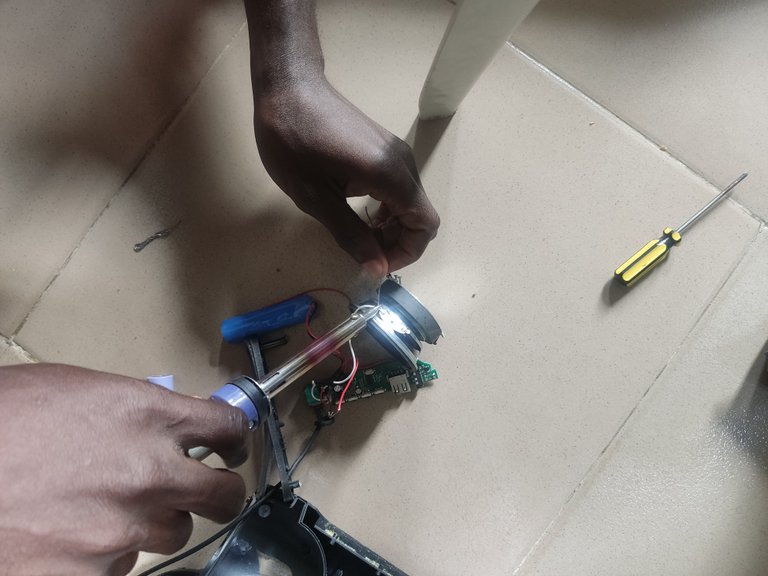
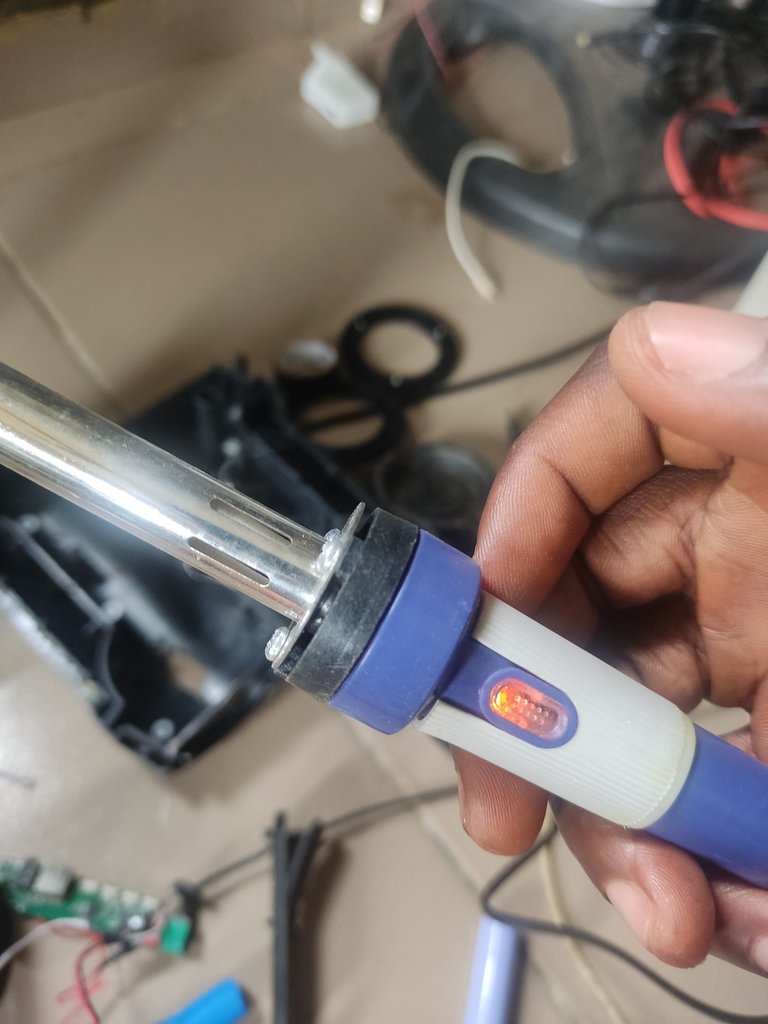
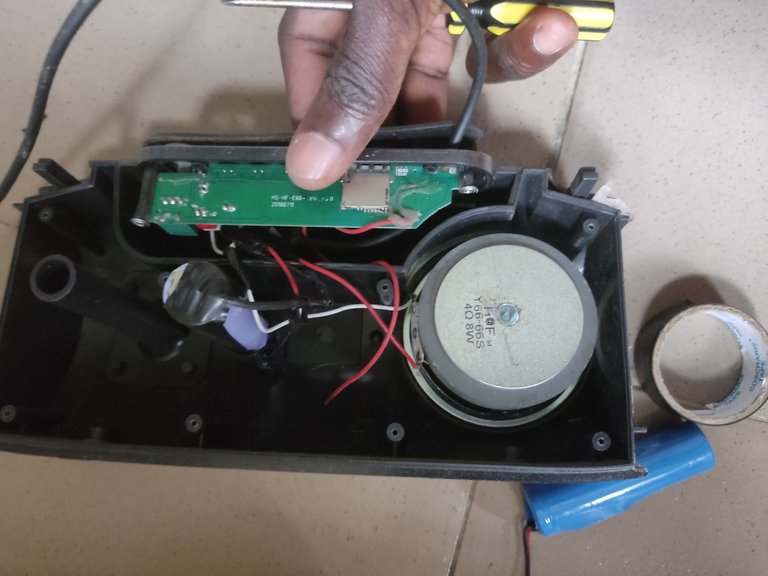
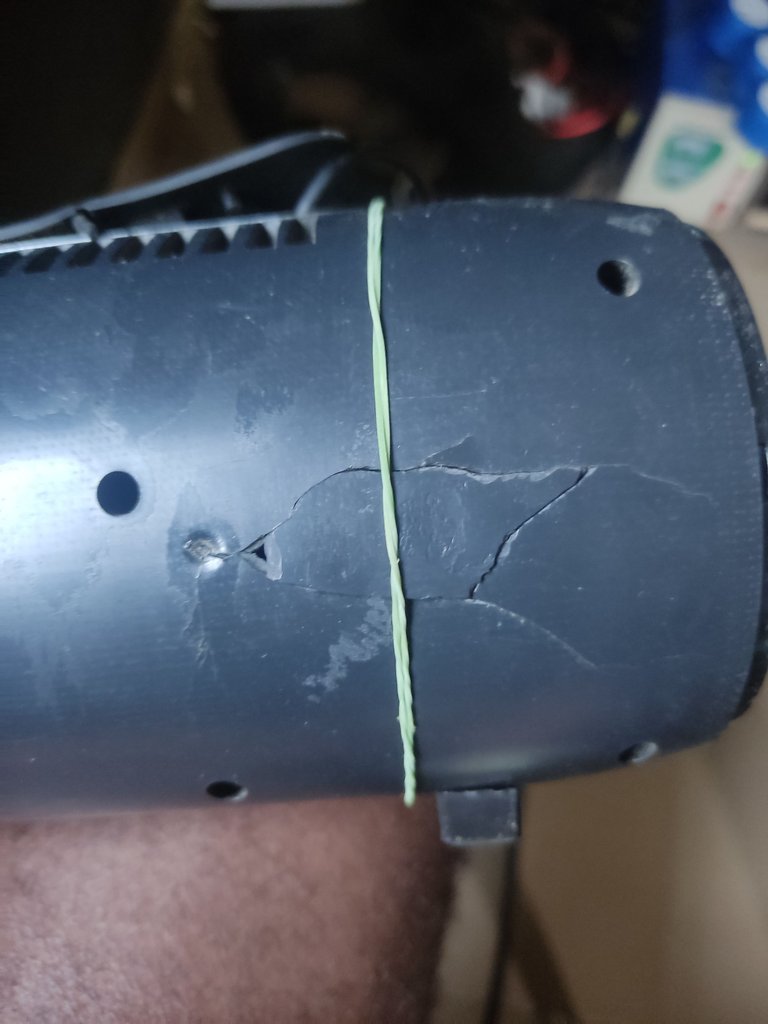
While I was trying to fix that, I discovered that the part holding the speaker of the MP3 player had broken, so I had to fix it back and look for a way to hold it in the meantime while I got glue to hold it firmly. When I plugged in the soldering iron, it was just hot and was unable to melt the soldering led on the surface of the panel of the speaker or the other parts. I was not happy, and I thought of what to do because I wanted to really fix it since I had gotten the things I needed.
I had no other options than to go look for another soldering iron to use, but I could not get any, and I had to buy a new one. Likewise, I left home with the last money with me and went to the electric store to buy a new soldering iron of 60 watts, which I already saw online, so when I went to the store and the price was said, I had to buy it.
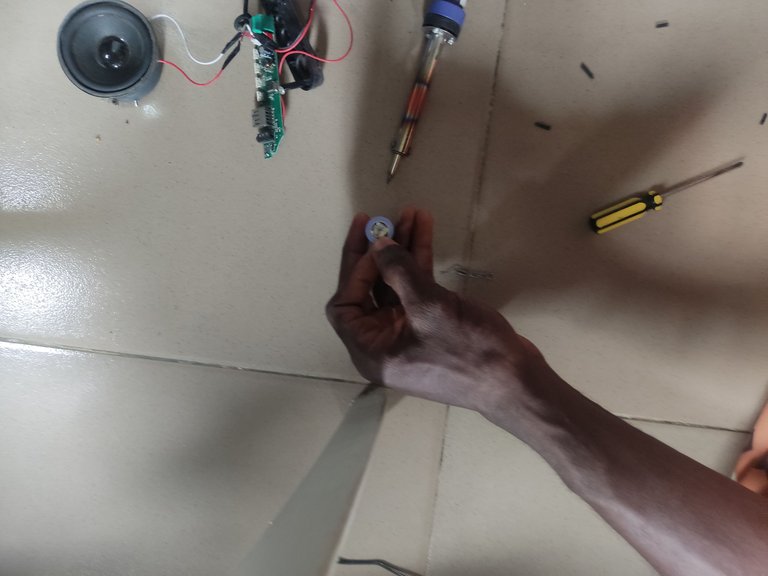
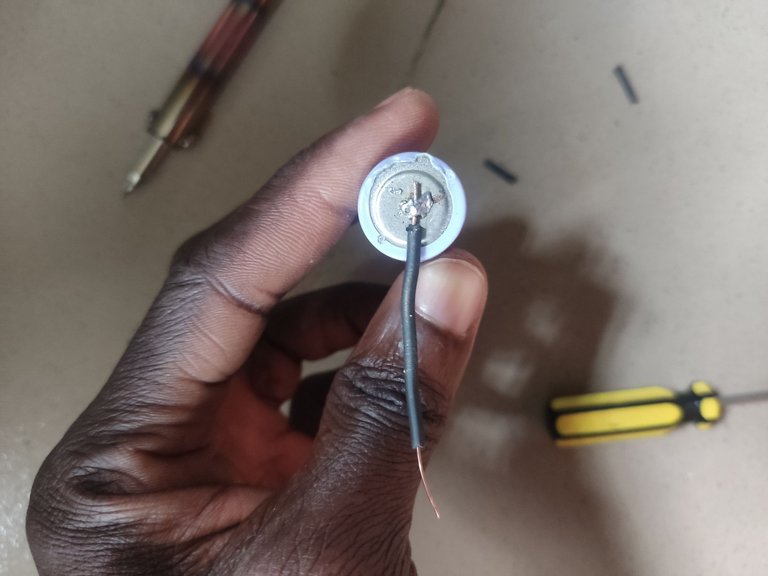
Getting back home, I plugged in the soldering iron, and then it started producing heat, which was really needed for the work to be done. So when I started, I took my soldering led and went to where the first fault was, and I had to join it with the soldering led and do some that needed little amendments. I used the black tap to hold it together, and I got some new wires to add to the length of the wires that were there before.
Final Stage.
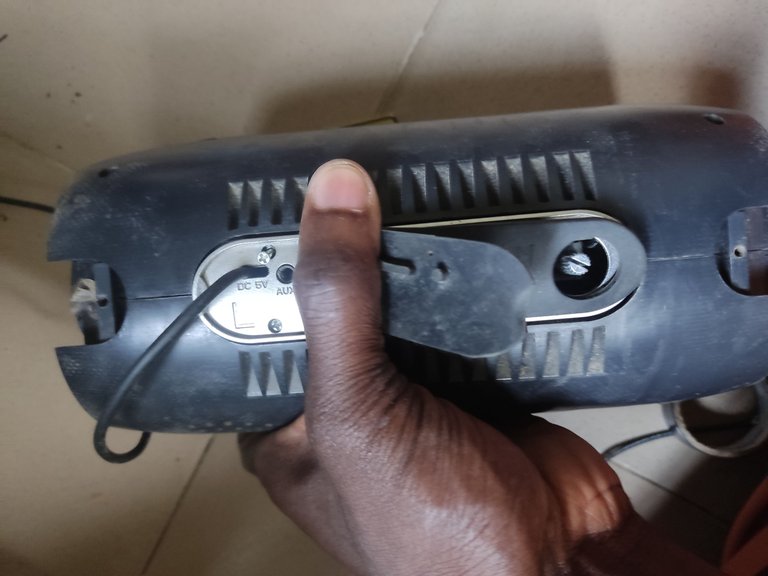
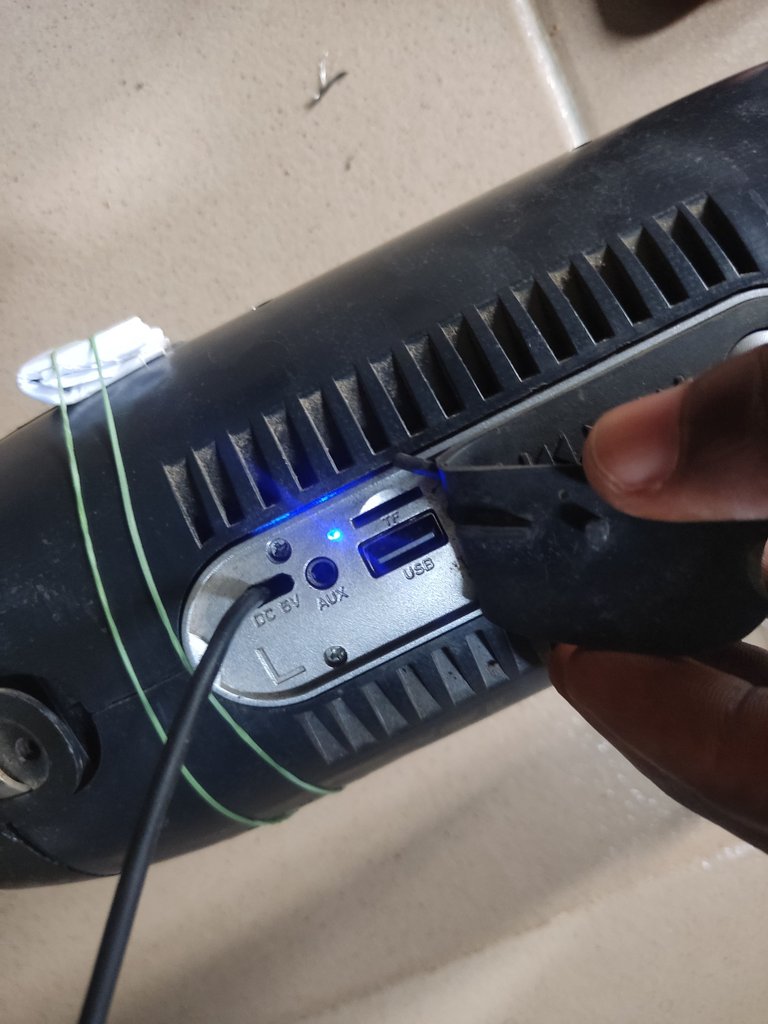
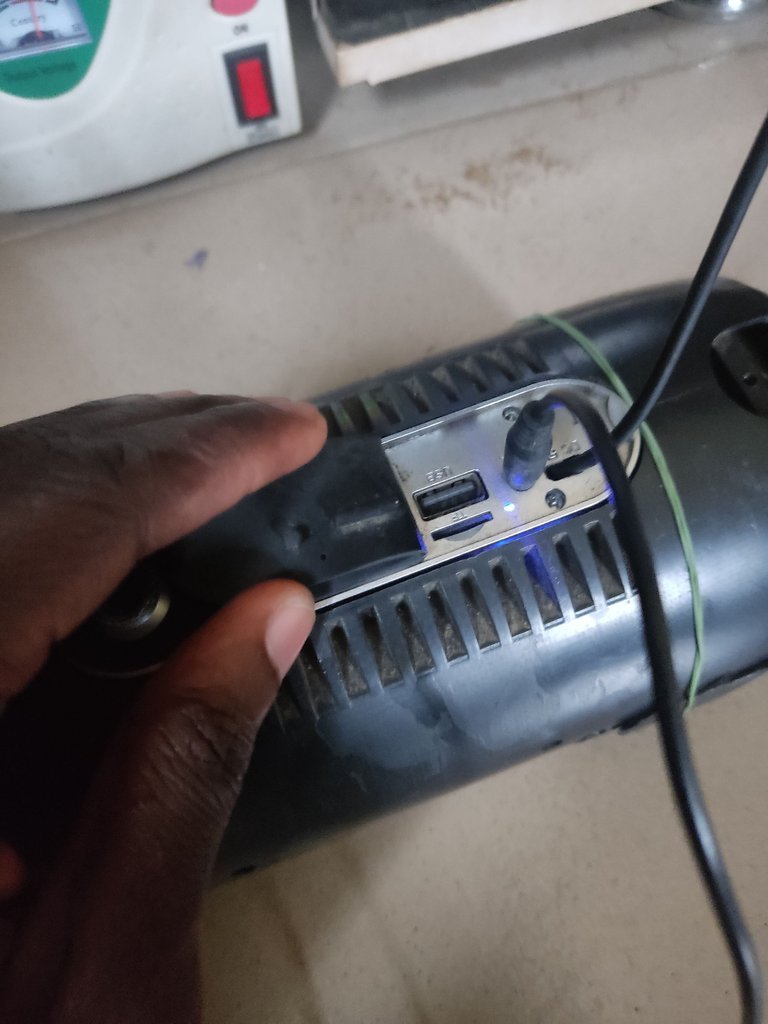
When I was done, before coupling it back, I had to plug it in and test the work I had done to see if it was going to work or not. Lo and behold, when I plugged it, the blue power light came up, and the speaker didn't sound because the wire had cut while I was dragging to plug it. I had to join it back again and then plug at intervals while I couple it, and finally, when I was done, I plugged it and everything was working as I wanted, so I had to connect the Aux cord to the speaker and play music as I like.



Wow weldone I wish I can do this too thanks for sharing this with us on this community.
You are welcome. It took me so much time to get this fixed well.
Wow!! a lot was done to fix your speaker and you did it against all odds Good job friend and thanks for walking us through the process of fixing your speaker.
Yeah, alot actually, it took much time to get it done. Thanks for checking out my post..
Please vote for Ecency proposal👇
https://ecency.com/proposals?filter=team