La torta de terciopelo rojo perfecta/ The perfect red velvet cake [ESP-ENG]
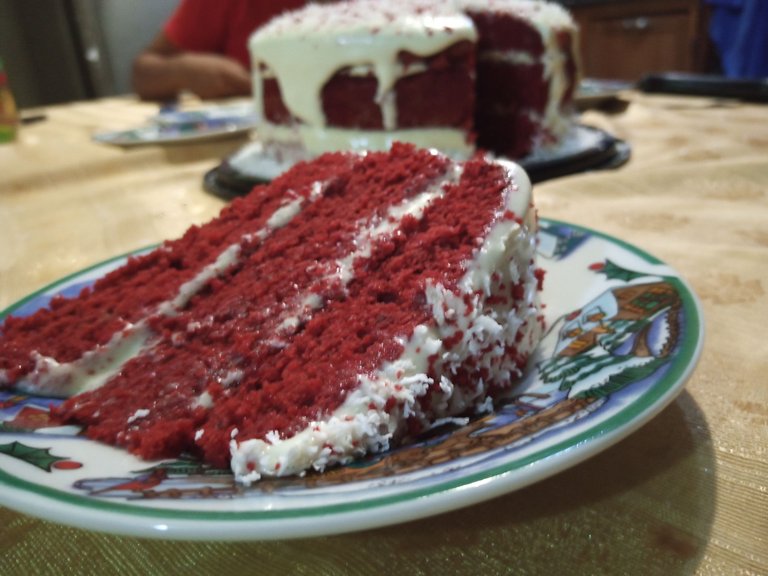
¡Hola, amantes de la repostería! Hoy quiero compartir con ustedes mi experiencia haciendo una deliciosa y húmeda torta red velvet. Esta fue mi primera vez en la cocina con esta receta y debo decir que fue un exitazo. El bizcocho resultó tan esponjoso y sabroso que no pude resistirme a compartir todos los detalles y tips que aprendí en el proceso. ¡Vamos a ello!
Hello, baking lovers! Today I want to share with you my experience making a delicious and moist red velvet cake. This was my first time in the kitchen with this recipe, and I must say it was a huge success. The cake turned out so fluffy and tasty that I couldn't resist sharing all the details and tips I learned in the process. Let's get to it!
Ingredientes para una torta red velvet
Ingredients for a red velvet cake
Para el bizcocho:
For the cake:
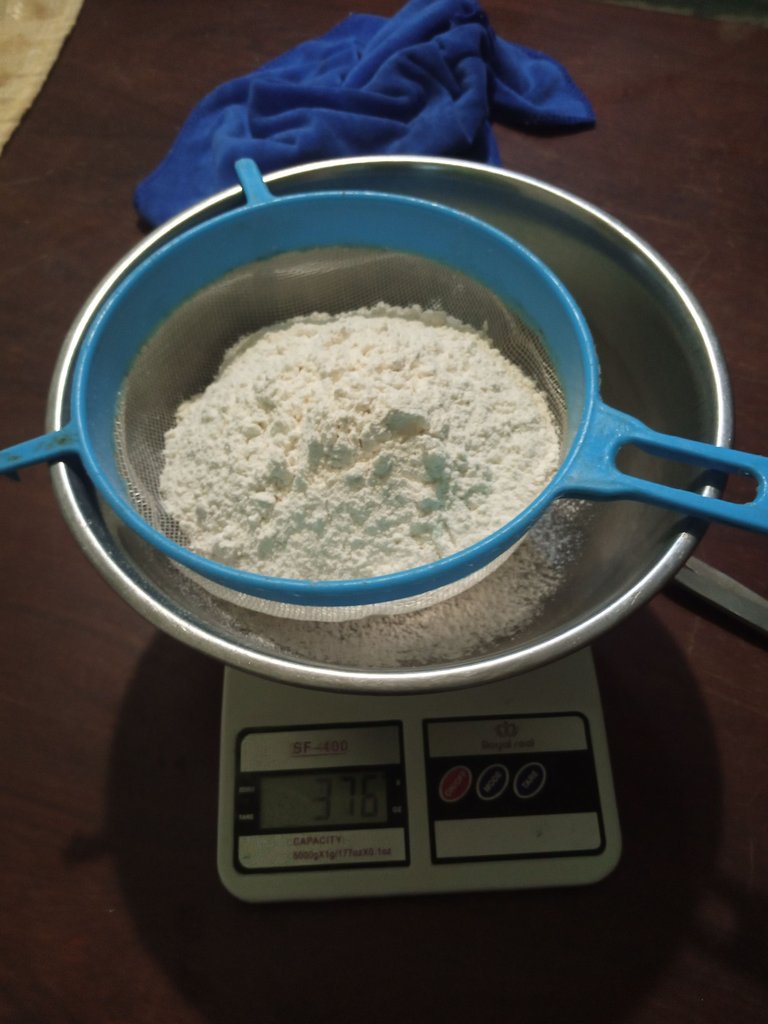
- 250 gramos de harina de trigo
- 250 grams of all-purpose flour
- 300 gramos de azúcar
- 300 grams of sugar
- 2 cucharadas de cacao en polvo sin azúcar
- 2 tablespoons of unsweetened cocoa powder
- 1 cucharadita de bicarbonato de sodio
- 1 teaspoon of baking soda
- 1 cucharadita de sal
- 1 teaspoon of salt
- 1 ½ tazas de aceite vegetal
- 1 ½ cups of vegetable oil
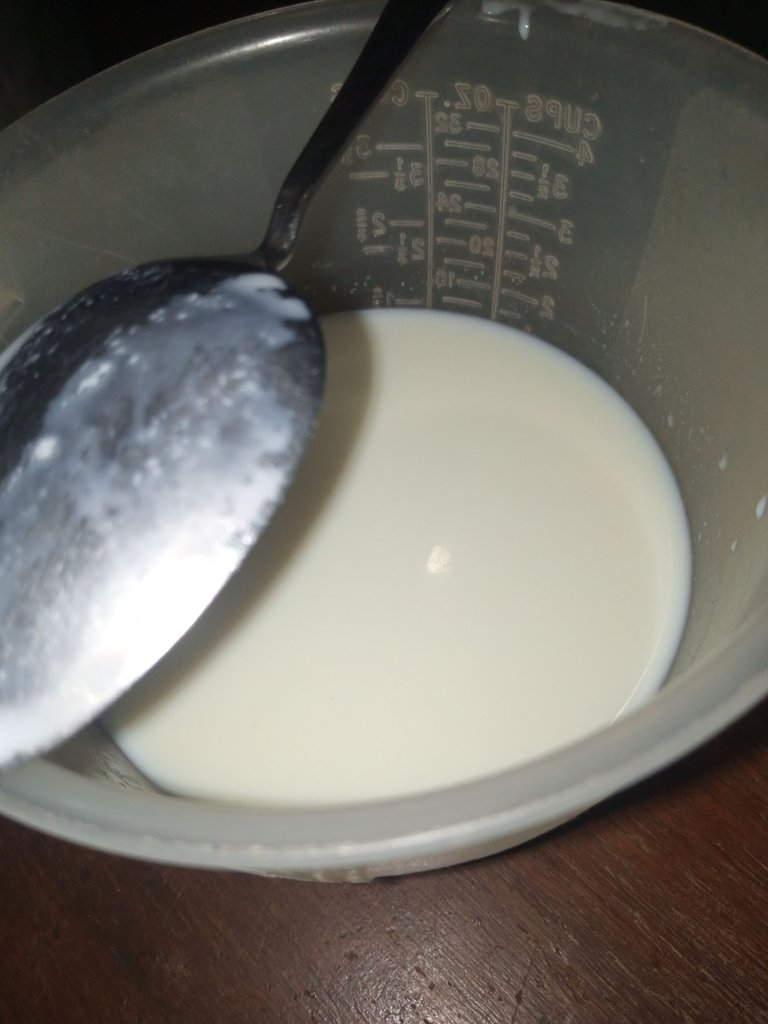
- 1 taza de buttermilk (puedes hacerlo agregando 1 cucharada de zumo de limón a la leche)
- 1 cup of buttermilk (you can make this by adding 1 tablespoon of lemon juice to milk)
- 2 huevos grandes
- 2 large eggs
- 2 cucharadas de colorante rojo en gel
- 2 tablespoons of gel red food coloring
- 1 cucharadita de extracto de vainilla
- 1 teaspoon of vanilla extract
- 1 cucharadita de vinagre blanco
- 1 teaspoon of white vinegar


Para el frosting de queso crema:
For the cream cheese frosting:
- 250 gramos de queso crema a temperatura ambiente
- 250 grams of cream cheese at room temperature
- 125 gramos de mantequilla sin sal, a temperatura ambiente
- 125 grams of unsalted butter, at room temperature
- 350 gramos de azúcar glas
- 350 grams of powdered sugar
- 1 cucharadita de extracto de vainilla
- 1 teaspoon of vanilla extract
Pasos para hacer la torta red velvet
Steps to make the red velvet cake
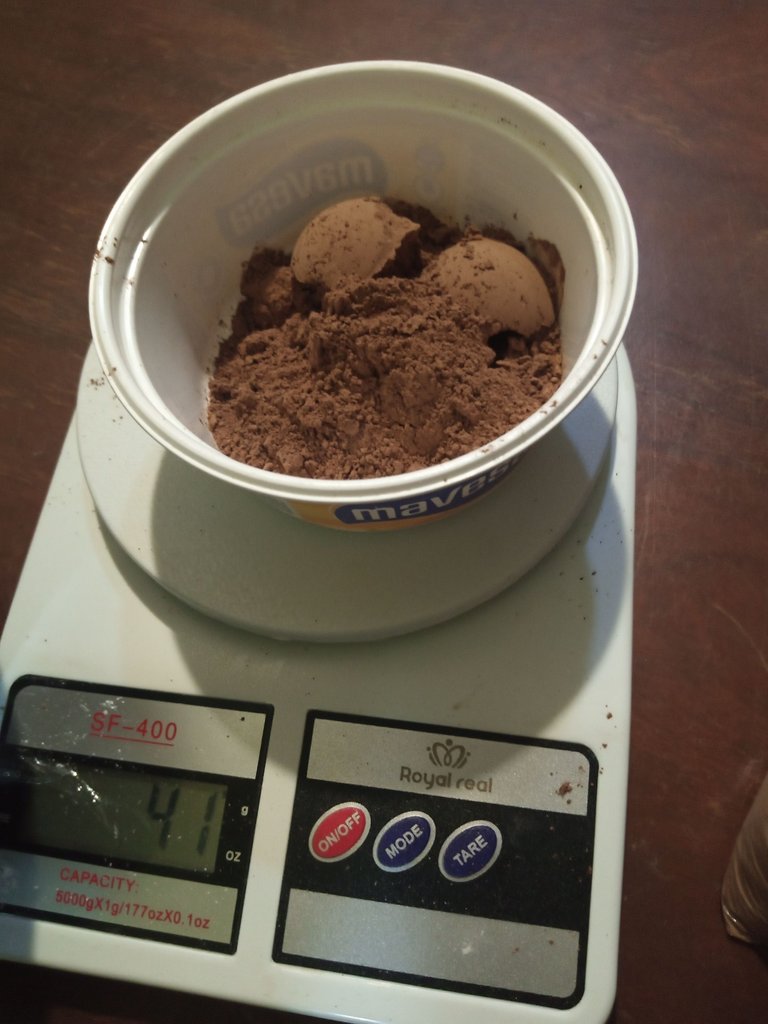
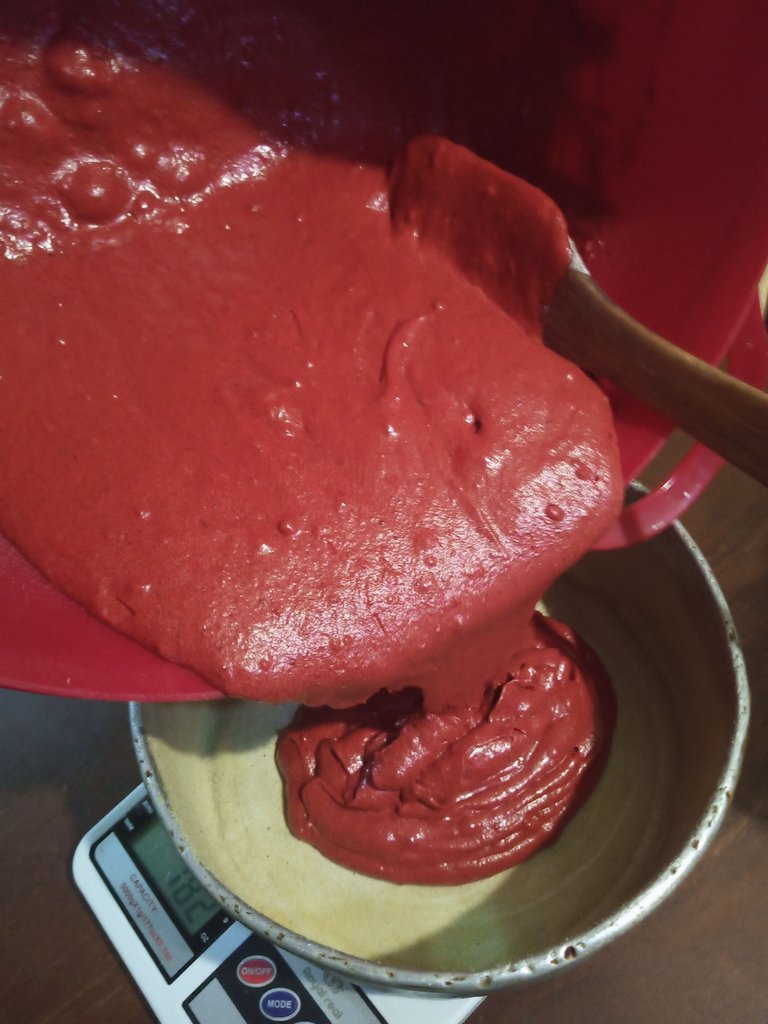
- Prepara tus ingredientes: Antes de comenzar, asegúrate de tener todos los ingredientes a mano y pesados. Esto facilita mucho el proceso y ayuda a evitar errores. También, precalienta tu horno a 175°C (350°F).
- Prepare your ingredients: Before you start, make sure to have all your ingredients handy and weighed. This greatly simplifies the process and helps prevent errors. Also, preheat your oven to 175°C (350°F).
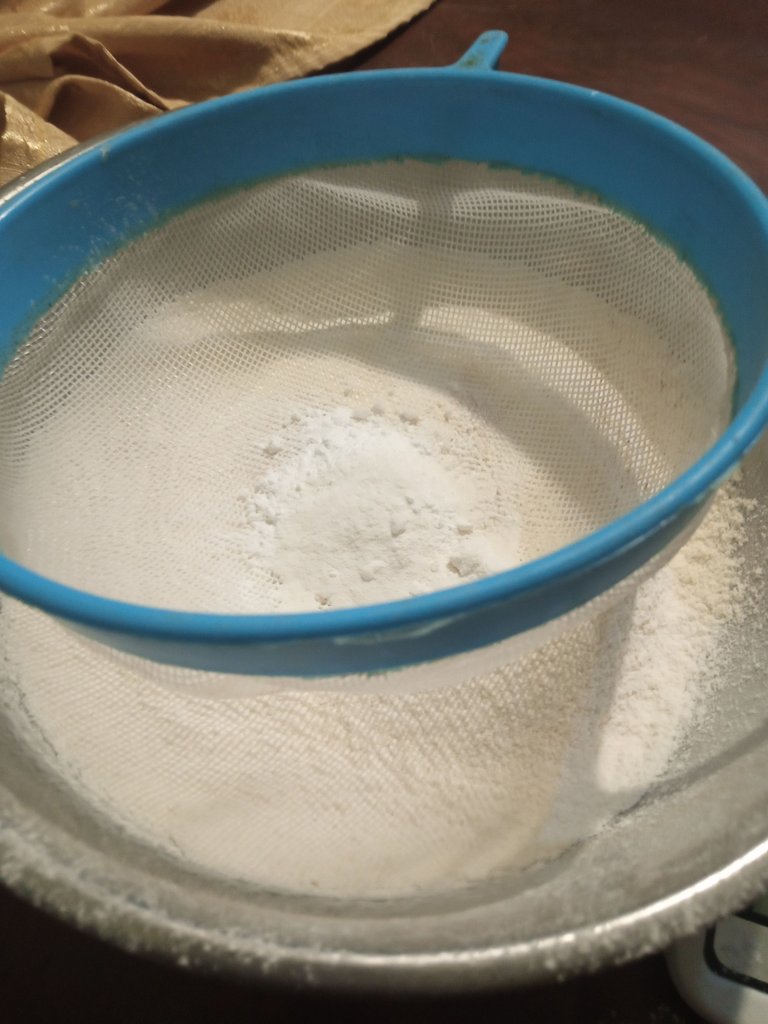
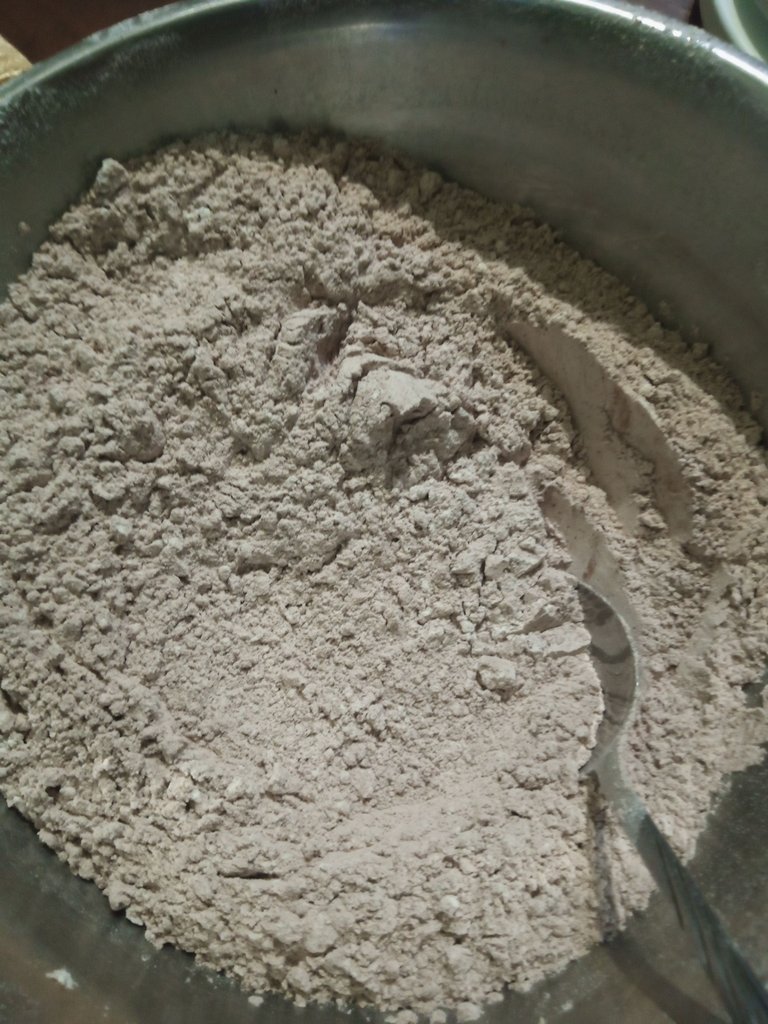
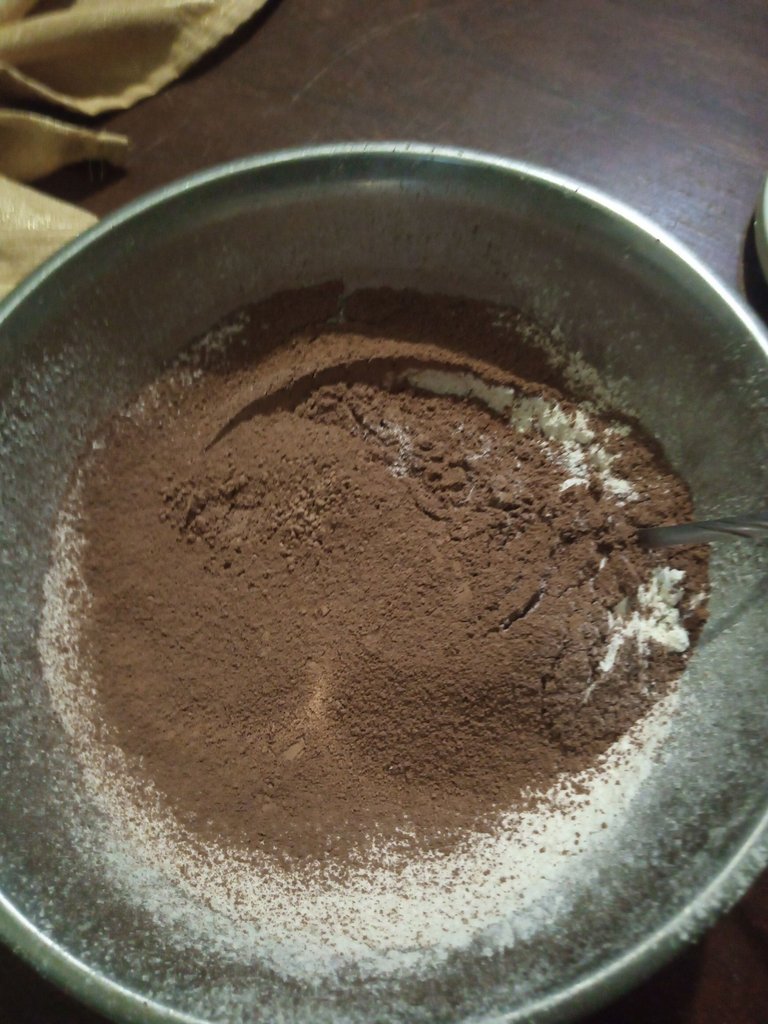
- Mezcla los ingredientes secos: En un bol grande, tamiza juntos la harina, el azúcar, el cacao en polvo, el bicarbonato de sodio y la sal. Esto no solo elimina grumos, sino que también airea la mezcla, lo que contribuirá a una mejor textura en el bizcocho.
- Mix the dry ingredients: In a large bowl, sift together the flour, sugar, cocoa powder, baking soda, and salt. This not only removes lumps but also aerates the mixture, contributing to a better texture in the cake.
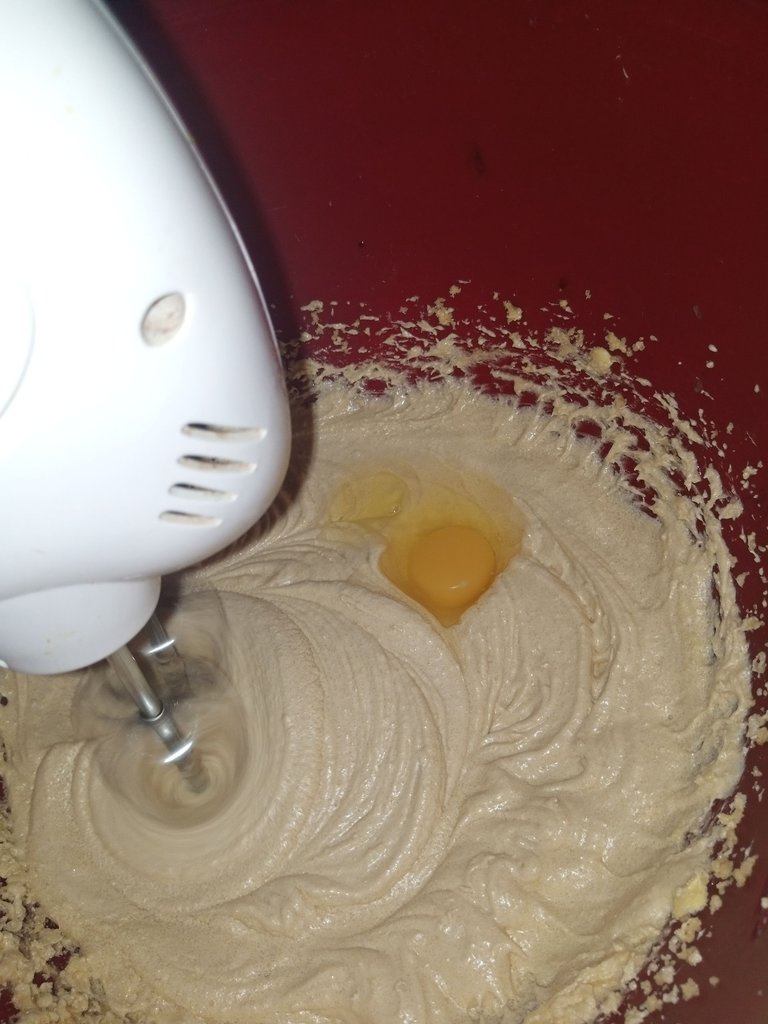
- Combina los ingredientes húmedos: En otro bol, mezcla el aceite, el buttermilk, los huevos, el colorante rojo, el extracto de vainilla y el vinagre. Asegúrate de batir bien hasta que todo esté completamente integrado y homogéneo.
- Combine the wet ingredients: In another bowl, mix the oil, buttermilk, eggs, red food coloring, vanilla extract, and vinegar. Make sure to whisk well until everything is fully integrated and homogeneous.
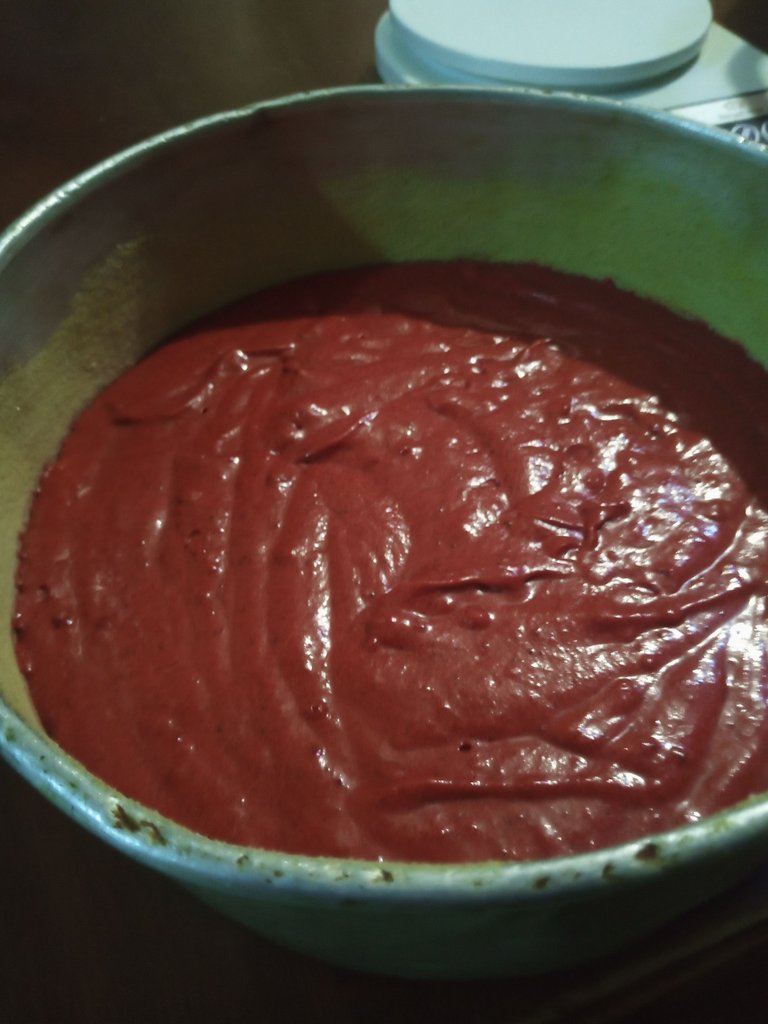
- Une las mezclas: Vierte la mezcla húmeda en el bol con los ingredientes secos y mezcla con una espátula hasta que todo esté bien incorporado. No batir en exceso, ya que esto puede hacer que el bizcocho se vuelva denso.
- Combine the mixtures: Pour the wet mixture into the bowl with the dry ingredients and mix with a spatula until everything is well incorporated. Do not overmix, as this may make the cake dense.
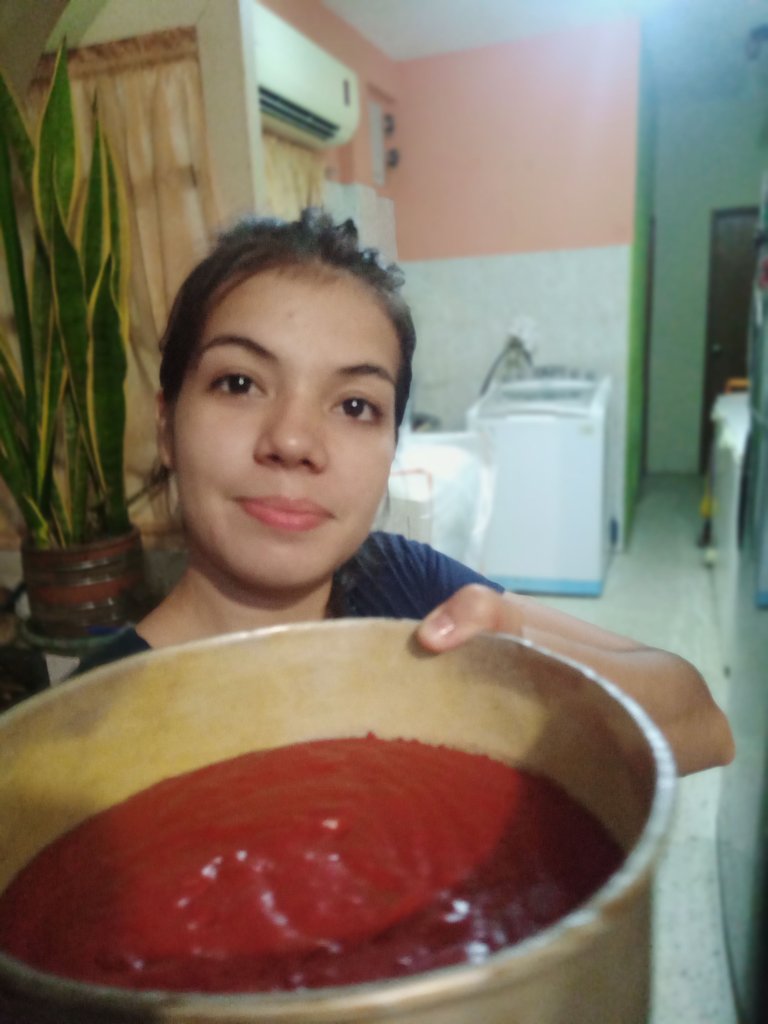
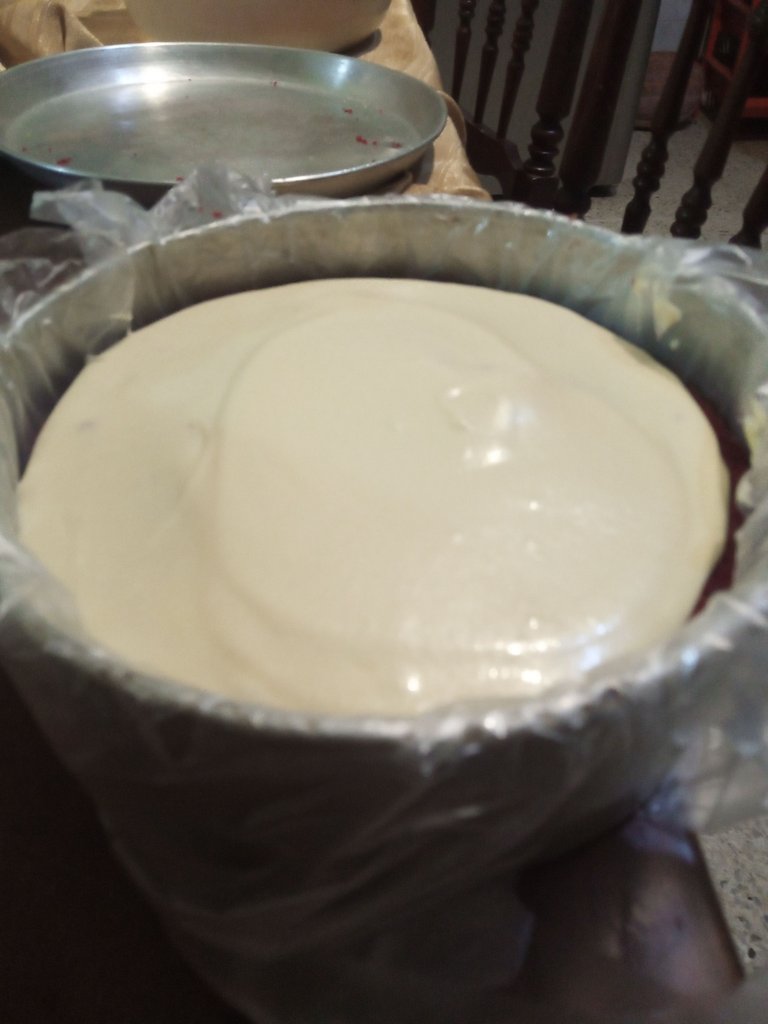
- Hornea: Divide la mezcla de manera uniforme en dos moldes engrasados y enharinados. Hornea durante aproximadamente 25 a 30 minutos, o hasta que un palillo insertado en el centro salga limpio. Este paso es crucial para que el bizcocho no quede seco. ¡Ojo con no abrir el horno durante los primeros 20 minutos para evitar que se baje!
- Bake: Divide the mixture evenly into two greased and floured cake pans. Bake for about 25 to 30 minutes, or until a toothpick inserted in the center comes out clean. This step is crucial to ensure the cake does not turn out dry. Be careful not to open the oven during the first 20 minutes to avoid deflation!
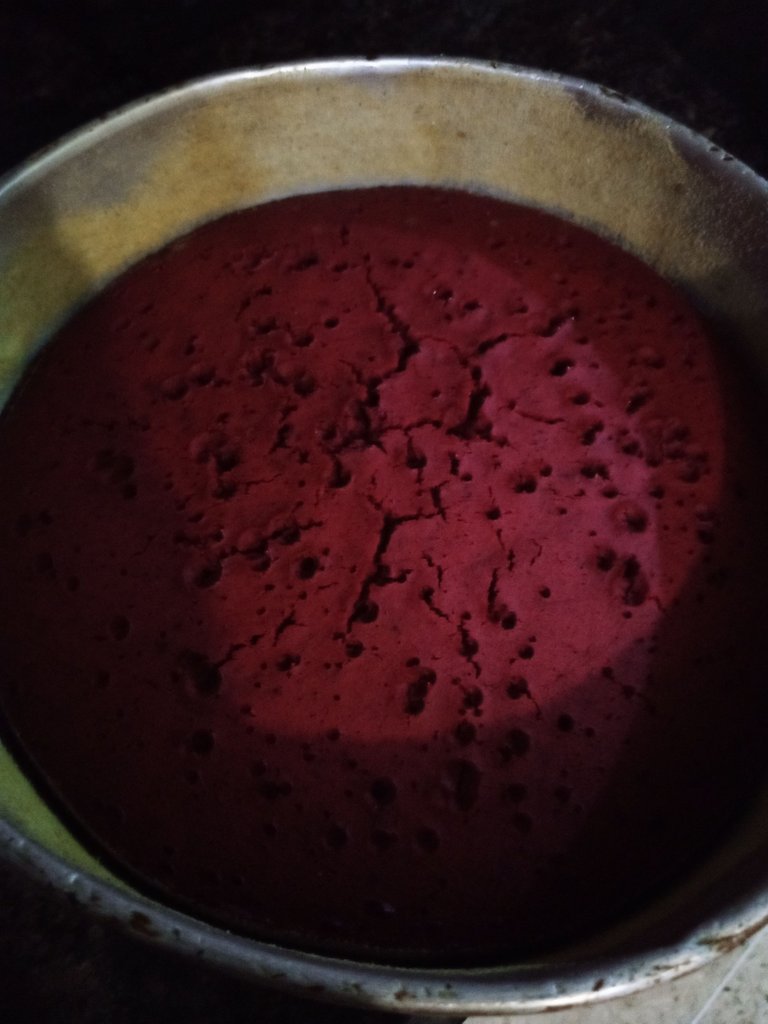
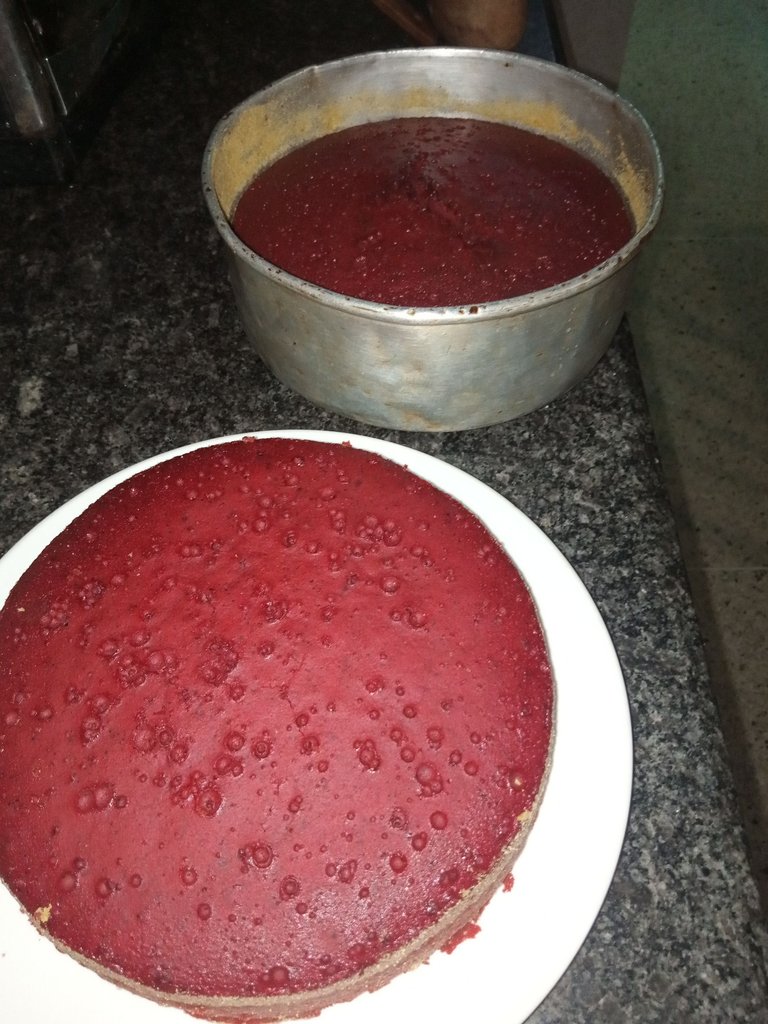
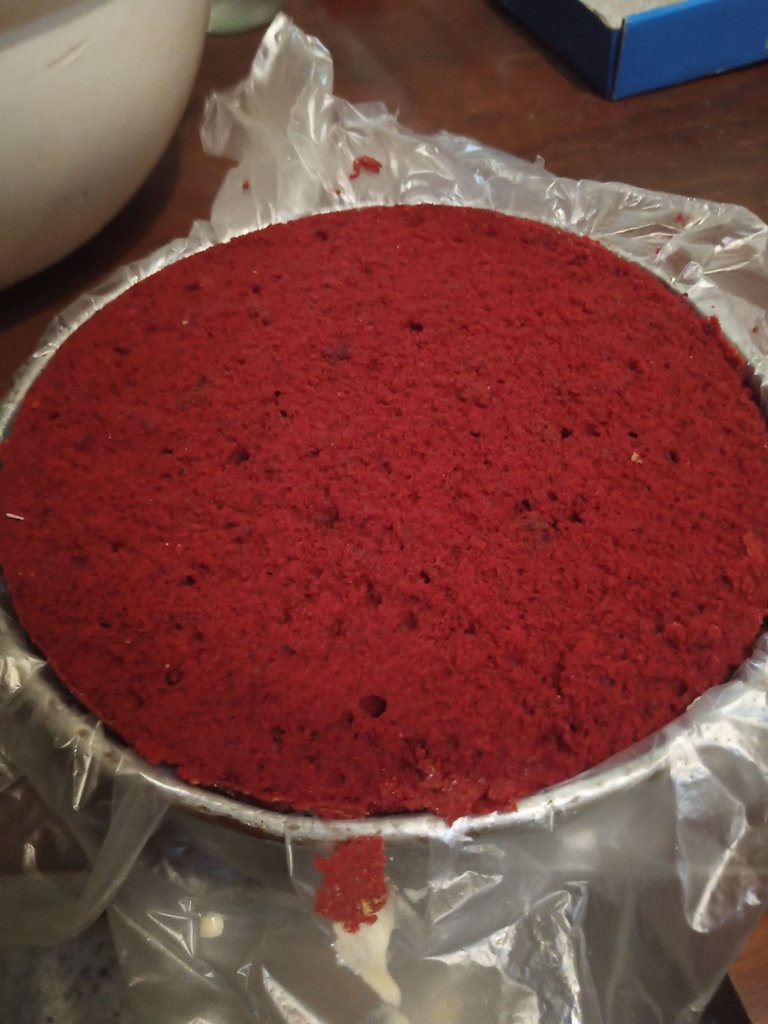
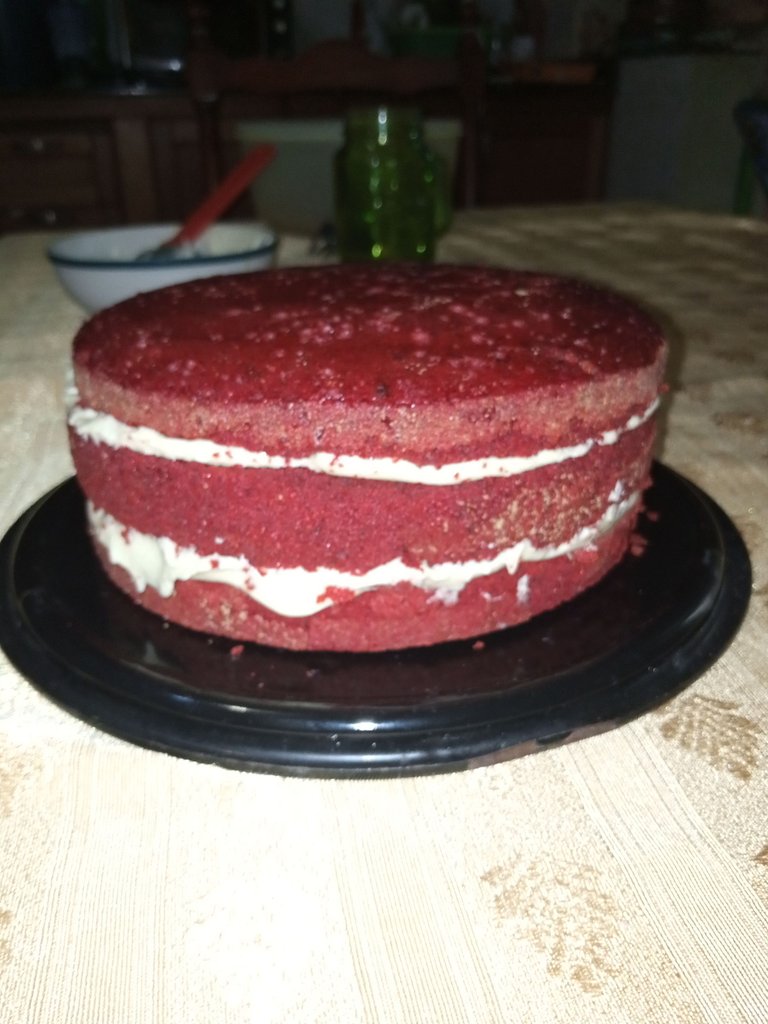
- Enfriar: Una vez horneados, saca los bizcochos del horno y déjalos enfriar en los moldes durante unos 10 minutos antes de desmoldarlos. Luego, colócalos en una rejilla para que se enfríen completamente.
- Cool: Once baked, remove the cakes from the oven and let them cool in the pans for about 10 minutes before unmolding. Then, place them on a rack to cool completely.
![IMG_20241001_190452_039.jpg]
Preparar el frosting de queso crema
Prepare the cream cheese frosting
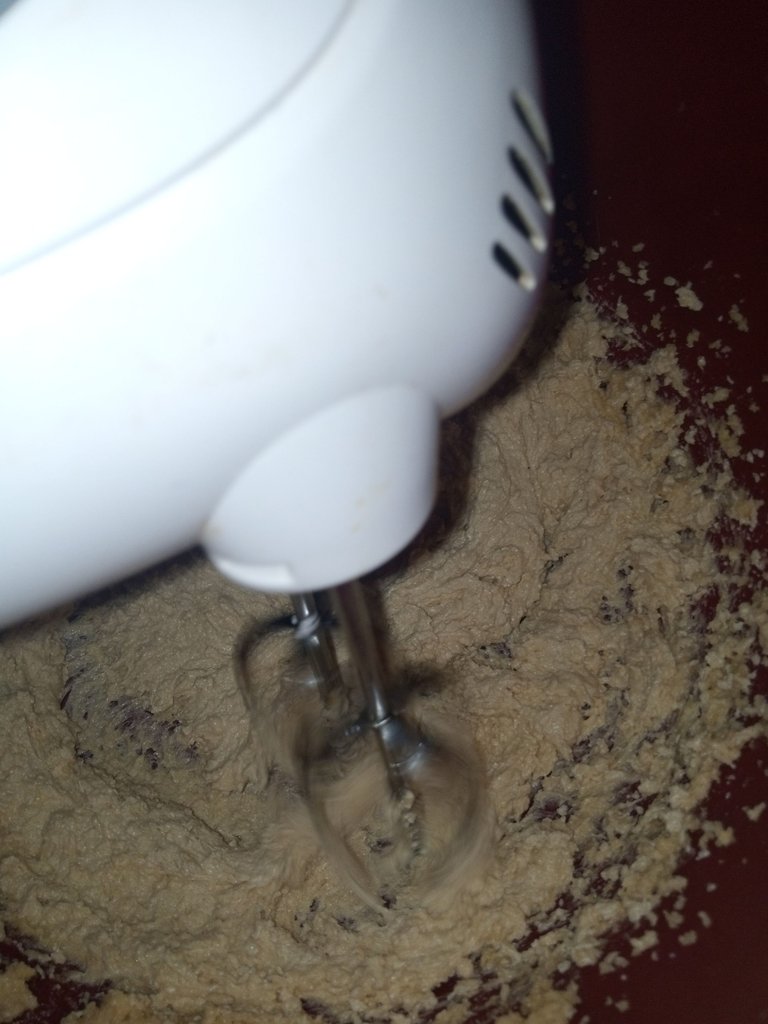
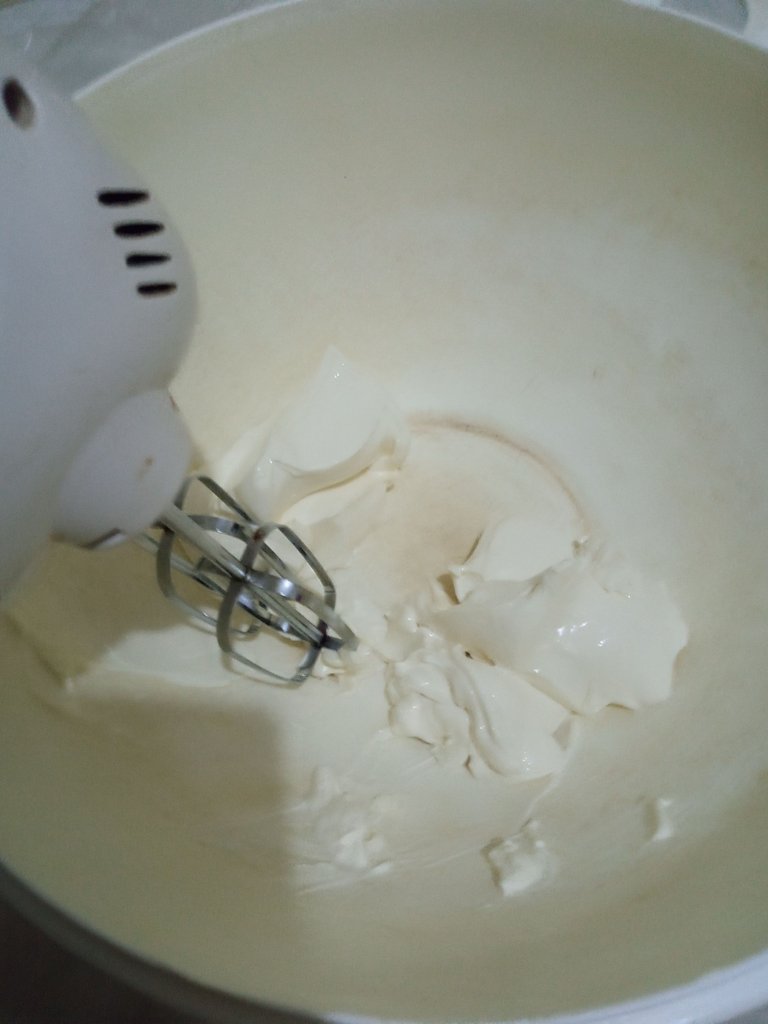
- Bate la mantequilla y el queso crema: En un bol grande, bate la mantequilla y el queso crema juntos hasta que estén suaves y cremosos. Esto debería tomar unos 3-5 minutos.
- Beat the butter and cream cheese: In a large bowl, beat the butter and cream cheese together until smooth and creamy. This should take about 3-5 minutes.
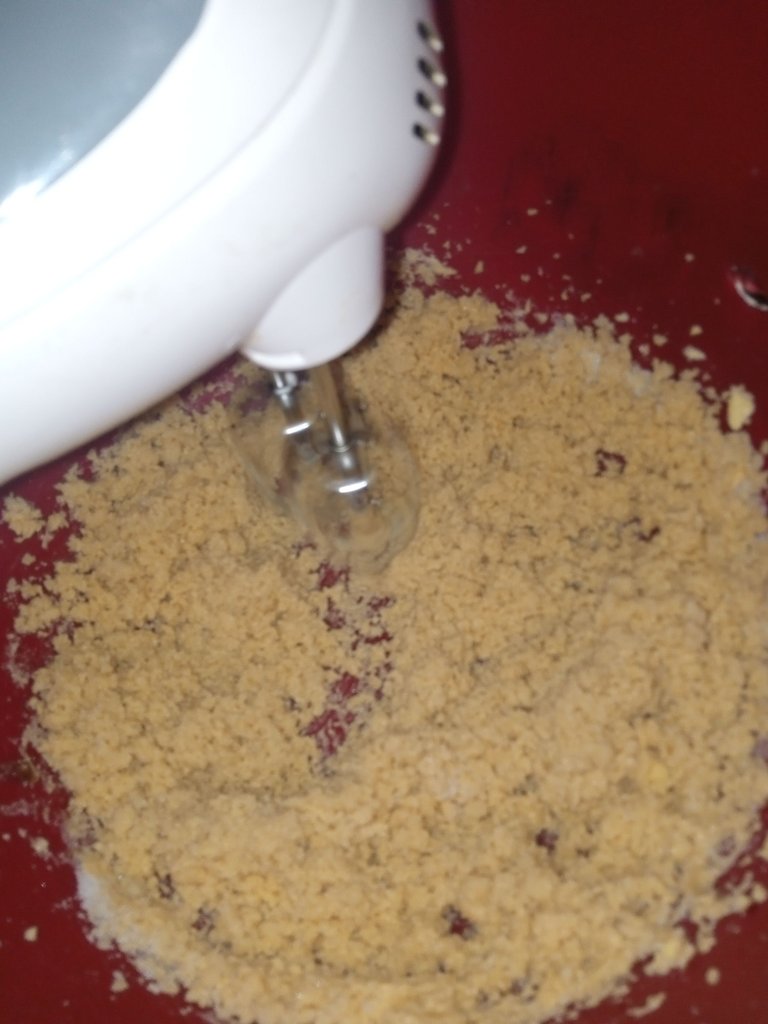
- Añade el azúcar glas: Poco a poco, agrega el azúcar glas, batiendo a baja velocidad para evitar que se derrame. Una vez incorporado, agrega el extracto de vainilla y mezcla bien.
- Add the powdered sugar: Gradually add the powdered sugar, mixing on low speed to prevent spilling. Once incorporated, add the vanilla extract and mix well.
Montaje de la torta
Assembling the cake
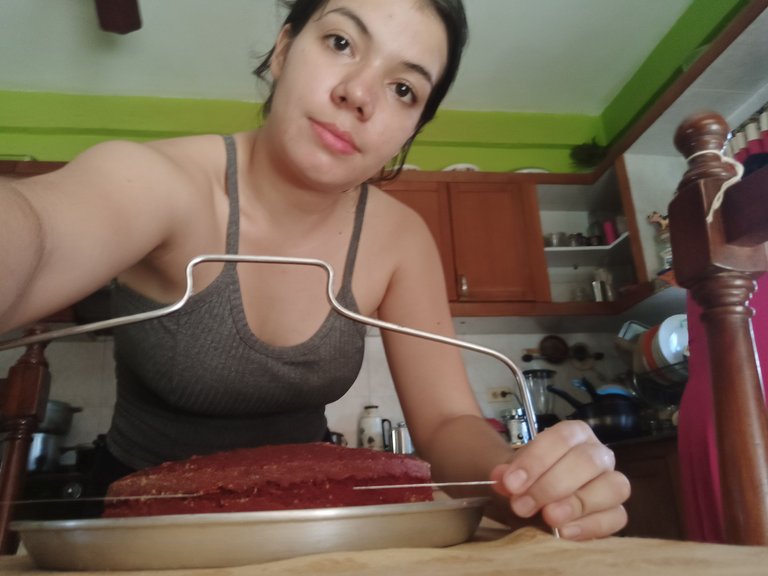
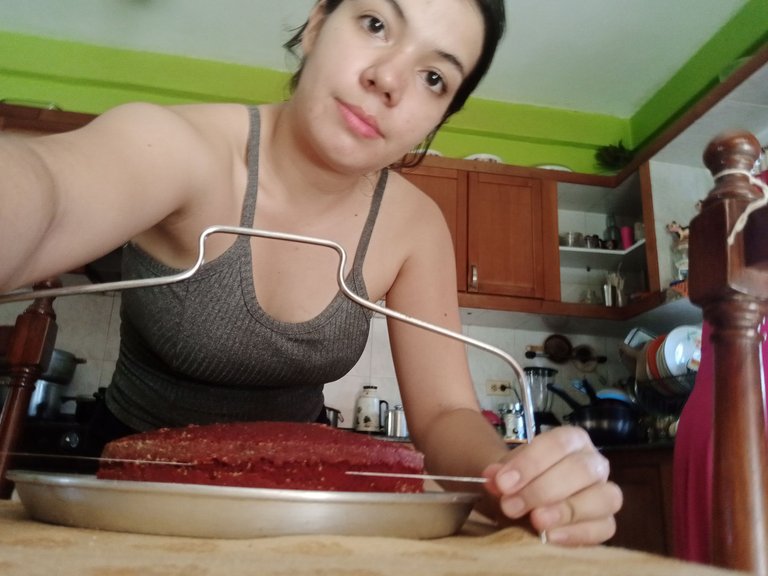
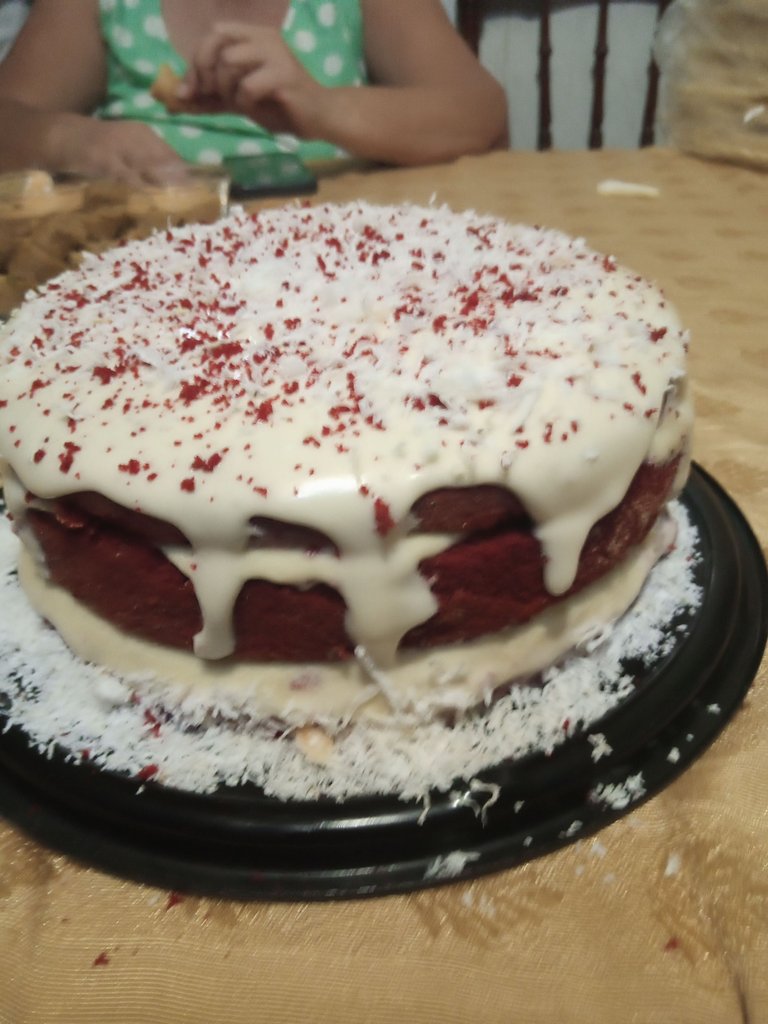
- Capa y frosting: Una vez que tus bizcochos estén completamente fríos, coloca uno en el plato de servir y cubre la parte superior con una capa generosa de frosting. Luego, coloca el segundo bizcocho encima y repite el proceso, cubriendo la parte superior y los lados de la torta.
- Layer and frost: Once your cakes are completely cooled, place one on the serving plate and cover the top with a generous layer of frosting. Then, place the second cake on top and repeat the process, covering the top and sides of the cake.
- Decoración opcional: Puedes decorar con migajas de bizcocho sobrante, nueces picadas o incluso fresas. ¡Deja volar tu imaginación!
- Optional decoration: You can decorate with leftover cake crumbs, chopped nuts, or even strawberries. Let your imagination run wild!
Tips para un éxito asegurado
Tips for guaranteed success
- Usa ingredientes a temperatura ambiente: Esto ayuda a que todos los ingredientes se integren mejor.
- Use room temperature ingredients: This helps all the ingredients blend better.
- No tengas prisa: La repostería es un arte que requiere paciencia. Sigue cada paso cuidadosamente.
- Don't rush: Baking is an art that requires patience. Follow each step carefully.
- Personaliza el color y el sabor: Si deseas un toque especial, prueba añadiendo un extracto de almendra en lugar de vainilla o ajusta la cantidad de colorante a tu gusto.
- Customize the color and flavor: If you want a special touch, try adding almond extract instead of vanilla or adjust the amount of food coloring to your liking.
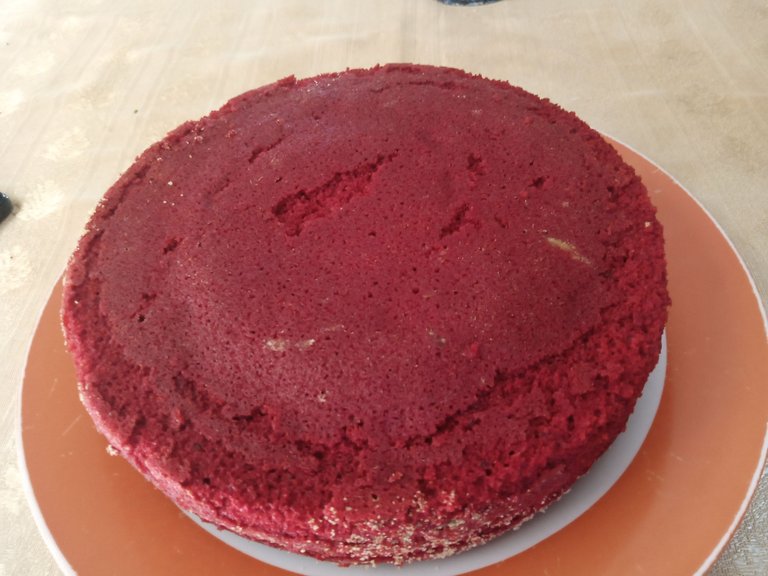
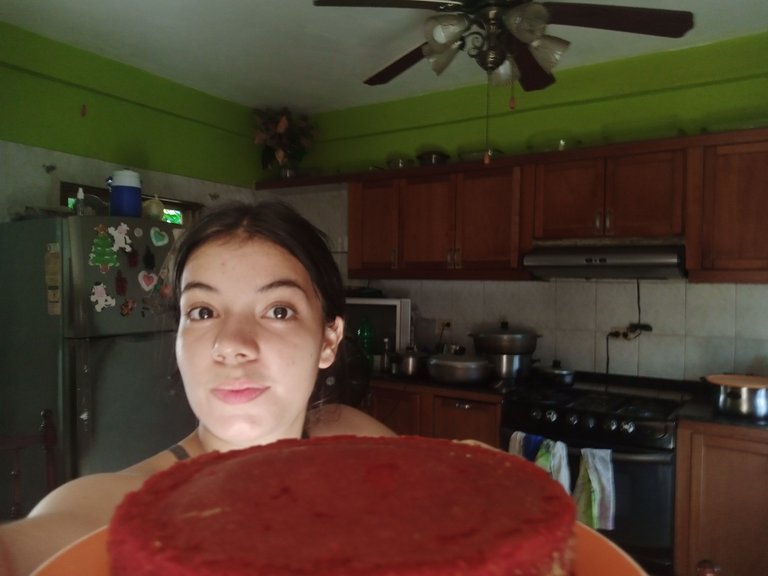
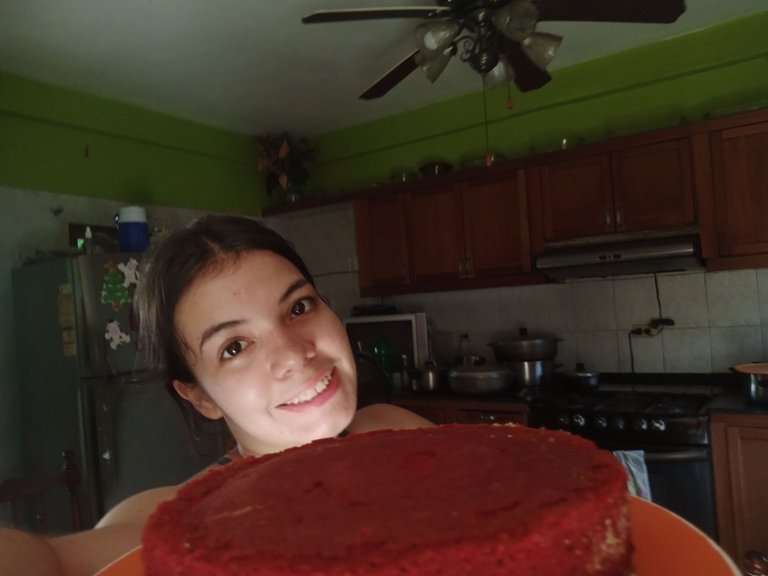
Y voilà, ahí tienes tu torta red velvet perfecta, húmeda y deliciosa. No hay nada como el sabor de un bizcocho casero y esta torta definitivamente se ganará el corazón de todos. ¡No olvides compartir tus resultados y experiencias! ¡Hasta la próxima receta!
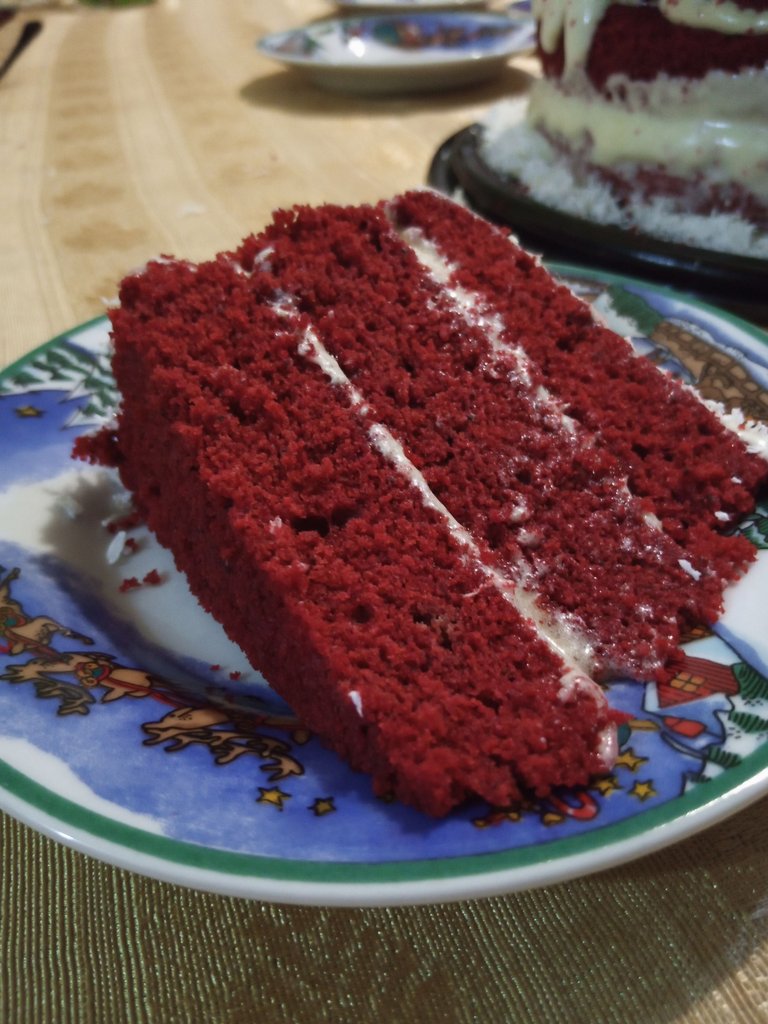
And voilà, there you have your perfect, moist, and delicious red velvet cake. There's nothing like the taste of a homemade cake, and this one will definitely win everyone's heart. Don't forget to share your results and experiences! Until the next recipe!
¡Felicidades! Esta publicación obtuvo upvote y fue compartido por @la-colmena, un proyecto de Curación Manual para la comunidad hispana de Hive que cuenta con el respaldo de @curie.
Si te gusta el trabajo que hacemos, te invitamos a darle tu voto a este comentario y a votar como testigo por La Colmena.
Si quieres saber más sobre nuestro proyecto, te invitamos a acompañarnos en nuestro servidor de Discord.
Muchas gracias por el apoyo
Se ve deliciosa, siempre he querido comer una red velvet, pero nunca me he animado a hacerla (o a comprarla) debería hacerla alguna vez
Es espectacular, comerla definitivamente es una experiencia diferente y hacerla también
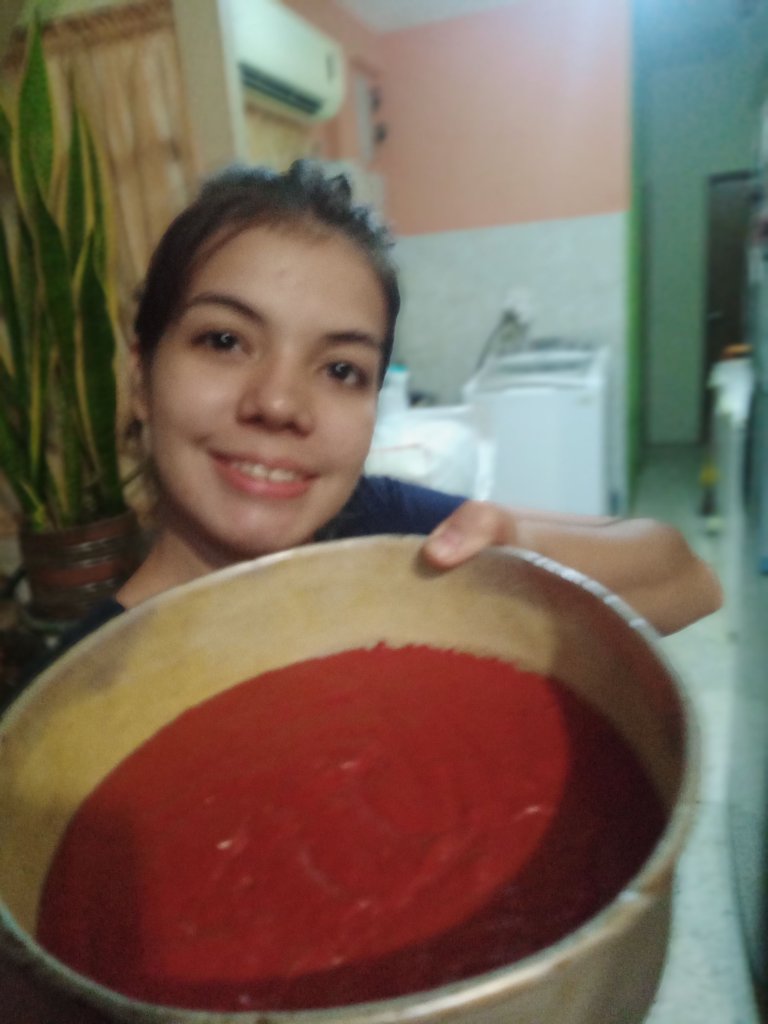
Amiga se ve bastante esponjosa y el color te quedó muy bien agarró bastante el rojo que no es fascil que tome ese rojo intenso.
Gracias por compartir tu publicación.
Saludos
Así es! El colorante en gel es la mejor opción para que agarre buen color
Que rica se ve, incluso se nota lo esponjosa que quedó, felicidades 🤤
How rich it looks, you can even tell how fluffy it turned out, congratulations 🤤.
Muchas gracias!!
😍🤤👍🏻
Wow, I love this recipe tutorial. Always love the way you explain things in detail.
looks very delicious, thanks for the recipe.
Thank you!!
You're welcome.
Encantada!
Wow what an amazing red velvet 💞💞🤩🤩🤩 I love red velvet cake so much but it's hard to make or find a really good one 😉
Pues intenta este! Es increíble