🧵 {25/10/24} ✦ 𝐓𝐮𝐭𝐨𝐫𝐢𝐚𝐥: ✨ 🪻 👛 "Cloth Pouch" 👛 🪻 ✨ [ Part 1/2 ] ✦ 🇪🇸 │ 🇺🇸
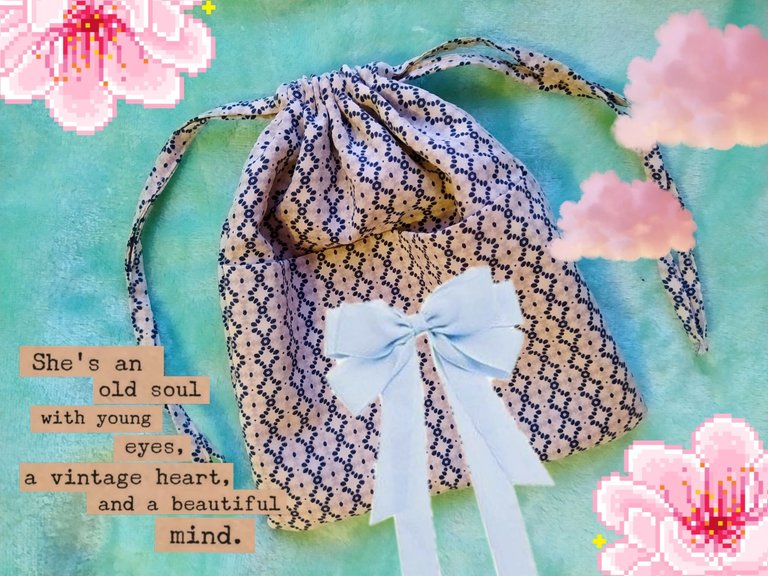
✦ There are always ways to give new life to what you love, a breakage does not mean goodbye - Collage & Edition in FotoJet/Snow/Picsart, photos by @Tesmoforia ✦

🇪🇸 ~ Después de mucho tiempo encontré uno de mis vestidos favoritos y que creía perdido, roto.
No se cómo ocurrió esto y solo puedo sospechar de algún familiar que lo haya metido en ciclo de lavado con ropa muy pesada llena de botones y cierres con los que se haya enredado hasta reventarlo.
Como sea, el culpable escondió la evidencia hace meses y yo estoy muy triste porque no quiero tirar este vestido a la basura, pero tampoco tiene reparación...
Por eso he decidido reciclar la tela y transformarla en otra cosa, calculo podré hacer 2 o máximo 3 proyectos a partir de su tela, ¡a secarme las lagrimas y manos a la obra! 😿 ❤️🩹 🪡
🇺🇸 ~ After a long time I found one of my favorite dresses that I thought was lost, broken.
I don't know how this happened and I can only suspect some family member who put it in the wash cycle with very heavy clothes full of buttons and zippers that got tangled up in it until it burst.
Anyway, the culprit hid the evidence months ago and I'm very sad because I don't want to throw this dress in the trash, but it's also beyond repair...
That's why I've decided to recycle the fabric and transform it into something else, I estimate I'll be able to make 2 or maximum 3 projects from its fabric, so dry my tears and get to work! 😿 ❤️🩹 🪡
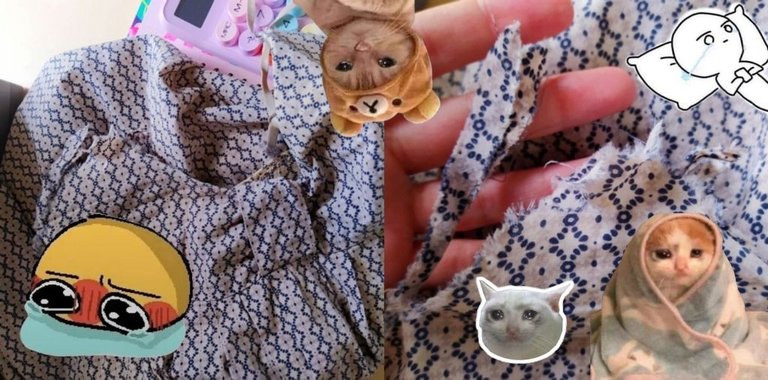
✦ I thought long and hard about it, but it really is beyond repair ✦
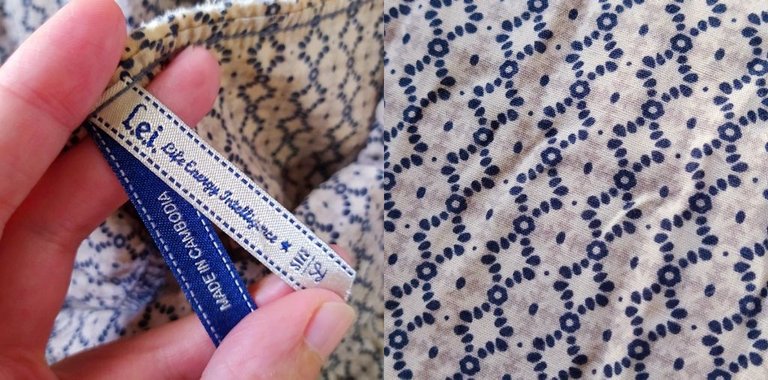
✦ This dress was a gift from my favorite cousin many years ago, before she emigrated ✦
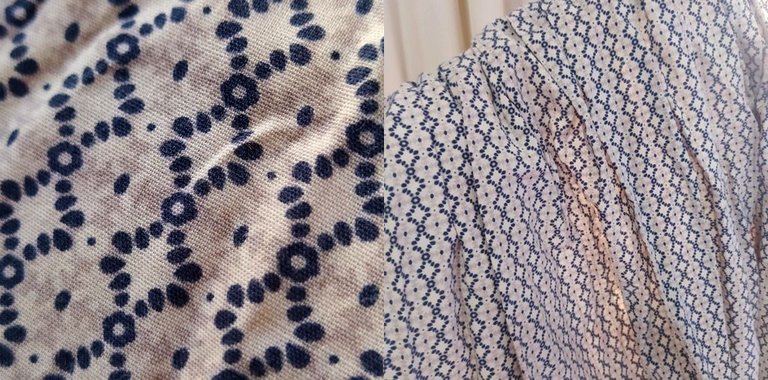
✦ I like the pattern and color of the fabric very much, it is gray with dark blue, very pretty ✦
✦ "¿Por qué realizar este proyecto?" ✦
Darle una segunda oportunidad y transformar en algo utilitario las prendas que no queremos desechar por valor sentimental es una practica saludable para superar los sentimientos de enojo, tristeza o pérdida.
⏳ Tiempo: ⭐⭐/ 5.
🚀 Dificultad: ⭐⭐/ 5.
🪙 Costo aproximado: ⭐/ 5.
✦ "Why do this project?" ✦
Giving a second chance and transforming into something utilitarian the clothes that we do not want to discard for sentimental value is a healthy practice to overcome feelings of anger, sadness or loss.
⏳ Time: ⭐⭐/ 5.
🚀 Difficulty: ⭐⭐/ 5.
🪙 Approximate cost: ⭐/ 5.

« 𝕋 𝕆 𝕆 𝕃 𝕊 • 𝔸 ℕ 𝔻 • 𝕄 𝔸 𝕋 𝔼 ℝ 𝕀 𝔸 𝕃 𝕊 »

 |
|---|
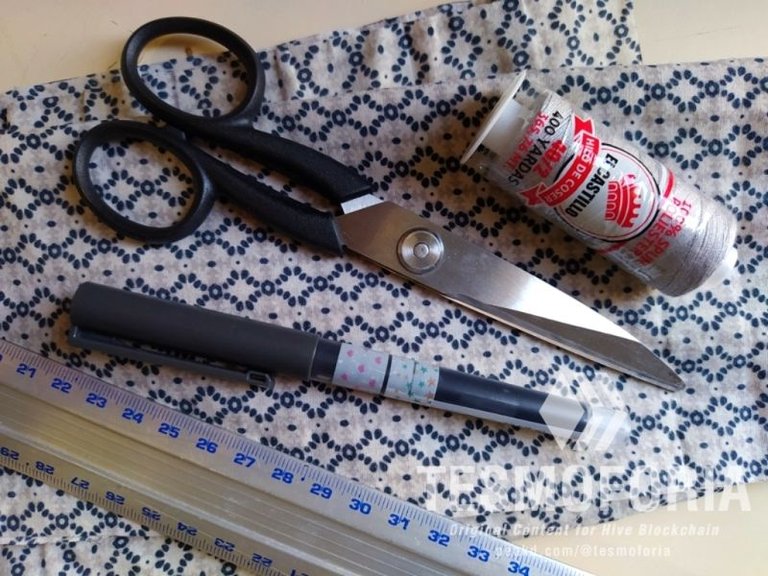
| 🇪🇸 ✦ Las herramientas y materiales que necesitas para elaborar este proyecto son: Marcador punta fina, regla, tijera, hilo, tela de reciclaje, tela de forro, plancha de ropa, maquina de coser, carton de reciclaje, 1 imperdible, alfileres. |
| 🇺🇸 ✦ The tools and materials you need to make this project are: Fine point marker, ruler, scissors, thread, recycled fabric, lining fabric, clothes iron, sewing machine, recycled cardboard, 1 safety pin, pins. |
• 𝕄 𝔸 ℕ 𝕌 𝔸 𝕃 𝕀 𝔻 𝔸 𝔻 •
« Step by Step Tutorial: "Cloth Pouch" (Part 1) »

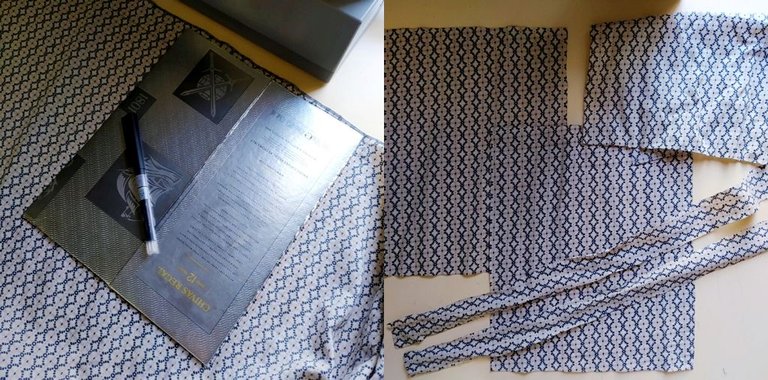
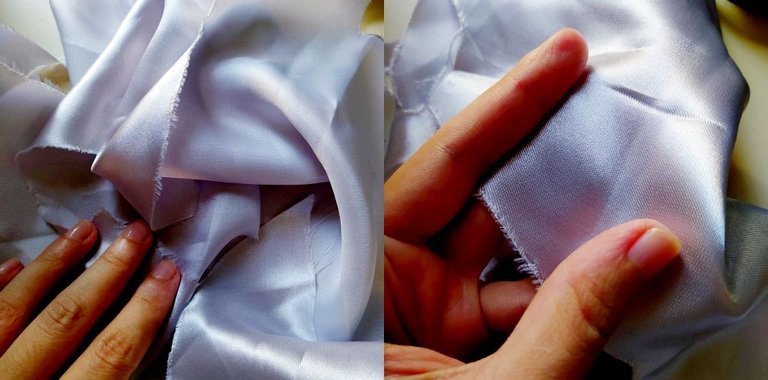

【 PASO 1 】 Toma el cartón de reciclaje y dibuja con ayuda de la regla y el marcador fino 3 rectángulos de 21 cm x 25 cm sobre la tela y la tela de forro, y recorta con cuidado. Luego, marca 2 tiras de 3,5 cm de ancho x 45 cm de largo, y recórtalas. Plancha todo muy bien a mediana/alta temperatura para eliminar arrugas.
【 STEP 1 】 Take the recycling cardboard and draw 3 rectangles of 21 cm x 25 cm on the fabric and the lining fabric with the ruler and the fine marker, and carefully cut them out. Then, mark 2 strips of 3.5 cm wide x 45 cm long, and cut them out. Iron everything very well at medium/high temperature to remove wrinkles.

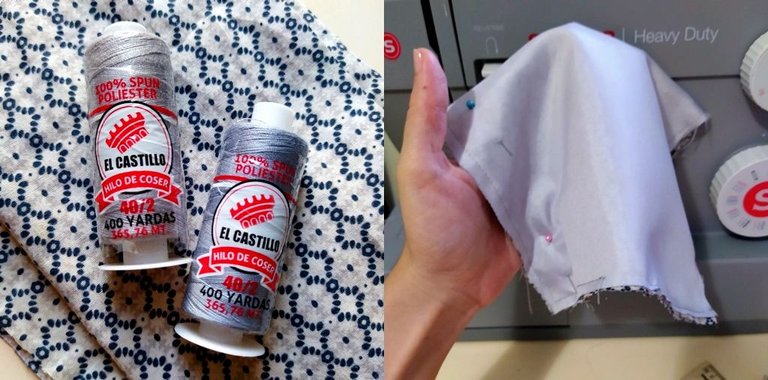
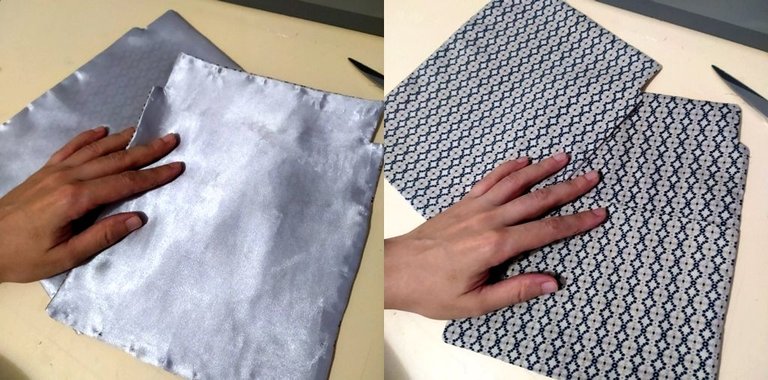

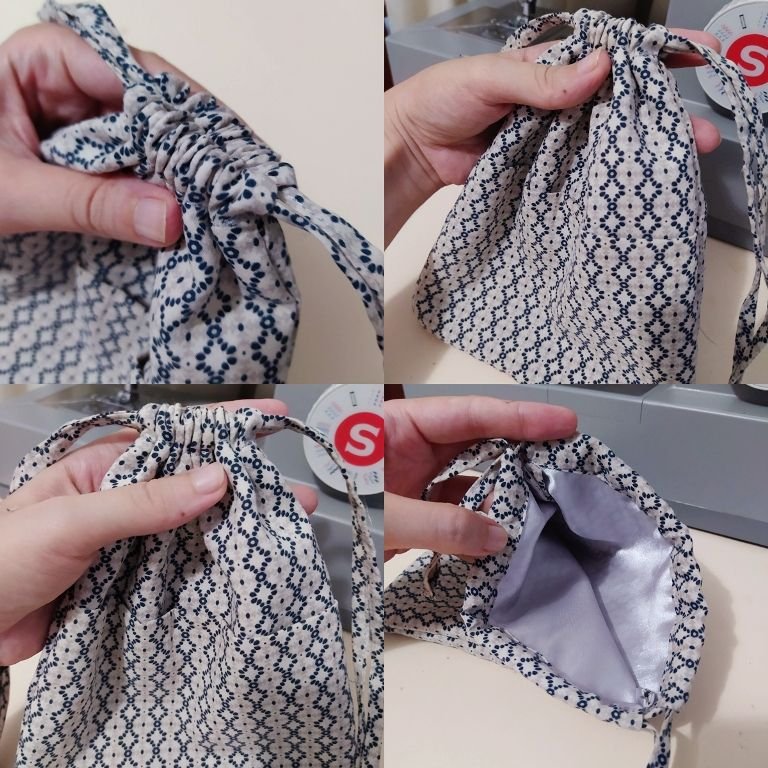
【 PASO 2 】 Fija en su lugar con alfileres 1 rectángulo de tela con 1 rectángulo de tela de forro, y lleva a la máquina de coser para agregar un margen de 0,5 cm en todo el rededor: Cuando llegues a la parte superior del rectángulo, haz una pestaña de 1 cm hacia dentro a partir de 4 cm antes de llegar al final de la línea (fíjate en las imágenes guía).
【 STEP 2 】 Pin in place 1 rectangle of fabric with 1 rectangle of lining fabric, and take to the sewing machine to add a 0.5 cm seam allowance all the way around: When you reach the top of the rectangle, make a 1 cm tab inwards from 4 cm before you reach the end of the line (see guide images).
Para la siguiente "cara" de nuestra bolsita de tela, dobla uno de los rectángulos por la mitad y colócalo entre el rectángulo de tela y el rectángulo de tela de forro a modo de bolsillo, y repite el proceso de la cara anterior. Voltea ambas piezas y plancha muy bien a mediana/alta temperatura.
For the next “face” of our fabric pouch, fold one of the rectangles in half and place it between the fabric rectangle and the lining fabric rectangle as a pocket, and repeat the process for the previous face. Turn both pieces over and iron very well at medium/high temperature.

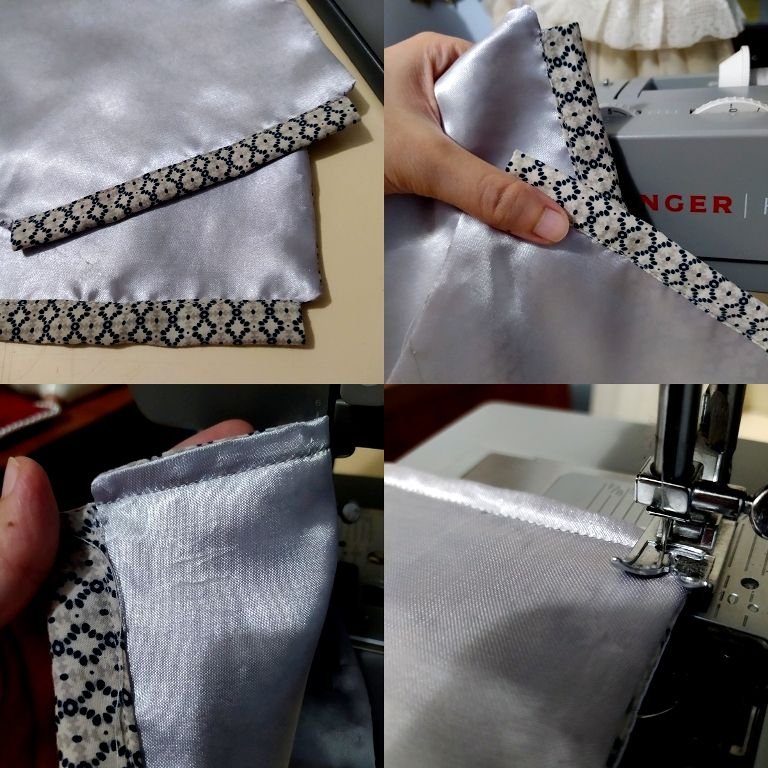
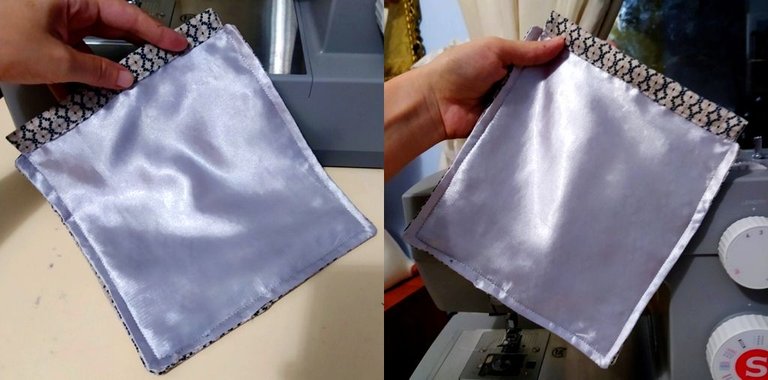

【 PASO 3 】 Dobla hacia dentro (la cara de tela de forro) la pestaña resultante de los pasos anteriores y cose muy pegadito al borde con una costura pequeña en línea recta, para formar los canales por los que pasará la cinta en el paso final. Después centra ambas caras de la bolsita de tela y cose sus 3 lados (izquierda, derecha e inferior) dejando un margen de 0,5 cm. Voltea y plancha una ultima vez.
【 STEP 3 】 Fold inwards (the lining fabric side) the flap resulting from the previous steps and stitch very close to the edge with a small straight line seam, to form the channels through which the ribbon will pass in the final step. Then center both sides of the fabric pouch and sew the 3 sides (left, right and bottom) leaving a margin of 0.5 cm. Turn and iron one last time.

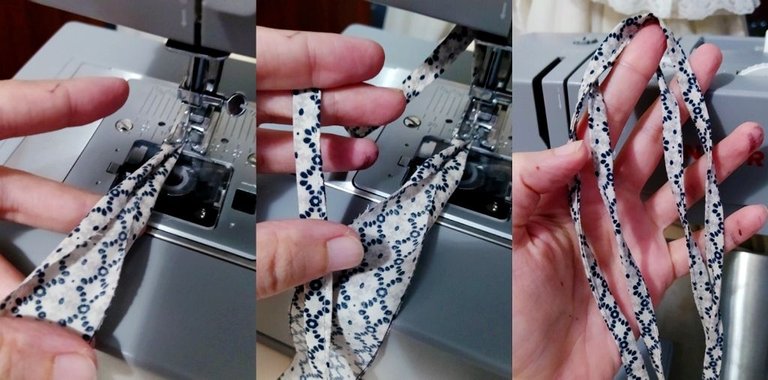

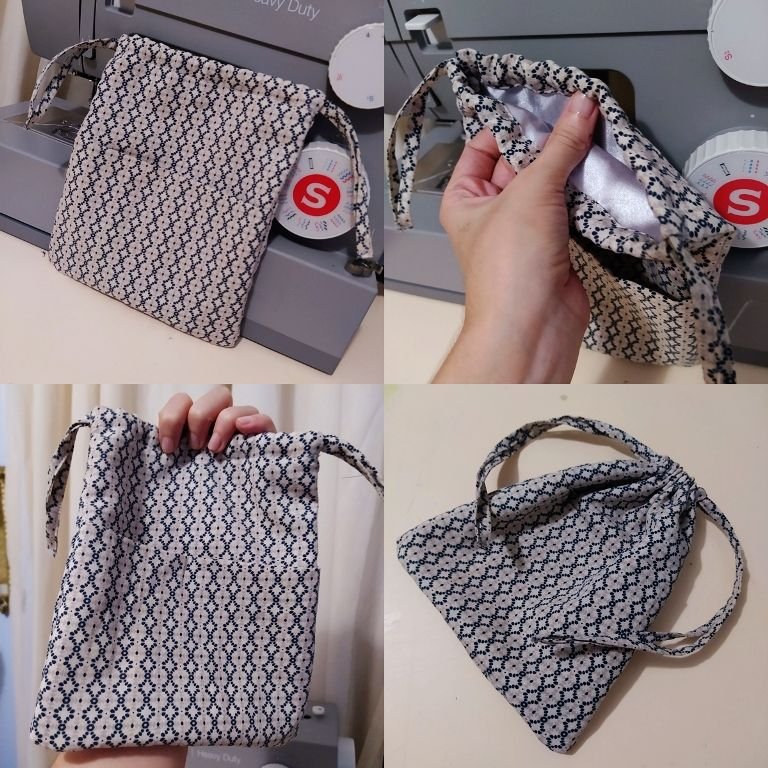
【 PASO 4 】 Para terminar, vamos a elaborar las cintas. Toma las piezas de tela de 3,5 cm x 45 cm y dobladas hacia su centro 2 veces, lleva a la máquina de coser con puntada recta N° 3 o 3,5; plánchalas, y luego introdúcelas en los canales que hiciste en el paso anterior, una pieza hacia la izquierda, y la otra hacia la derecha. Finalmente, cose los extremos de cada cinta una contra otra.
【 STEP 4 】 To finish, let's make the ribbons. Take the fabric pieces of 3.5 cm x 45 cm and fold them towards their center 2 times, take them to the sewing machine with straight stitch N° 3 or 3.5; iron them, and then insert them into the channels you made in the previous step, one piece towards the left, and the other towards the right. Finally, sew the ends of each ribbon against each other.
« ℂ 𝕆 𝕄 ℙ 𝕃 𝔼 𝕋 𝔼 • ℙ ℝ 𝕆 𝕁 𝔼 ℂ 𝕋 »

 |  |  |
|---|

En la segunda parte de este proyecto te mostraré cómo decorar esta pequeña bolsa de tela para hacerla más especial 📝 💡
He dividido este proyecto en varias partes para que sea más comprensible las distintas técnicas y materiales que utilizaré.
Espero hayas disfrutado el inicio de esta mini aventura, me encantaría saber tu opinion en los comentarios, ¡nos vemos mañana con la continuación! (っ'ω `) ノ (╥ω╥) ☕
In the second part of this project I will show you how to decorate this small fabric bag to make it more special 📝 💡
I have divided this project into several parts to make it more understandable the different techniques and materials I will use.
I hope you enjoyed the beginning of this mini adventure, I'd love to know your opinion in the comments, see you tomorrow with the continuation! (っ'ω `) ノ (╥ω╥) ☕

 |  |  |  |  |  |  |  |  |
|---|
✨ 🍓 All texts and images by @Tesmoforia 🍓 ✨
📸 Tools: Smartphone 📲 Snow 🎬 Remini 🌓 FotoJet 📐
🚨 ¡Please do not take, edit or republish my material without my permission! 🚨
💌 ¿Do you wish to contact me? Discord #tesmoforia 💌
🌙 Banner, signature and separators by Keili Lares
Posted Using InLeo Alpha
Que triste tener que hacerle esto a la prenda que tanto te gustaba. 😭 Pero ciertamente así lo podrás tener cerca y te aporta en otro uso 💖
Me paso en una oportunidad que una de mis camisitas favoritas (una franela de tirantes rosita) se estropeo porque alguien la habia puesto a lavar con jeanes y se estiró uno de las tiras del hombro, que se enredó en el ciclo de centrifugado y quedo horrible, imposible de usar. La ira que me dio no fue ni medio normal XD desde ese día lavo yo misma mi propia ropa, casi sin excepción, así se a mano (yo la menos rencorosa).
Recuerdo que despues hice unos tirantes con una tela nueva y la arregle yo misma. Obvio no quedo para nada igual, pero es que me gustaba demasiado y la termine usando de pijama. así nadie veía los defectos jaja
Espero la segunda parte para saber como te quedó 💜
Hay está la grandeza de la creatividad, de un hecho triste y lamentable le viste la otra cara a la moneda y recreaste una nueva obra. Te quedó muy bien realizada.