The Grinding Noise Coming From The Back


Well Hello There Fellow Technicians And Hivers!
I've got a nice one for today we will be tending to this clients differential! It will be a fair amount of stripping work for just a few bearing replacements. Well so far, we still need to open it up and see if more than just the bearings are damaged. Although I doubt it!
The bearing we will be replacing will be the pinion and carrier bearings and then the side shaft bearings. Myself will be doing the side shafts and bossman will be tackling the differential itself.
Let's get on it!

First things first!
I am for sure going to give the underside where most of our work will be done a good cleaning out with the pressure washer, after all we don't want any ground to get in to places where we don't want it right!
Laughs, in the ten minutes it took me to wap the underside the sun was out above the yard walls and with it being ice cold and me working with water it really felt great and more so deserving!
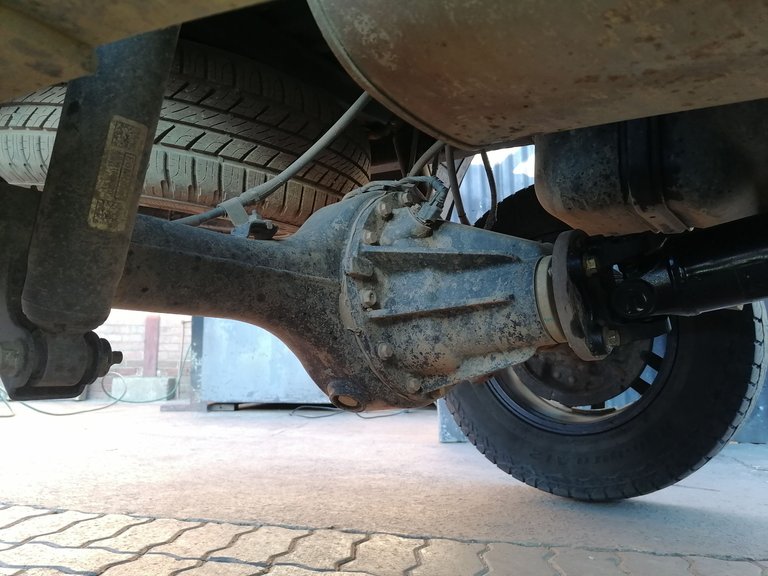
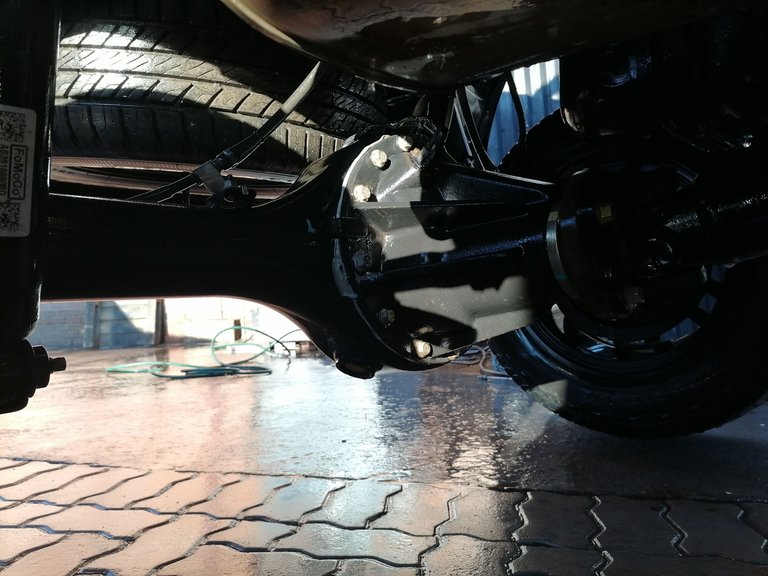
The least I can say about a differential rebuilt is that it is actually quite a tedious and time consuming job. All within a days work of-course but when waiting for parts it can become a stretched out story.
The thing that takes up the most time with these is removing all of the components and then along with it you have to tear down all those components and rebuild those components and then only can you fit them back into the differential casing.
It really isn't as simple as just replacing a component.
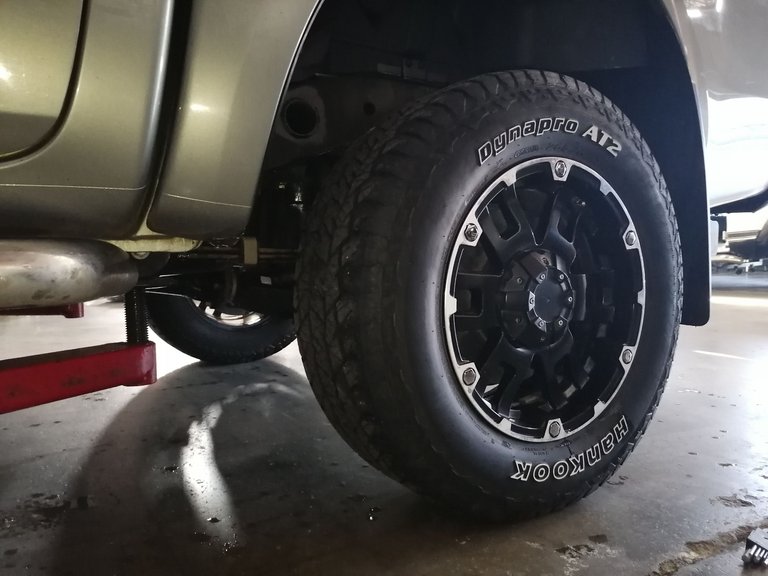
The part I hate the most would be the brakes and especially so the brakes on a Ford Ranger.
I won't be going into too much details around the brakes for this post because I believe that will need a post on its own. Don't expect one too soon though I rarely take photos of it because I hate brakes. 😂
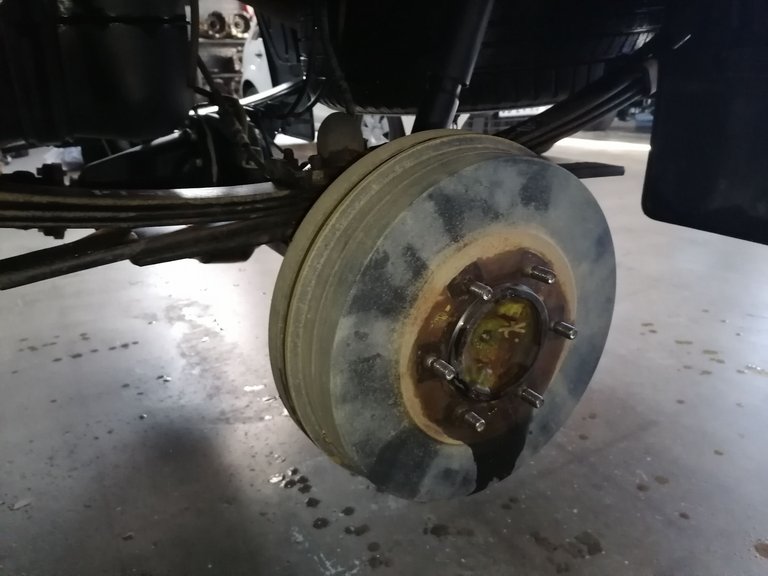
Pulling the shafts is a relatively easy job to say the least. Although pulling it with the brakes and everything is much much easier but it's pointless though because the brakes have to be removed anyways when fitting new bearings on the side shafts.
With this I decided to pull it all with the brakes and everything even though I will have to remove the brakes on the bench. On the vehicle or on the bench it makes no difference.
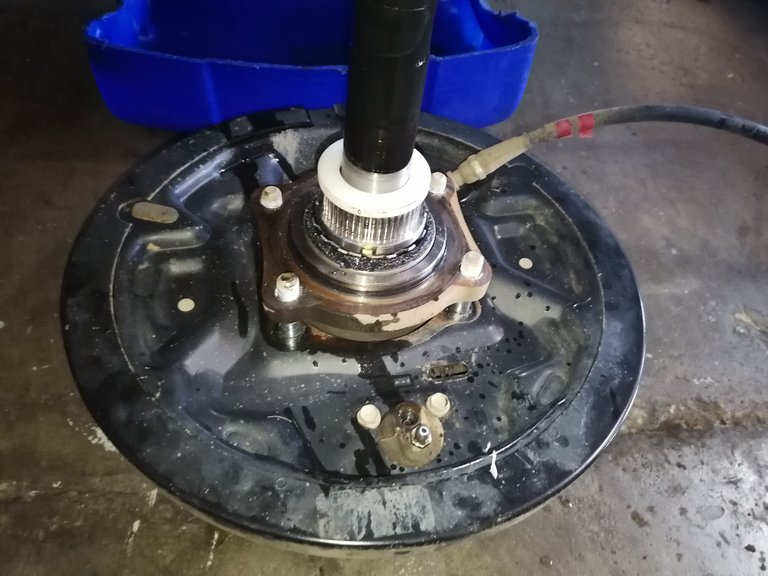
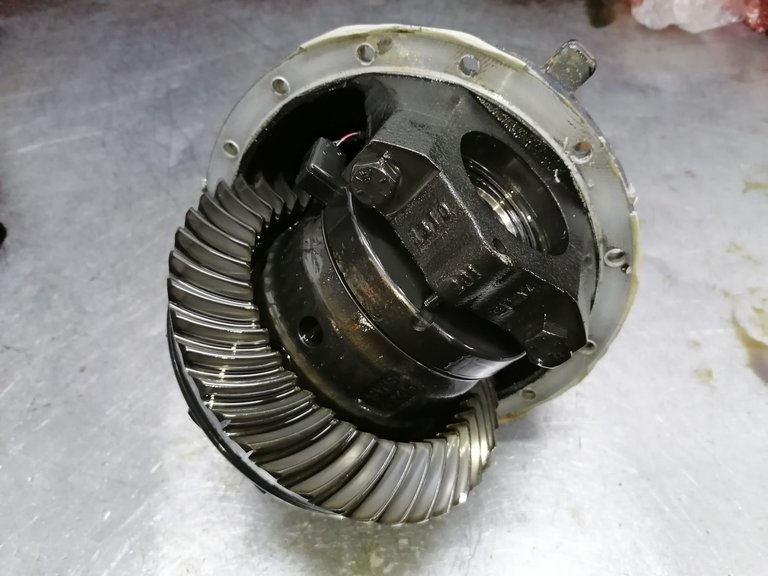
Only after the side-shafts have been pulled can one start removing the centre portion of the differential.
The reason for this is because the side-shafts press into the centre portion, if not how else would the wheels go round and round. One has to be carefull when removing these as they can get very heavy but the real problem is that they are stuck to the casing and usually people wedge them out with something and then it comes jumping out all of a sudden.
When that happens people aren't really prepared to catch them, it really slips the mind of a lot of folks.

The Shaft Rebuilding.
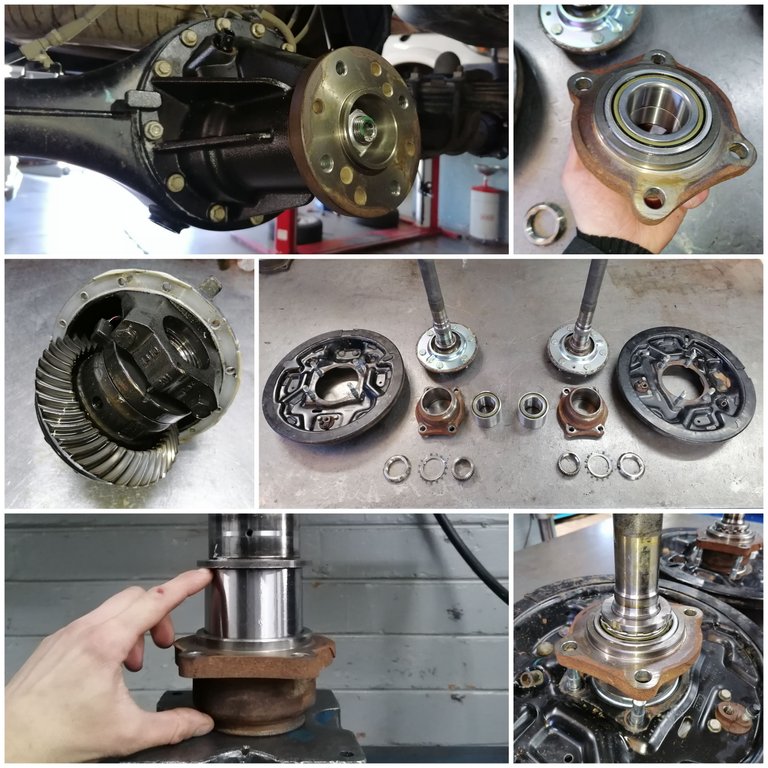
Well I've gotten everything torn apart, cleaned and packed out neatly in order to begin with the assembling of these shafts.
I didn't take photos of the teardown of the shafts because I wasn't planning on sharing it in the post and besides that it really is a decently messy job to do and keeping the phone in hand wasn't an option for me. 🤣
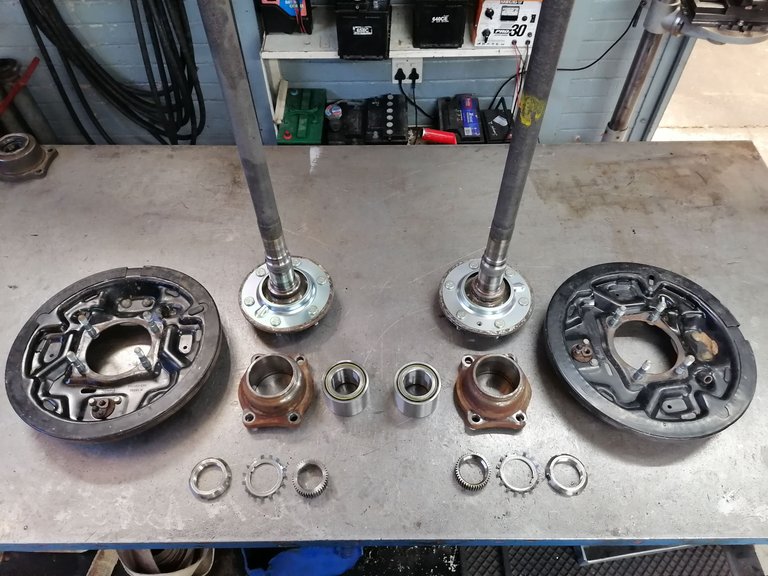
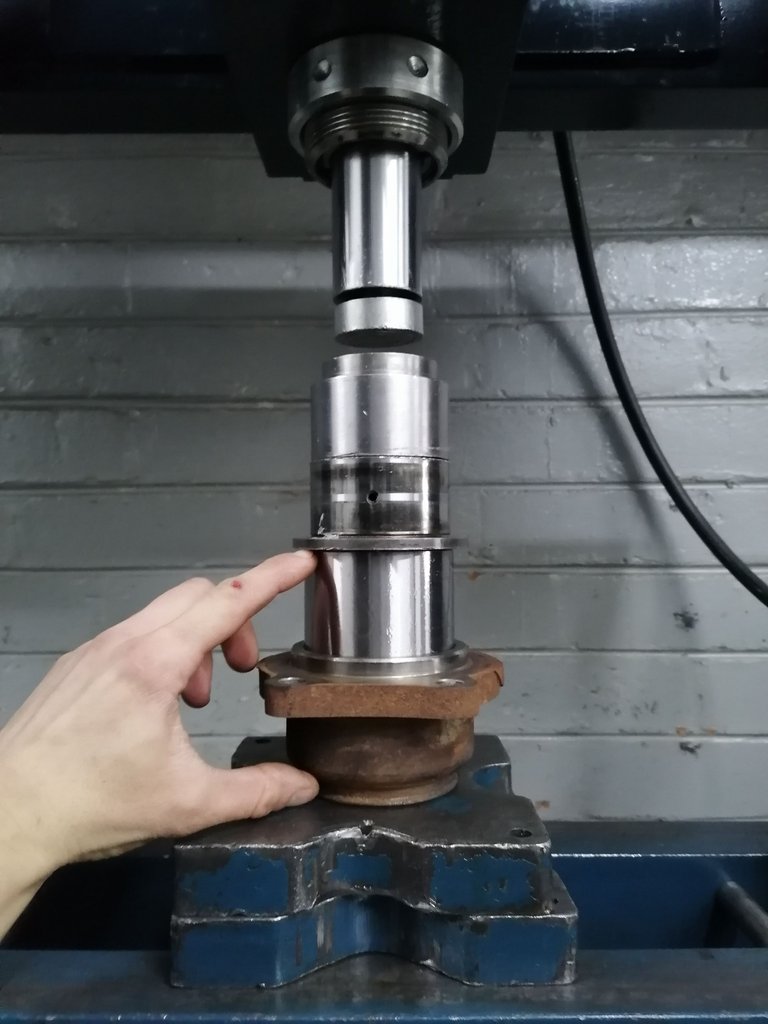
The very first thing we need to do is fit the bearing in the piece that mounts to the differential casing. Odd I don't know what it is called.
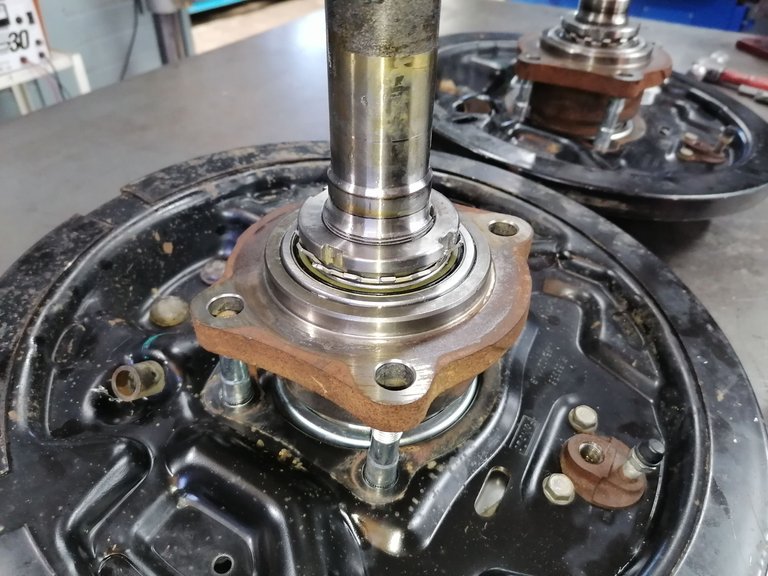
Now this can get tricky because it has to be fitted as straight as one can get it and oiling it up is preferred in my opinion. Everything just goes smoother. Another thing that is equally important is that one should press on the outer ring of the bearing not the inside, if pressed on the inside the bearing might get damaged. You want to press it on the outer wall because it is the outer wall that needs to be fitted into the mount.
Notice the little tower I built on top of the bearing, that is so that the force is applied to the outer walls of the bearing.
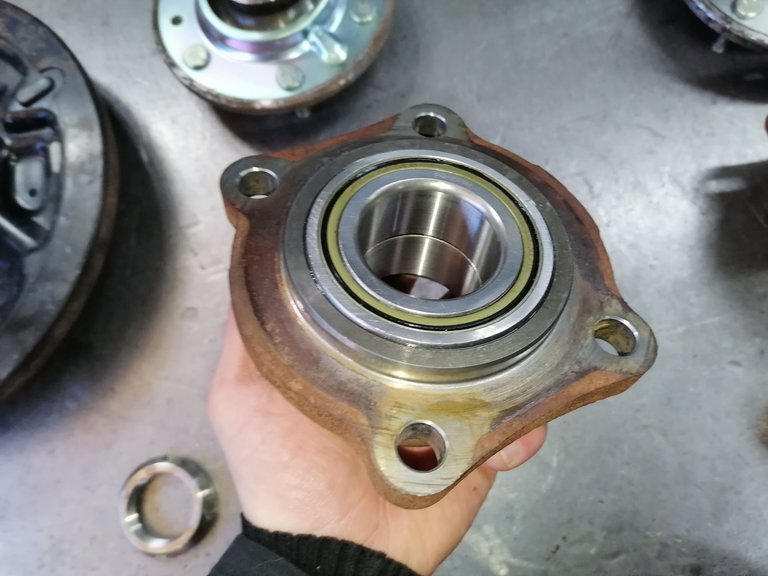
All fitted in.
In this picture both the outer and inner walls of the bearing are visible. The smallest silver ring on the inside is of-course the inner wall and then it has the golden ring with the thin black ring which is the seal of the bearing, you don't want that to get damaged at all. If so you can chuck those bearings away, unless you're looking for a comeback.
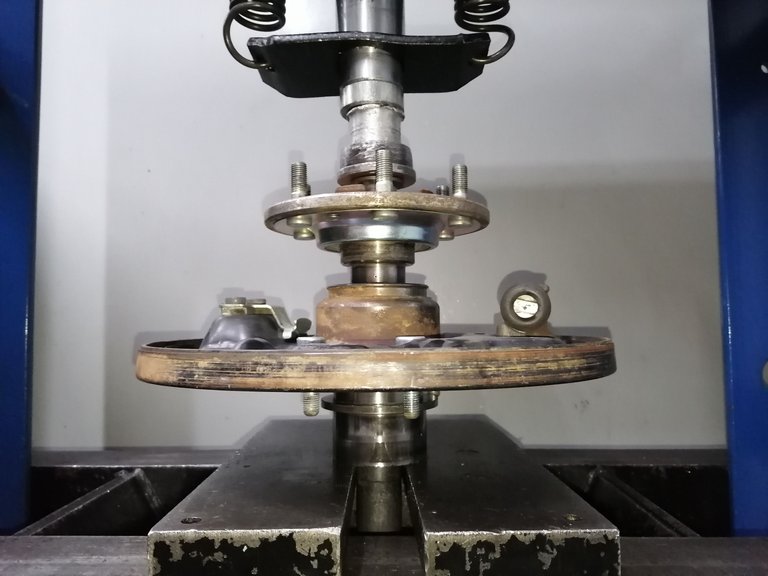
I could have added a step here but I didn't get the photos for it so meh.
Notice in the very middle of the whole setup is the mount we had earlier. What happens now is that the whole assembly gets fitted together, loosely of-course and it all has to be pressed into each other. Actually it's only the side-shaft getting pressed into the bearing, this time the inner bearing wall needs to be supported.
The thing is you have to add the backing plate on which the whole braking system gets mounted on. Oh yes trust me I've forgotten it more than once in my time. 😅 Hasn't happened to me in quite some time luckily. 😂
Okay, this was poorly planned I can see that now. I could have taken a photo of the locking nut used here.
Once the shaft is pressed into place I was then able to lock the whole setup in place with the locking plate and nut. One has to really get that nut on there tight as hell, you don't want it coming loose while the vehicle is on the road.
I used a big hammer and chisel to get that tight enough. Then you can bend over the pins on the locking plate to secure the nut. I doubt it is really needed but why not.
Before fitting it all back we need to give this casing a good thorough cleaning, no use in doing everything in a pristine manner and then slack on the casing that actually holds most of the grimeyness. I tend to put in a lot of effort when cleaning these, in-fact I keep urging bossman to allow me to remove the casings and give them a power wash too. Although it really isn't needed if you do thorough cleaning.
I suppose it will give me some sort of assurance.
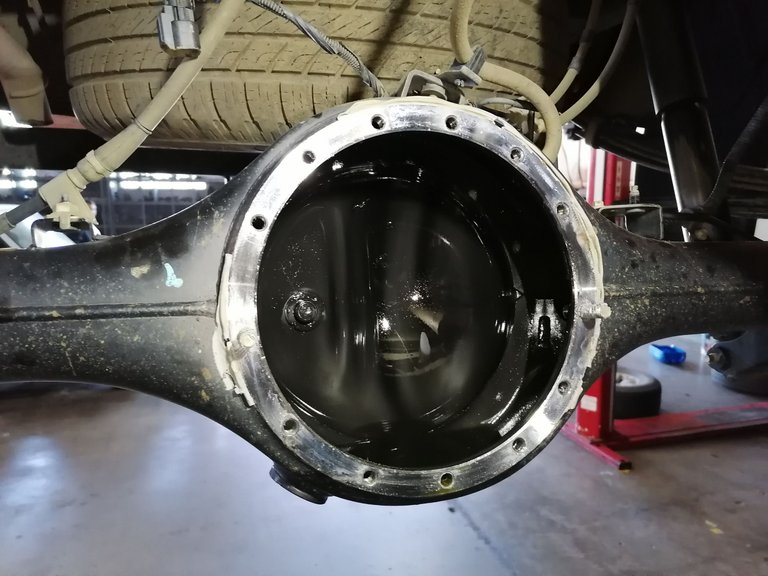
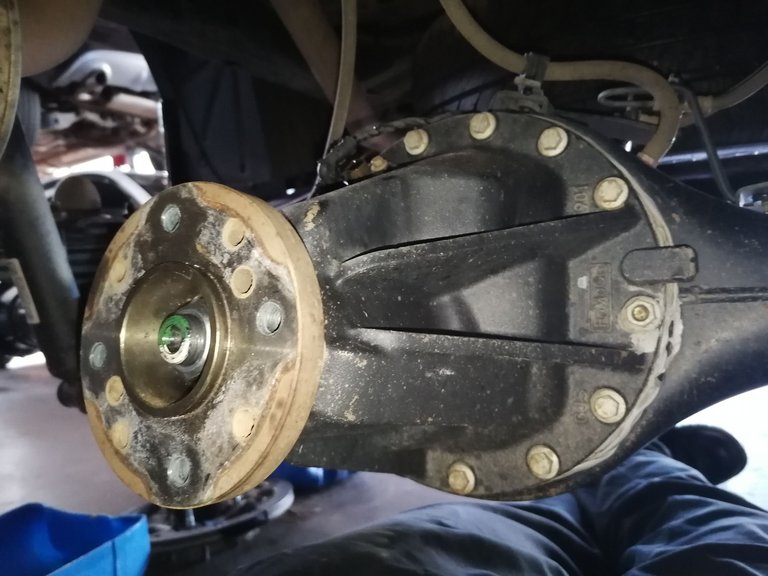
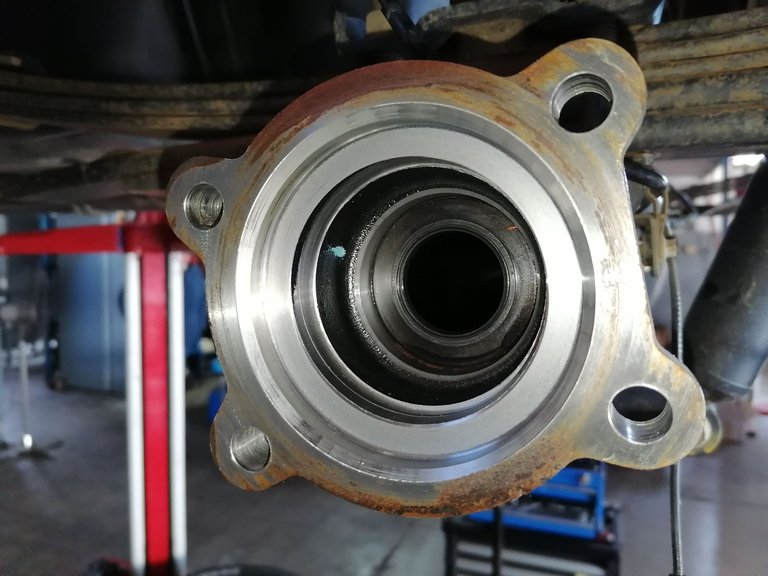
Both the centre portion housing and where the side-shafts are mounted need to be cleaned properly. Now these I already cleaned when I removed them and waited for the bearings to arrive.
One thing that I recommend is that those inner seals do need some grease added to them, for assurance purposes... Then when they are entered they have to be entered as straight as you can get them in order not to hurt the seals. They have guides which is not added in yet when the photo was taken but even though they have them I try to make a habit of inserting them properly because not all vehicles have the guides.

Dated 11/07/2023


Connecting the people of #HIVE across South Africa. #hive
Hi, i think this is a great Idea. It would be nice for more guides. Thanks for that. Greetings from Germany