Crispy Cheese Balls Recipe – Café Style Magic at Home!
NAMASTE (Hello) ❤️🙏❤️ to all the wonderful food lovers and vibrant personalities of our community! Let's dive into the flavors of authentic Indian cuisine with me.
Ah, cheese balls. Those crispy little golden orbs of joy that disappear faster than you can say “extra cheese, please!” We've all been there – trying to recreate those perfectly crispy, gooey cheese balls from your favorite café or snack bar. But somehow, no matter how hard you try, the cheese never melts just right, or they end up soggy and sad. We've all had our share of cheese ball fails, haven’t we?
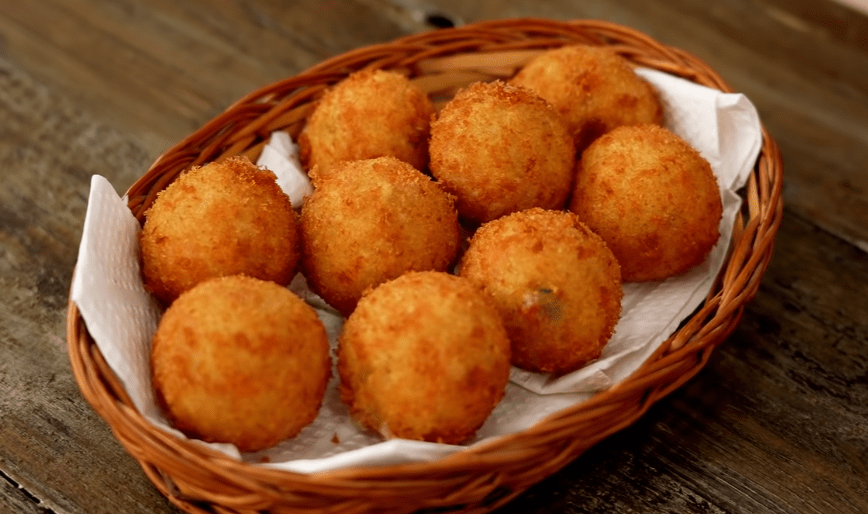
Well, let’s put those cheesy disappointments behind us! Today, I’m going to share with you the perfect recipe for Café Style Crispy Cheese Balls that will have you feeling like a professional chef and your friends thinking you’ve secretly gone to culinary school. Spoiler alert: it’s all about the right technique, ingredients, and just a touch of love (and maybe a little humor to get through the process).
A Little Cheese Ball History (For Those Who Like a Backstory)
Cheese balls have been a popular snack in various cultures, and let’s be honest – who doesn’t love a cheesy bite? You’ve got crispy, golden exteriors and that heavenly, melty cheese center that makes you feel like you're biting into a little slice of happiness. Originally, cheese balls were more of a formal party snack – you know, back in the 70s when people actually dressed up for dinner parties and had hors d'oeuvres (not that we’re complaining).
Fast forward to today, and we’ve turned them into a comfort food classic. Whether you’re hosting a gathering, watching Netflix, or just having a me-time snack fest, crispy cheese balls never disappoint.
Now, let’s get down to business and whip up some cheesy magic!
Ingredients You’ll Need:
- 4 medium-sized potatoes (boiled and cooled for at least 2 hours – no shortcuts here, please!)
- 2 cloves garlic (grated – but not too much, or it’ll overpower the cheese)
- 1 cup soft, creamy cheese (you can use processed cheese or cream cheese)
- ½ cup mozzarella cheese (the harder, frozen kind works best, so go ahead and freeze it overnight)
- 2 tablespoons finely chopped vegetables (I used a mix of red and green capsicum, onions, and corn – the more colorful, the better!)
- Pizza seasoning (1 teaspoon – this adds that extra flavor kick)
- Chili flakes (½ teaspoon for that spicy punch)
- Black pepper powder (½ teaspoon)
- Salt (to taste)
- ½ cup plain flour (for the batter)
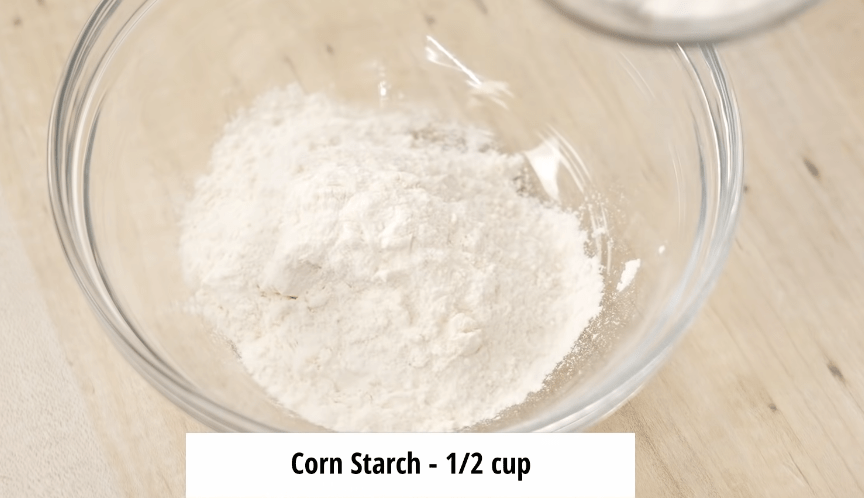
- ½ cup cornflour (for extra crispiness)
- Breadcrumbs (homemade or store-bought – but make sure they’re dry, dry, dry!)
Let’s Get Cheesy!
Step 1: Prep the Potatoes
- First, you need to start with boiled potatoes. And when I say boiled, I mean cool potatoes. Don’t even think about using them fresh from the stove. Let them chill for at least two hours (so they’re not all mushy). Once they’ve cooled down, grate them like a pro. Get that grater going and feel free to imagine you’re on a cooking competition show (you deserve the dramatic music).

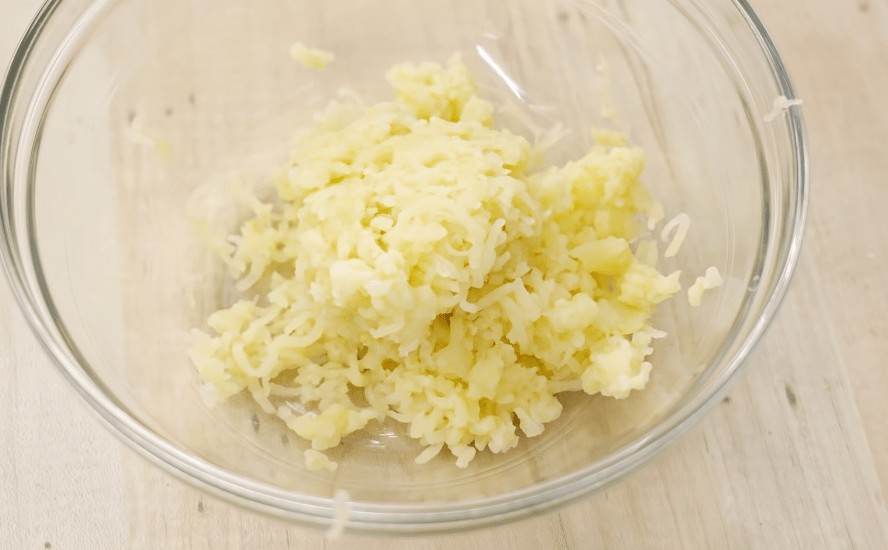
Step 2: Garlic & Cheese – The Dynamic Duo
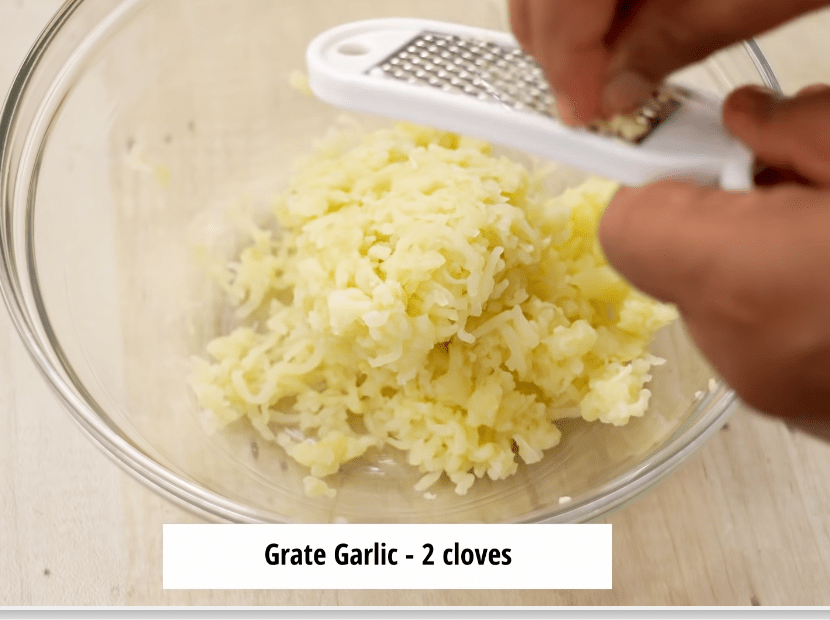
- Grate two cloves of garlic. But be careful – we don’t want to turn these cheese balls into garlic bombs! Just a light grating will give you that perfect garlicky flavor without overpowering the cheese.
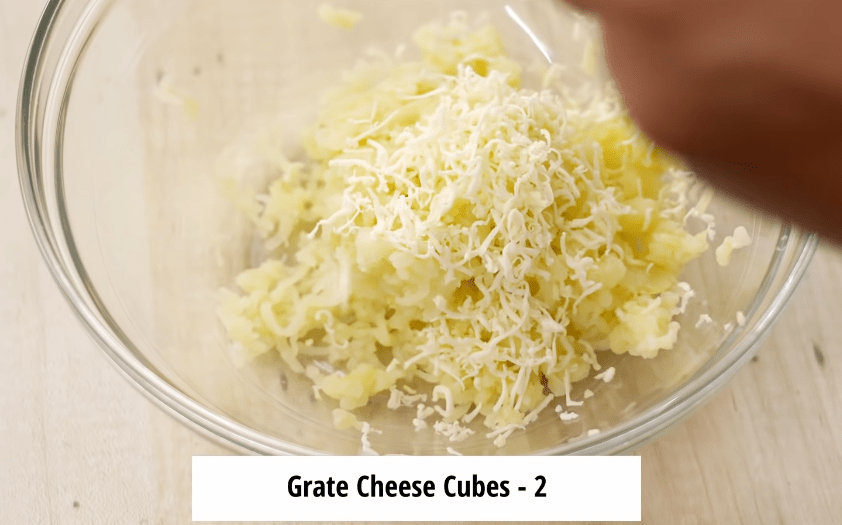
- Add your soft cheese (cream cheese or processed cheese – your pick). This gives that rich, creamy texture you’re craving.
Step 3: Add Veggies for Color (and Nutrients?)
- Let’s make these cheese balls healthy (ish). Add finely chopped capsicum (green and red, for color!), onion, and corn. The more colors, the better! Trust me, your eyes will thank you as much as your stomach when you see this vibrant mix.
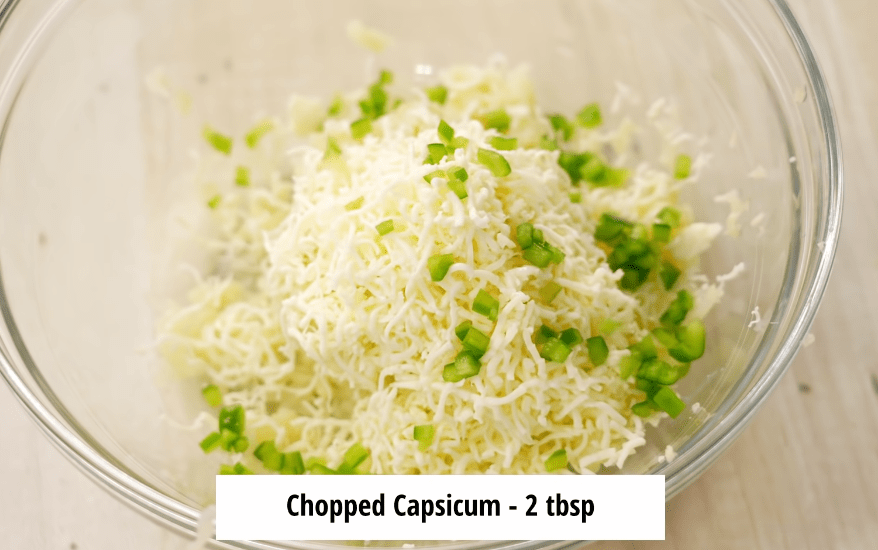
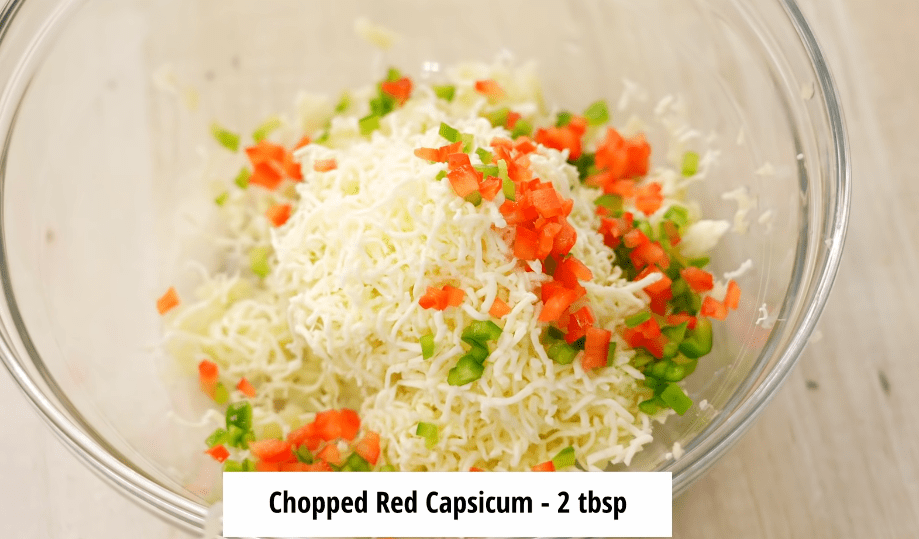
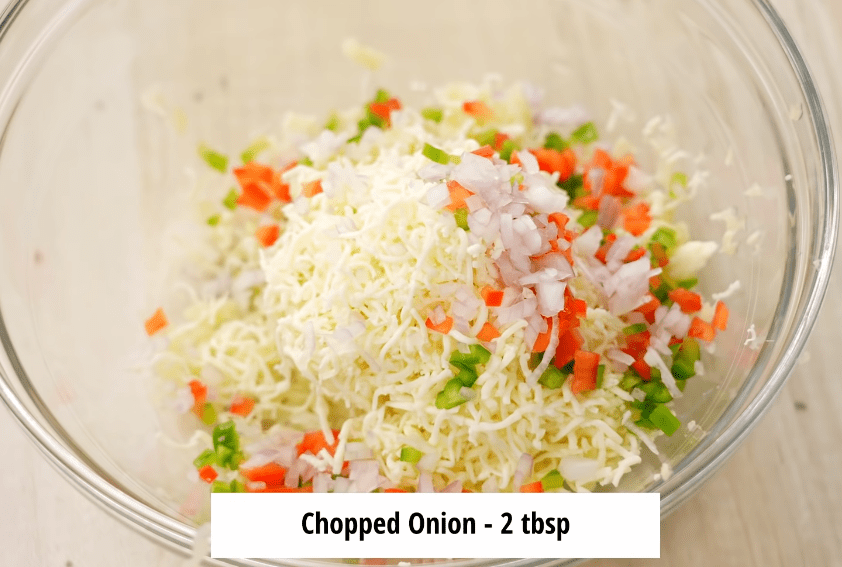
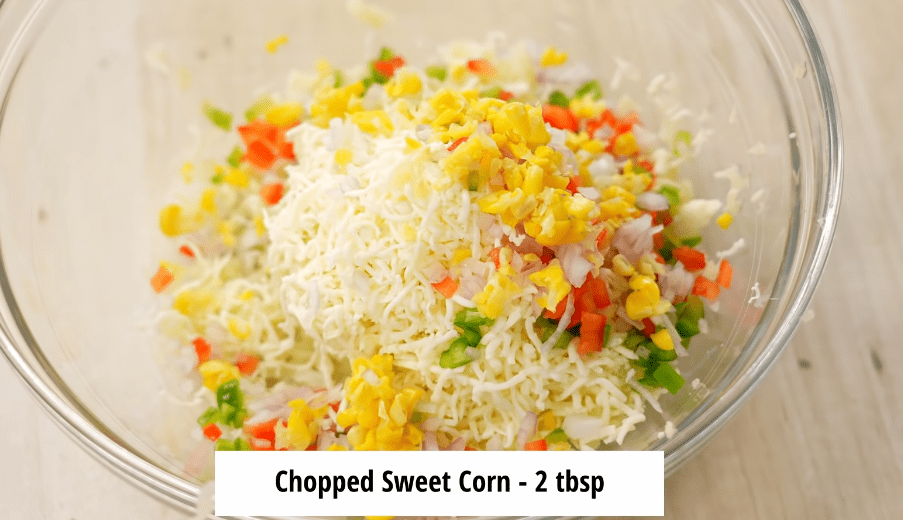
Step 4: Seasoning – Where the Magic Happens
- Now, here comes the fun part – the seasoning! Add salt, pizza seasoning, chili flakes, and black pepper powder. It’s like a flavor party in your bowl, and everyone’s invited. Feel free to taste and adjust – you want this mix to taste delicious even before it’s fried.
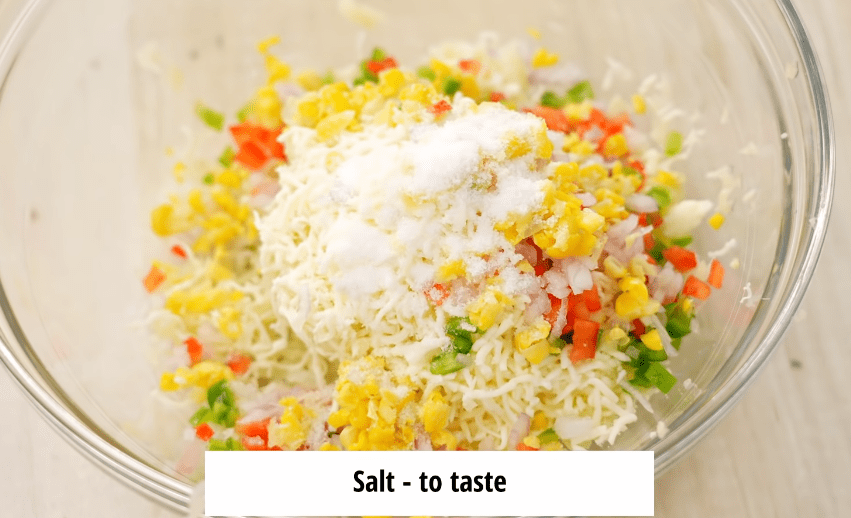
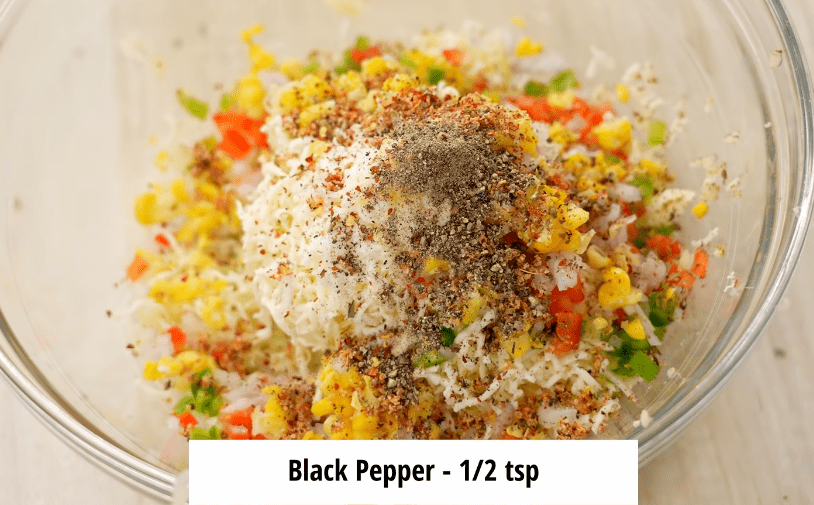
Step 5: Mozzarella – Let’s Get Melty
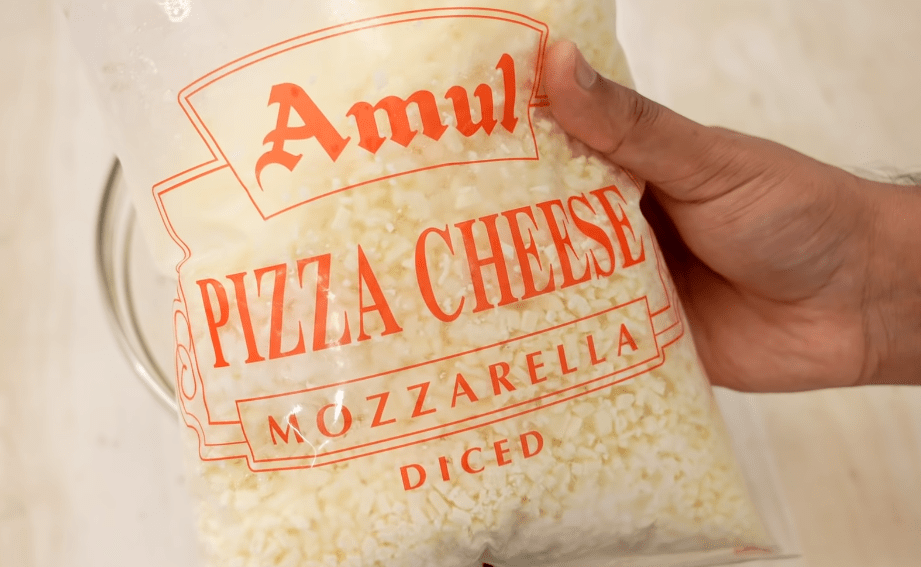
- Here’s the trick: freeze the mozzarella cheese beforehand. It’s essential to use hard mozzarella – it should feel like little rocks when you cut it (and don’t skip the freezing step!).
- Dice the cheese into small cubes (about ¾ cup) and mix it into your potato-veggie mixture. The colder, the better – that’s the secret to gooey, melty cheese balls!
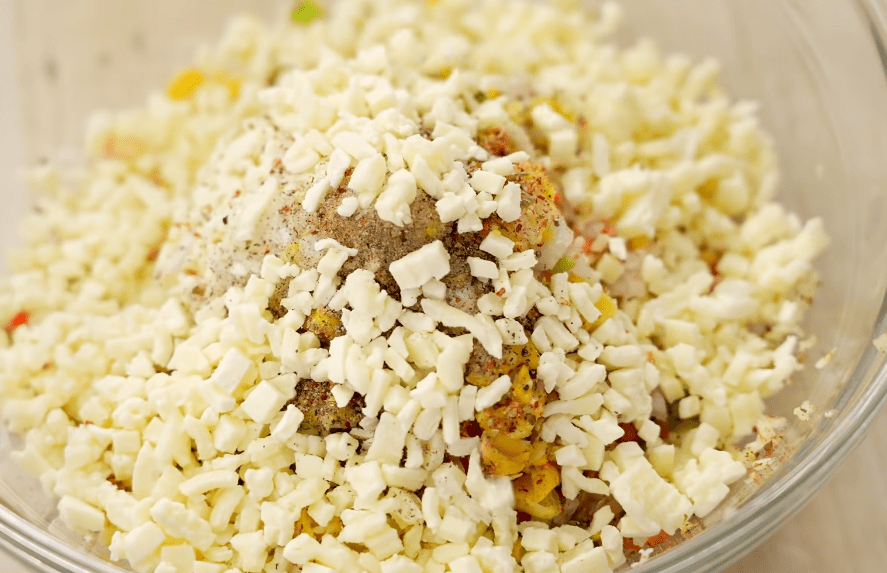
Step 6: Binding It All Together
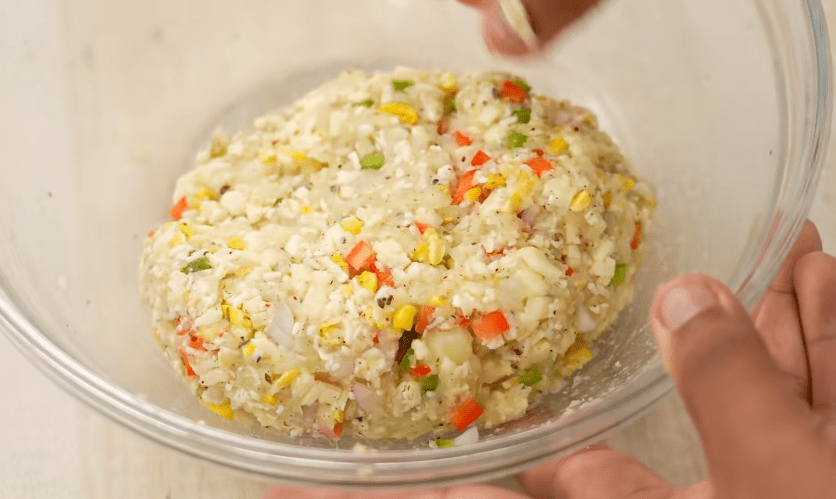
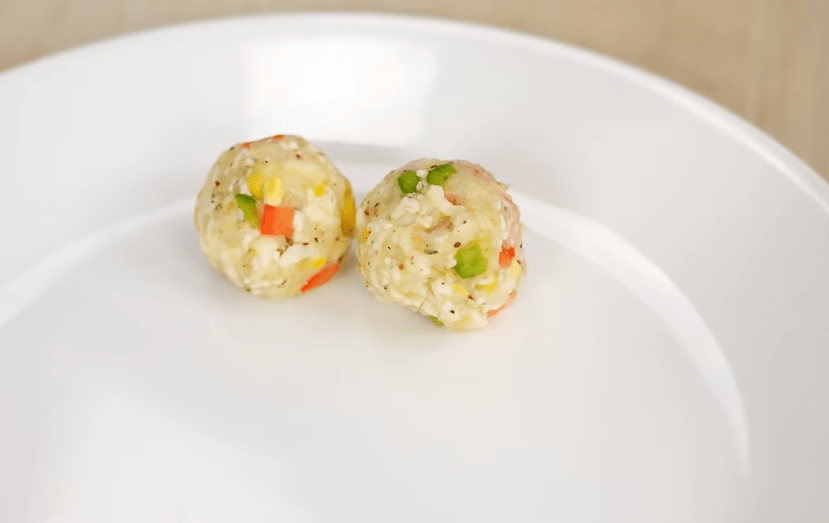
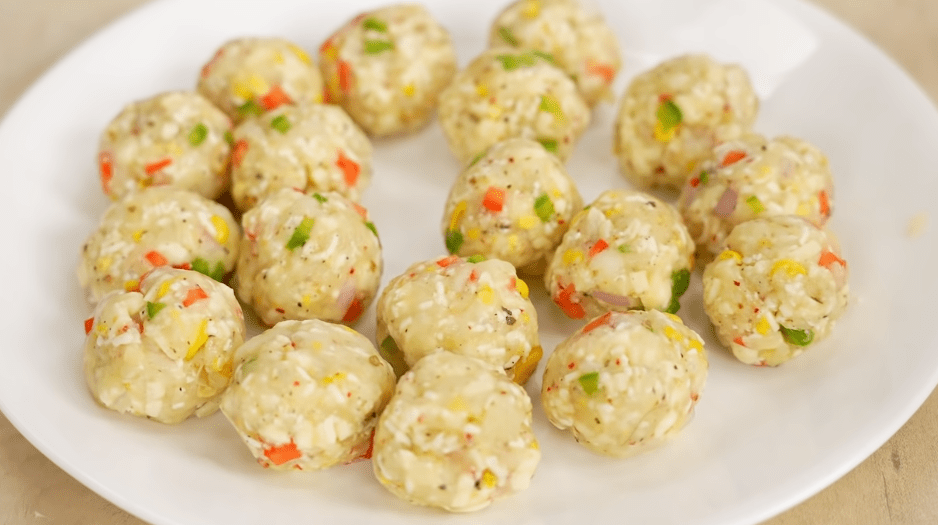
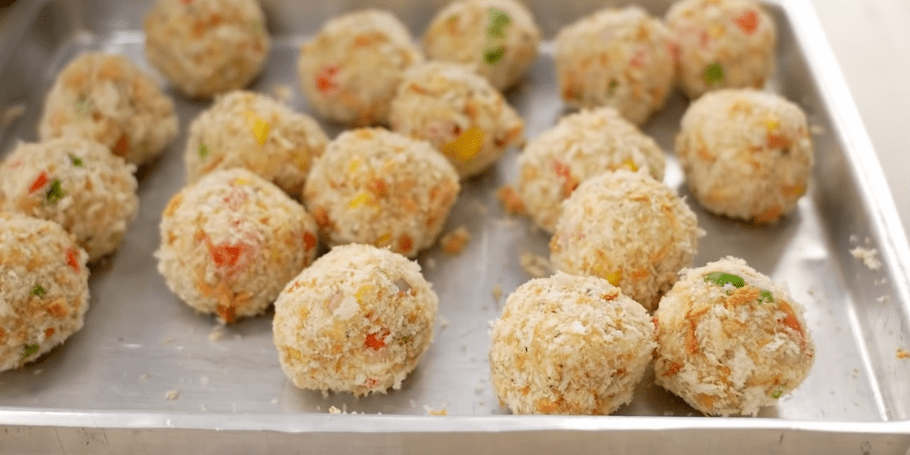
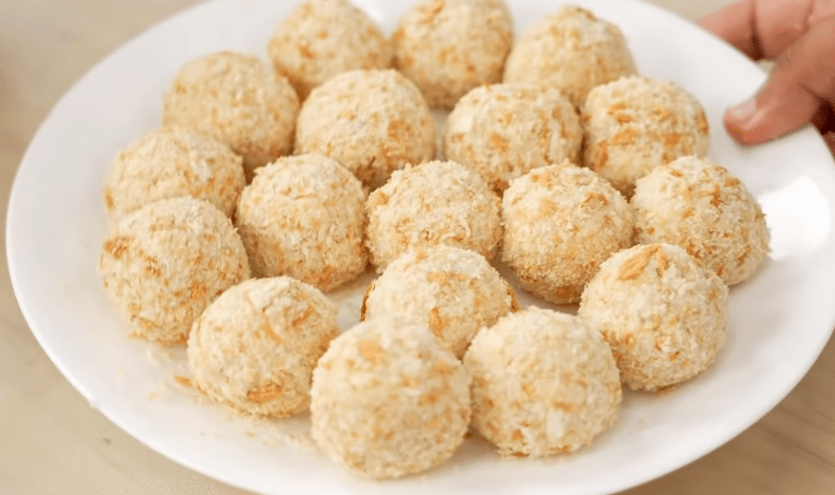
- Mix everything well! Now, the key here is not to overwork the mixture. You want to see those little chunks of cheese and veggies peeking through. Once it all comes together, form your mixture into 18-20 small balls. Don’t worry if they get a little sticky – just wet your hands to make it easier. They’ll come together perfectly!
Step 7: The Coating – Crispy Goldenness
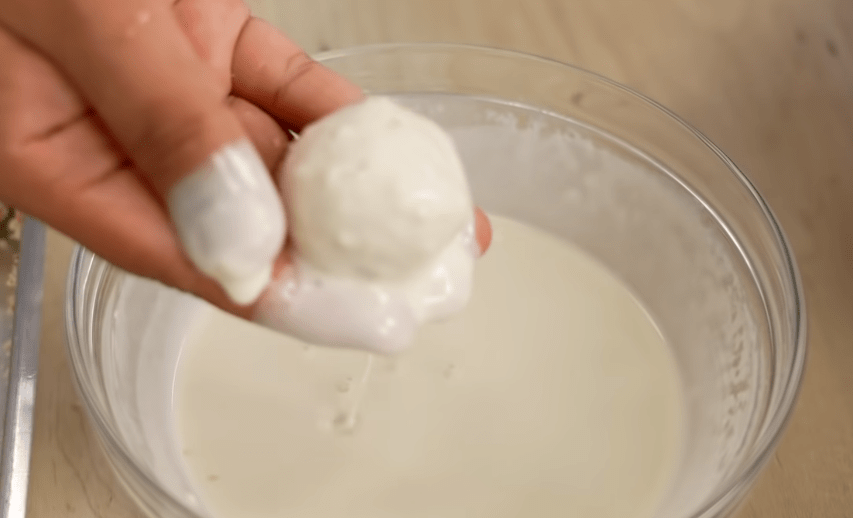
- Now, onto the important part – the batter. Mix flour, cornflour, and water until you get a smooth, medium consistency – not too thick, not too runny. You want it to coat the cheese balls nicely without dripping off.
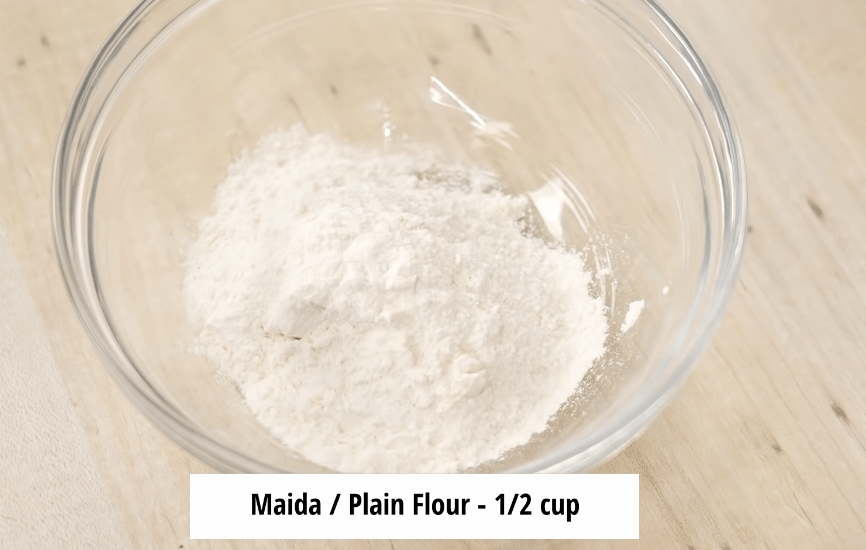
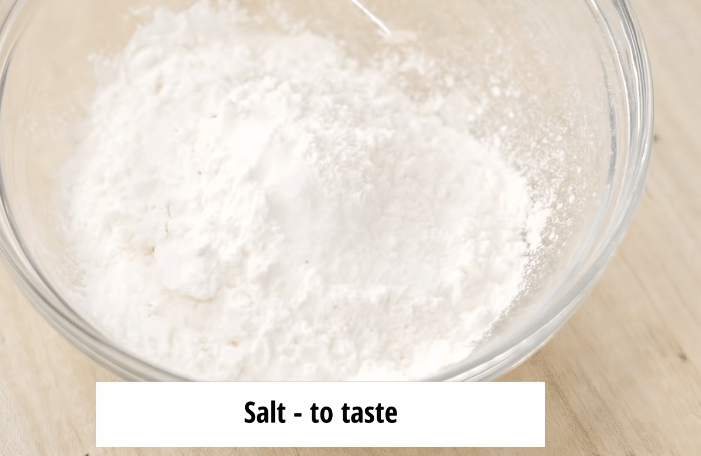
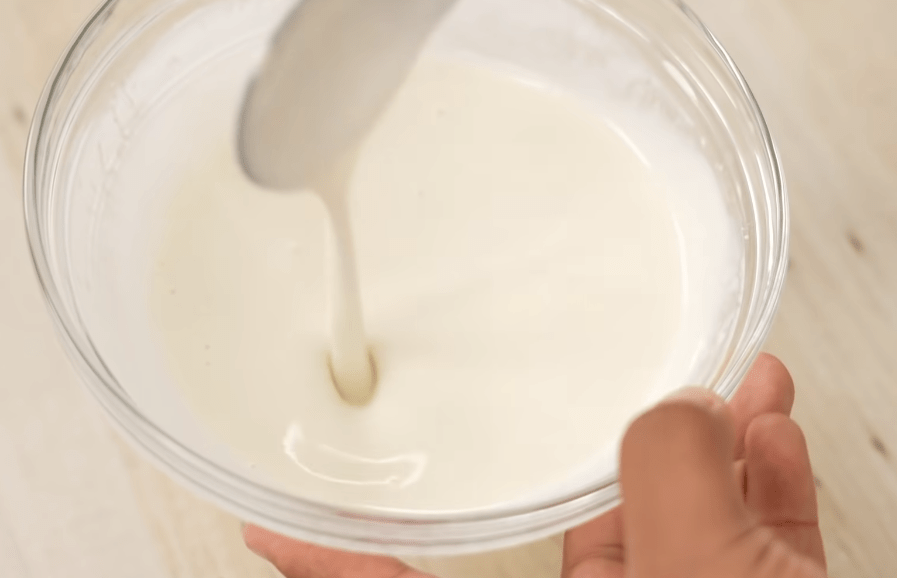
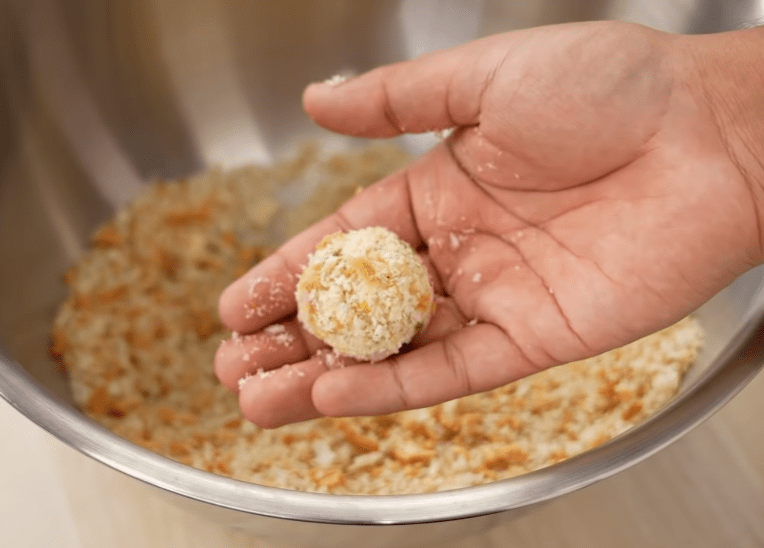
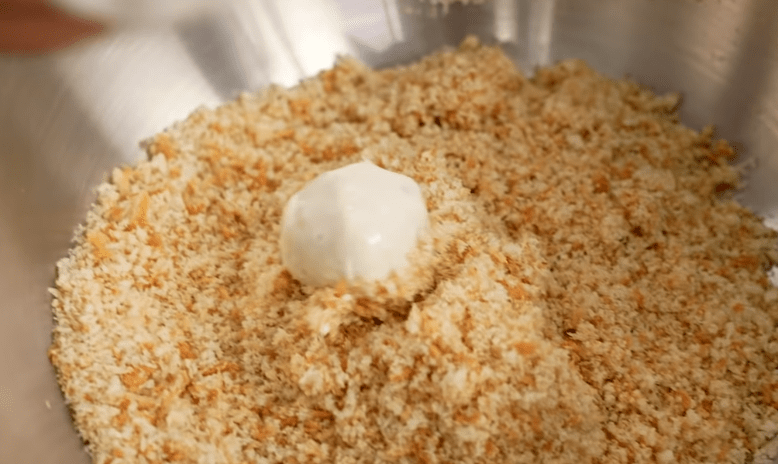
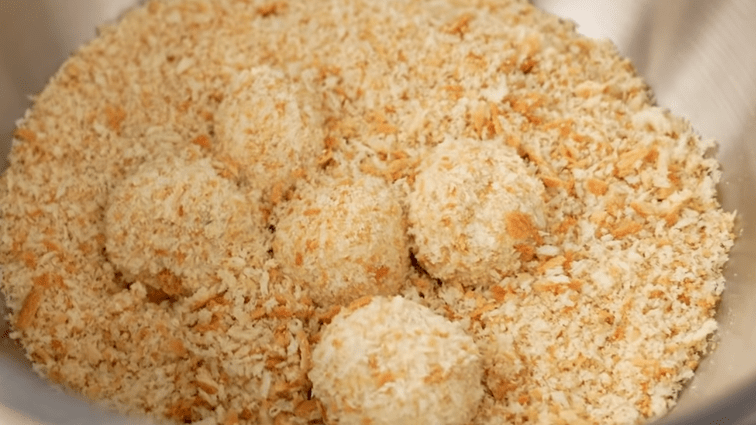
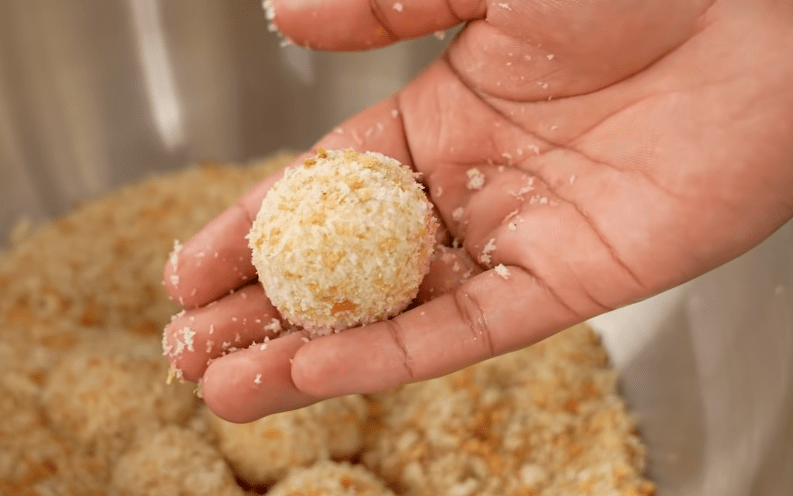
- Coat each cheese ball in this batter, then roll them in dry breadcrumbs. This is where the magic happens – those crispy golden crumbs make all the difference! Homemade breadcrumbs work best, so if you have the time, make some by blending dry bread and then toasting it lightly.
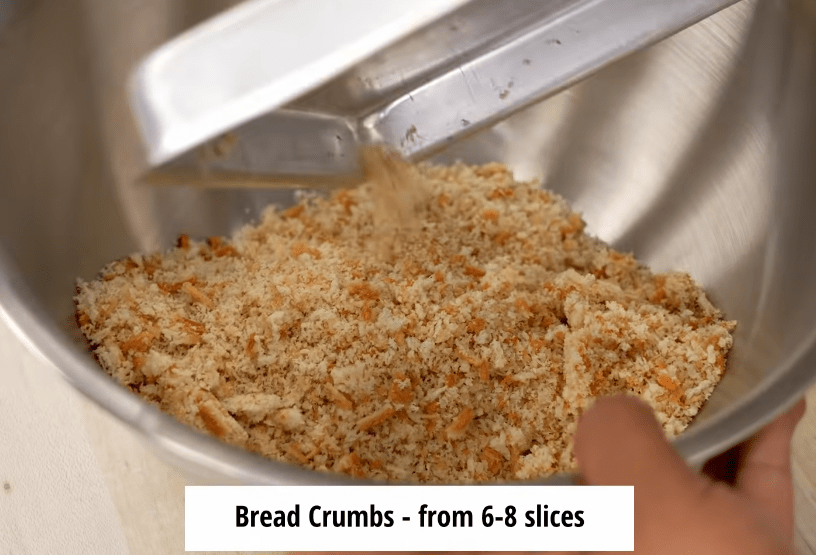
Step 8: Fry Until Golden
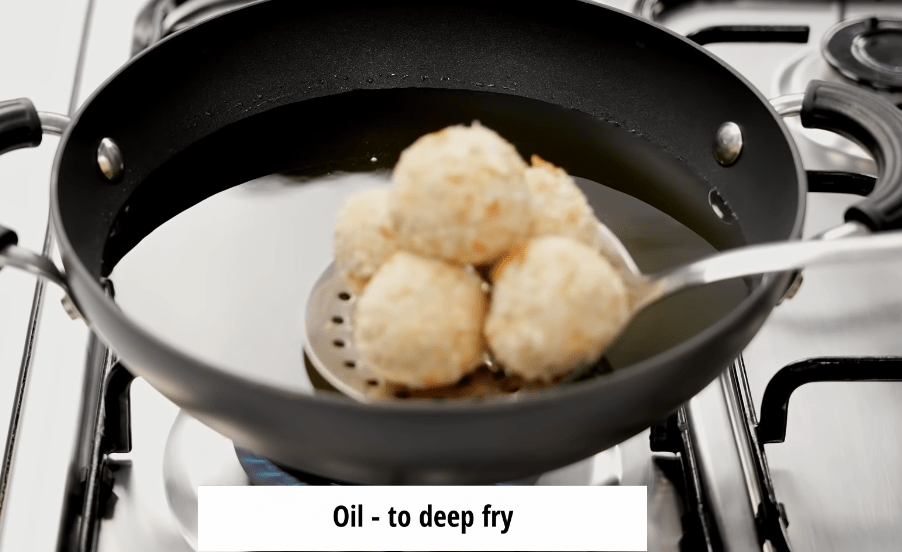
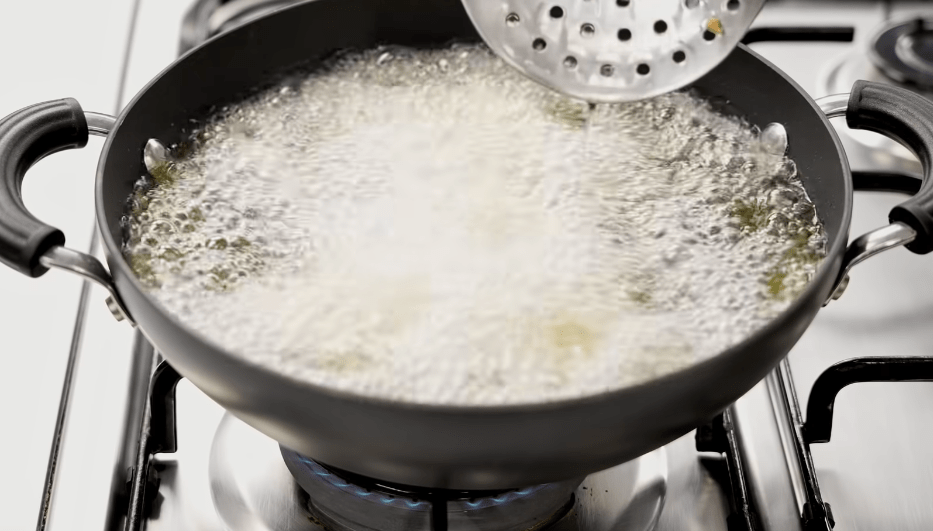
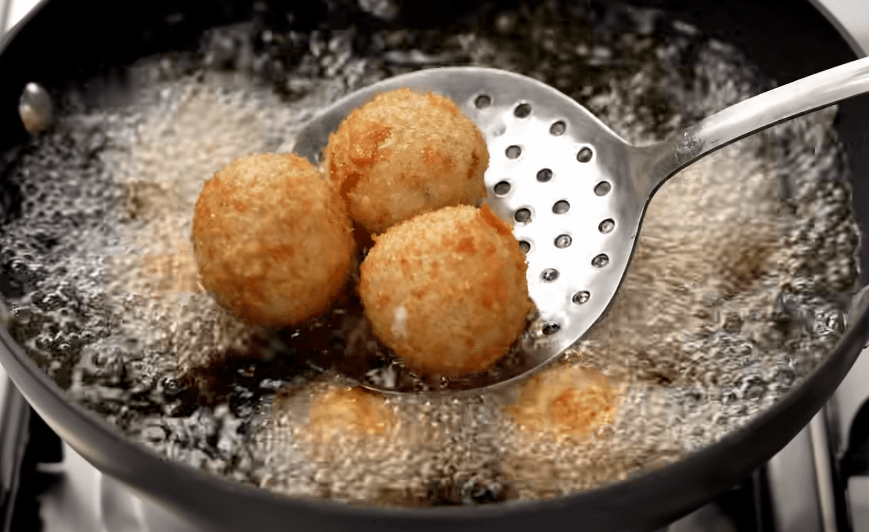
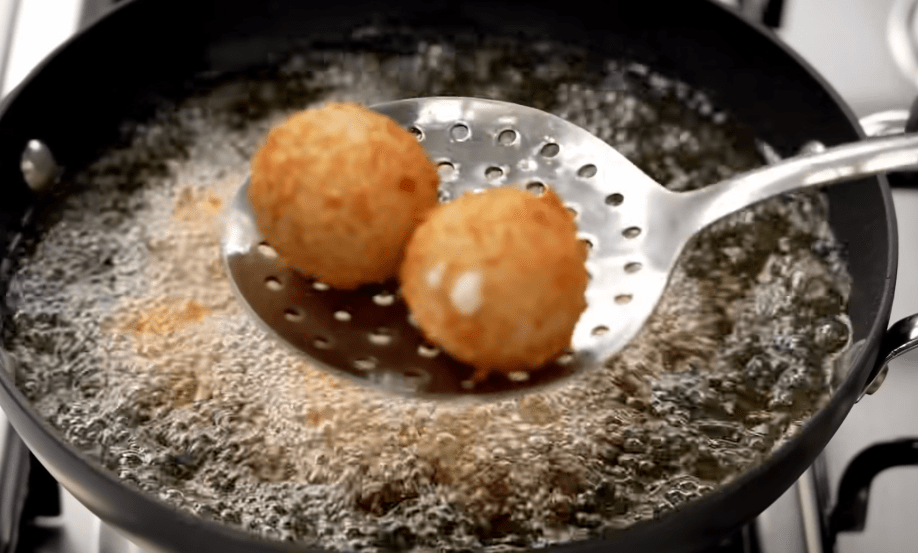
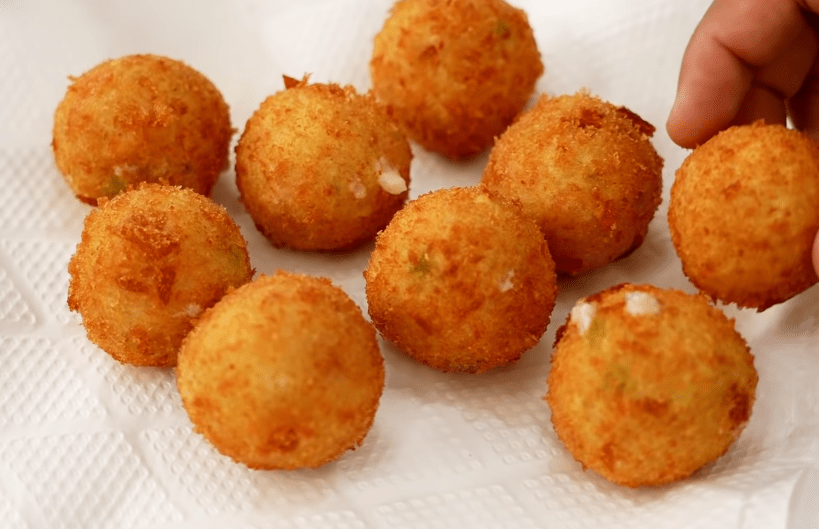
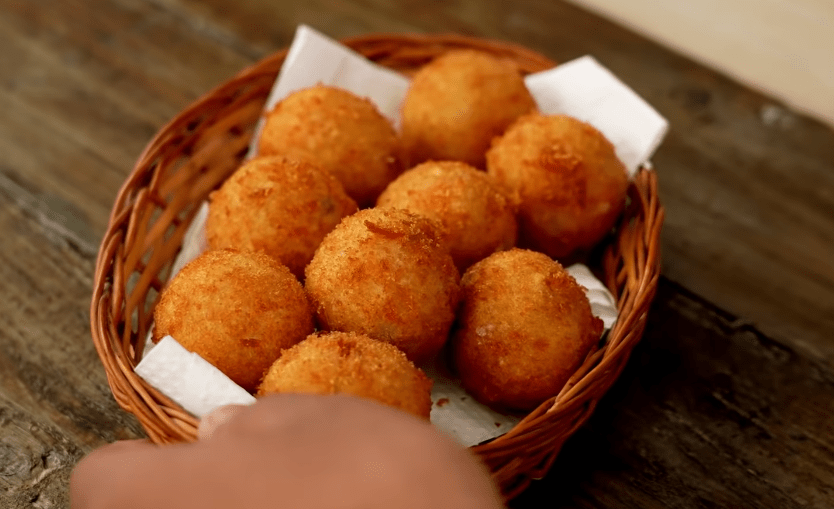
- Heat oil in a deep pan or wok. Once it’s hot (but not smoking!), carefully fry the cheese balls until they turn a gorgeous golden brown. This usually takes about 3-4 minutes per batch, depending on the size of your cheese balls.
Serving Tips:
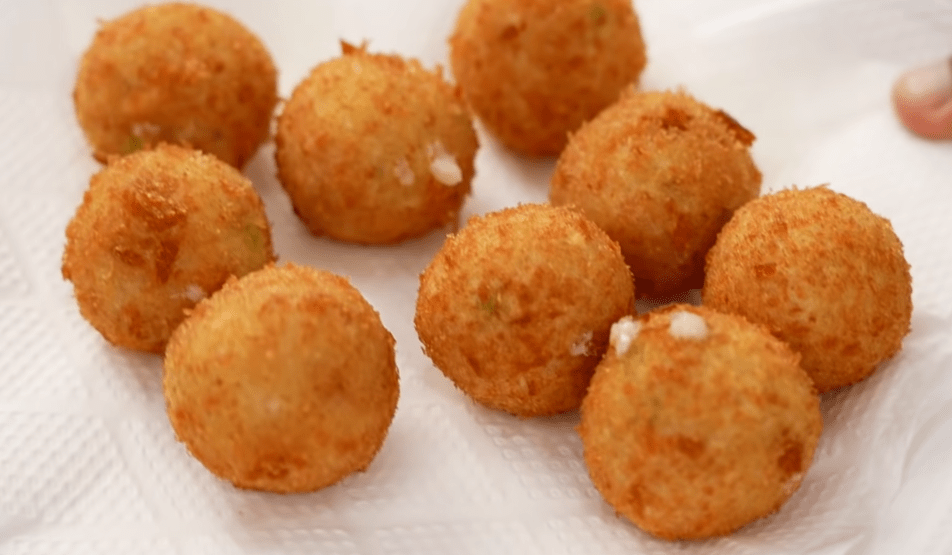
Serve these crispy cheese balls hot, straight out of the oil, with a side of tomato ketchup or green chutney. Trust me, they’ll be gone in seconds!
Pro Tips to Avoid Cheese Ball Fails:
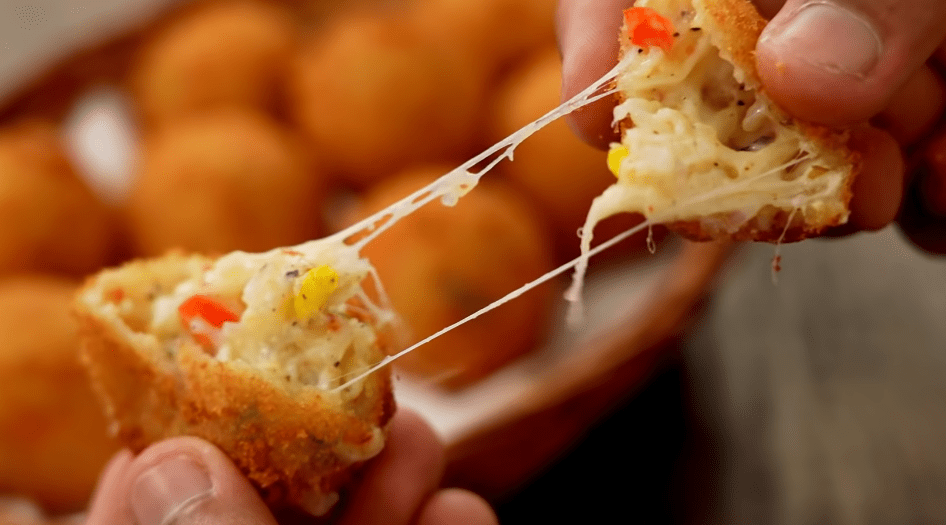
- Don’t skip the freezing mozzarella – It makes a huge difference in keeping the cheese inside melty and gooey, instead of oozing out when frying.
- If you want an extra crispy outer layer, double-coat the balls in the batter and breadcrumbs. But if you’re feeling lazy (I won’t judge), one layer works just fine.
- Always keep your oil at the right temperature. Too hot, and your cheese balls will burn. Too cold, and they’ll soak up oil like a sponge.

In Conclusion:
There you have it! The perfect café-style crispy cheese balls made right in the comfort of your own kitchen. They’re crispy, cheesy, and oh-so-delicious – everything you need to impress your friends or just treat yourself to a cheesy feast.
Now, you might be wondering, “Can I eat these every day?” My answer: Yes, you can, but maybe just don’t tell your dietitian. 😉
So go ahead, make these cheesy wonders, and remember – cooking should always be fun! And if you end up with a few extra cheese balls (I mean, who does that?), just freeze them for next time. You're welcome.

| ✍️ | ✍️ |
|---|---|
| ✒️Device | Smartphone |
| ✒️Model | Nothing 2a plus |
| ✒️Pixels | 50 Mp |
| ✒️Country | INDIA |
| ✒️State | Madhya pradesh |
A SPECIAL THANKS TO
@indiaunited @newhope @bhattg @alexis555
Please Do Follow them for their great work and Thank you for your regular support 😍

THANKS FOR GIVING YOUR VALUABLE TIME TO THIS POST
- LIKE❤️
- COMMENT🖋
- SHARE🔀
> Your Comments and Suggestions are valuable
Hi @spydo
Please read our community rules, especially number 4, which says:
Every user new to Hive, or new to Foodies Bee Hive, must include a minimum of three photos showing their face (of the total number of photos in each post), making their recipes.
So in your next posts, we hope you respect this rule.
We also recommend that you read this post carefully, it explains each of our community rules:
https://peakd.com/hive-120586/@foodiesunite/community-rules-update-2024-engspn-8gb
Thanks for informing, but what if i don't want to post my face. actually I have burn face, so not confedent in doing so.
If so, look for another community where you can publish your recipes.
These ingredients are different from the one I usually see and this is to tell how yummy it's.
thanks @agbogo
Congratulations @spydo! You have completed the following achievement on the Hive blockchain And have been rewarded with New badge(s)
Your next target is to reach 150000 upvotes.
You can view your badges on your board and compare yourself to others in the Ranking
If you no longer want to receive notifications, reply to this comment with the word
STOPPotential source of photography plagiarism
The image you posted is the primary source of value for your post or you have posted an image in one of the photography/art curated tags without attribution or source. By doing so you are claiming to be the sole content creator and that the image is original to yourself.
Plagiarism is the copying & pasting of others' work without giving credit to the original author or artist. This includes manually reproducing the work of others.
We would appreciate it if you could avoid this type of plagiarism.
Thank you.
Guide: Why and How People Abuse and Plagiarise
If you believe this comment is in error, please contact us in #appeals in Discord.