Crop top with princess sleeves | Tutorial [ENG/ESP]
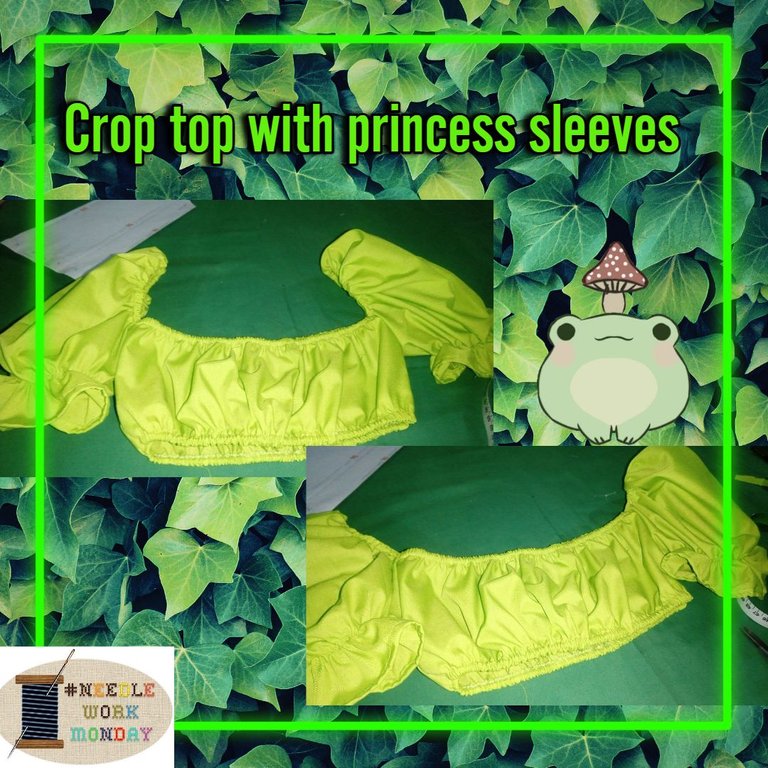
Hello to everyone in this beautiful community, I hope you are doing great sjsjjjd. It's been a while since I've posted here and believe me it's not for lack of content because lately I've been making a lot of garments, I just forget to take pictures sjdkjjddk, but today I'll be showing you how to make this amazing crop top that can be used for any occasion.
Hola a todos en esta preciosa comunidad, espero que se encuentren de maravilla sjsjjd. Hace ya un tiempo que no publico por acá y créanme que no es por falta de contenido porque últimamente he estado haciendo muchas prendas, solo que se me olvida tomar fotos sjdkjddk, pero hoy les estaré mostrando como realice este asombro crop top que nos sirve para cualquier ocasión.
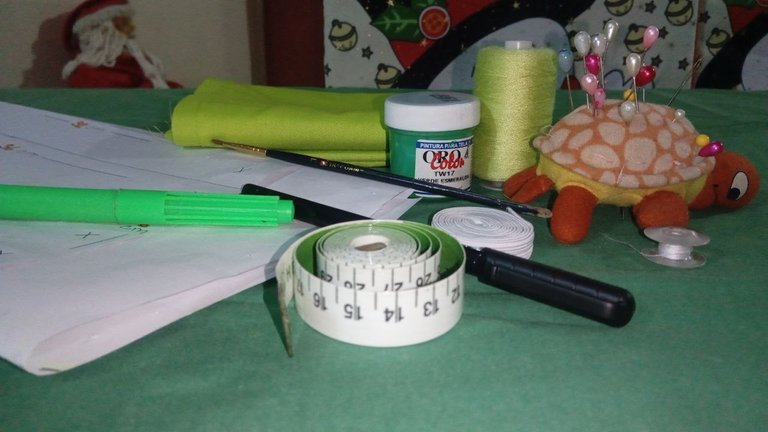
Materials:
- Fabric of your choice.
- Green thread (depending on the color of your fabric).
- Elastic.
- Tape measure.
- Patterns.
Materiales:
- Tela de su preferencia.
- Hilo color verde (dependiendo del color de su tela).
- Elástica.
- Cinta métrica.
- Patrones.
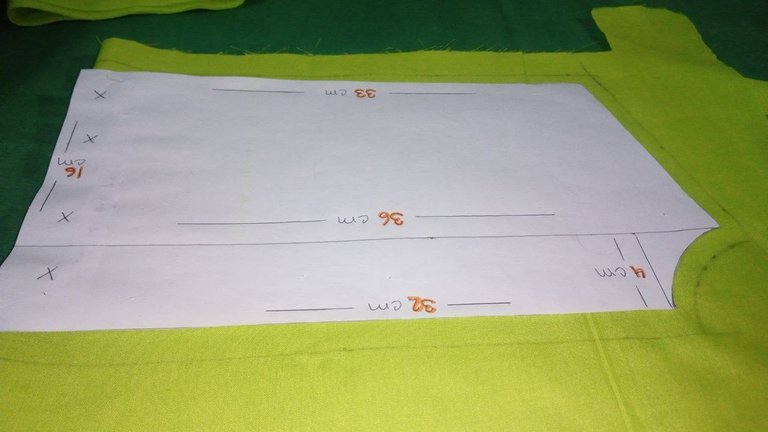
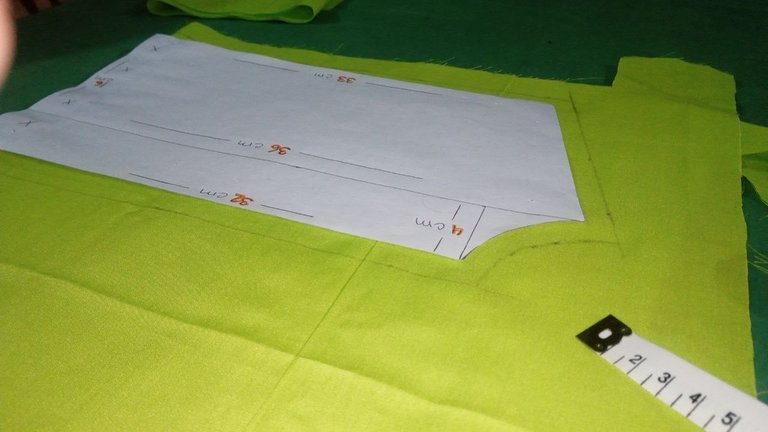
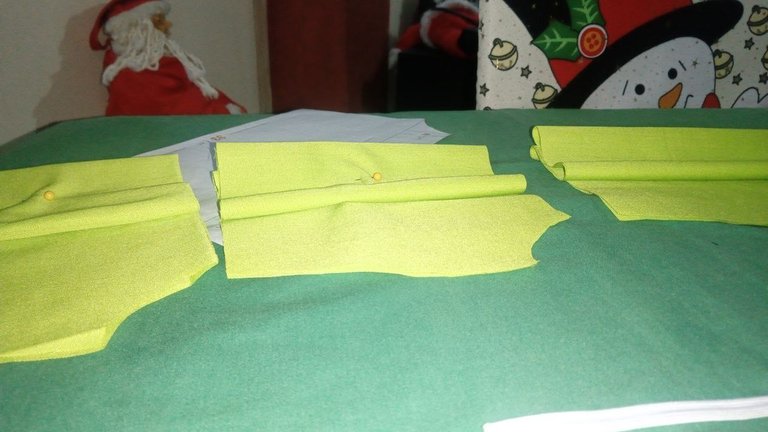
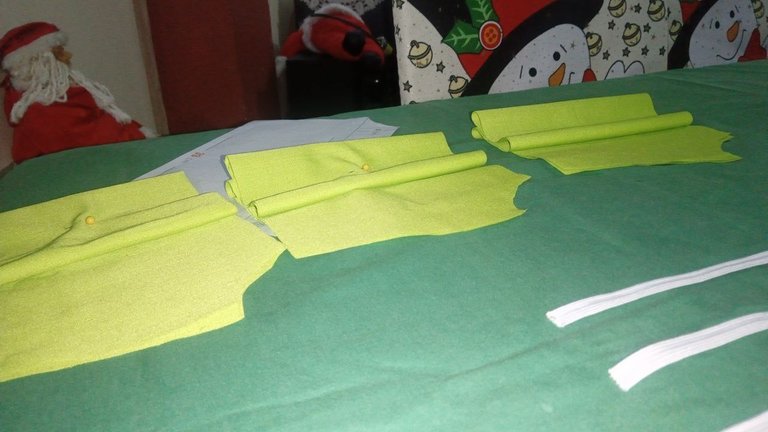
The first thing we are going to do is to place our pattern on top of our fabric, in this step we will fold the fabric in half so that the pattern comes out double, from this we are going to get a total of 3 pieces, one for the back and the other two we will join them later so that it does not look so transparent. This pattern is very easy to make, in the pictures you can see the measurements, depending on how your body is you can modify it.
Lo primero que vamos a hacer será colocar nuestro patrón arriba de nuestra tela, en este paso doblaremos la tela a la mitad para que el patrón nos salga doble, de este vamos a sacar un total de 3 piezas, una para la parte de atrás y las otras dos las uniremos más adelante para que no se vea tan transparente. Este patrón es muy fácil de hacer, ahí en las fotos se notan las medidas, dependiendo de cómo sea su cuerpo lo puede modificar.
 |  |
|---|
 |  |
|---|
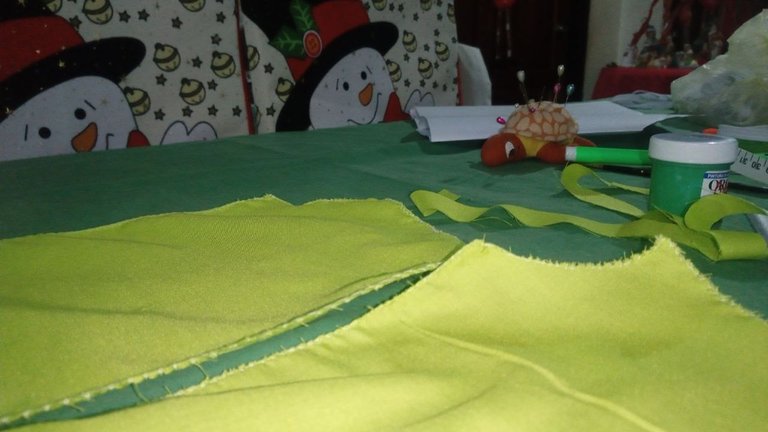
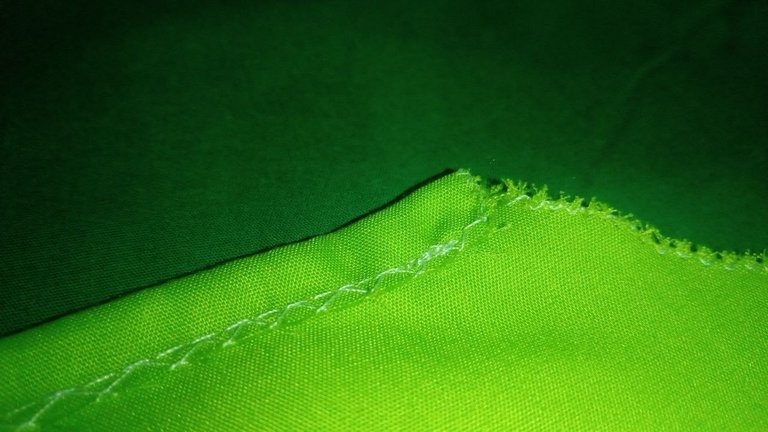
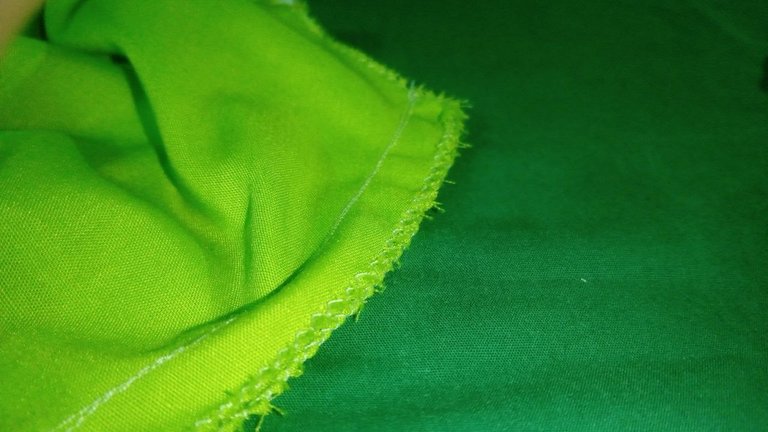
For this step we will zigzag the whole pattern we just cut and at once we will join the two pieces I mentioned before. I use the zigzag method because I don't have the overlock option, it doesn't really change anything, the two have almost the same finish. Remember to do this step so that it doesn't fray while I'm sewing it.
After this step we will sew what would be where our elastic will go through, practically it is to grab a bastille from the two longest sides of our two pieces, both above and below, leaving enough space for our elastic to go through.
Para este paso le pasaremos zigzag a todo el patrón que acabamos de cortar y de una vez uniremos las dos piezas que les mencione anteriormente. Utilizó el método de zigzag porque no tengo la opción de overclock, no cambia en nada la verdad, las dos tienen casi el mismo acabado. Recuerden hacer este paso para que no se les deshilache mientras lo esté cosiendo.
Luego de este paso coseremos lo que vendría siendo por donde pasarán nuestras elásticas, prácticamente es agarrar una bastilla de los dos lados más largos de nuestras dos piezas, tanto arriba como abajo, dejando suficiente espacio para que pase nuestra elástica.
 |  |
|---|
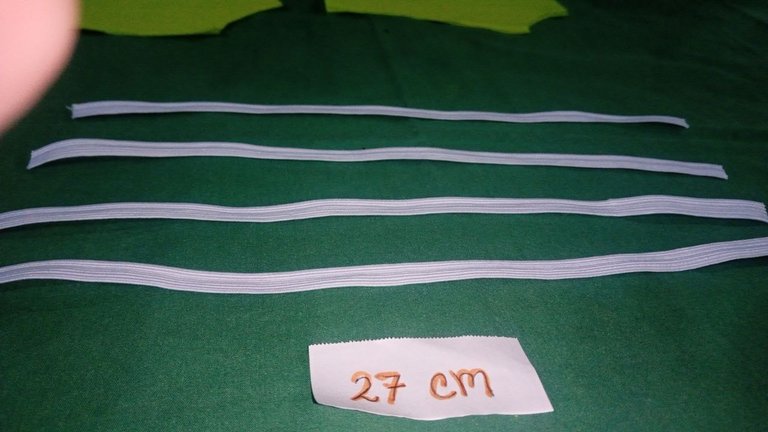
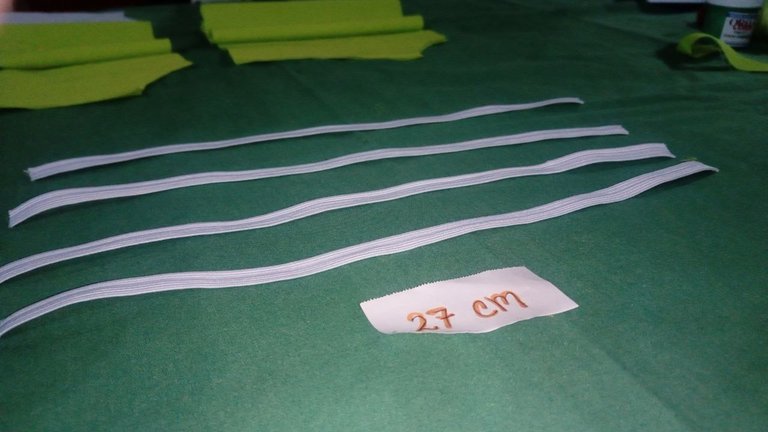
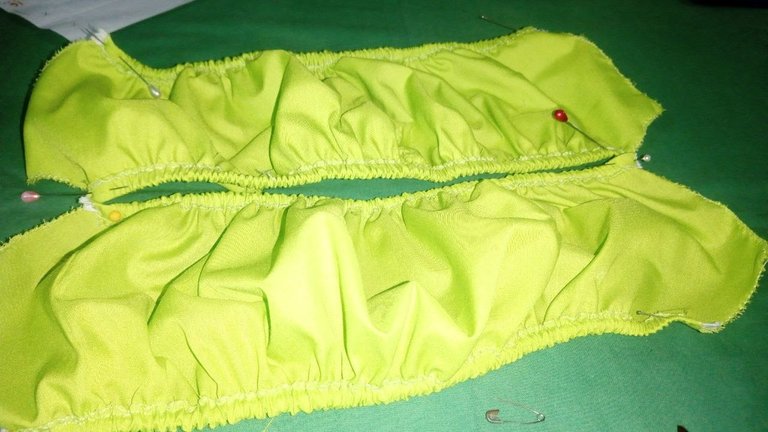
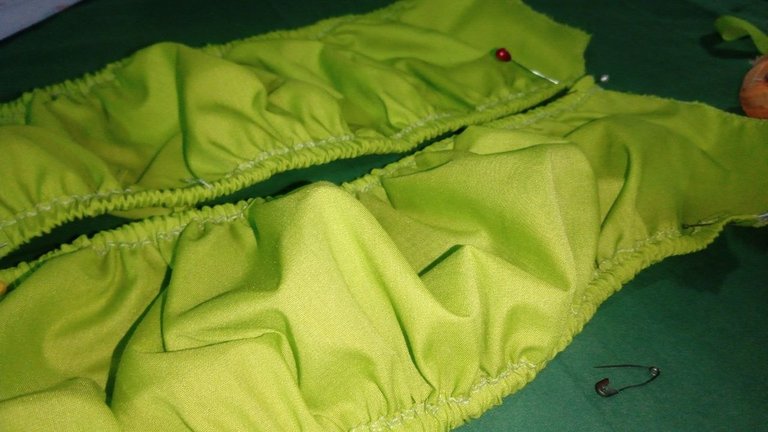
Now we will cut 4 elastic bands of 27 cm, two for each piece, then we will put them where we made the bastillas and we will sew with zigzag in each corner so that the elastic does not come out, I do it with zigzag because this way it resists more when stretched.
Ahora cortaremos 4 elásticas de 27 cm, dos para cada pieza, luego las meteremos por donde hicimos las bastillas y coseremos con zigzag en cada esquina para que no se nos salga la elástica, lo hago con zigzag porque así resiste más al momento de estirarse.
 |  |
|---|
 |  |
|---|
In this step we will join the two pieces and sew the sides with a straight seam, always remembering to leave 1 centimeter of seam allowance. And we would have the front part ready, now the sleeves are missing.
En este paso uniremos las dos piezas y coseremos a los costados con una costura recta, recordando siempre dejar 1 centímetro de costura. Y ya tendríamos lista la parte de adelante, ahora faltan las mangas.
 |  |
|---|
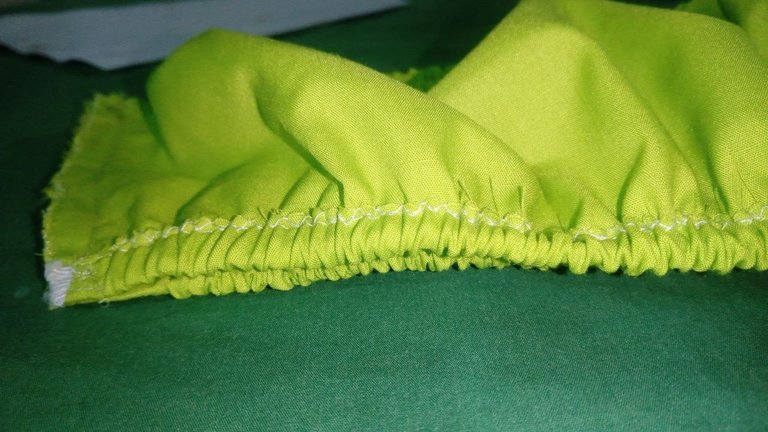
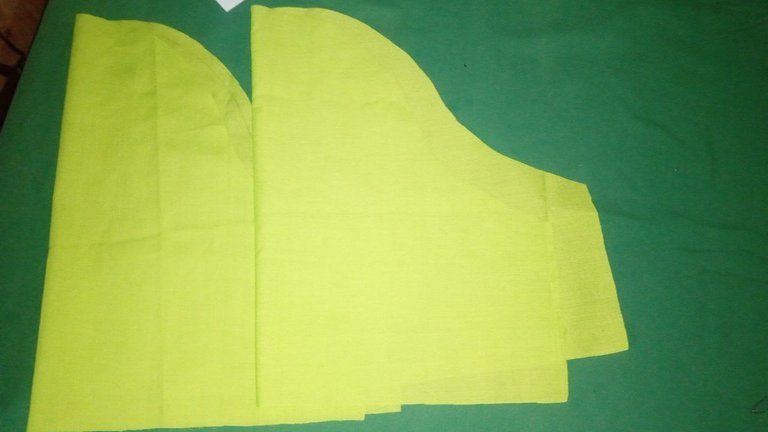
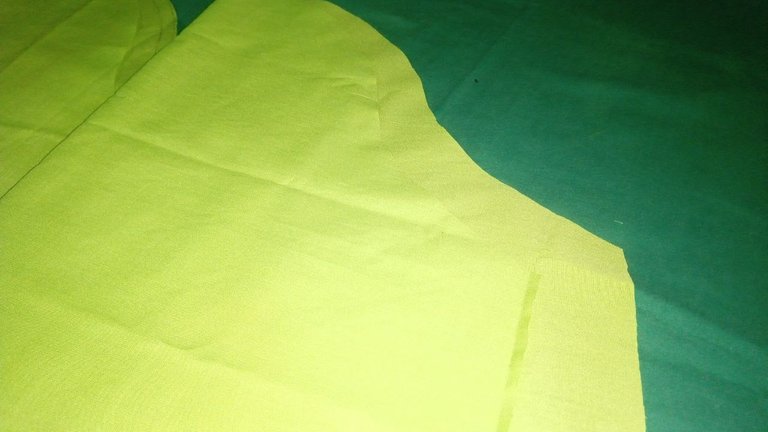
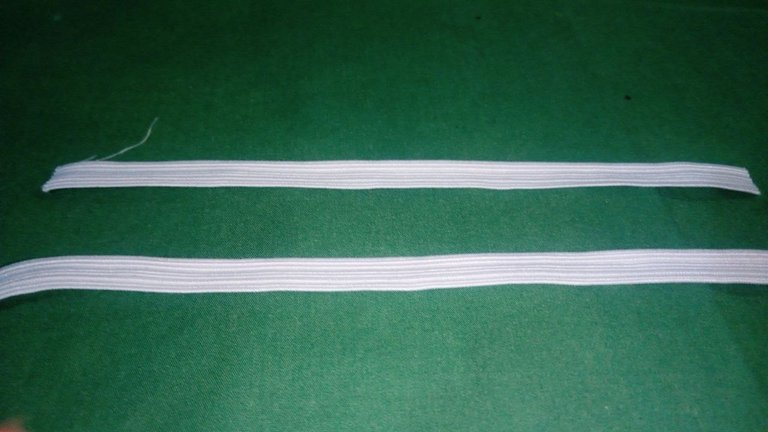
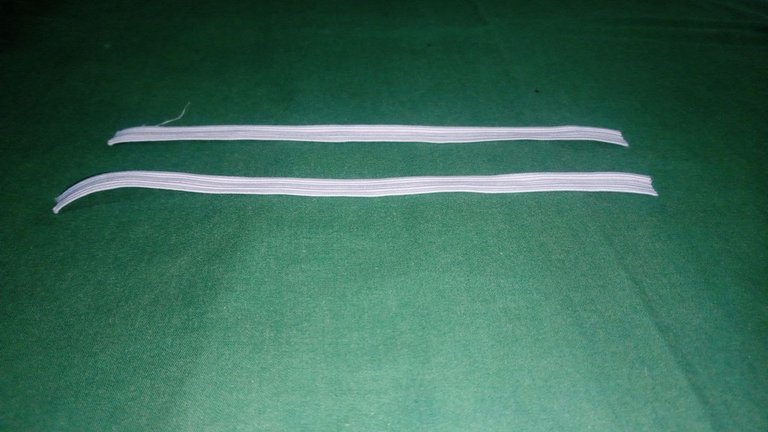
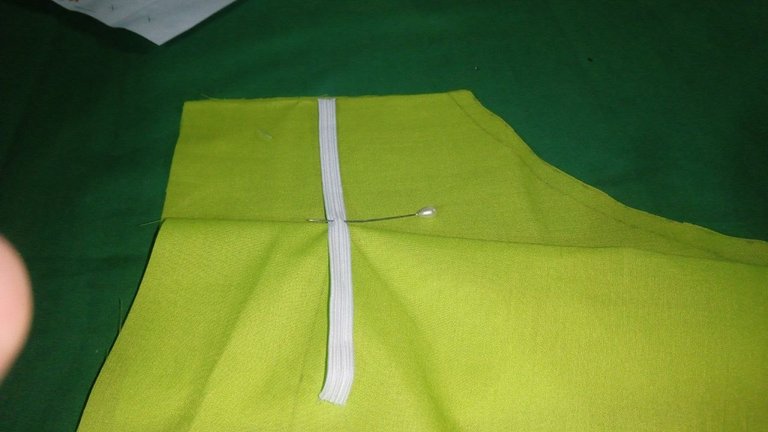
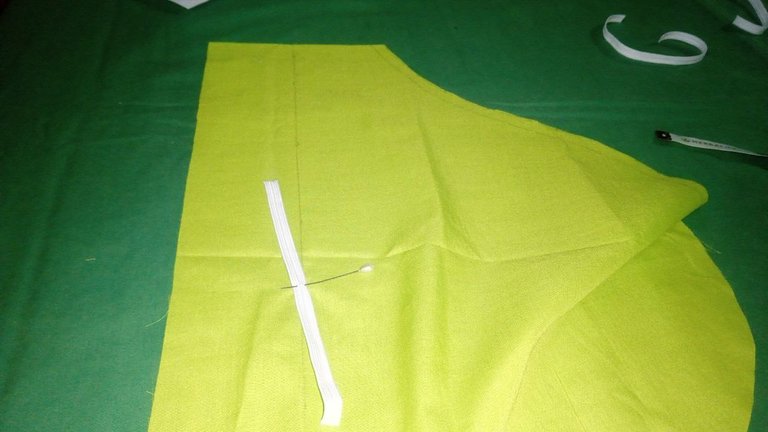
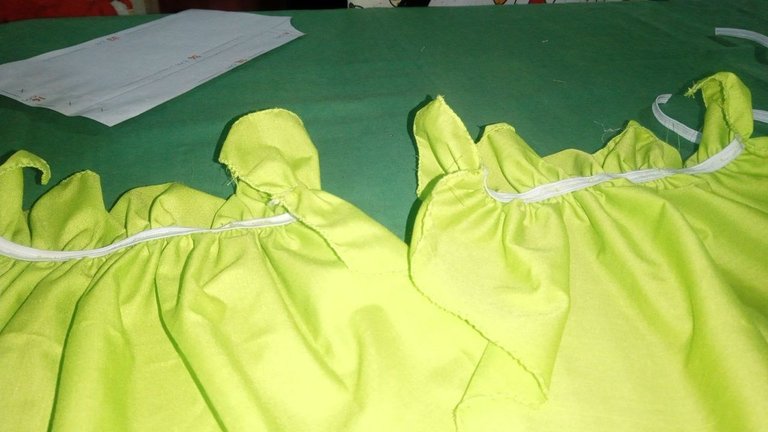
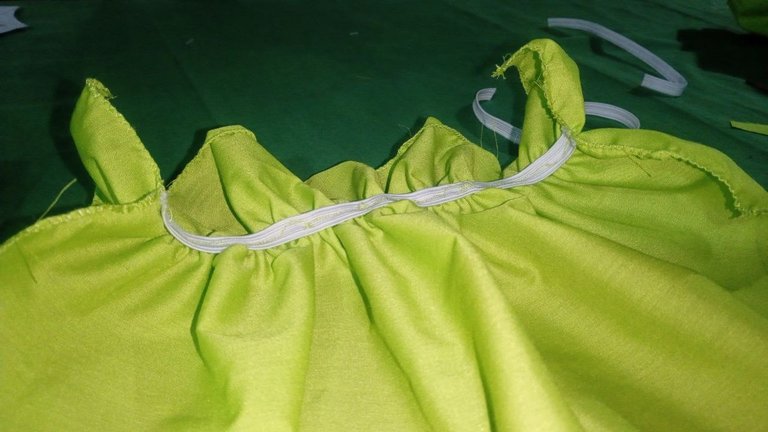
For the sleeves I used a pattern that my dog broke and I couldn't take a picture (SORRY ToT), but very soon I will bring you another crop top tutorial so you can see how I make the pattern. Let's pretend that we already cut the two pieces, we will also use the zigzag option to avoid fraying, after this we will cut two 18 centimeters elastic and we will sew them on our sleeves with a straight seam and stretching it so that it is kind of wrinkled.
Para las mangas utilicé un patrón que mi perrita rompió y no le pude tomar foto (LO SIENTO ToT), pero muy pronto les traeré otro tutorial de crop top para que vean ahí como elaboro el patrón. Hagamos de cuenta que ya picamos las dos piezas, estas también les pasaremos la opción de zigzag para que no se nos deshilache, luego de esto cortaremos dos elásticas de 18 centímetros y las coseremos en nuestras mangas con una costura recta y estirándola para que quede tipo arrugada.
 |  |
|---|
 |  |
|---|
 |  |
|---|
 |  |
|---|
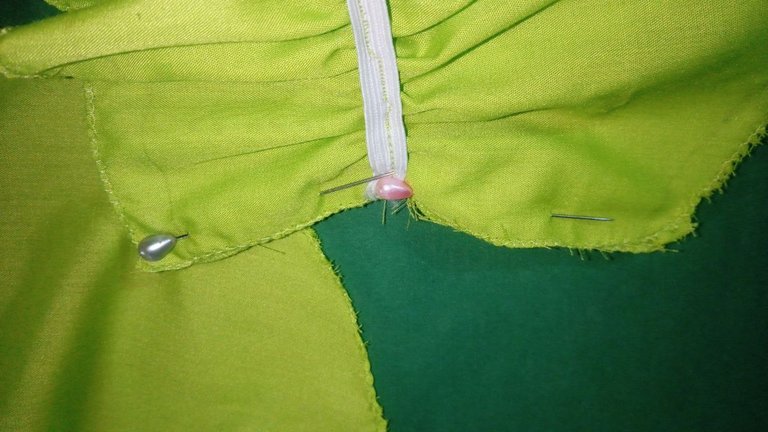
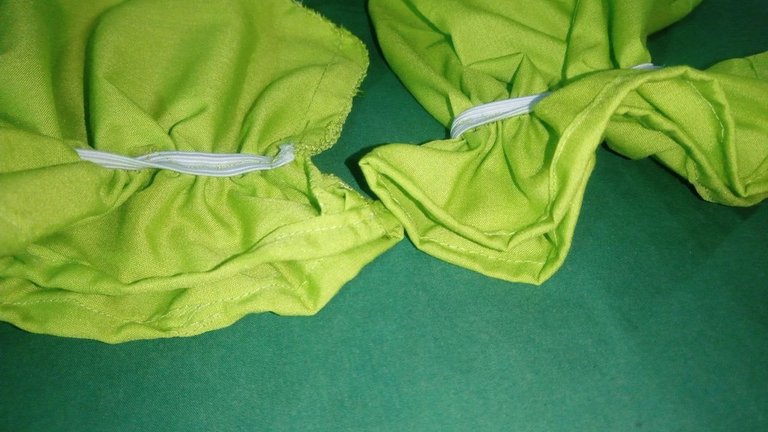
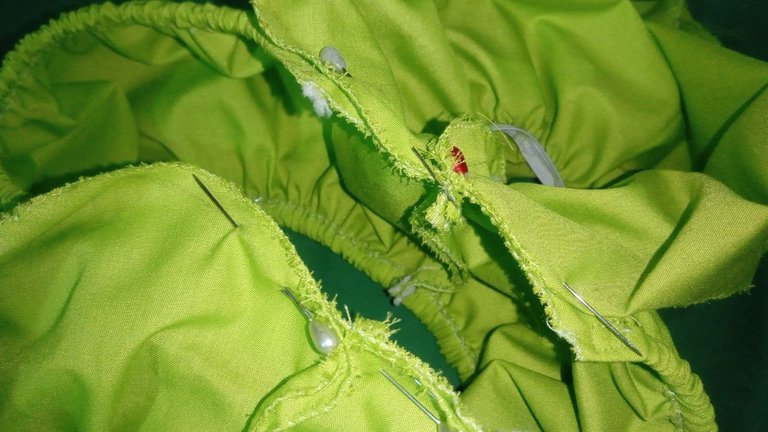
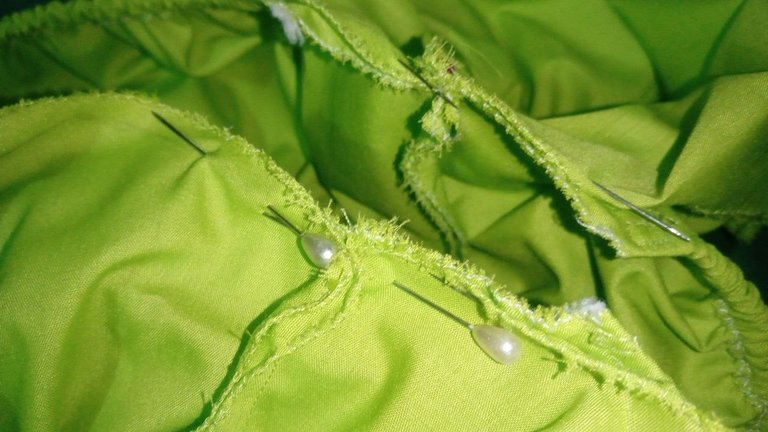
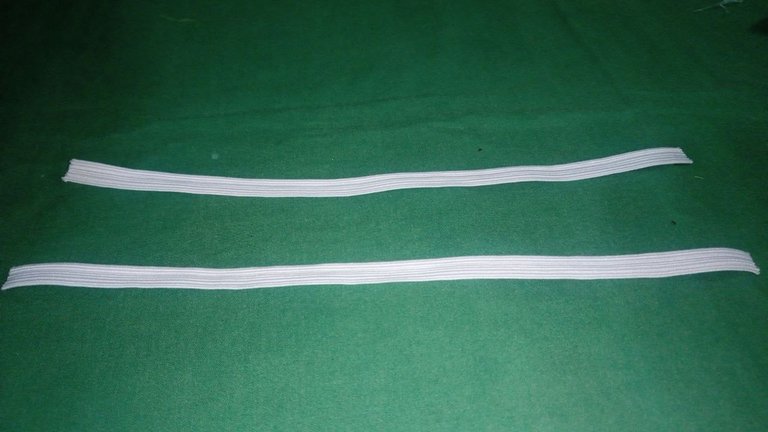
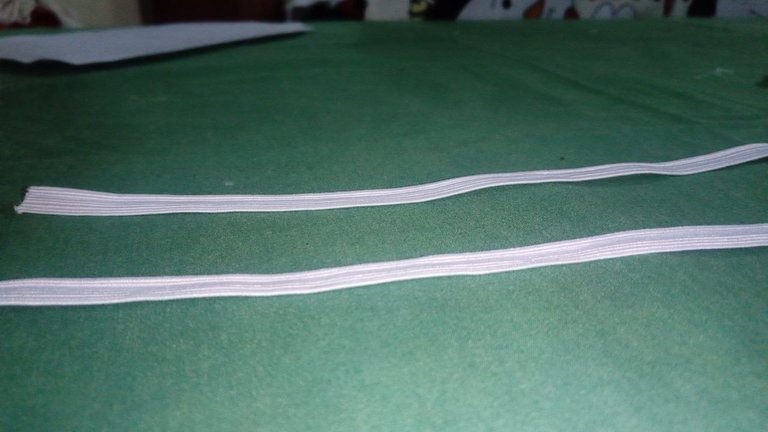
Once we have made our sleeves we can sew them to our crop top, for this we will join the seams of our sleeve with the seams of our crop top, always remembering to leave the seams on the inside so that they are not noticeable. Ready this step we proceed to make a bastille around our sleeve at the top to pass an elastic that has to measure 23 cm in each sleeve, after introducing the elastic we seal with zigzag so that it does not come out.
Una vez hayamos hecho nuestras mangas ya las podemos coser a nuestro crop top, para esto uniremos las costuras de nuestra manga con las costuras de nuestro crop top, recordando siempre dejar las costuras por la parte de adentro para que no se noten. Listo este paso procedemos hacer una bastilla alrededor de toda nuestra manga en la parte arriba para ahí pasar una elástica que tiene que medir 23 cm en cada manga, después de introducir las elásticas sellamos con zigzag para que no se nos salga.
 |  |
|---|
 |  |
|---|
 |  |
|---|
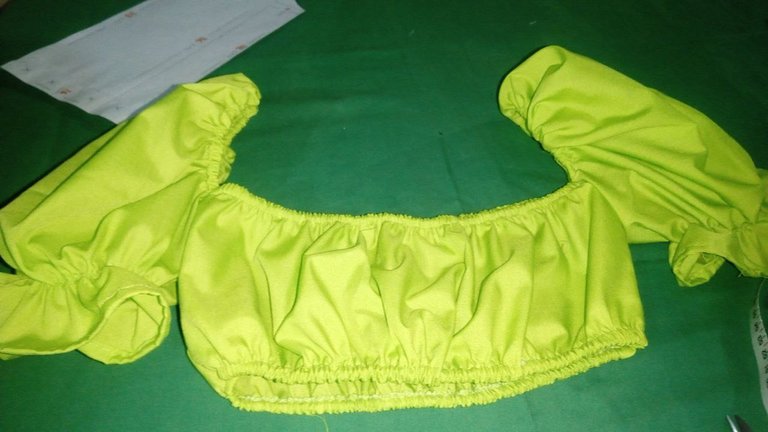
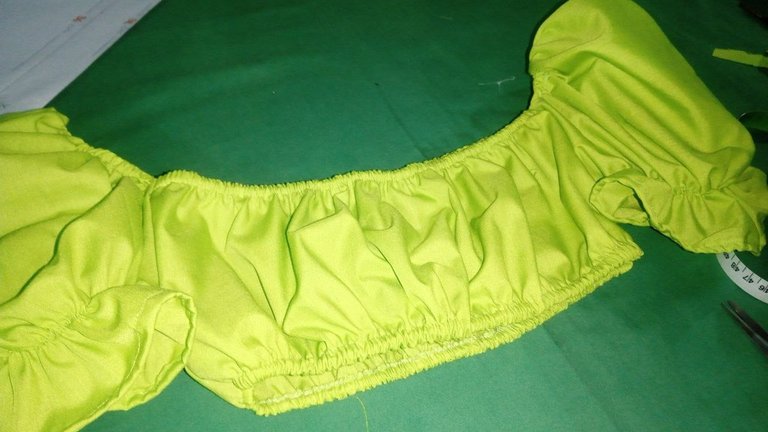
Ready! We have our crop top ready for everything (hahahaha), I made this one for a pool party to which I was invited and I didn't want to wear a swimsuit, so I opted for a black short and this green crop top, tell me what would you use it for? I'll be reading you, bye.
¡Listo! Tenemos listo nuestro crop top a prueba de todo (jajajaja), este lo vine haciendo para una piscinada a la cual fui invitada y no quería ponerme traje de baño, así que opte por un short negro y este crop top verde, díganme ¿En qué lo utilizarían ustedes? Los estaré leyendo, chauuu.
 |  |
|---|
Credits
Pictures taken by my dad's phone a Xiaomi Redmi 9C.
The banner was edited with PicsArt.
Fotografías tomadas por el teléfono de mi papá un Xiaomi Redmi 9C.
El banner fue editado con PicsArt.
Hola @solecitosalazar,
Gracias por compartir tu contenido creativos, haces ver fácil la realización del top, el color delirante. Lo usaría en la playa.
Saludos
Este color está muy a la moda..! Es demasiado hermoso! Te quedó muy bello el trabajo.. felicidades!
Wow @solecitosalazar , te quedó muy bien 😉 ¡ el color me encanta! 🤩, yo lo usaría para jugar 🎭carnaval 🎭, con agua 😂😂, ir a la playa 🏖️🌊. Saludos.
Hola Sol. Que hermoso que quedó tu top, me gusta el color. Se ve bastante fluor, un color que esta de moda esta temporada. Las mangas le dan un detalle muy delicado. Gracias por compartir tu creación, espero verte más seguido por acá en cuanto tengas más tiempo. Saludos ❤️!