Preciosa diadema trenzada, hecha a mano.// Beautiful braided headband, handmade.
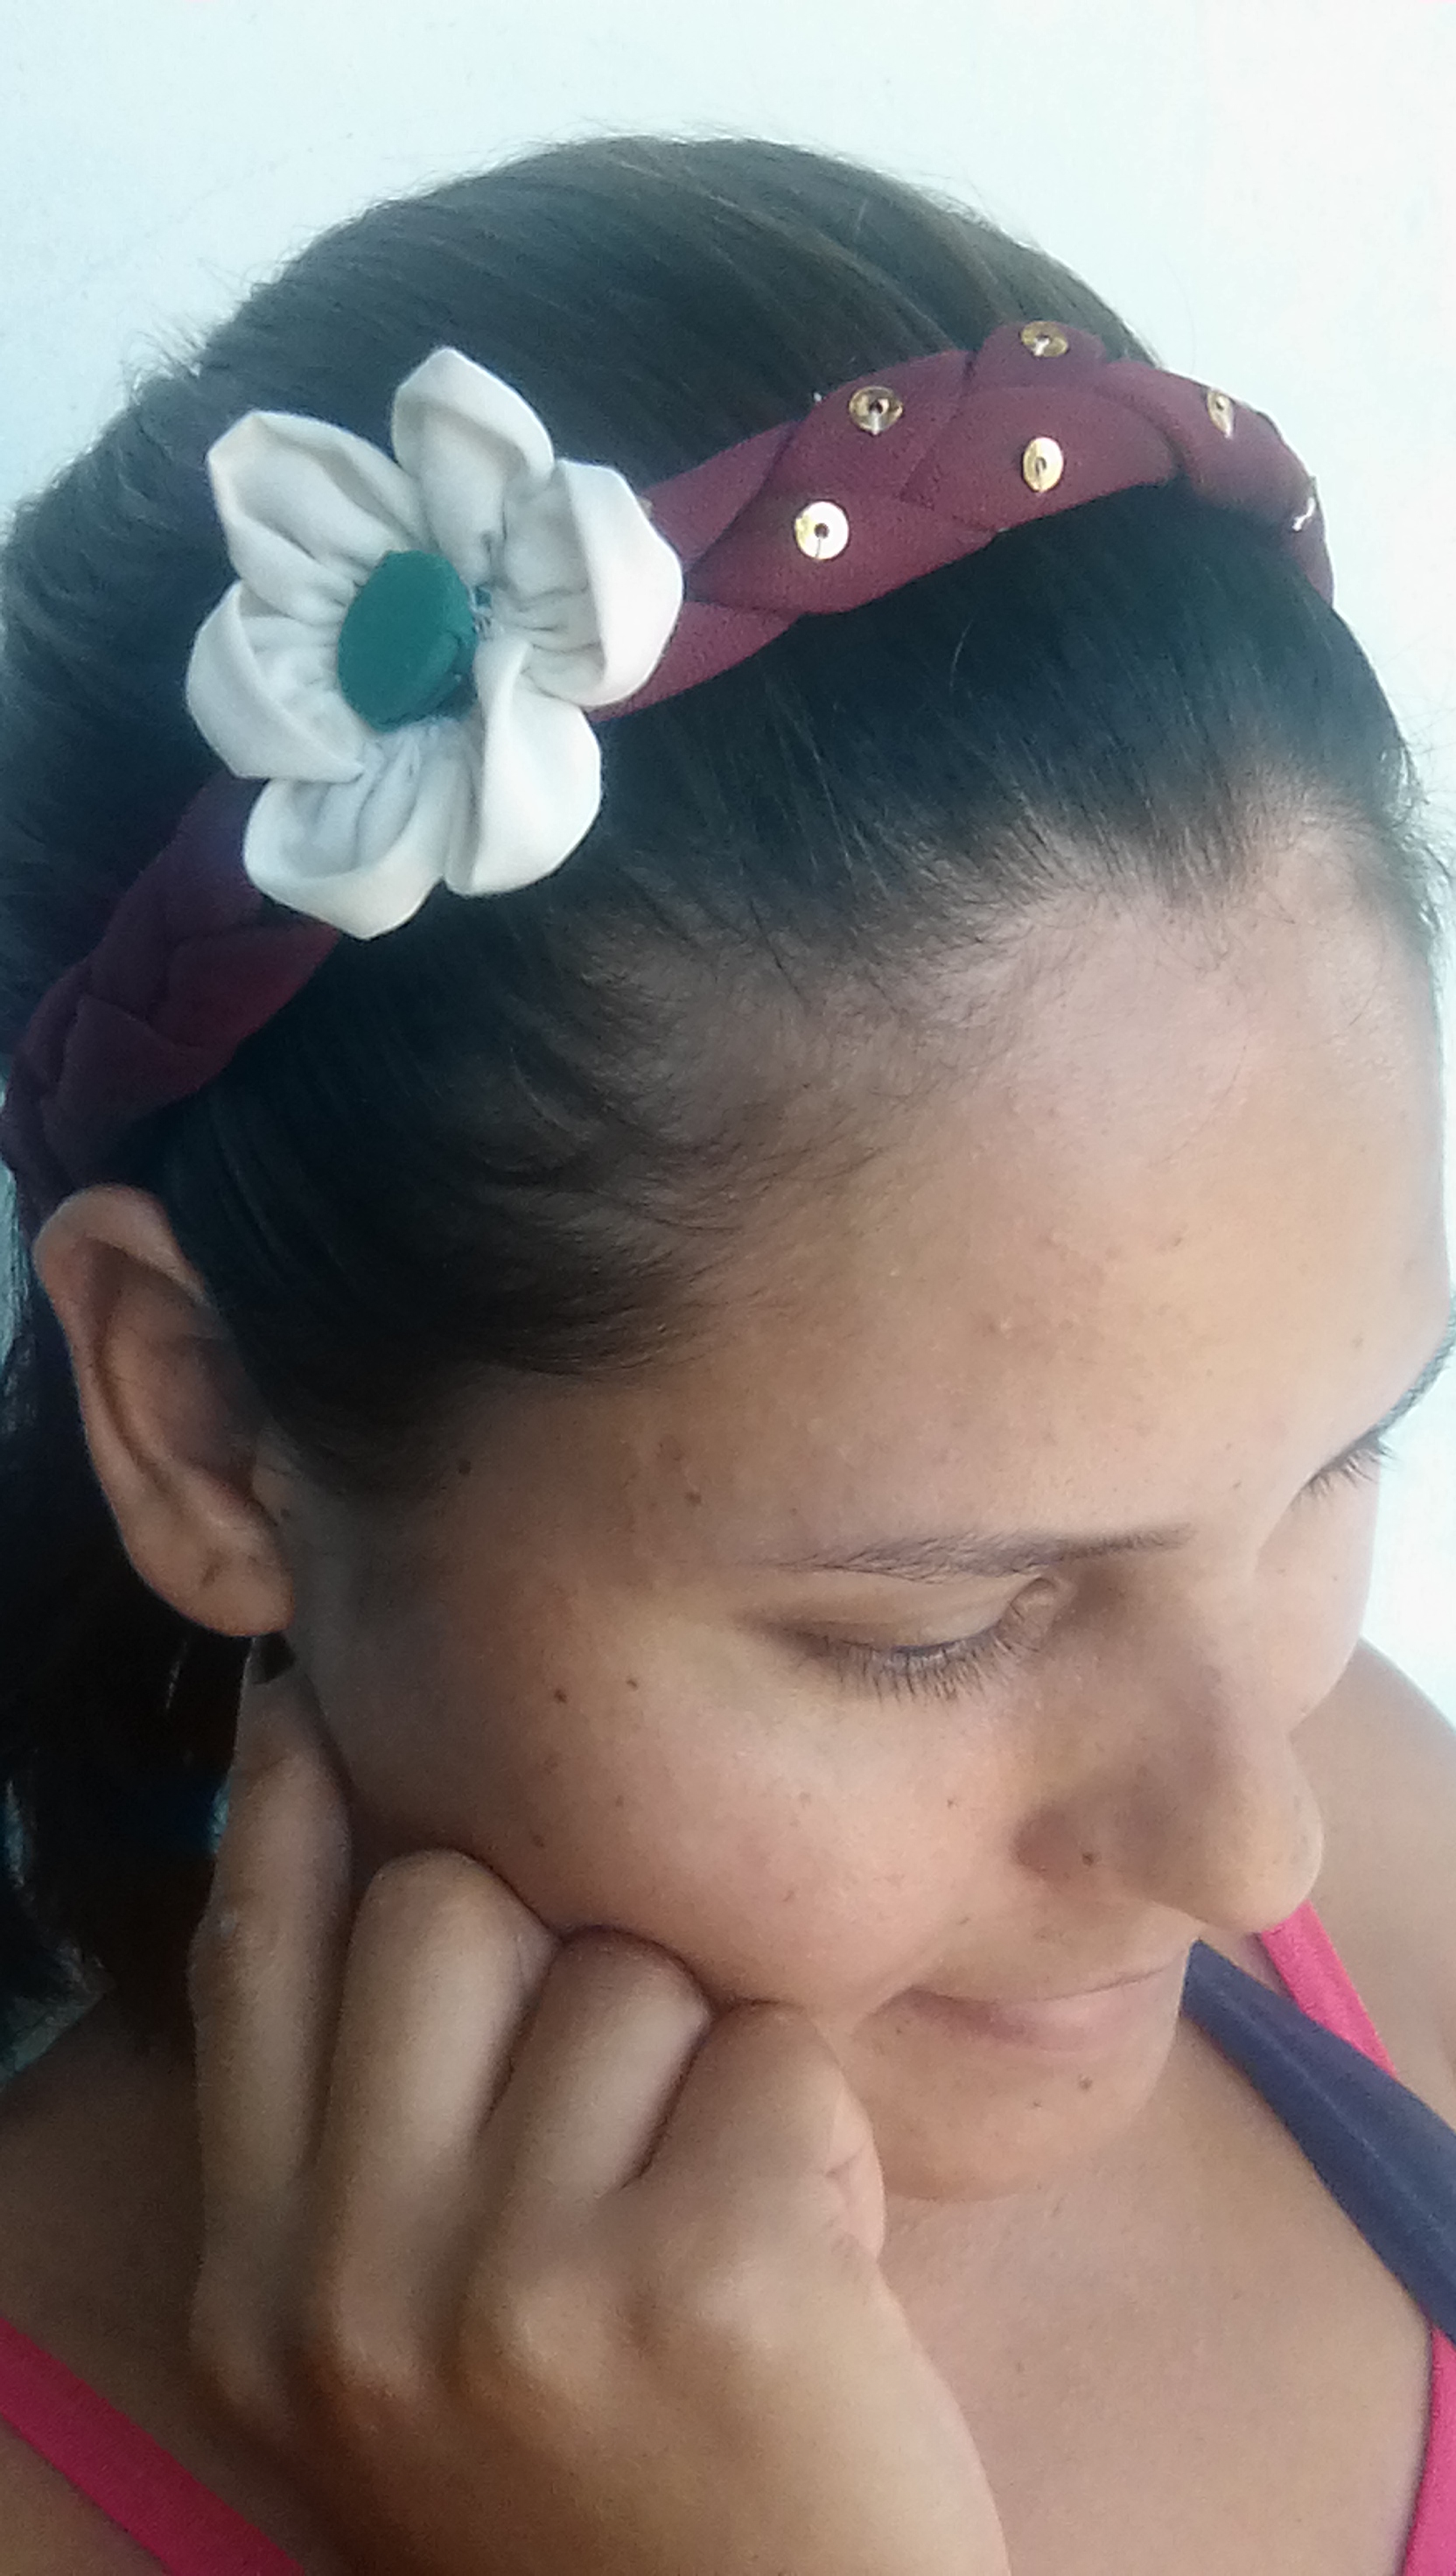
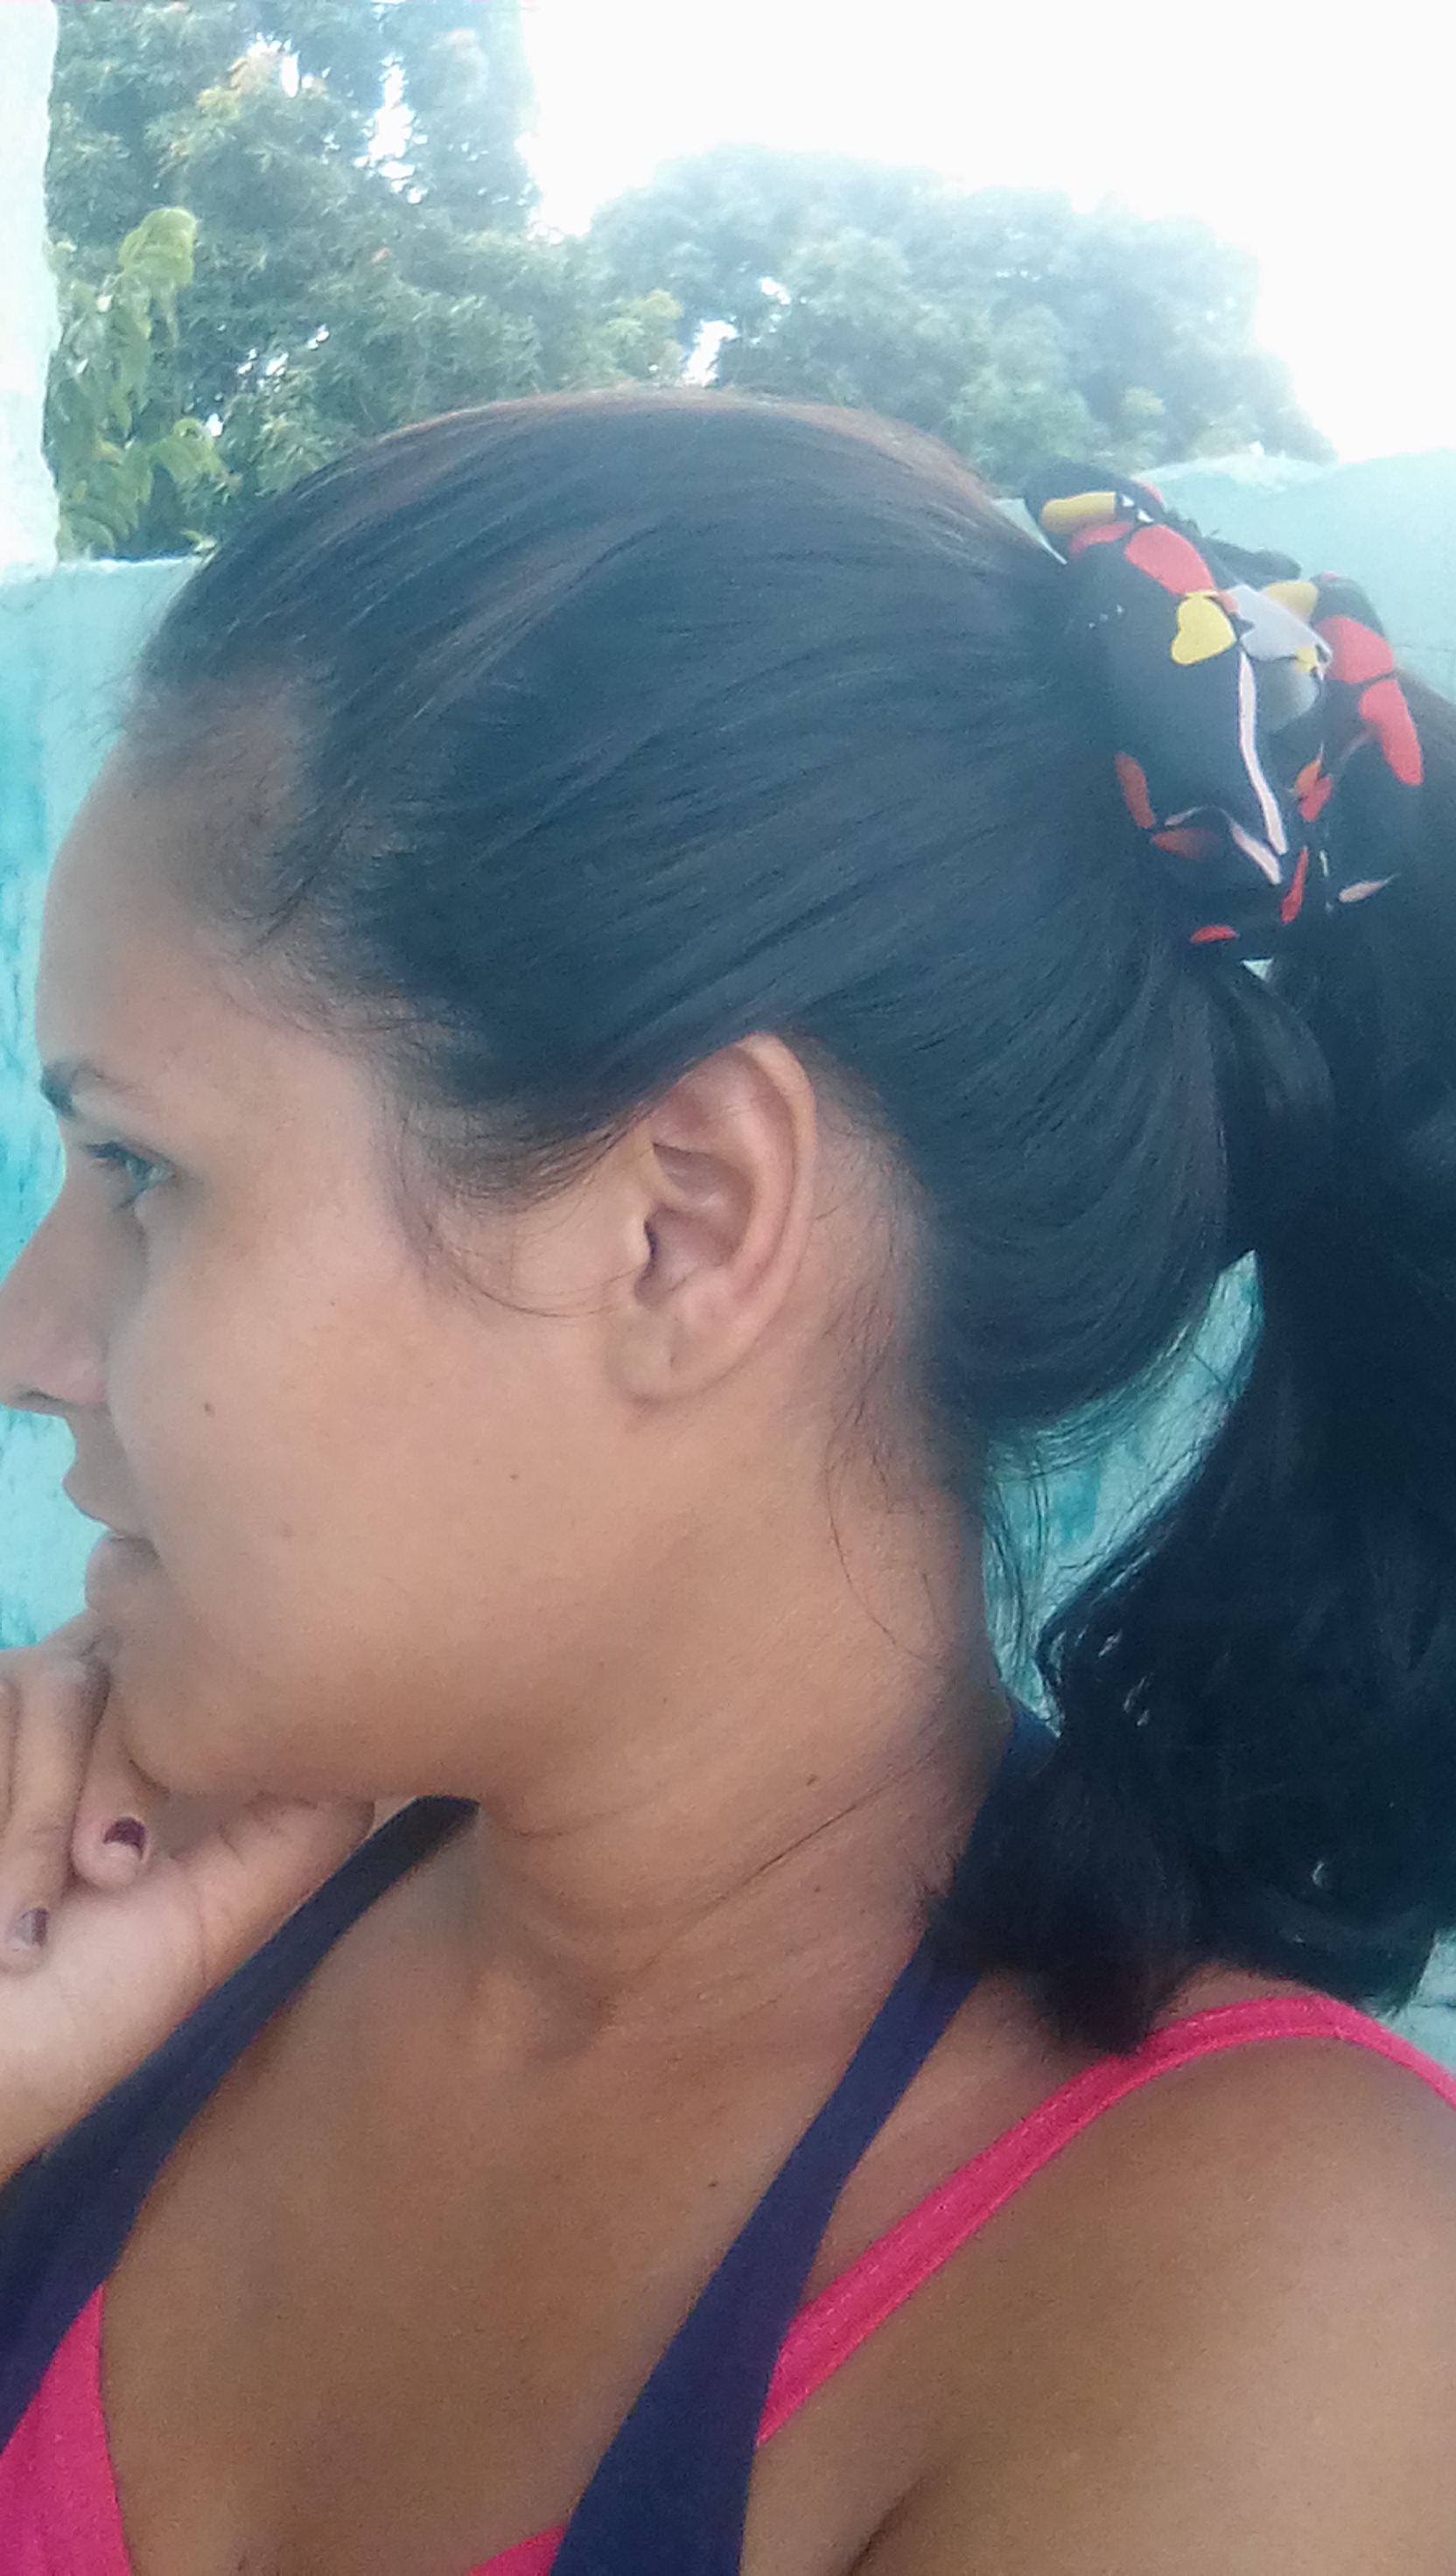
Saludos amigas costureras, feliz y bendecido dia para todas, hoy les traigo una practica, sencilla y hermosa idea para reciclar retazos de tela y transformarla en algo util, les mostrare como hacer una hermosa diadema trenzada hazlo y lo lograras mira que sera muy facil y te quedara fabuloso, sin mas preambulos te invito a disfrutar de este paso a paso.
Greetings sewing friends, happy and blessed day to all, today I bring you a practical, simple and beautiful idea to recycle scraps of fabric and transform it into something useful, I will show you how to make a beautiful braided headband do it and you will see that it will be very easy and it will be fabulous, without further ado I invite you to enjoy this step by step.
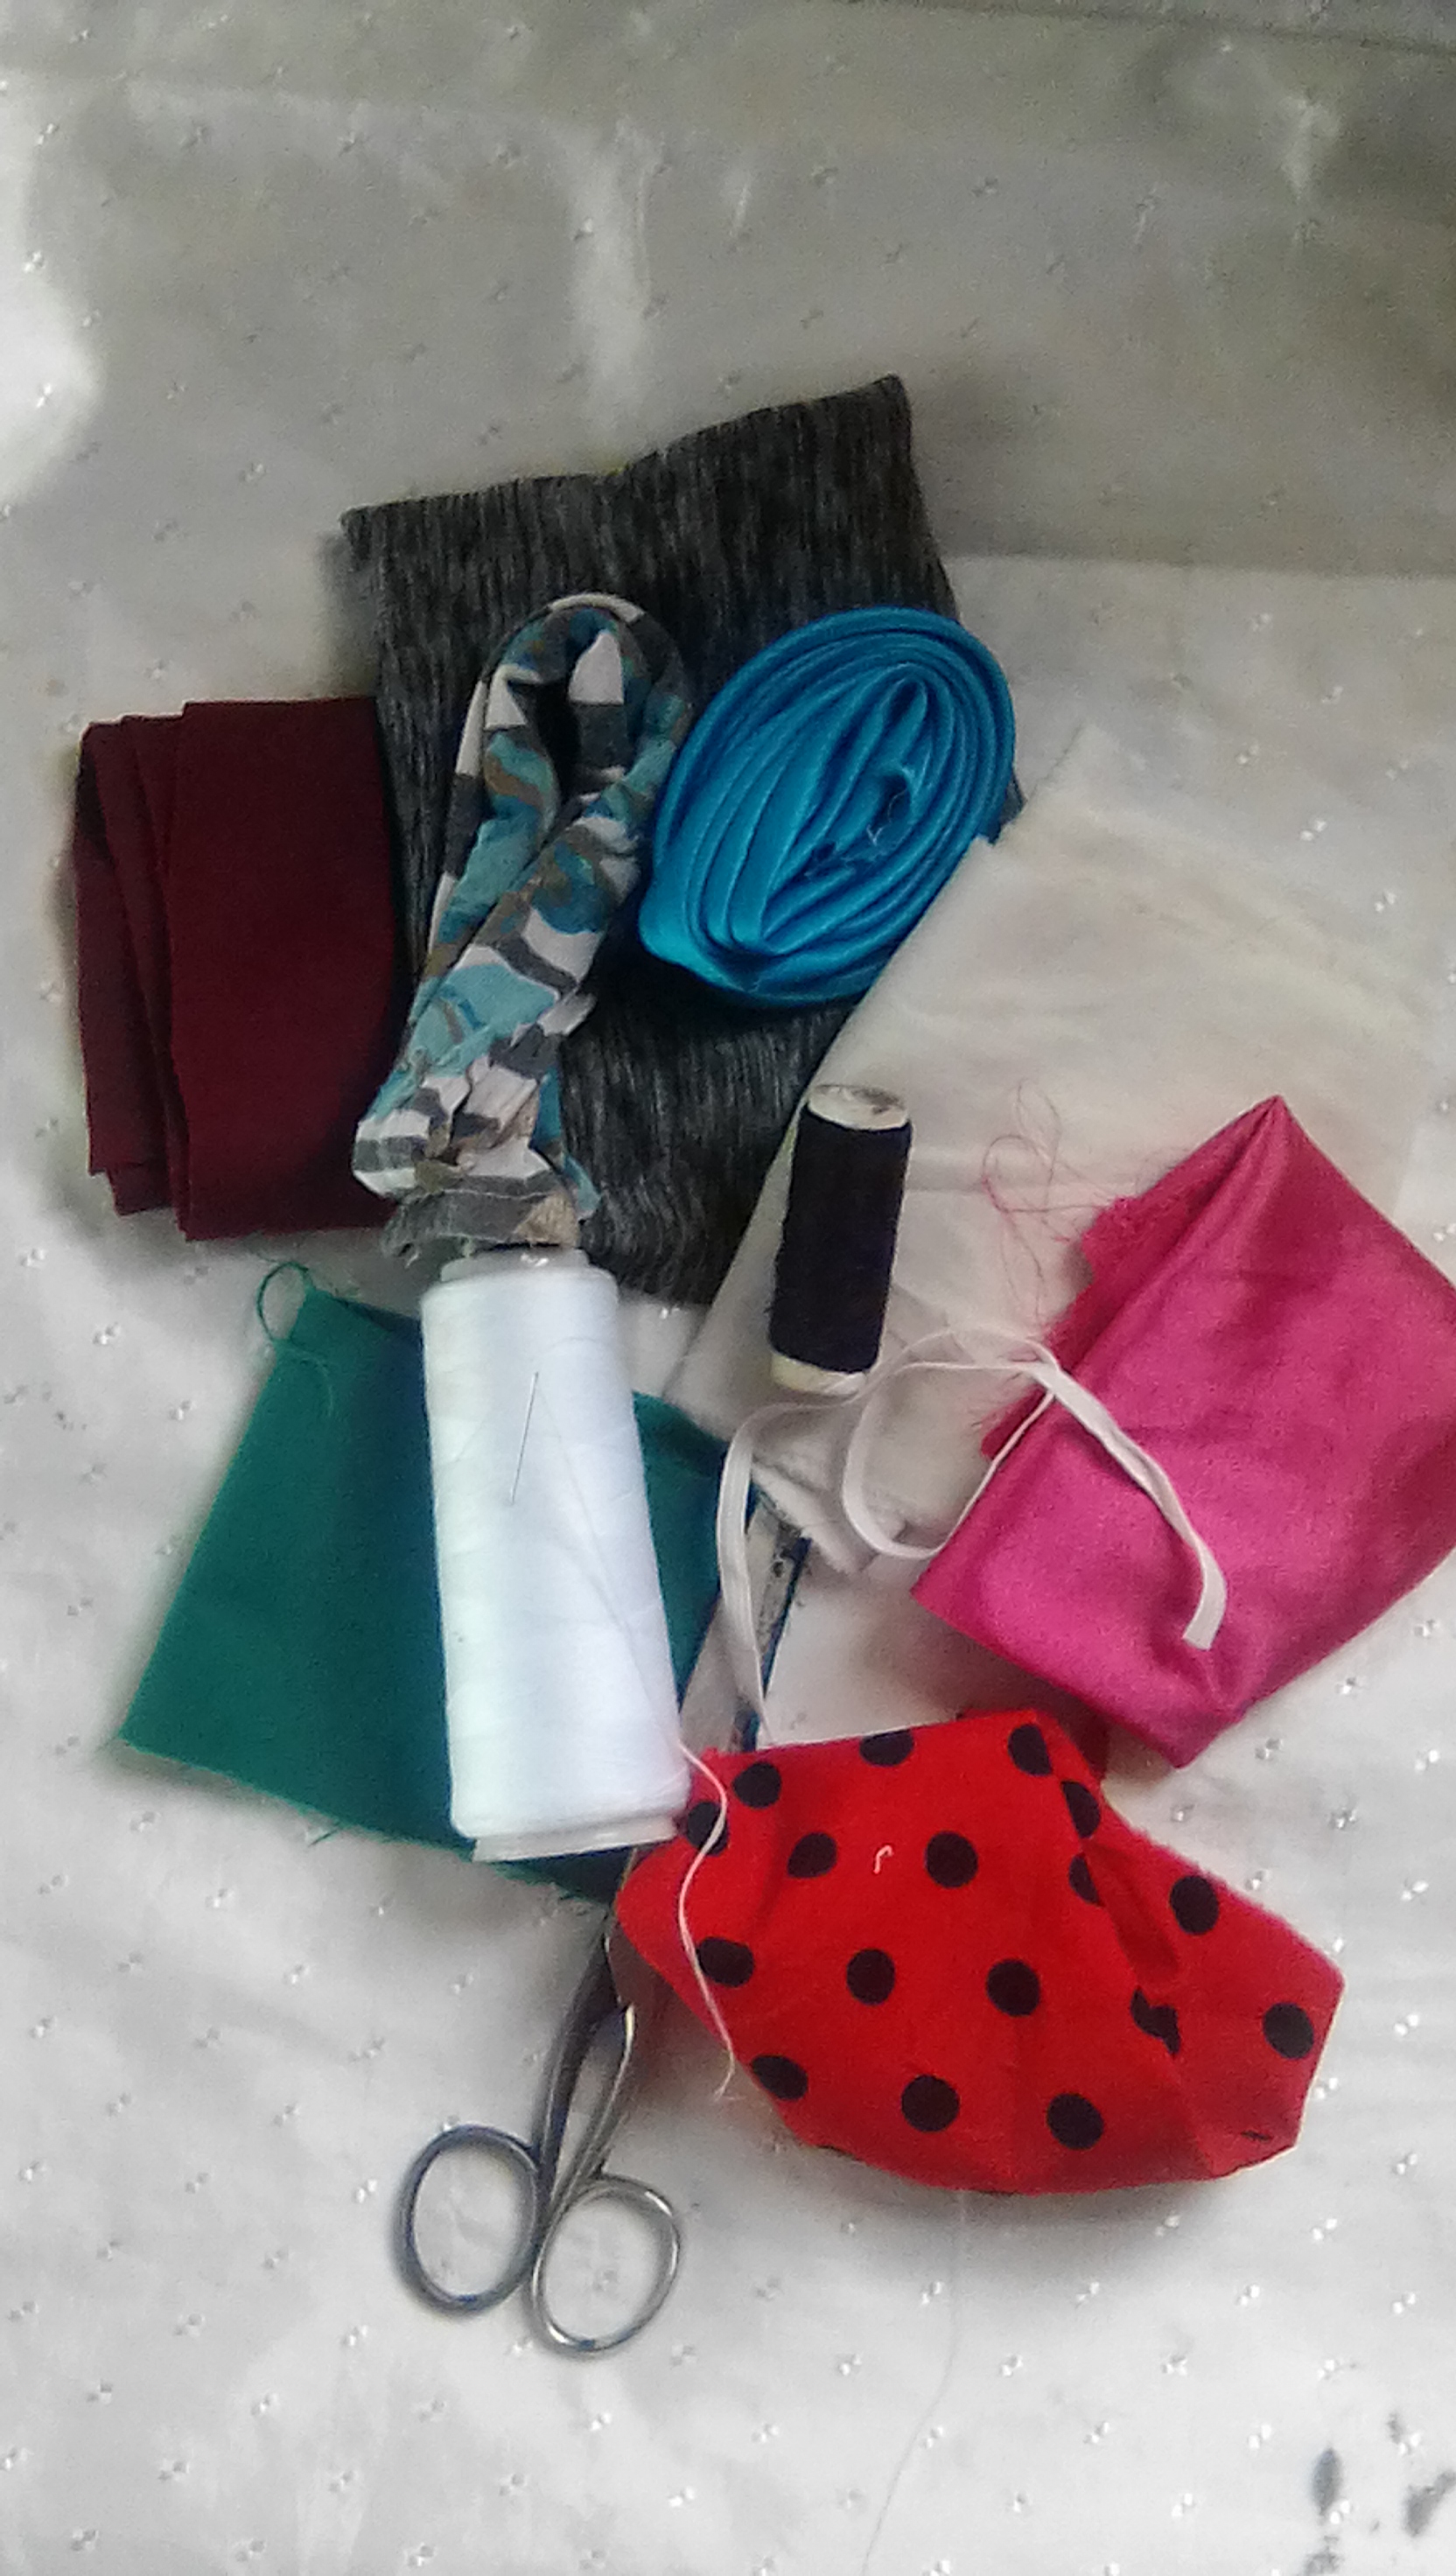
Para hacerlo necesitarás:
- Pedazos de tela.
- Tijeras.
- Un botón.
- Aguja e hilo.
- Un trozo de elástico.
- Pedrería brillante.
To do so you will need:
- Pieces of cloth.
- Scissors.
- A button.
- Needle and thread.
- A piece of elastic.
- Brilliant rhinestones.
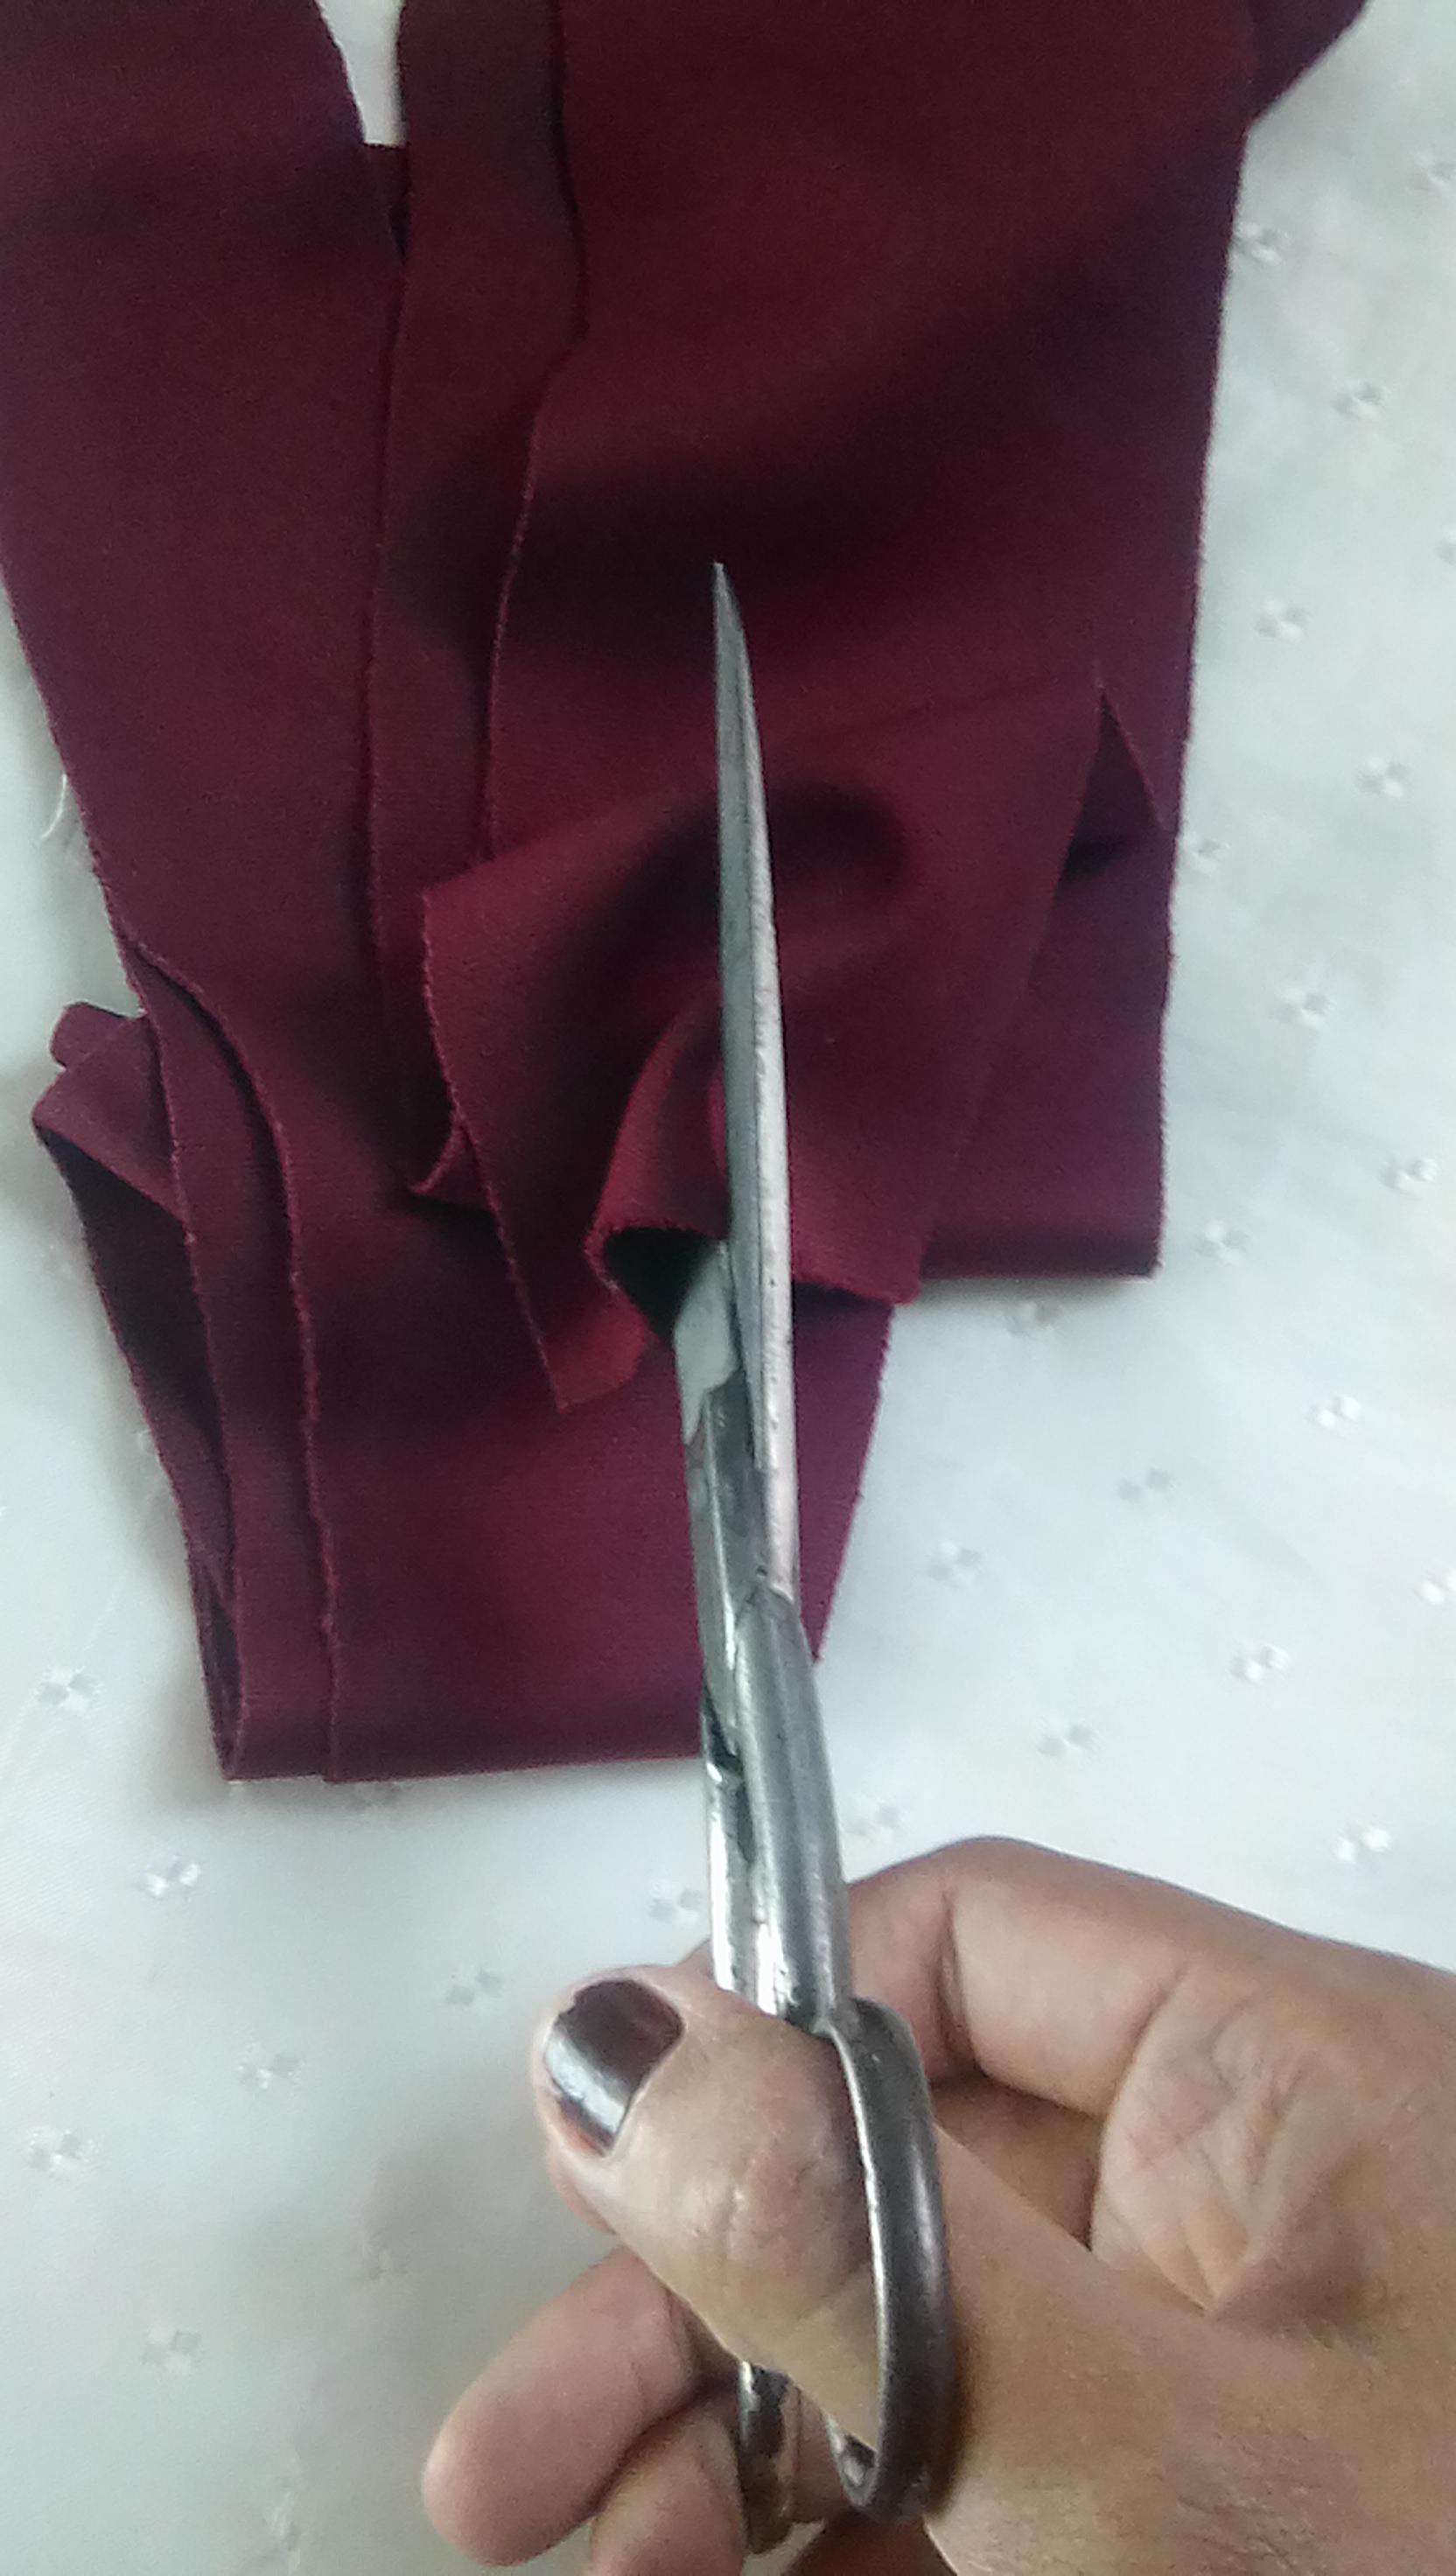
Paso 1:
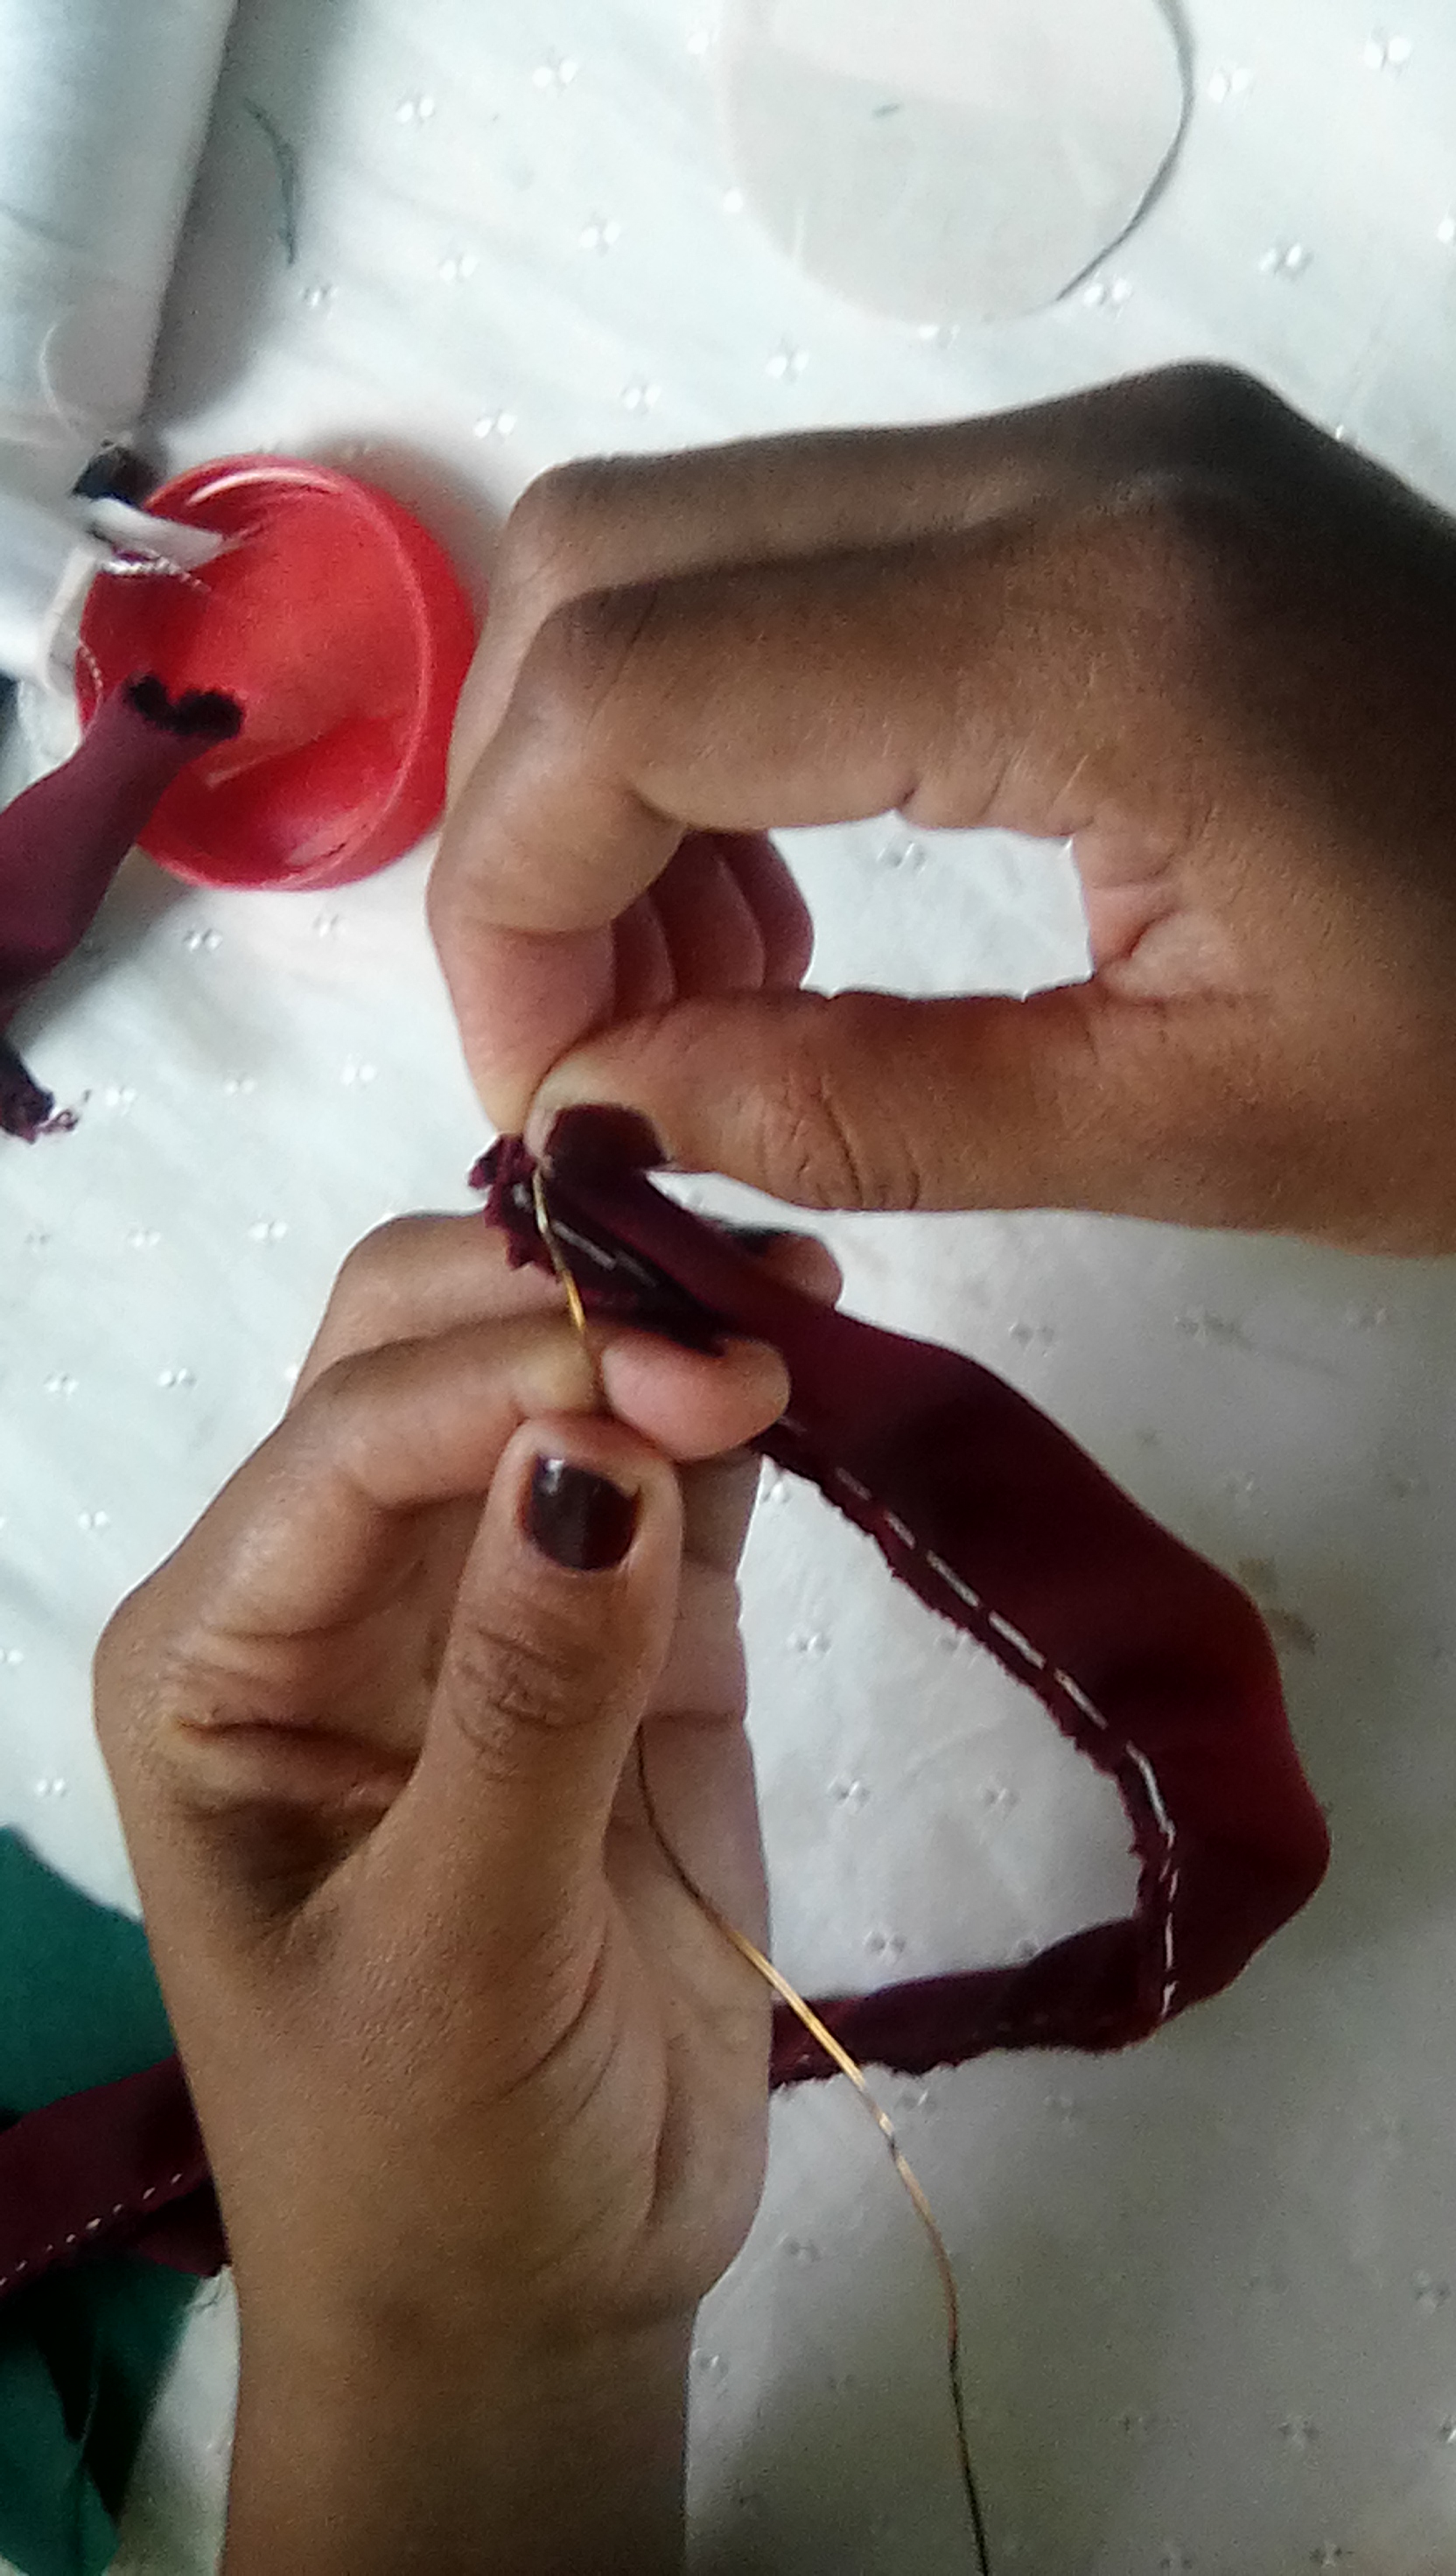
Corta 3 tiras de 2 o 3 cm de largo, luego dóblalas por la mitad y procede a coser ambos extremos de esta manera.
Step 1:
Cut 3 strips of 2 or 3 cm in length, then fold them in half and proceed to sew both ends in this way.
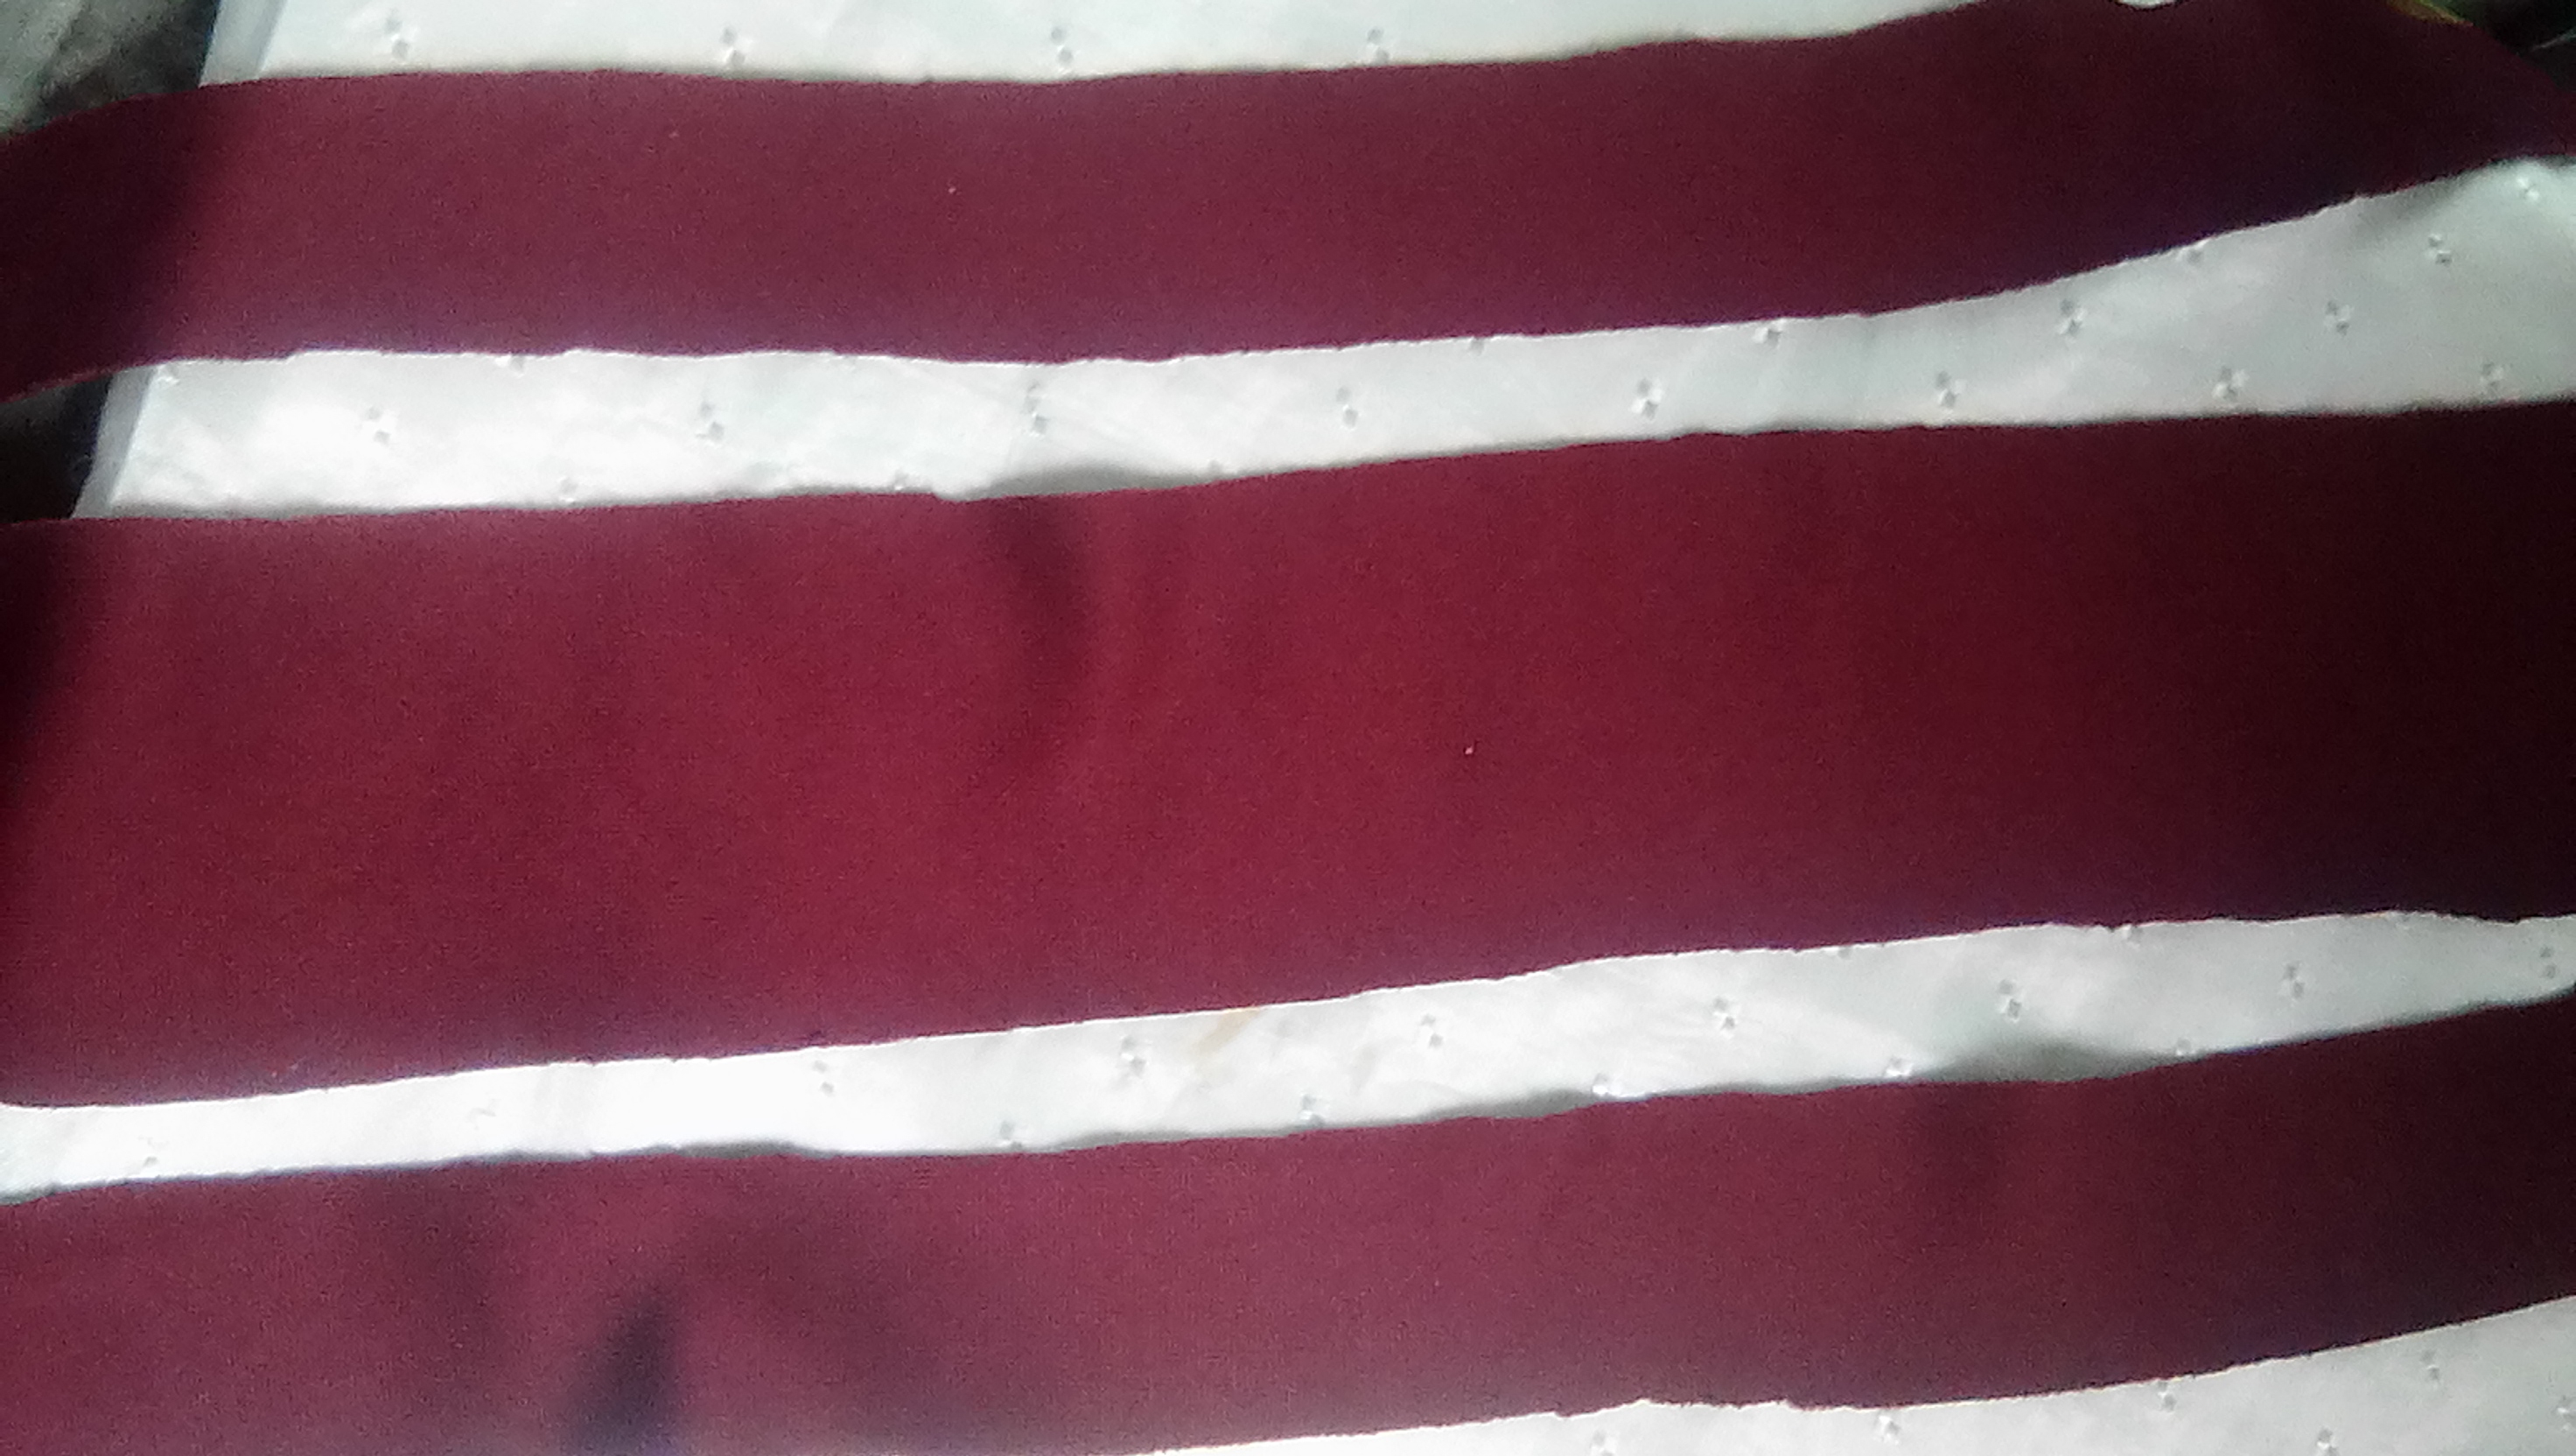
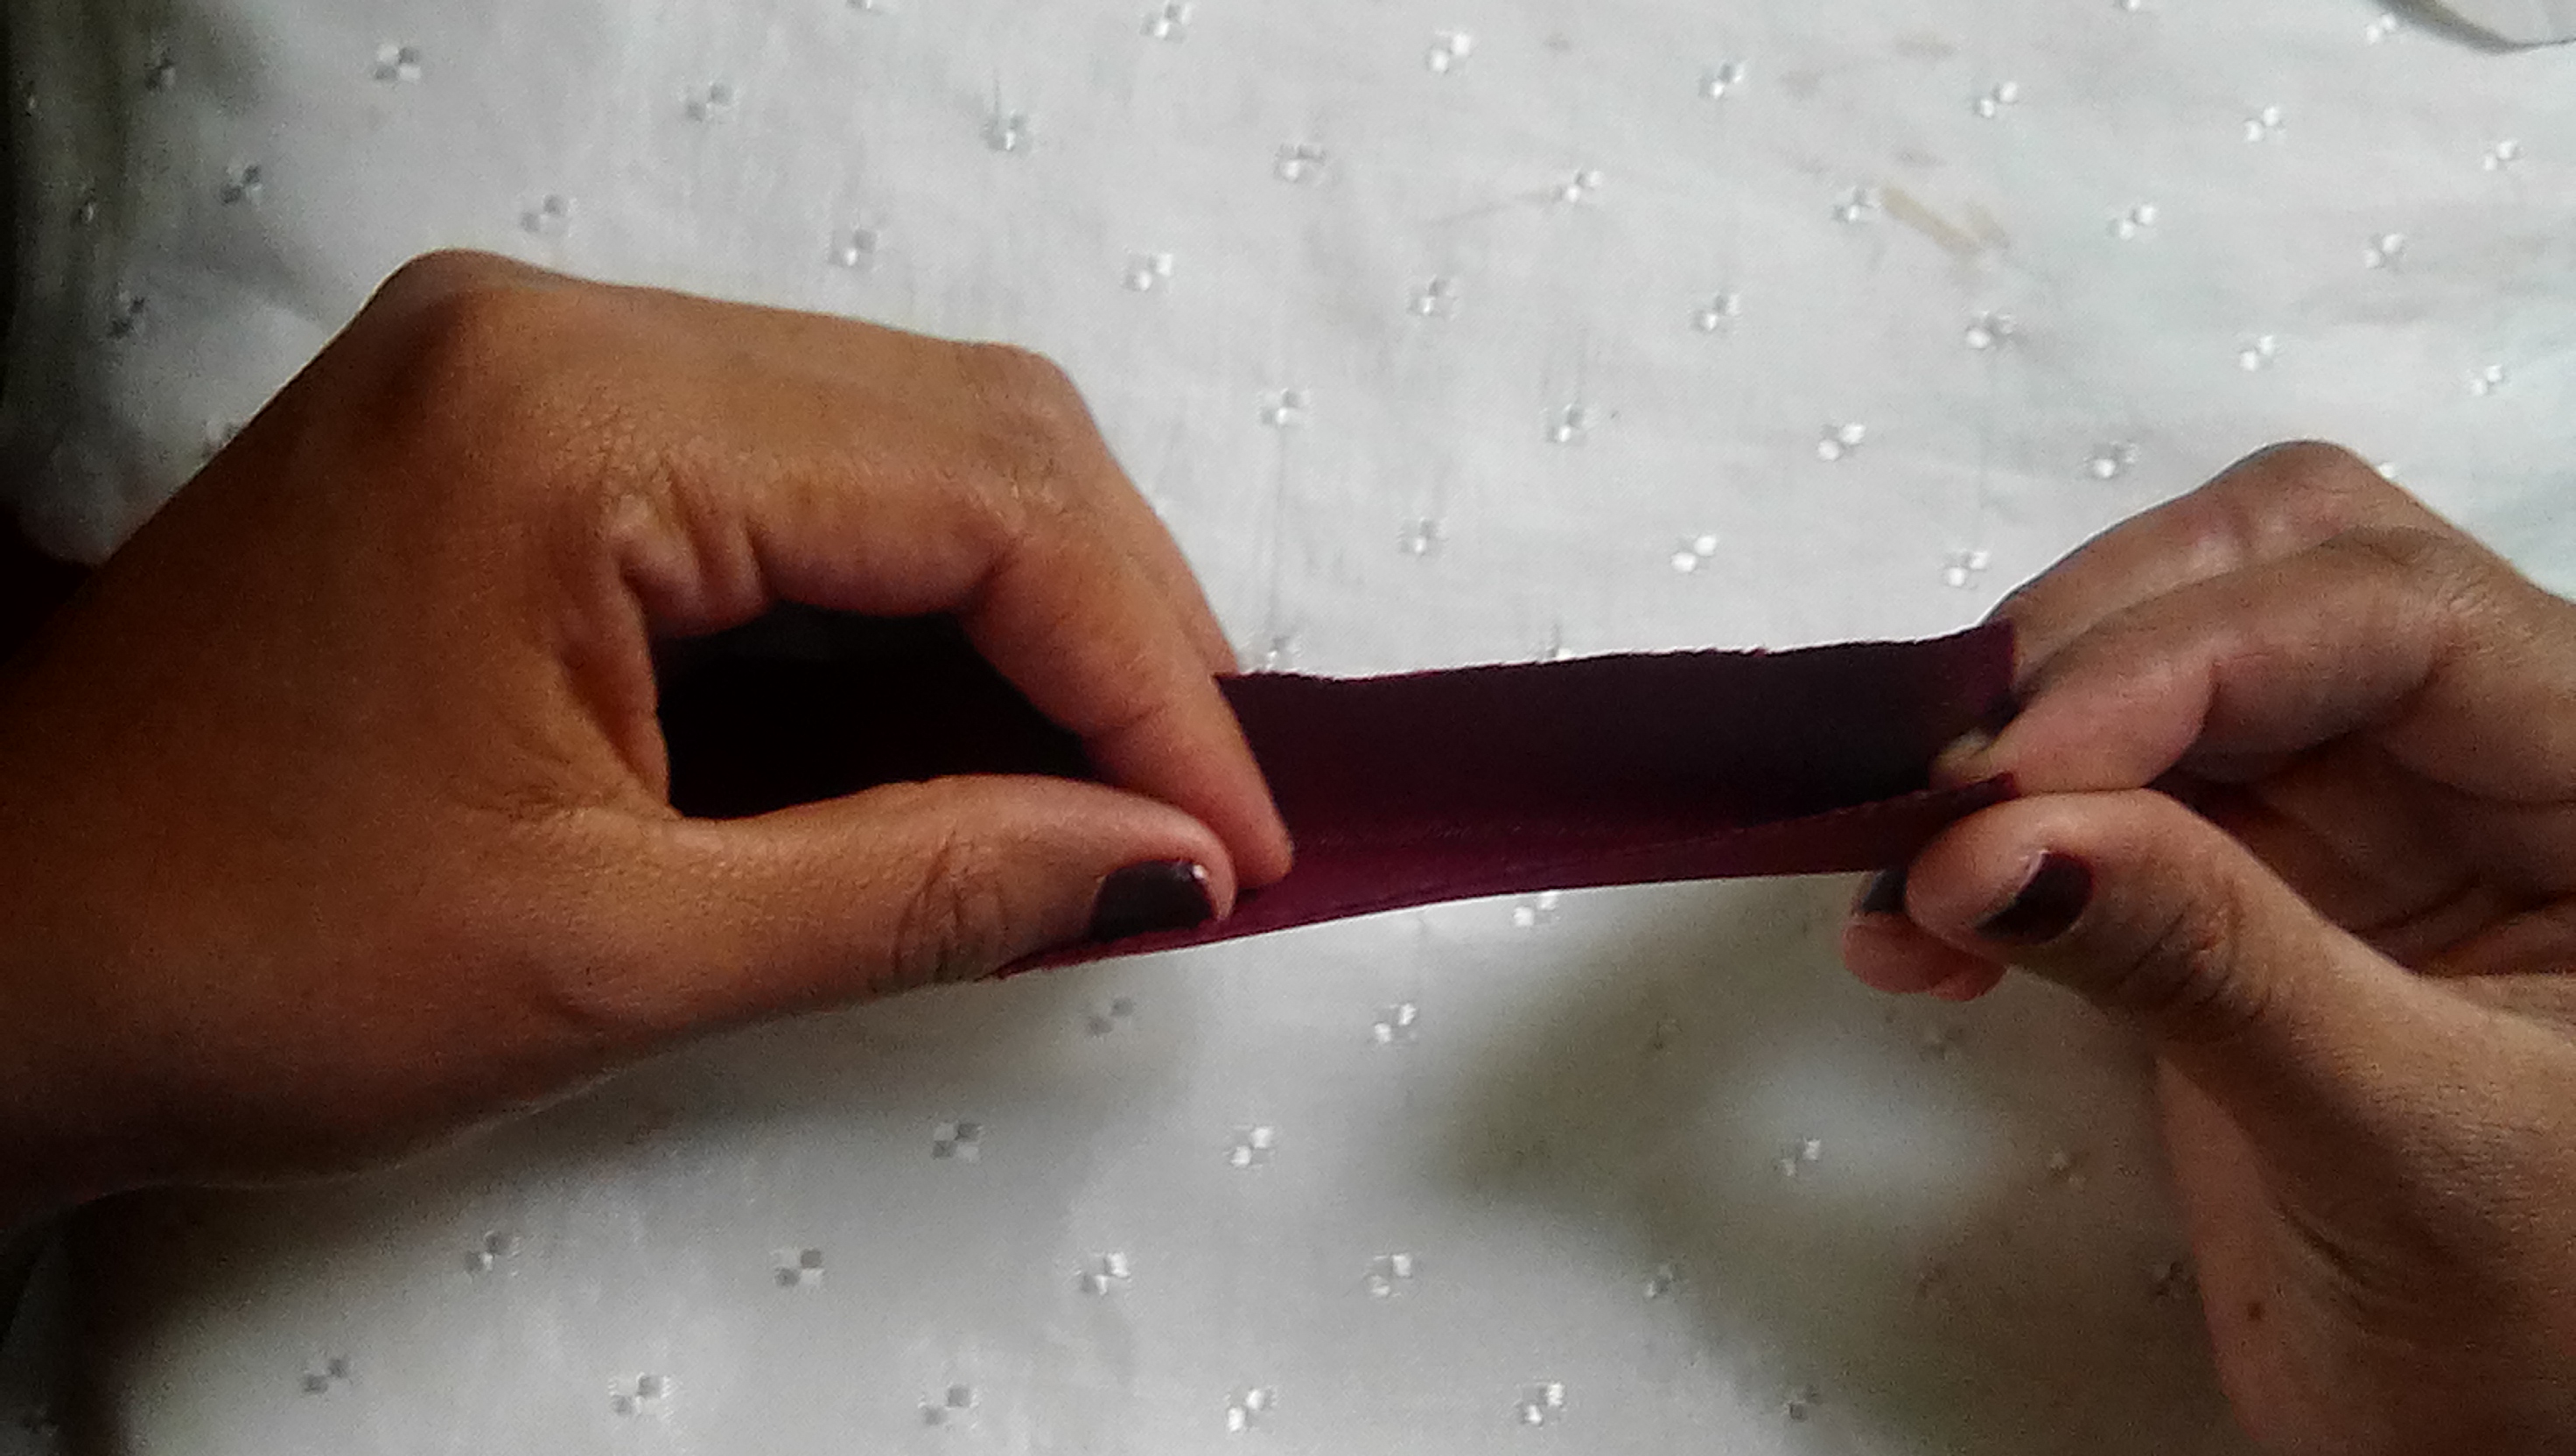
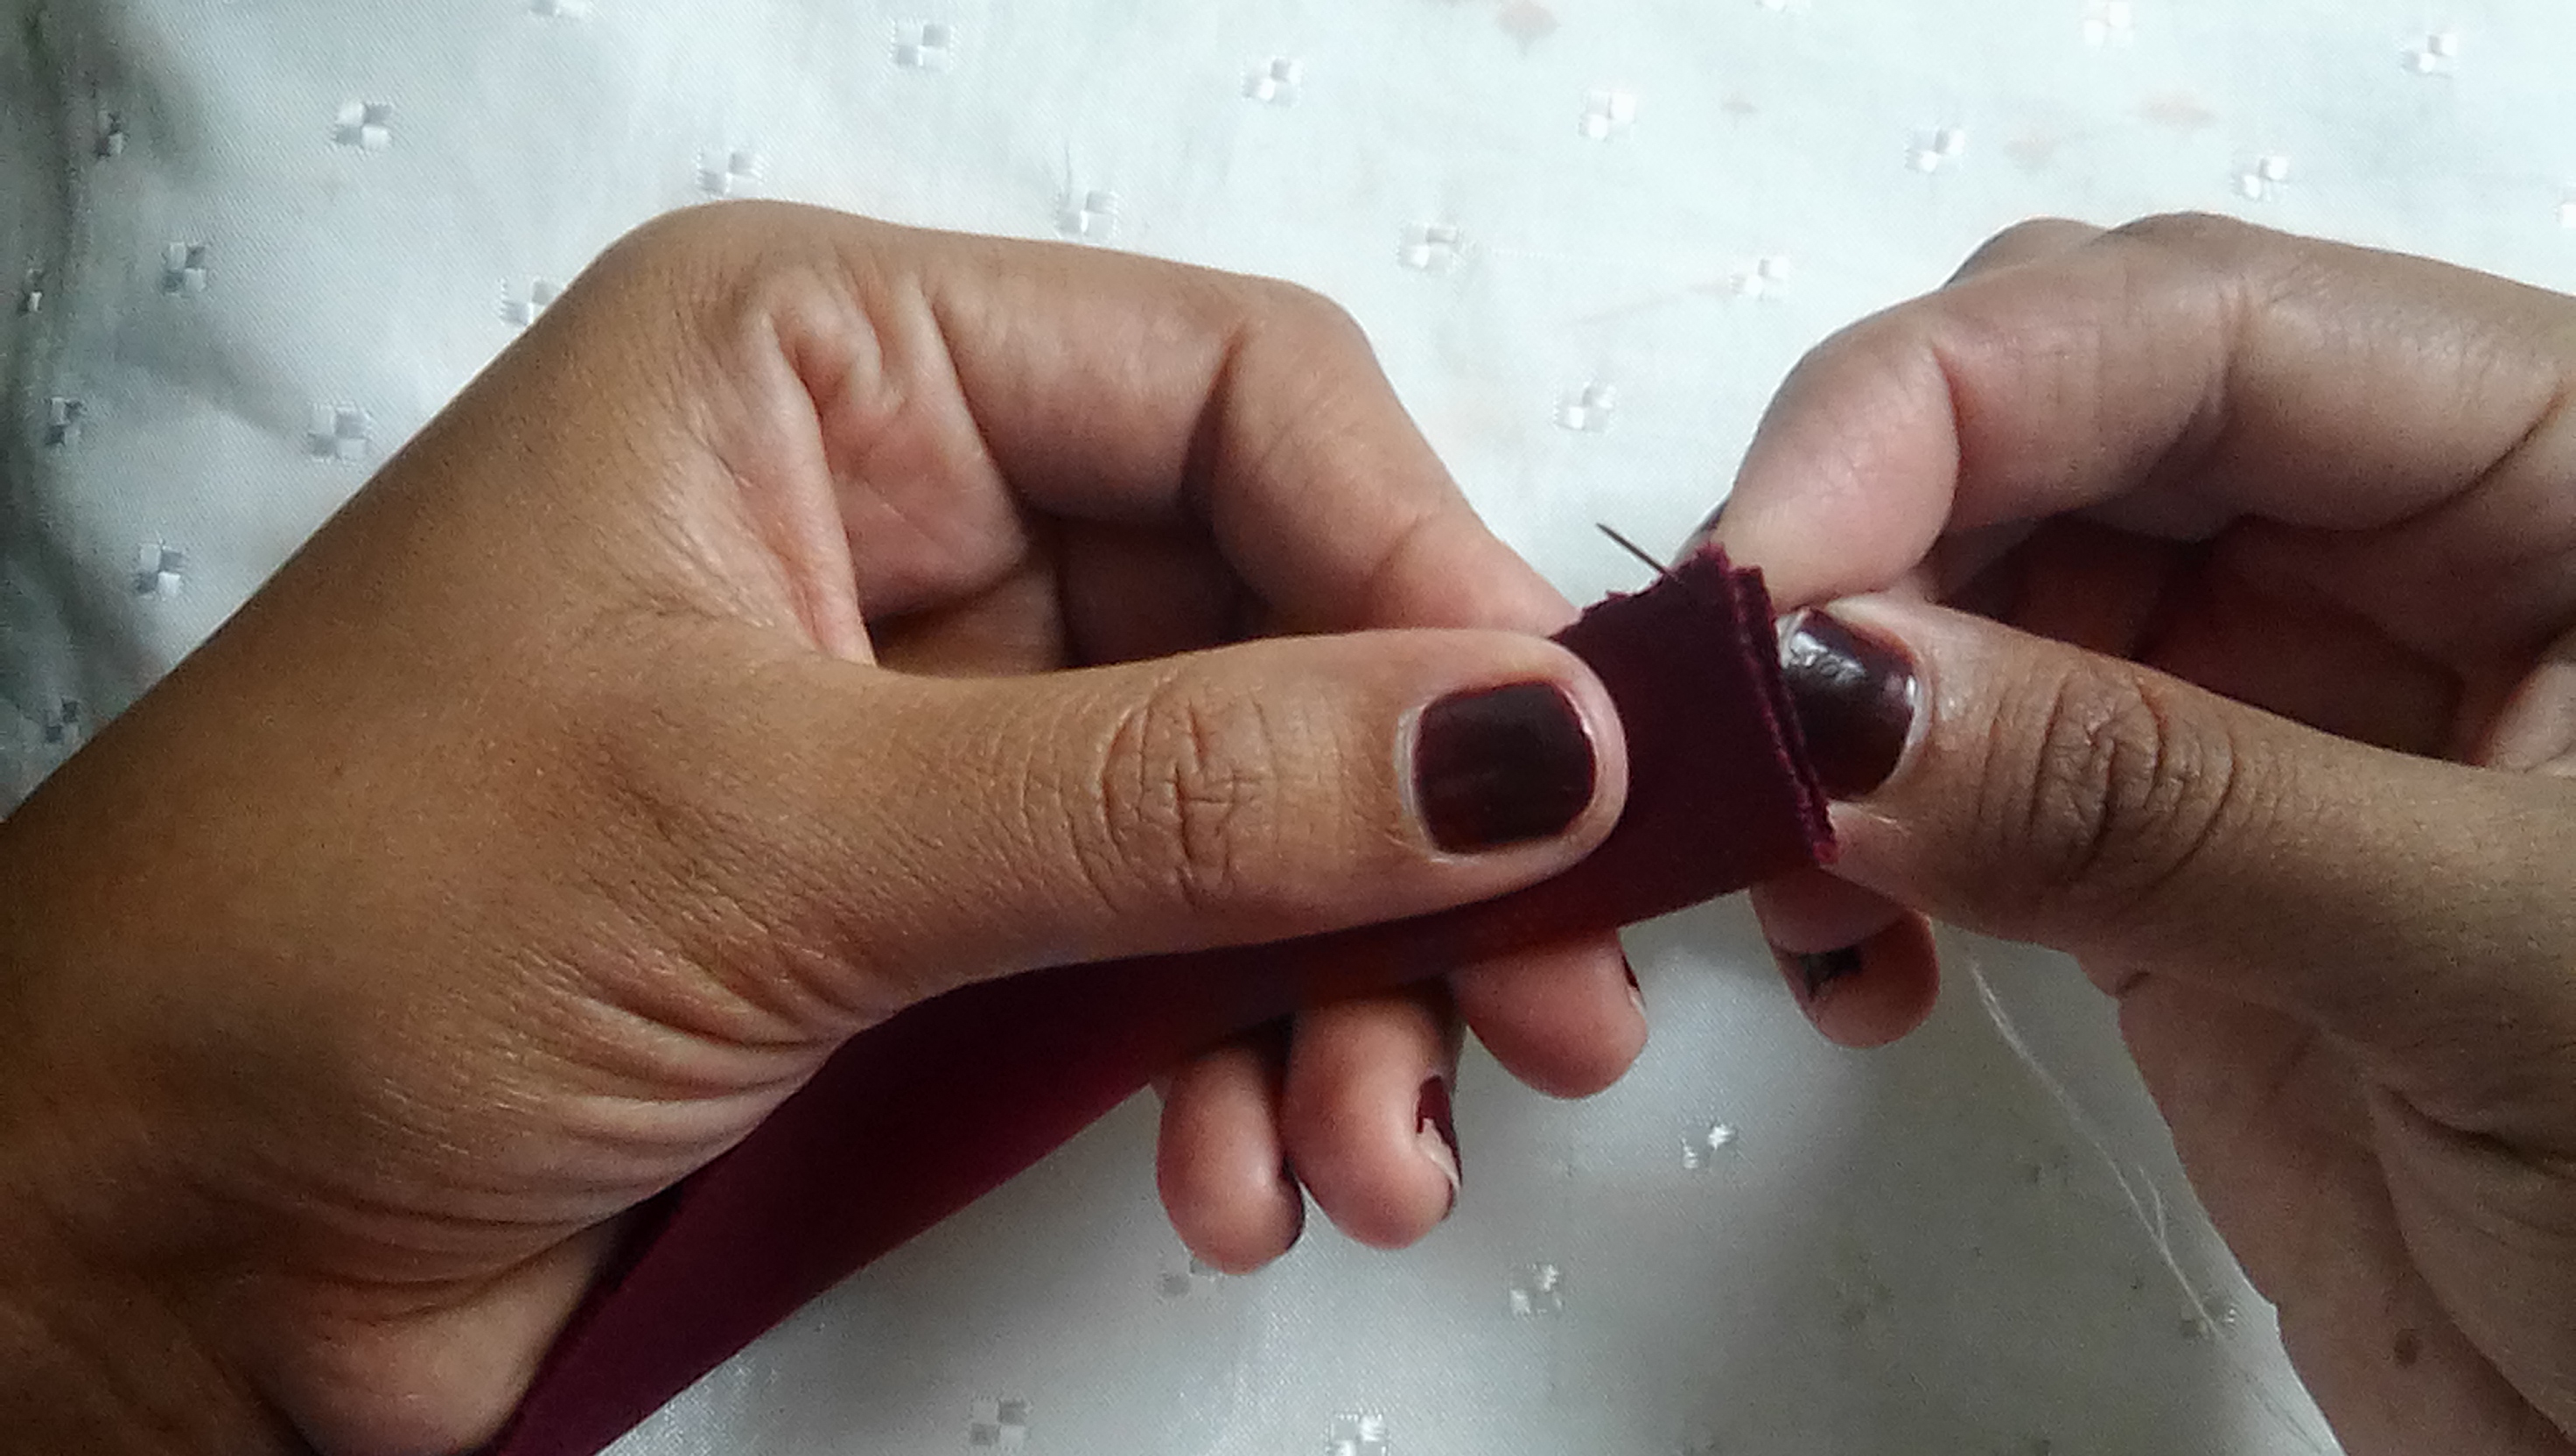
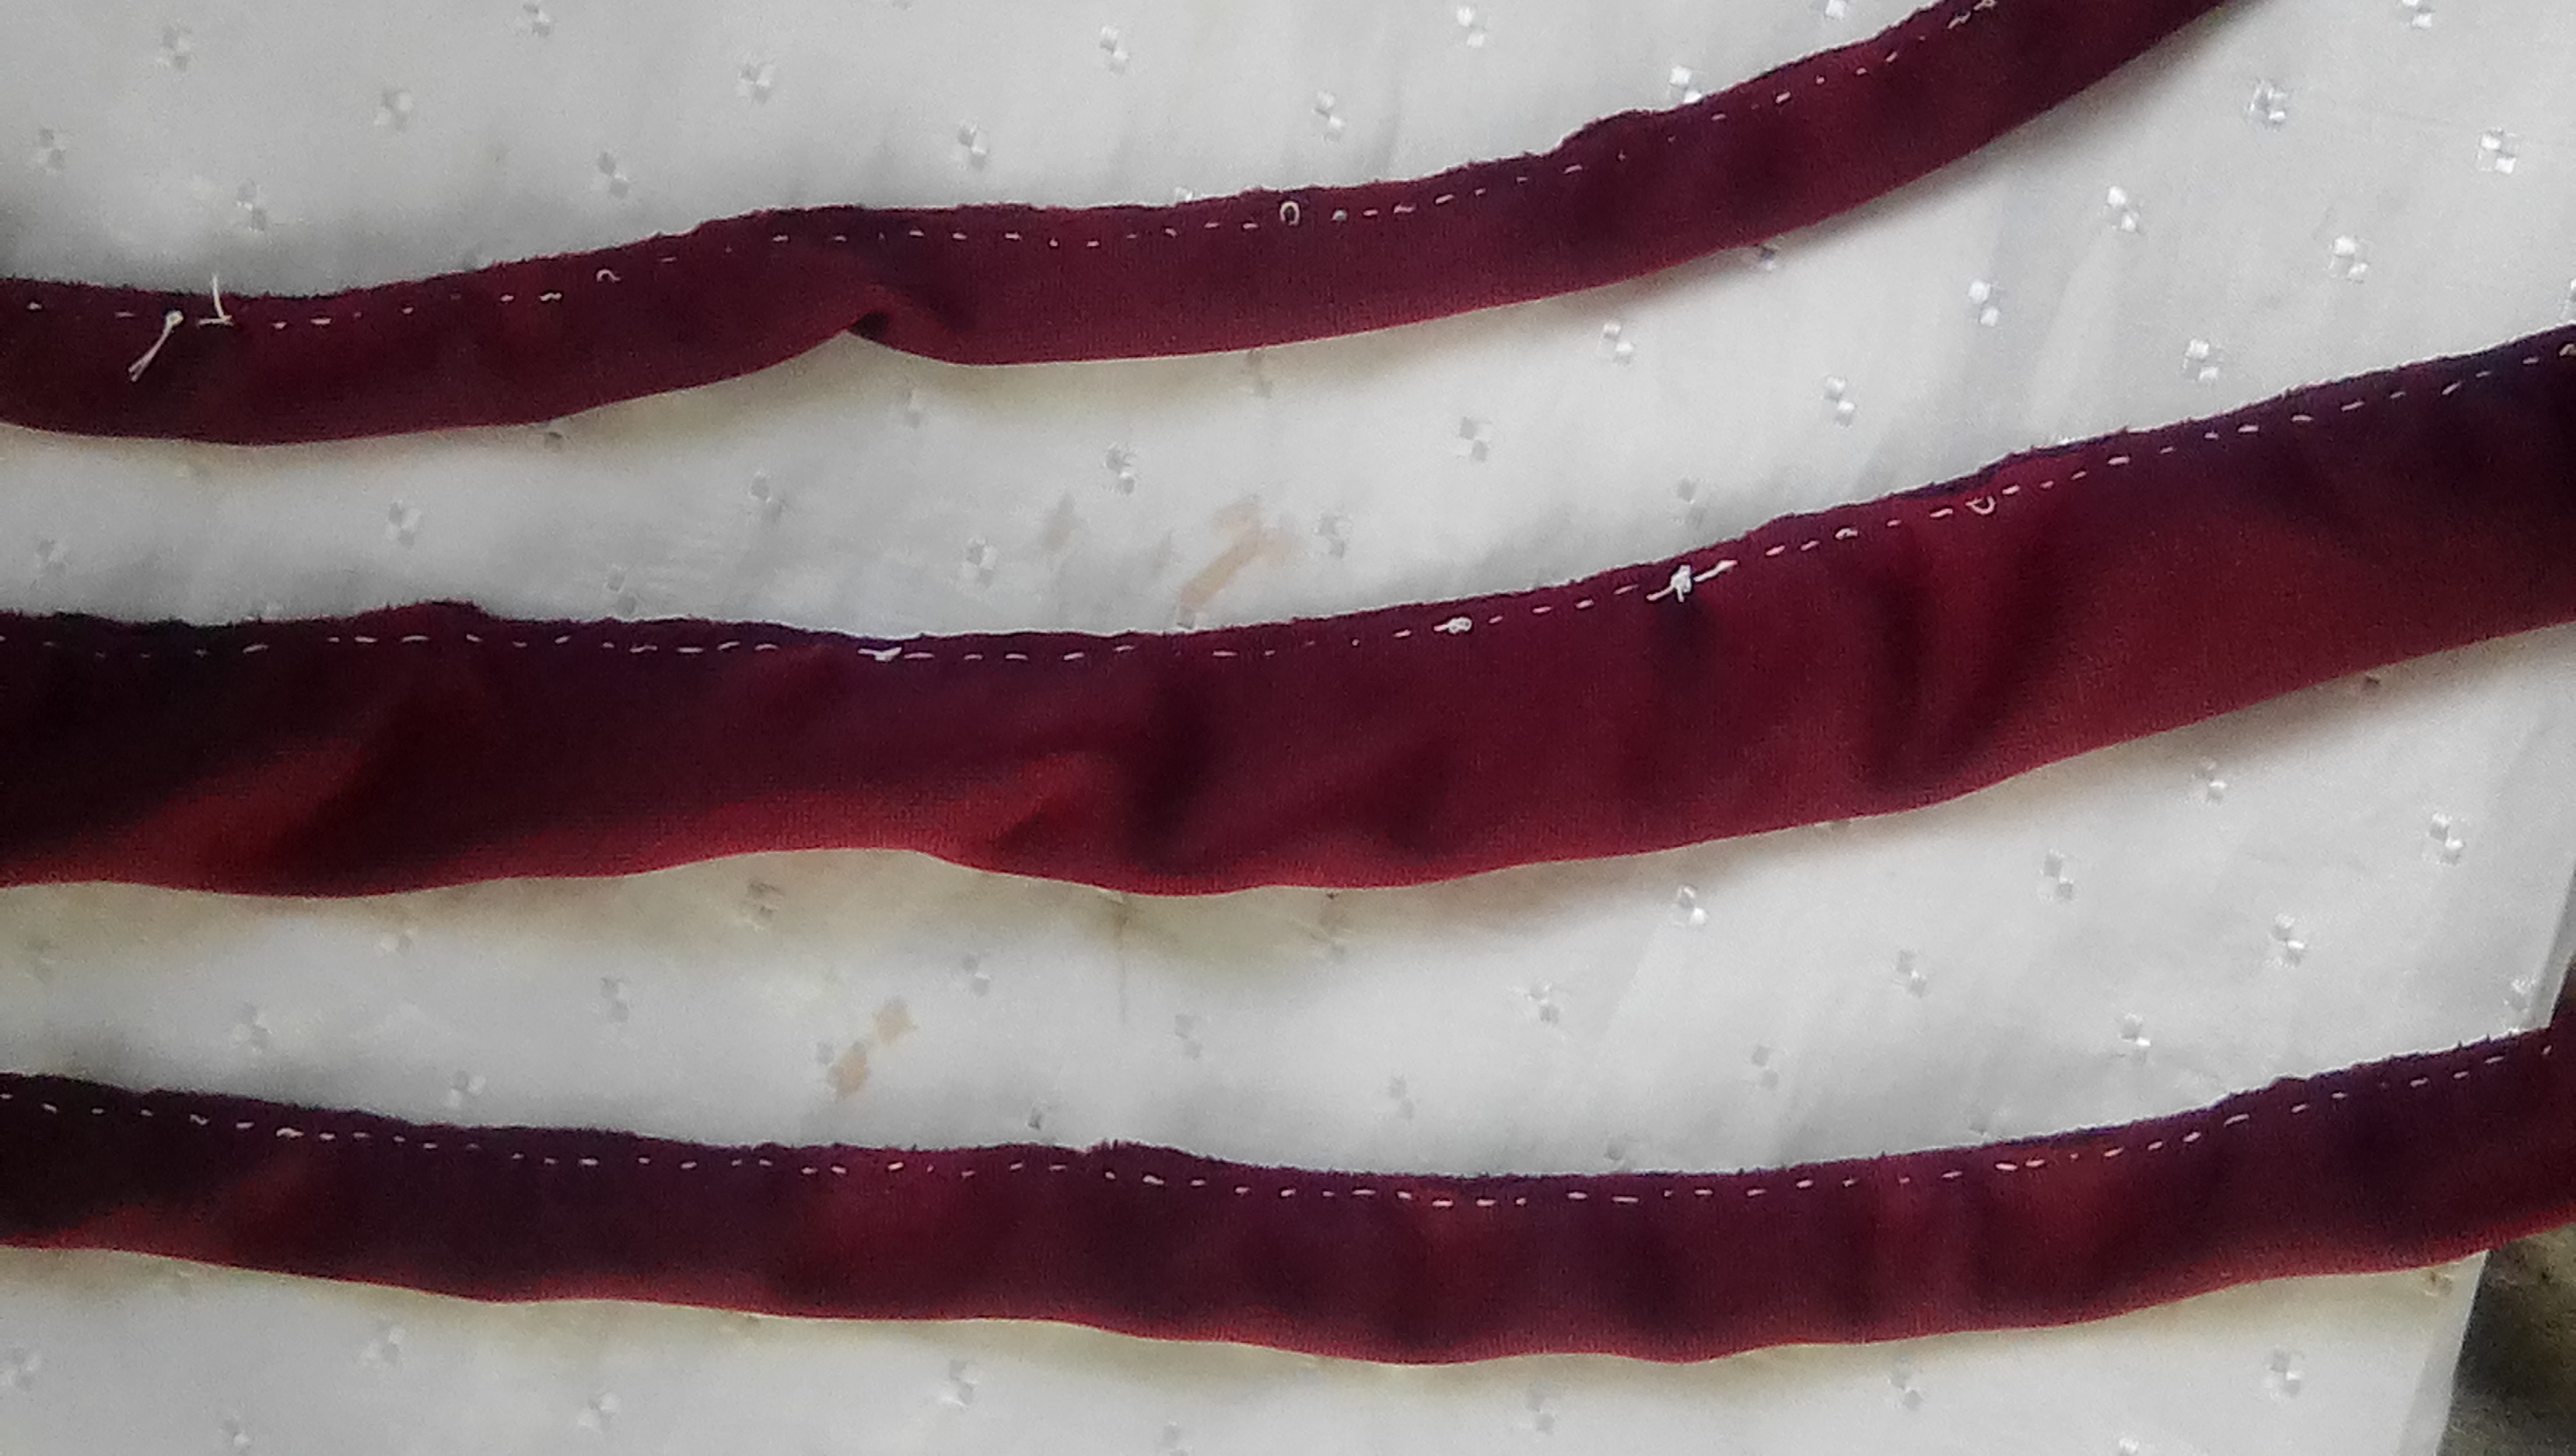
Paso 2:
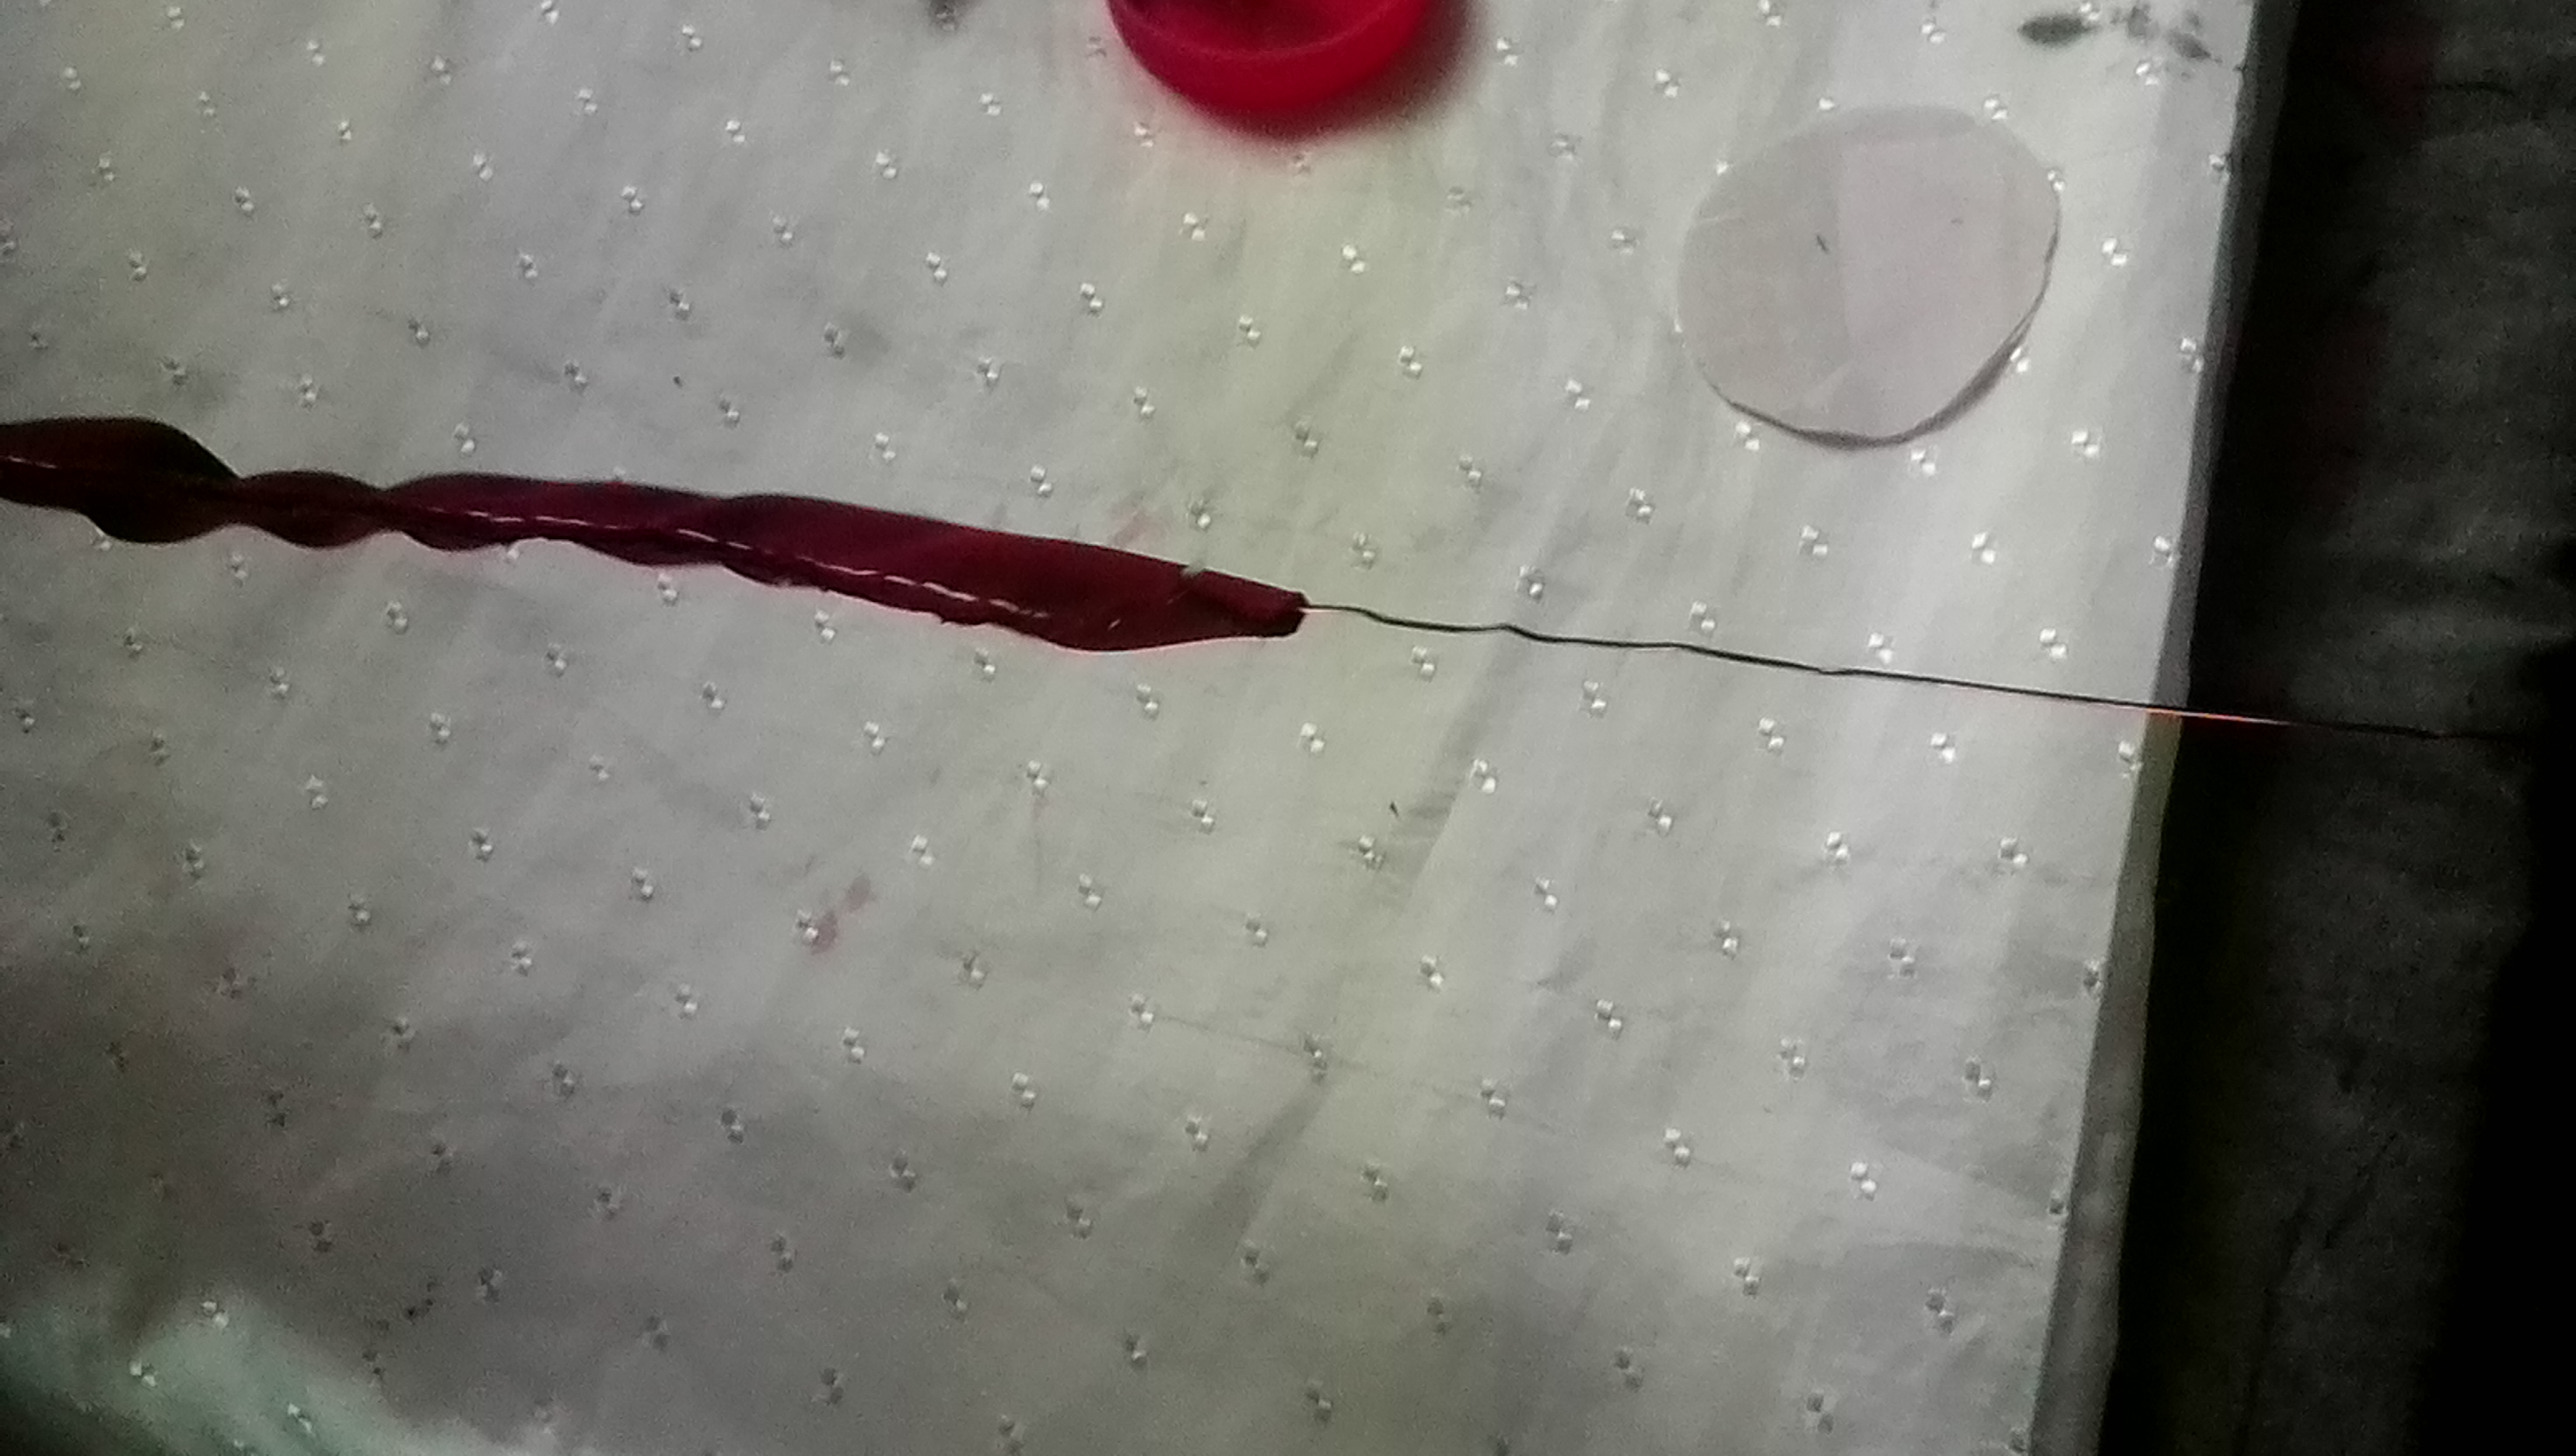
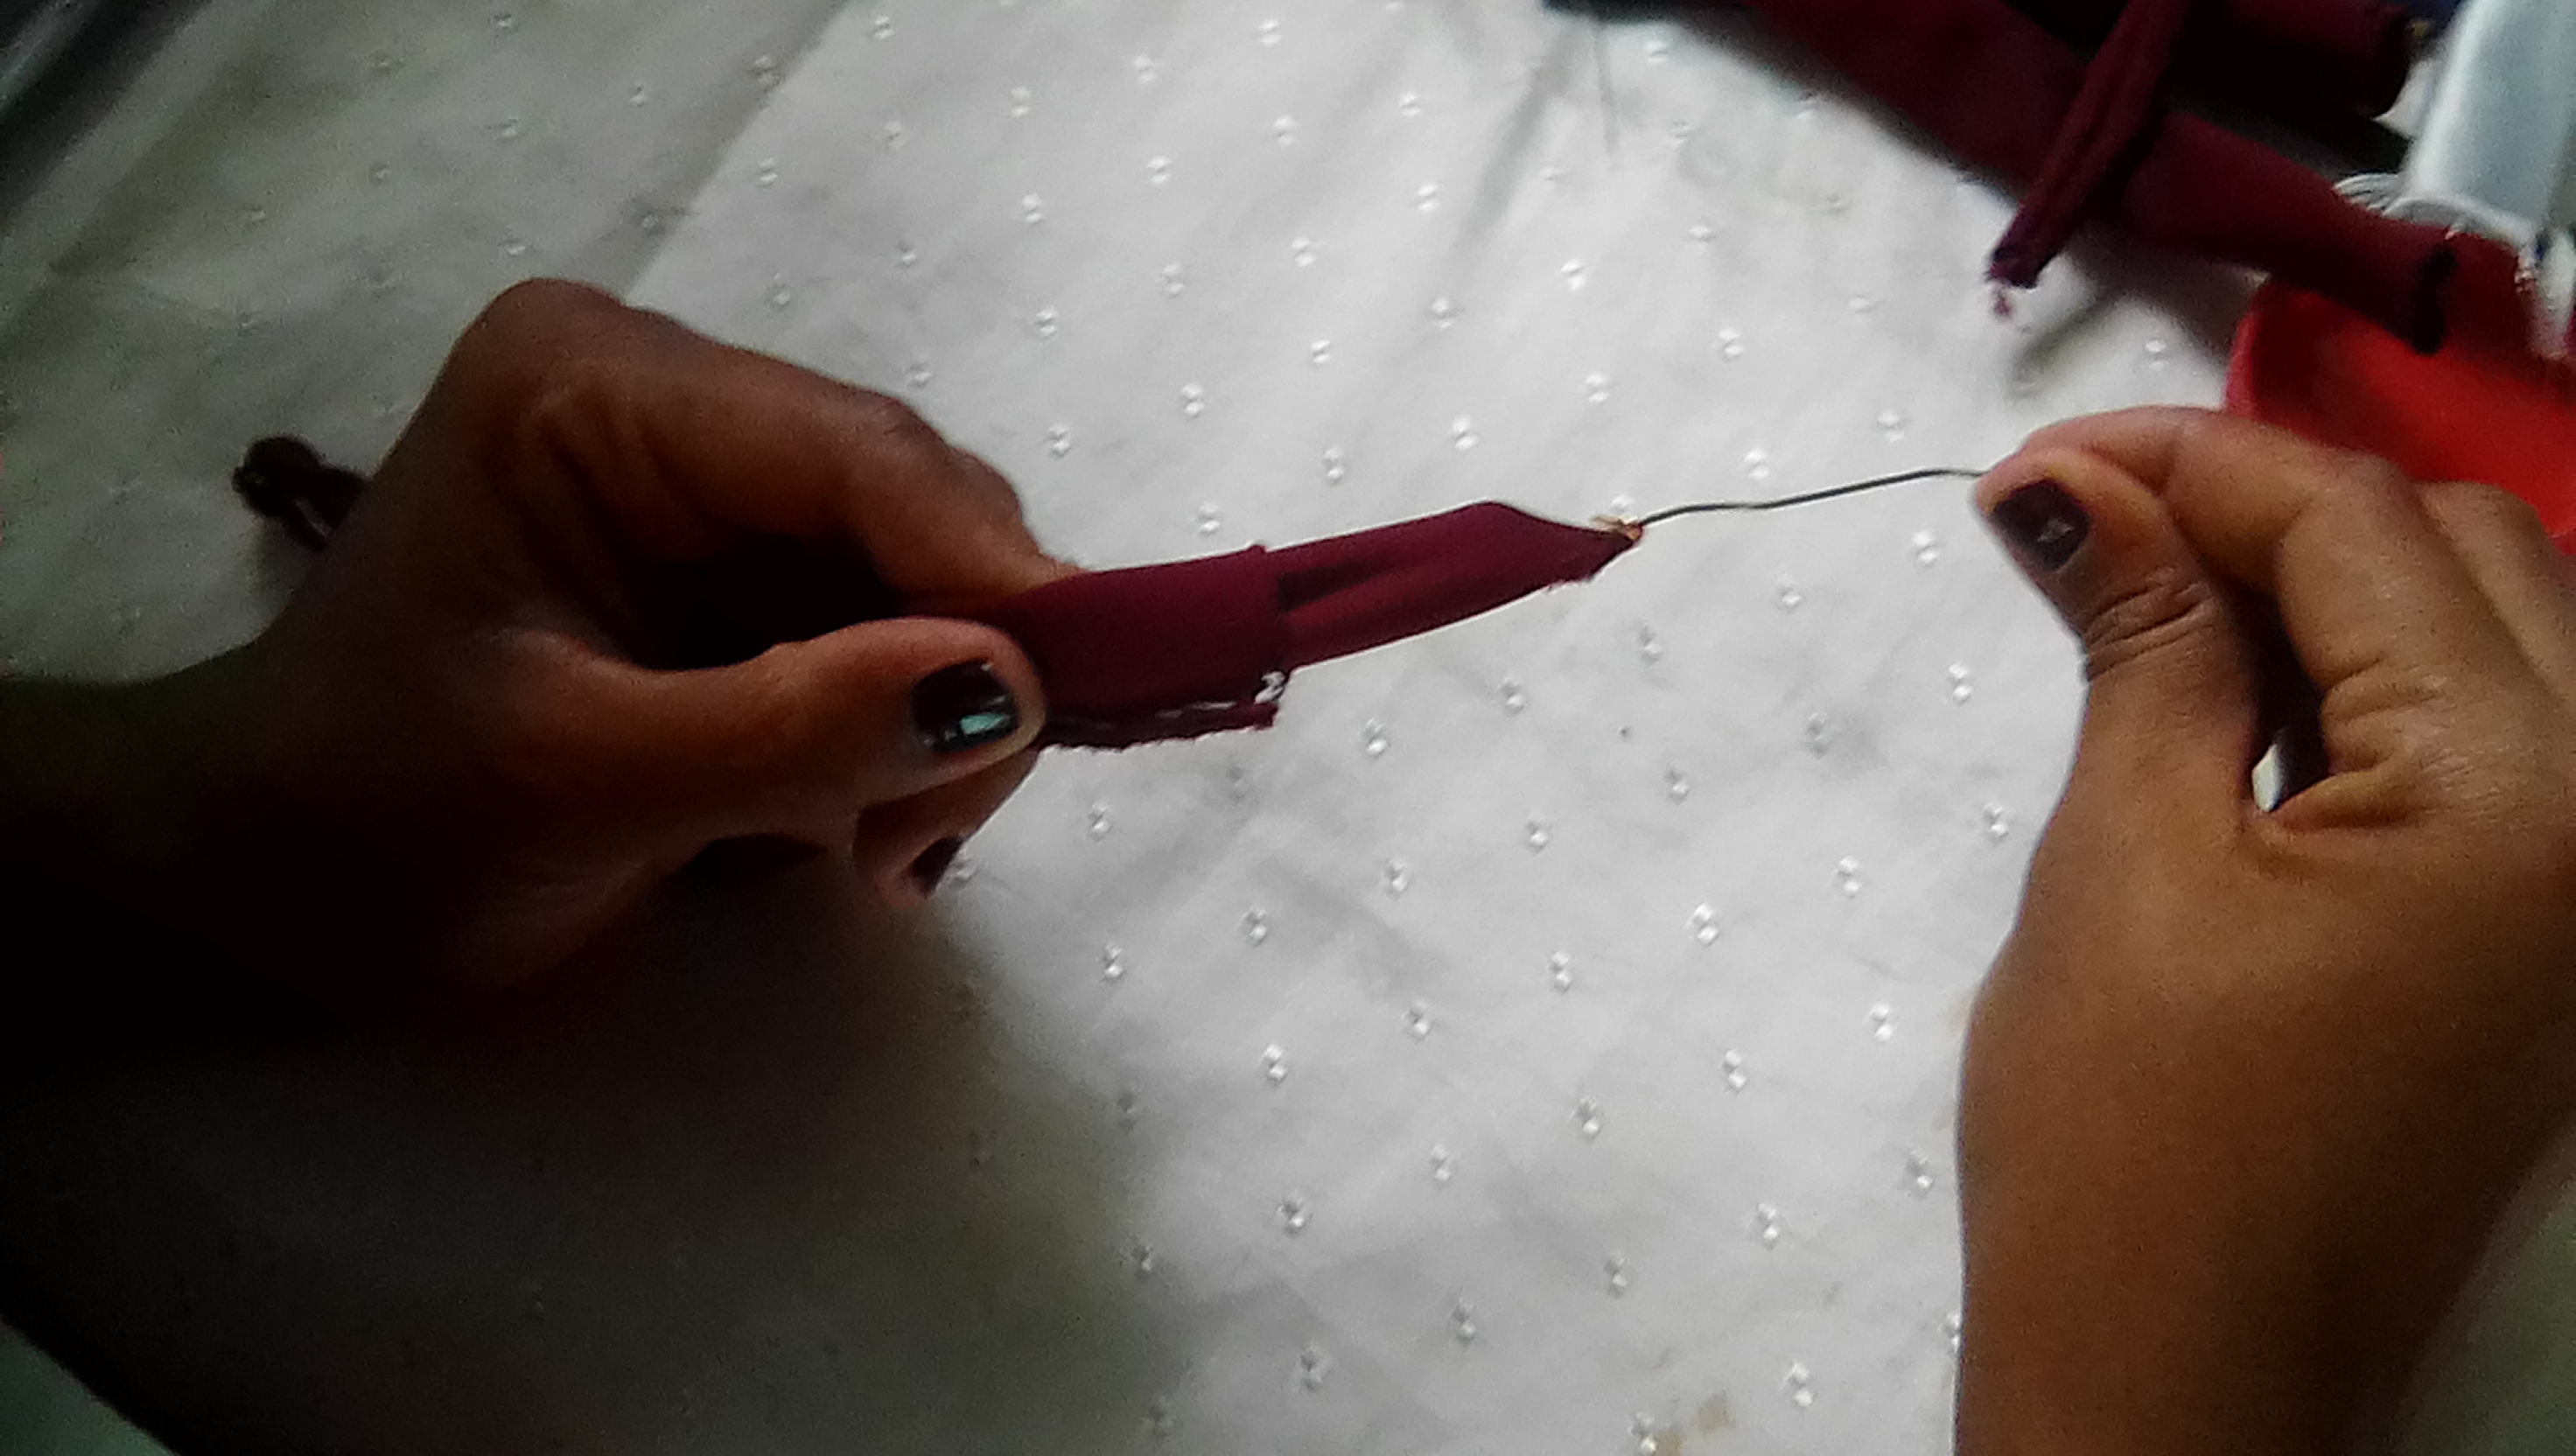
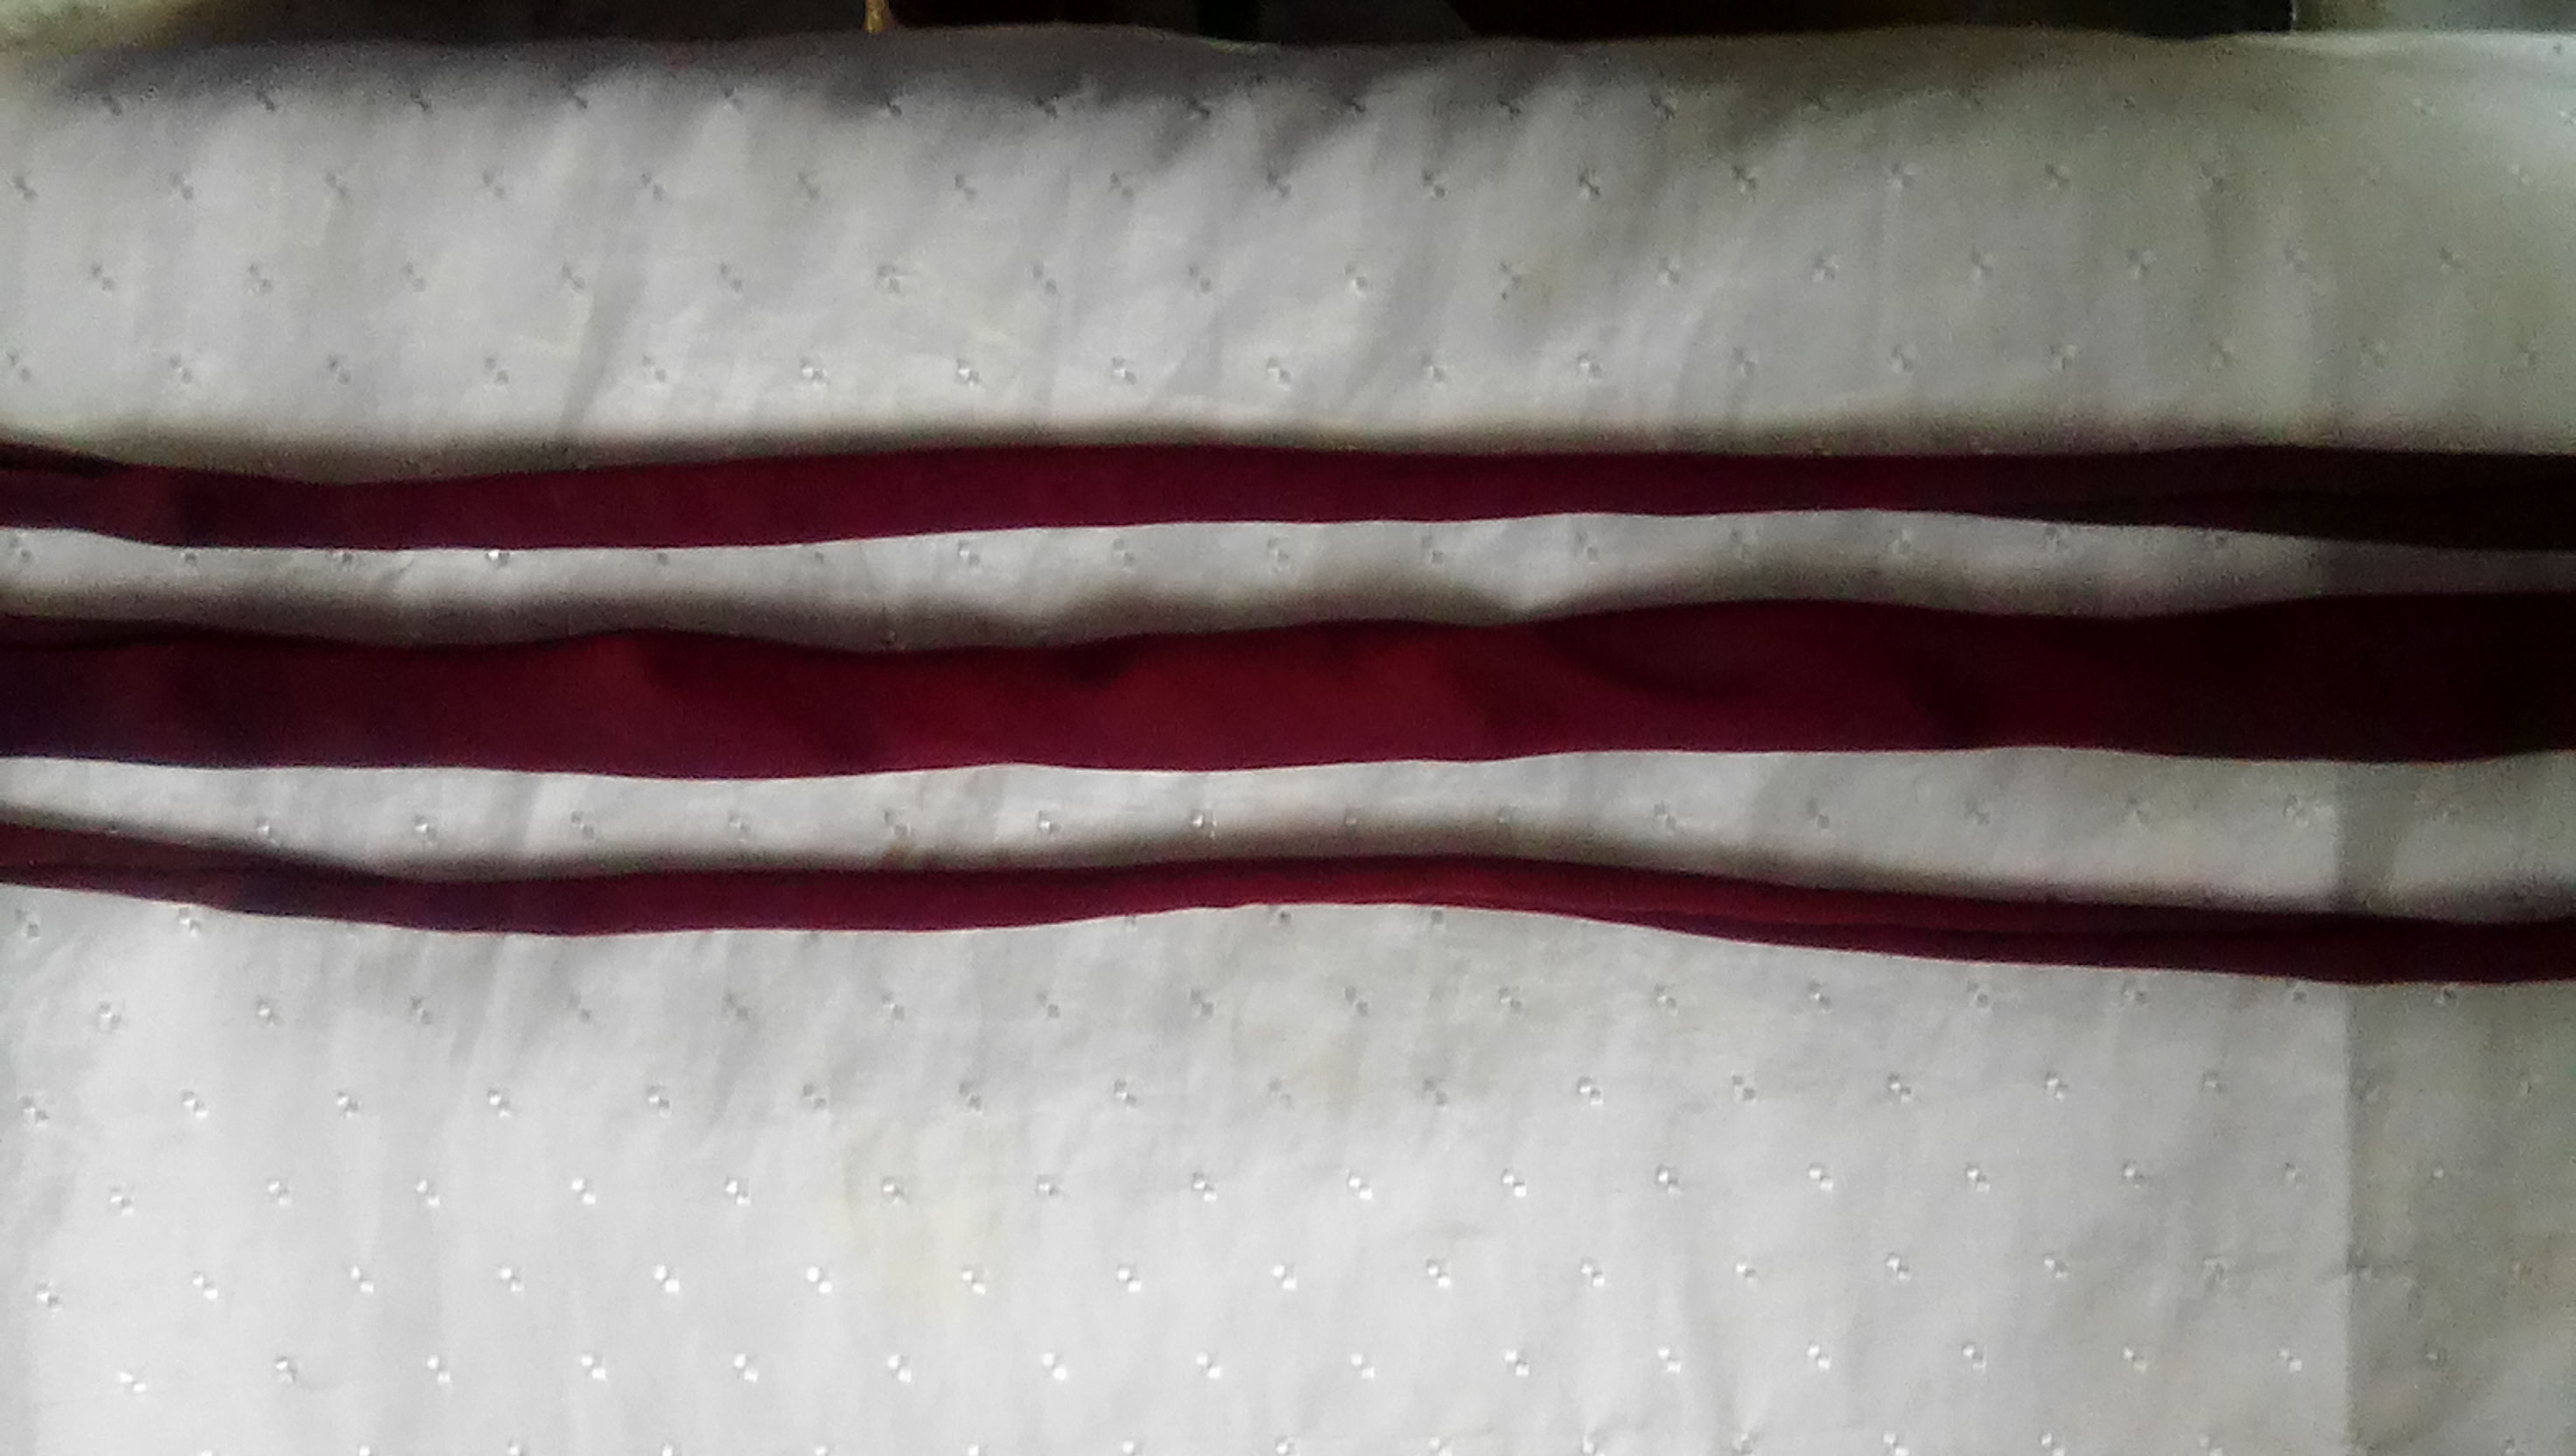
Toma un trozo de alambre y coloca uno de los extremos en el borde de la tela que cosiste anteriormente sujetándolo muy bien para que no se suelte, luego introduce el otro extremo del alambre dentro de la tela y procede a jalarlo para que la costura quede por dentro.
Step 2:
Take a piece of wire and place one of the ends on the edge of the fabric that you sewed earlier, holding it very well so that it does not come loose, then insert the other end of the wire inside the fabric and proceed to pull it so that the seam is on the inside.
Paso 3:
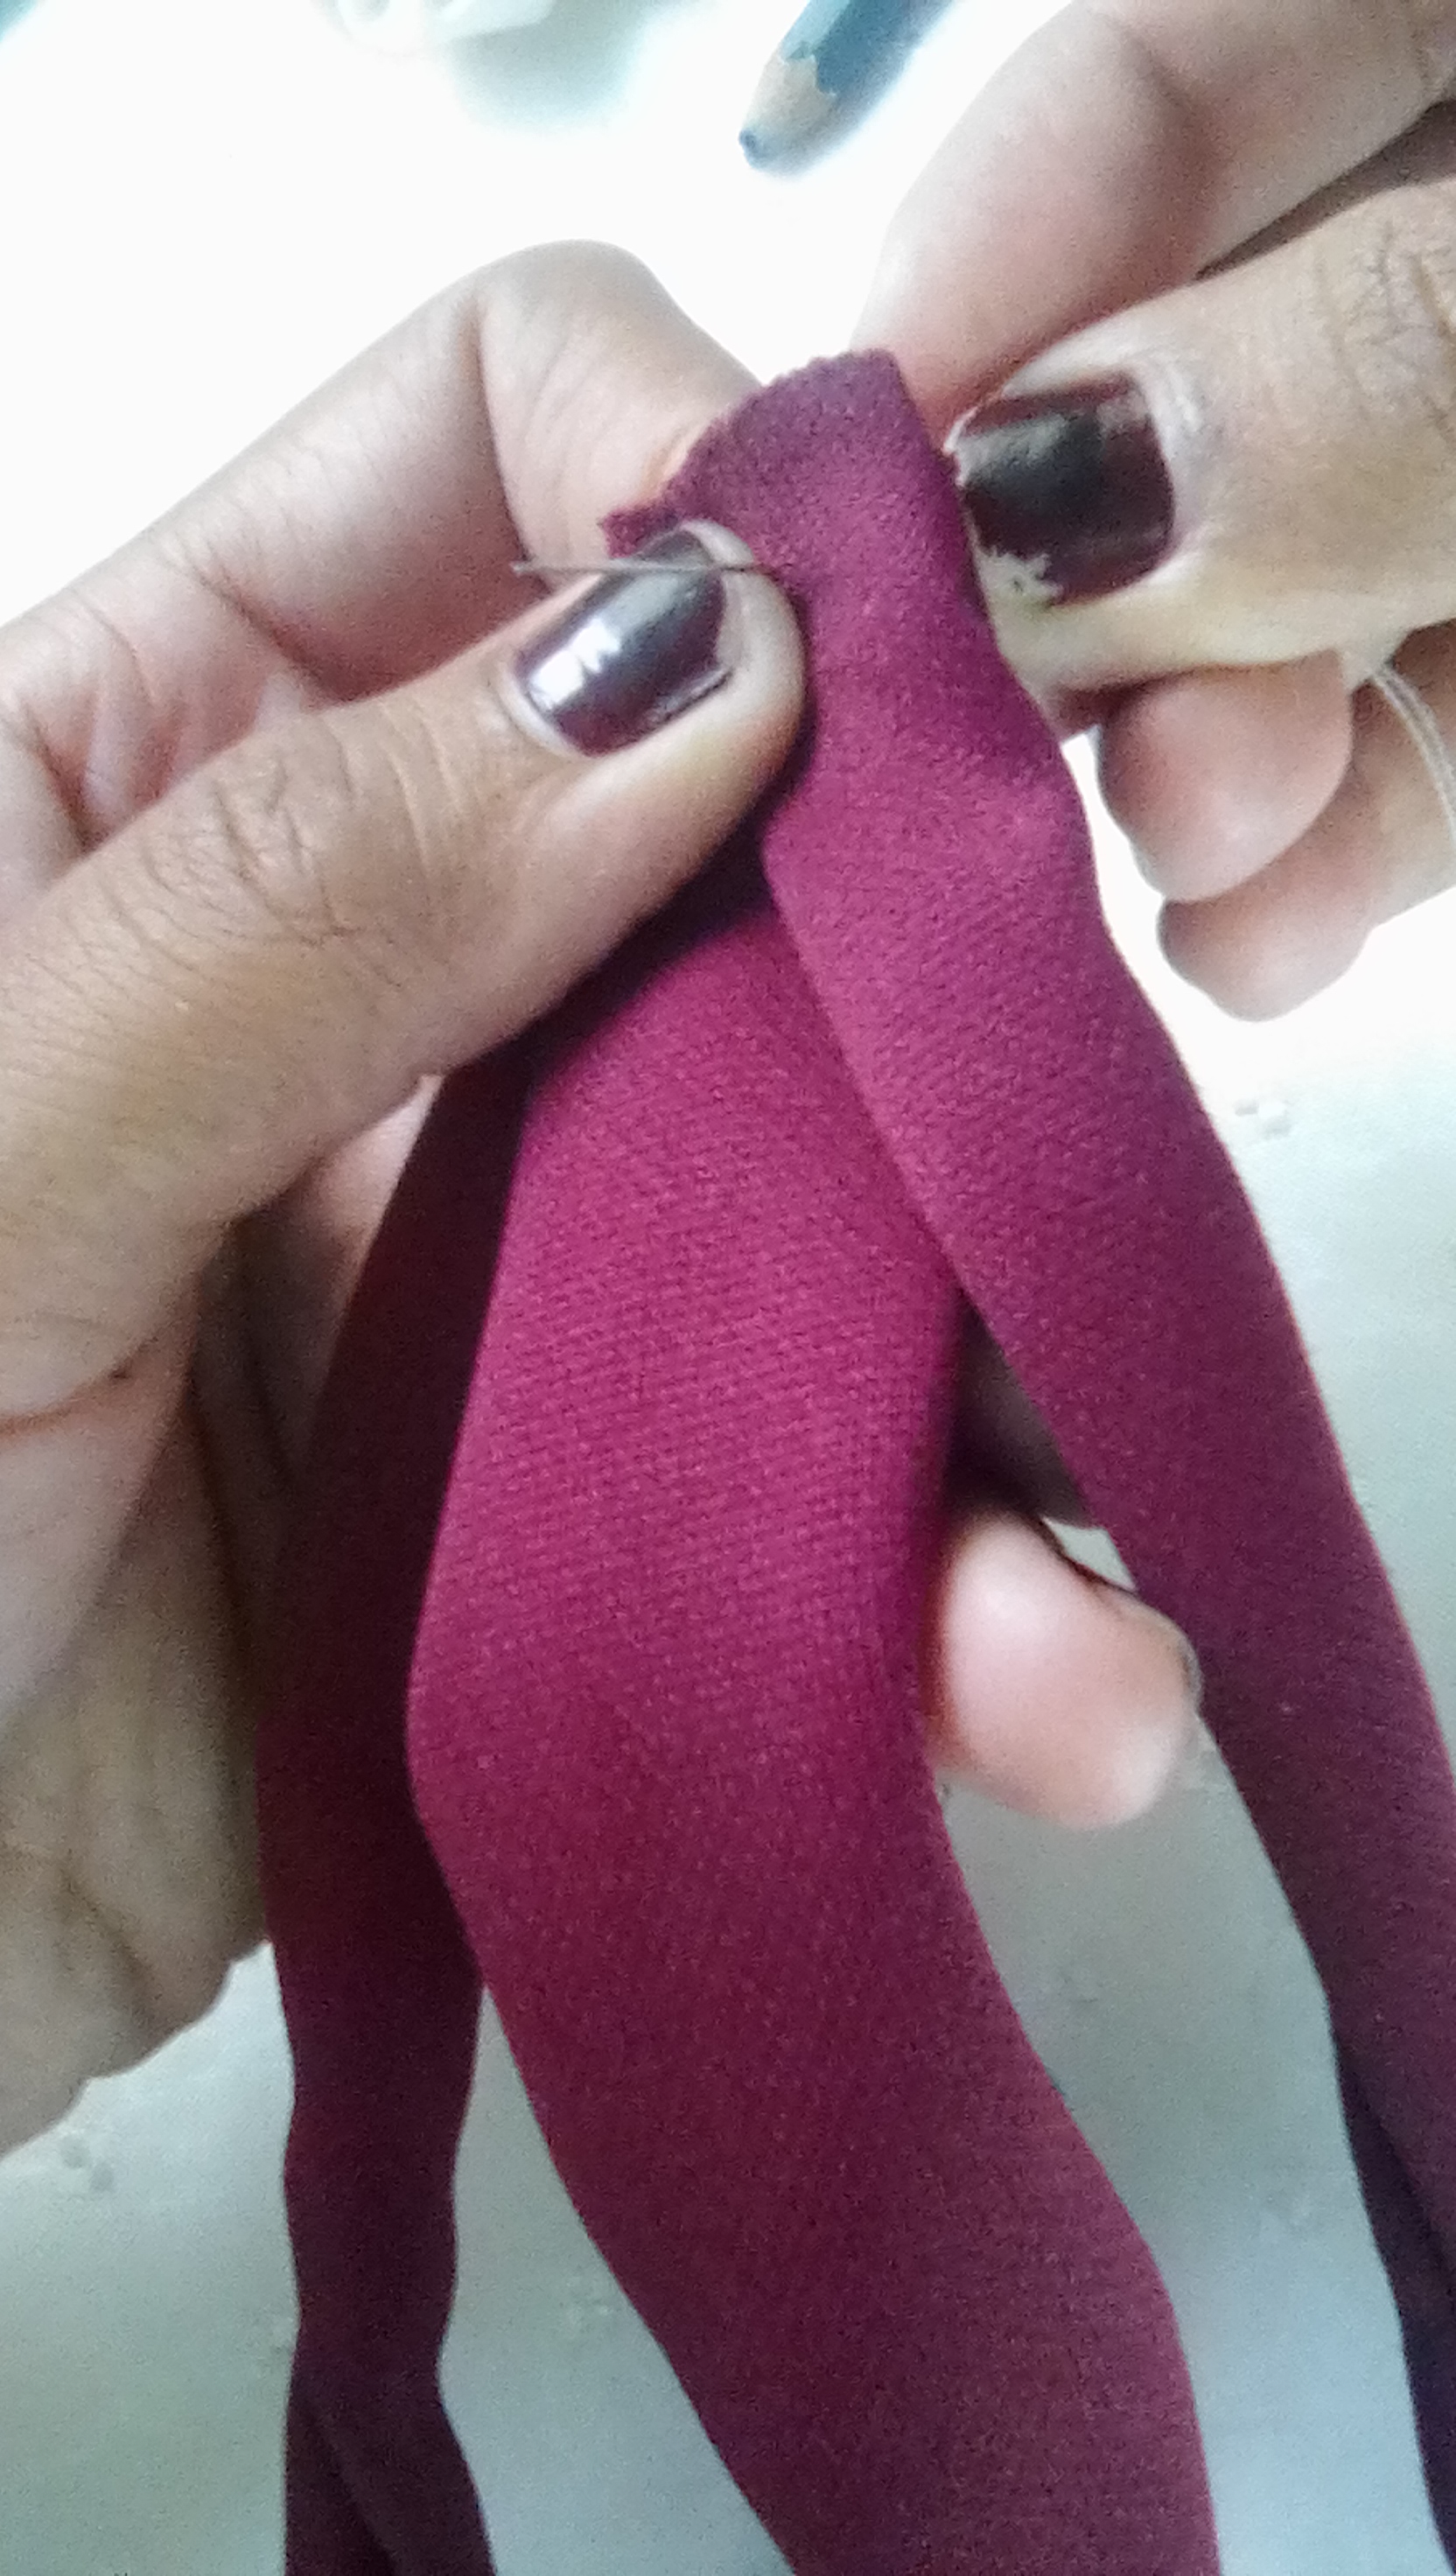
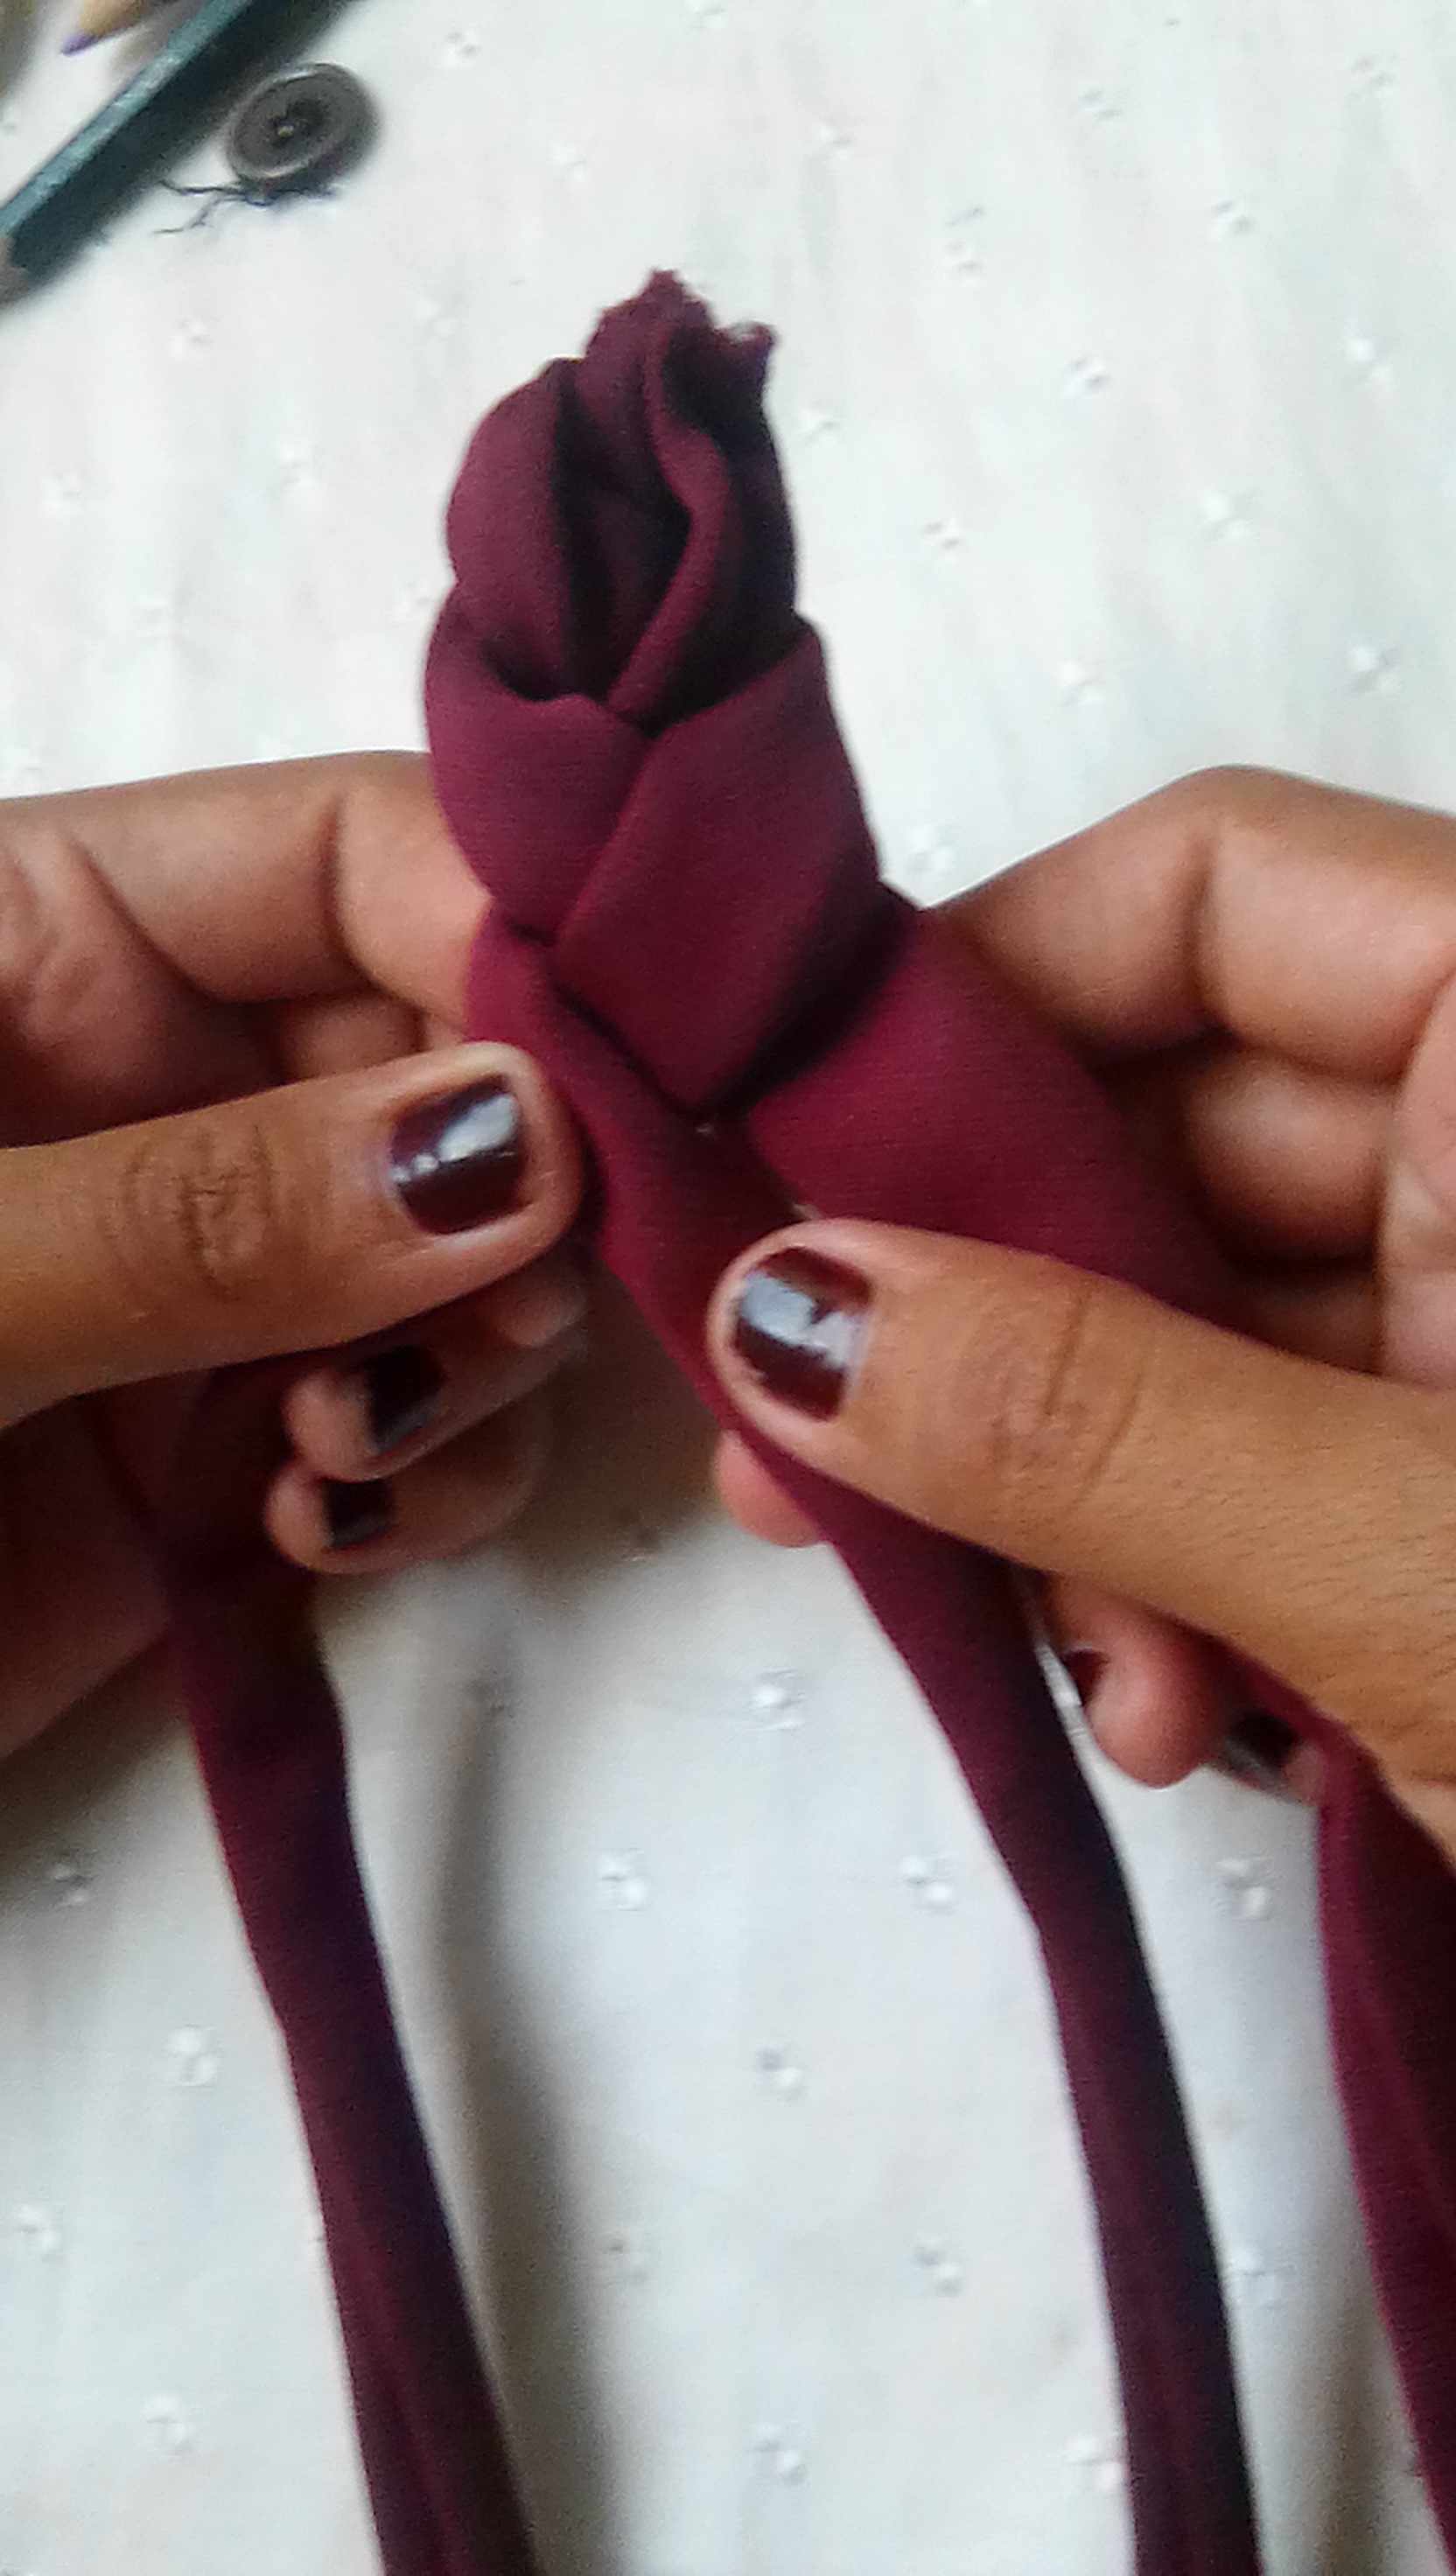
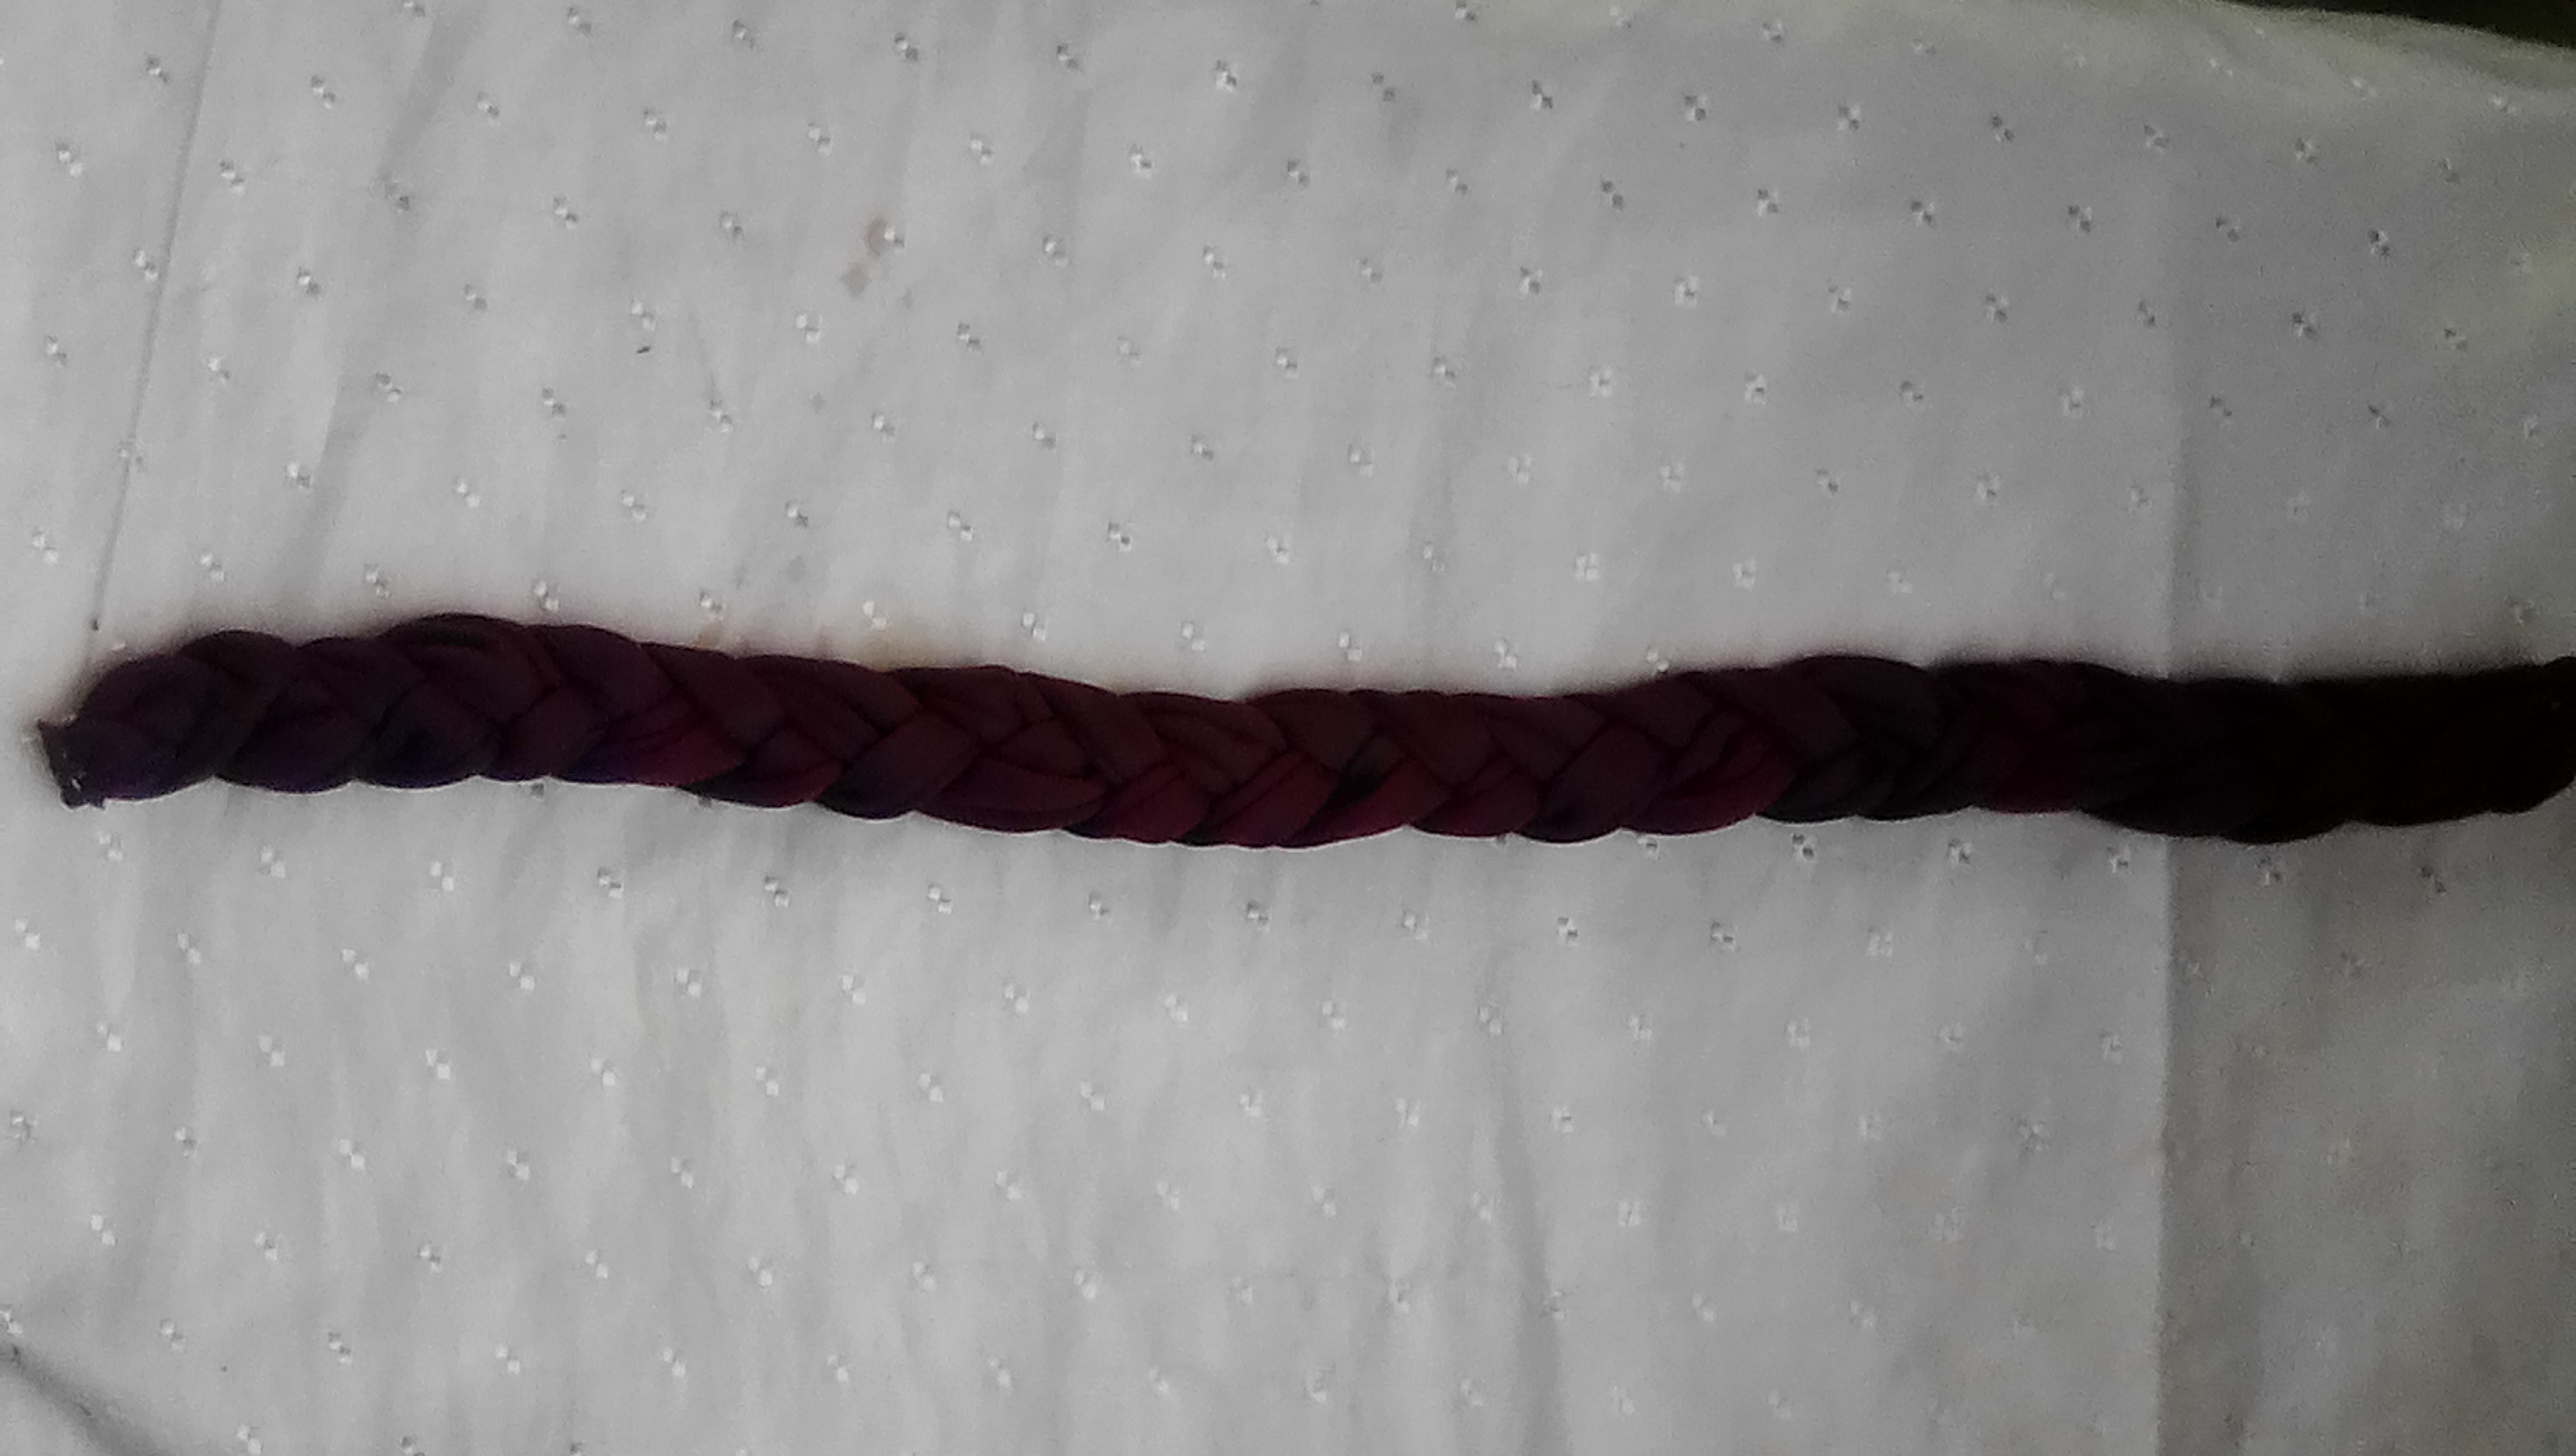
Luego de esto, toma las tres piezas y procede a coser 3 puntas de esta manera, ahora comienza a trenzar y al final asegúrate de coser muy bien las 3 puntas restantes.
Step 3:
After this, take the three pieces and proceed to sew 3 ends in this way, now begin to braid and at the end make sure to sew the remaining 3 ends very well.
Paso 4:
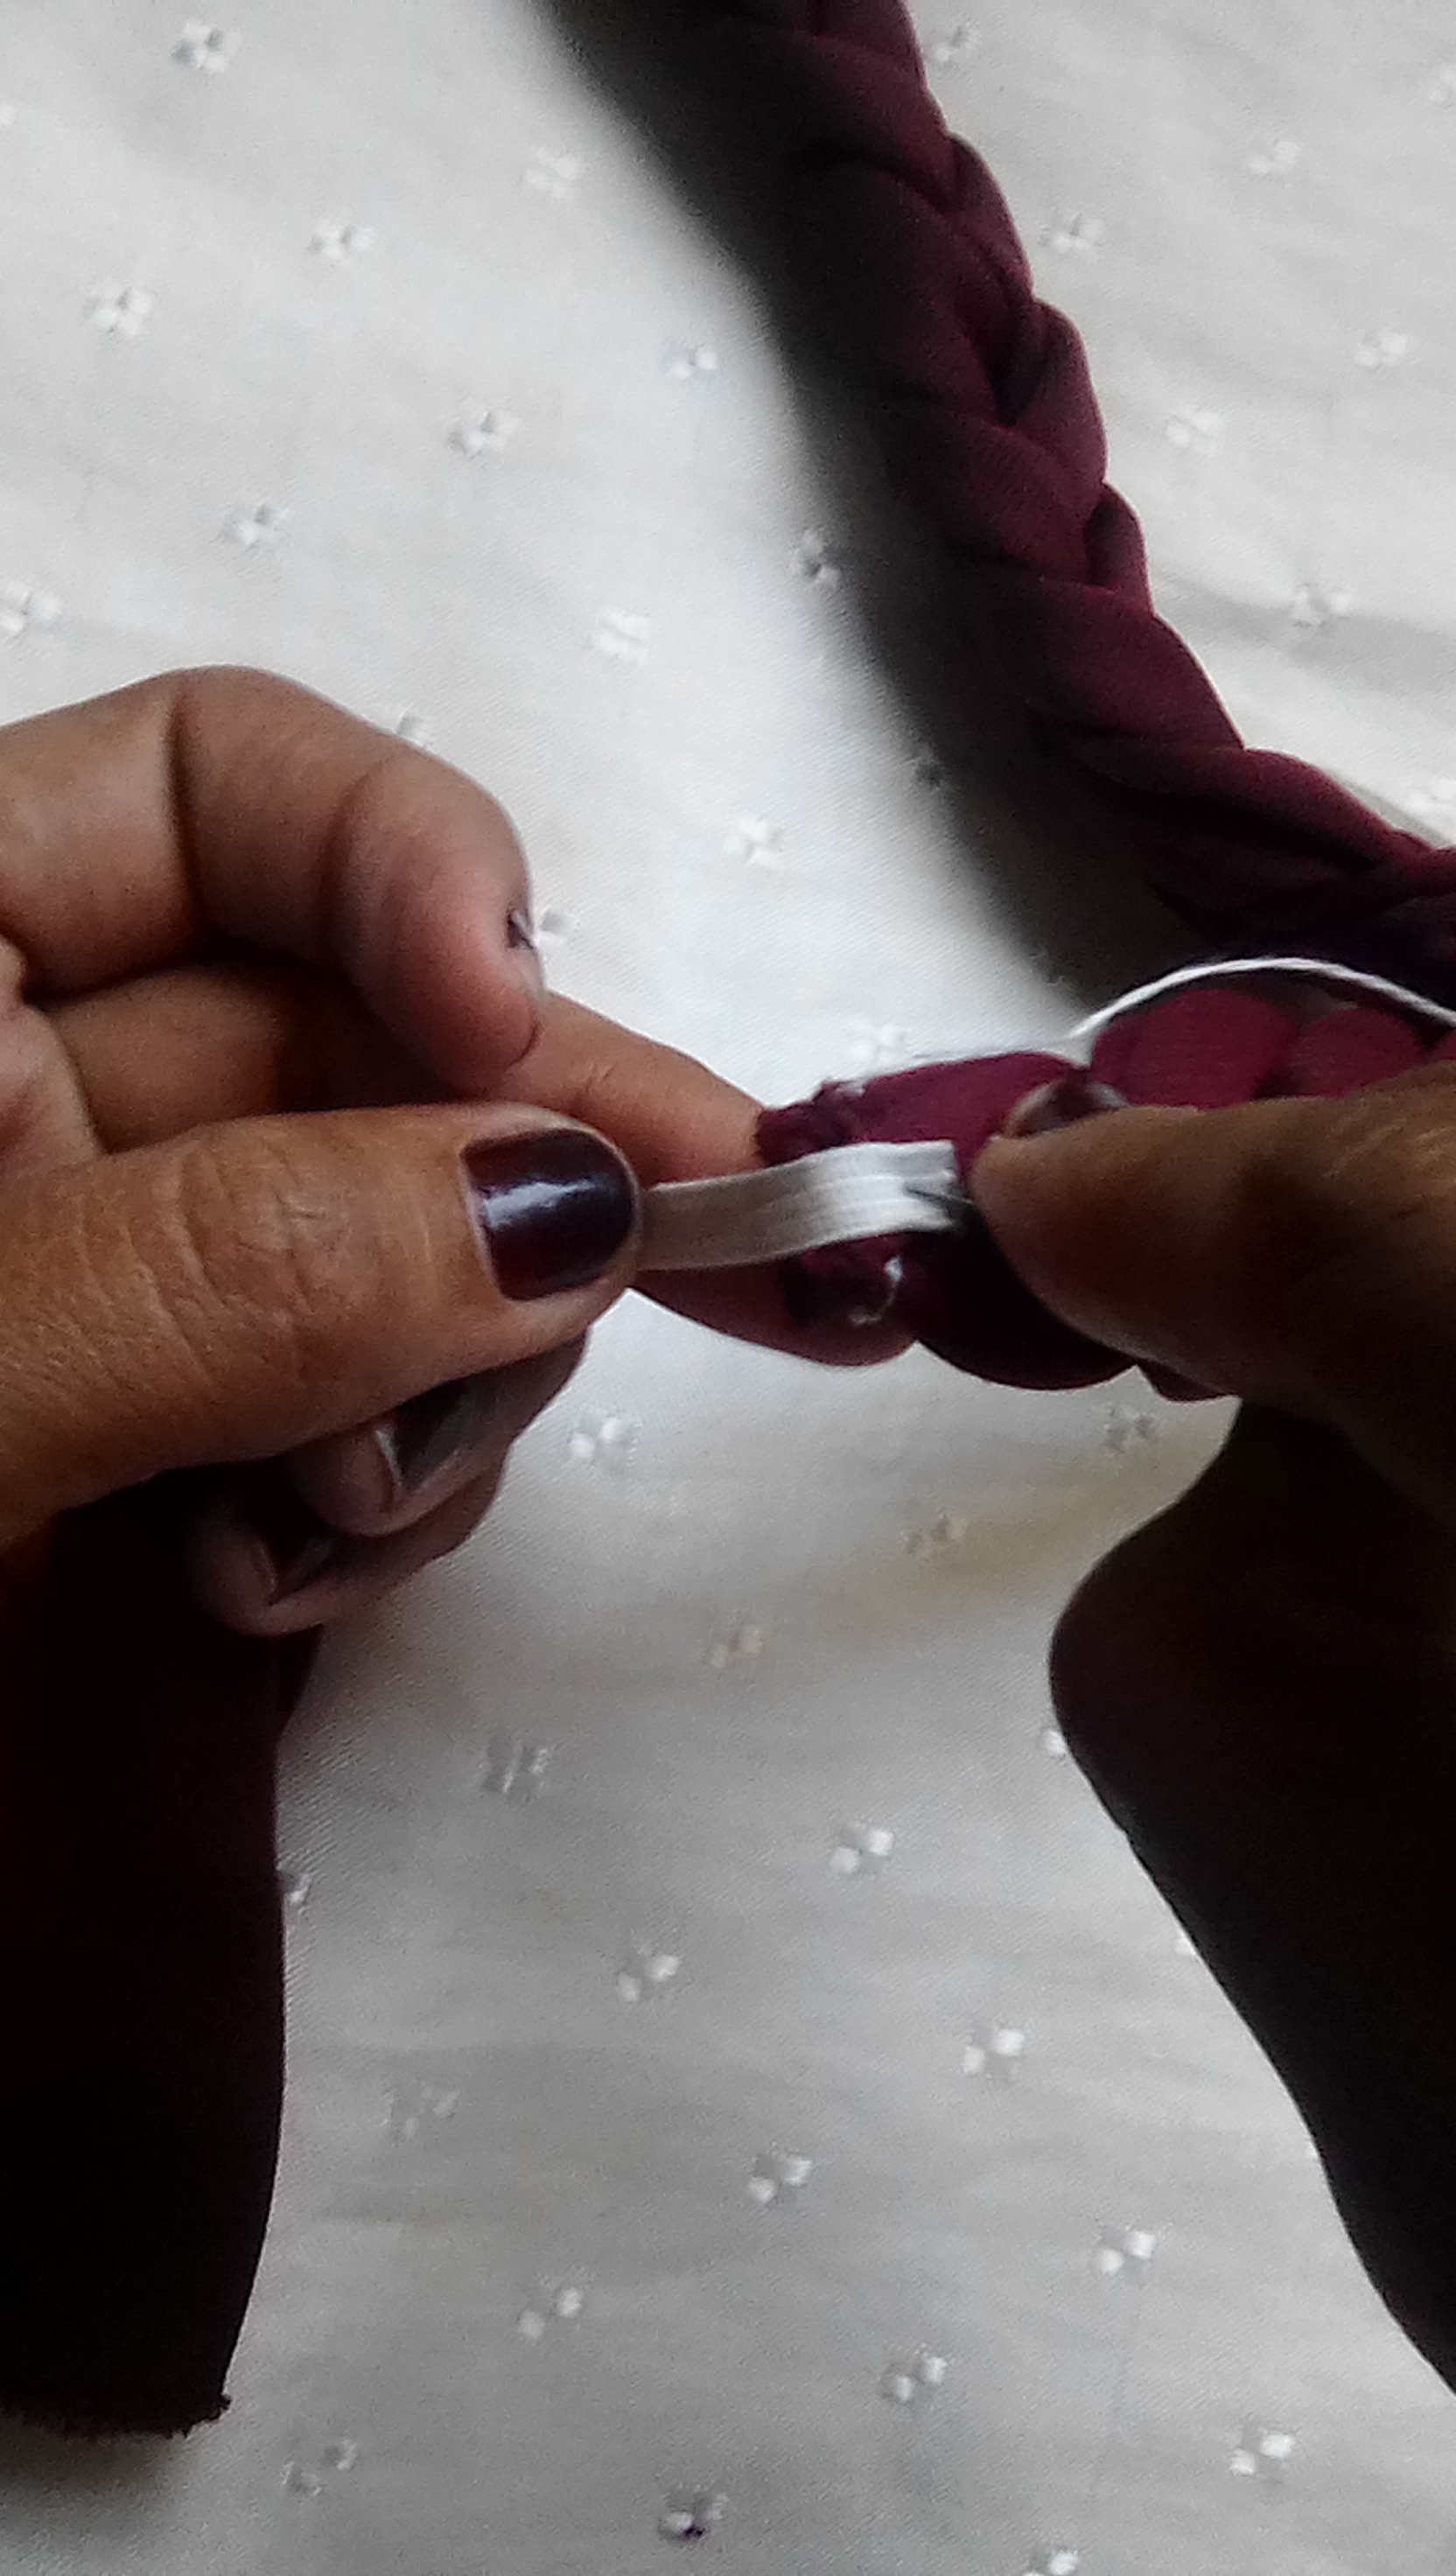
Coge un trozo del elástico y cóselo al principio de la tela, repite el procedimiento al final de la tela, colocando un trozo de tela del mismo color sobre el elástico para que no se vea, le darás un mejor acabado a la diadema.
Step 4:
Take a piece of the elastic and sew it at the beginning of the fabric, repeat the procedure at the end of the fabric, placing a piece of the same color fabric on the elastic so that it does not look like this, you will give a better finish to the headband.
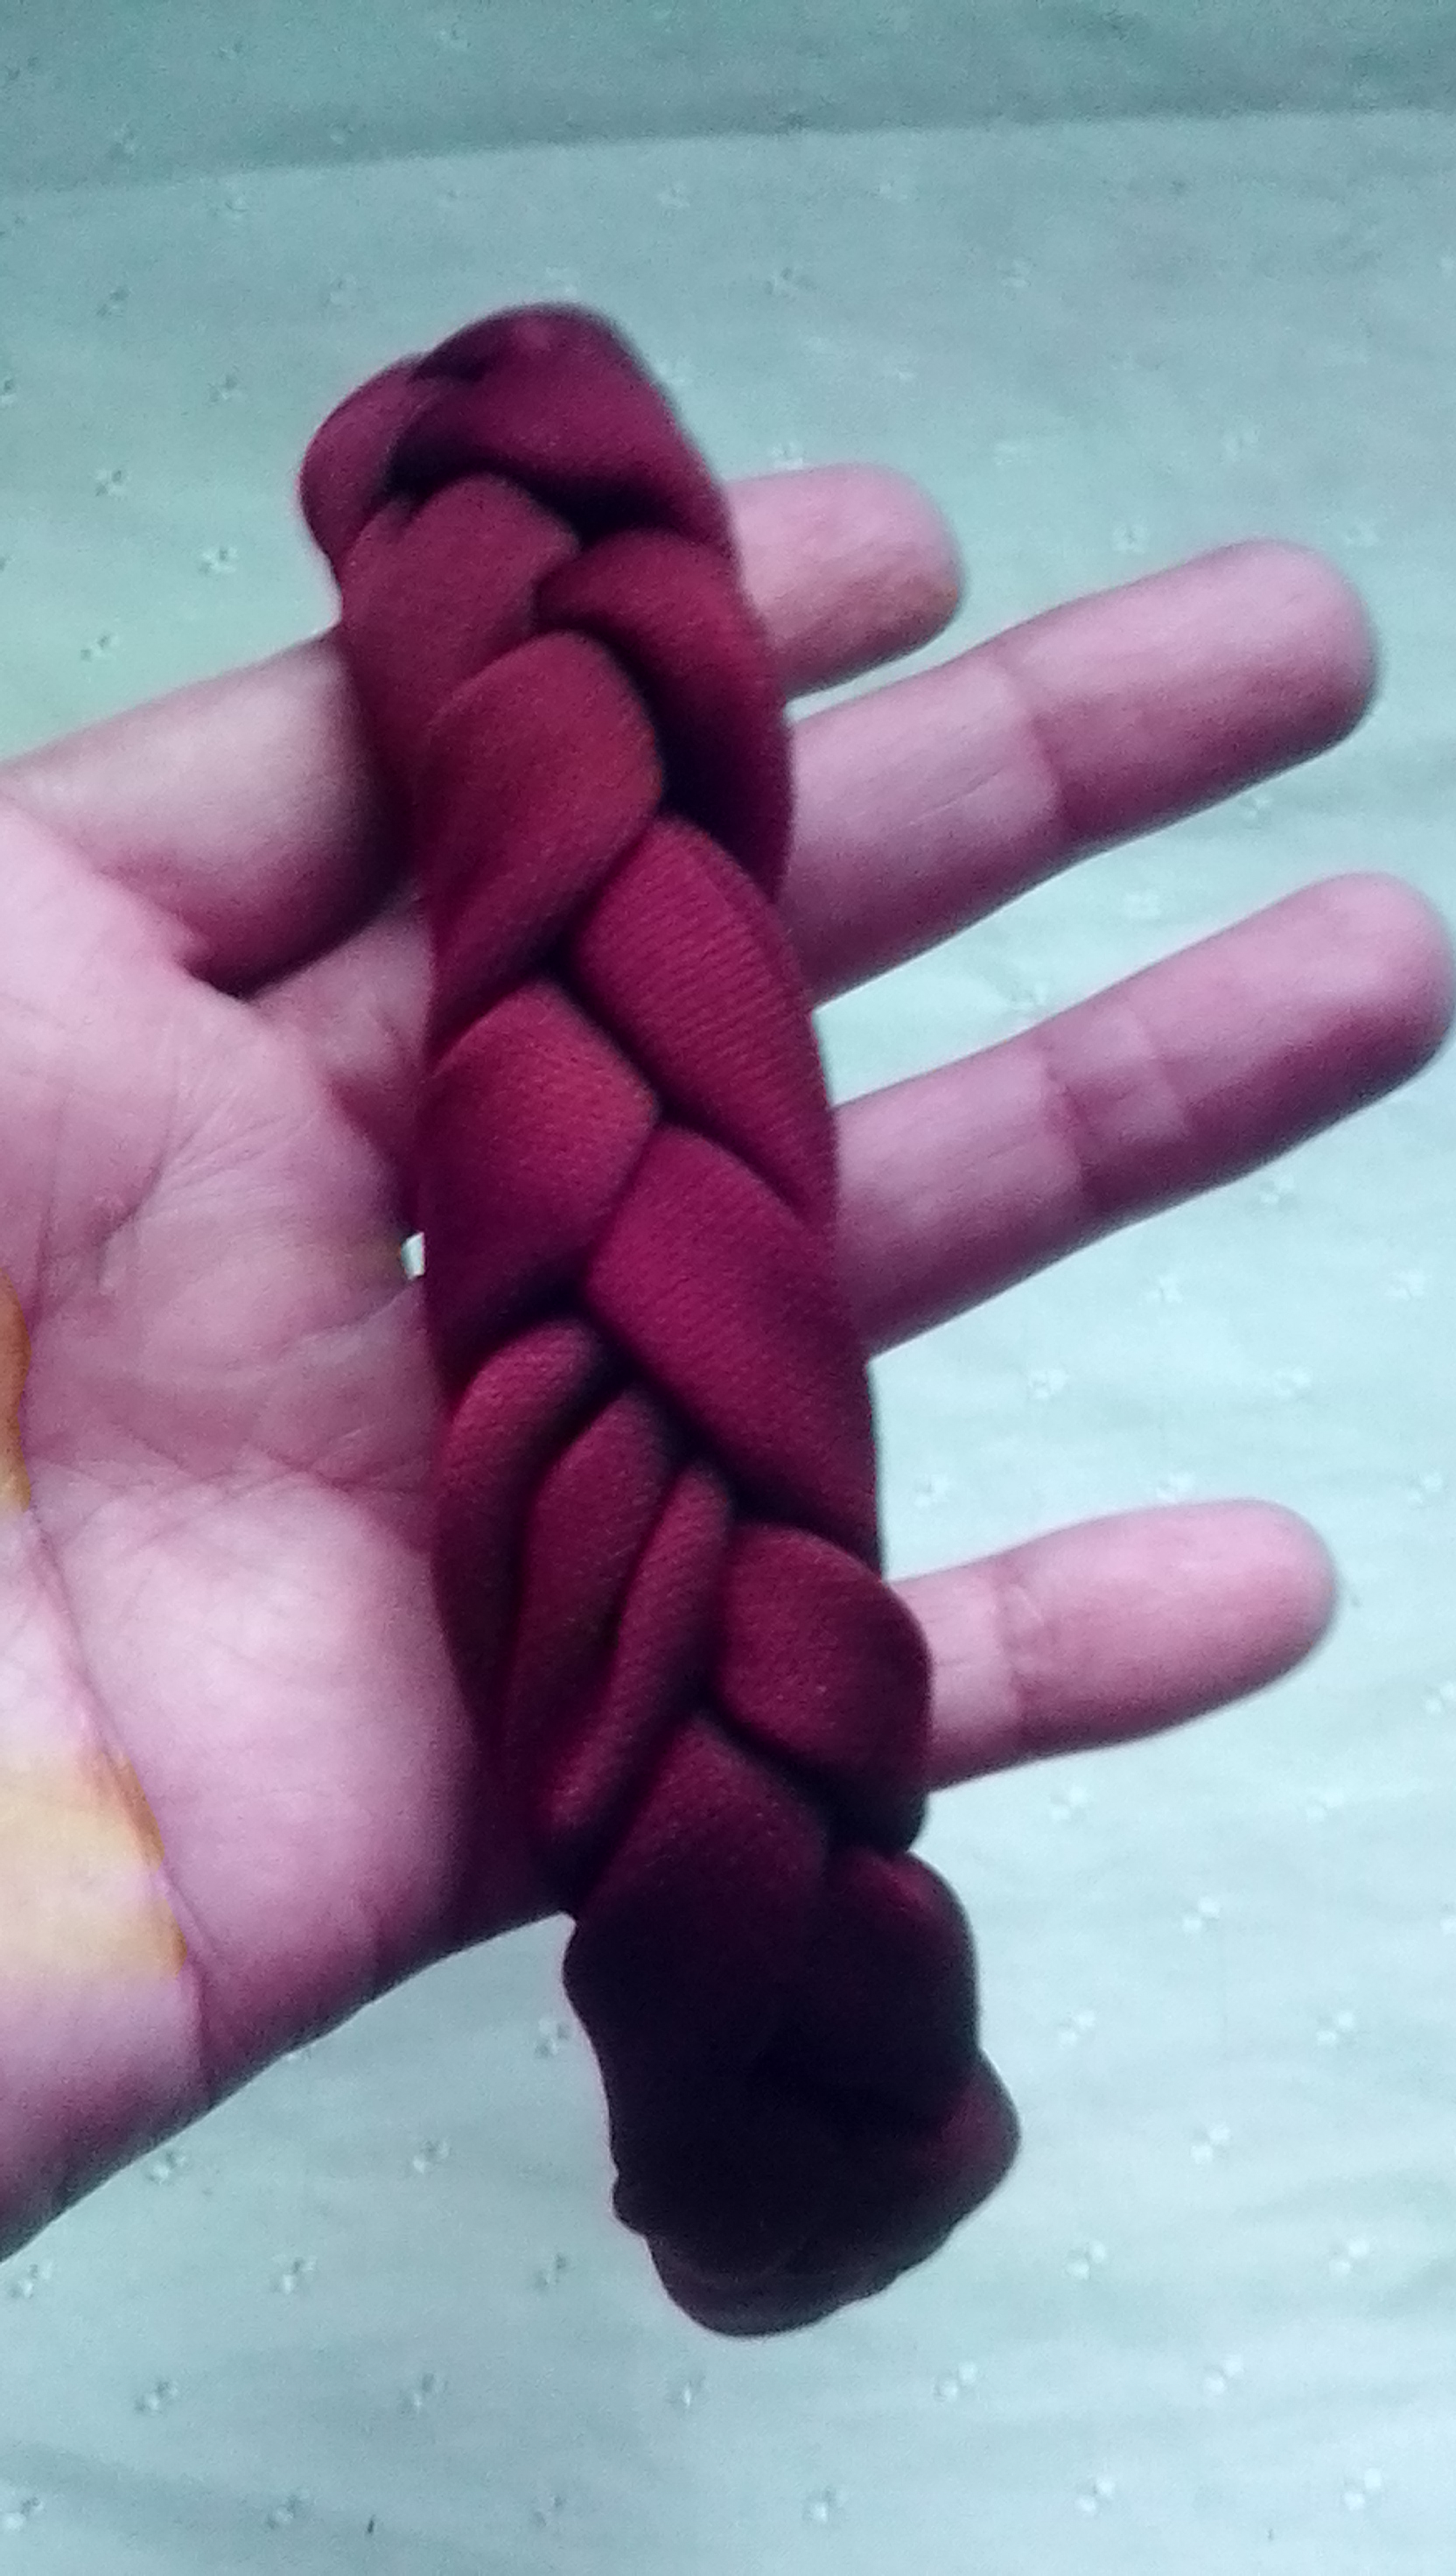
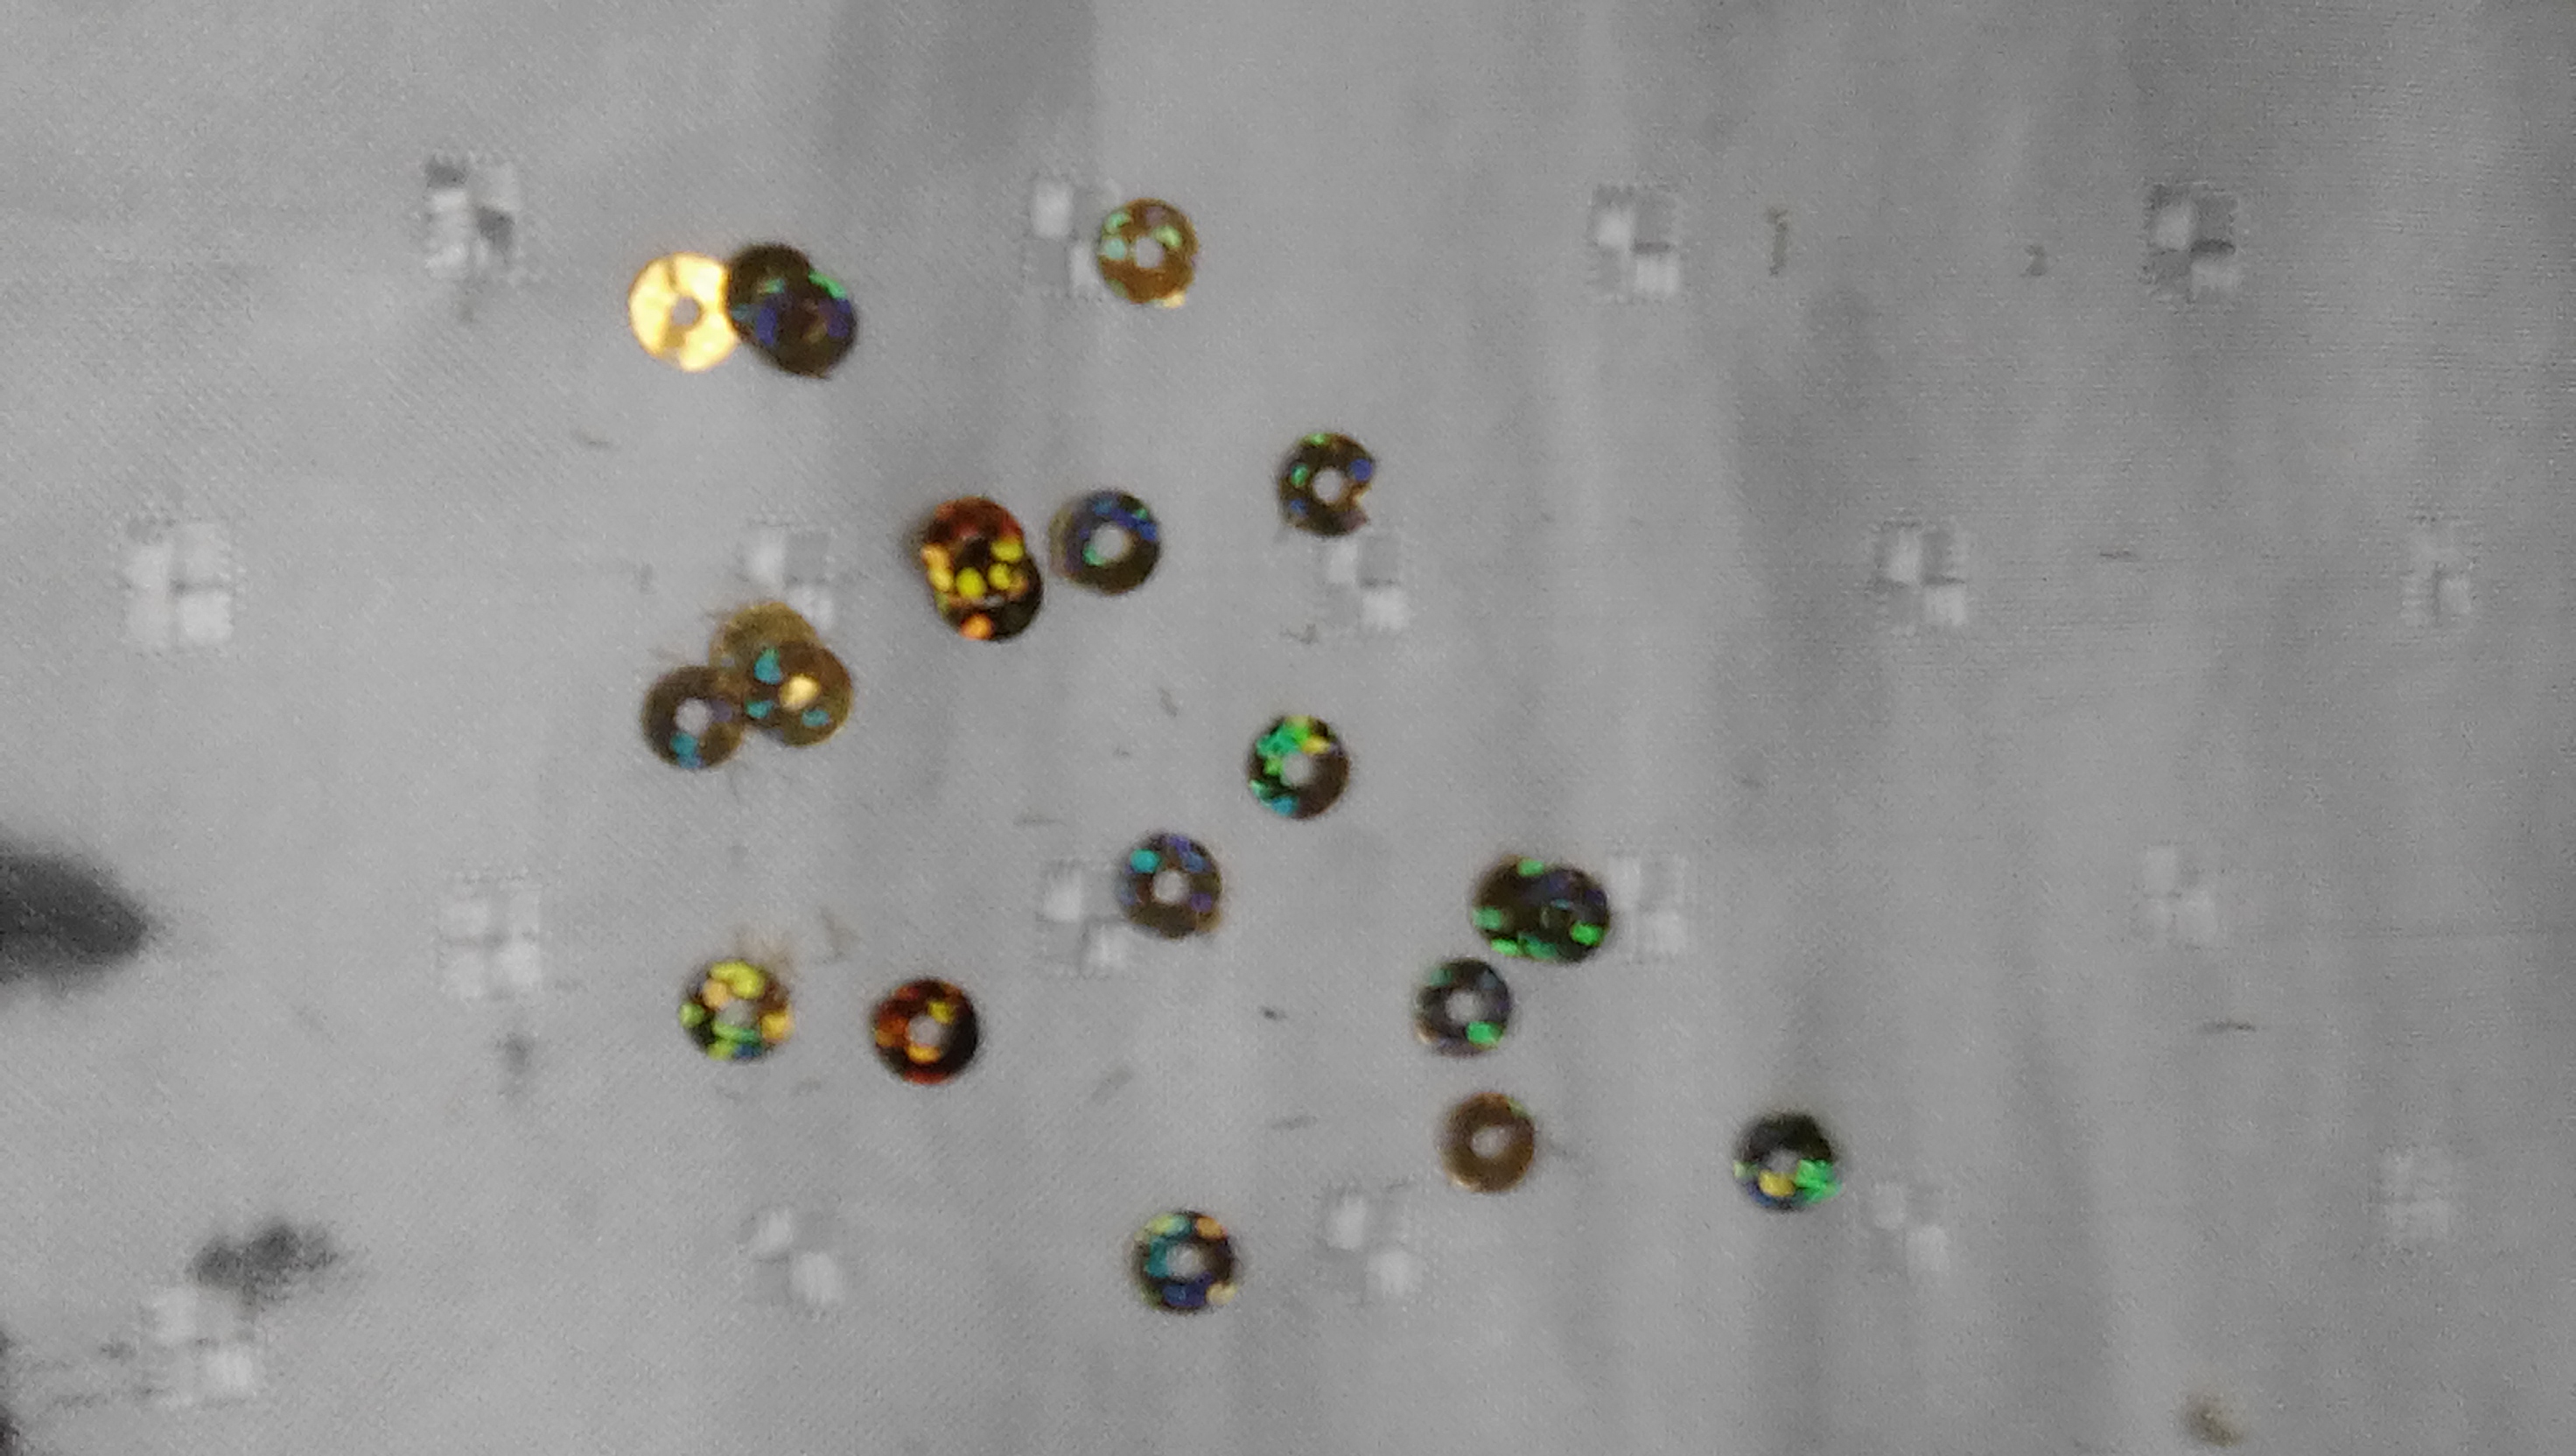
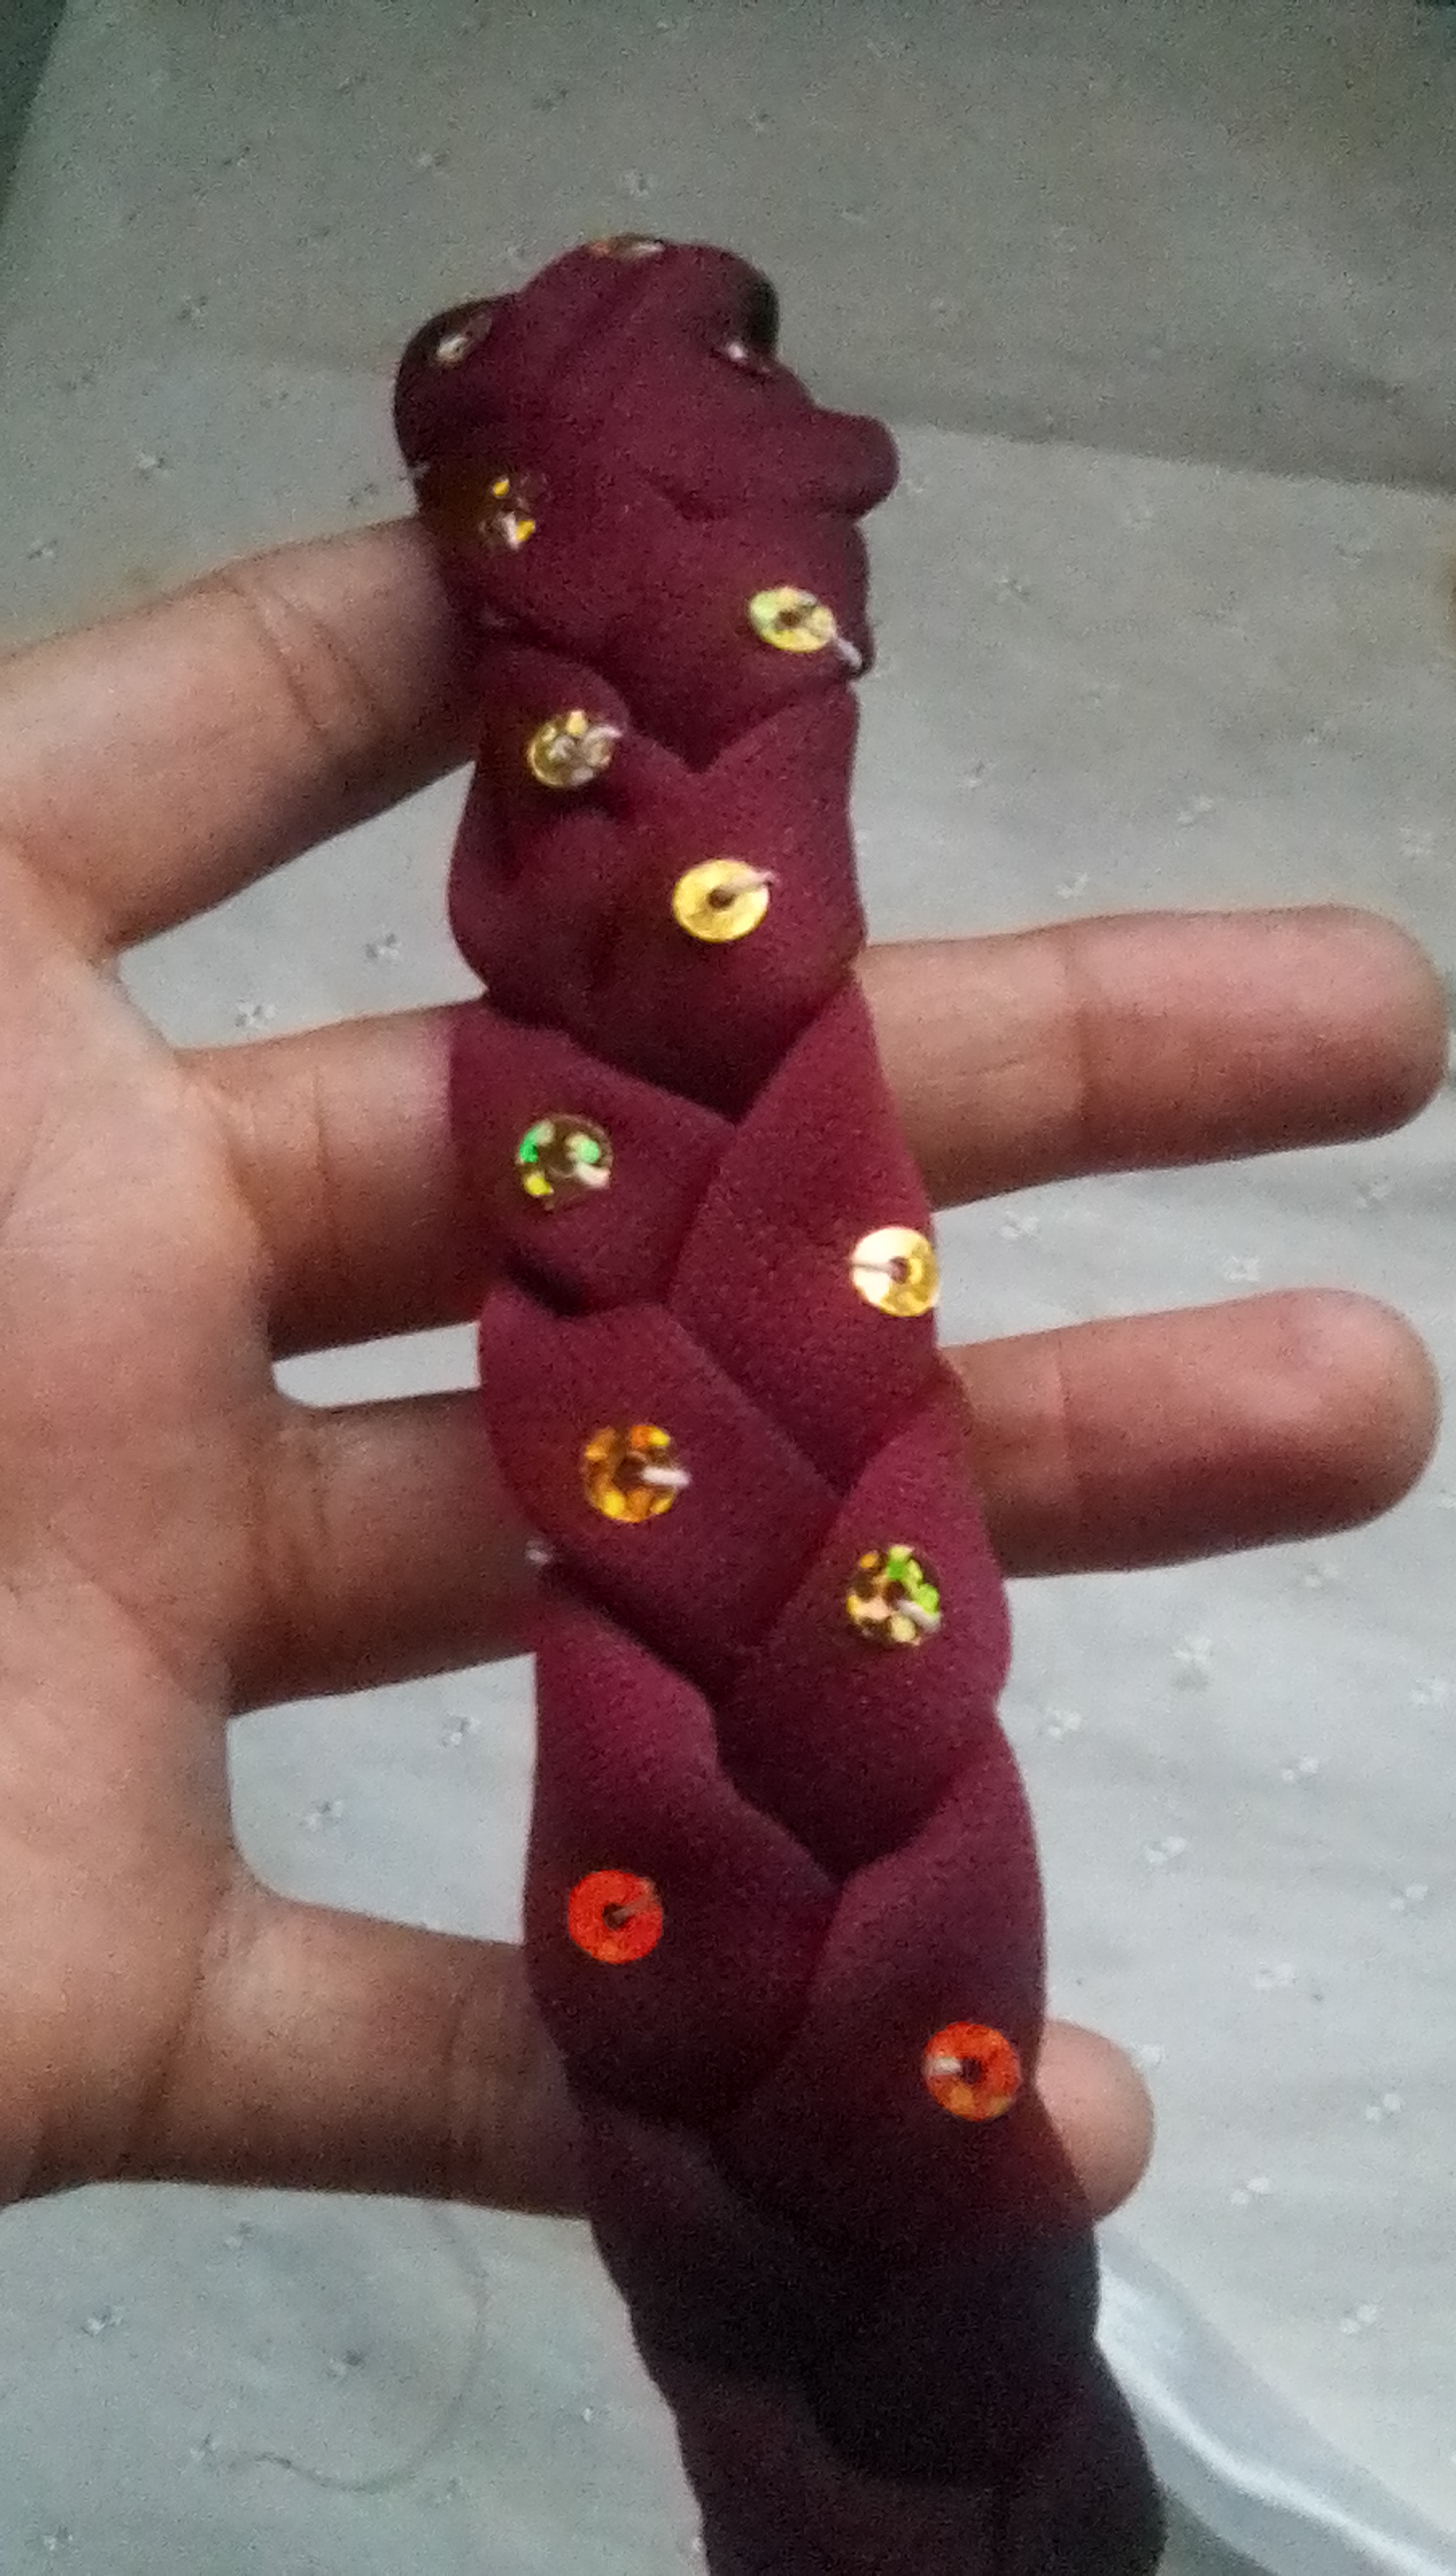
Una vez terminada la diadema procede a realizar los detalles de la decoración, puedes hacerlo a tu gusto, en este caso opté por colocarle unas pequeñas lentejuelas y una flor.
Once the headband is finished, proceed to make the details of the decoration, you can do it as you like, in this case I chose to place small sequins and a flower on it.
Paso 5:
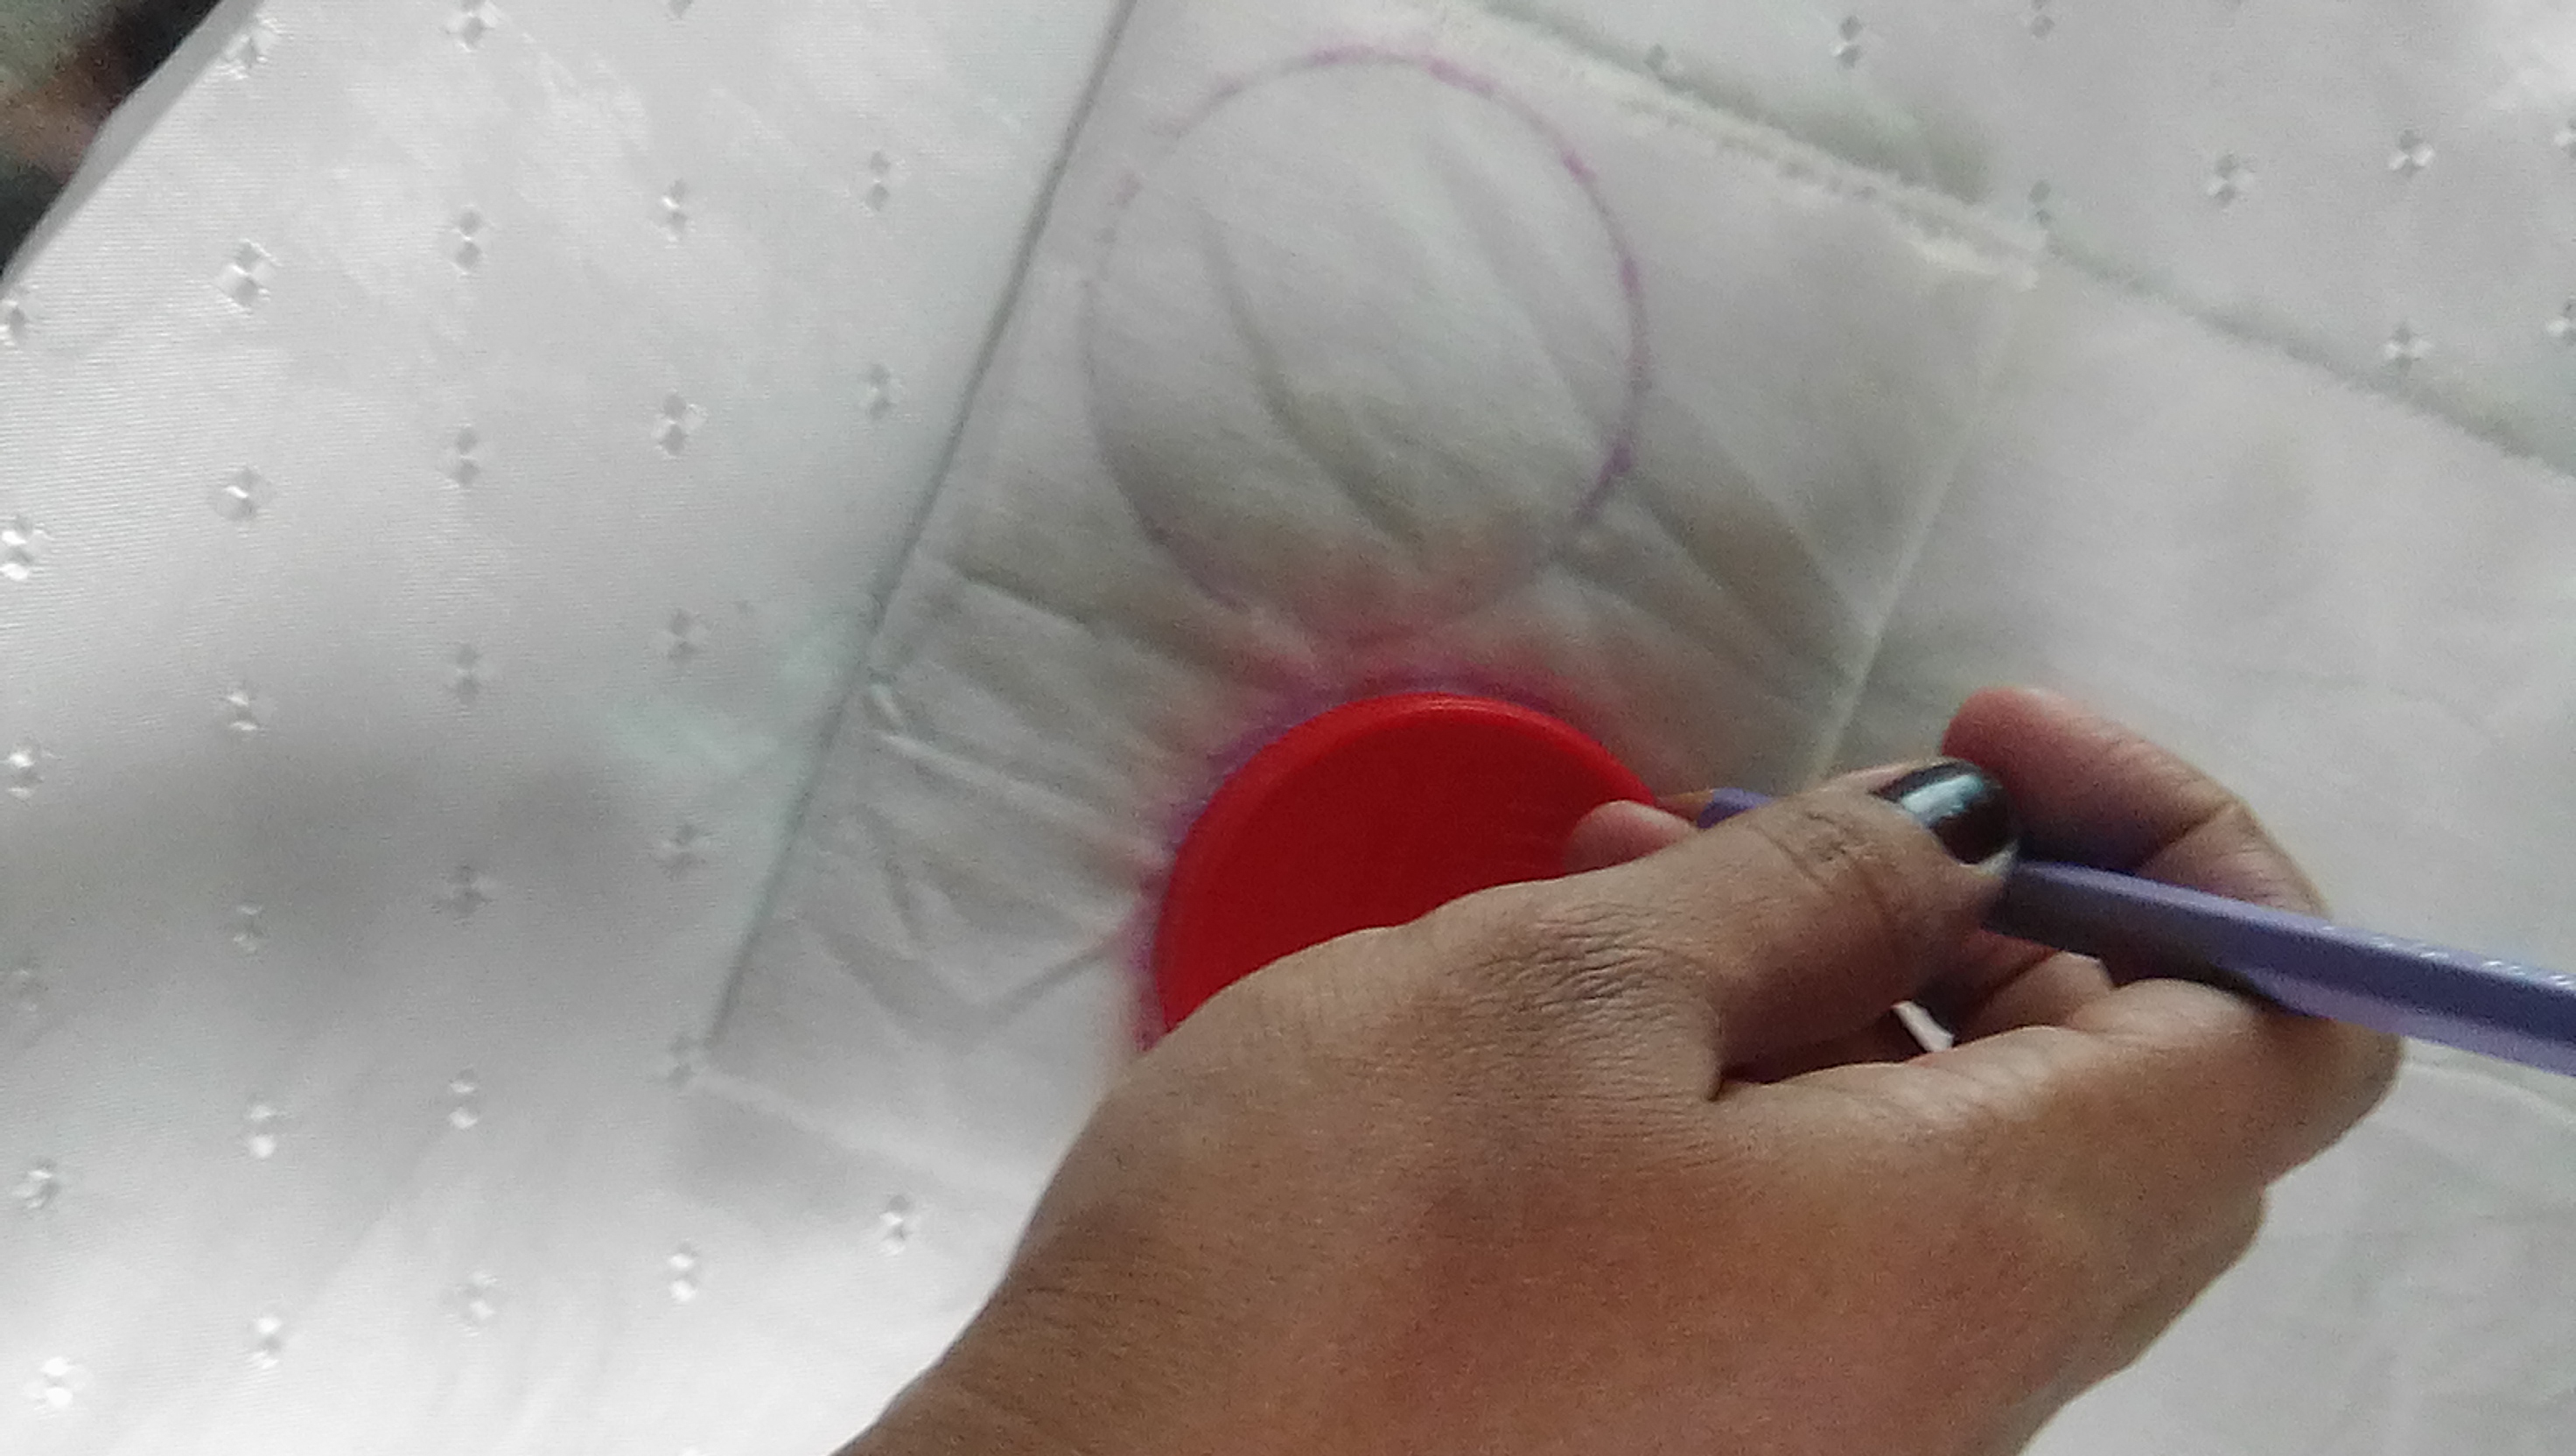
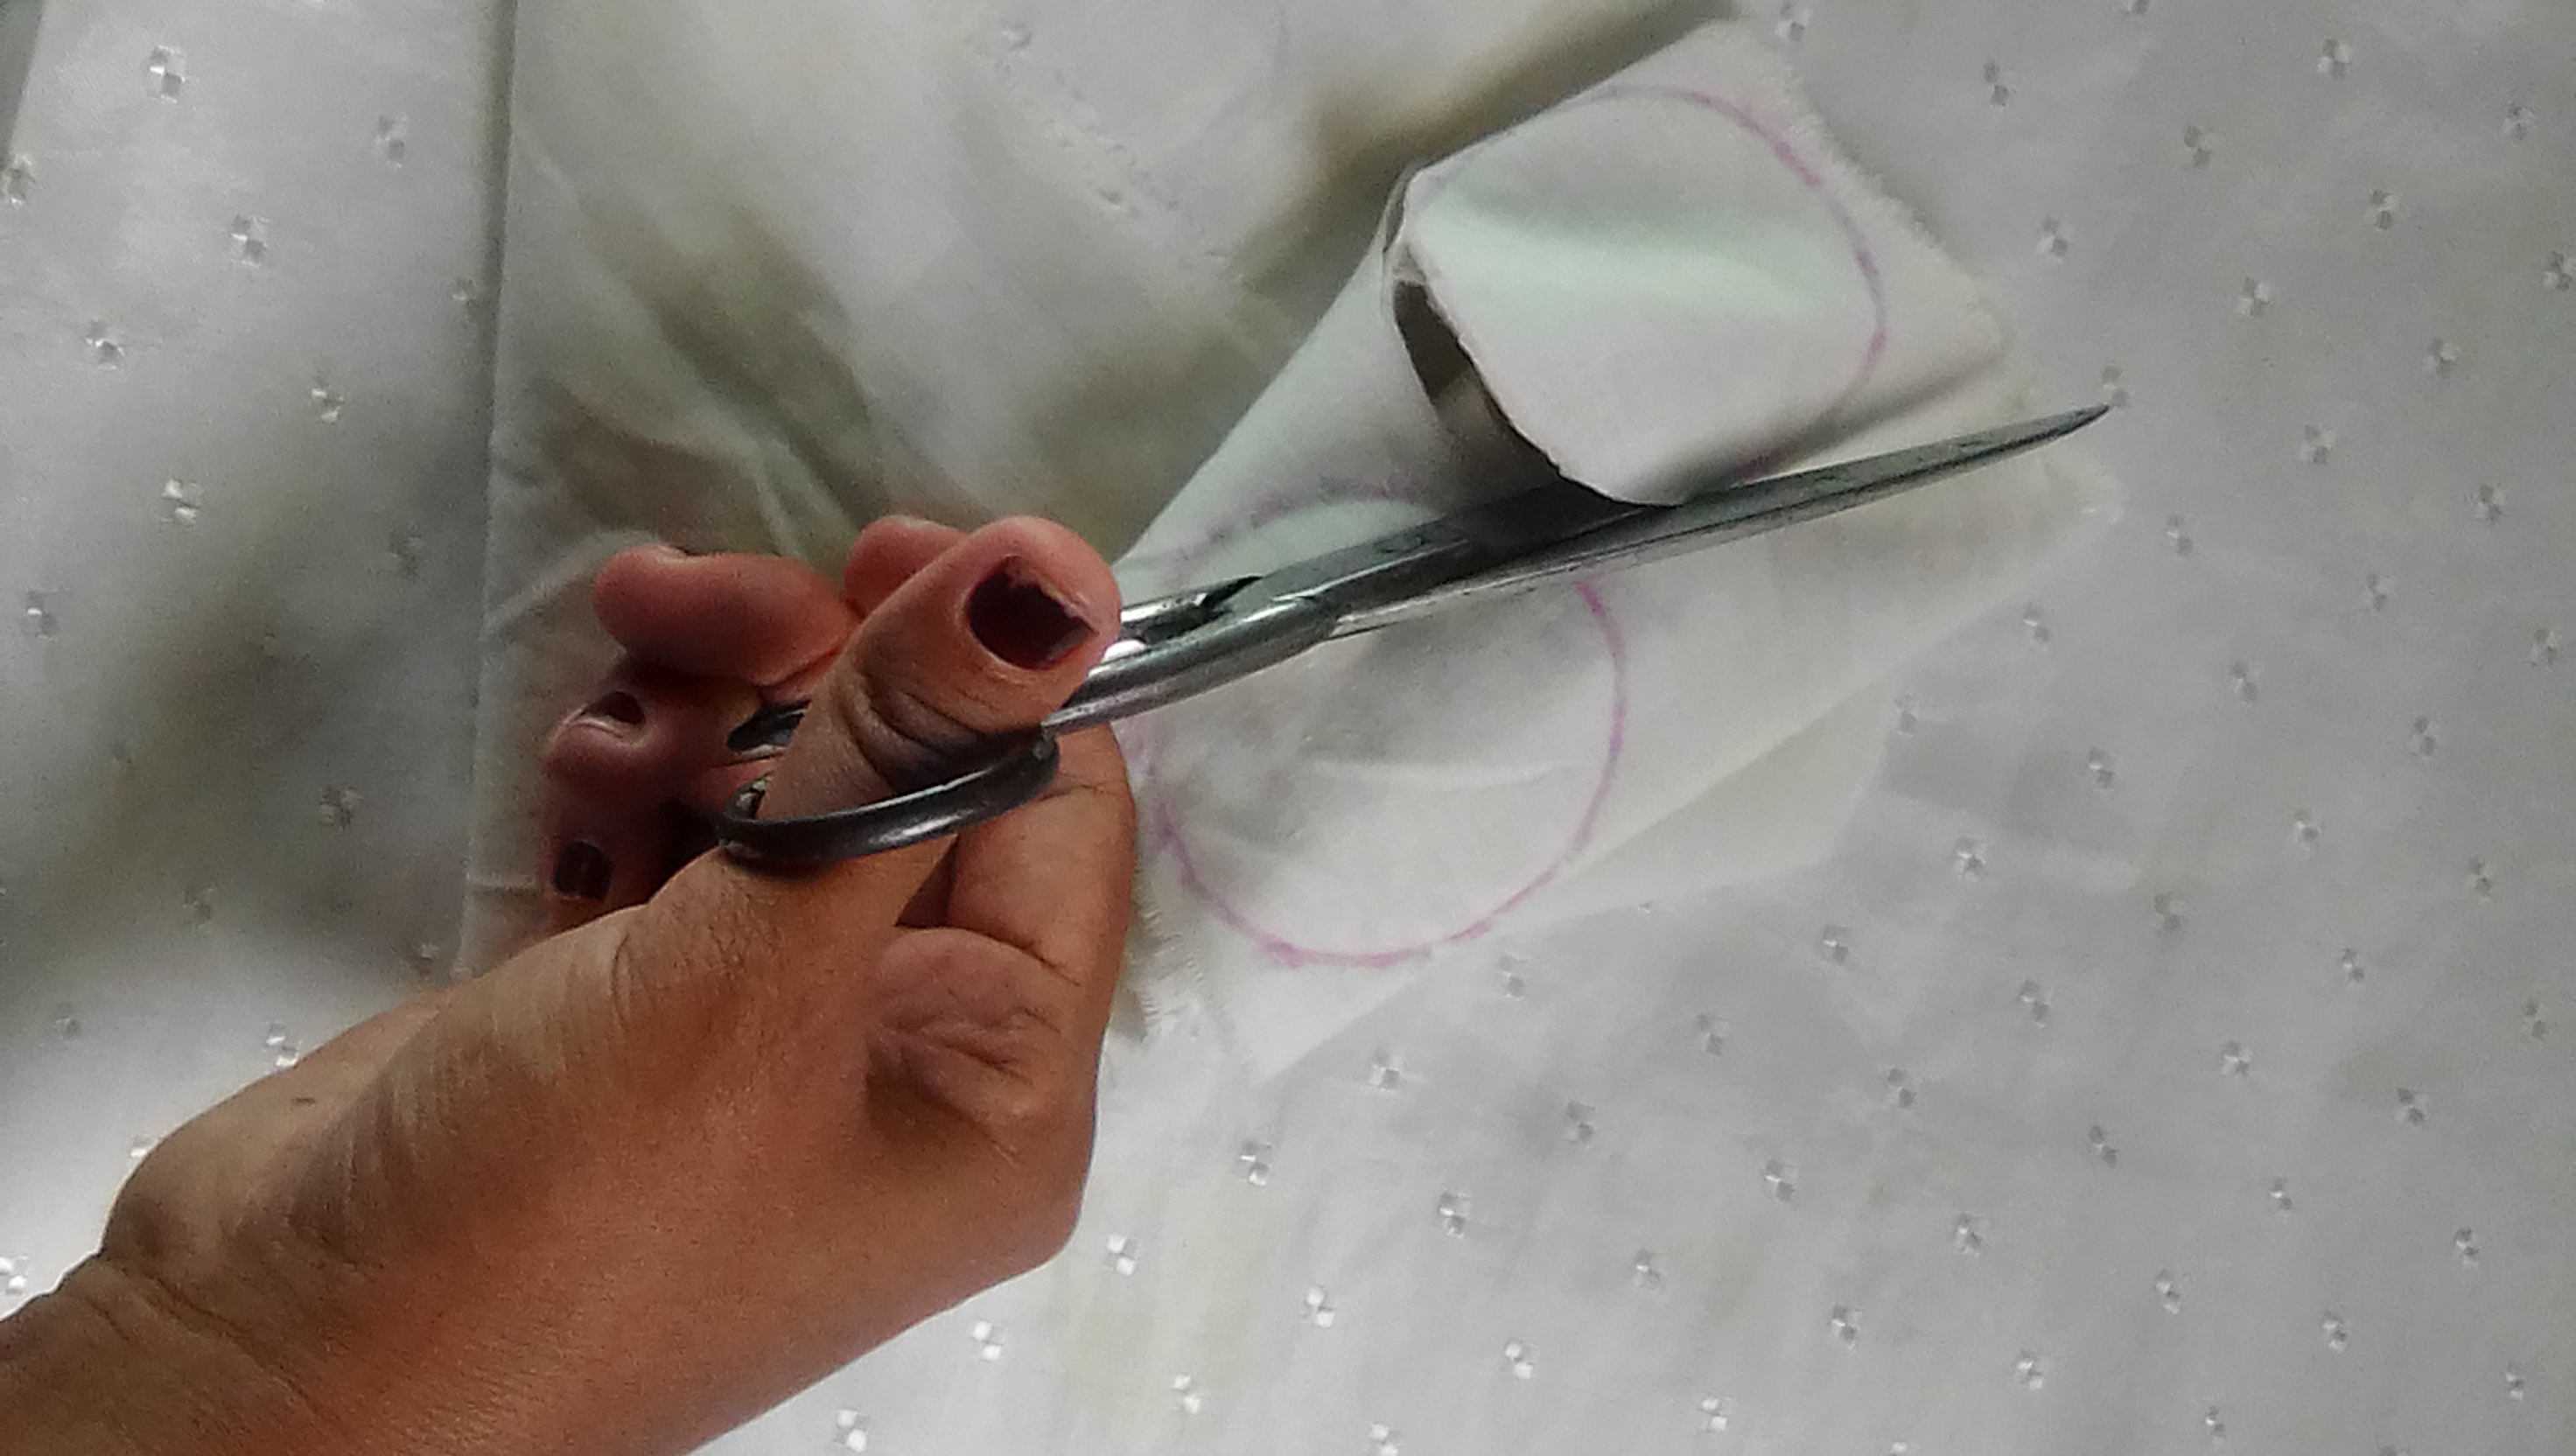
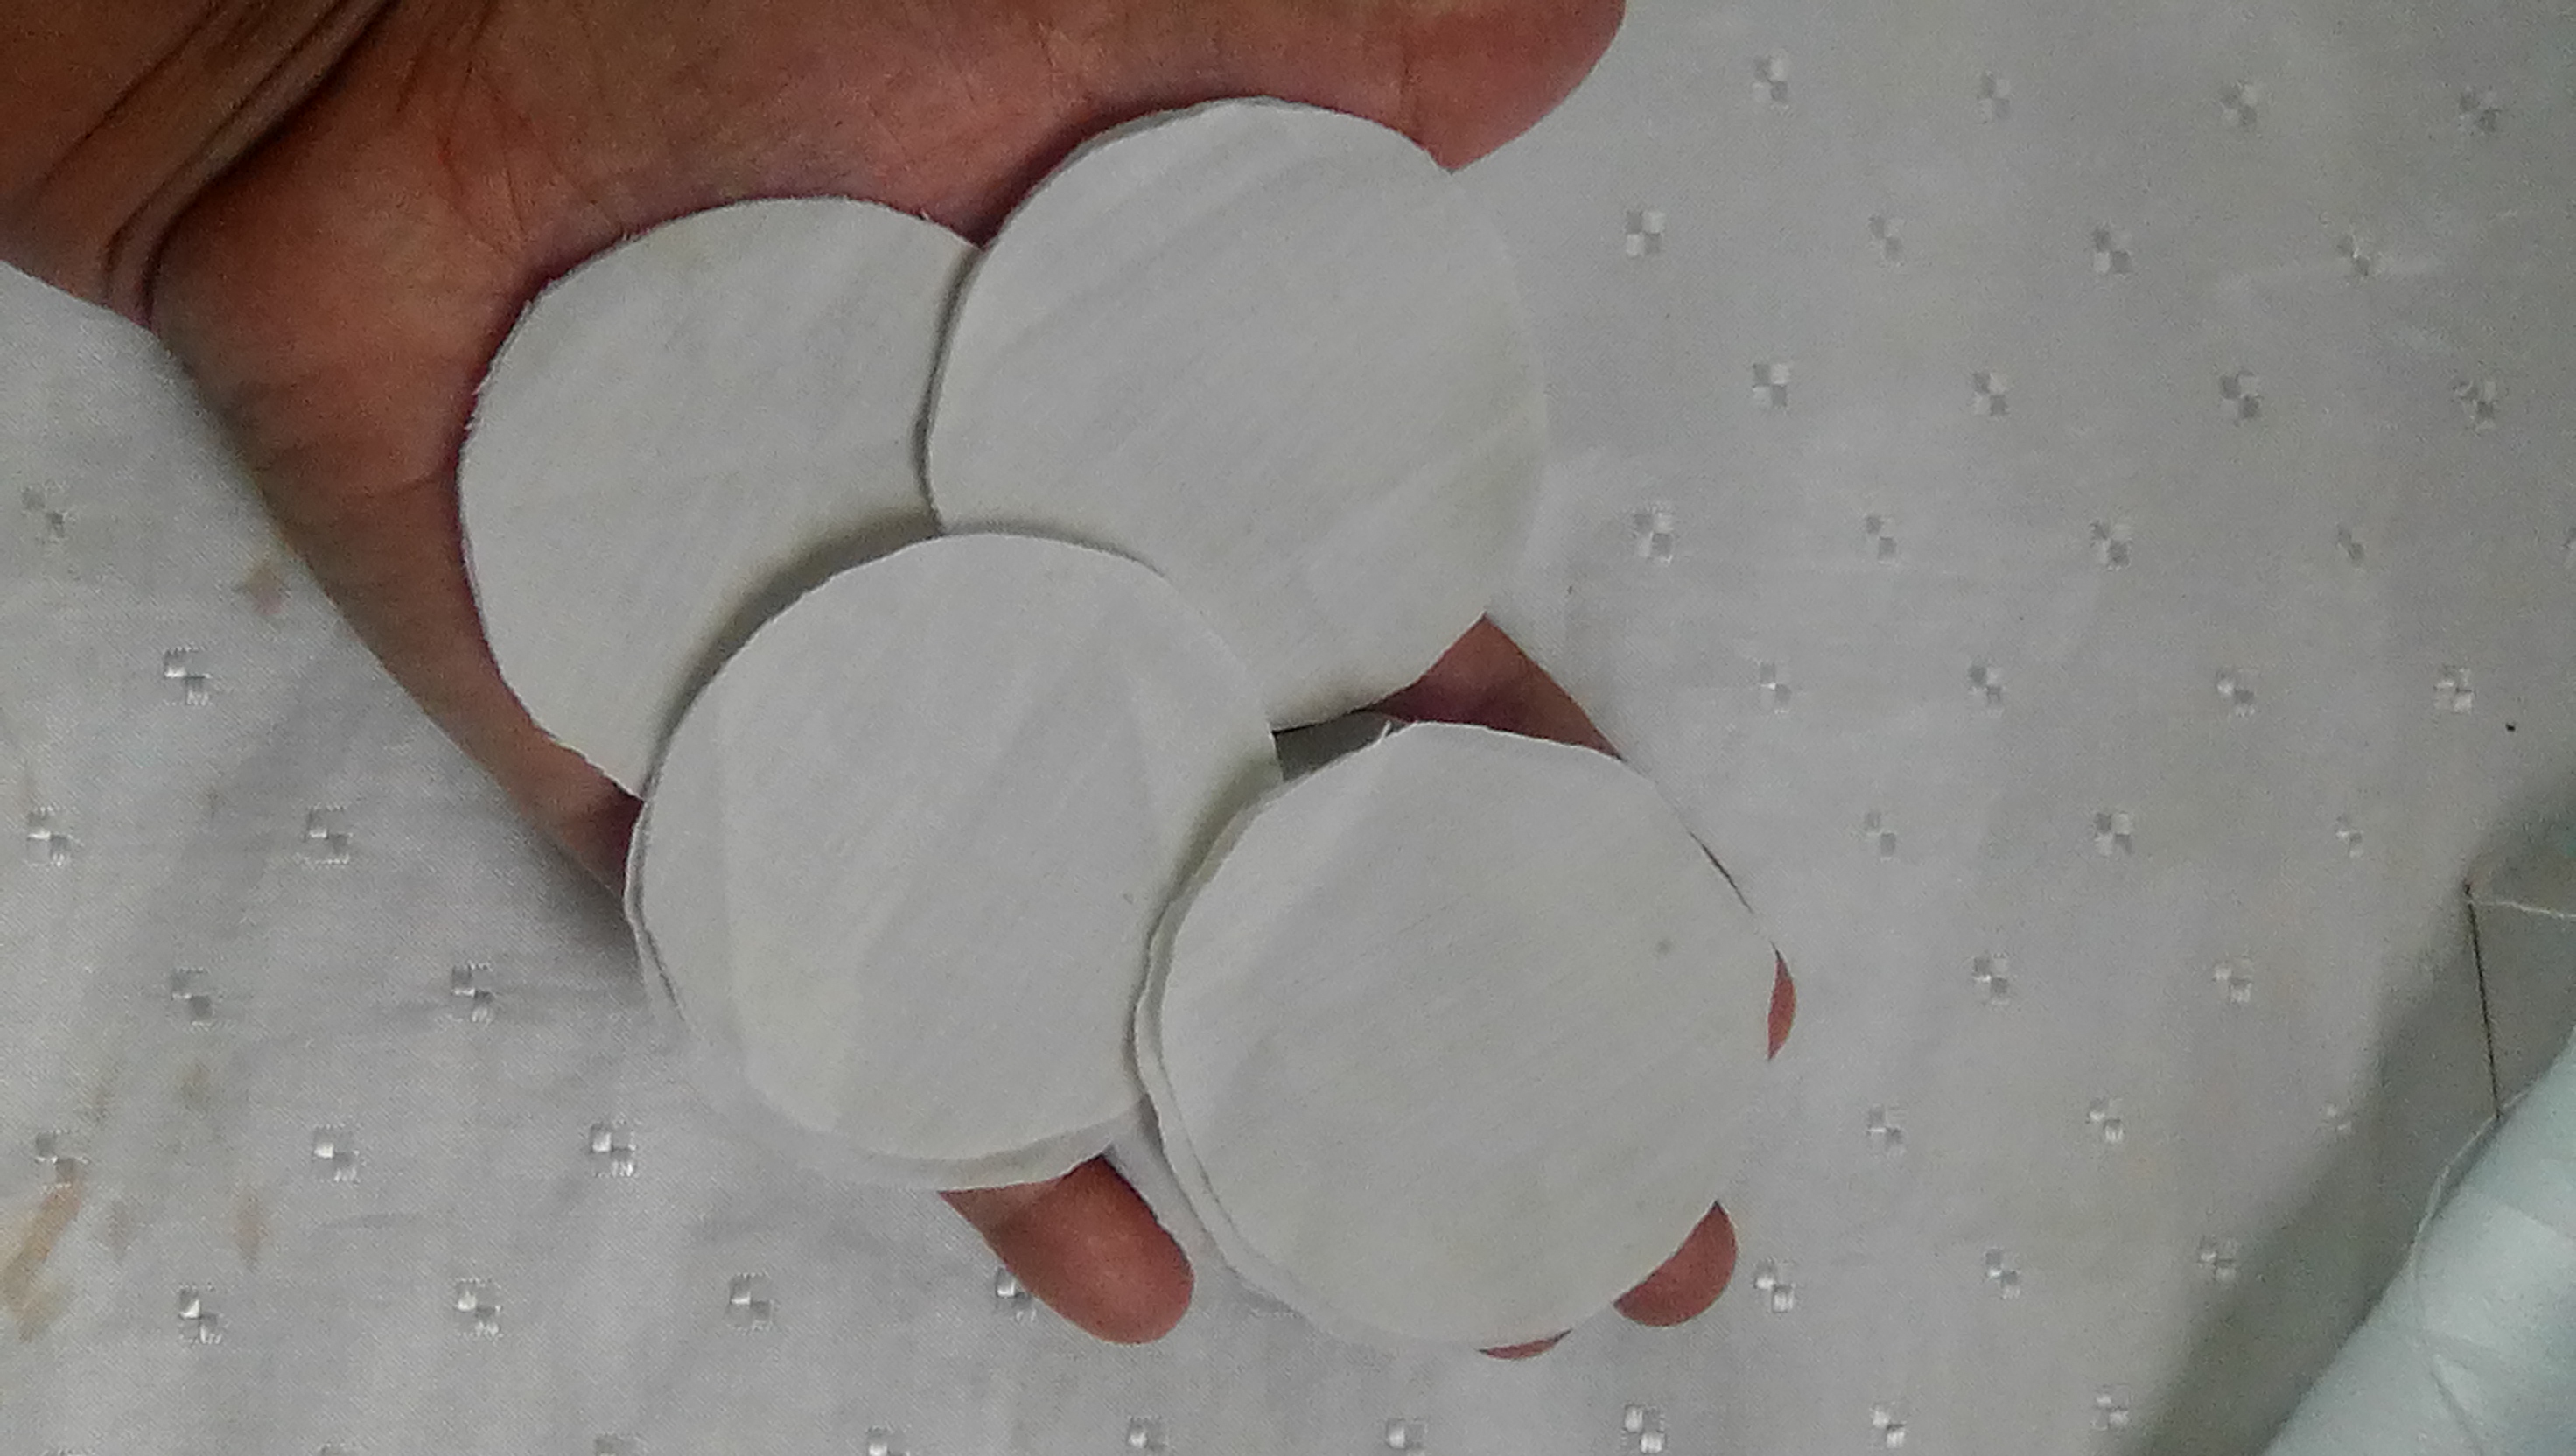
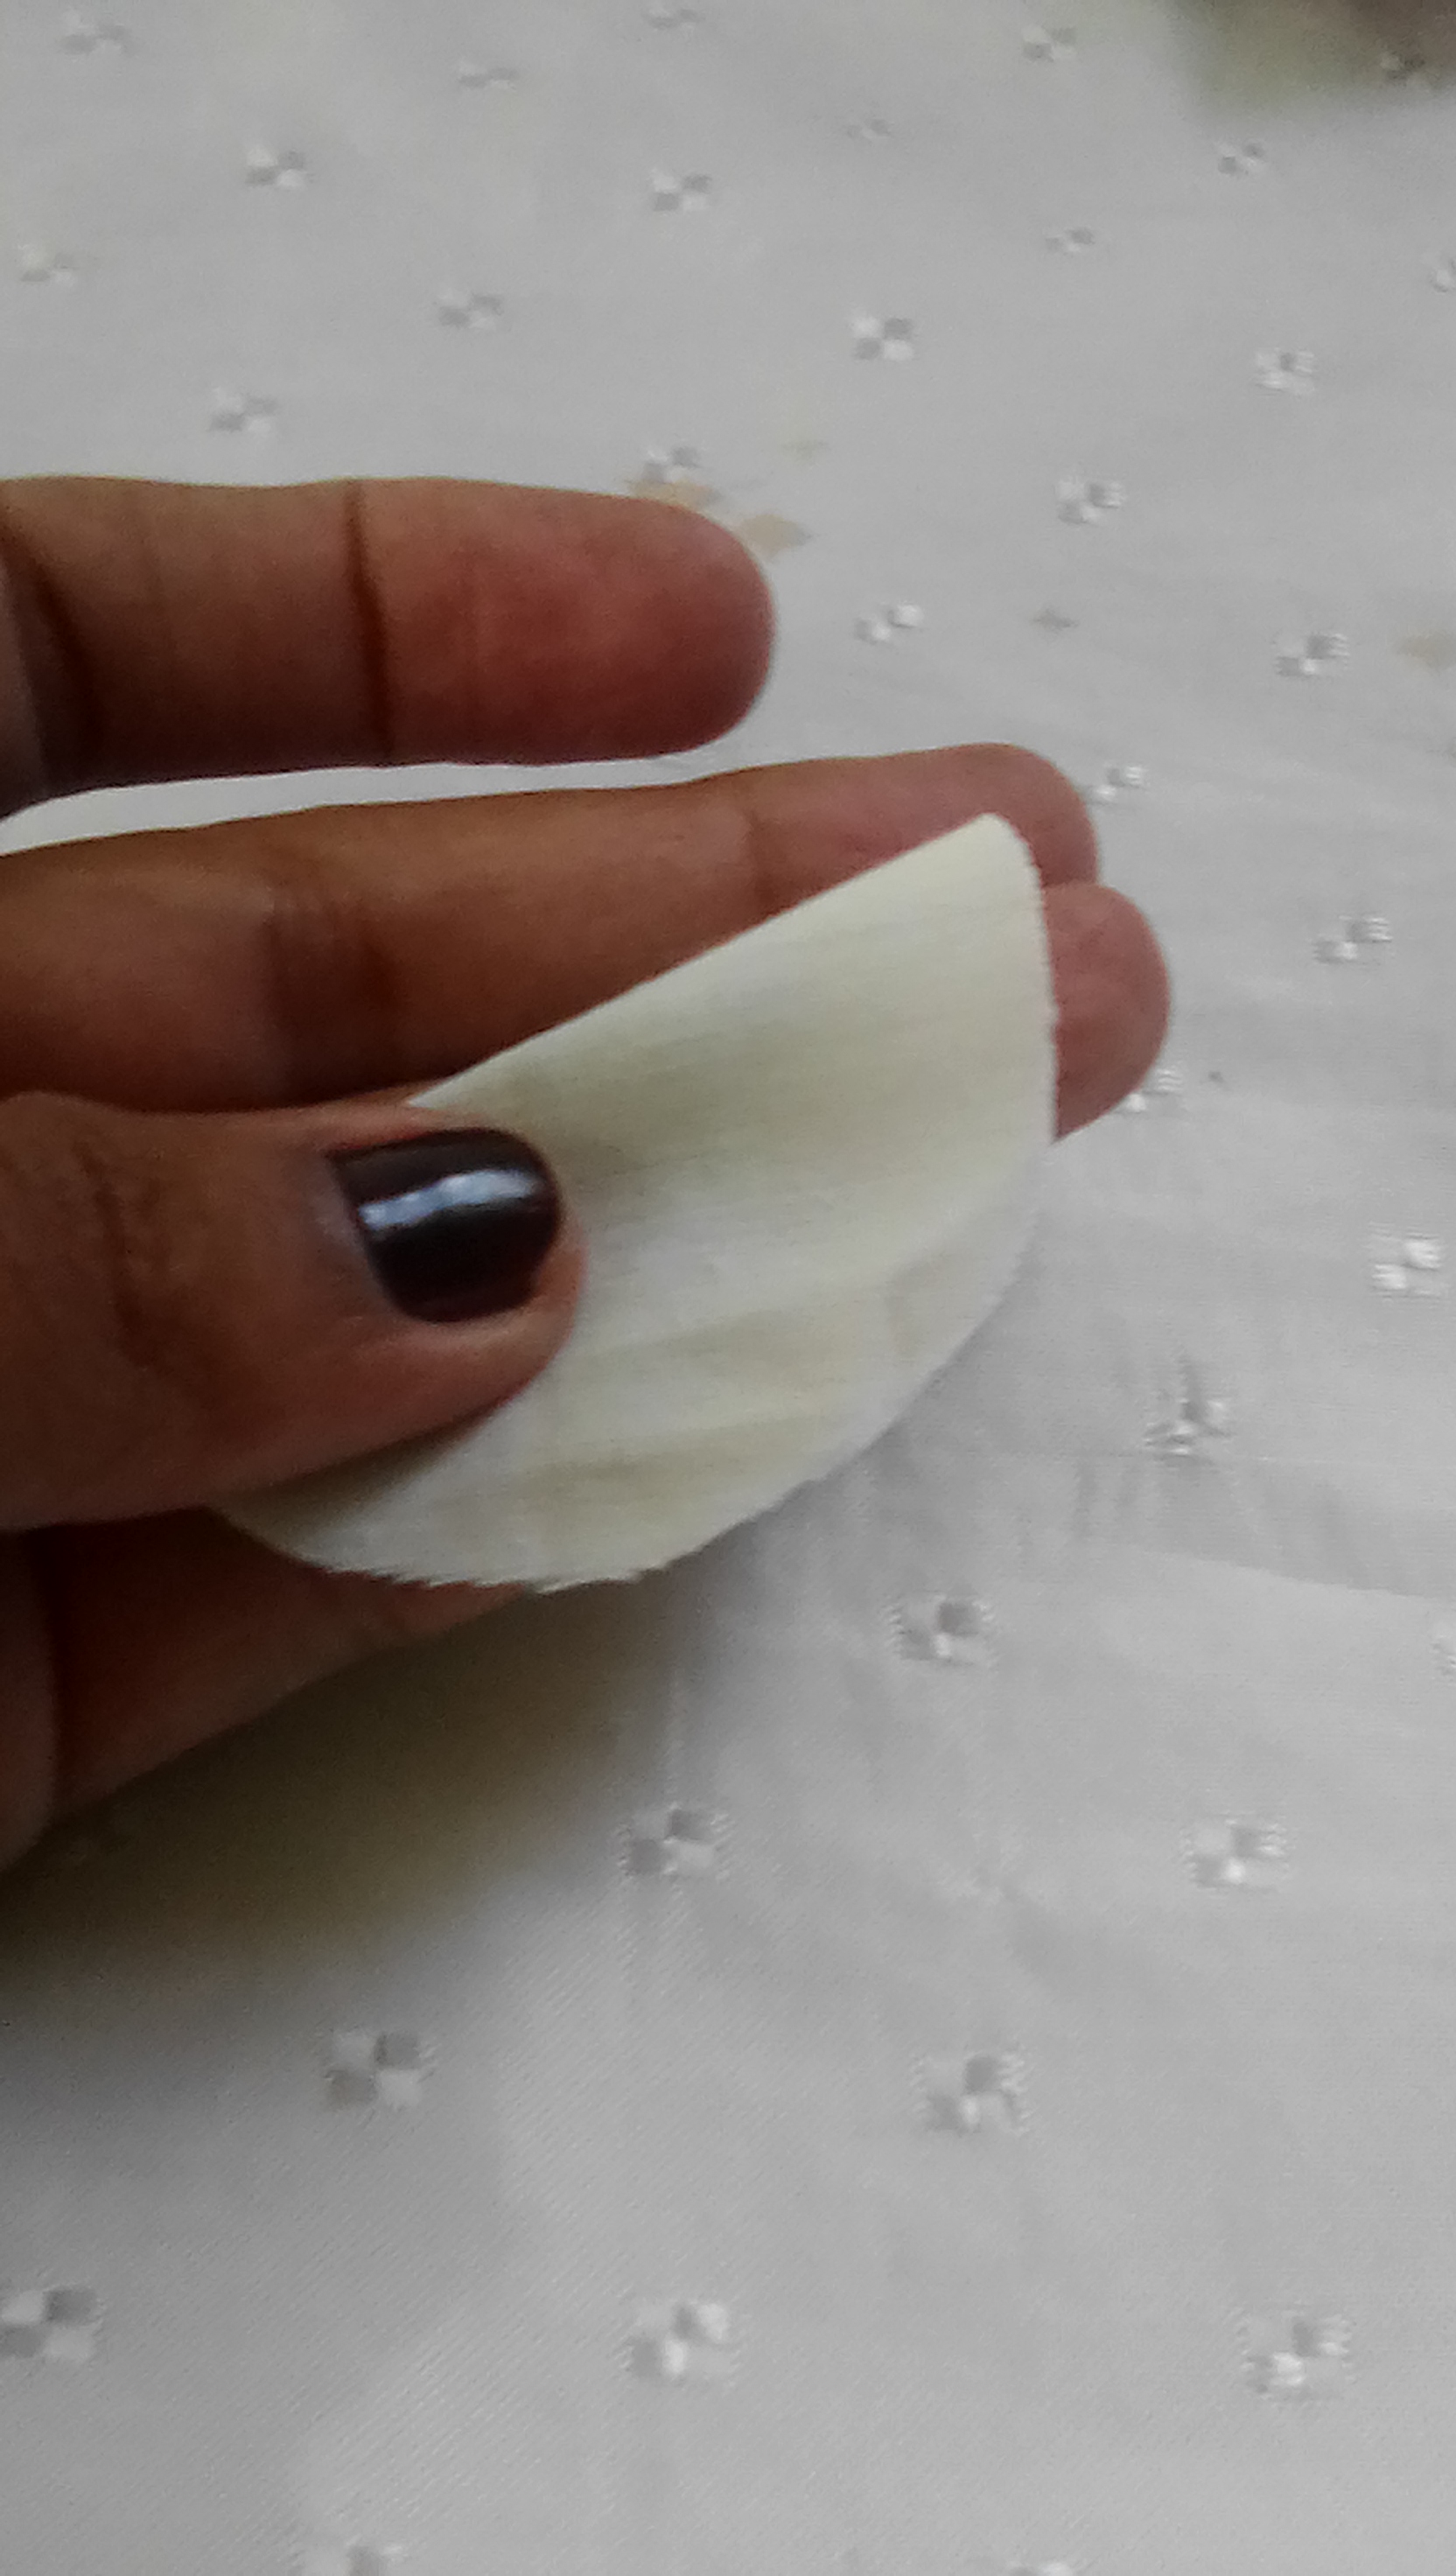
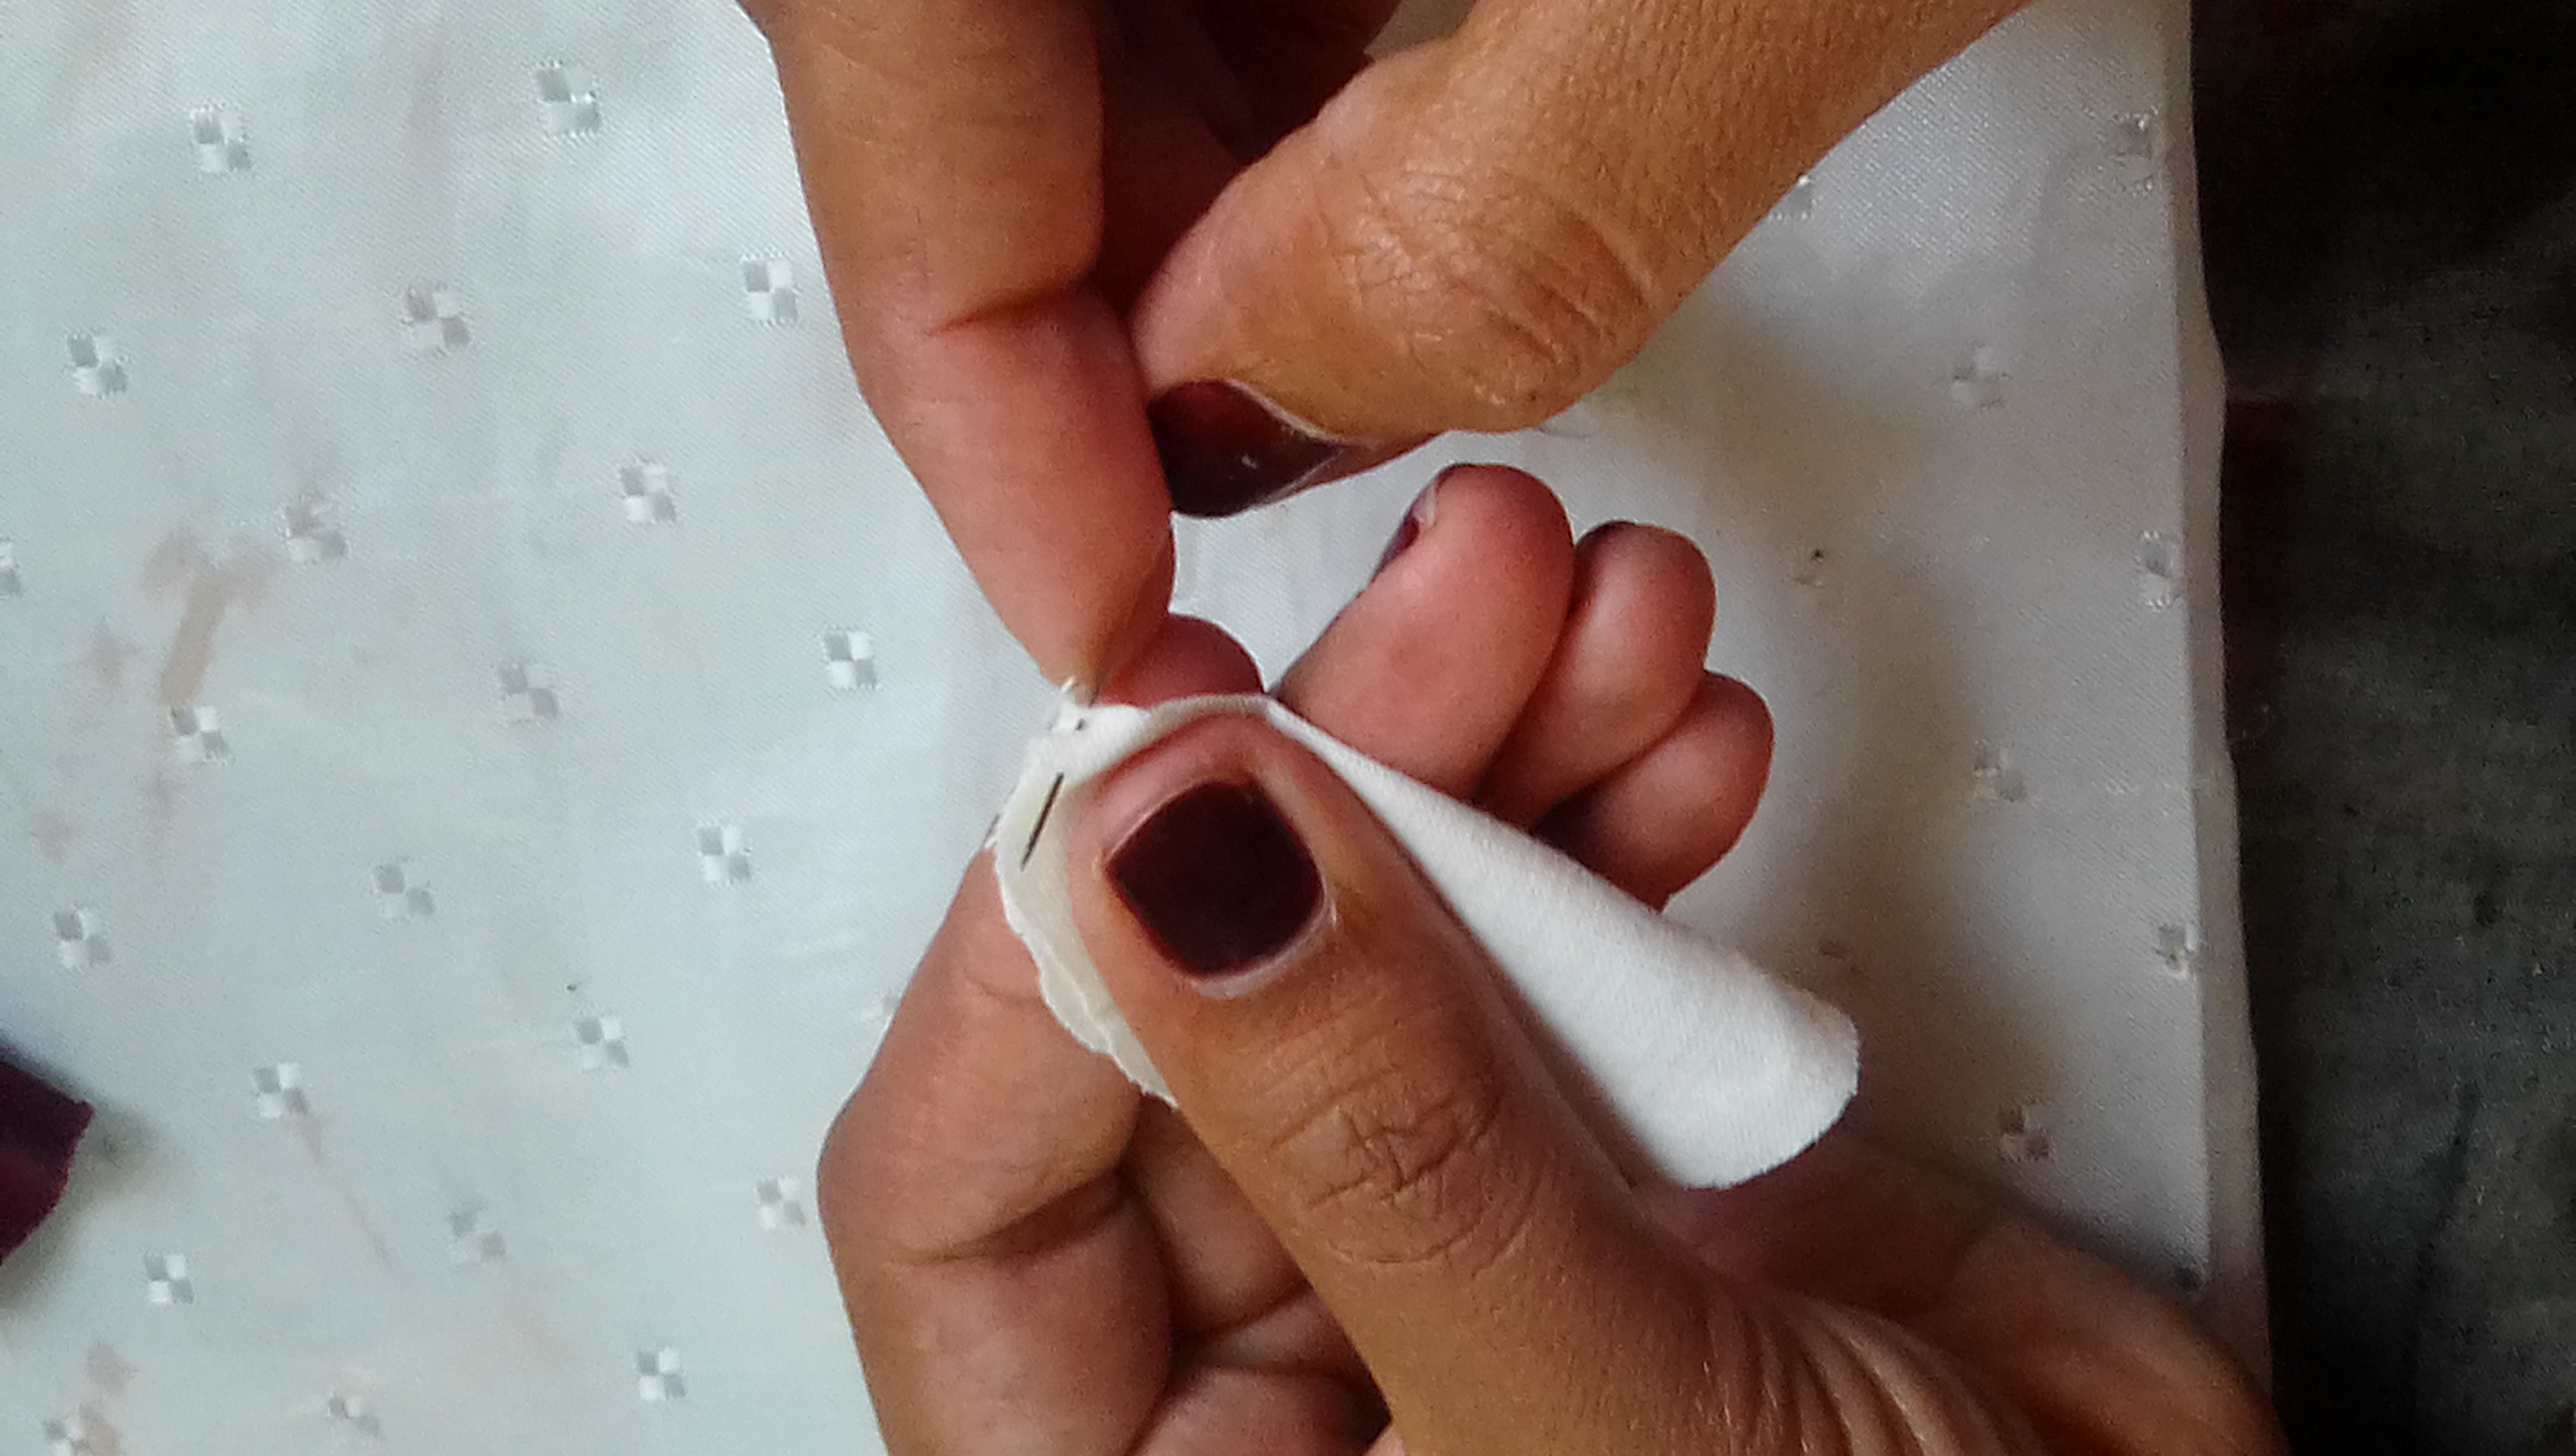
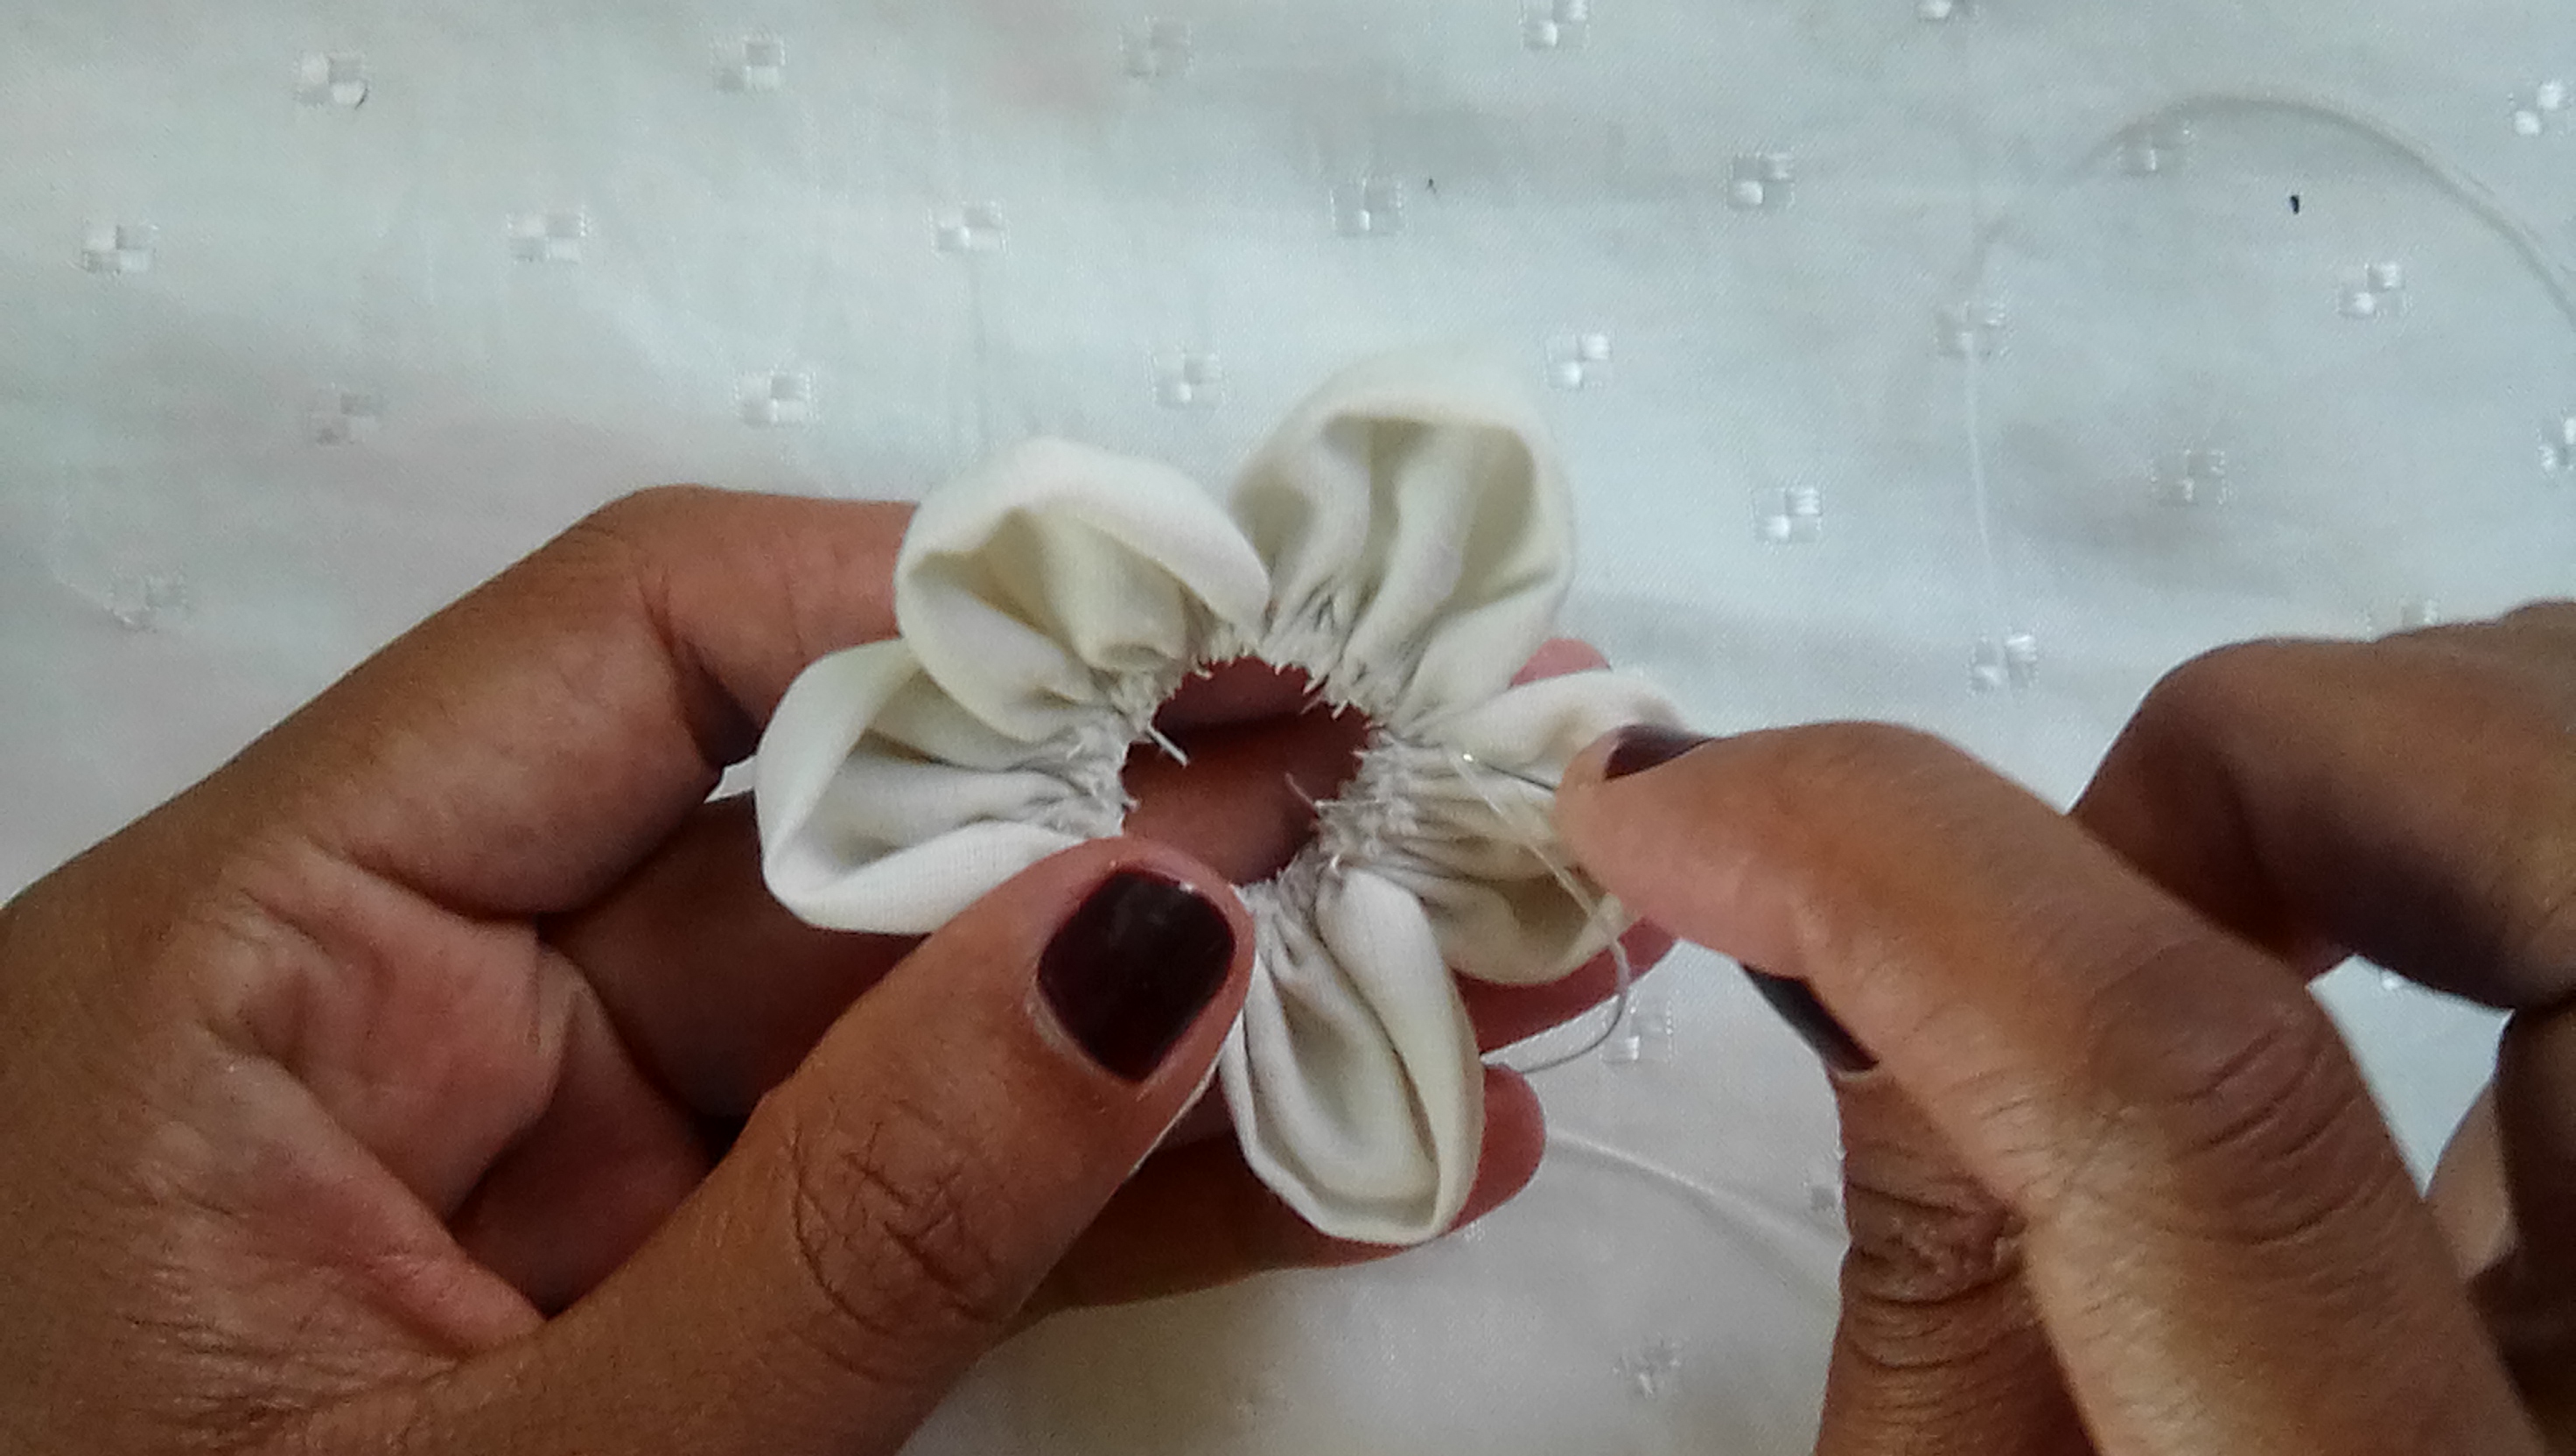
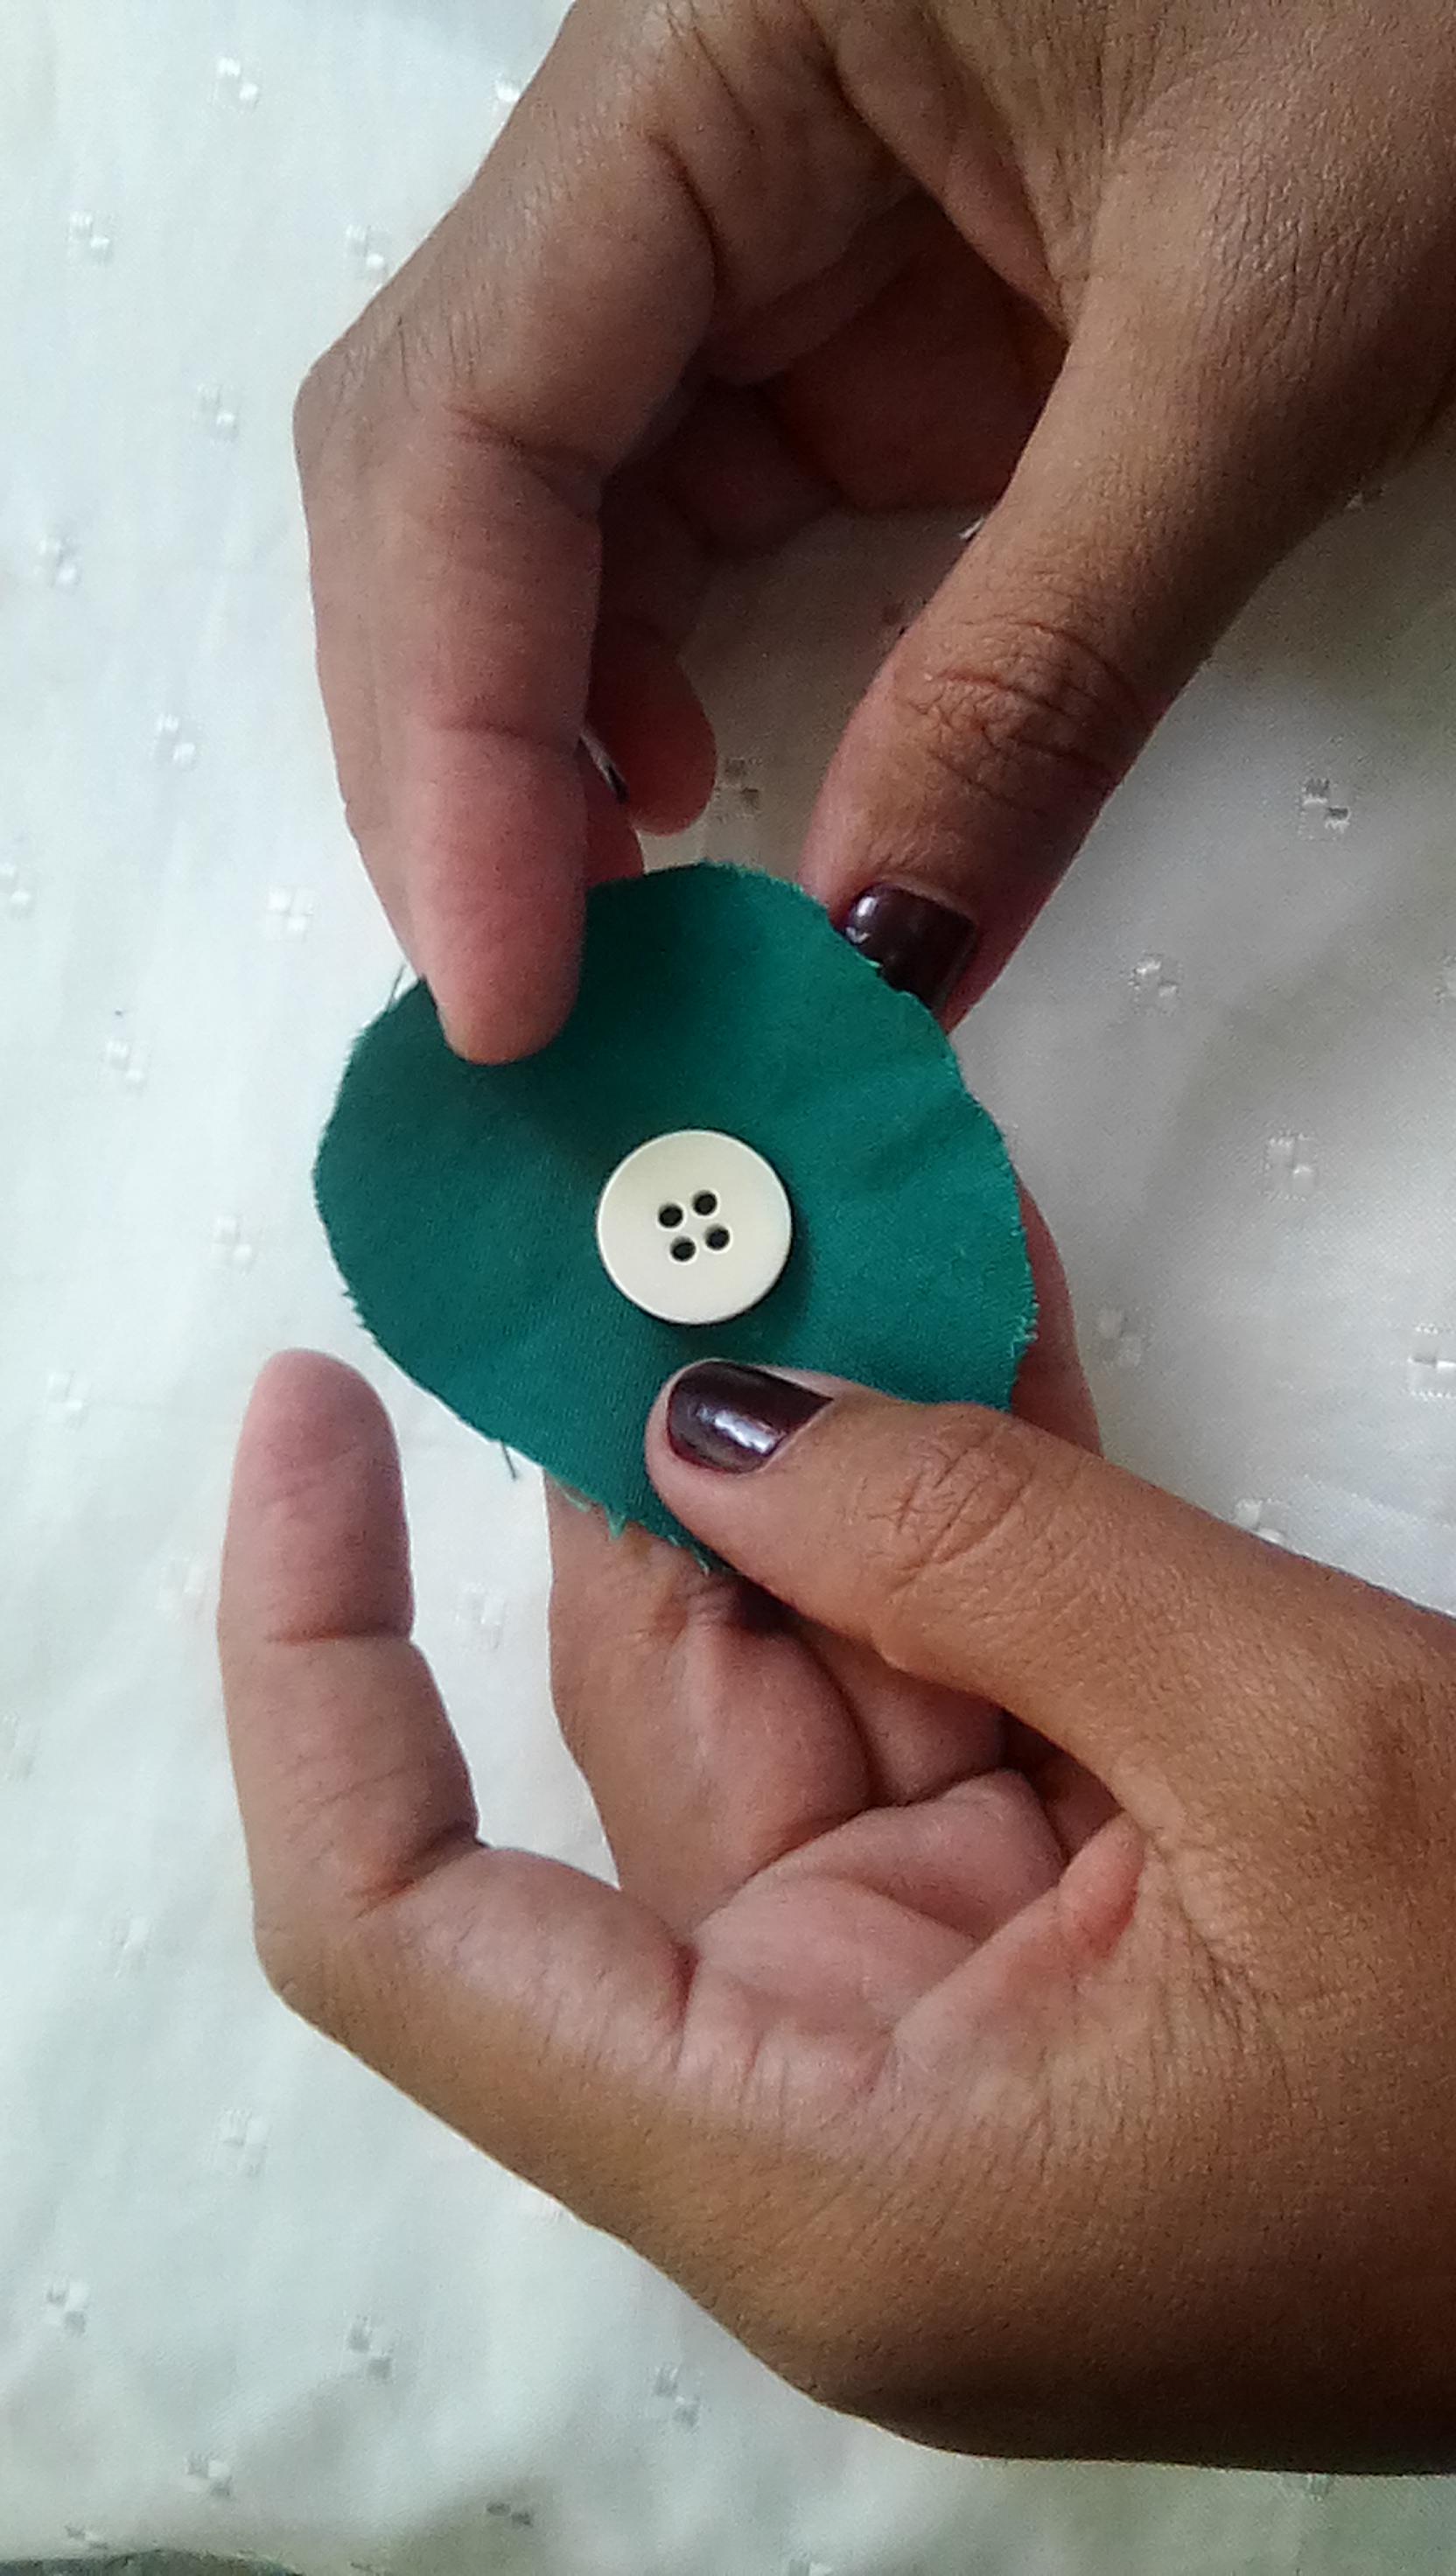
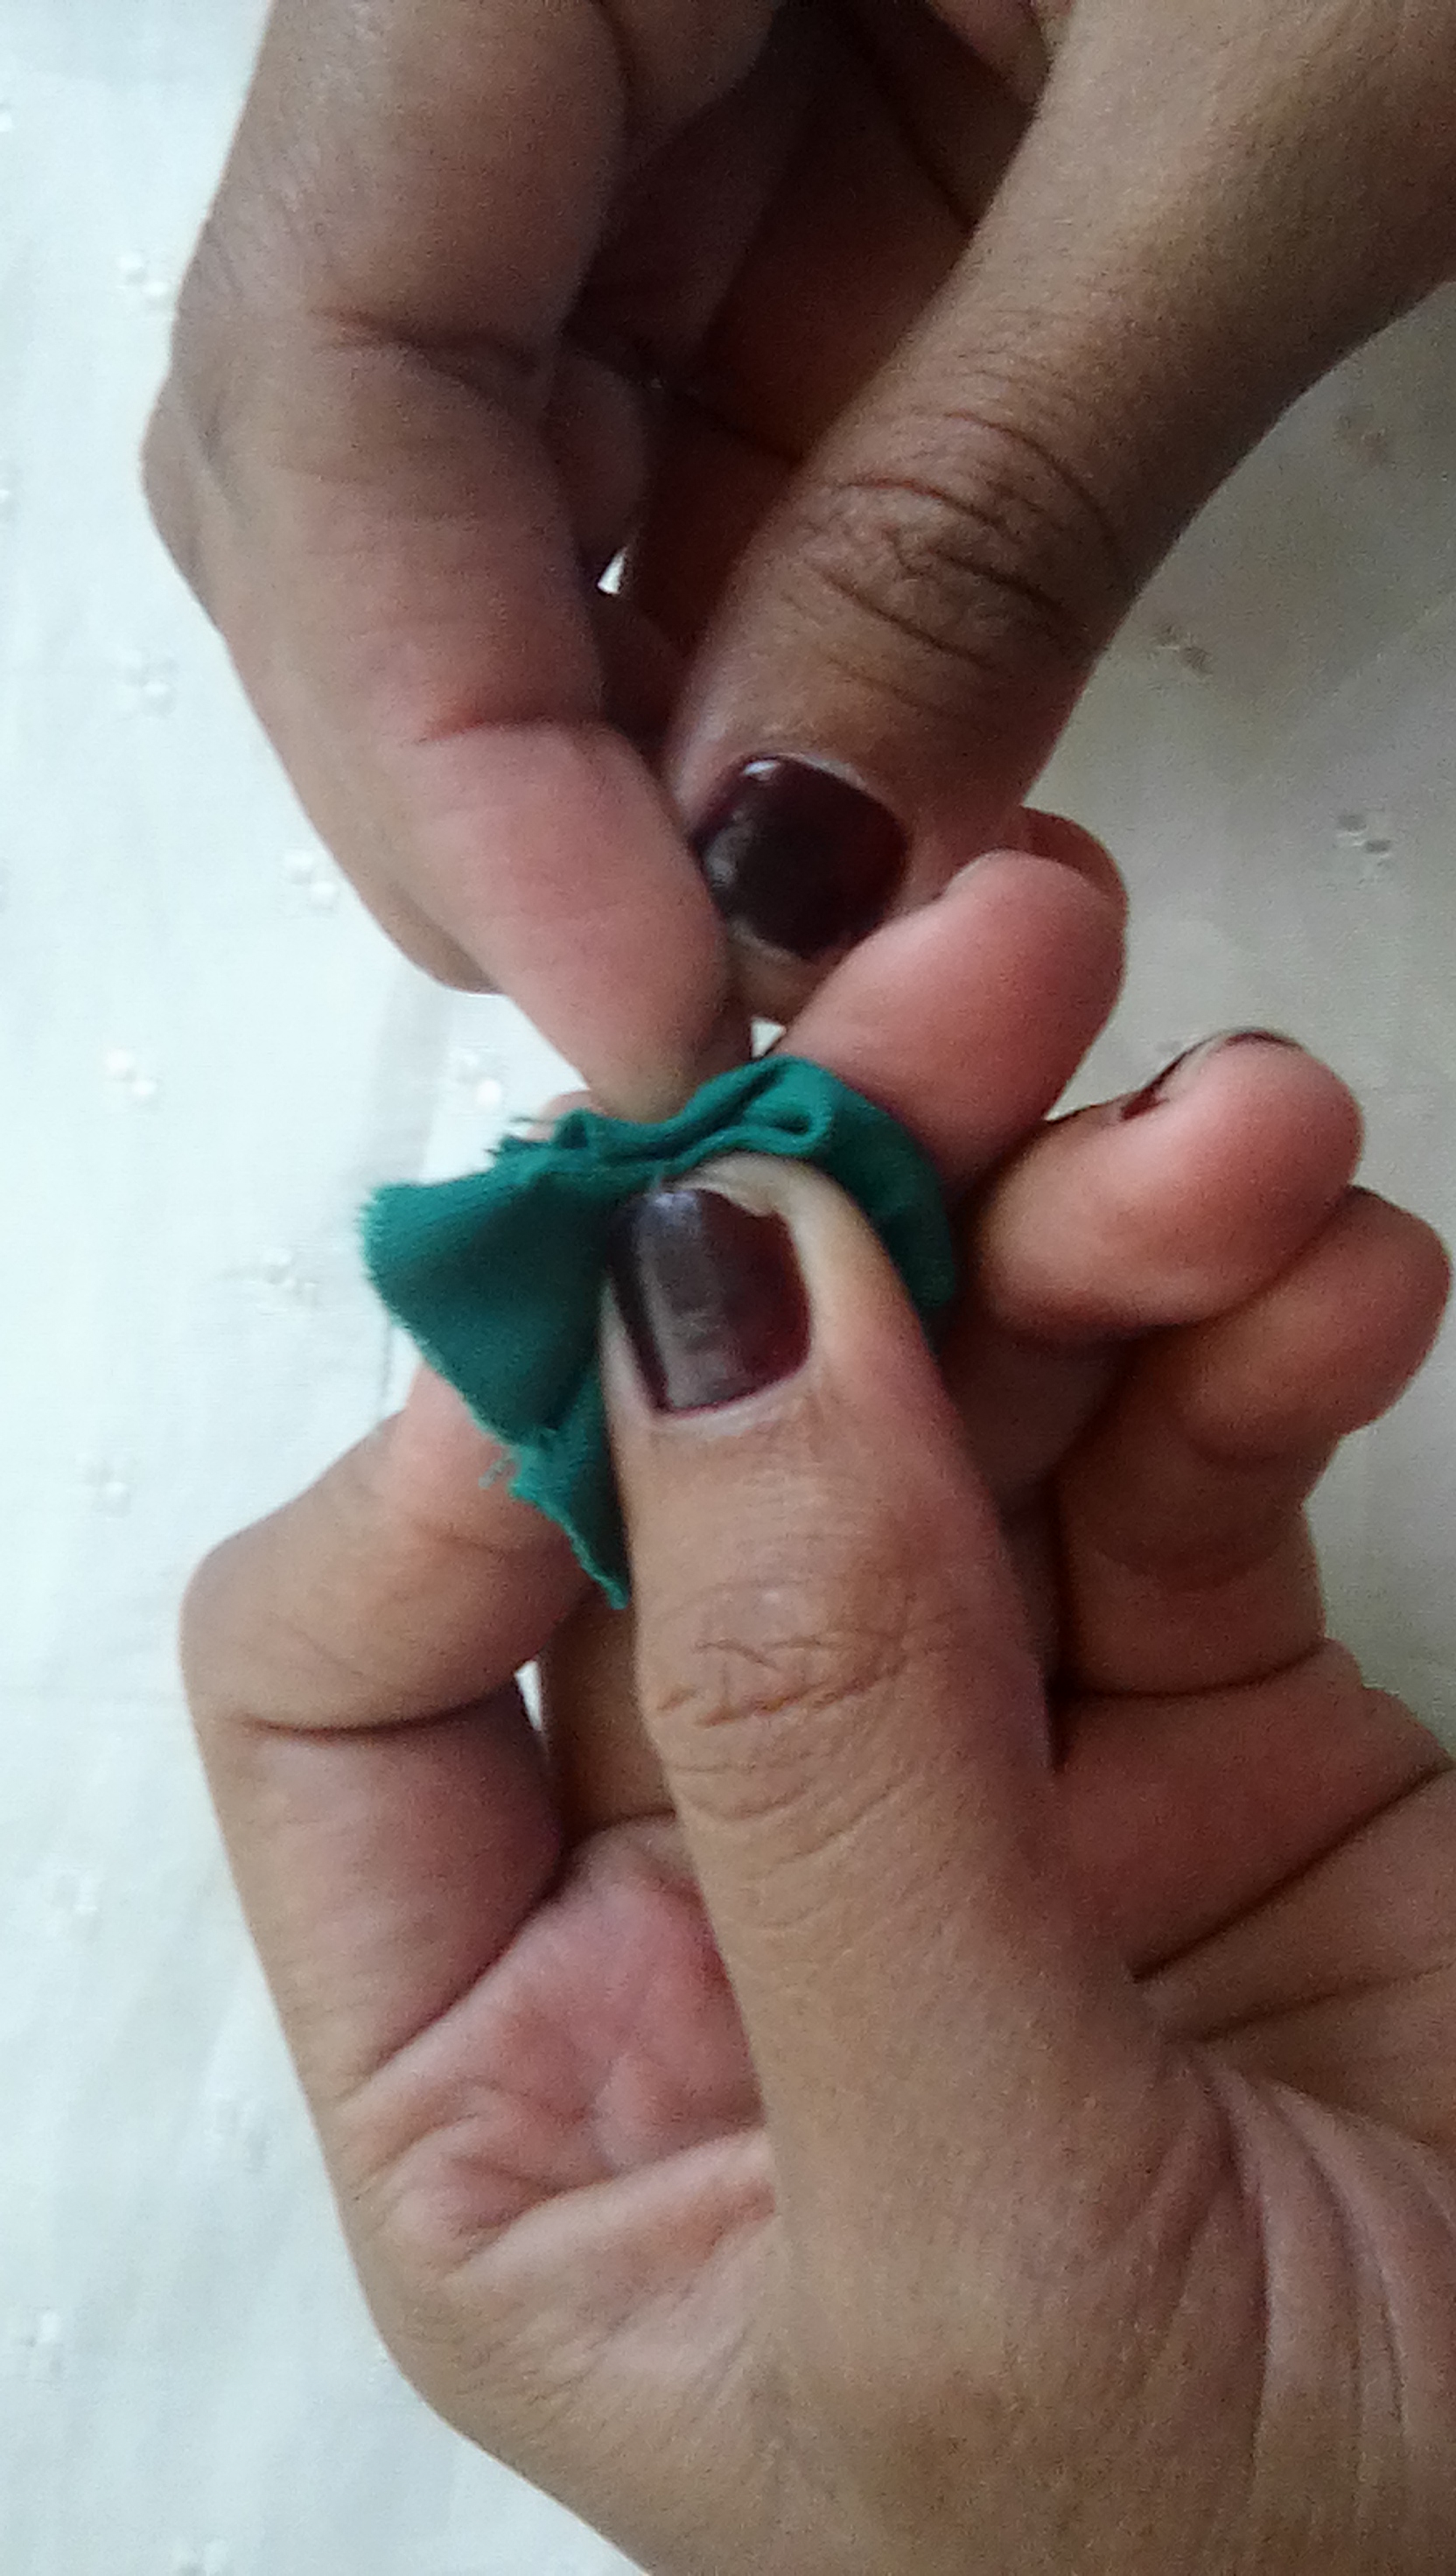
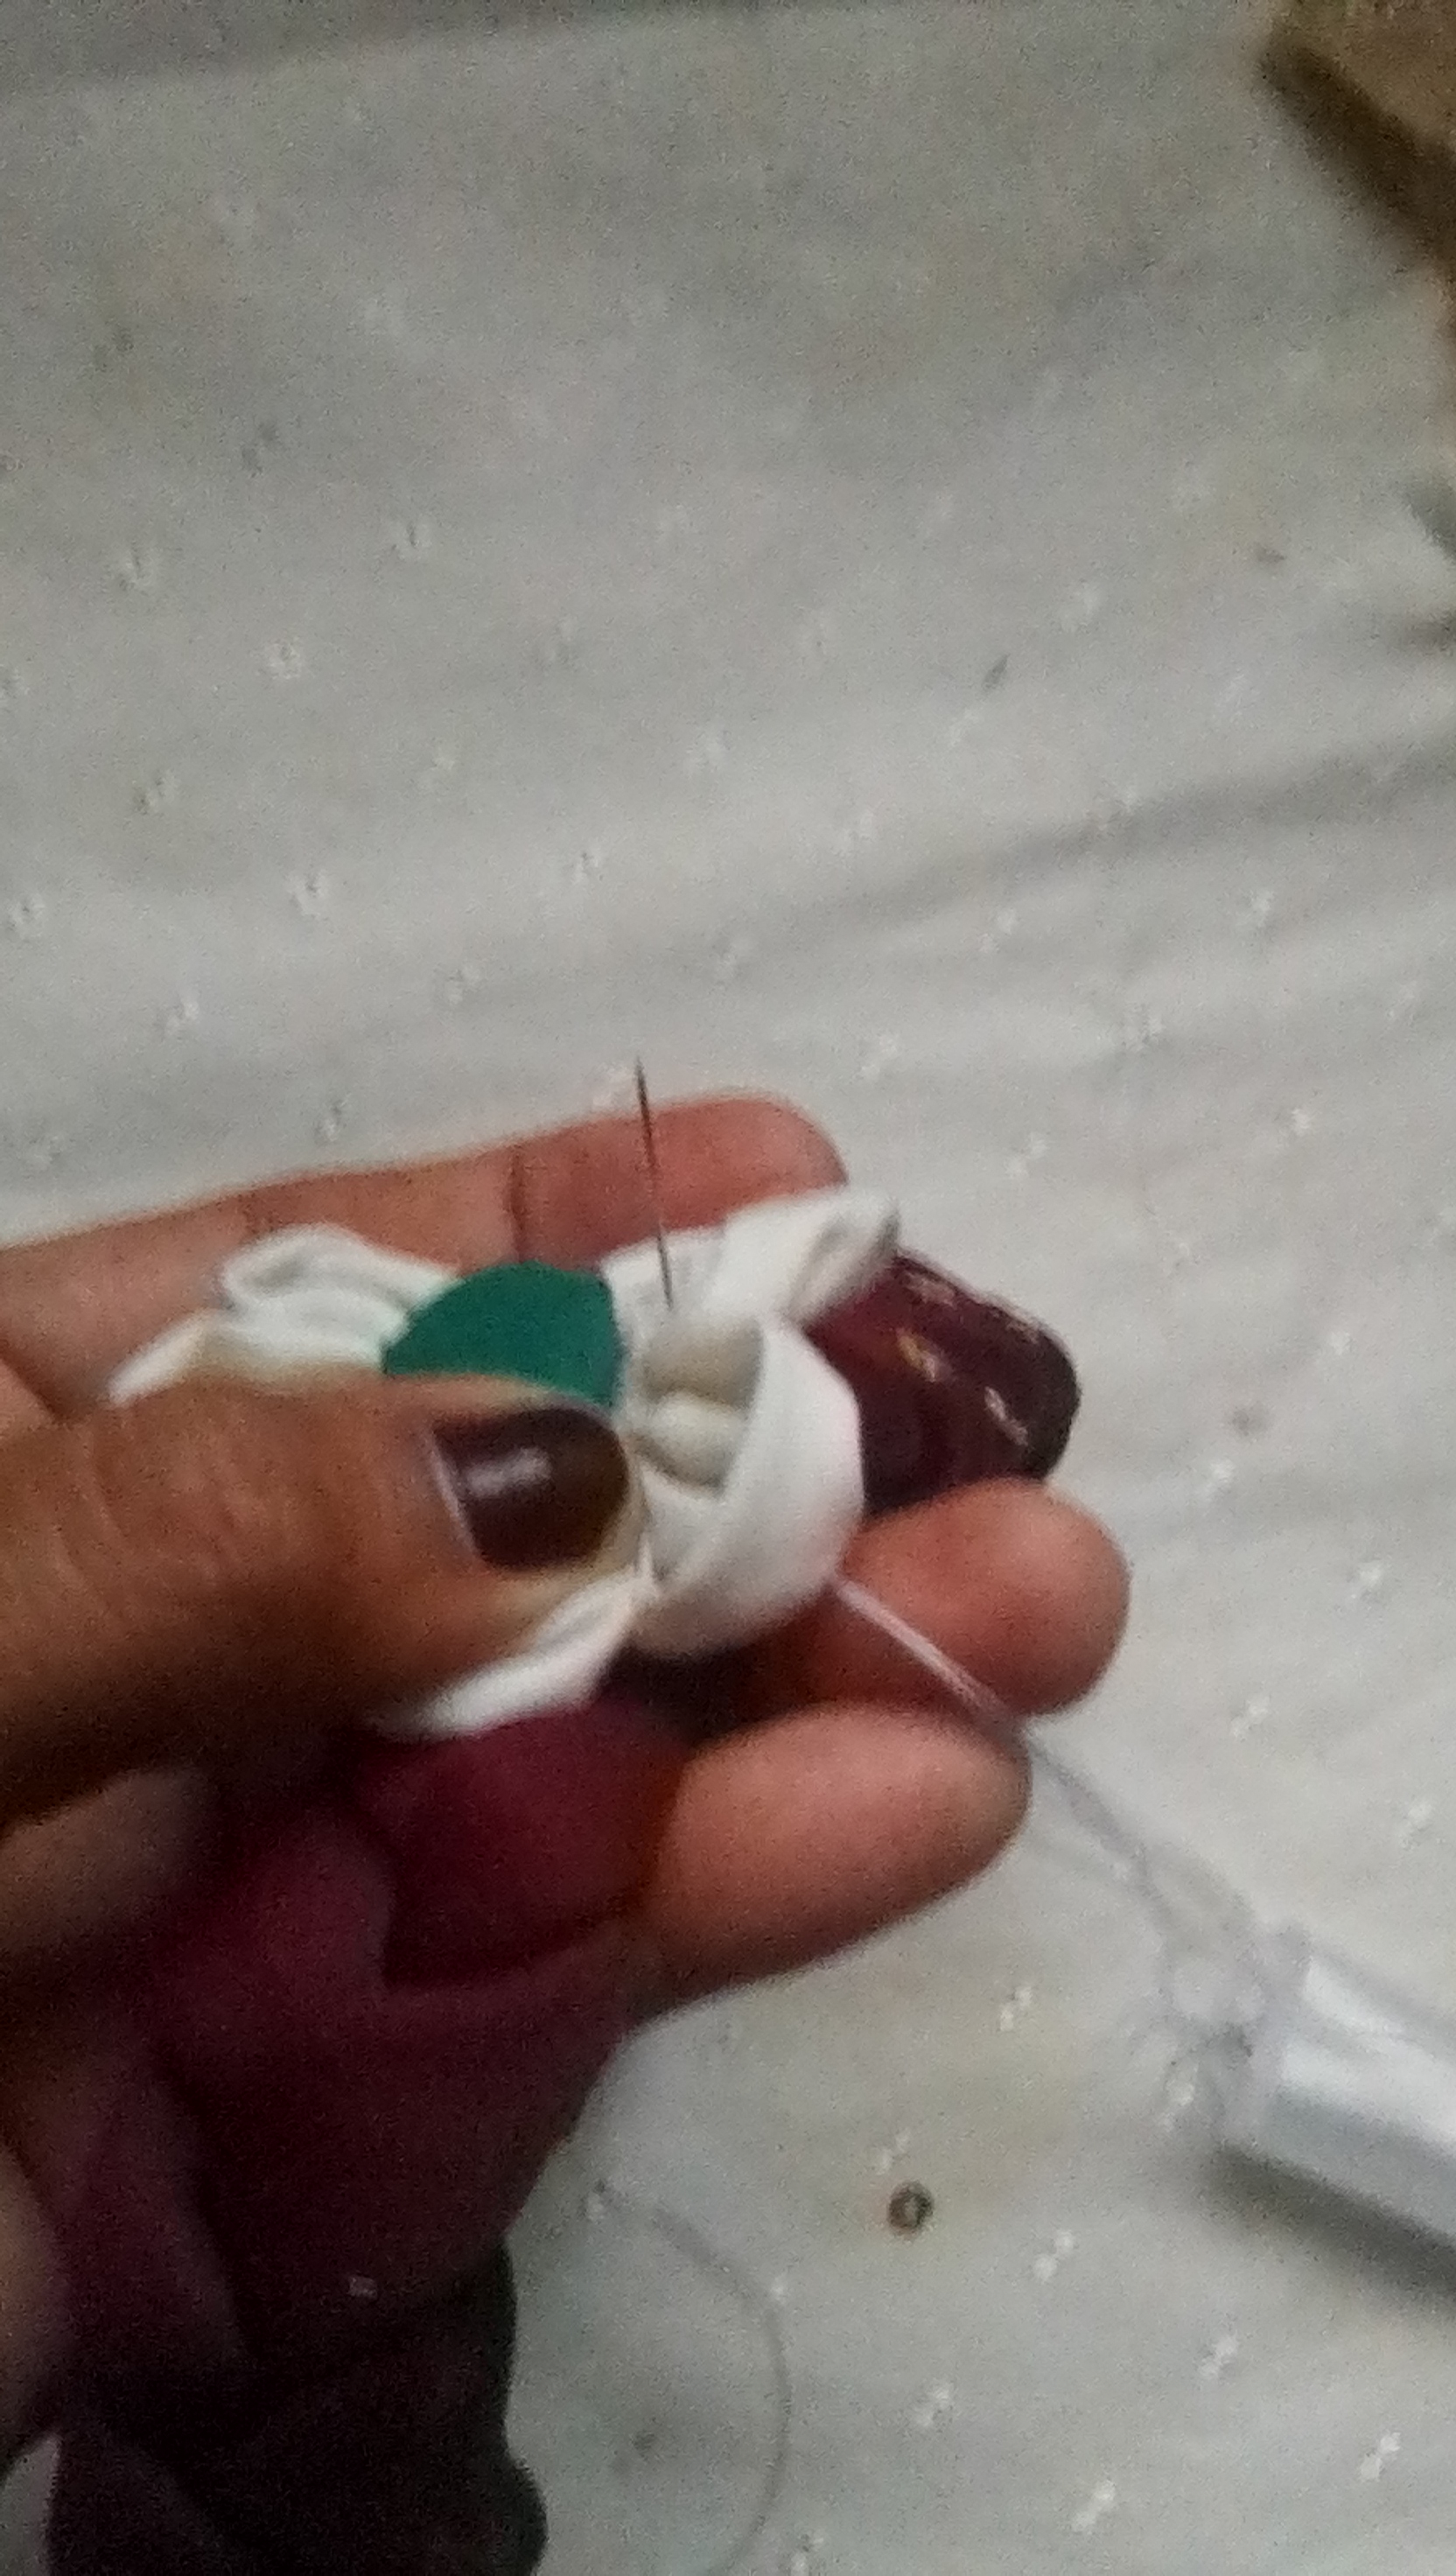
Para hacer la flor, marca y corta 6 círculos, luego dóblalos por la mitad y procede a coser los bordes sin cortar el hilo hasta coser todos los pétalos, luego toma el botón y envuélvelo en un trozo de tela, este será el centro de la flor, como se muestra en las imágenes.
Step 5:
To make the flower, mark and cut 6 circles, then fold them in half and proceed to sew the edges without cutting the thread until all the petals are sewn, then take the button and wrap it in a piece of cloth, this will be the center of the flower, as shown in the images.
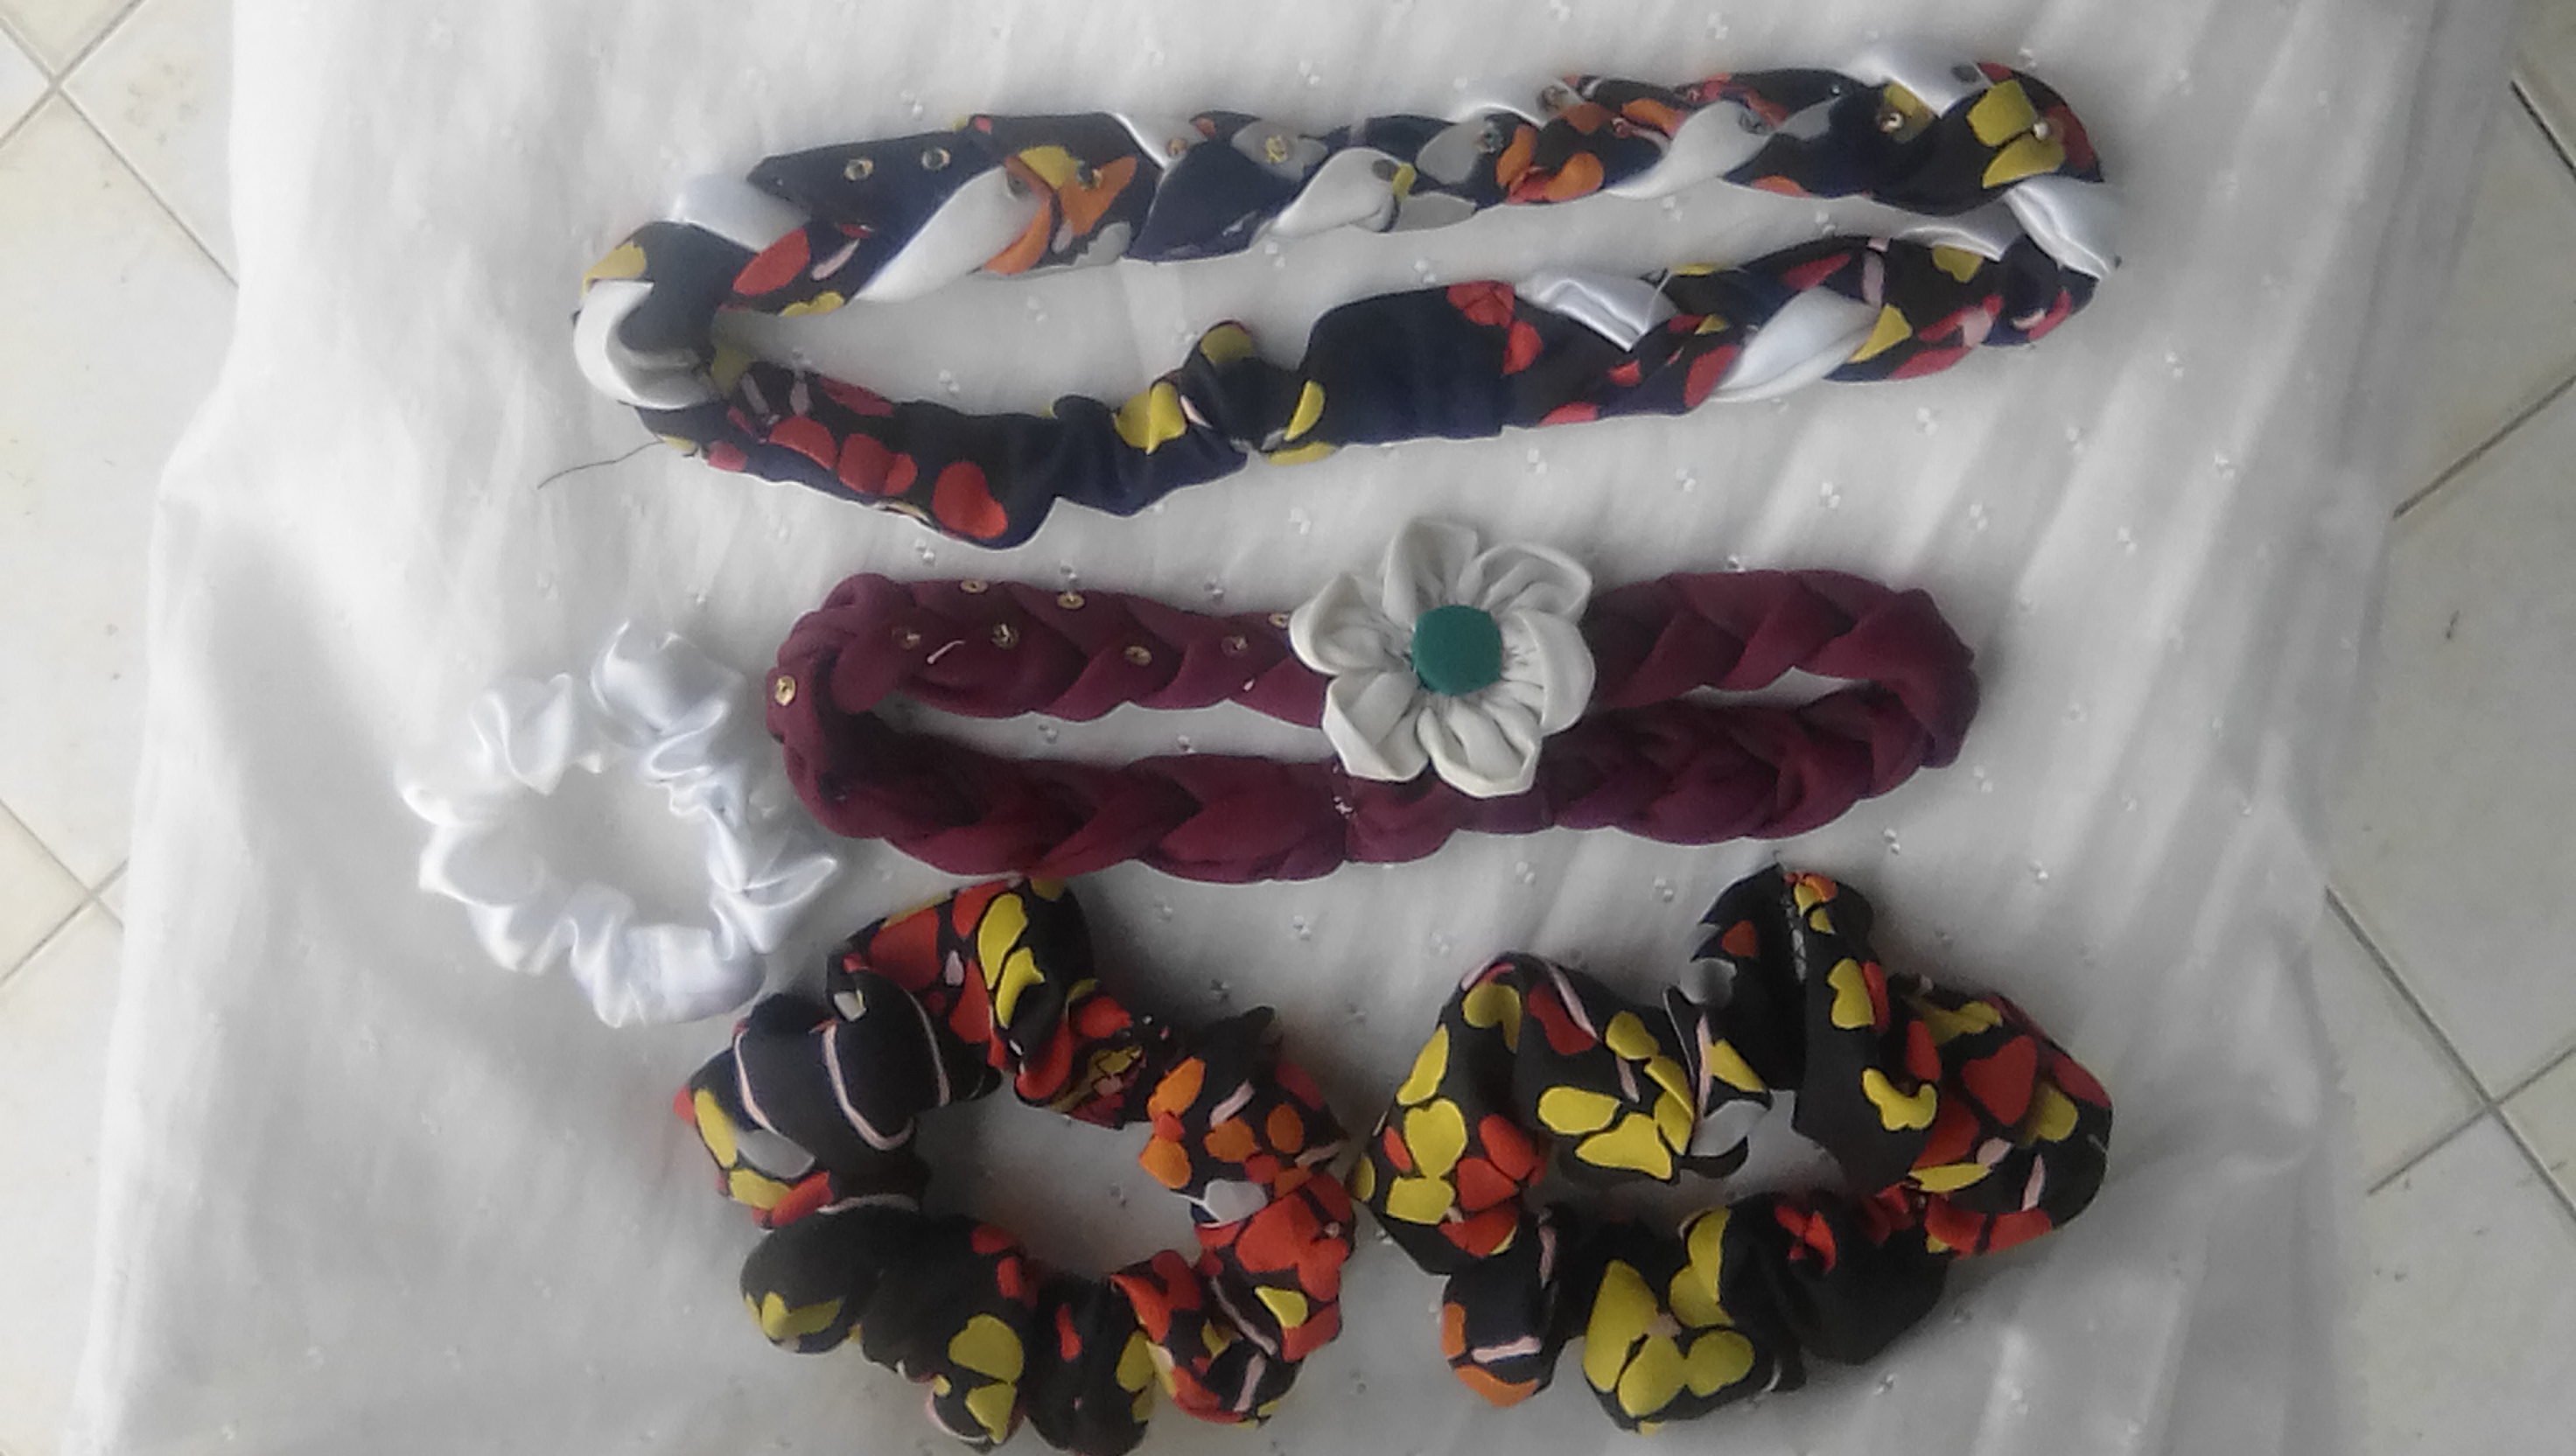
Este es el resultado de mi trabajo de hoy espero que les haya gustado, aquí les dejo otros modelos de diademas y moñeras.
This is the result of my work today I hope you liked it, here I leave you other models of headbands and moñeras.
Nota: Para hacer las moñeras, solo repite los pasos 1 y 2 e inserta el elástico en el centro, luego estira un poco y cose ambos lados para unir los extremos.
Note: To make the moñeras, just repeat procedures 1 and 2 and insert the elastic in the center, then stretch a little and sew both sides to join the ends.
Muchas gracias por tomar unos minutos de su valioso tiempo y leer mi post hasta el final, espero que les haya gustado este trabajo.
Thank you very much for taking a few minutes of your precious time and reading my post to the end, I hope you liked this work.
Until the next creative idea.
Muy bonito!....te felicito...
Gracias.
Este es un proyecto muy útil, gracias por compartir.
Saludos!
Muchas gracias.
Muy lindas todas, nunca está demás tener una más, gracias por compartir tu proyecto
Thank you for sharing this amazing post on HIVE!
Your content got selected by our fellow curator @rezoanulvibes & you just received a little thank you via an upvote from our non-profit curation initiative!
You will be featured in one of our recurring curation compilations and on our pinterest boards! Both are aiming to offer you a stage to widen your audience within and outside of the DIY scene of hive.
Join the official DIYHub community on HIVE and show us more of your amazing work and feel free to connect with us and other DIYers via our discord server: https://discord.gg/mY5uCfQ !
If you want to support our goal to motivate other DIY/art/music/homesteading/... creators just delegate to us and earn 100% of your curation rewards!
Stay creative & hive on!