HL Inspired Paper Automata
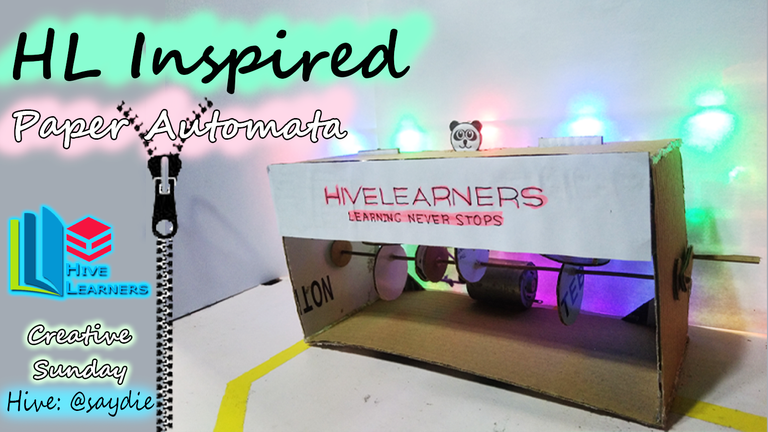
Hello everyone! @saydie here who was currently busy for a side job so I was barely active on the blockchain and would probably be for the upcoming weeks but for now, I have some breathing time so I decided to participate on this weeks #creative-sunday by making an HL inspired paper automata which was also my first time participating in the contest.
This craft was a practical of Automata Theory which was one of my major subjects in college which is the study of abstract machines. I would not go into details of the subject cause it can be quite complicated and does not necessarily required to make this craft so I'll just proceed with the tutorial but first, I have uploaded a video for everyone to see the final output. The video was divided on to two parts with the manually operated and the power operated automata so be sure to watch the video until the end.
00:01-00:41- Manually Operated Automata
00:42-01:42- Electric Operated Automata
Now that you watched the video and saw the two variations of automata, you might wonder if you can just make the manually operated automata and you can. I have made the materials needed for the power operated automata optional and quoted the procedures for it so they can be skipped and the materials required are just cardboard sheets or carton boxes and barbeque sticks which can be found at the comfort of your homes.
| Materials | Size | Pcs. | Optional |
|---|---|---|---|
 | (w x h) 20 x 8 cm | 2 | |
 | (w x h) 20 x 4 cm | 2 | |
 | (w x h) 10 x 4 cm | 2 | |
 | 3.5 x 3.5 x 5 cm | 2 | |
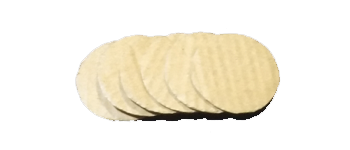 | r= 1.67 cm c= 10.5 cm | 6 | |
 | r= 1.2 cm c= 7.54 cm | 2 | Optional |
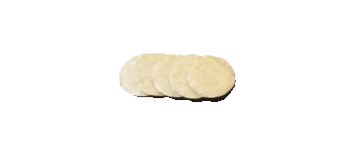 | r= 0.85 cm c= 5.34 cm | 4 | + 3 Optional |
 | (w x h) 4 x 1 cm | 2 | |
 | h= 5.5 cm | 3 | |
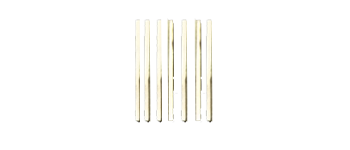 | h=3 cm | 7 | |
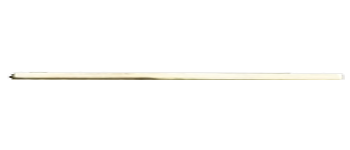 | 11 cm | 1 | |
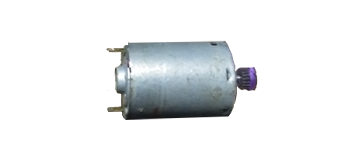 | 1 | Optional | |
| Yarn | Optional | ||
| Power Source | Optional |
or just use this calculator where r= radius and is 1/2 the length of the circle.
Procedure:
First, we start with the two 4 x 1 cm carton and attach them together with the regular glue and set aside to dry. After it was dry, pierce both sides of it then get one 3 cm stick and attach it to one of the holes. This will serve as a crank to operate the automata manually.
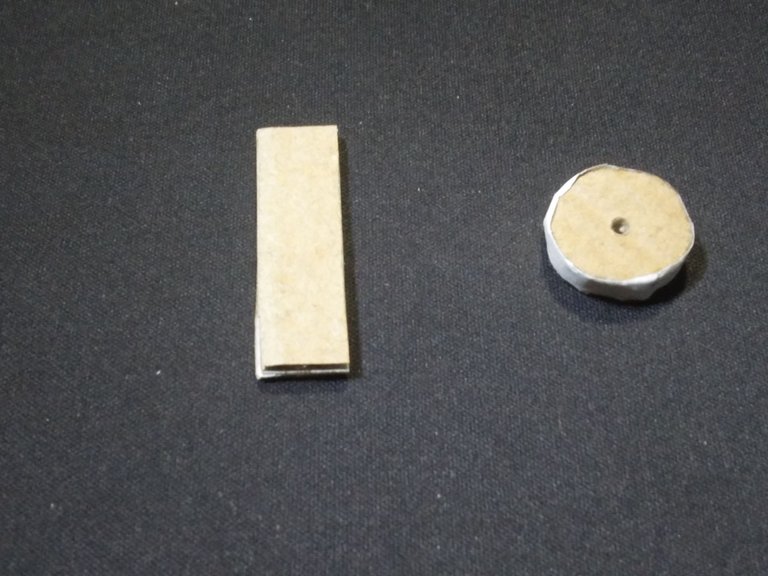
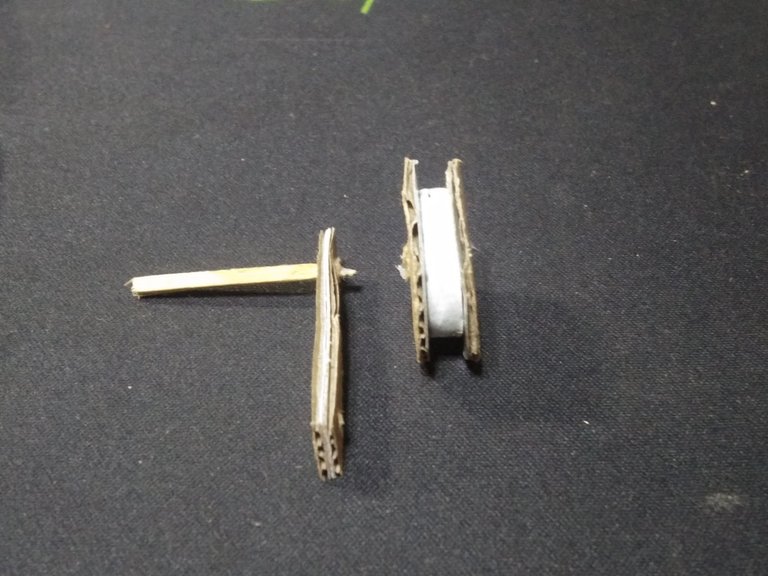
- For the optional part, get three of the 5.34 cm circle shaped carton then pierce it in the middle and glued them together. After that, get a paper with the same circumference as them and glue it to the sides to cover the rough and uneven parts. Also get the two 7.54 cm sheet which are also pierced in the middle and attach it on both sides of the smaller sheet with glue. This one would serve as our gear for the automated automata.
 |  |
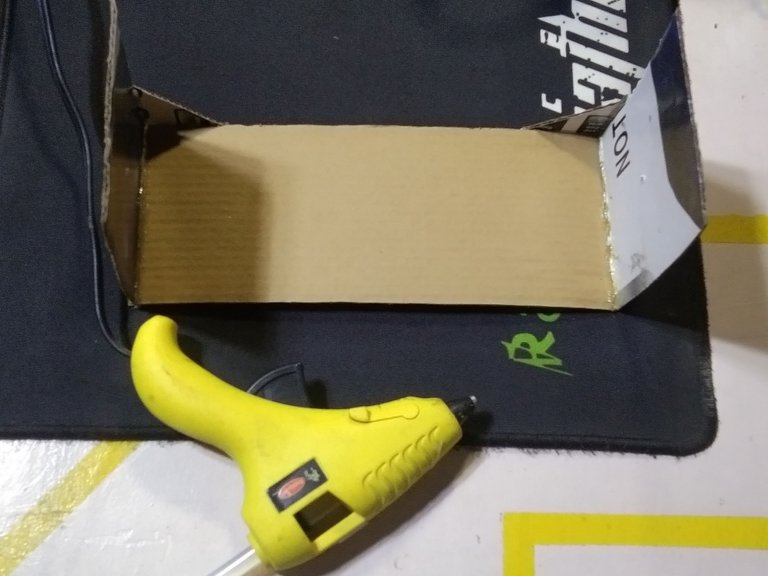
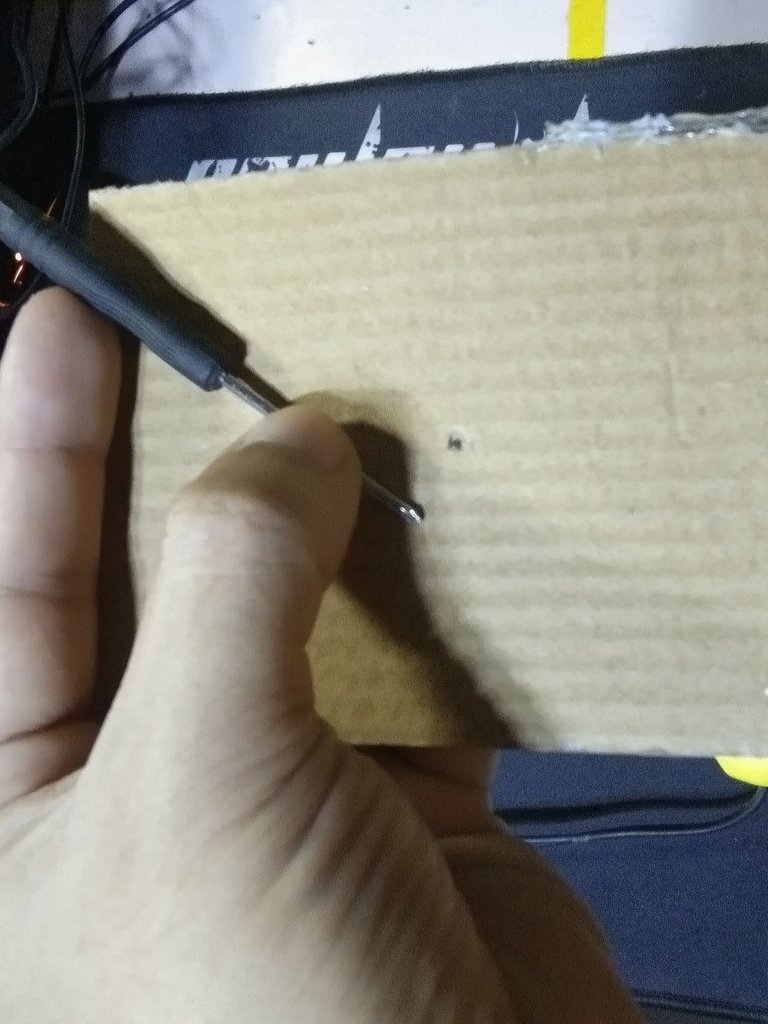
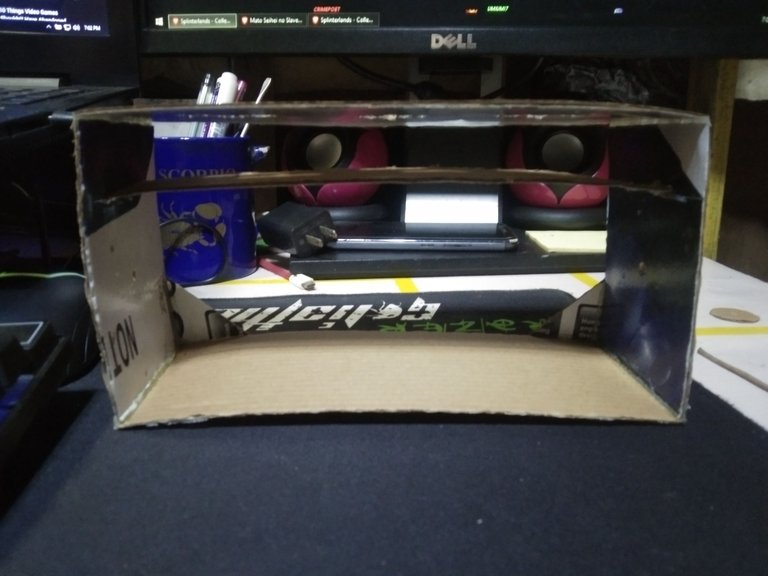
- For the main body, we get one 20 x 8 cm carton and glue the two 10 x 8 cm carton on both ends of it. Glue the 2 triangle shaped carton to make make the foundation stronger. From the bottom, measure 4.5 cm and from that, pierce the two 10 X 8 cm carton as this is where we place the 11 cm stick.
 |  |
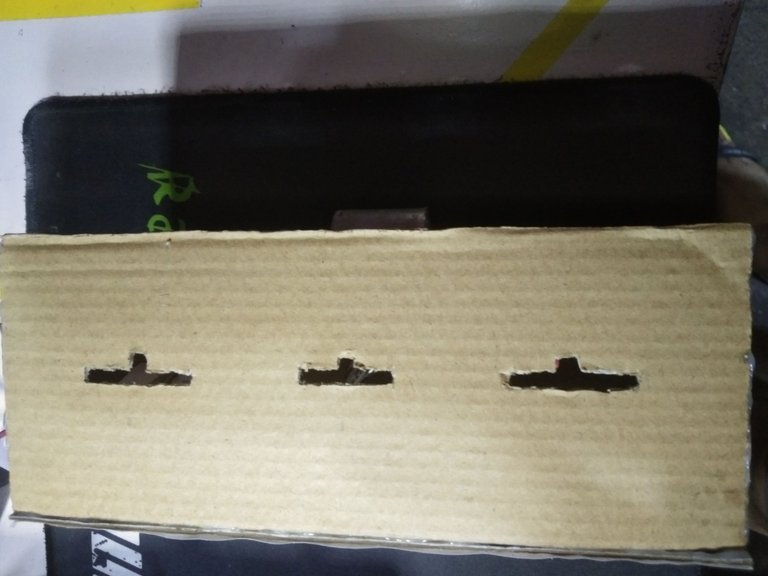
- Grab the other 20 x 8 cm carton and put holes like what I did in the picture. The size for the hole on the sides are 3 x 0.5 cm and the other one was 2.5 x 0.5 cm. Get one 20 x 4 cm carton next put small holes with it parallel with the bigger holes above just so the sticks can fit on it. Use glue gun to attach both with the 20 x 8 cm carton at the top and the 2.5 x 0.5 cm carton at 2.5 cm under it.
 |  |
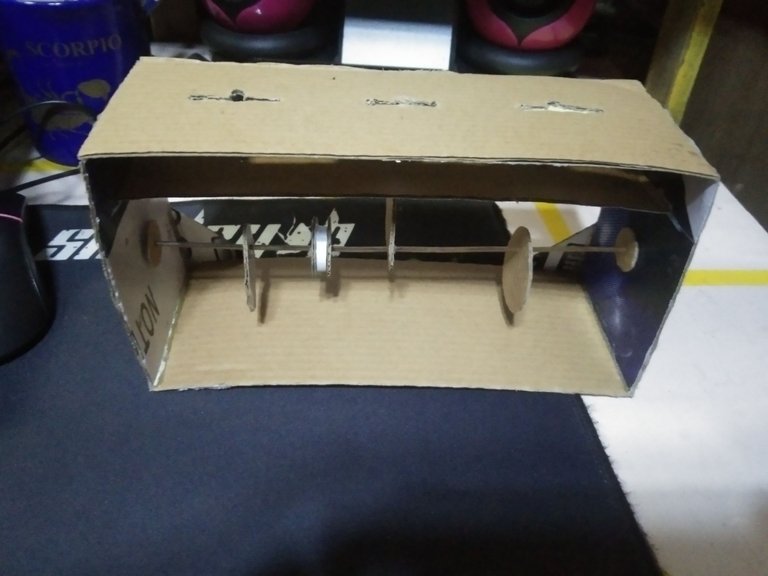
- Pick three of the circle shaped boards with the 10.5 cm carton and pierce each of them on the side with the length of 1 cm. Insert the 11 cm stick on the body and after that, grab two 5.34 cm circle shaped carton and together with the 10.5 cm carton, insert each of them to the stick like what was shown in the picture. Make sure that it is aligned with the holes. Glue each of the circle to make sure that they won't be misaligned even when we rotate them (better use super glue).
- For the automation part also insert the gear on the stick.
 | 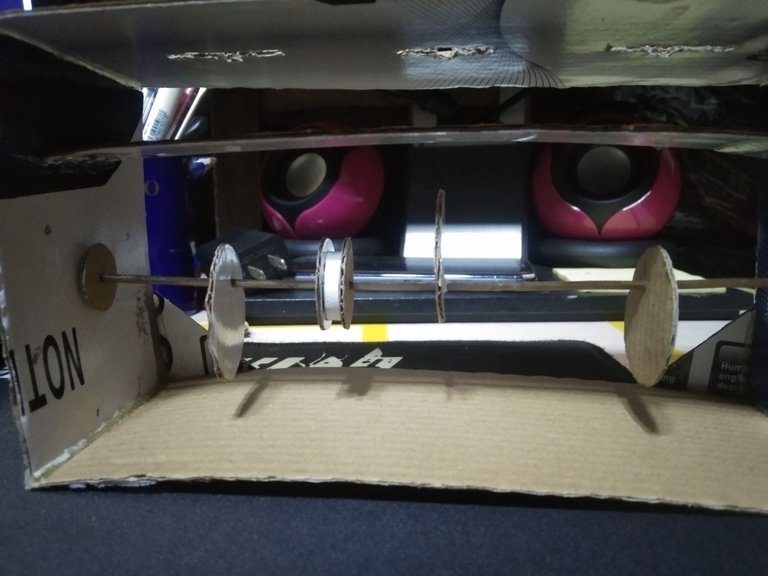 |
- Use the remaining 5.34 cm circle shaped carton to seal both ends of the stick then placed the crank at the other side.
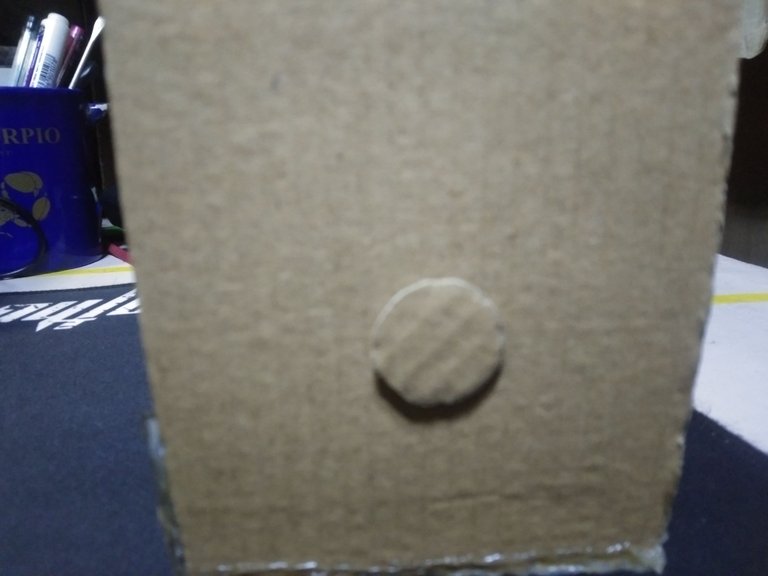 | 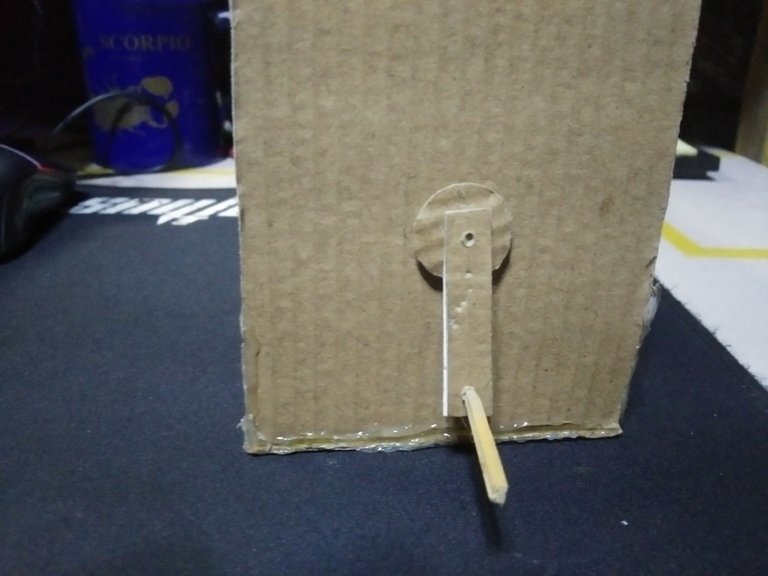 |
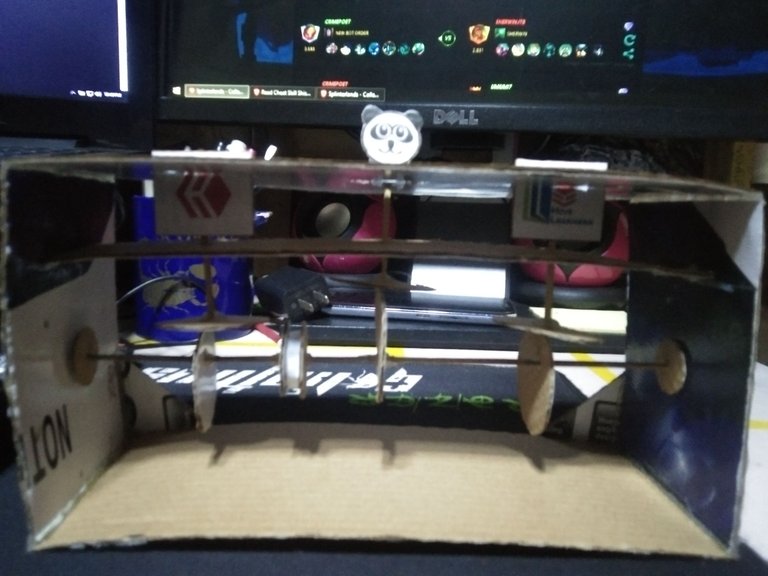
- As this was a Hive Learners inspired automata I printed an image of the Hive Learners Logo and Hive with the width of 3 cm and height of 2.5 cm while the logo for lazypanda with of 2 cm and height of 2.5 cm. This was then glued on a carton that was glued on 5.5 cm stick then the stick was then attached on the remaining 10.5 cm circle shaped carton using glue gun then afterwards, I placed two 3 cm stick on it to serve as weights. At this point, you can already try if the automata has functioned as intended and do some troubleshooting.
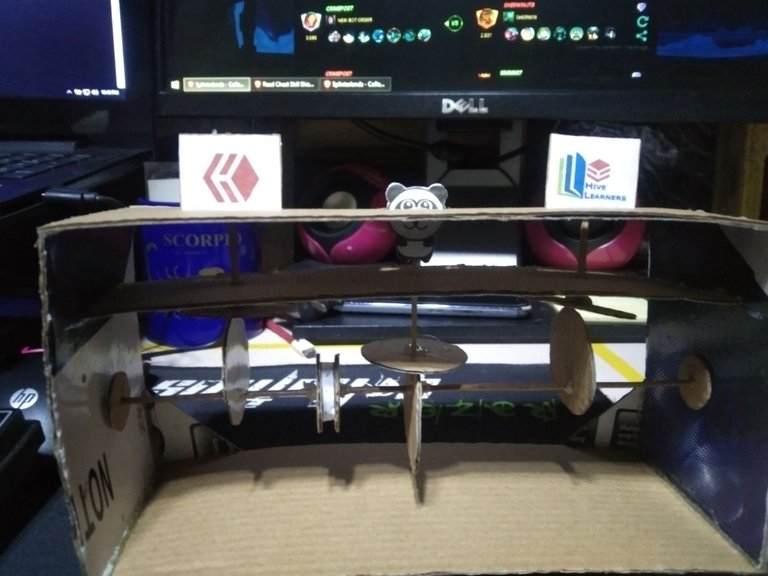 |  |
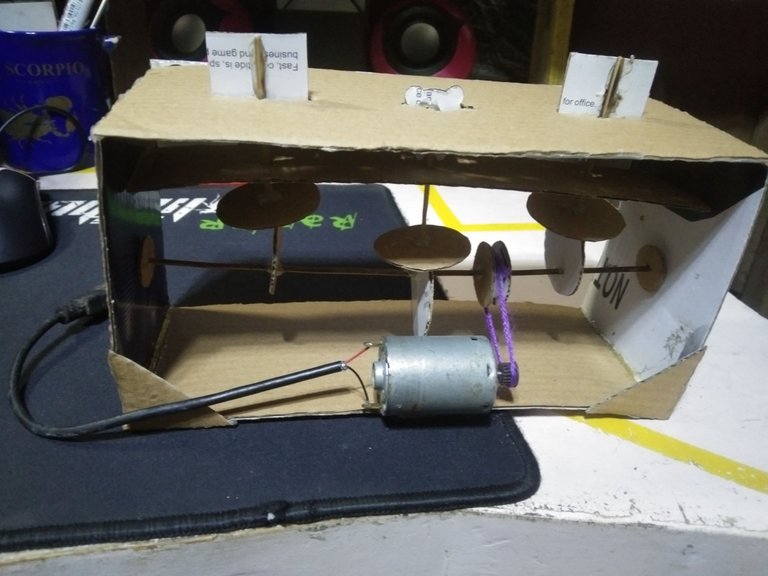
- For the automation part, place the dynamo at the back using a glue gun then tie a yarn between the gear and the dynamo. I forgot that it was Sunday and Hardwares are closed so what I did was to get an old phone charger and connect the cords to the dynamo which will then be attached on a powerbank in order to move.
- For the final touch, I glued the other 20 x 4 cm at the front then add some minor details on it. You can put more designs depending on your taste.
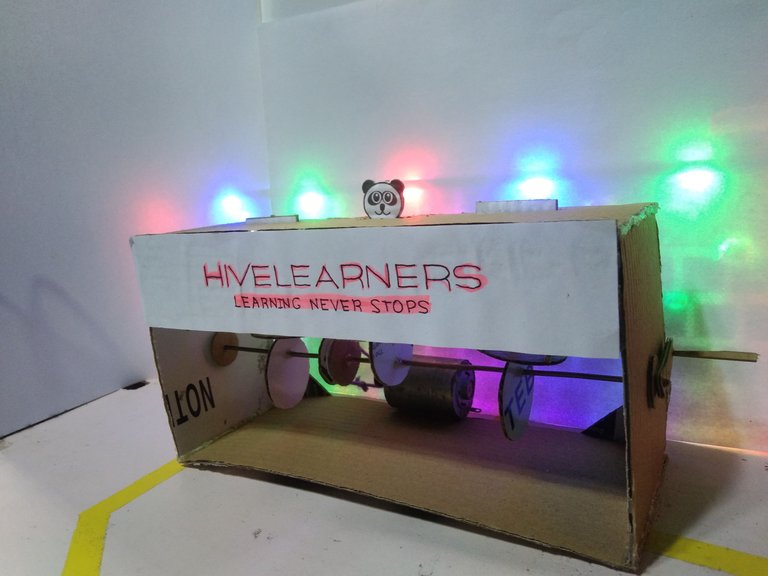
So that was it for my entry for this weeks #creative-sunday. It might be a bit complicated since it includes different measurements but can be perfected with some few trial and errors with almost no cost since the materials can be find at home. Being chief also means that it can be done even by kids so it can be a good bonding project for the family. For the power operated automata, I have improvised due to my unpreparedness but it still works fine but it has caused lazypanda to move so fast due to the strong electricity output. I just hope lazypanda did not tired and dizzy with that 😂😂. If you encounter any difficulties making it or have questions, feel free to ask at the comment section.
That was it for this post and see you on the next one!
This post has been manually curated by @bhattg from Indiaunited community. Join us on our Discord Server.
Do you know that you can earn a passive income by delegating to @indiaunited. We share more than 100 % of the curation rewards with the delegators in the form of IUC tokens. HP delegators and IUC token holders also get upto 20% additional vote weight.
Here are some handy links for delegations: 100HP, 250HP, 500HP, 1000HP.
100% of the rewards from this comment goes to the curator for their manual curation efforts. Please encourage the curator @bhattg by upvoting this comment and support the community by voting the posts made by @indiaunited.
Wow! thank you!
wow so creative the design looks beautiful.
Thanks you! I'm very satisfied with the end result and it works as intended.
Ang galing Naman,great job👏
salamat. 😁
wow thsi gonna be on author of the next week no doubt . good job saydie
Well, I just want to make a blog since I have been less active recently due to my schedule so I was glad that you like it.
o.o ya time to get active saydie~ no worries even im not blogging daily
Wow this is so nice, that's creative. 👍👍
Good job.
Thanks! This was my first entry for #creative-sunday so I put some effort on making it.
Wow this is so unique and it's creative
Nice work buddy
I should try this out soon because I love the way it has different color of light.
looking forward on what you will make.. 😁
What a great learning experience. Thanks for sharing your knowledge!
I'm glad that you liked it.