Tutorial: Bolsa de regalo con material reciclado 🛍️ / Gift bag with recycled material🛍️
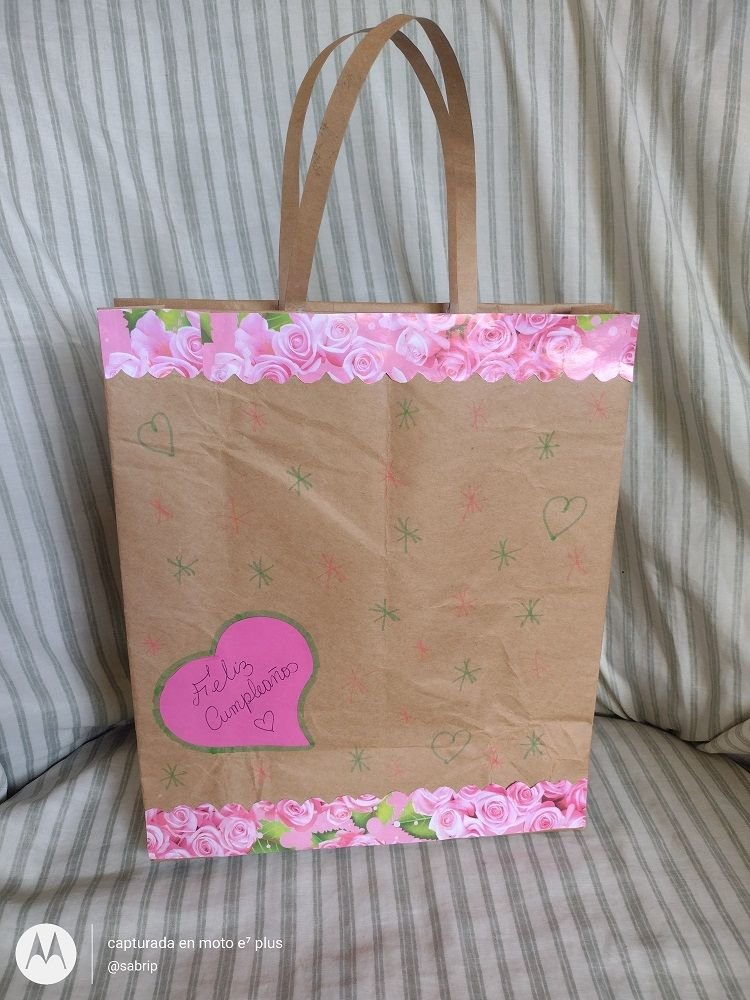
Hola hola comunidad sean todos bienvenidos a mi blog. Yo muy feliz de poder seguir compartiendo con todos ustedes mis hermosos trabajos. Hoy les traigo un tutorial que es esencial que aprendamos ya que nos saca de apuro y nos ayuda ahorrar dinero. Les enseñare como elaborar bolsas de regalo con material reciclado.
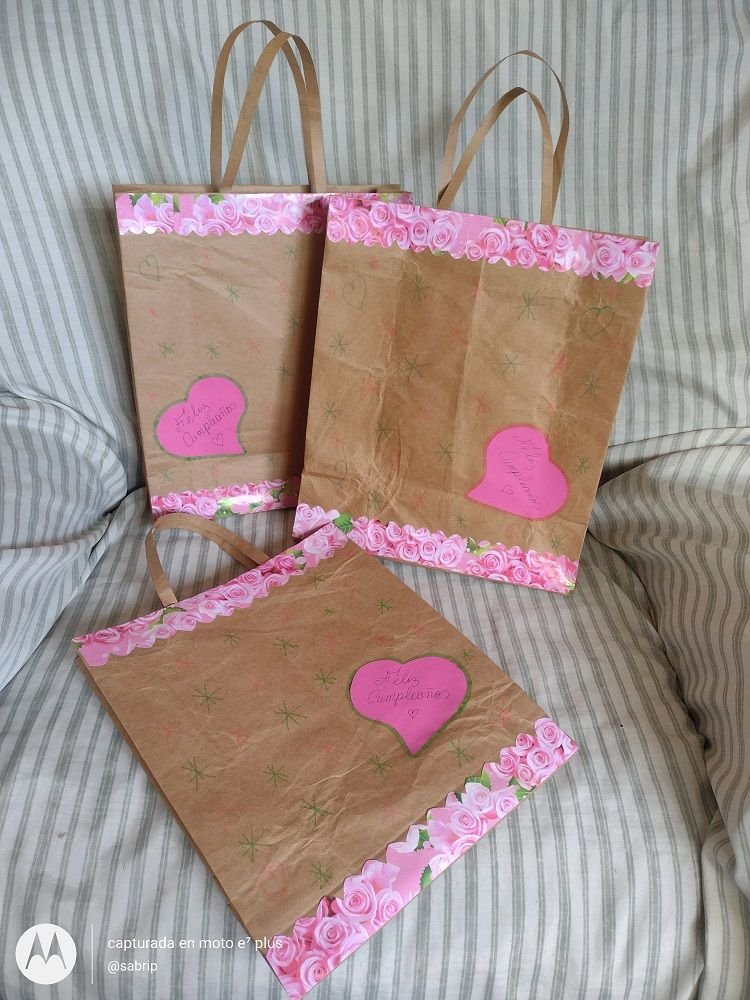
Los materiales reciclados en la actualidad son muy útiles, cada vez son más las personas que los emplean para transformarlo en hermosos objetos, como por ejemplo estas bolsas de regalo que fueron realizadas con empaques de harina pan. Es un procedimiento bastante sencillo, rápido y con pocos materiales que da como resultado final una encantadora bolsa de regalo y con un diseño único y exclusivo.
Hello hello community everyone welcome to my blog. I am very happy to be able to continue sharing my beautiful work with all of you. Today I bring you a tutorial that is essential for us to learn since it gets us out of trouble and helps us save money. I will teach you how to make gift bags with recycled material.
Recycled materials are currently very useful, more and more people are using them to transform them into beautiful objects, such as these gift bags that were made with bread flour packaging. It is a fairly simple and fast procedure with few materials that gives as a final result a charming gift bag with a unique and exclusive design.
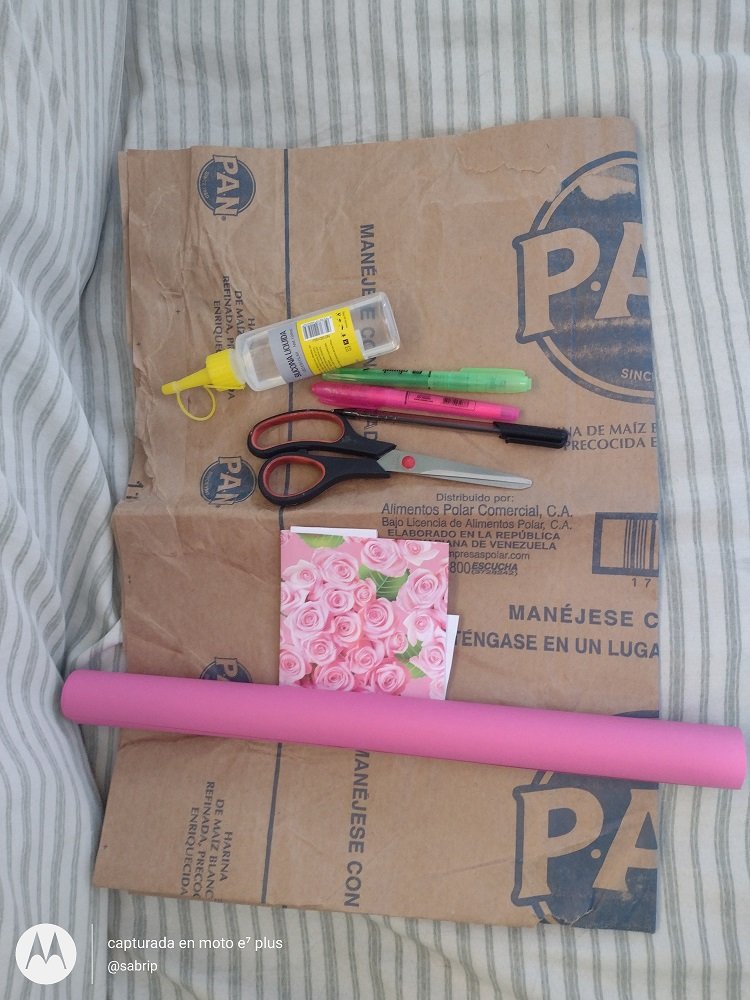
Emplearemos los siguientes materiales: / We will use the following materials:
- Empaques de harina pan. / Bread flour packages.
- Retazos de papel de regalo. / Scraps of wrapping paper.
- Tijera, resaltadores y bolígrafo. / Scissors, highlighters and pen.
- Silicón frio. / Cold sylicon.
- Cartulina. / Cardboard.
🛍️Comencemos amigos / Let's start friends🛍️
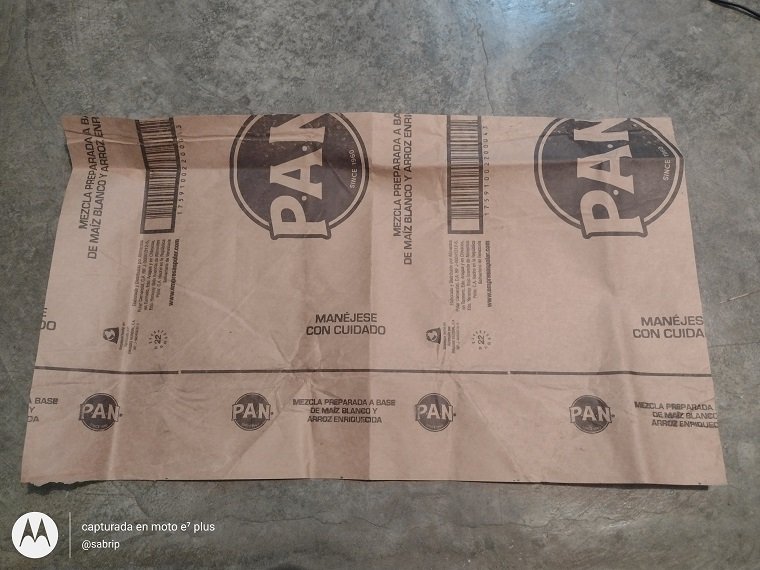
Lo primero que debemos hacer es estirar el empaque y colocar el regalo en centro para así definir el tamaño de la bolsa. En mi caso hice una bolsa grande ya que el regalo era un bolso, las medidas aproximadas fueron de 40 cm de alto por 30 cm de ancho. Recortamos y pegamos en el centro los extremos. La parte estampada del papel debe ser el interior de la bolsa.
The first thing we must do is stretch the wrapping and place the gift in the center to define the size of the bag. In my case I made a large bag since the gift was a bag, the approximate measurements were 40 cm high by 30 cm wide. Cut and glue the ends in the center. The patterned part of the paper should be the inside of the bag.
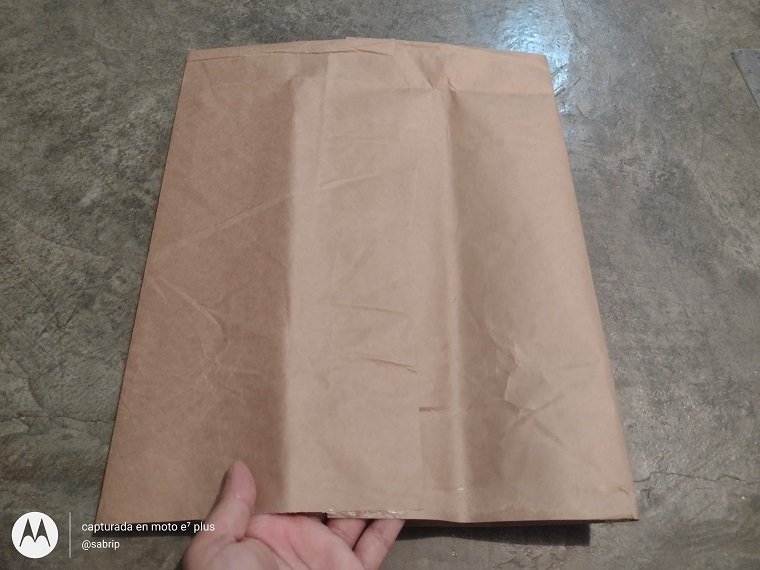
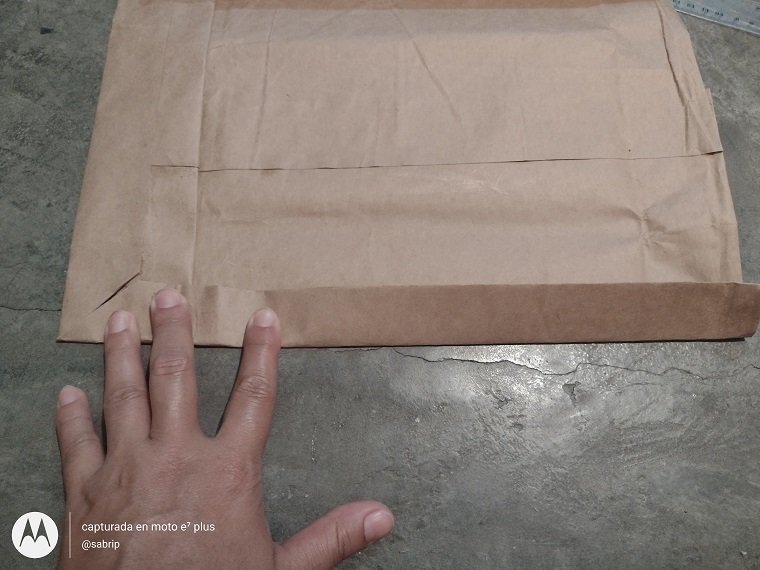
Ahora seleccionamos nuestra parte superior e inferior de la bolsa. En la parte inferior doblamos 8 cm hacia arriba, esto será el grosos de la bolsa, como lo dije anterior todo depende del regalo.
Now we select our top and bottom of the bag. At the bottom we fold 8 cm upwards, this will be the thickness of the bag, as I said before, it all depends on the gift.
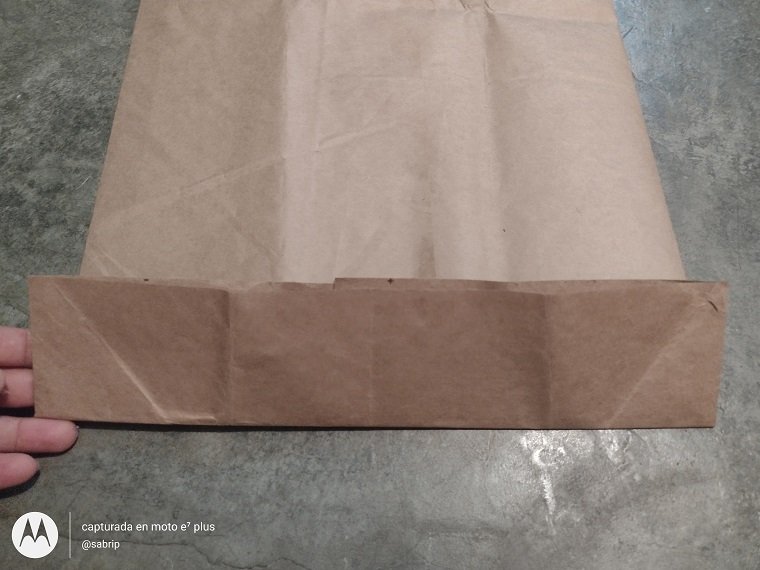
El doble lo abrimos por la mitad y doblamos las pestañas superiores e inferiores hacia el centro para luego pegarlas.
We open the double in half and fold the upper and lower tabs towards the center and then glue them.
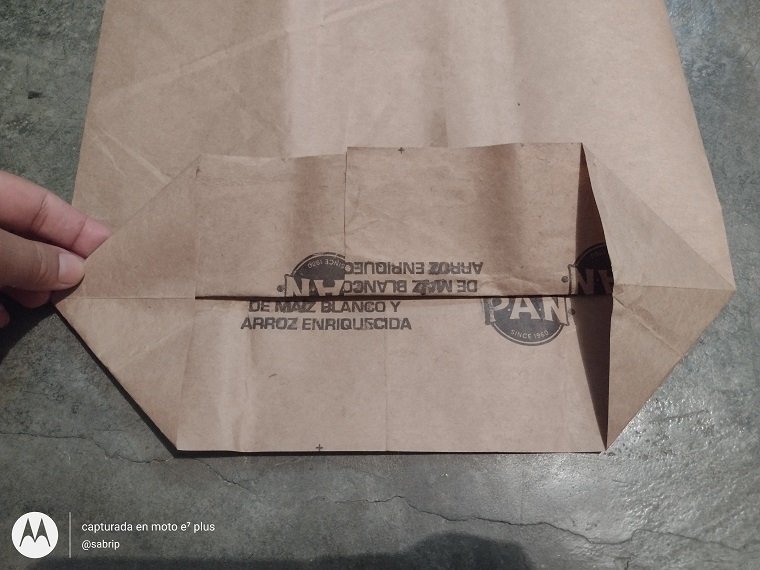
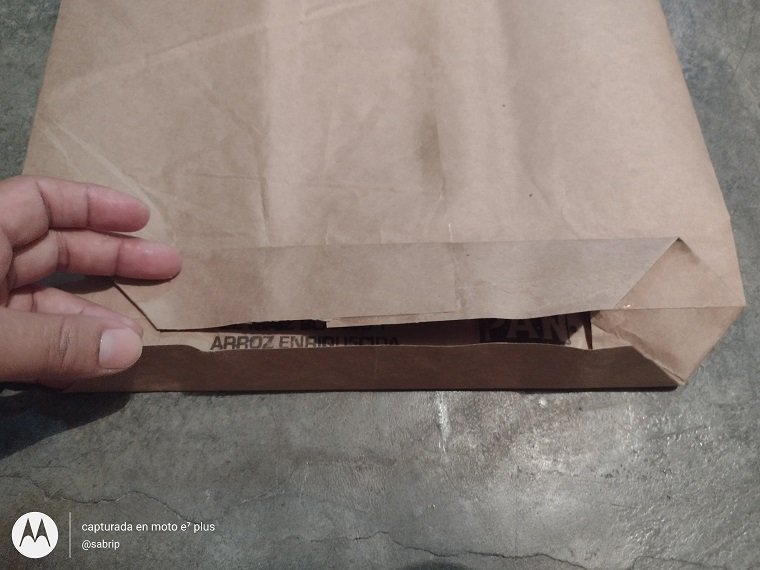
Seguimos doblando los laterales hacia el centro del bolso para darle forma. Abrimos y para darle estabilidad cortamos un trozo de cartón, aproximadamente del mismo tamaño de la parte inferior y lo pegamos por la parte interna.
We continue folding the sides towards the center of the bag to give it shape. We open and to give it stability we cut a piece of cardboard, approximately the same size as the bottom part and we glue it on the inside.
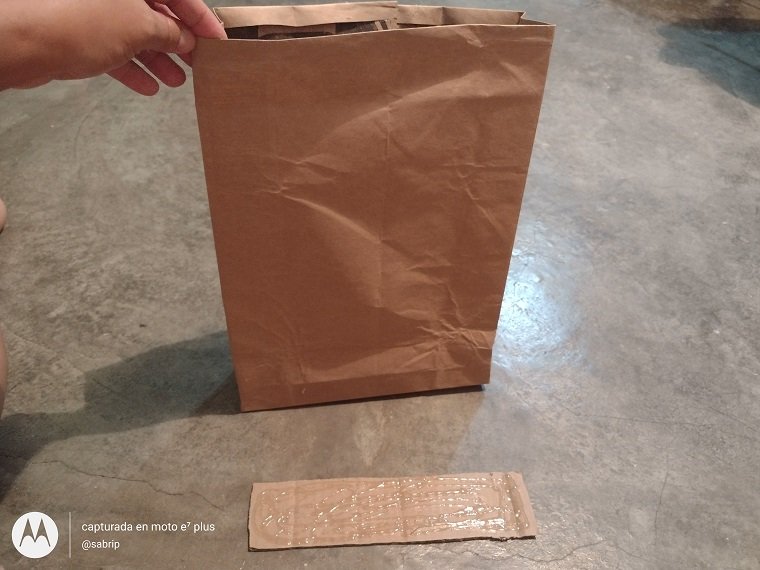
En la parte superior hacemos un doble de 3 cm hacia adentro para darle un mejor acabado. Cortamos tiras del papel restante las cuales serán nuestras asas de nuestra bolsa.
In the upper part we make a double of 3 cm inwards to give it a better finish. We cut strips of the remaining paper which will be our handles of our bag.

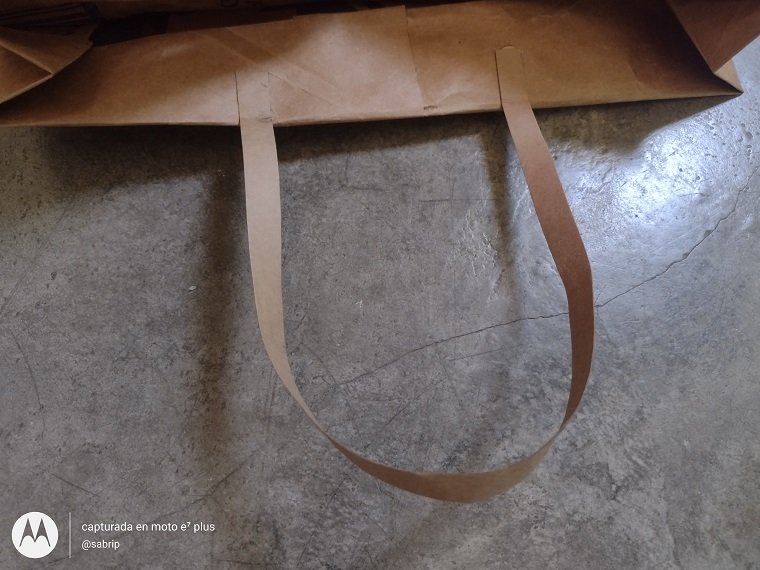
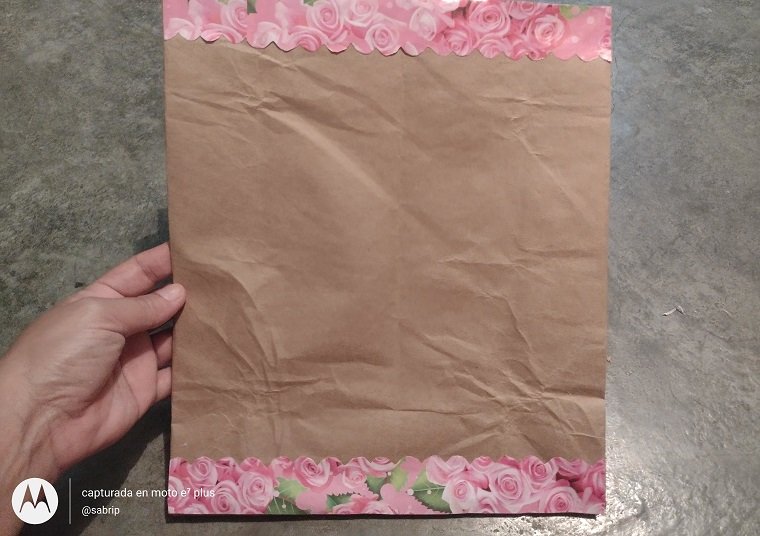
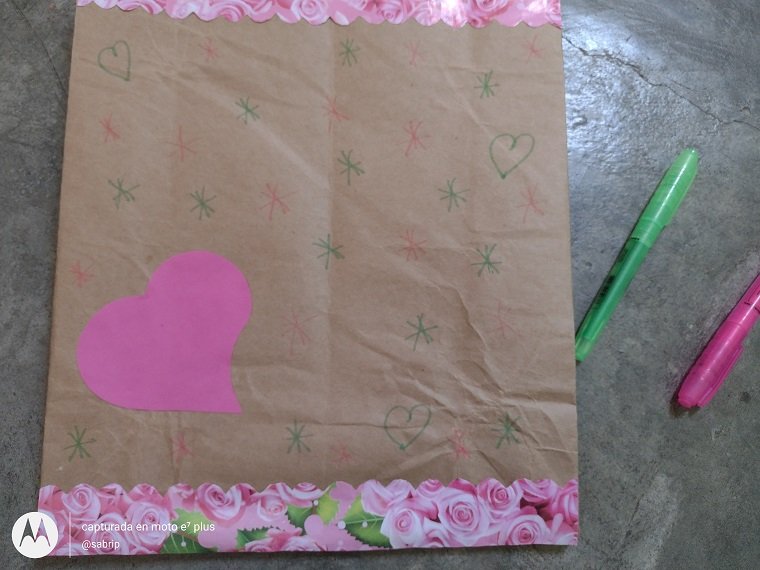
Ya tenemos lista nuestra bolsa, ahora diseñamos. Corte tiras de los retazos del papel de regalo, hice un corte ondulado en uno de los extremos y lo pegué en la parte superior e inferior. Recuerde que el díseño es du agrado.
We already have our bag ready, now we design. I cut strips from the scraps of wrapping paper, made a wavy cut at one end, and glued it to the top and bottom. Remember that the design is your pleasure.
Recorté corazones en la cartulina y lo pegué a un lado en la parte frontal. Con los resaltadores dibujé formas para darle para vida a la bolsa y finalmente escribí la frase de Feliz Cumpleaños.
I cut hearts out of the card stock and glued it to the side the front. With the highlighters I drew shapes to give life to the bag and finally I wrote the Happy Birthday phrase.
🛍️🛍️🛍️🛍️🛍️🛍️🛍️🛍️
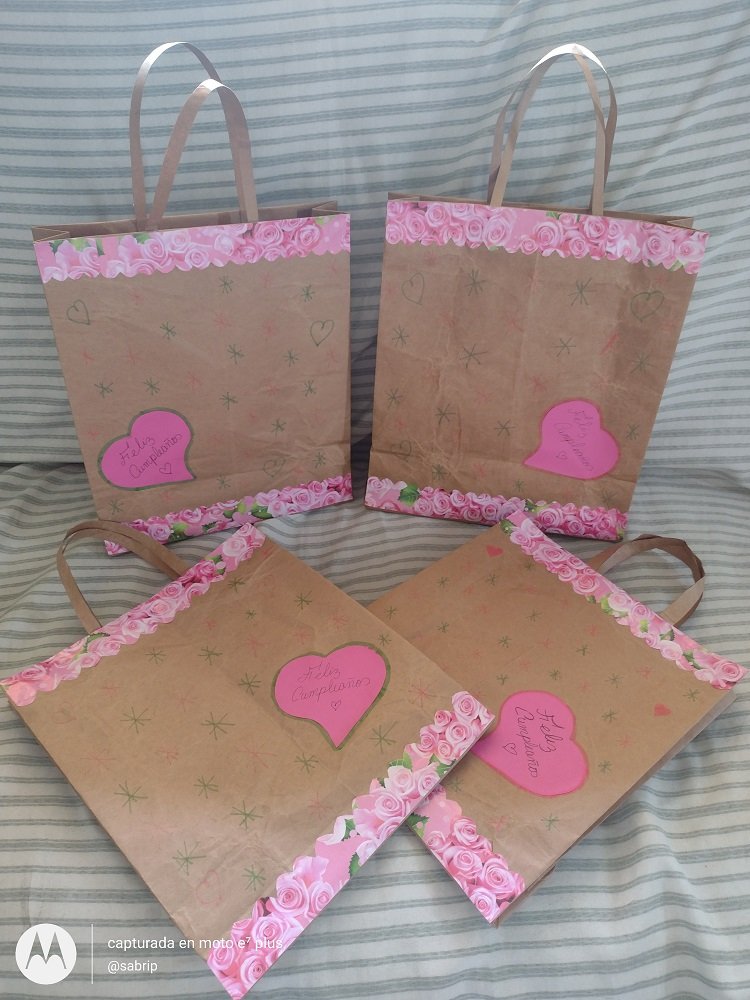
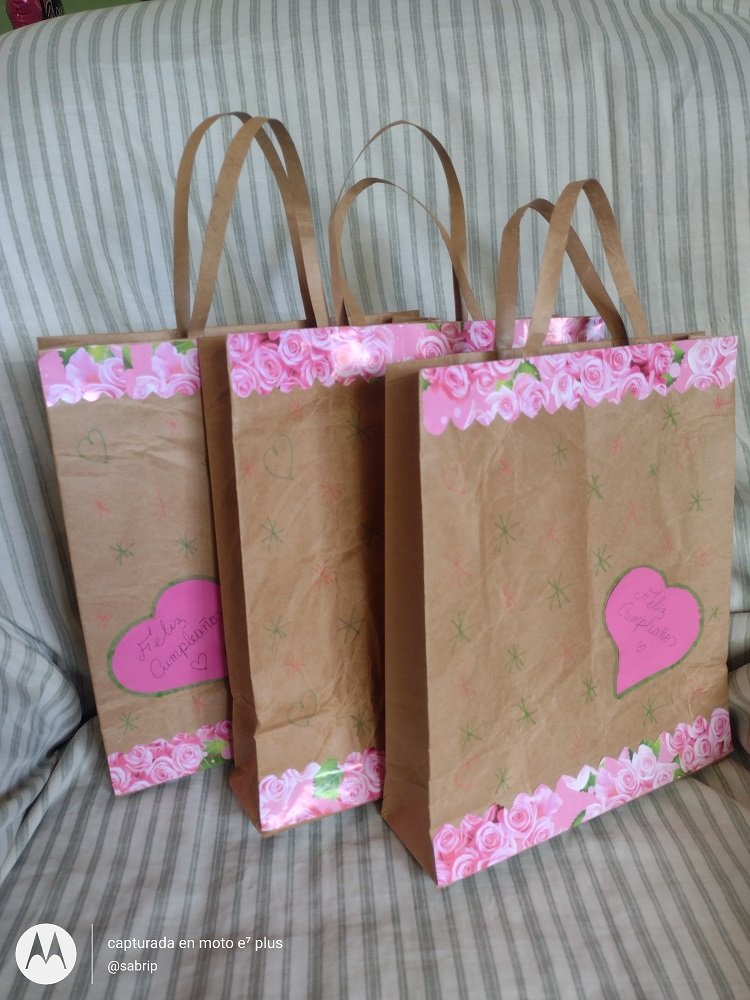
Terminada mi bolsa de regalo, un resultado final muy hermoso que nos motiva a seguir empleando los materiales reciclados.
Finished my gift bag, a very beautiful final result that motivates us to continue using recycled materials.
Amigos he llagado al final de mi tutorial, espero que hayan aprendido y que les haya gustado mi trabajo. Los invito a reciclar y a transformar esos materiales es hermosas manualidades, de esta manera estamos poniendo nuestro granito de arena para evitar la degradación del medio ambiente y al mismo tiempo desarrollamos nuestra creatividad y ahorramos dinero. Me despido deseándoles un feliz inicio de semana.
Friends I have reached the end of my tutorial, I hope you have learned and that you have liked my work. I invite you to recycle and transform these materials into beautiful crafts, in this way we are doing our bit to avoid environmental degradation and at the same time we develop our creativity and save money. I say goodbye wishing you a happy start to the week.

0
0
0.000
0 comments