Decorative Egg Holder ǀ Huevera Decorativa
Blessed day, DIYHub friends! I greet you with much affection, wishing to show you a craft with recycled materials. It is an Egg Holder, a useful element in our kitchen. Let's take a look at the materials and the step by step.
¡Bendecido día, amigos de DIYHub! Les saludo con mucho cariño, deseando mostrarles una manualidad con materiales reciclados. Se trata de una Huevera, un elemento útil en nuestra cocina. Vamos a ver los materiales y el paso a paso.
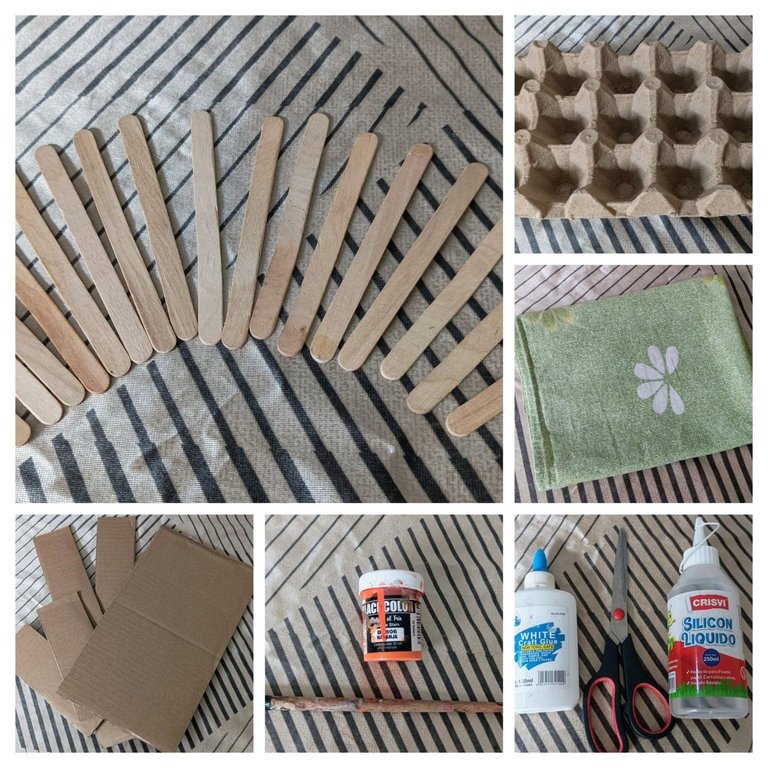
We will need / Vamos a necesitar:
- Ice-cream popsicles / Paletas de helados
- Egg carton / Caja de huevos
- Piece of cloth / Trozo de tela
- Recycled cardboard / Cartón reciclado
- Paints and brush / Pinturas y pincel
- Liquid silicon, scissors and white glue / Silicón líquido, tijeras y pega blanca

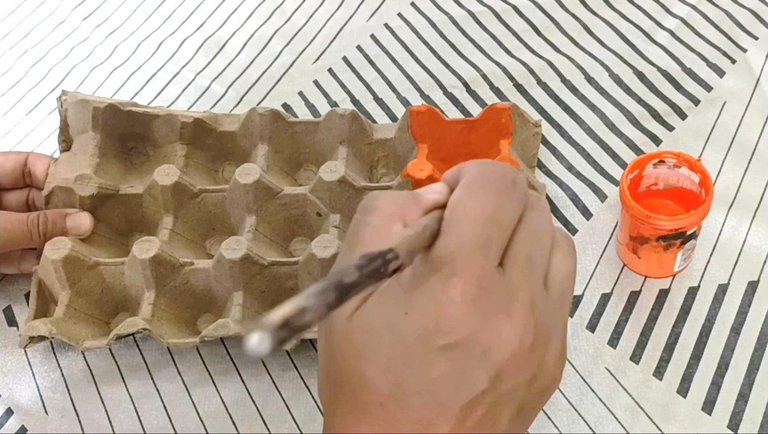
We start by painting the egg carton. In this case I chose an orange cold paint.
Iniciamos pintando el cartón de huevos. En este caso yo elegí una pintura al frío color naranja.
Then I applied water-based varnish, which I made by mixing equal parts of water and white glue. In this way we achieve a touch of brightness and greater firmness in the piece.
Posteriormente le coloqué barniz al agua que realicé mezclando partes iguales de agua y pega blanca. De esta manera logramos un toque de brillo y mayor firmeza en la pieza.

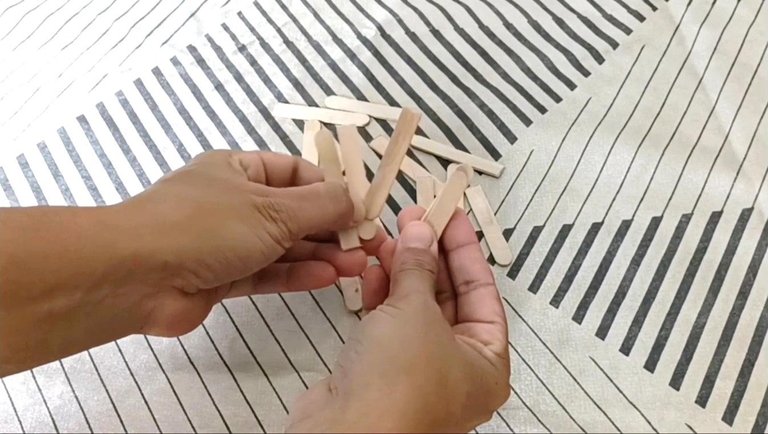
We are going to cut about 40 popsicle sticks in half and set them aside.
Vamos recortar unas 40 paletas de helado a la mitad y reservamos.
Let’s make a cardboard box measuring 28x16 cm. Glue the pieces together with liquid silicone. I used reinforcements to make it firmer.
Vamos a realizar una caja con cartón con unas medidas de 28x16 cm. Pegamos las piezas con silicón líquido. Yo le coloqué refuerzos de cartulina para una mayor firmeza.

We cover the box with fabric in the color of your choice.
Pasamos a forrar la caja con tela del color de su preferencia.

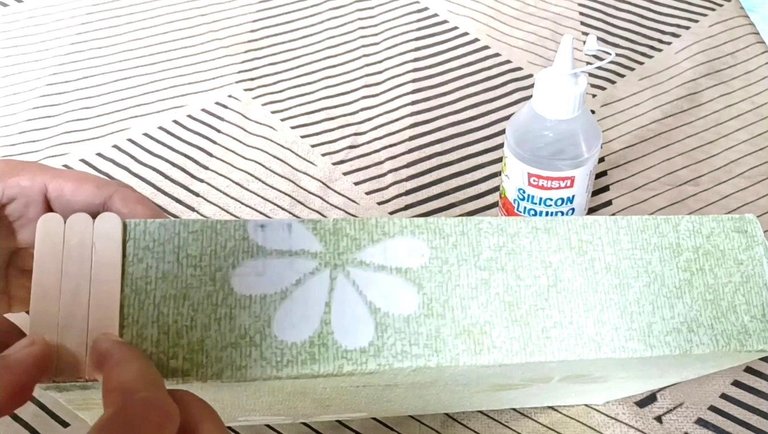
Now it's time to place the wooden pallets all over the outside of the box with the help of liquid or stick silicone. I also placed some pallets horizontally.
Es hora de colocar las paletas de madera por toda la parte exterior de la caja con la ayuda de silicón líquido o en barra. También le coloqué algunas paletas de forma horizontal.
All that remains is to place the egg box, gluing it to the bottom, and finally place the eggs in it.
Solo resta ubicar la caja de huevos, pegándola al fondo, y finalmente colocar los huevos en ella.

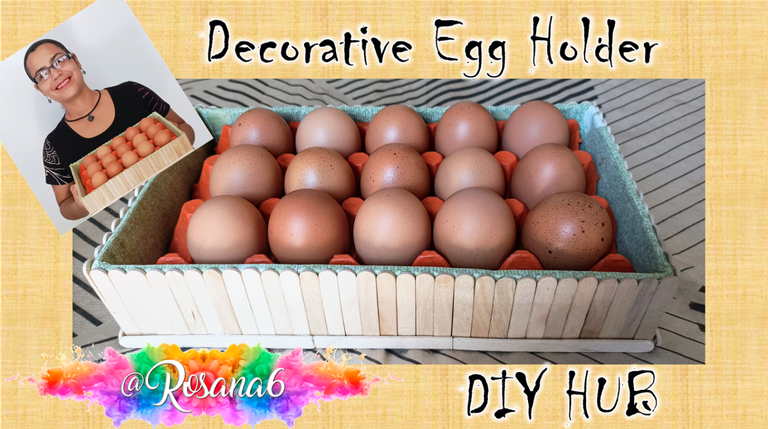
This is how this egg cup looks like, very useful in the kitchen, and the best thing is that it is made with recycled materials. I hope you liked this craft. See you soon!
Así queda esta huevera, muy útil en la cocina, y lo mejor, realizada con materiales reciclados. Espero que les haya gustado esta manualidad. ¡Hasta pronto!


▶️ 3Speak
Your ingenuity is commendable. Such a fine work. Well done
Thanks so much. I'm happy to know you guys liked it. 🤗
Quedo hermosa esta decoración y organizador para los huevos 🥚, excelente idea amiga gracias por compartir, saludos 🥰
Qué bueno que te agradó este trabajo. Muchas gracias por pasar y valorar el post.
This egg holder is very beaitifull and looking amazing
Thanks so much for taking the time to pass by and support.
That's mty pleasure
esta genial, excelente para tenerlos y que se vean presentables! jeje
this is great, excellent to have them and to make them look presentable! hehe
Eso es correcto, me alegra que te haya gustado esta manualidad.
That's right, I'm glad you liked this craft.
🤗
Me encanta la forma en que explicas y la verdad nunca me imagine que con cosas tan sencillas podemos hacer algo tan lindo, buen tutorial Rosana. Saludos.
Gracias vale, me alegro que te haya gustado esta manualidad. Agradezco tu visita.
muy buna manera de almacenar huevos, me parece excelente esta manualidad.
Así es, muy práctico. Gracias por pasar y valorar.
Muchas gracias por compartir ésta hermosa creación.
!DIY
Gracias a ti por pasar a ver y apreciar. 🤗
You can query your personal balance by
!DIYSTATS