>COTILLONES NAVIDEÑOS PARA CIERRE DE PROYECTOS ESCOLARES/ SCHRISTMAS PARTY PARTY FOR CLOSING OF SCHOOL PROJECTS.
Buenos dias!... tengan tod@s mis amig@s de hive, mis disculpas por haberme ausentado por todo este tiempo, fue
por causas ajenas... pero ya estoy de vuelta no se crEan que no he trabajado , en momentos de ocio me interesaba en mi trabajo... Sabemos que ya las escuelas esta en sus cierres de curso y la epoca amerita creatividad porque !ES NAVIDAD!
Good morning!... everyone, my hive friends, my apologies for having been absent for all this time, it was
for reasons beyond my control... but I'm back, don't believe I haven't worked, in moments of leisure I was interested in my work... We know that schools are already in their course closures and the time calls for creativity because! IT IS CHRISTMAS!
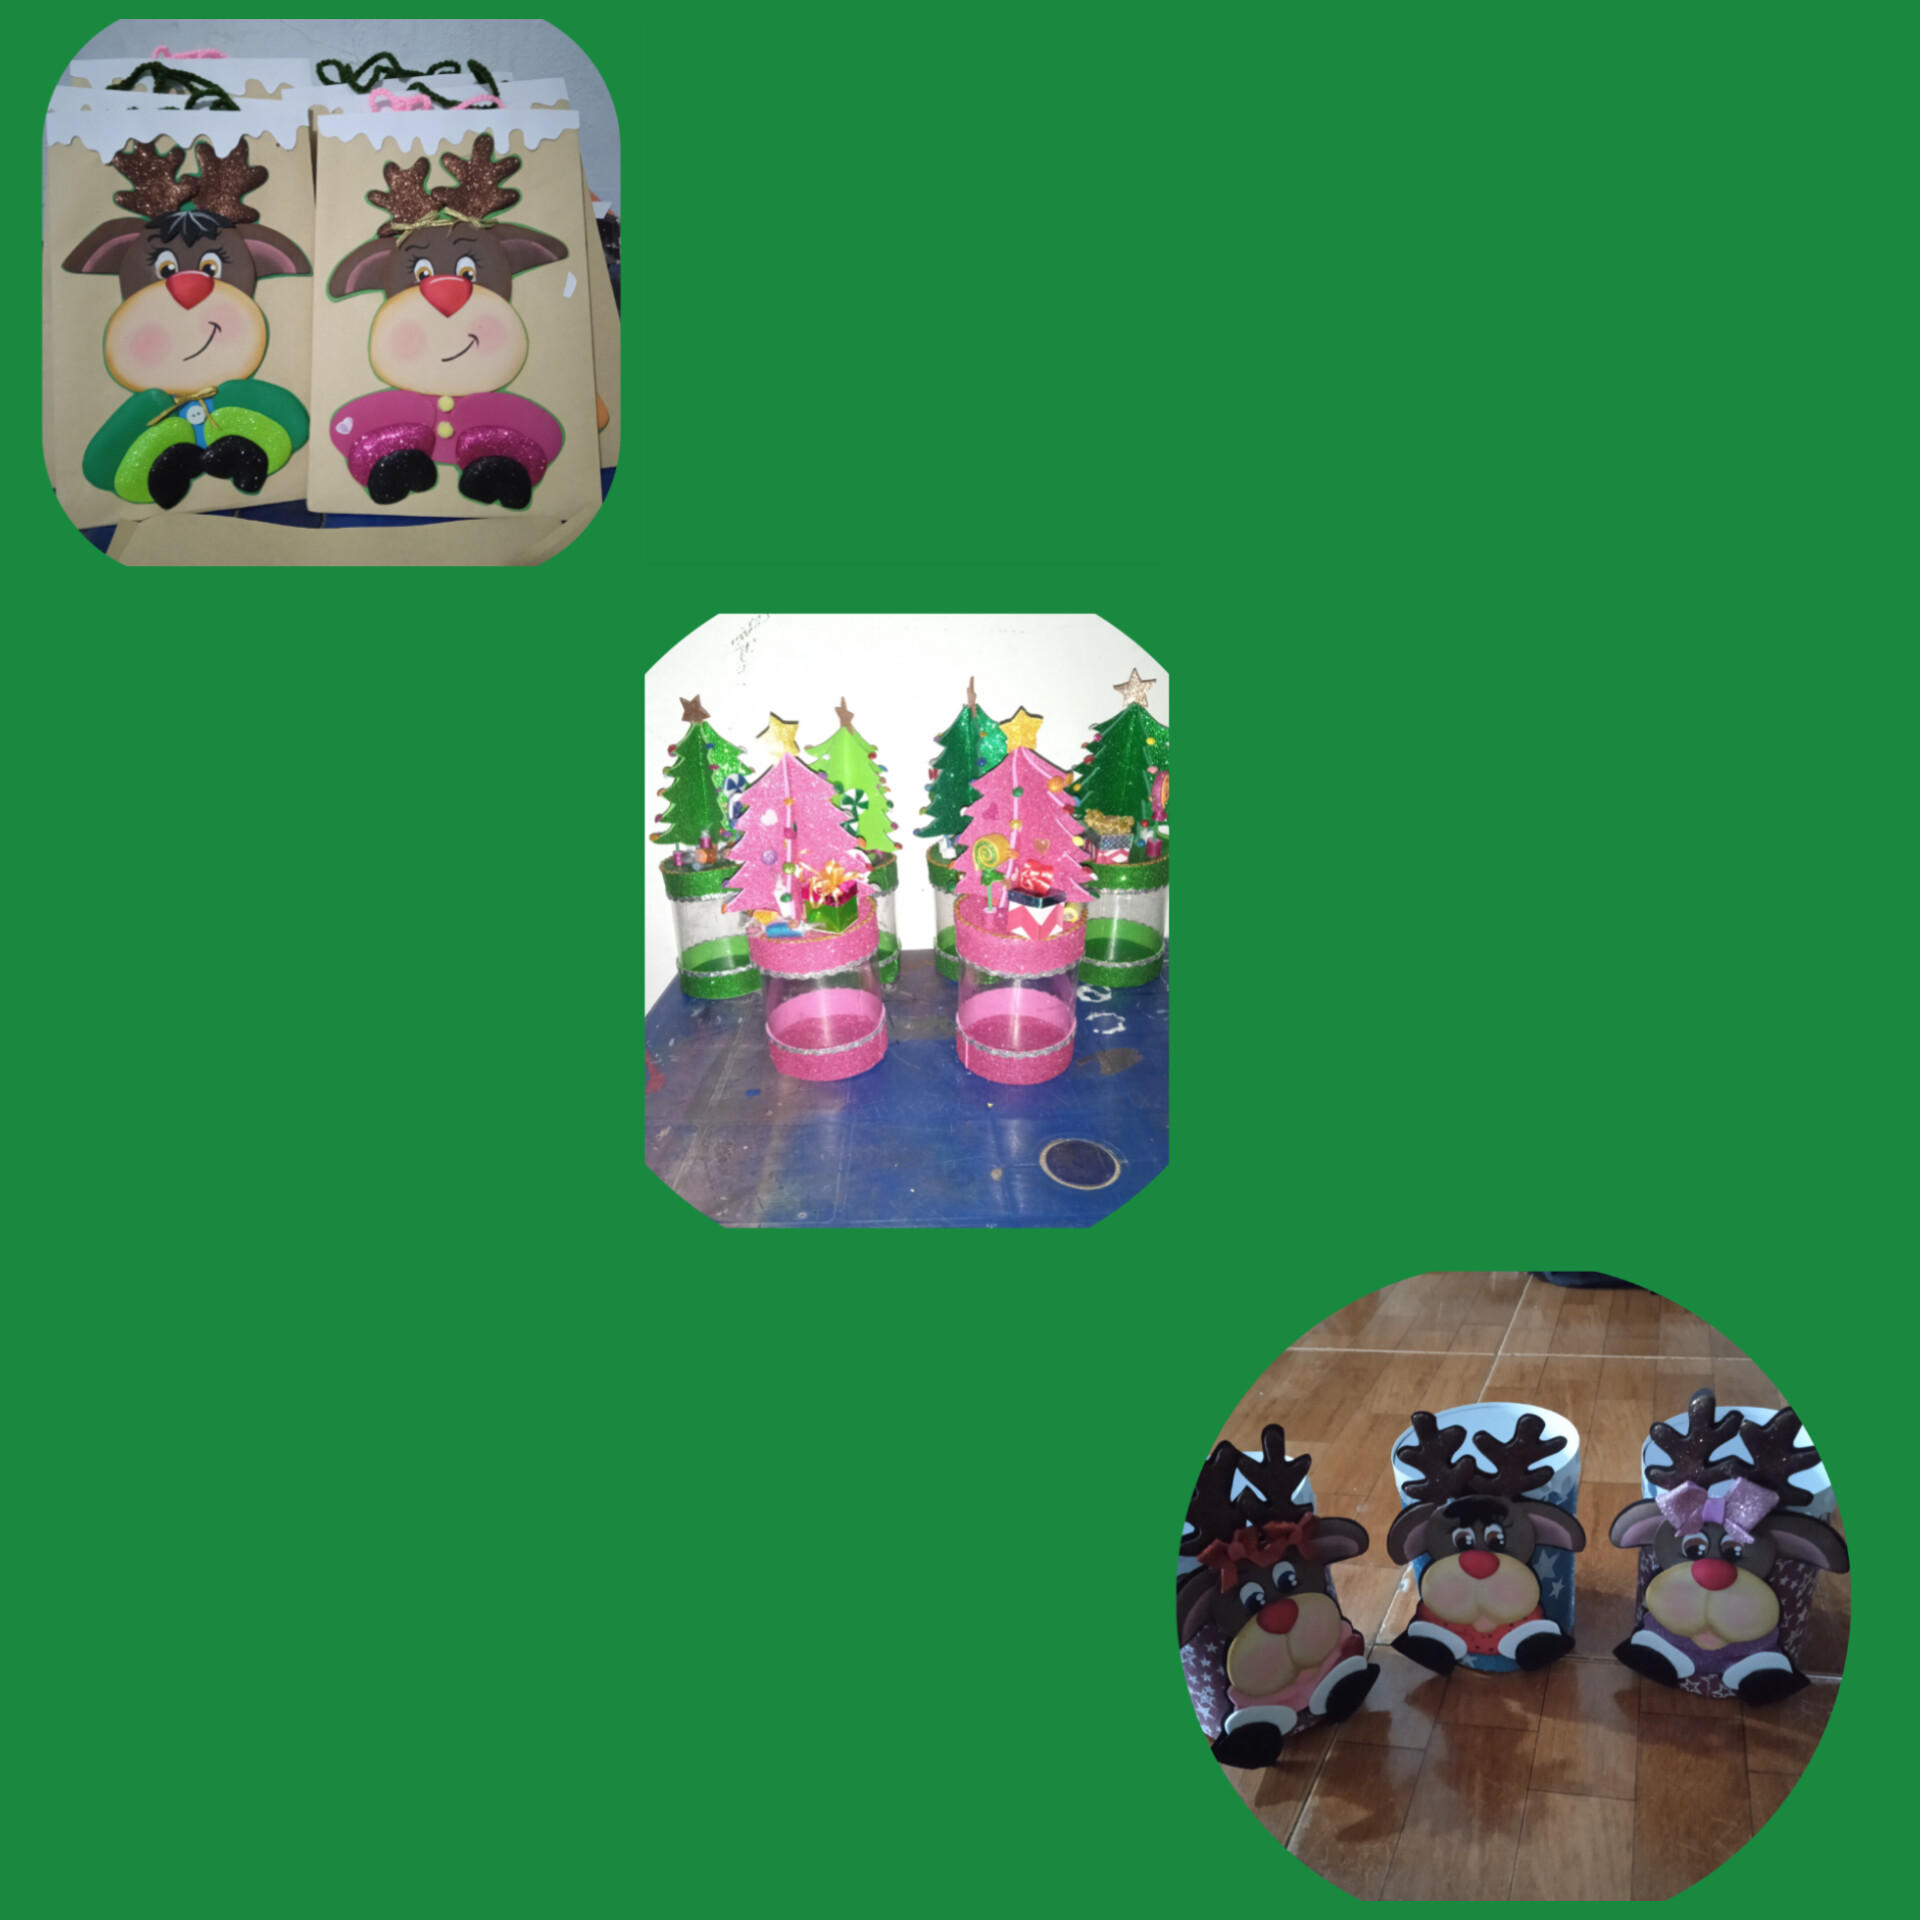
Como es costumbre se les pide en las escuela para realizar los cotillones de recuerdo para los niños, despues de sus exposiciones escolares, mis maestra se pusieron en accion y me pidieron que las ayudara con modelos de cotillones para sus alumnos...ahora les muestro mi proyecto,,
As is customary, they are asked in schools to make souvenir party favors for the children. After their school exhibitions, my teachers got into action and asked me to help them with models of party favors for their students...now I show you my project,.
MATERIALES
Botellas de plastico de 1lt.
Papel kraf 5mts.
Foami escarchado, normal, de diferentes colores.
Cartulinas estampadas escarchada.
Pinturas al frio rojo negro blanco marron.
Silicon liquido y en barra.
Pincel punta fina y angular.
Tijeras, lapiz de grafito, cascabeles n2,.
Hilo de estambre rosado y verde.
Cartulina escolar verde y rojo.
MATERIALS
1lt plastic bottles.
Kraf paper 5m.
Frosted foam, normal, in different colors.
Frosted printed cards.
Cold paints red black white brown.
Liquid and stick silicone.
Fine and angular tip brush.
Scissors, graphite pencil, #2 bells.
Pink and green worsted yarn.
Green and red school cardboard.
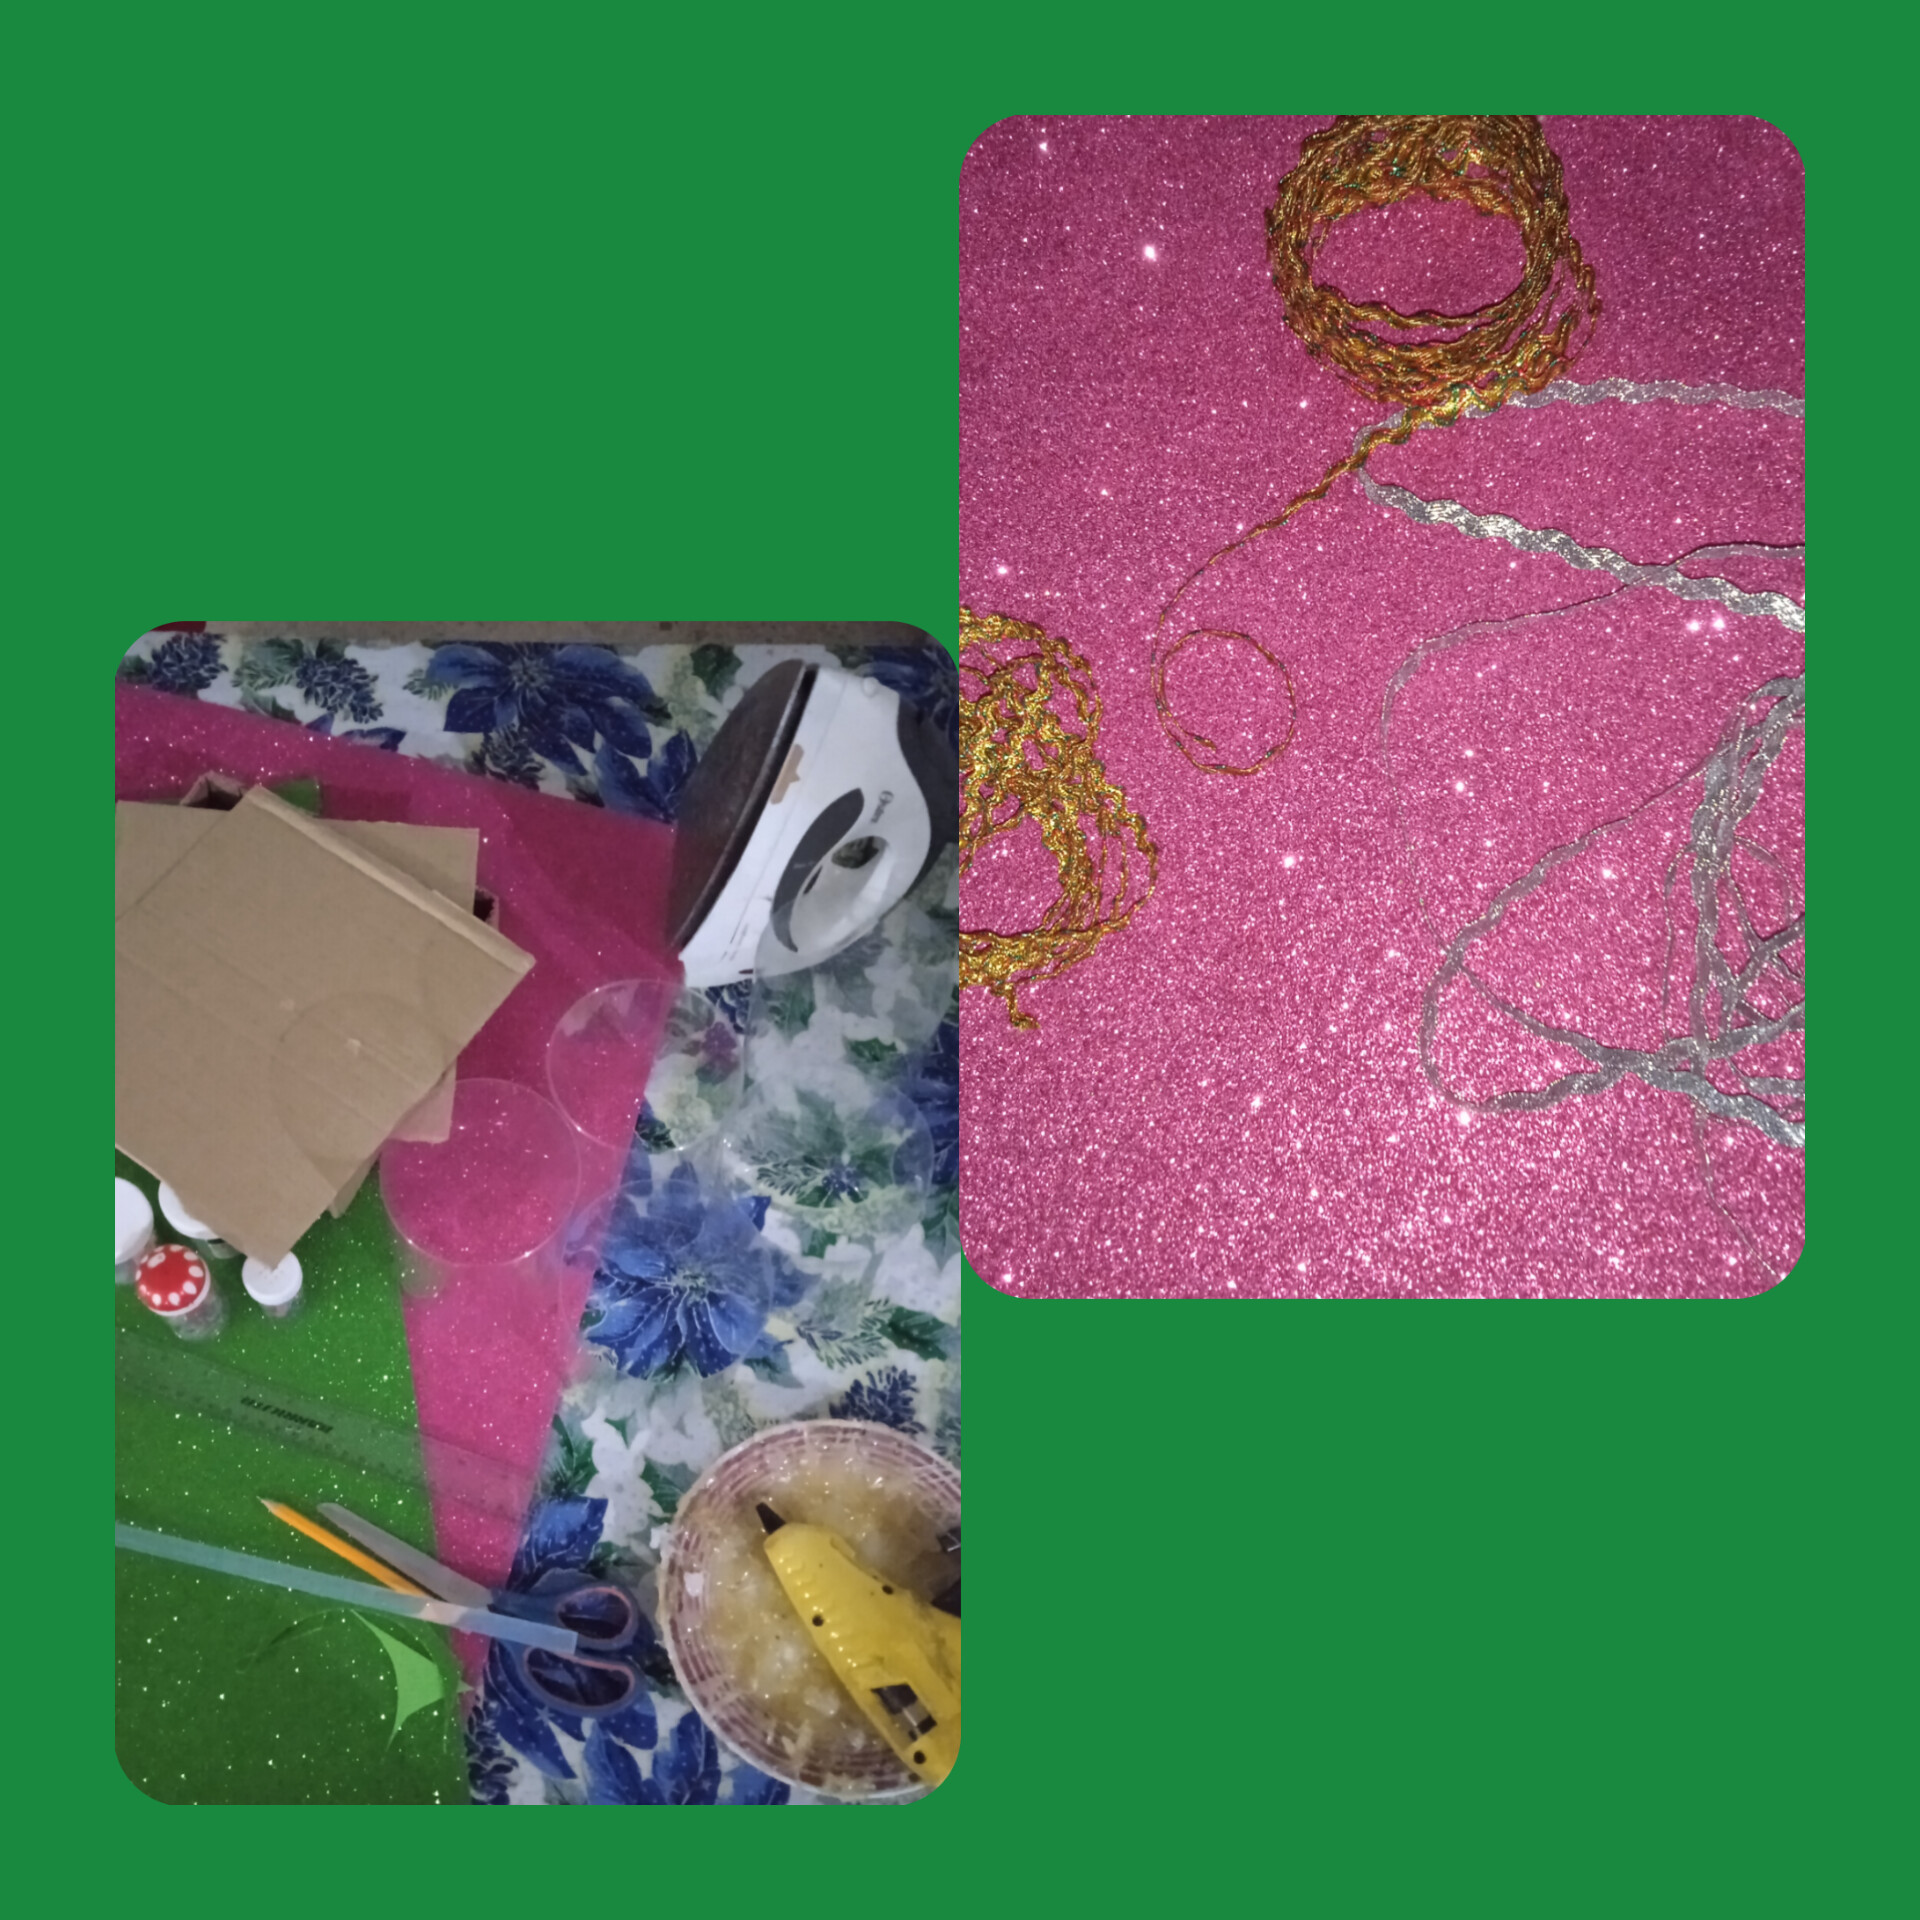
PRIMER MODELO
Tomamos las botellas , las lavamos y cortamos fondo y boca , nos queda el cilindro, calentamos un poco la plancha de ropa y pasamos unos de los bordes para sellarlo y que no corte a la hora de ser manipulado .
.jpg)
PASO 2
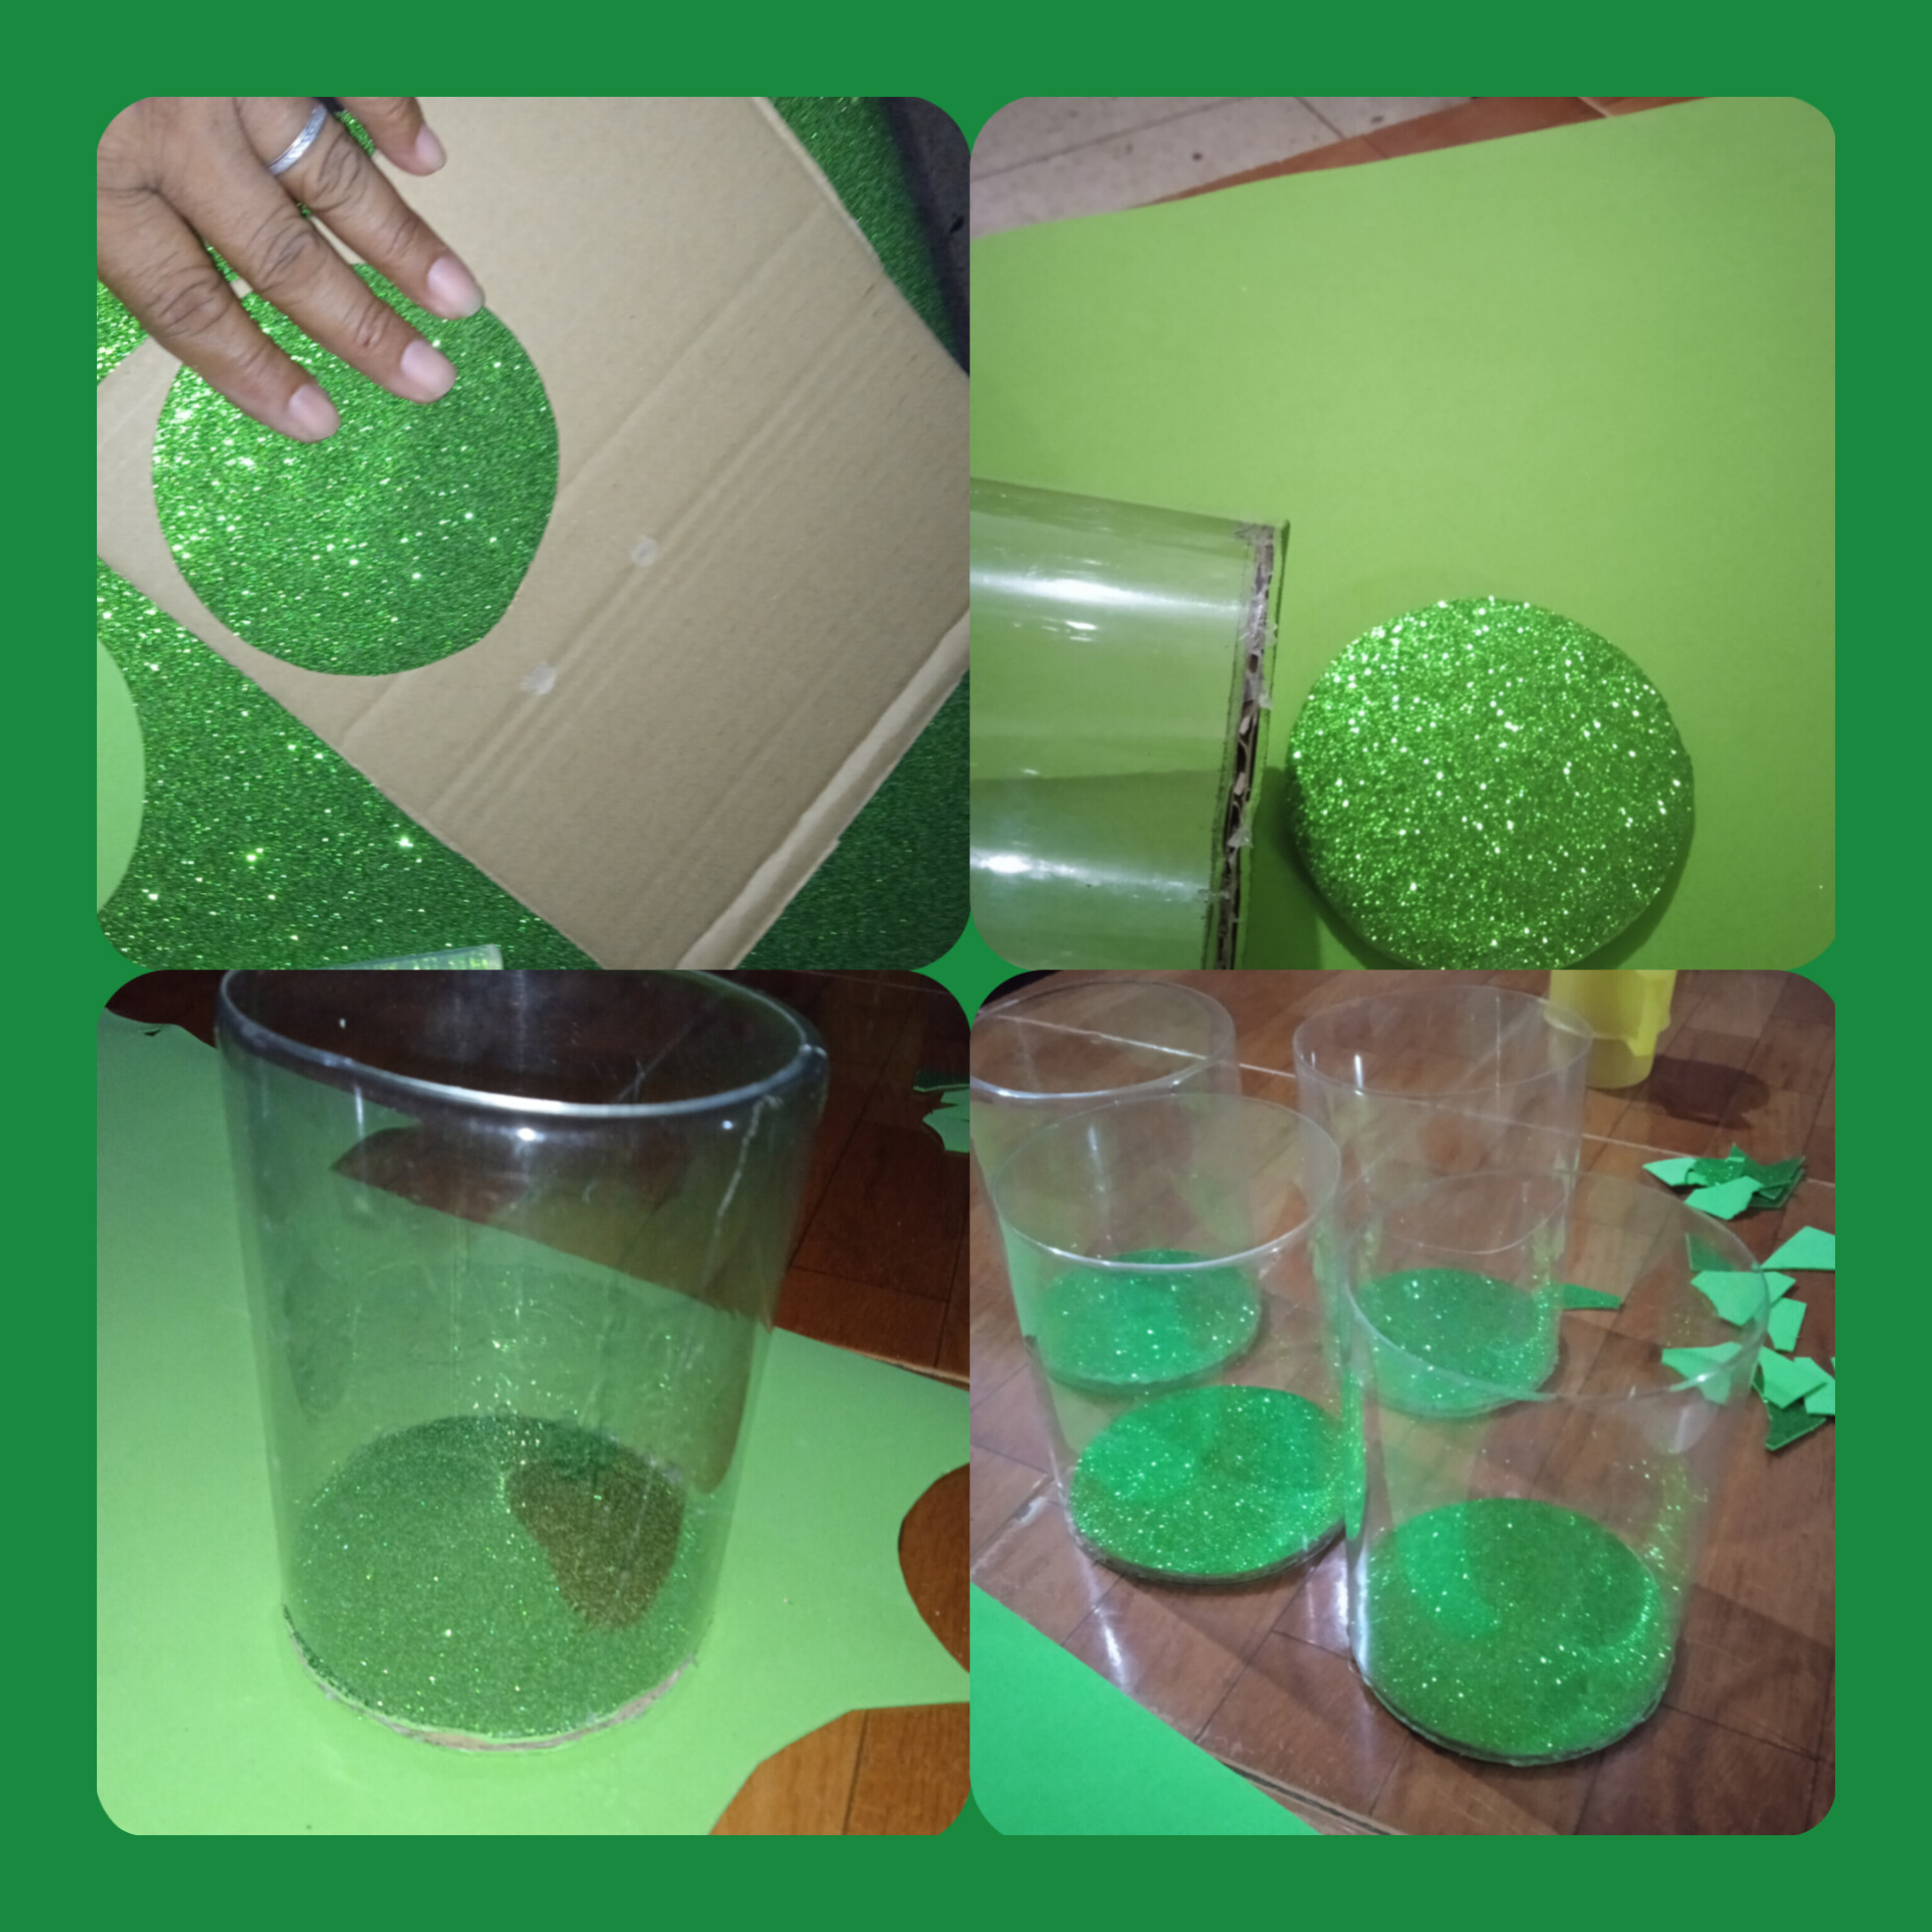
luego colocamos el foami escarchado verde del lado reves, colocamos el cilindro y marcamos con el laPiz el borde para luego cortarlo y pegarlo en un trozoz de carton el circulo de foami ya cortado , serian dos por cada cilindro.
Then we place the green frosted foam on the wrong side, we place the cylinder and mark the edge with the pencil and then cut it and glue it on a piece of cardboard the circle of foam already cut, there would be two for each cylinder.
PASO 3
ya cortados los circulos pegados el fomi los pegamos en el fondopara hacer la base.
STEP 3
Once the circles have been cut, we glue the fomi on the bottom to make the base.
Ahora medimos con una regla un liston de 4cm de foami por el largo de la lamina para hacerle de manera de un borde al cilindro
STEP 3
Una vez cortados los circulos , pegamos el foami en el carton para hacerle la base.
Once the circles have been cut, we glue the fomi on the bottom to make the base.
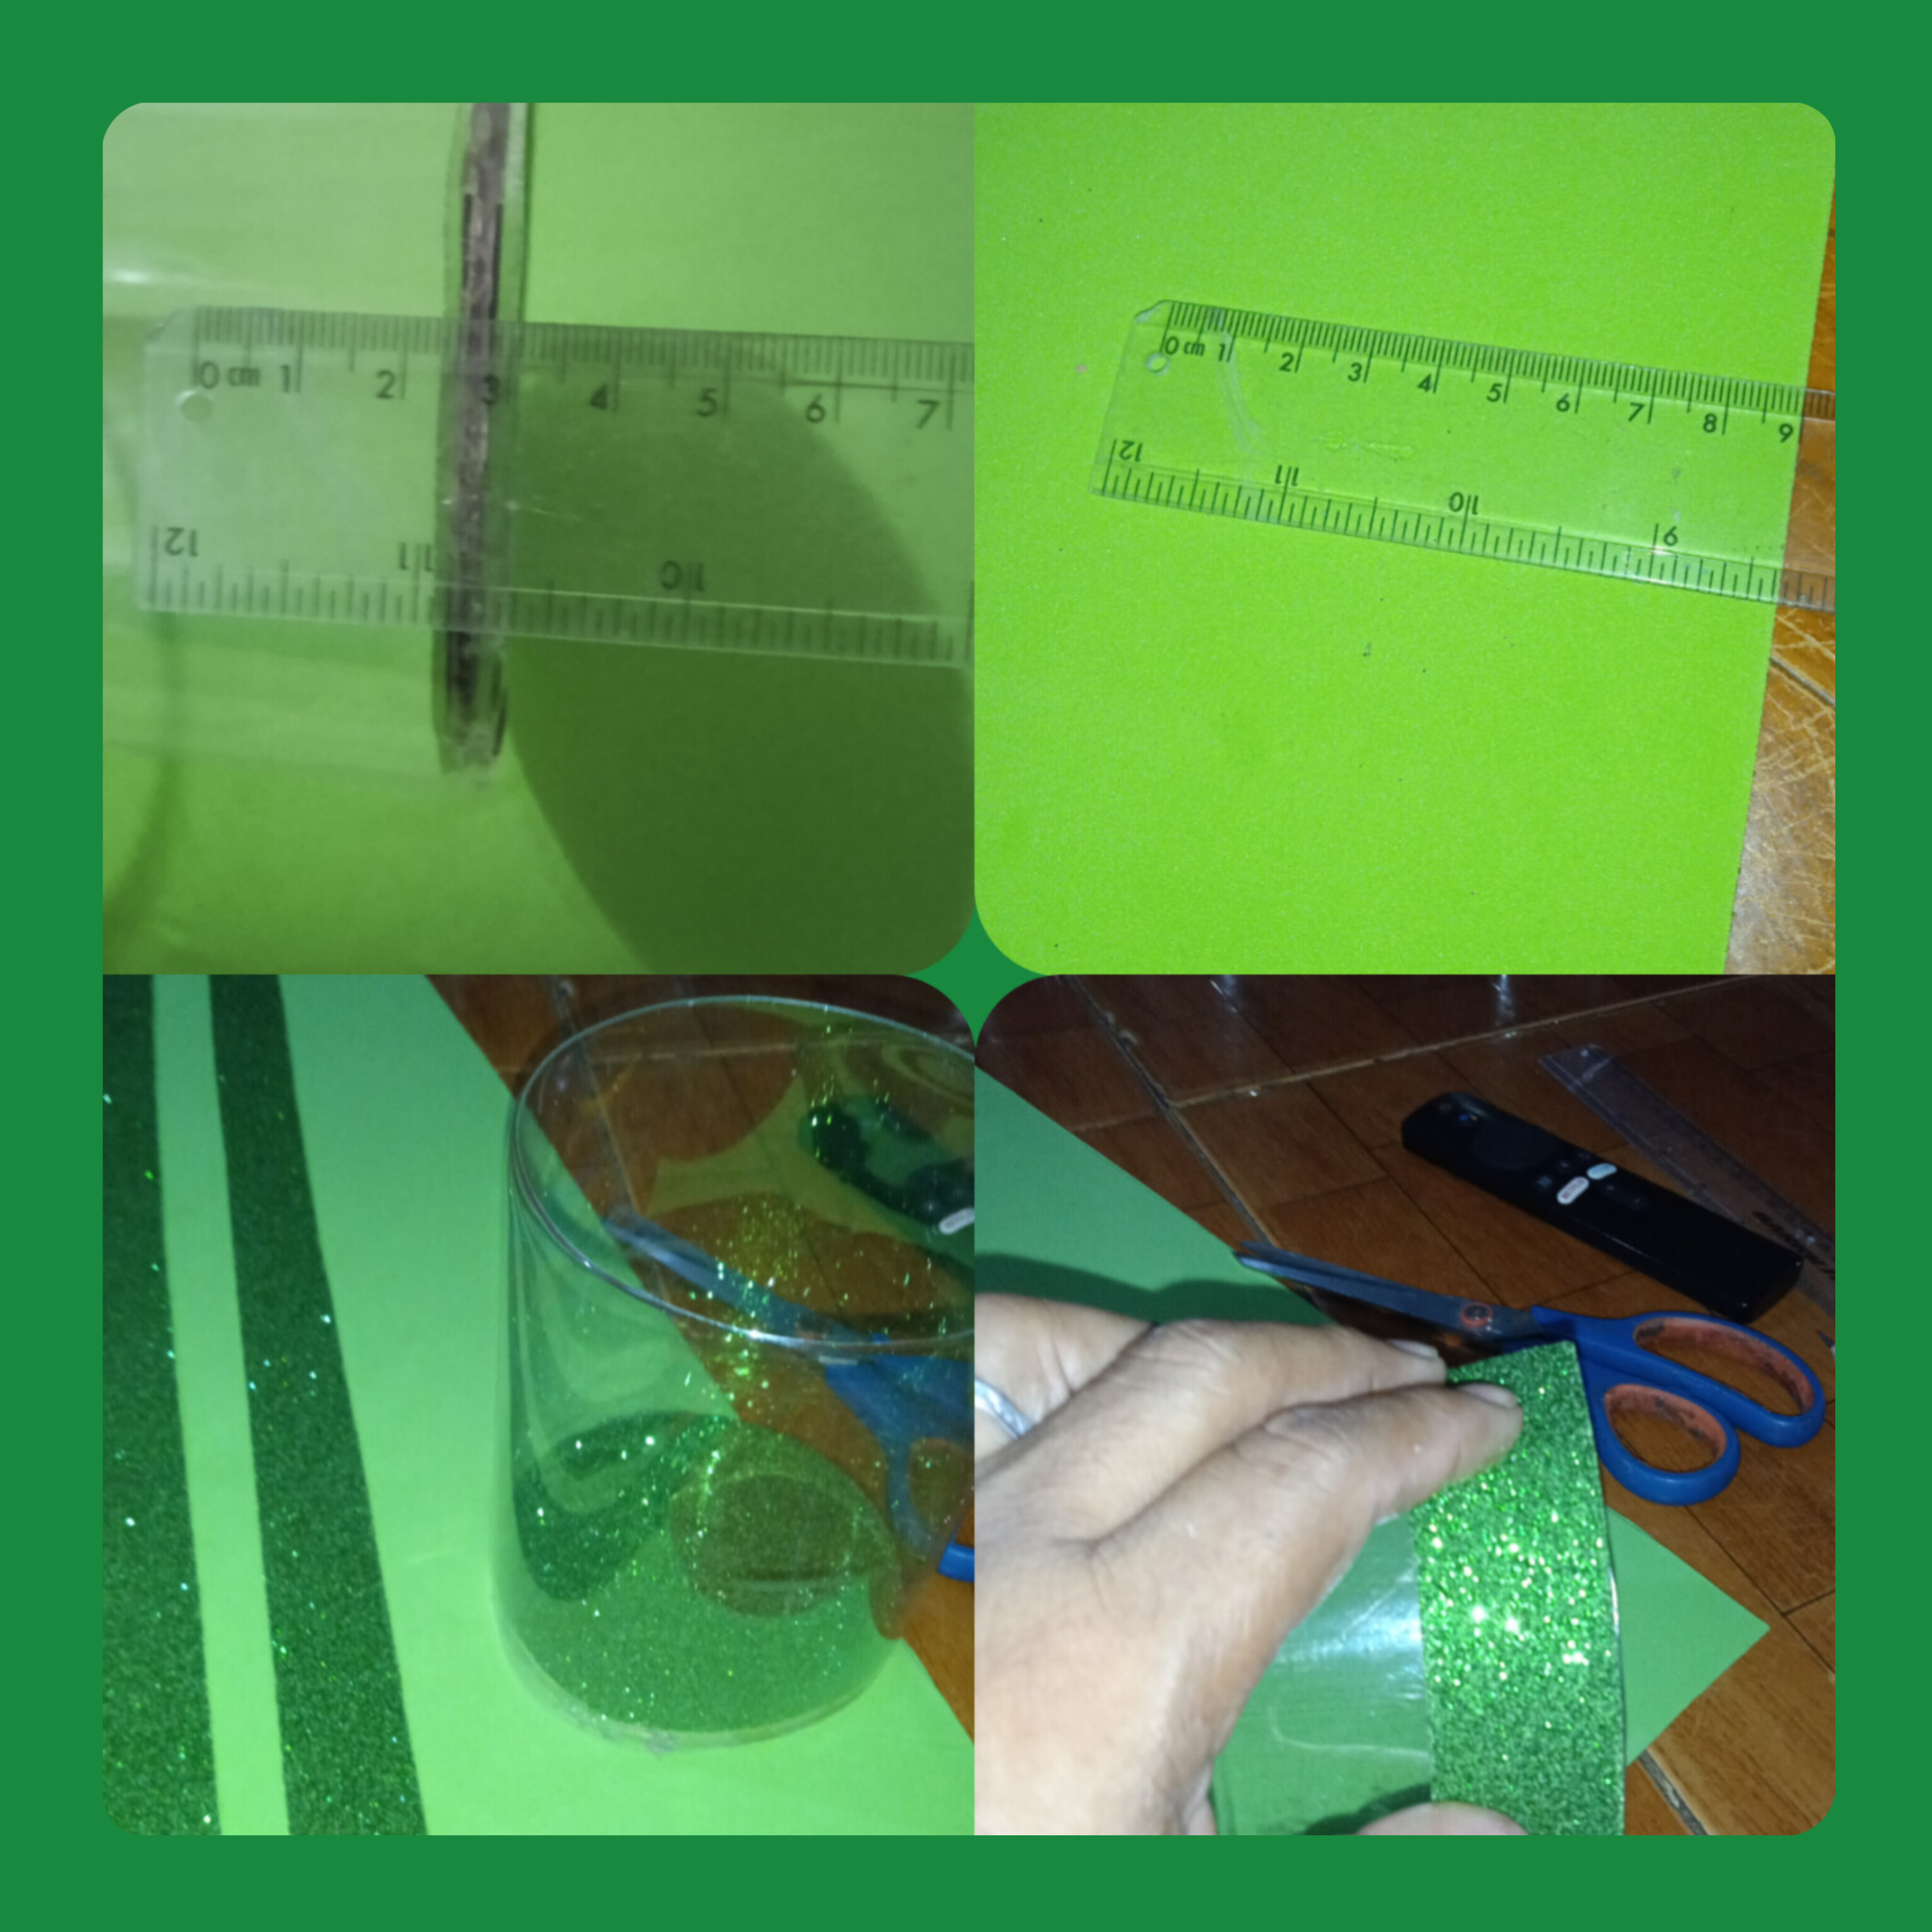
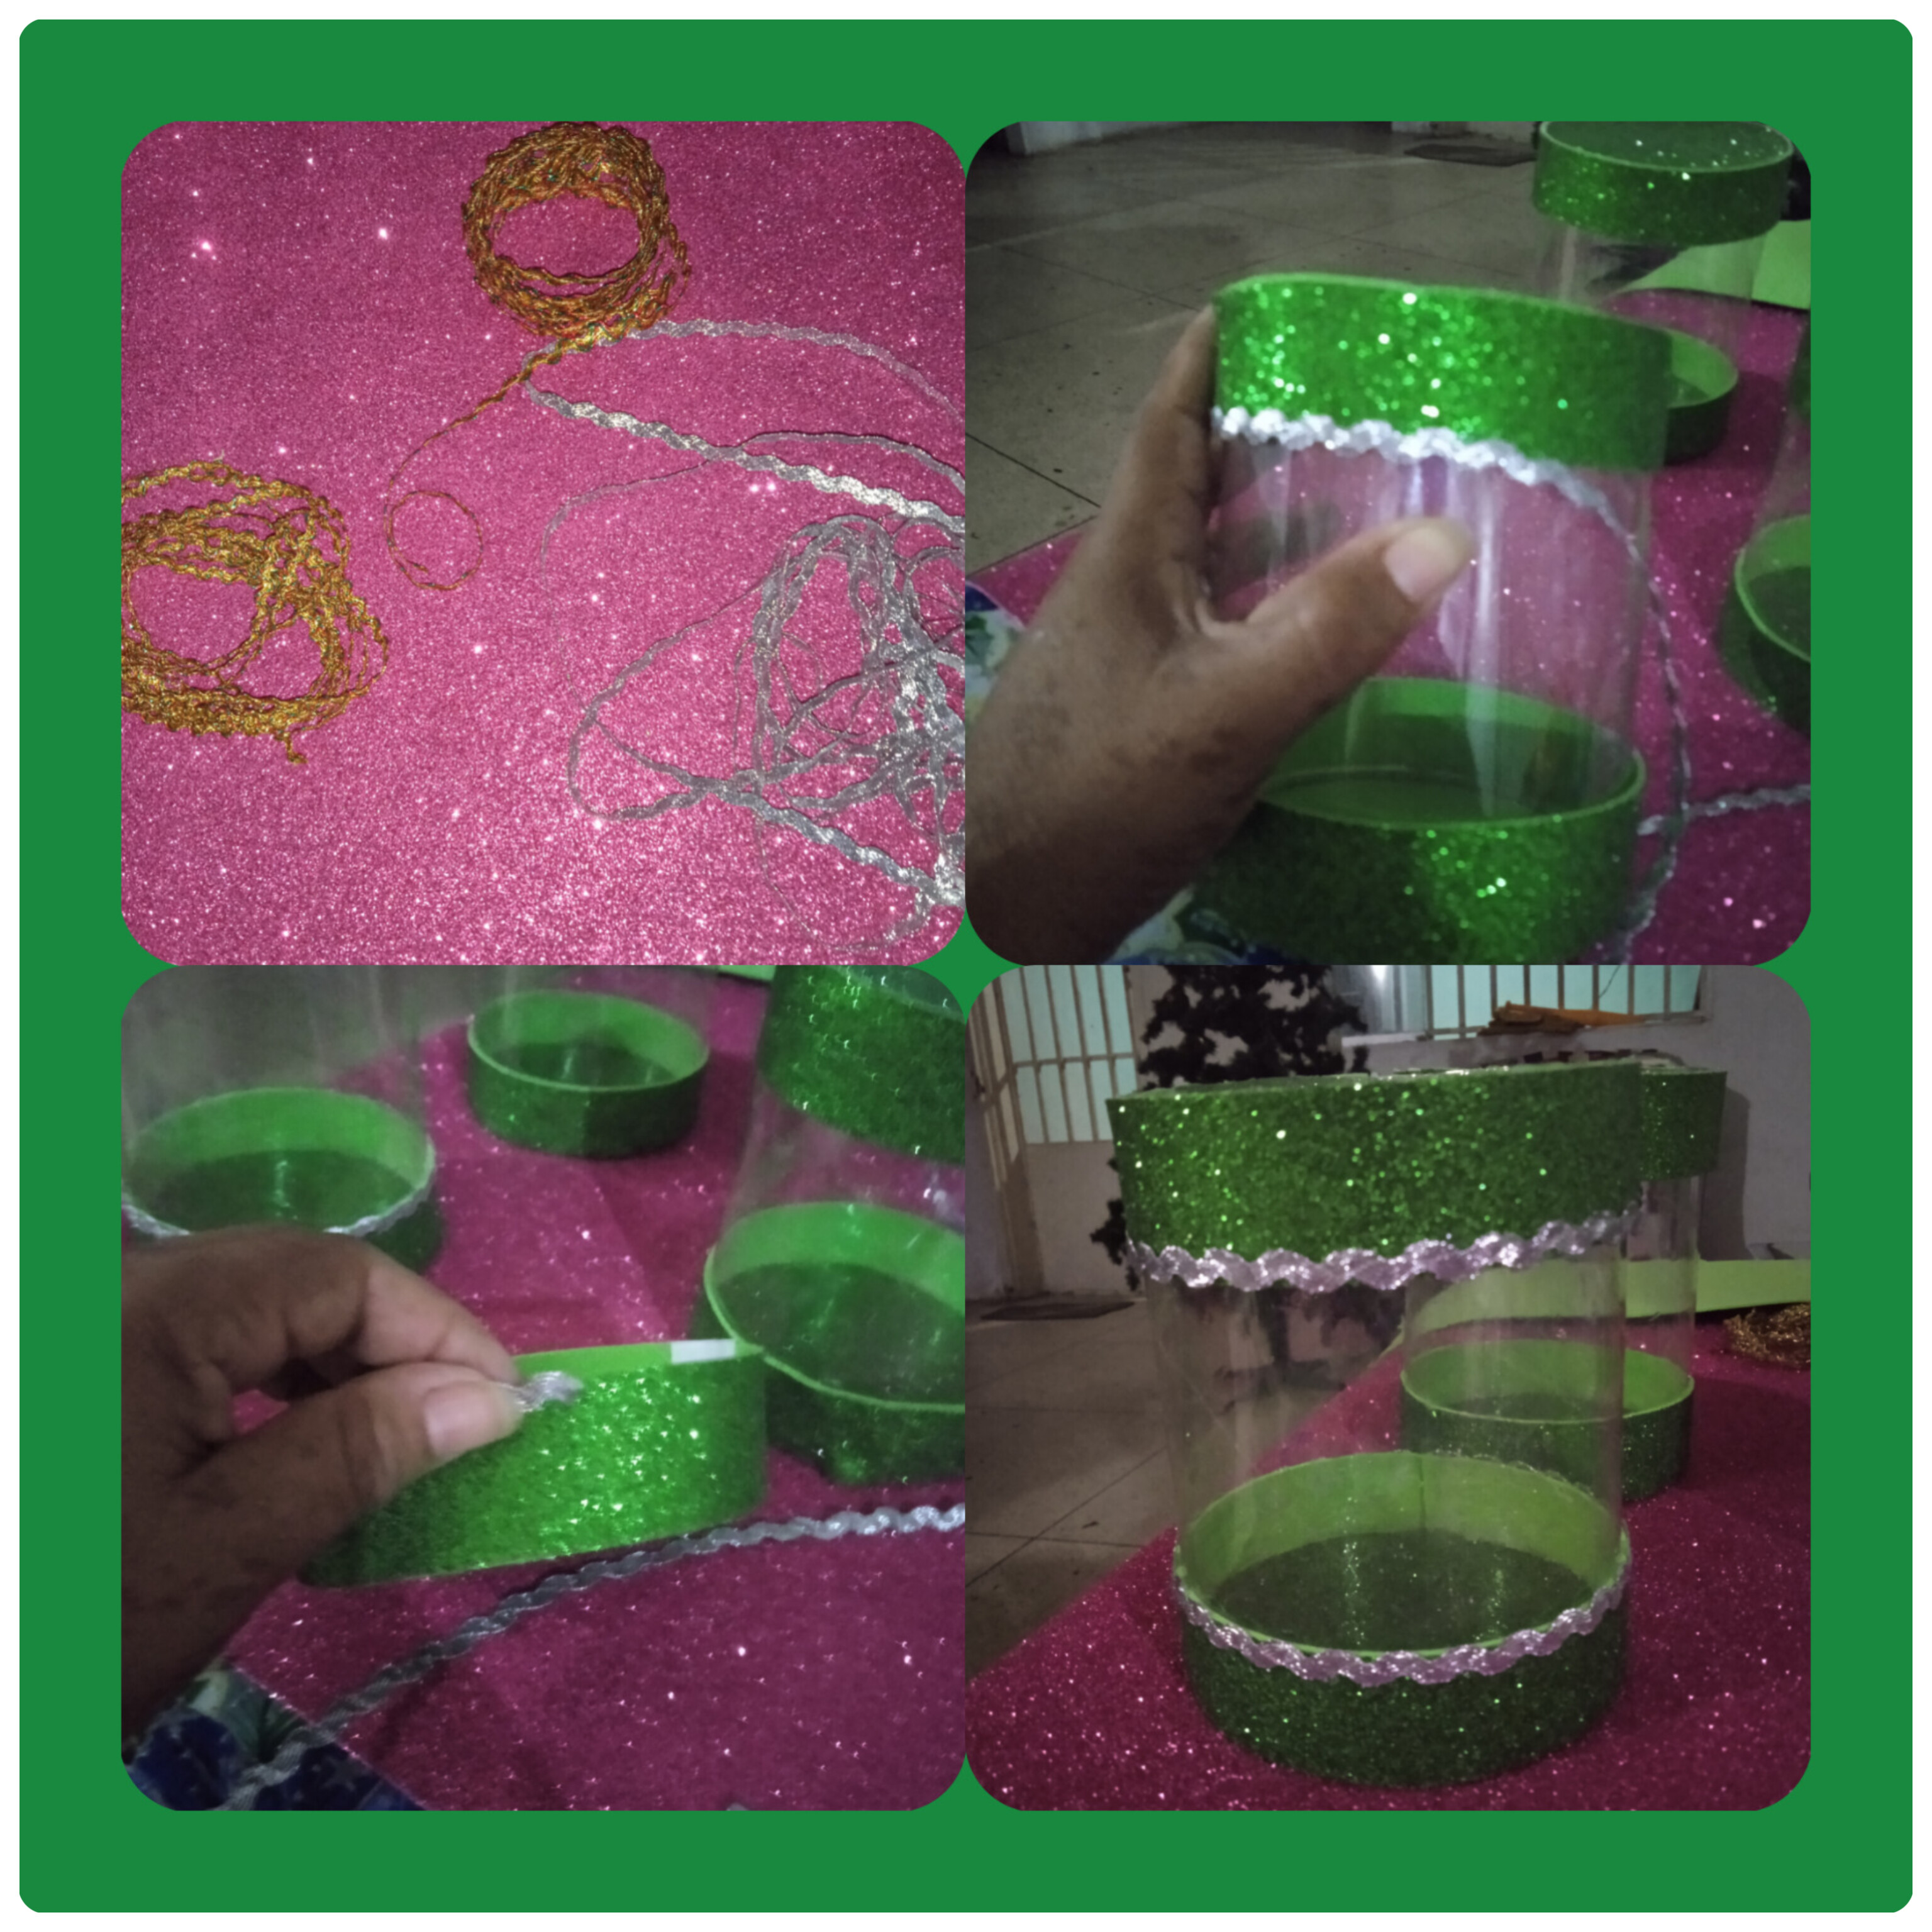
Now with an increase of 0.5 mm we cut two more circles and join them, place a ribbon and join them, then we decorate a zigzag lace to cover imperfections and the edges. We already have the party favor cover.
Well now we decorate the container with green foam for boys and red or pink in this case for girls.
Place lace or zigzag ribbon on the edges to decorate.
Ahora con un aumento de 0.5 mm cortamos dos círculos más y los unimos, colocamos un listón y los unimos, luego decoramos un encaje en zigzag para la tapa imperfecciones y los bordes. Ya tenemos la funda para cotillón.

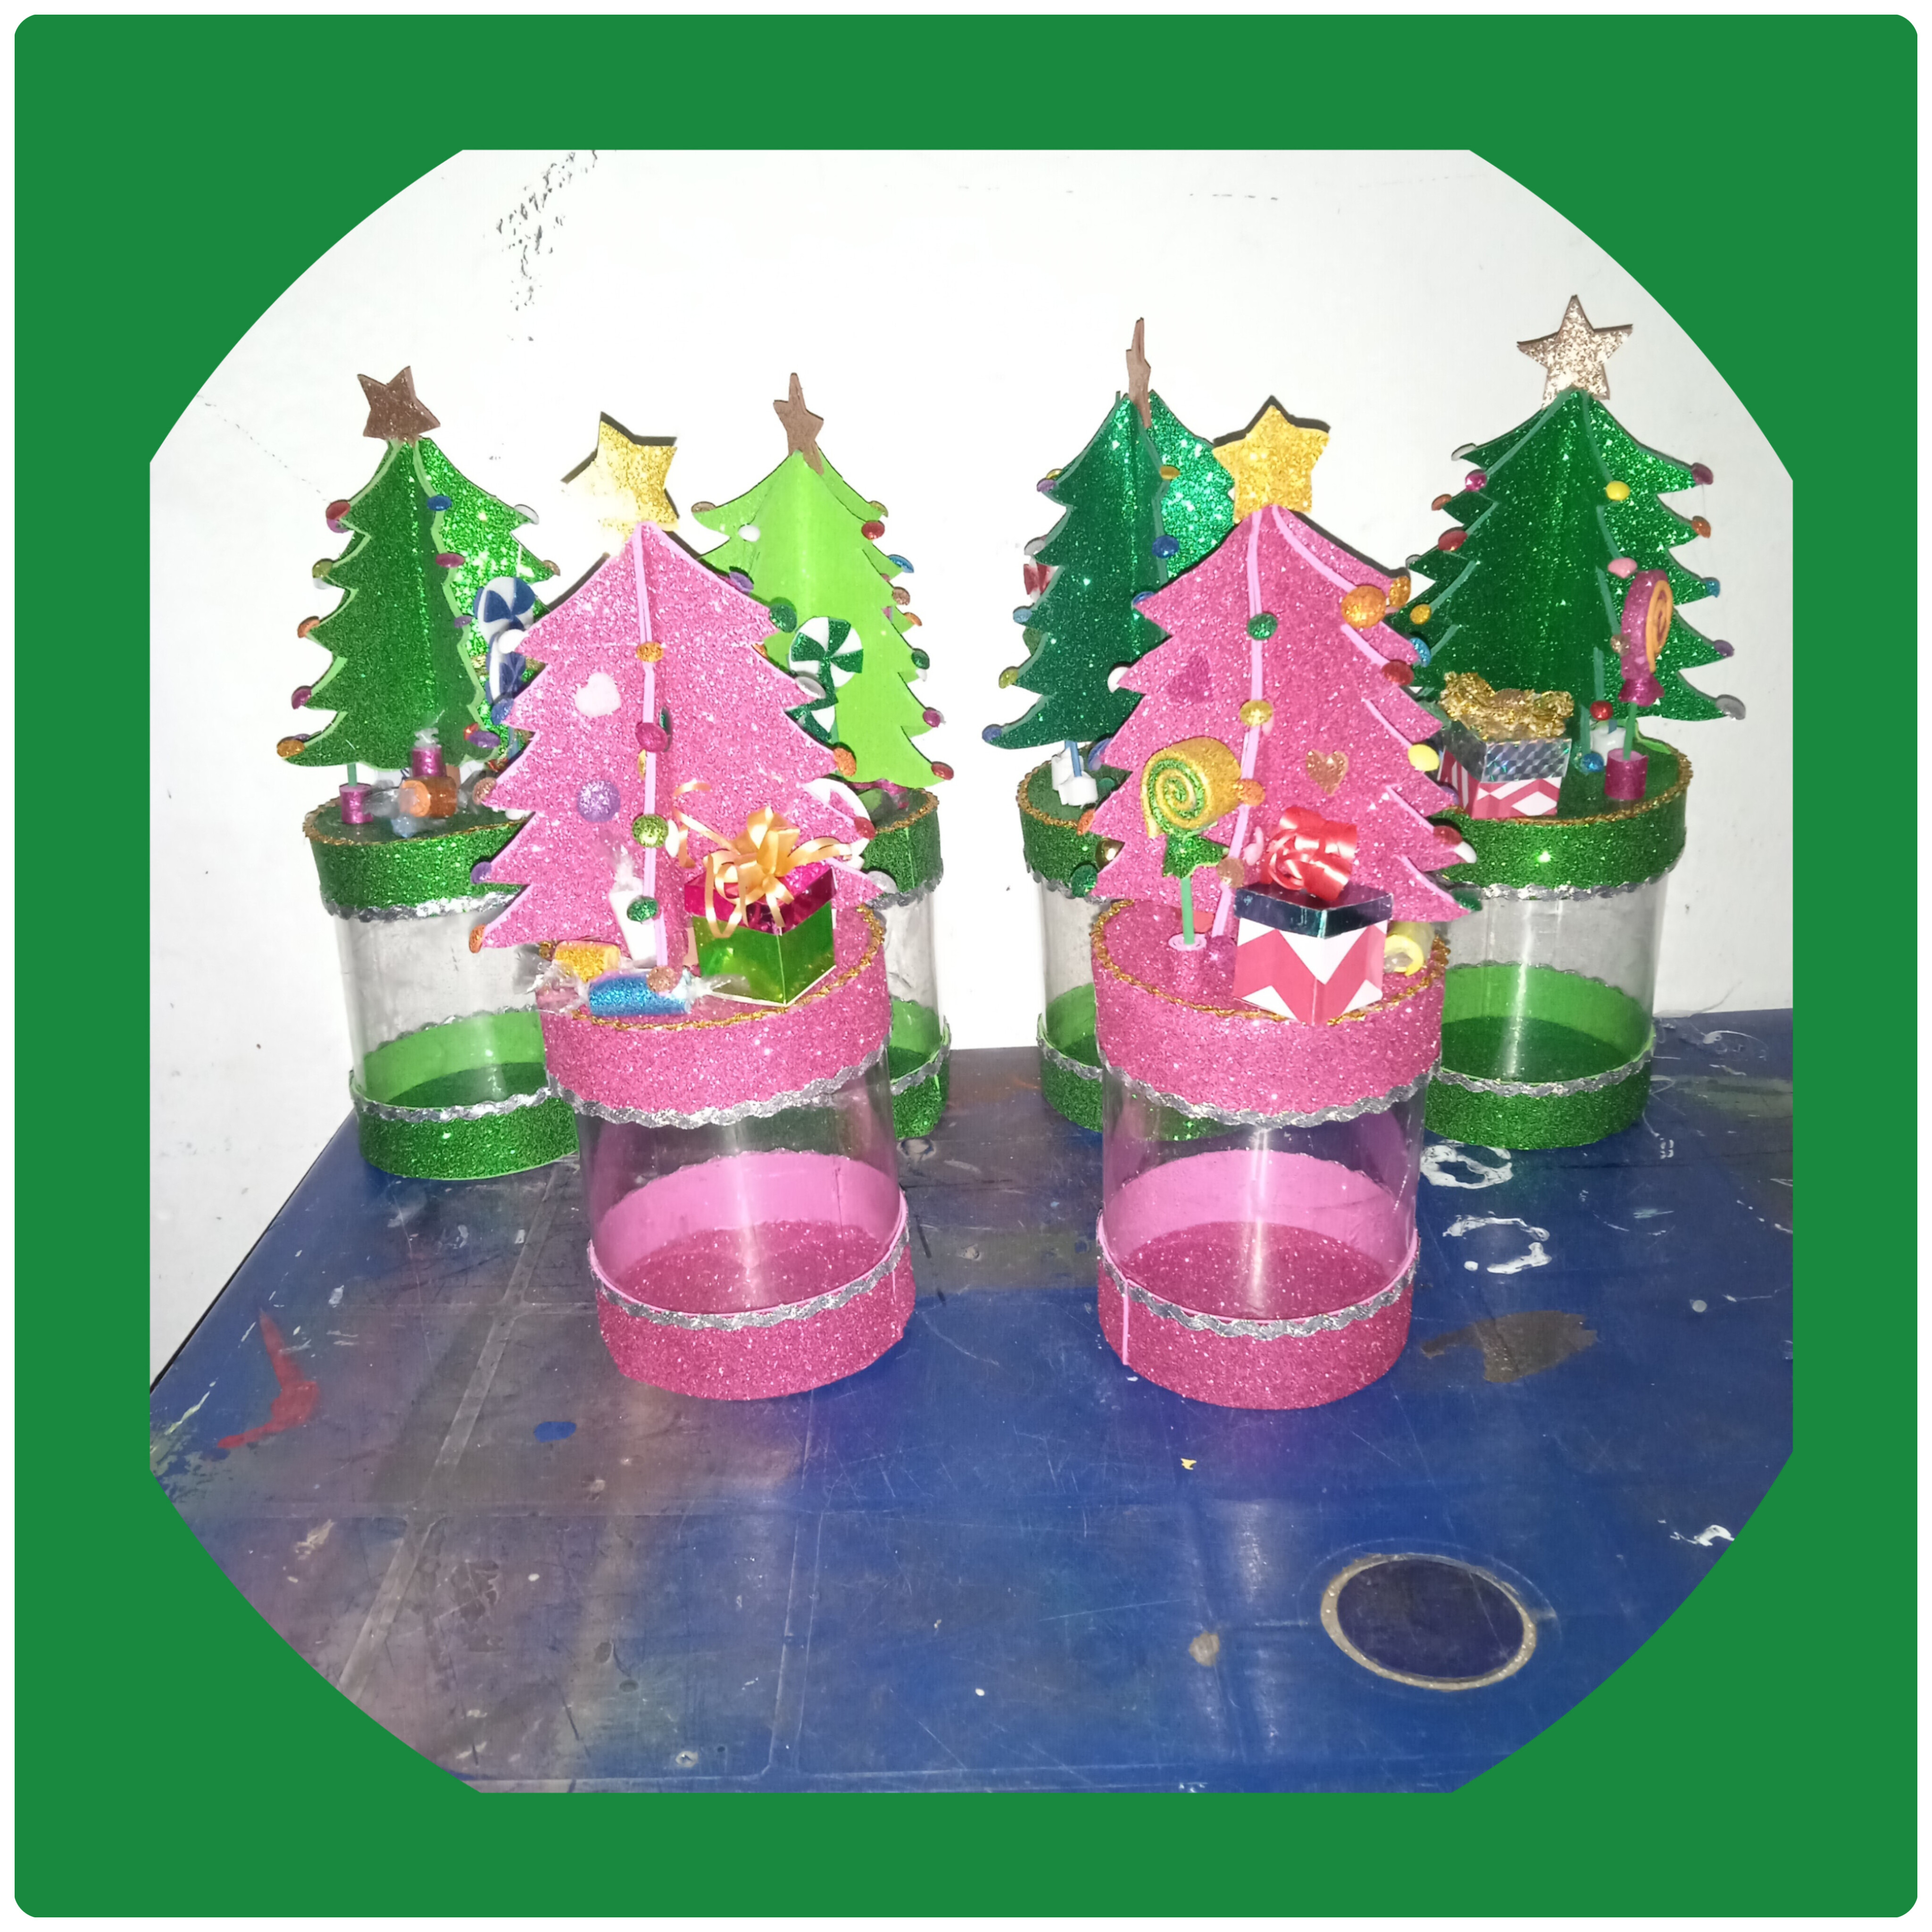
Para decorar la tapa del cotillon elabore un pequeño arbolito con chuches y cosistas alusivas a la temporada..
To decorate the lid of the party favors, make a small tree with sweets and things alluding to the season.
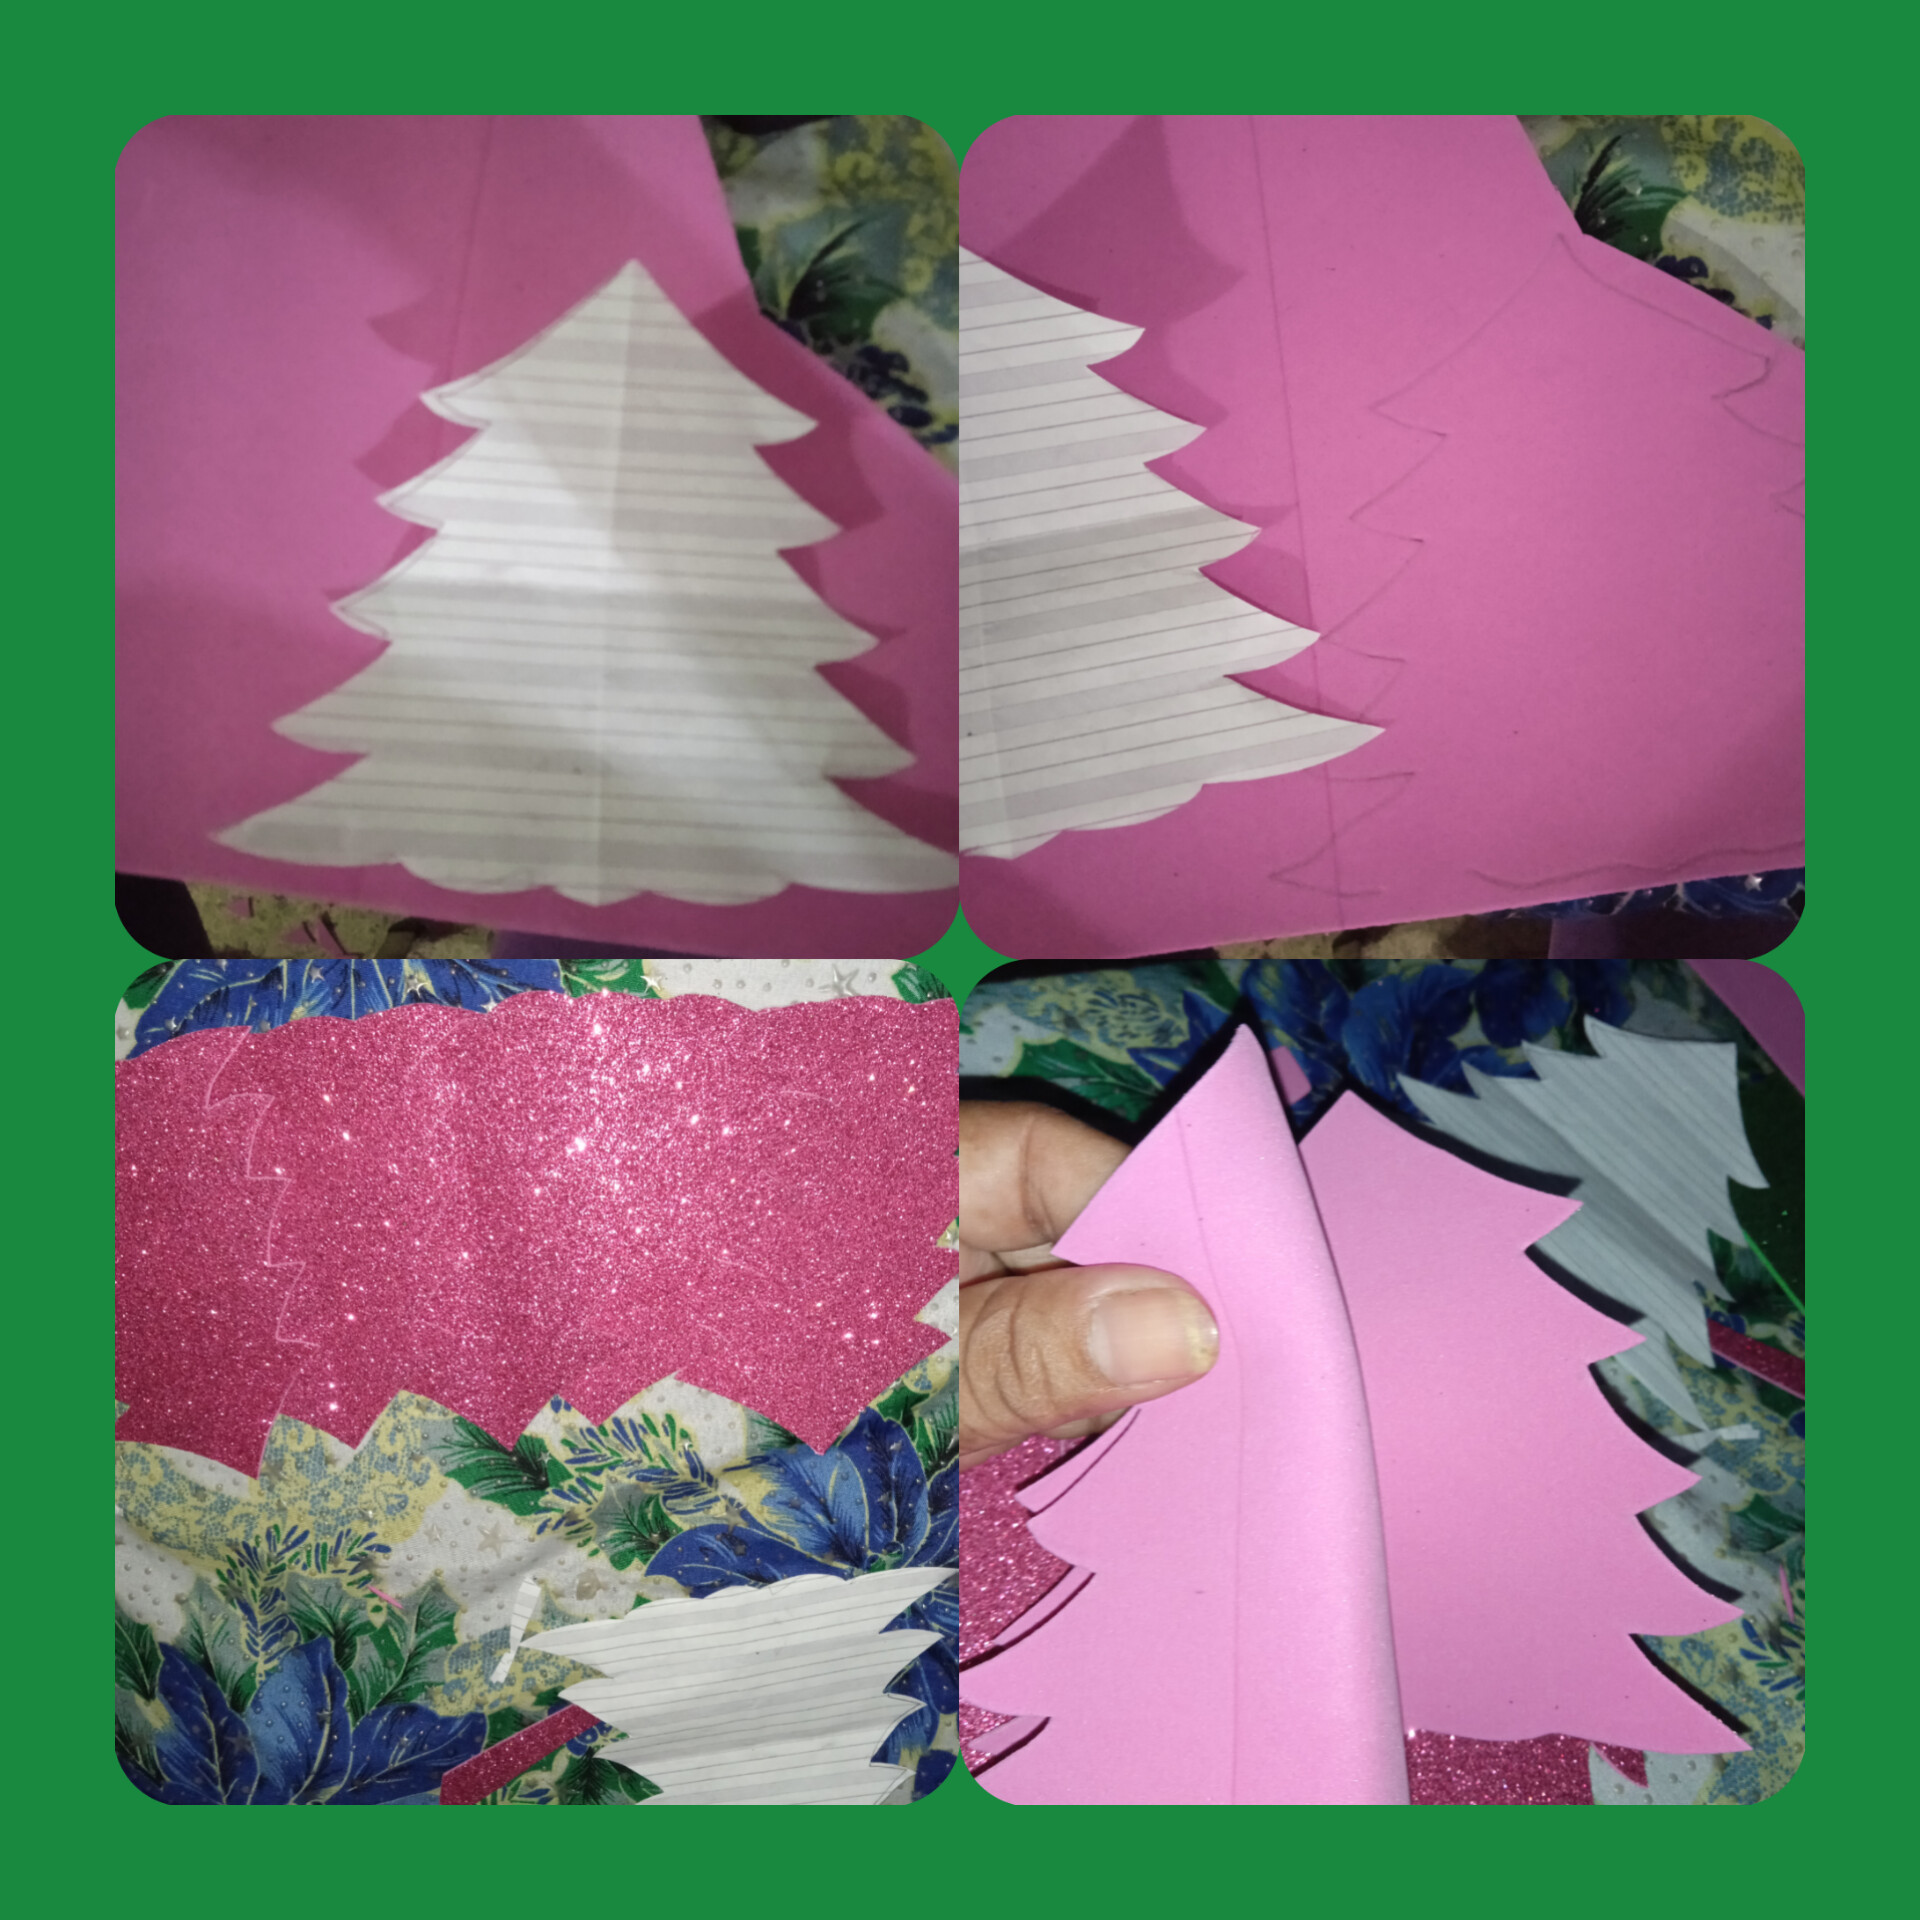
recorte un modelo de pino y lo marque en el foami 5 veces luego recorte y pegue en el centro de cada uno hasta hacer como especie de flor.
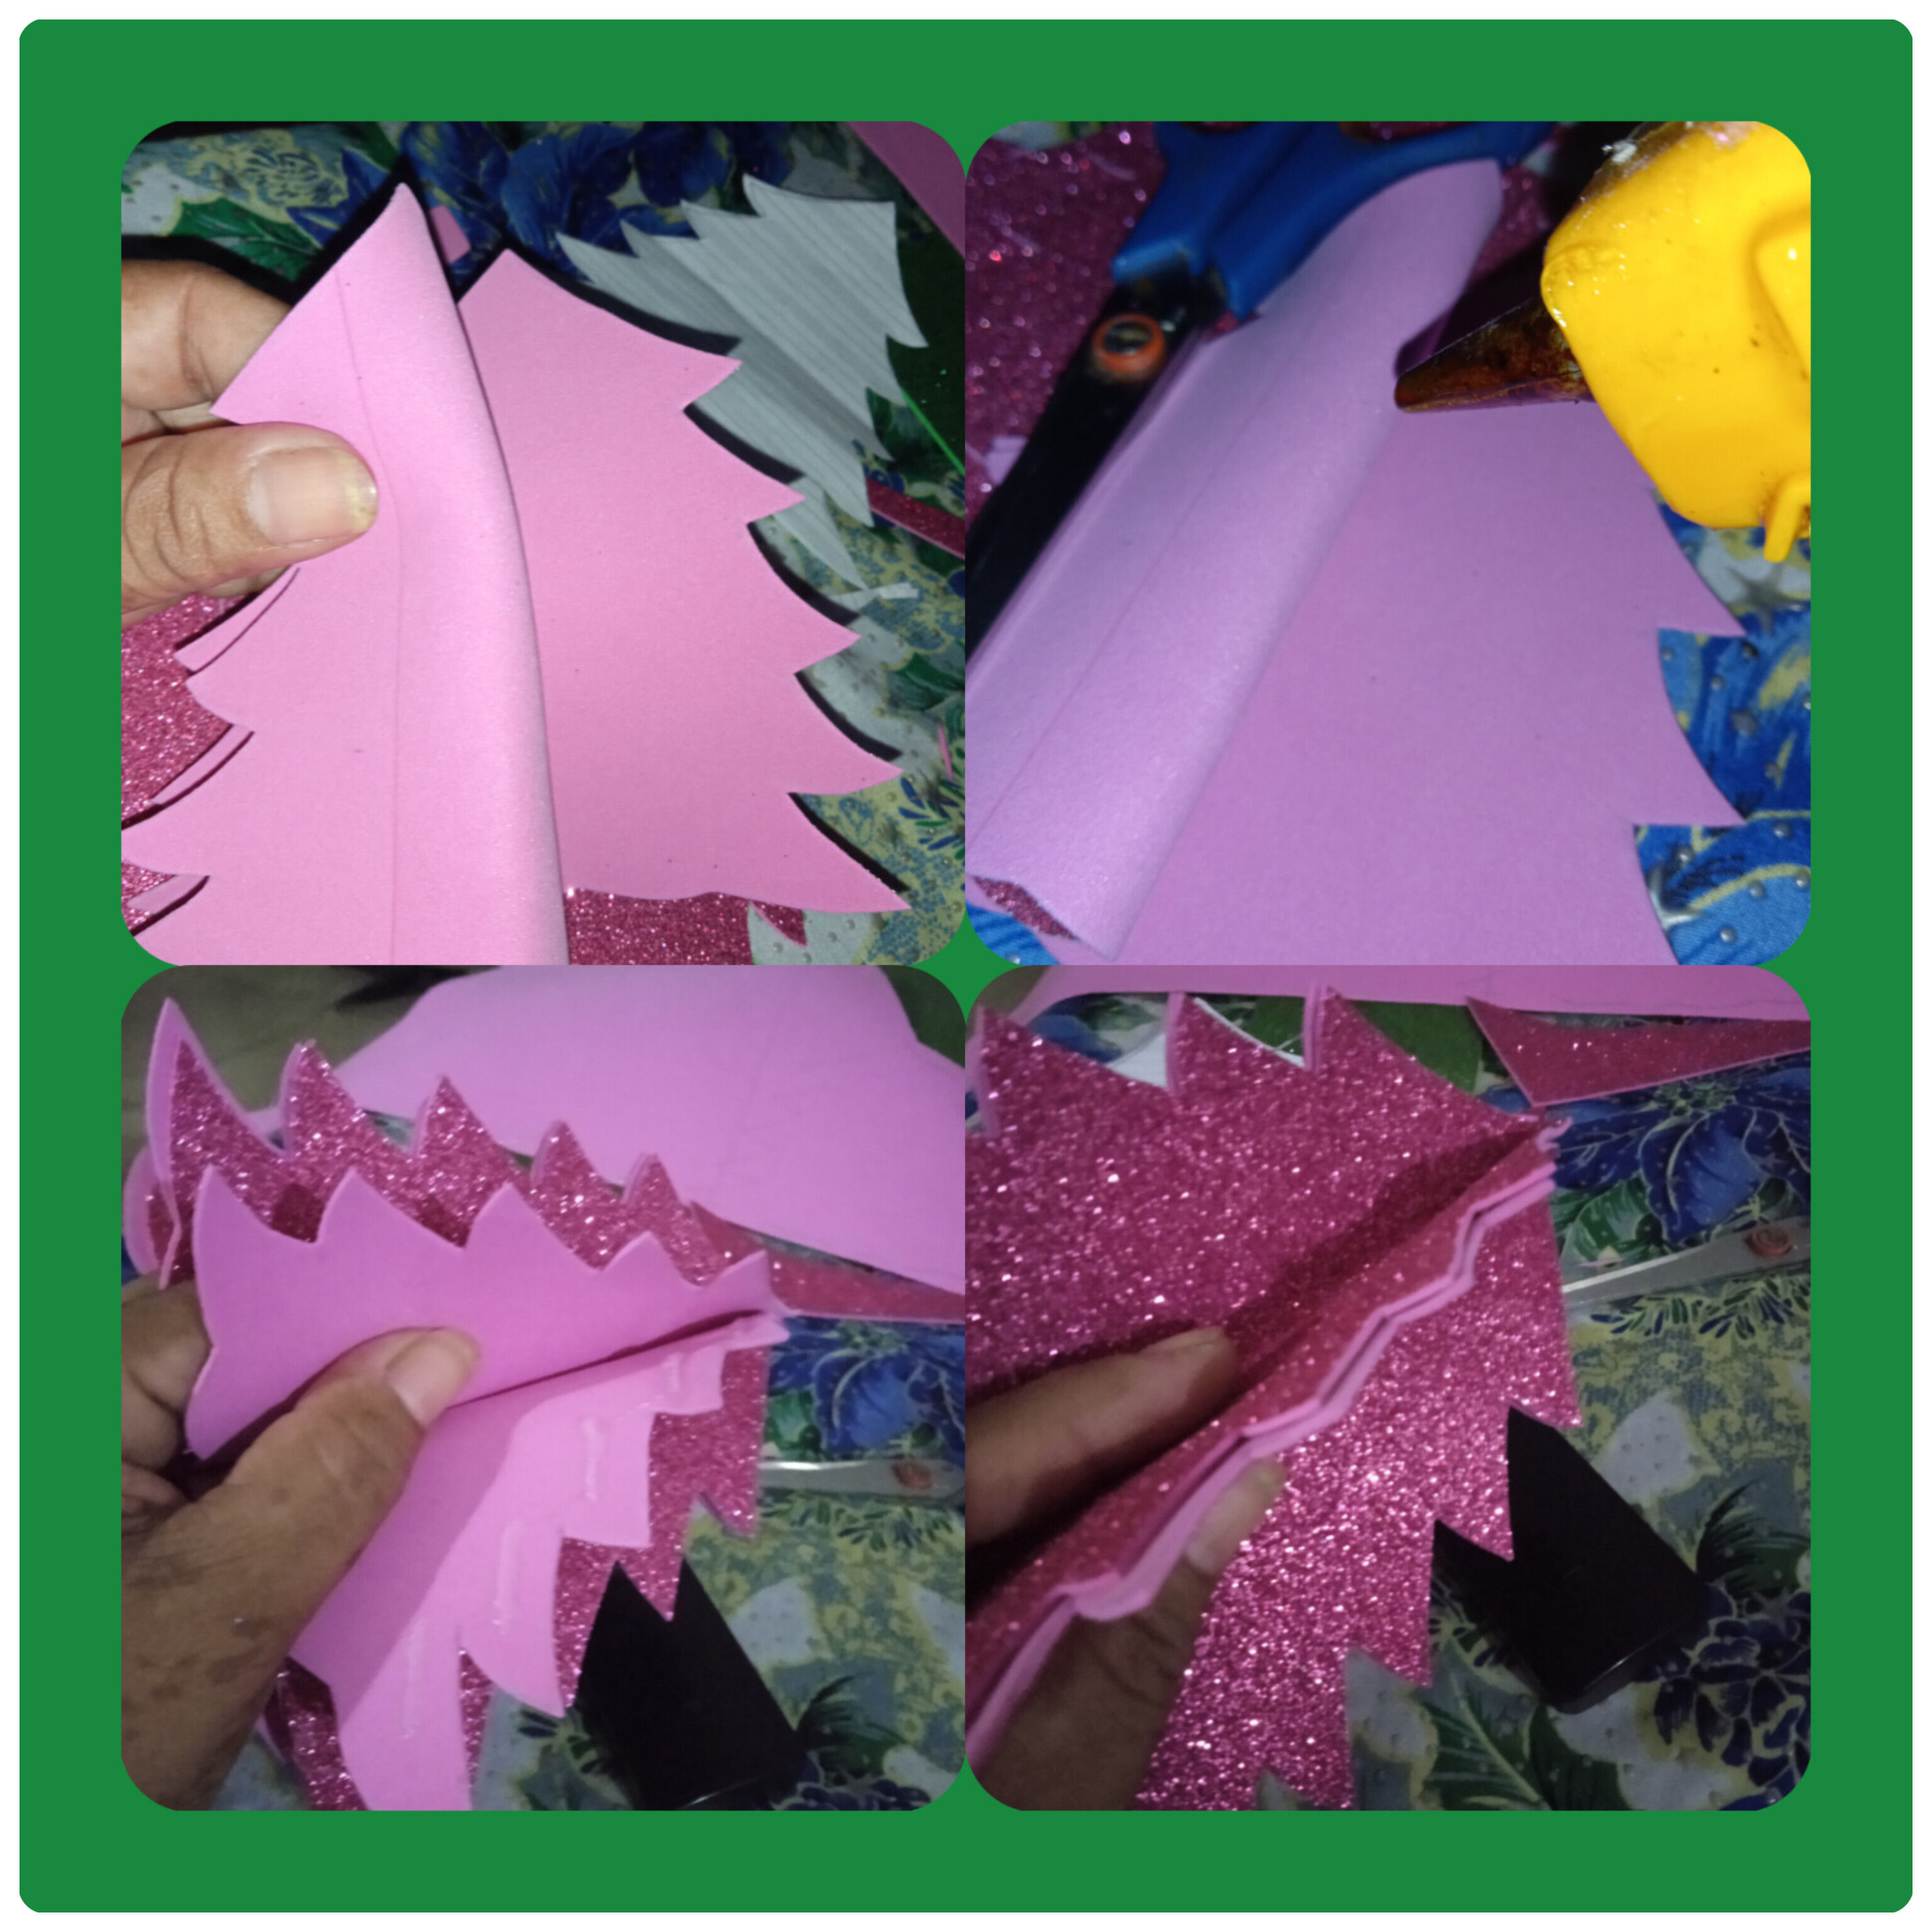
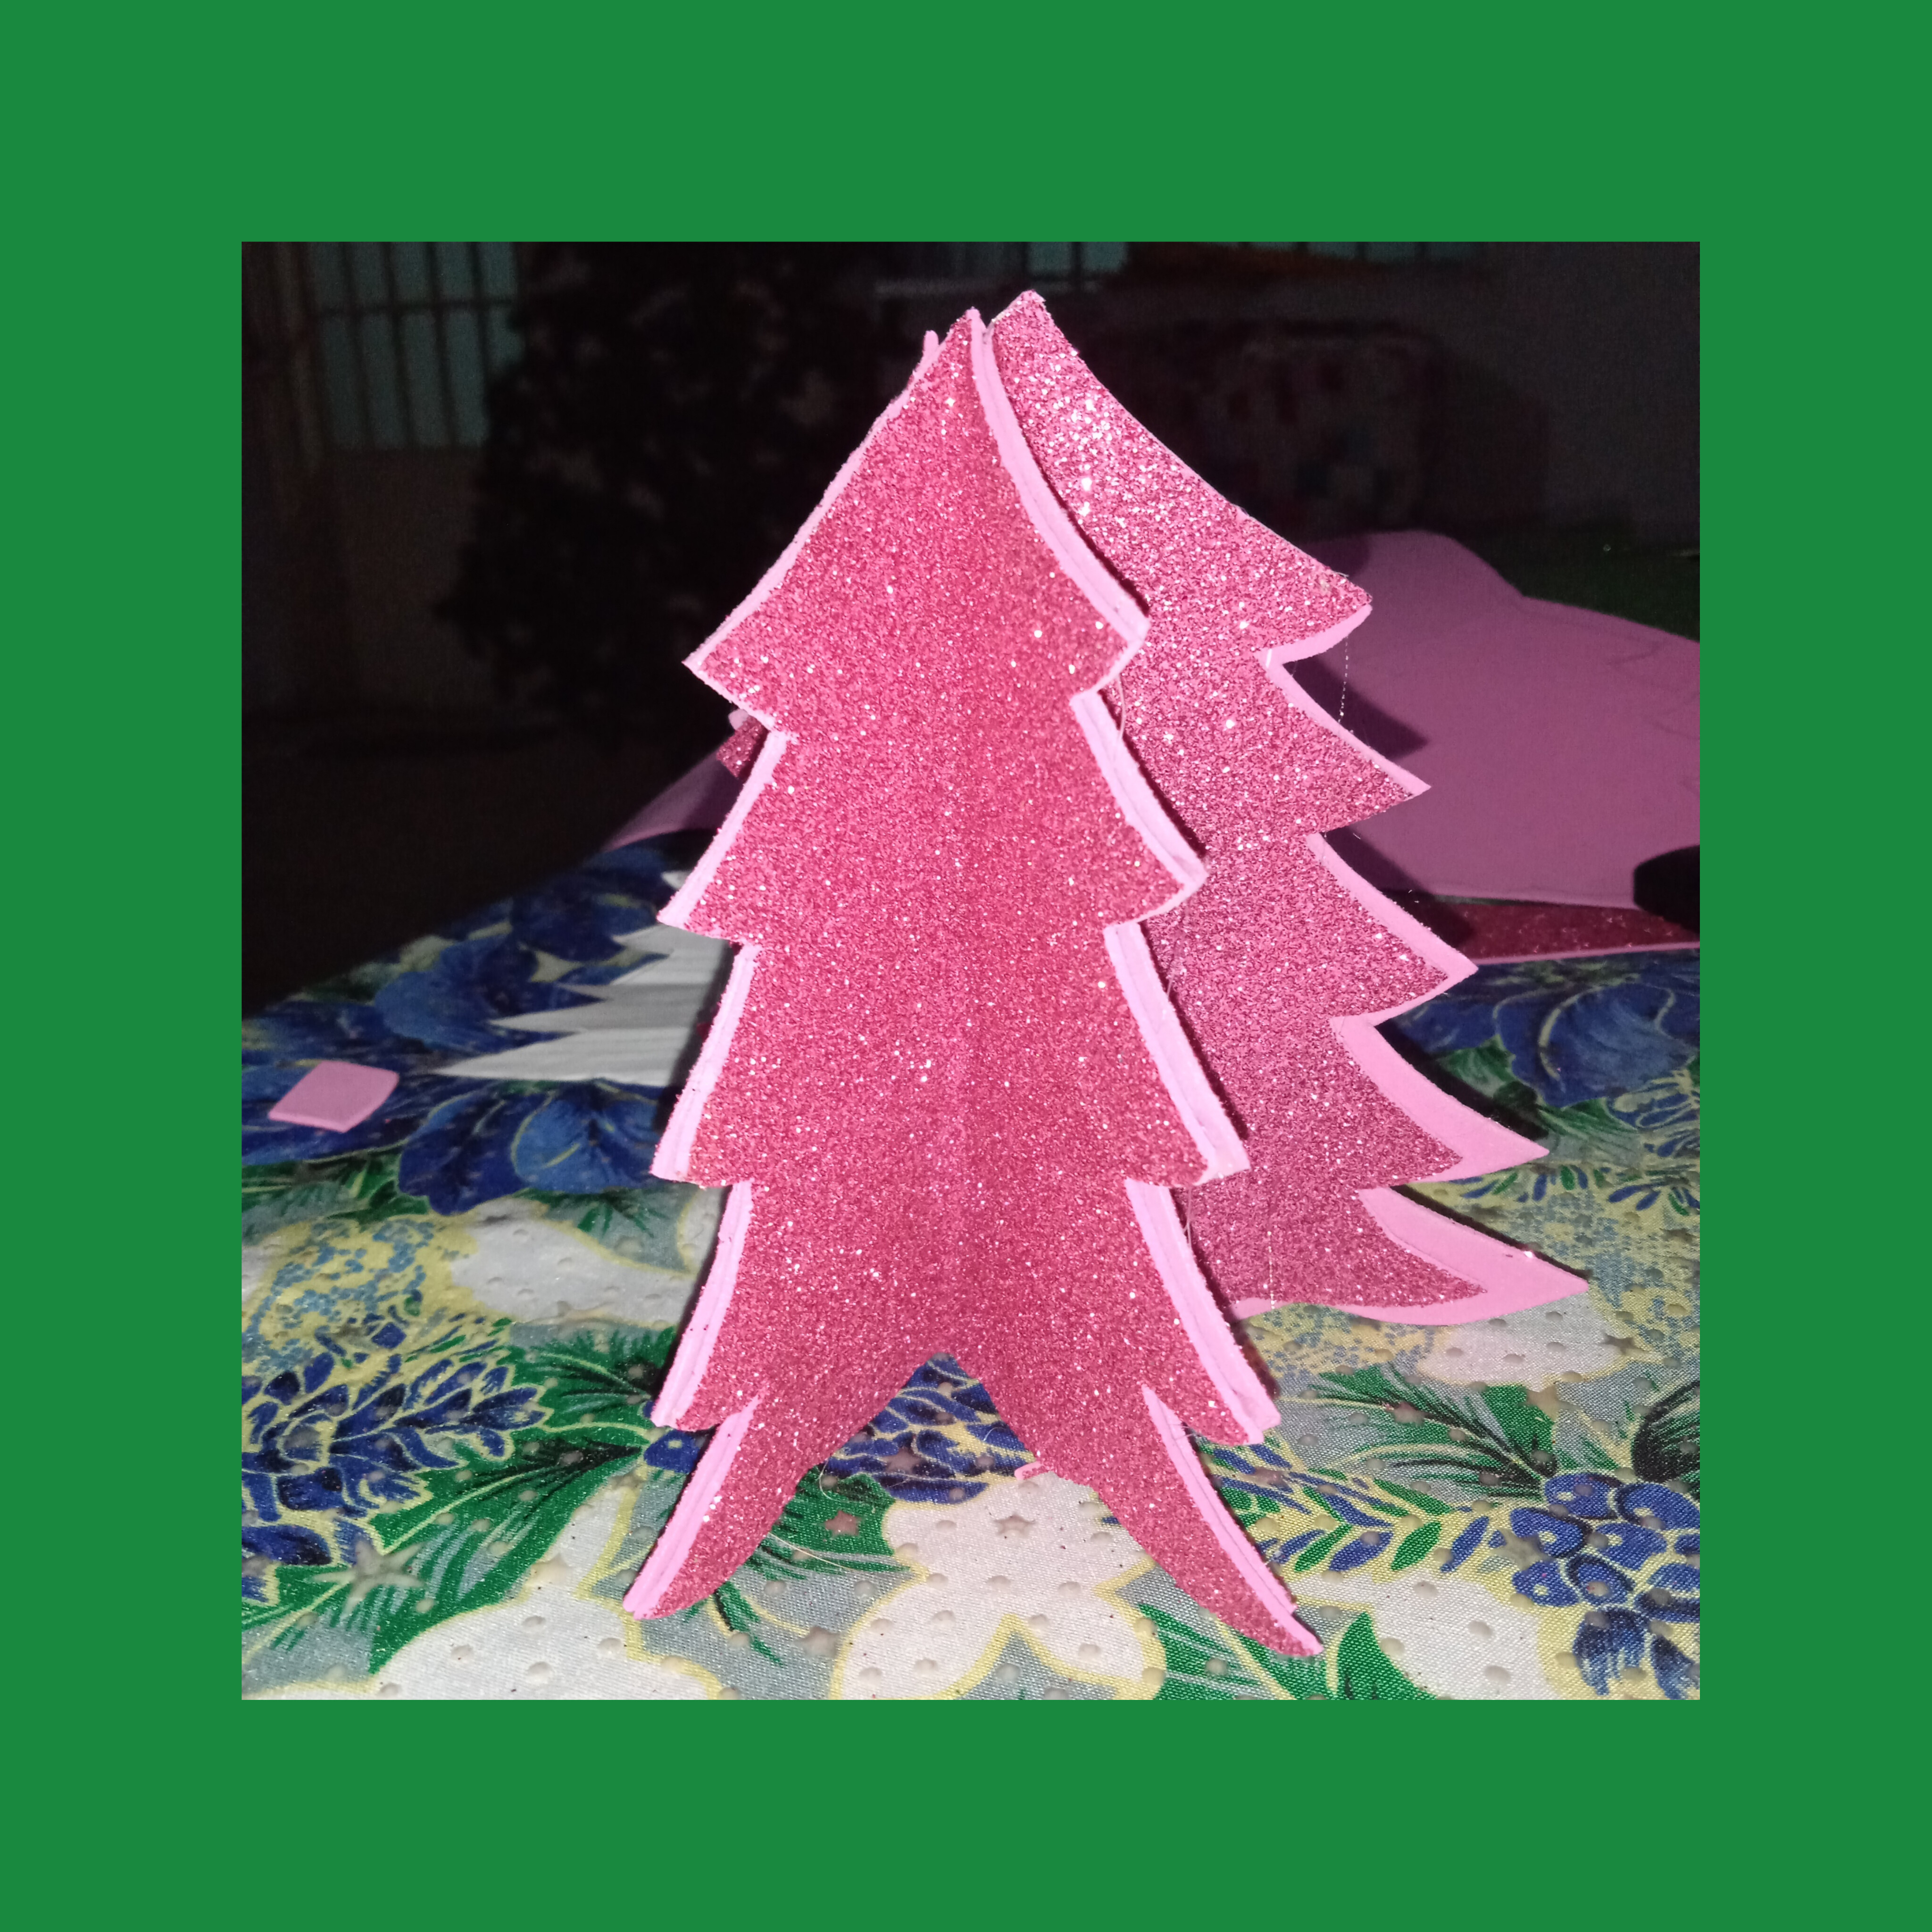
y quedo asi..
Ahora a hacerle los detalles a la tapa
Con recotes de cartulinas hice regalitos
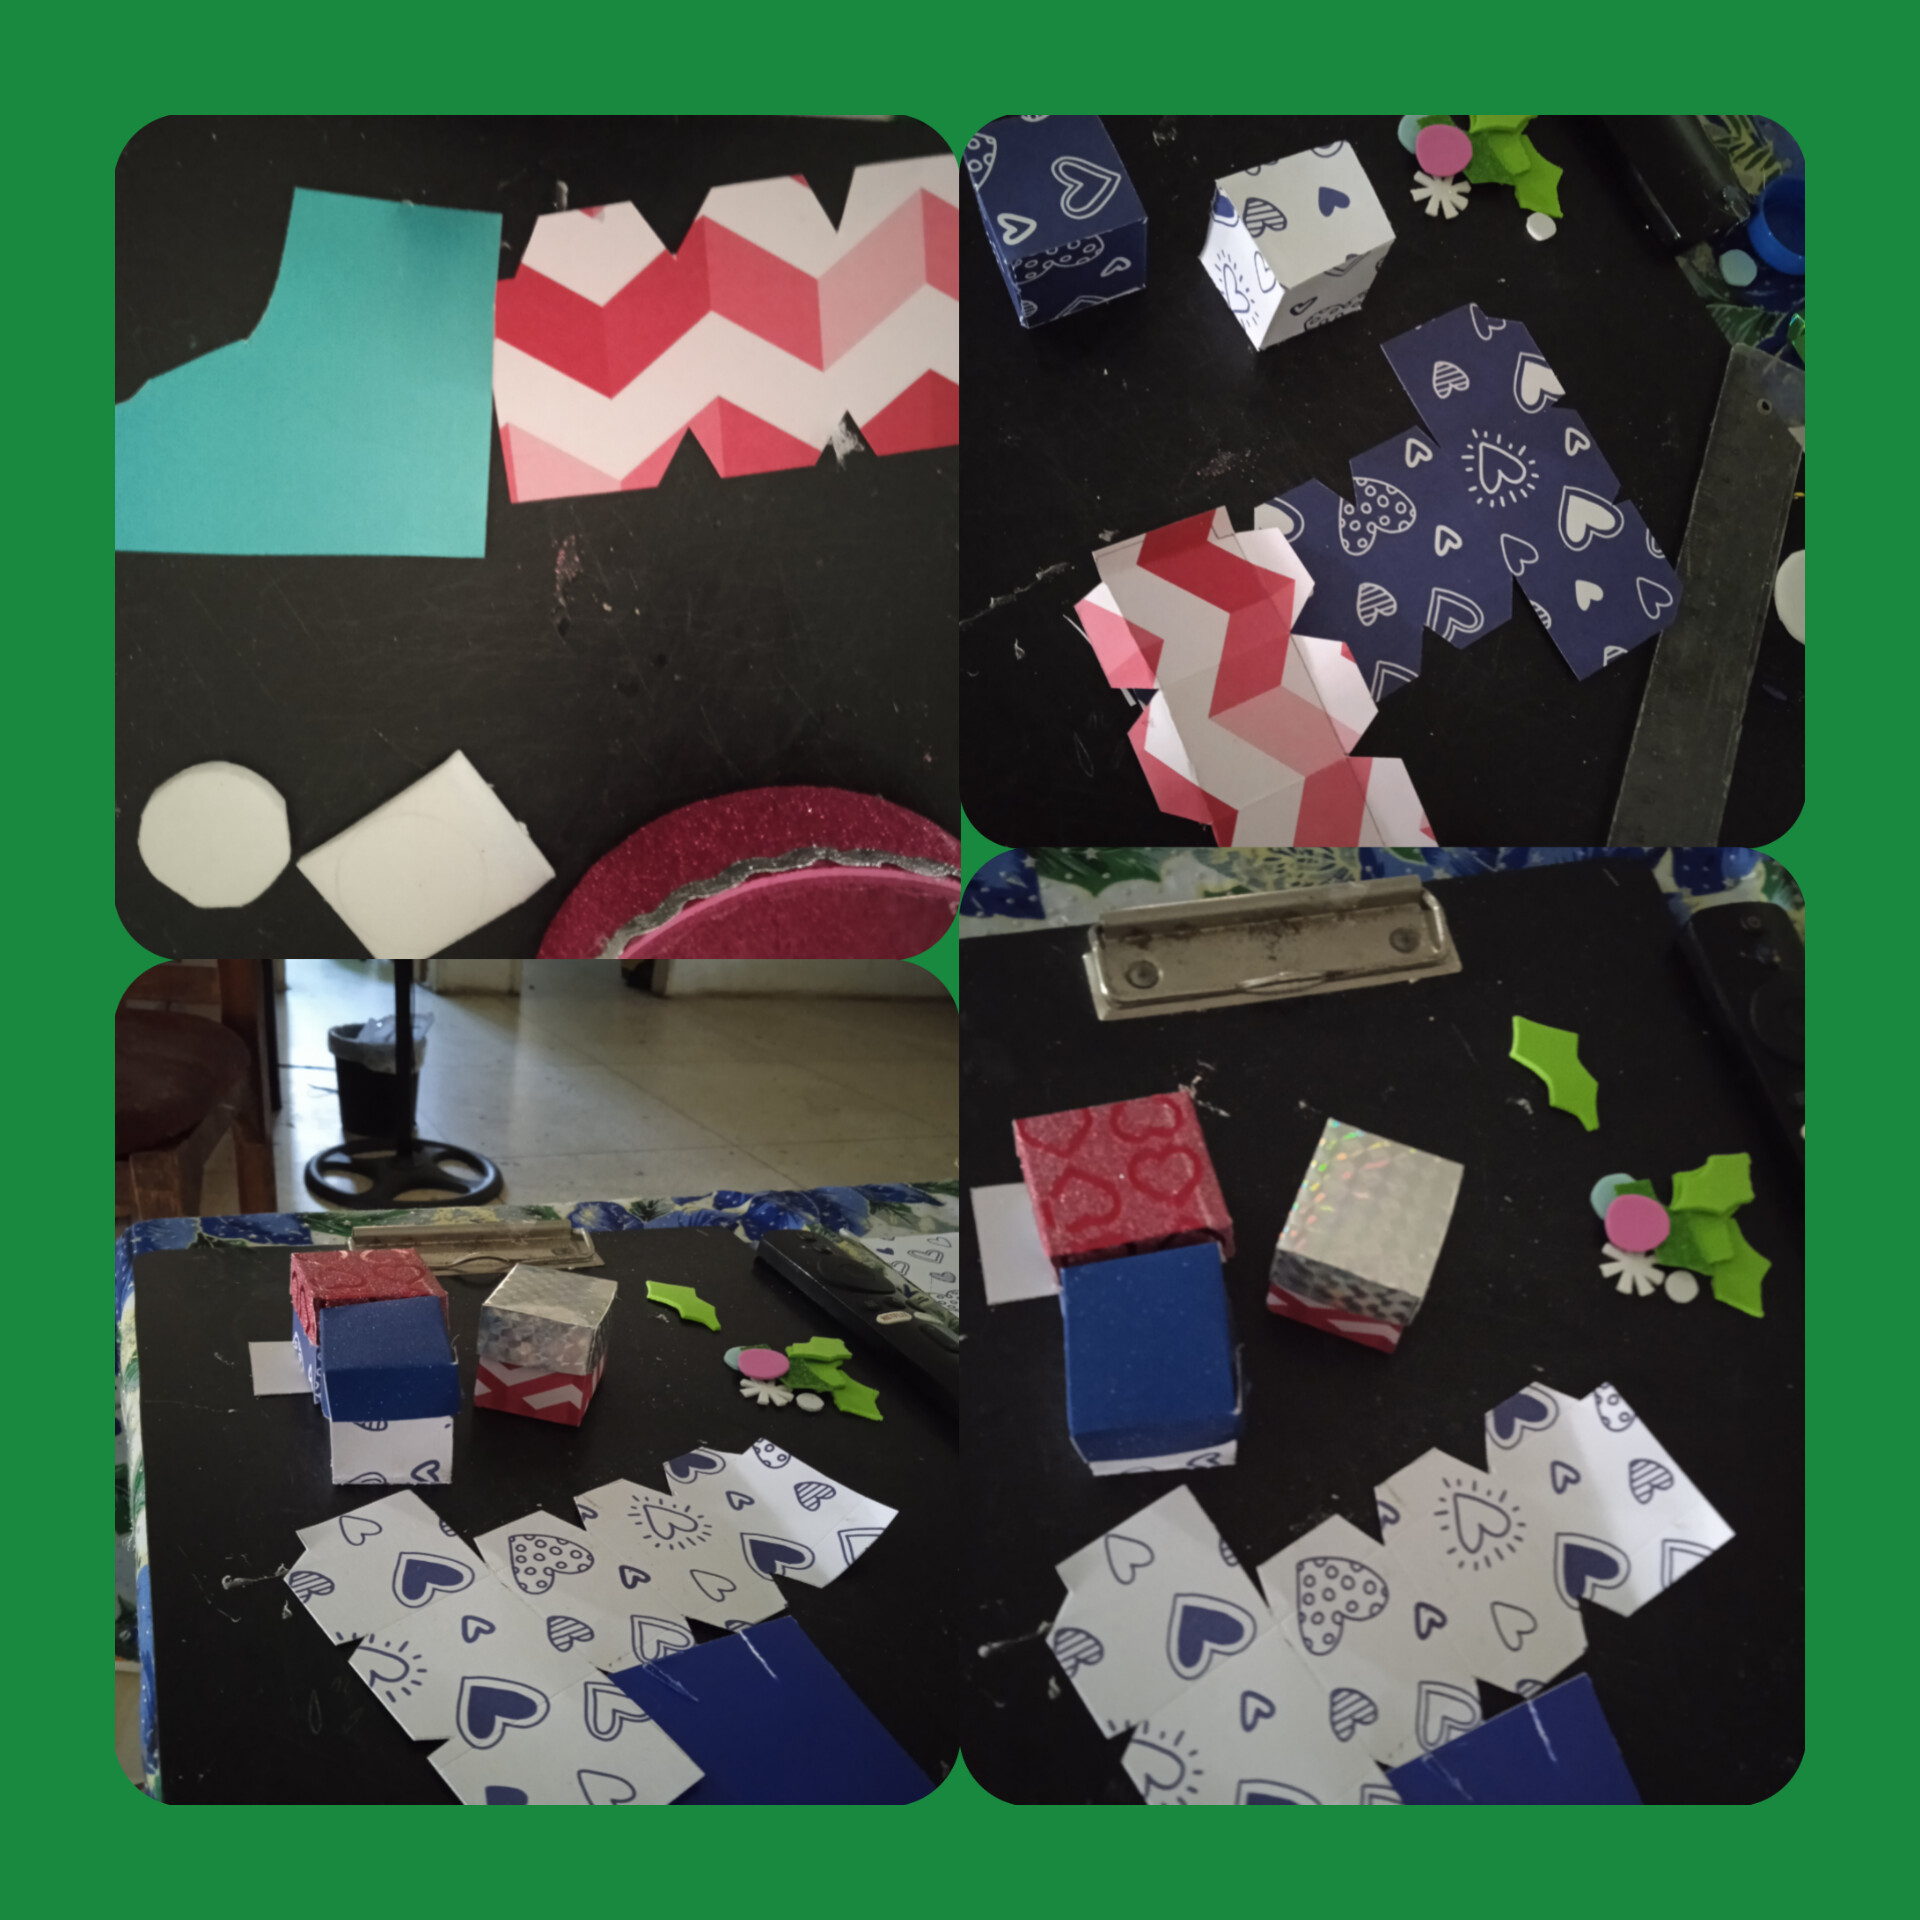
golosinas y caramelos con trozos de foami escarchado y un cascabel
olosinas and candies with pieces of frosted foam and a
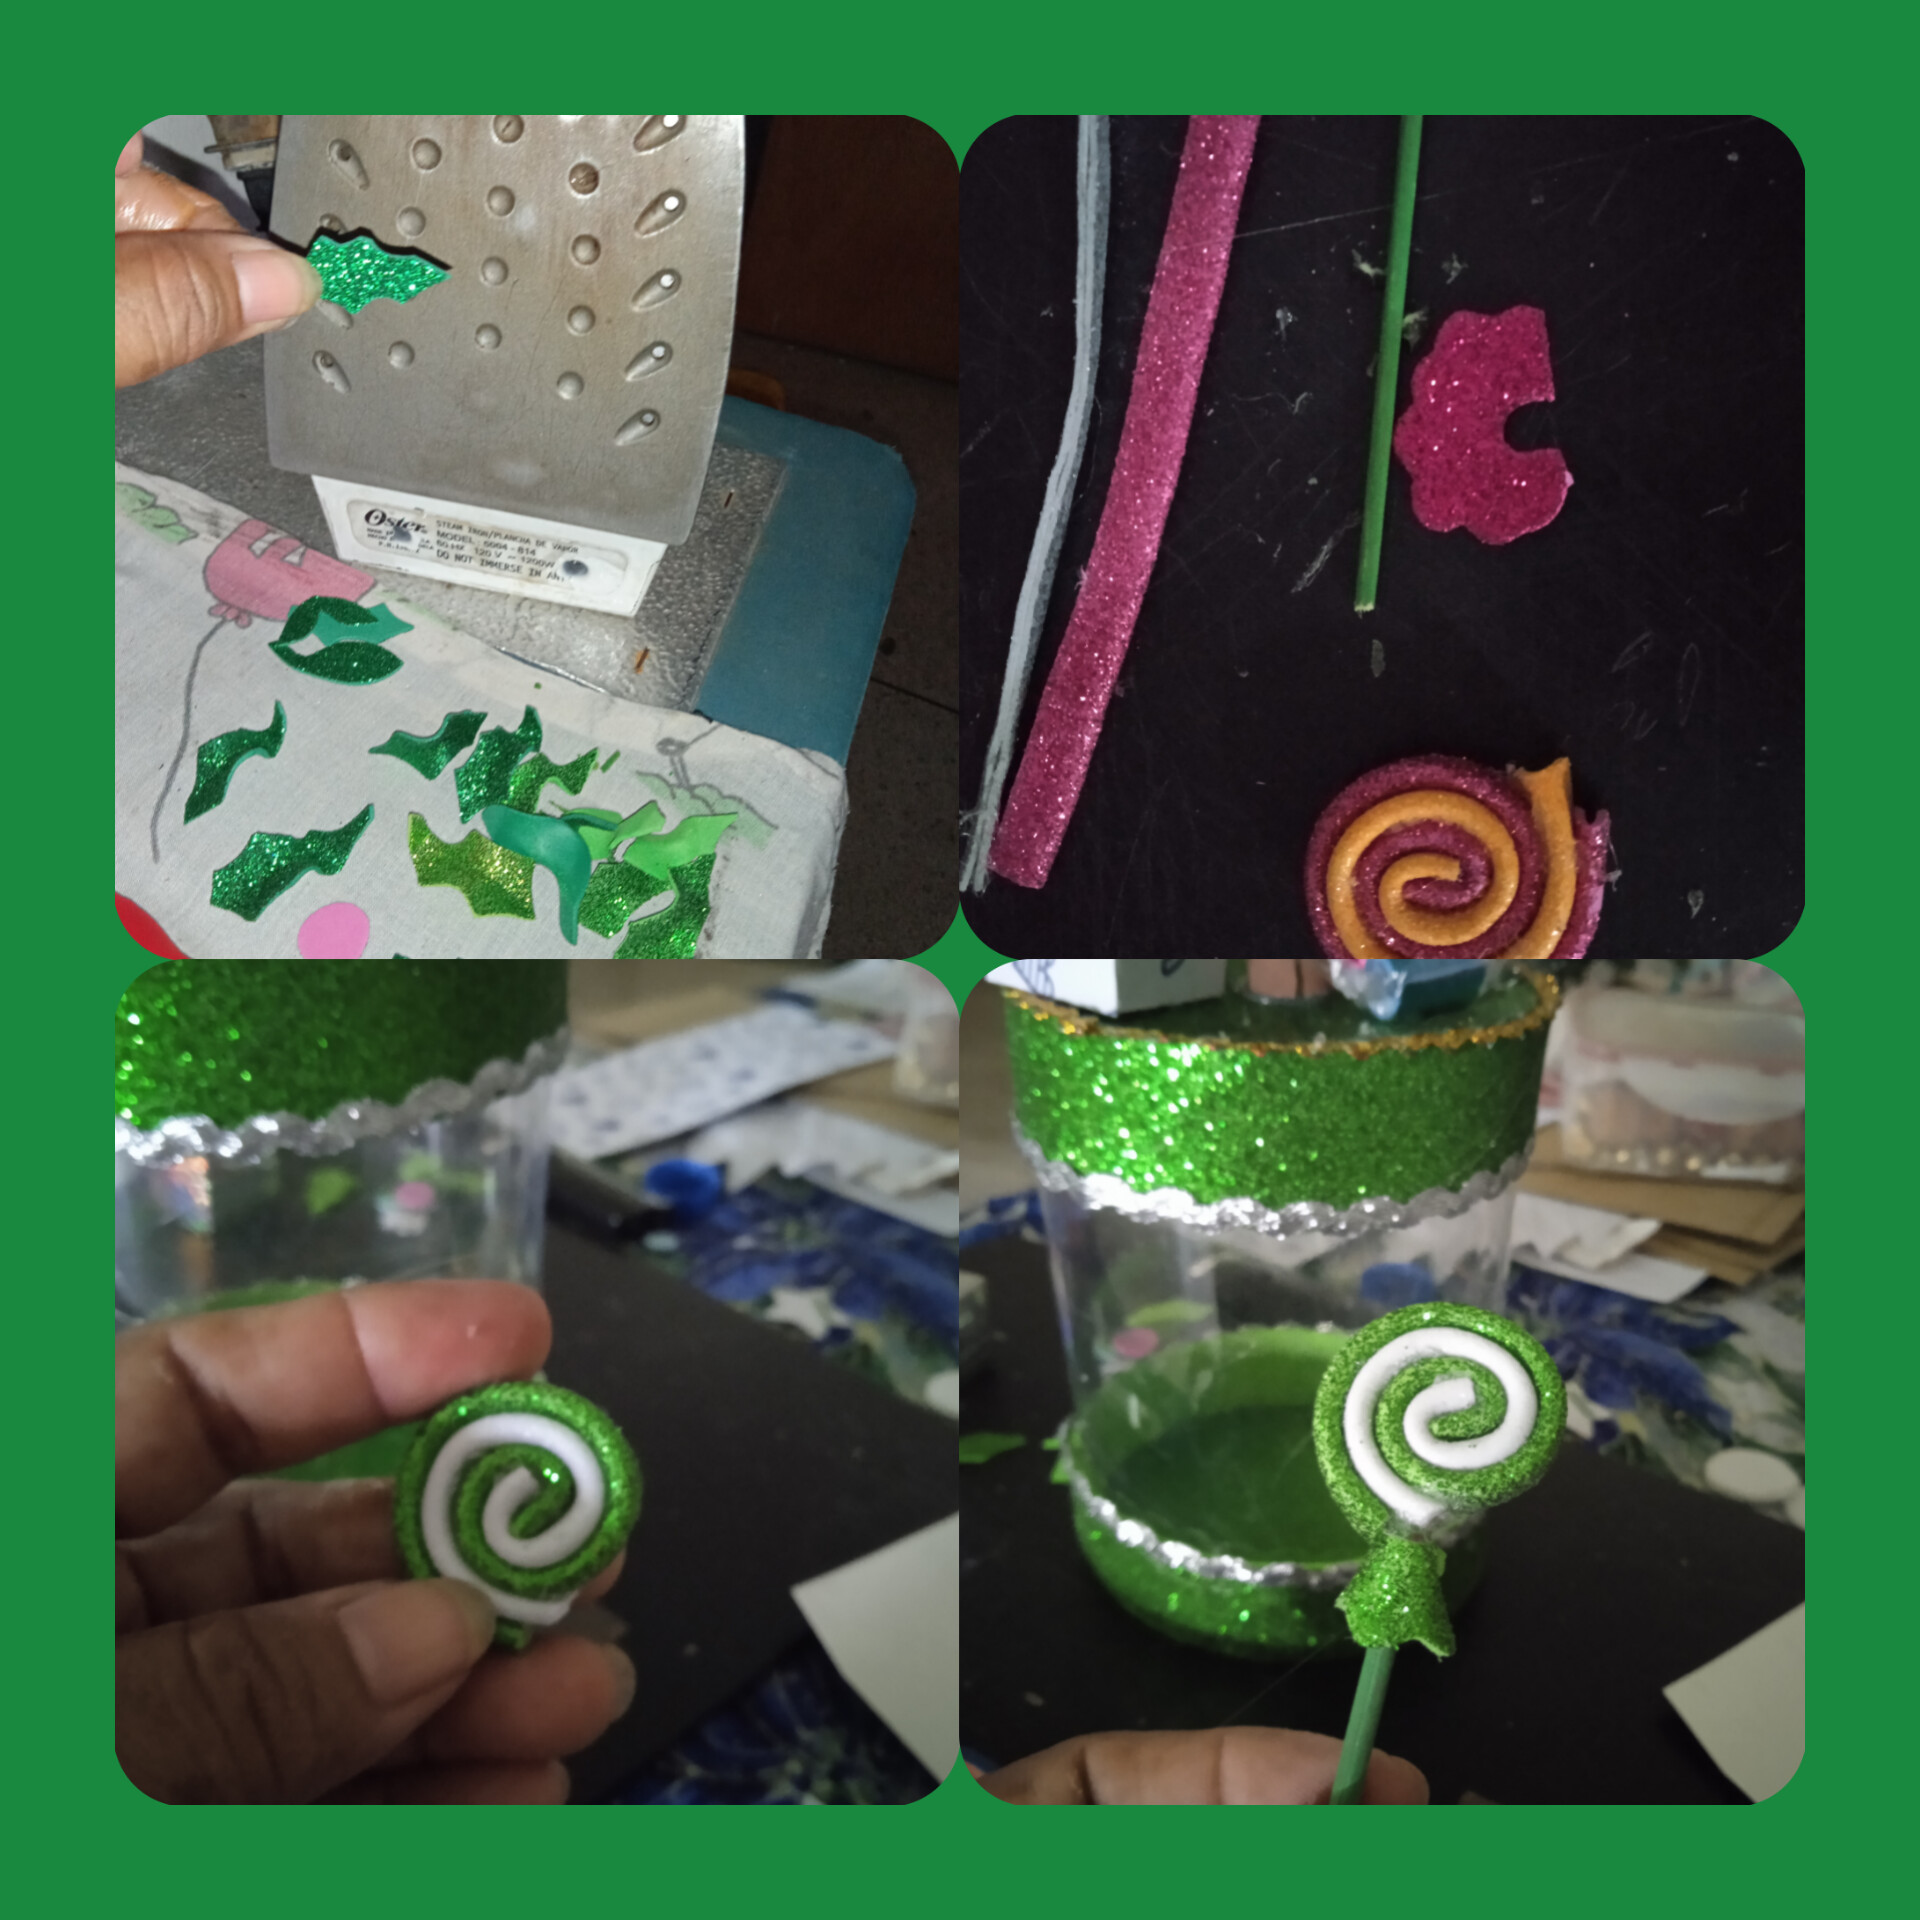
algunas piezas las pase por la plancha para darles un poquito de forma
I ironed some pieces to give them a little shape.
trocitos de icopor para hcer estas que parecen unas helices
pieces of styrofoam to make these that look like propellers...
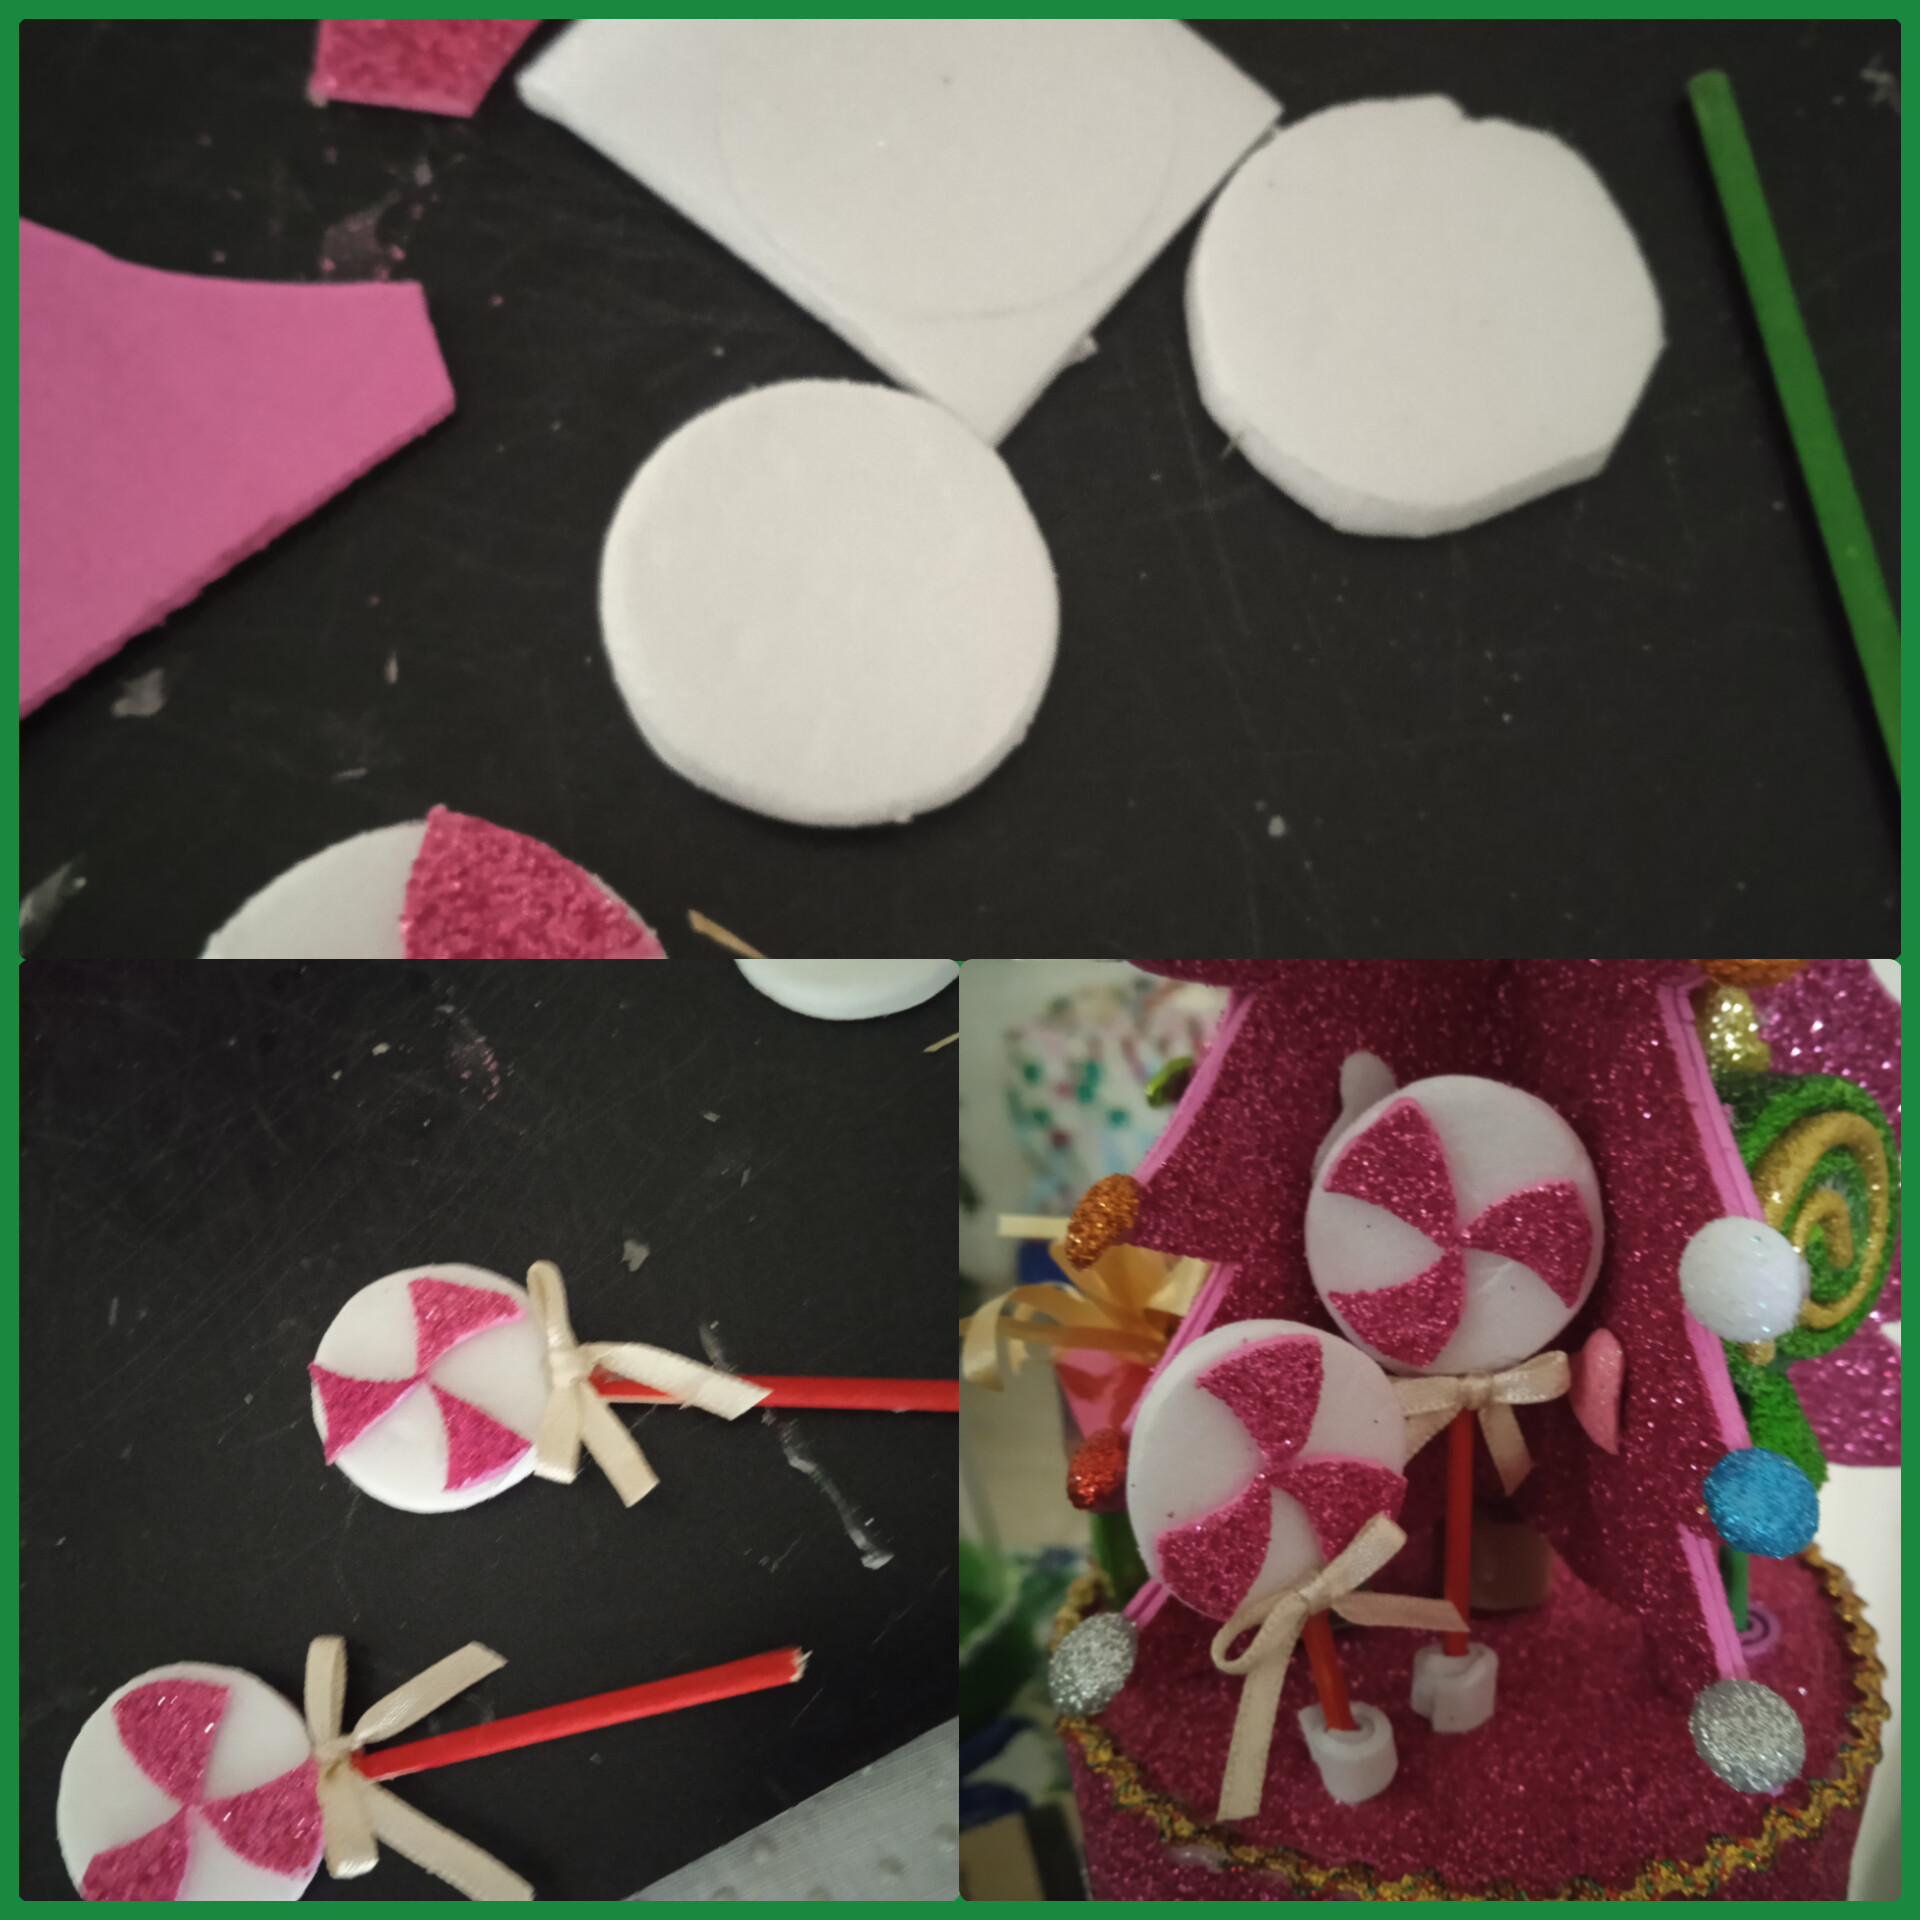
y comenzamos a ensamblar y colocar todas las cosita hechas en cada parte de la tapa pegarmos con silicon en barra para que no se caigan cuando los niños los manipulen
and we begin to assemble and place all the things made in each part of the lid, we will glue them with a silicone bar so that they do not fall when the children manipulate them.
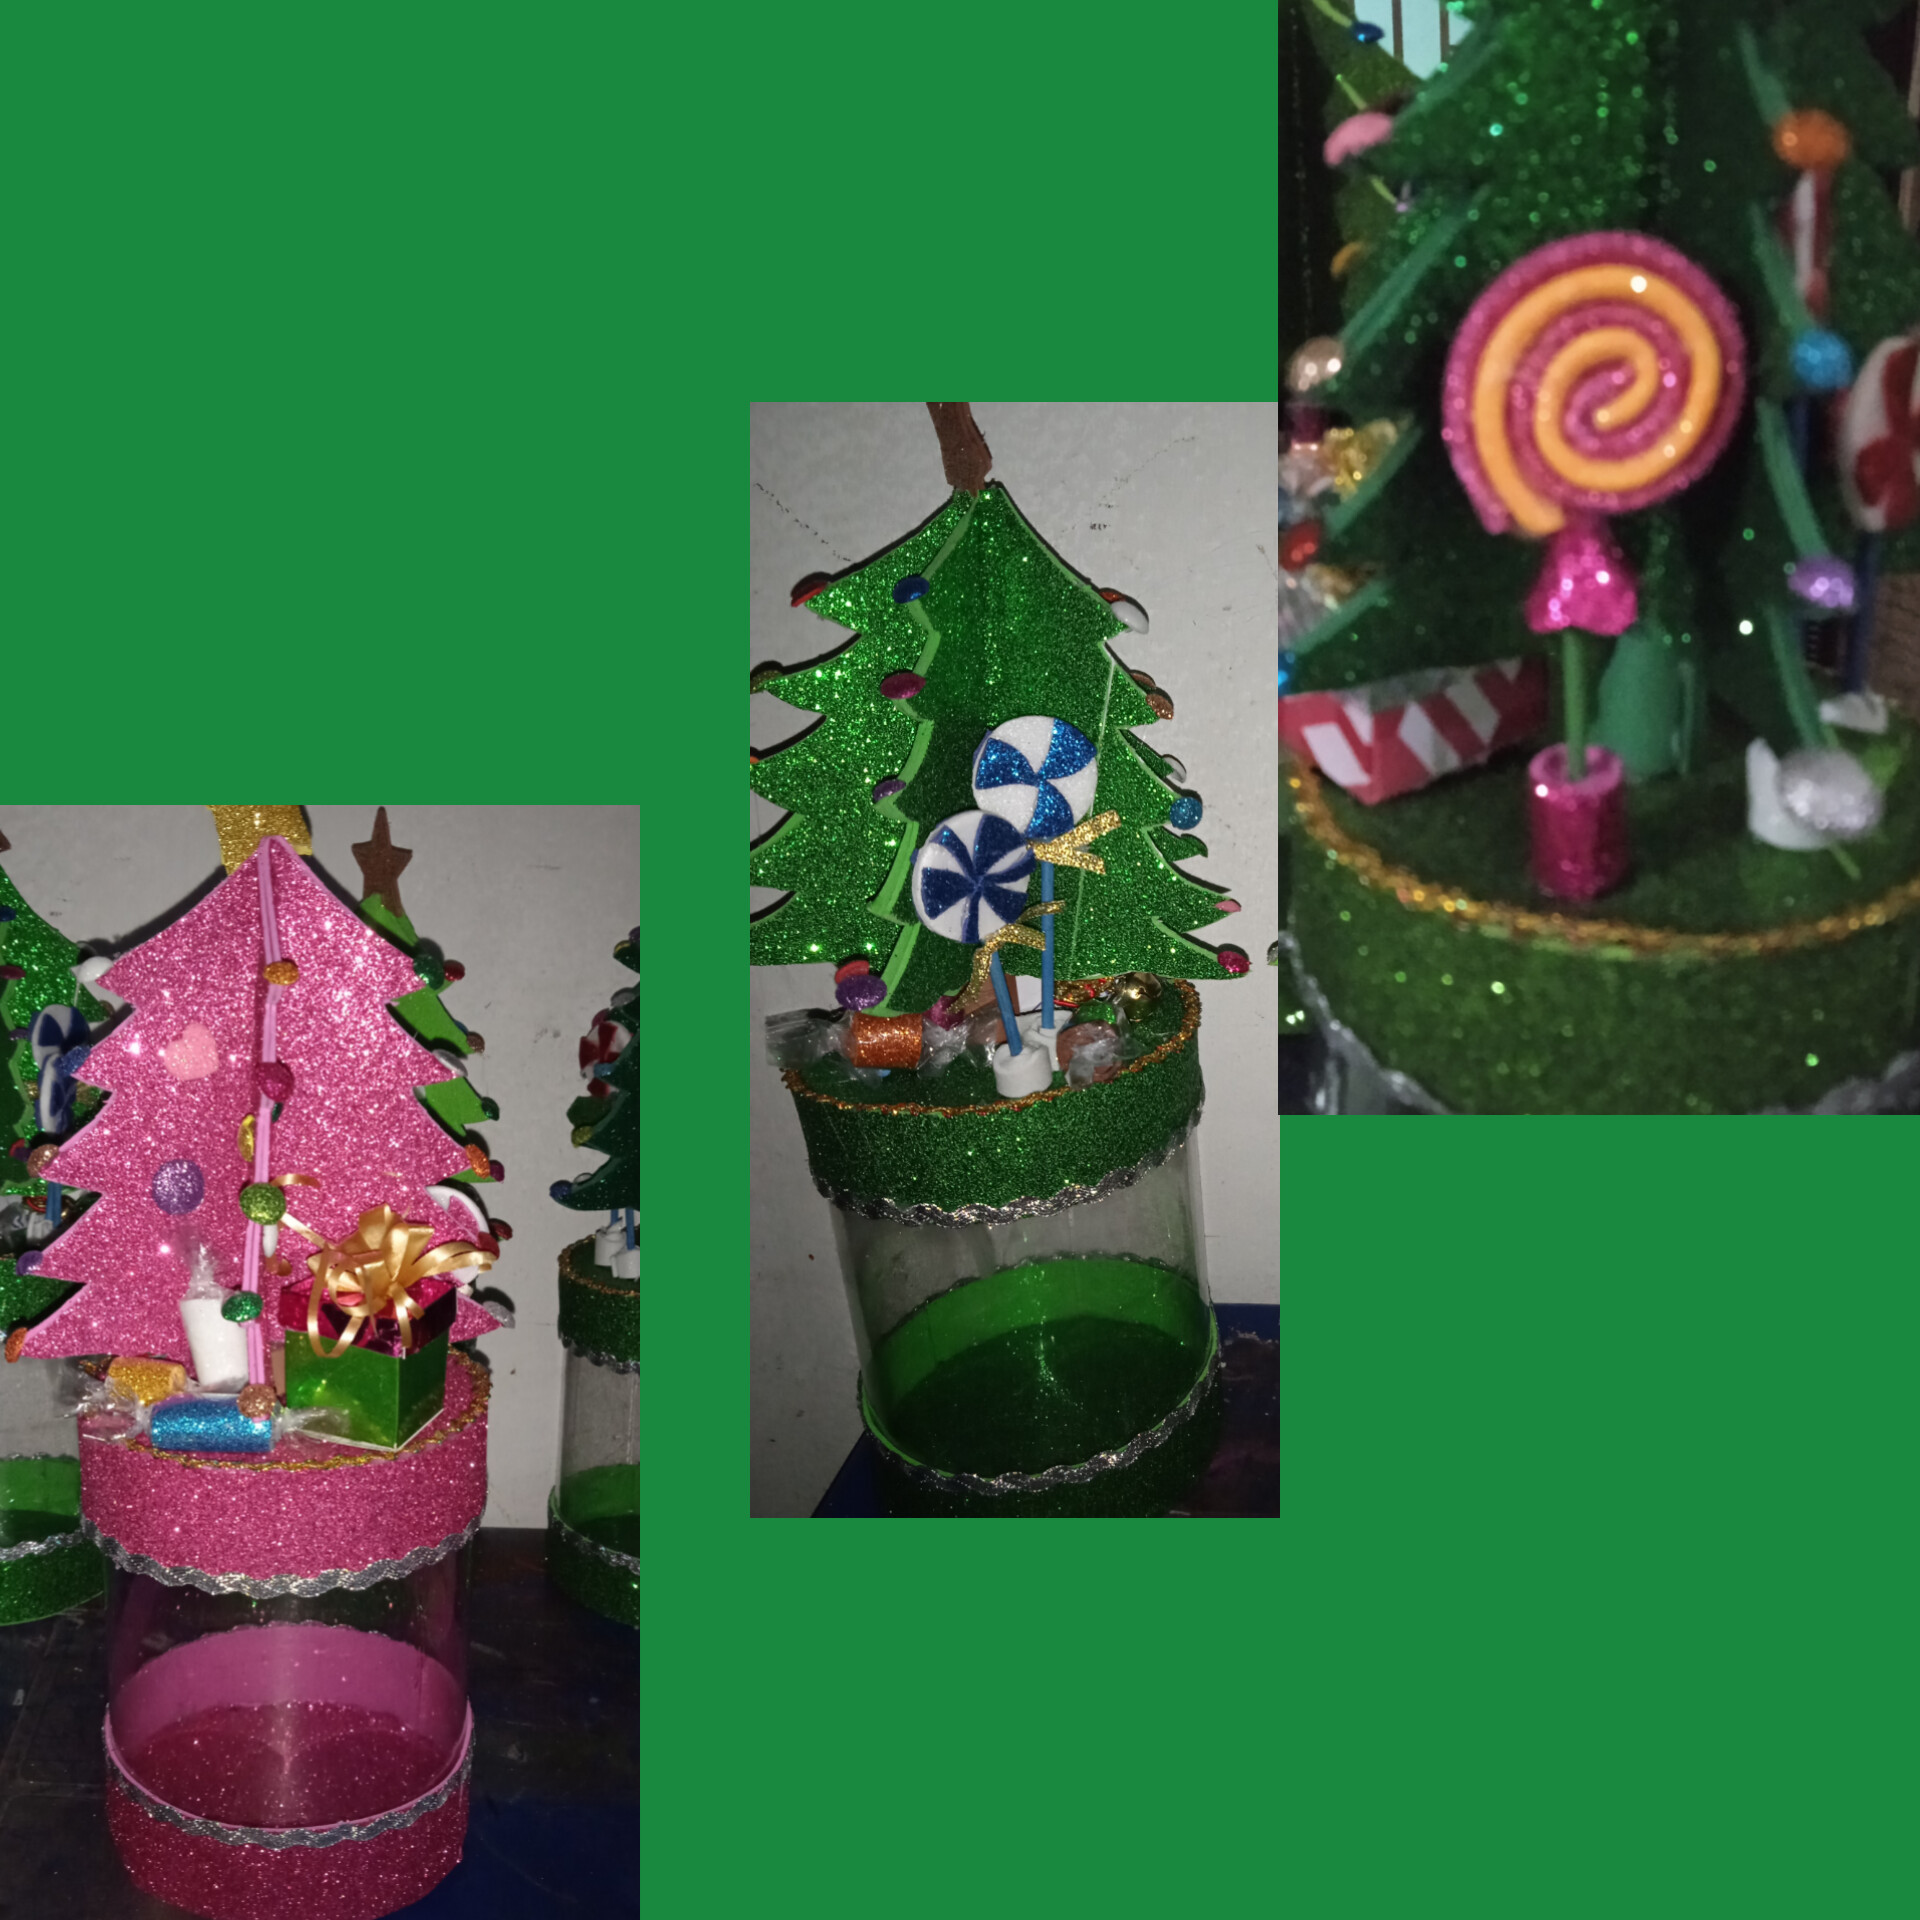
Al final quedo un trabajo muy bonito y practico, con la tapa no se caeran las chuches que se le coloquen dentro. ademas quedo muy elegante!
In the end it turned out to be a very nice and practical job, with the lid the sweets placed inside will not fall out. It also looked very elegant!
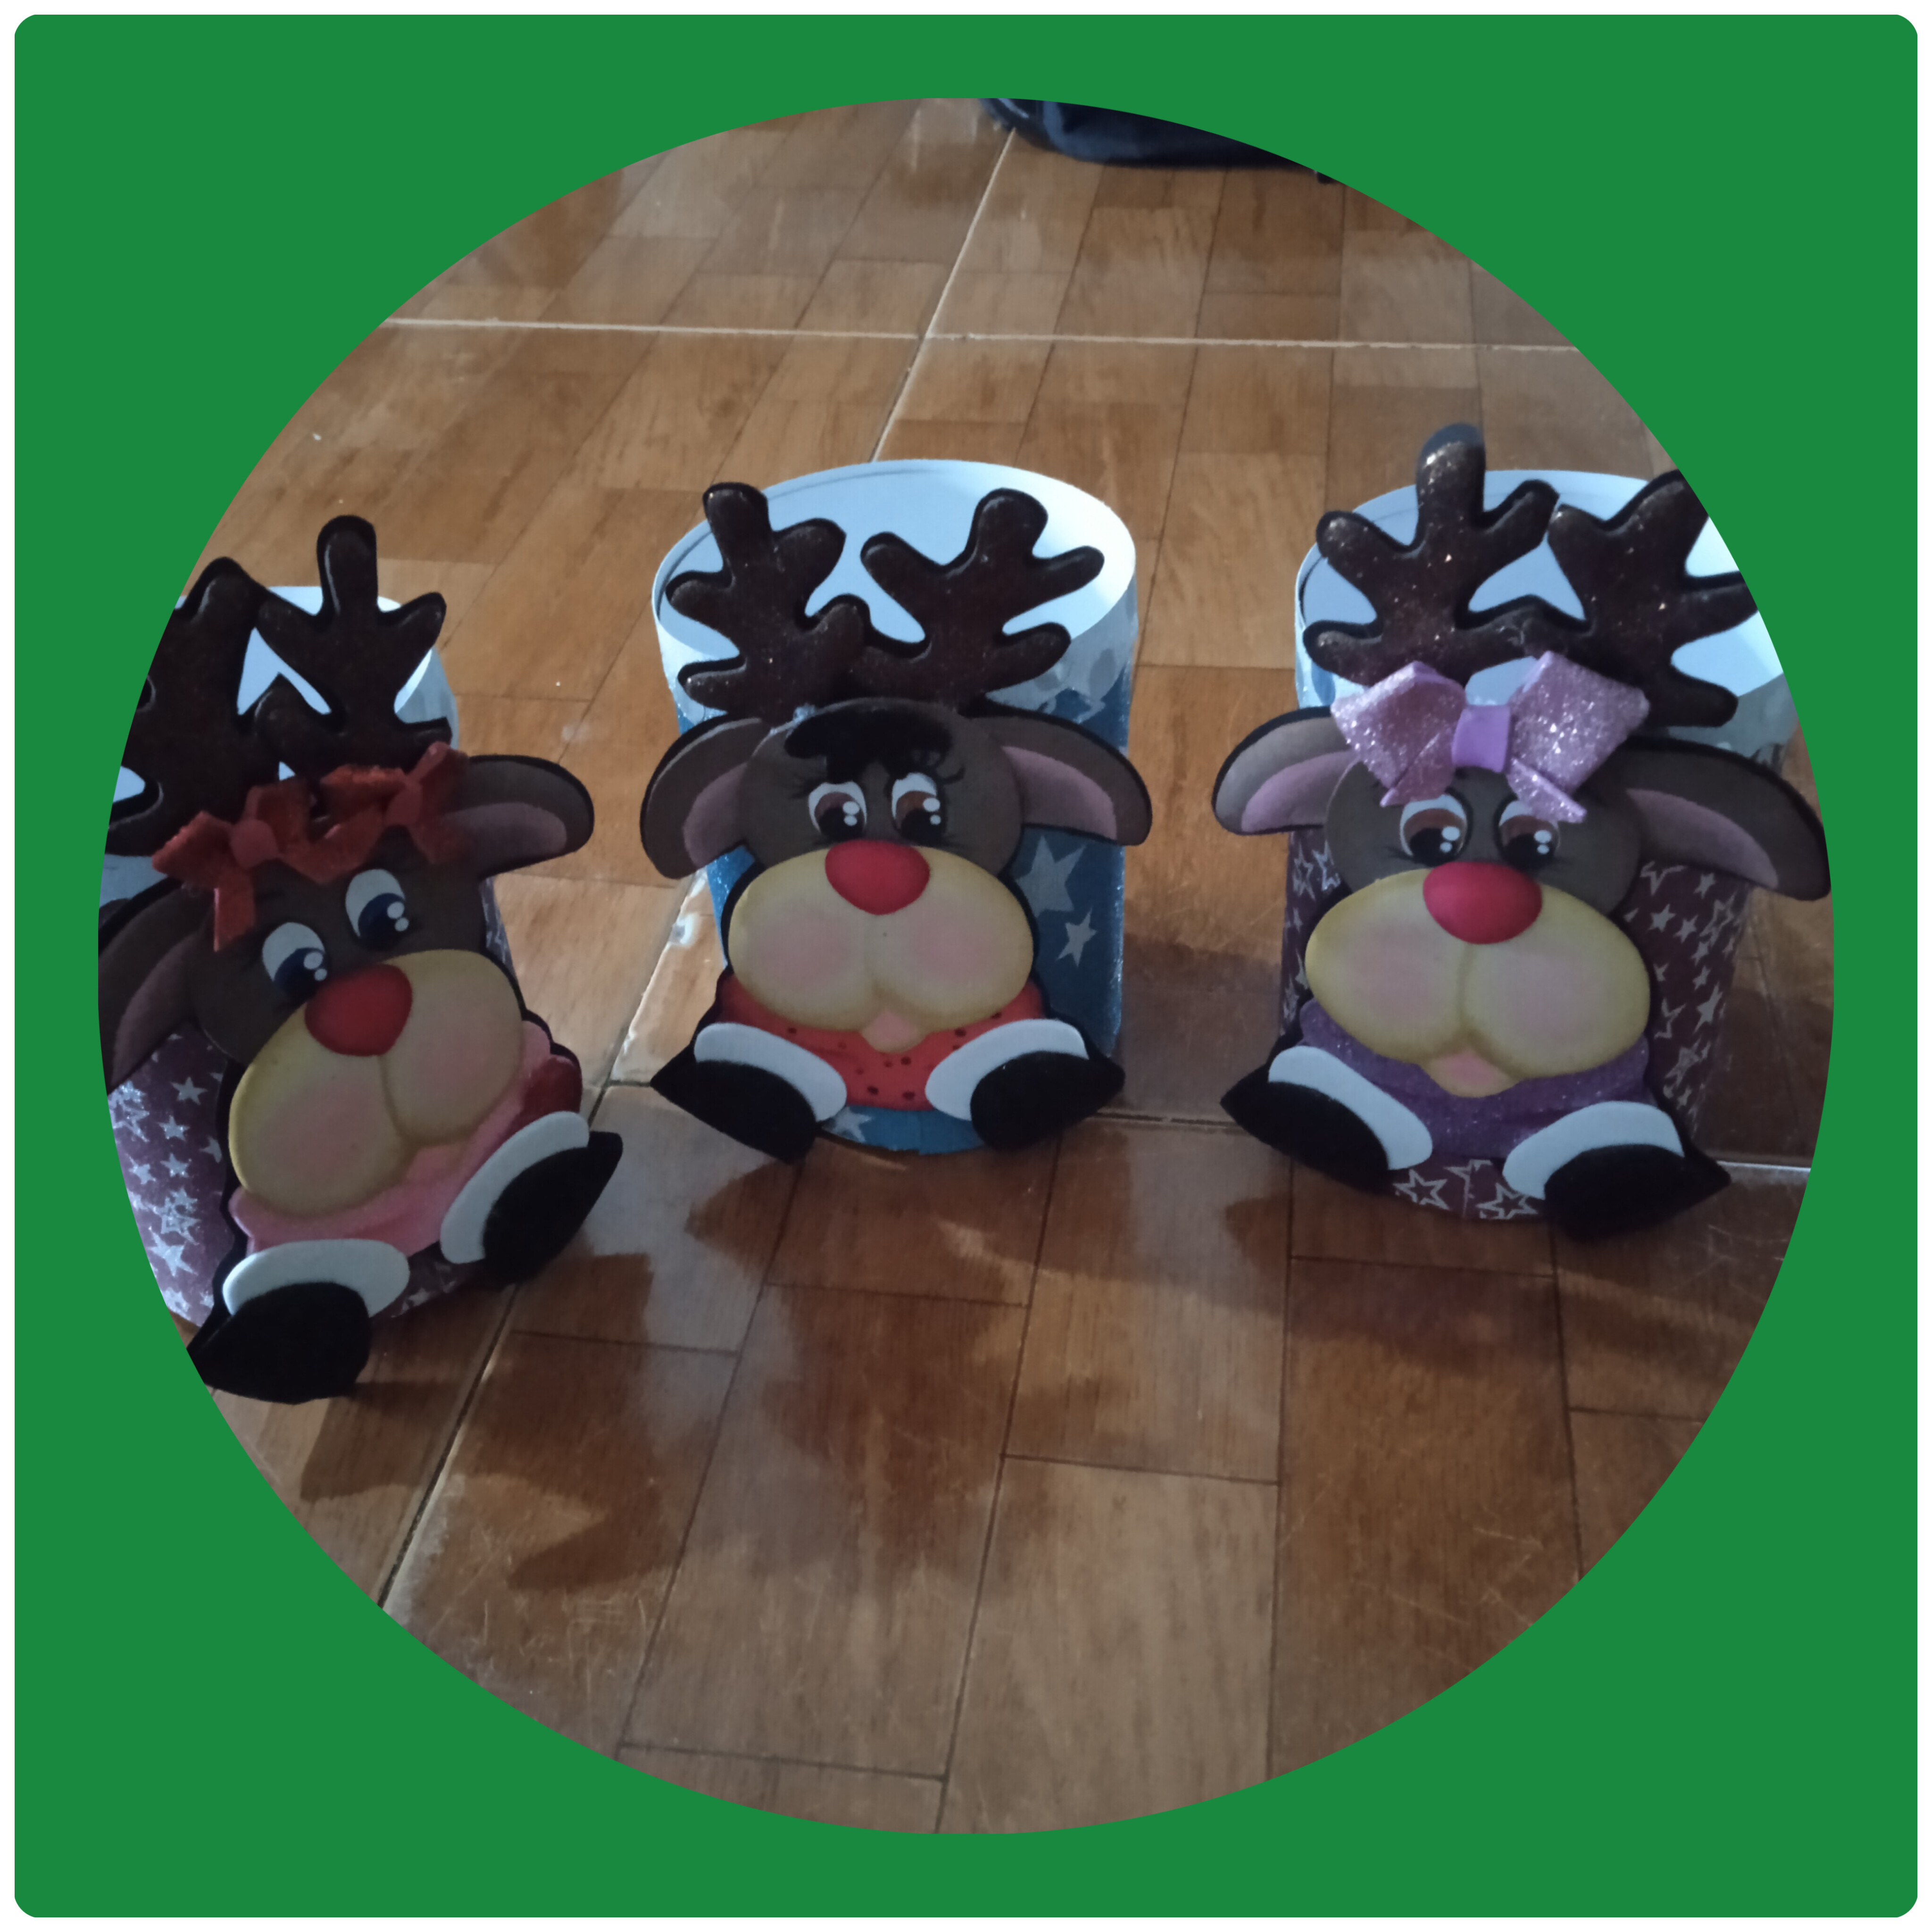
Para que todos no fuesen iguales hice con la misma modalidad pero con cartulina unos envases y les coloque la imagen de un renito muy gracioso.
So that they were not all the same, I made some containers with the same method but with cardboard and placed the image of a very funny reindeer on them.
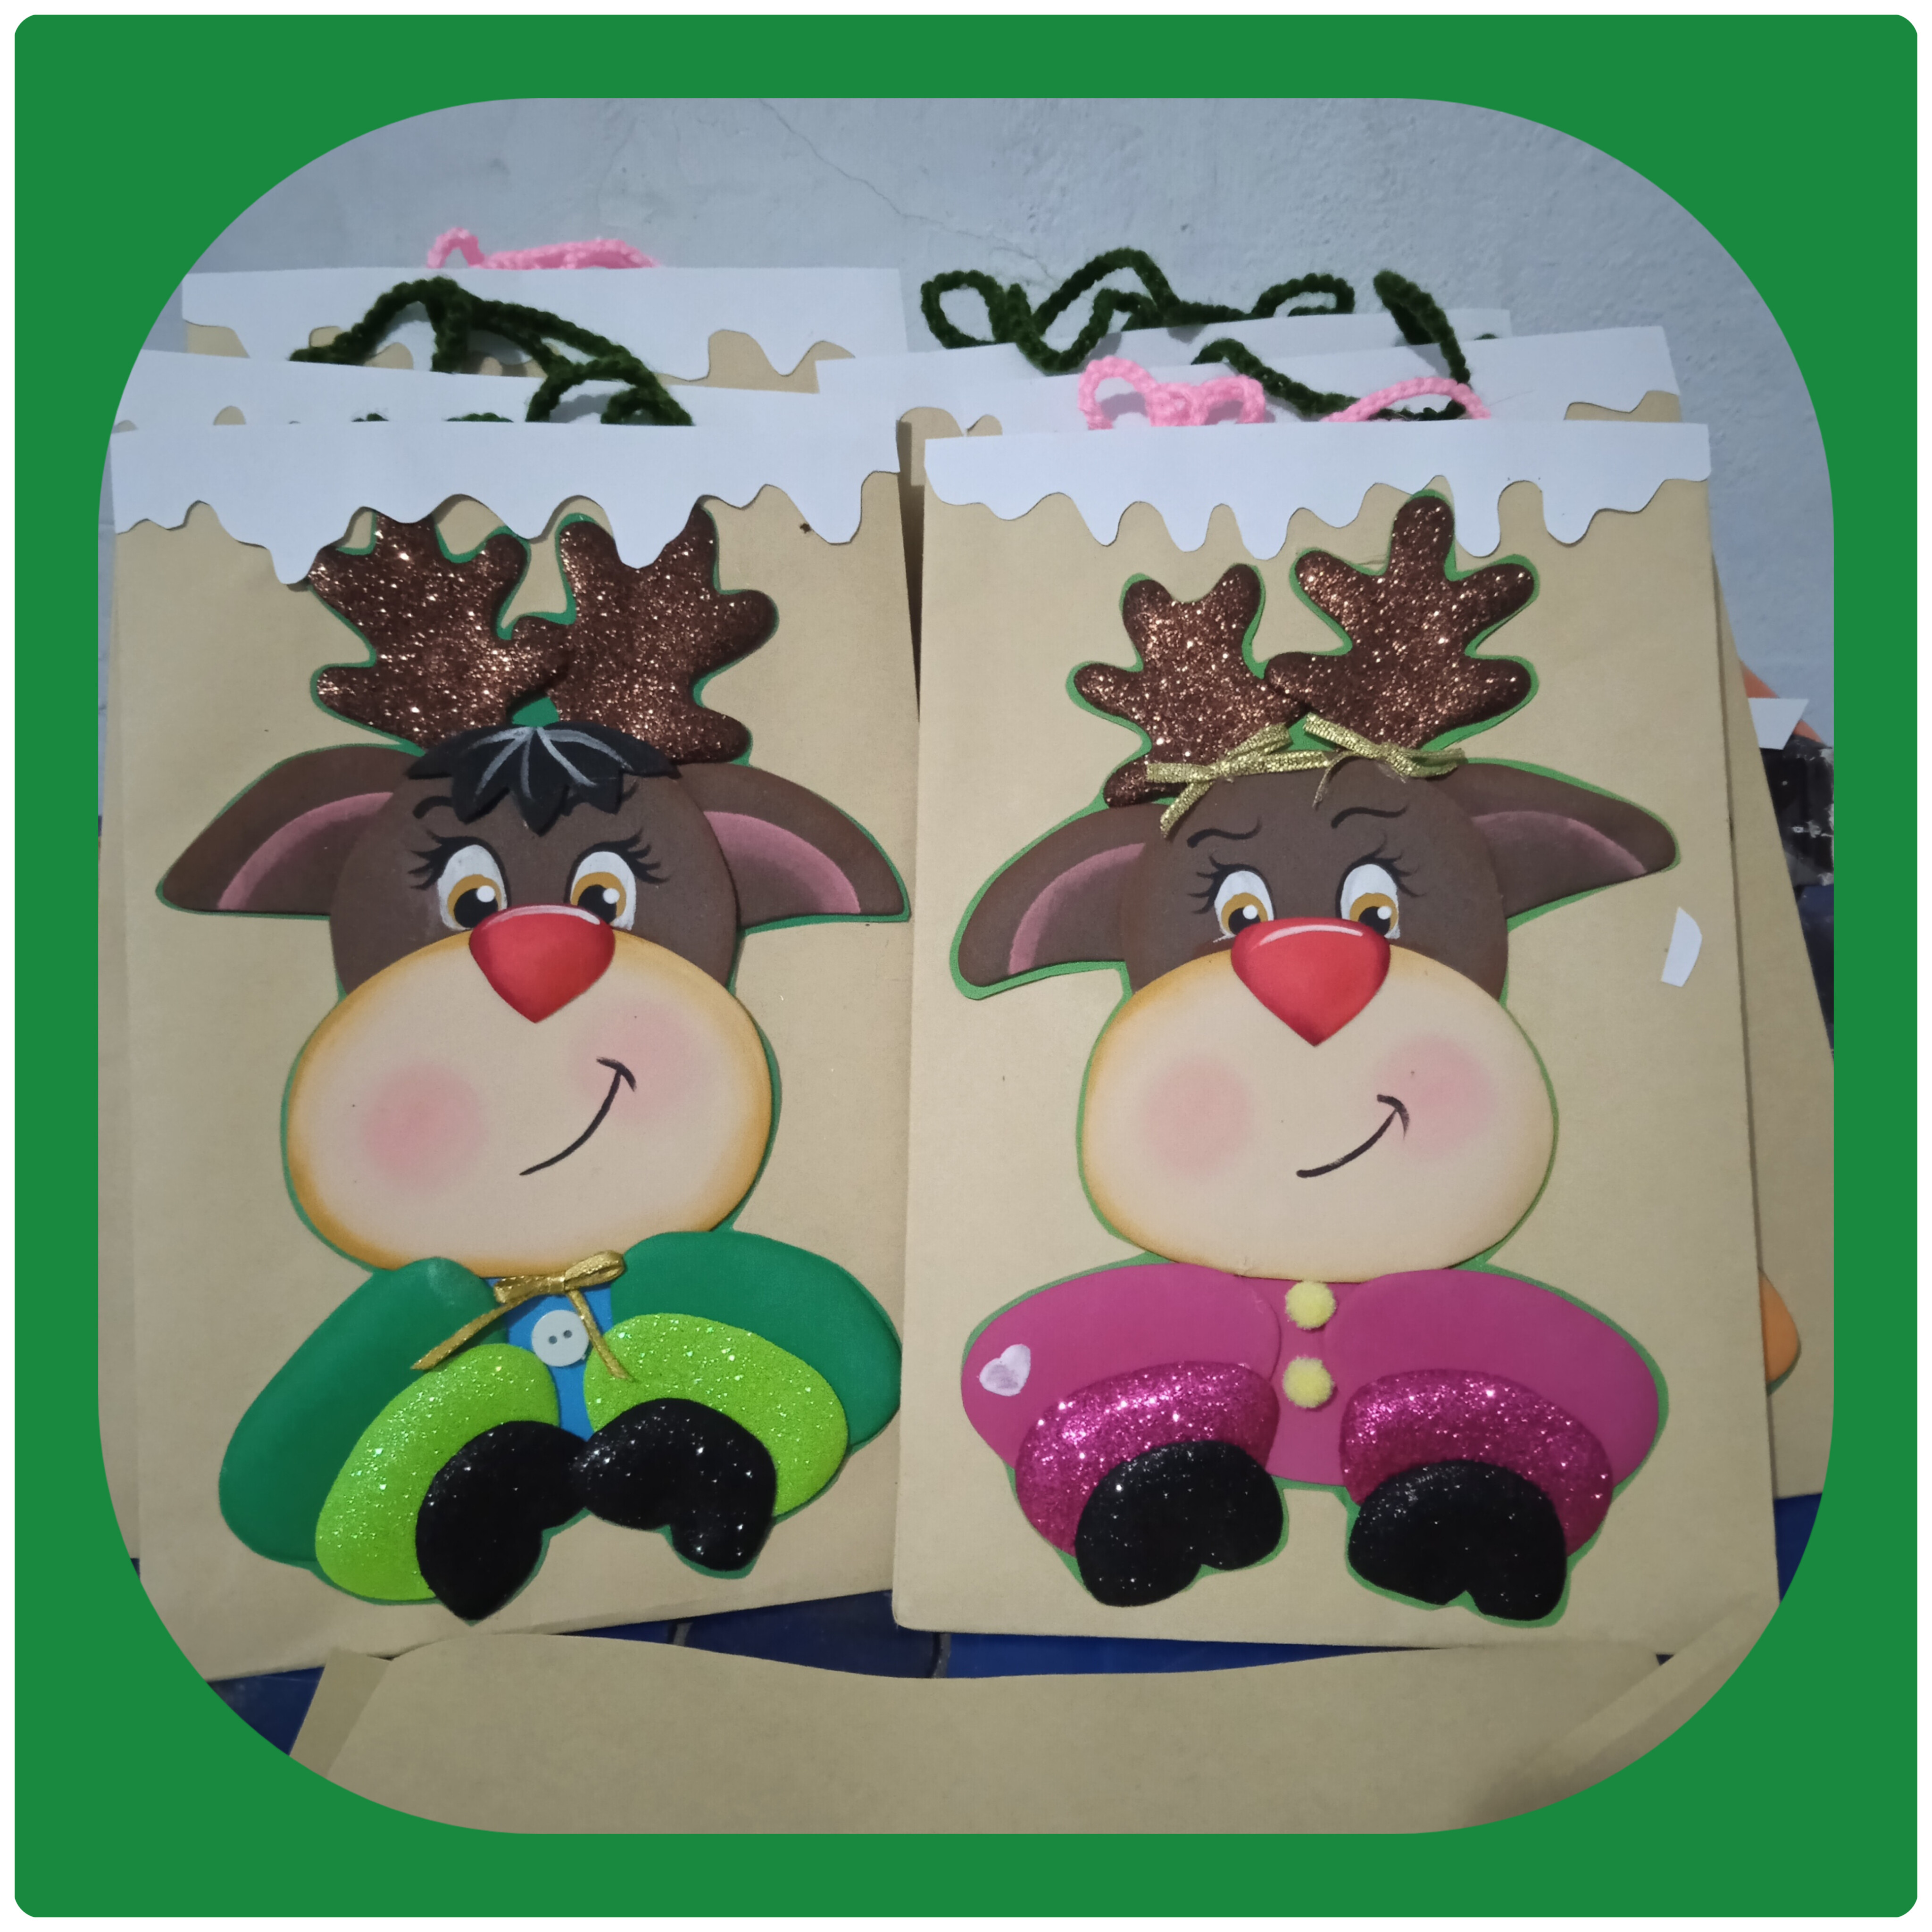
Y las famosas bolsitas de papel kraf tambien con un renito..
And the famous apel kraf bags also with a reindeer...
Una nota importante si miran por ahi otros amteriales como cintas encajes bolitas casaceles esas son opcionales, si se quiere se le colocana gusto de ustedes
.An important note if you look around for other materials such as ribbons, lace, balls, those are optional, if you want they can be placed to your liking.
Entonces me disculpan si fue un poco largo este proyecto pero no podia dejarlo pasar por alto, despus de tanto tiempo.. estoy muy contenta de los resultados espero que sea de su agrado.. FELIZ NAVIDAD!
So forgive me if this project was a little long but I couldn't let it pass by, after so much time... I am very happy with the results I hope you like it... MERRY CHRISTMAS!