>CENTRO DE MESA PARA 15 AÑOS/CENTER CENTER FOR 15 YEARS
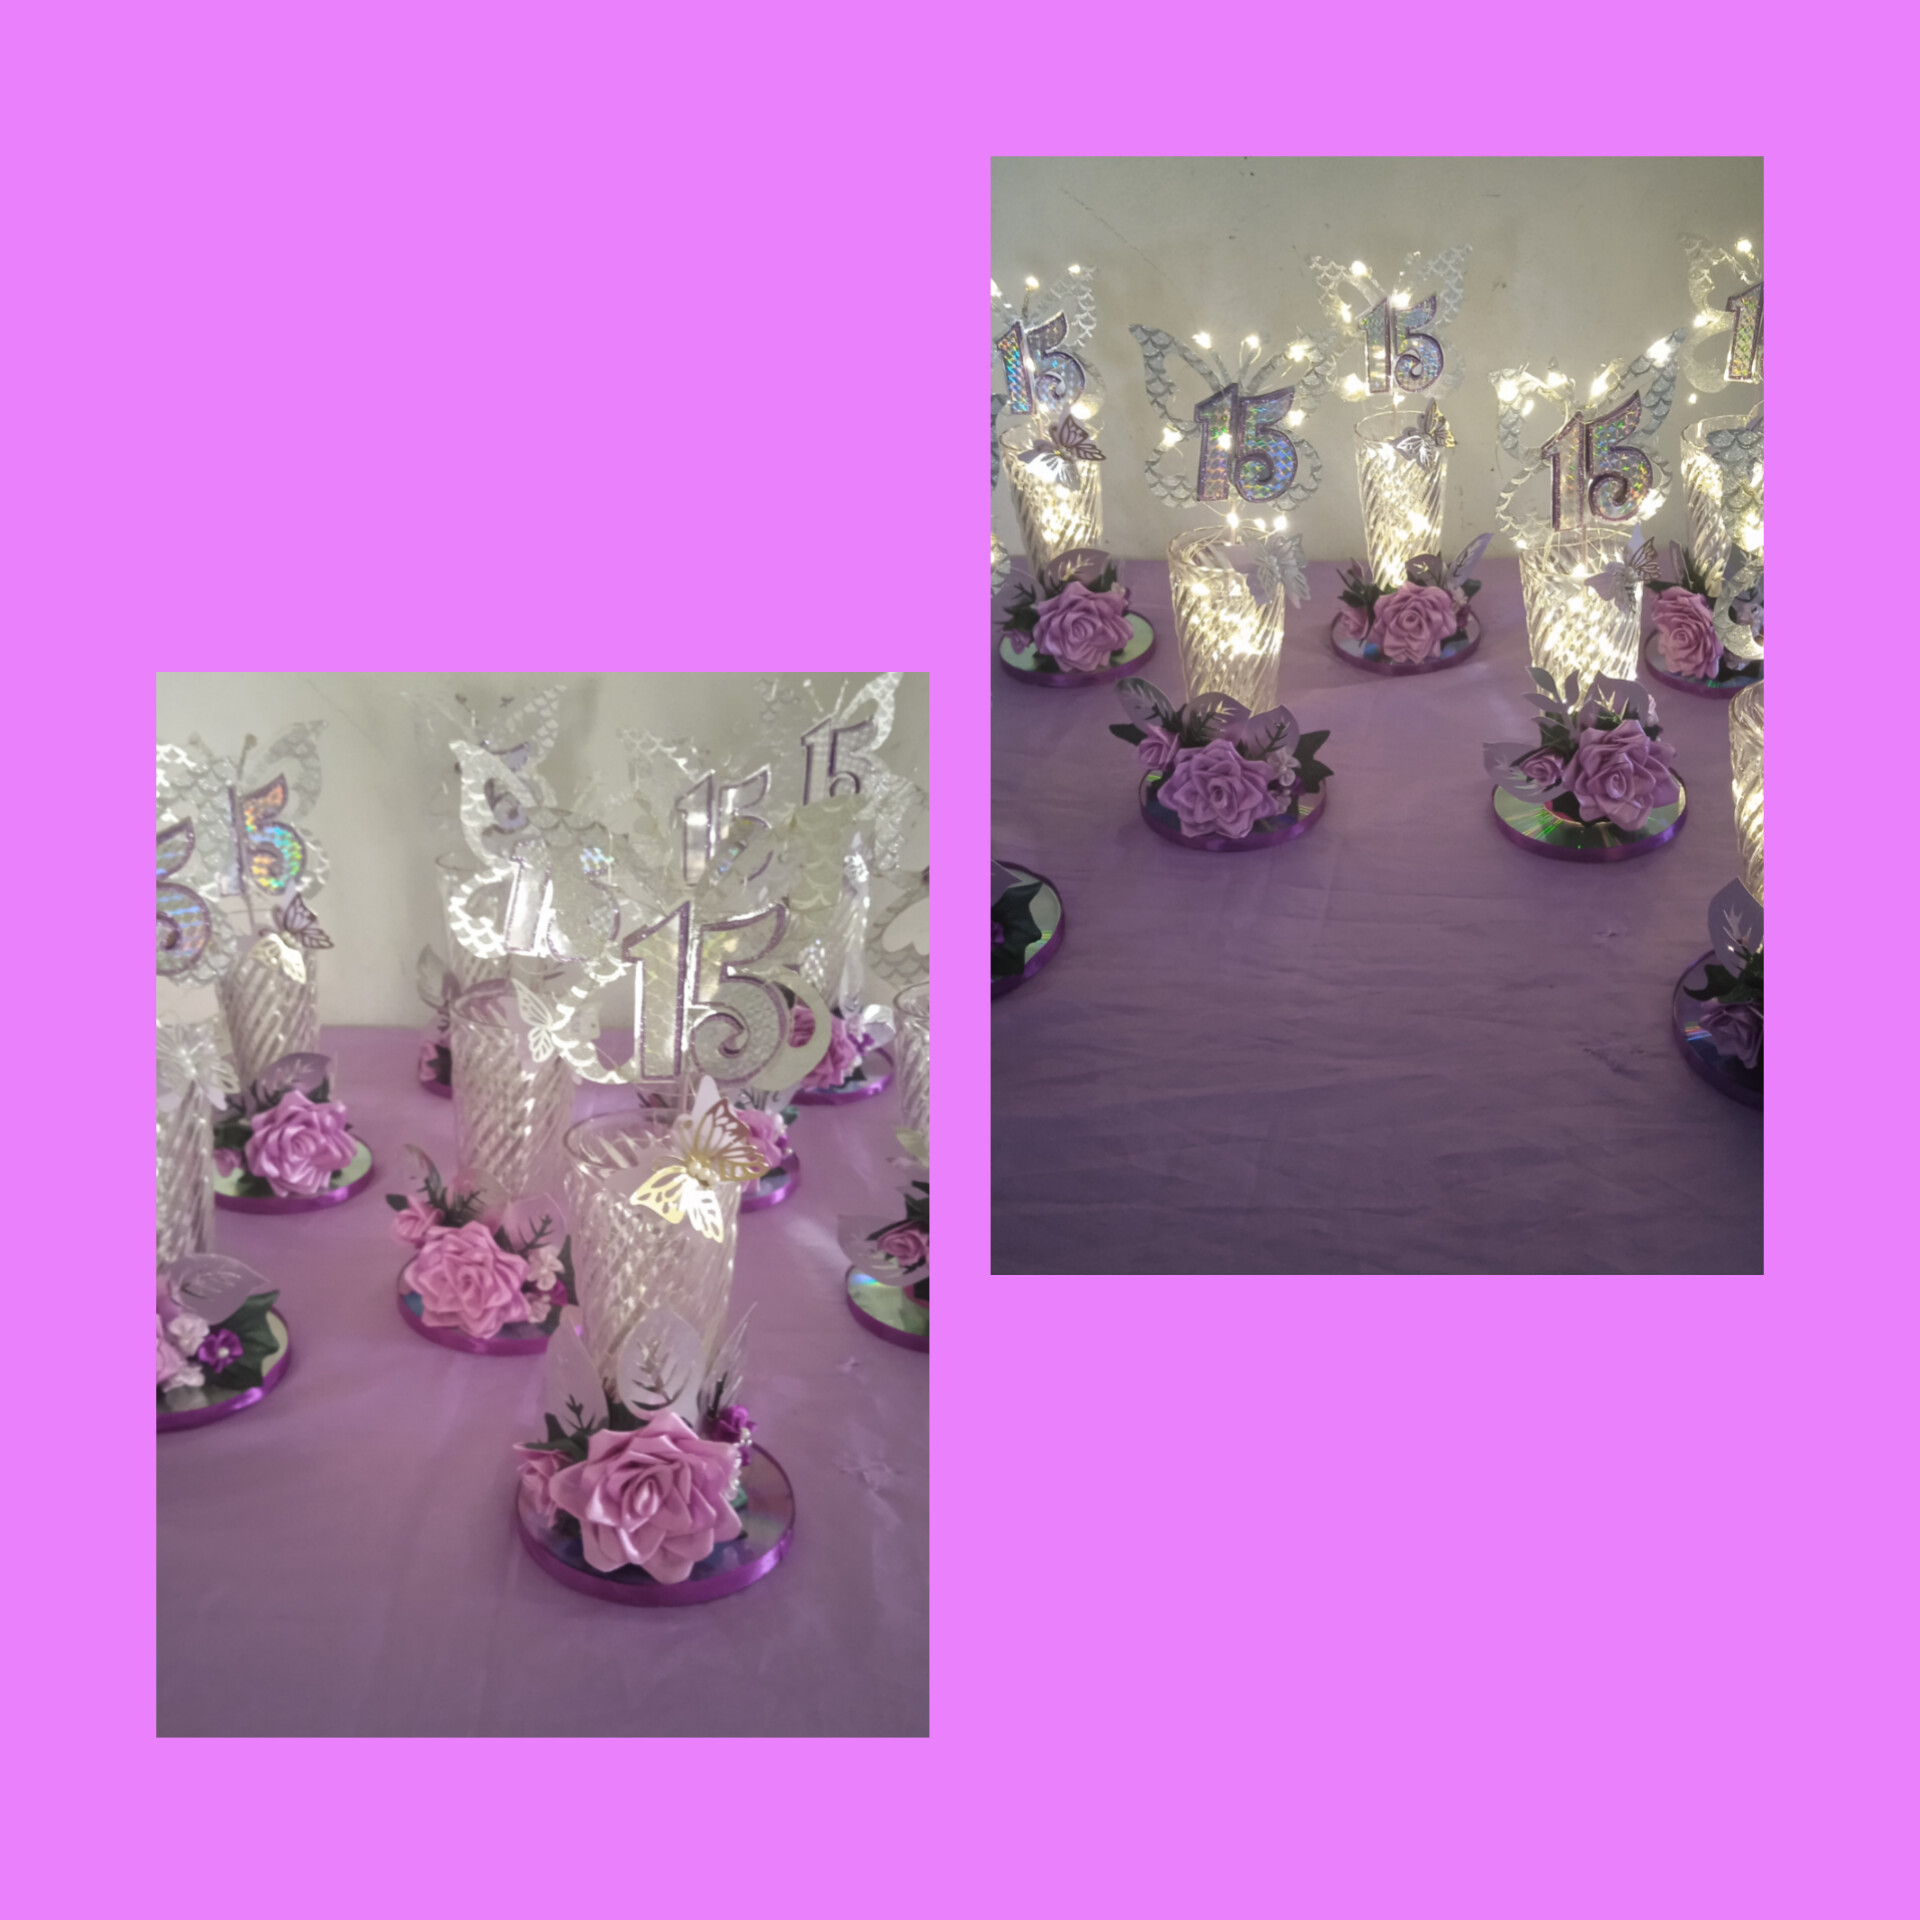
Muy buenos dias, tengan tod@s amig@s de hive, no he podido hacer mucho, por aqui se va mucho la luz y el internet esta pesimo.
Les cuento que gusto el trabajo de los centros de mesa, y ahora mi pareja quiere que le haga los de su hija, para sus quince este viernes.
En esta ocasion, es mucho mas sencillo, hice unas flores eternas , ya en una exposicion anterior les mostre como se hacen.
Very good morning, have all your hive friends, I haven't been able to do much, the power goes out a lot here and the internet is terrible.
I tell you that I liked the work on the centerpieces, and now my partner wants me to make her daughter's, for her quince this Friday.
On this occasion, it is much simpler, I made some eternal flowers, in a previous exhibition I showed you how they are made.
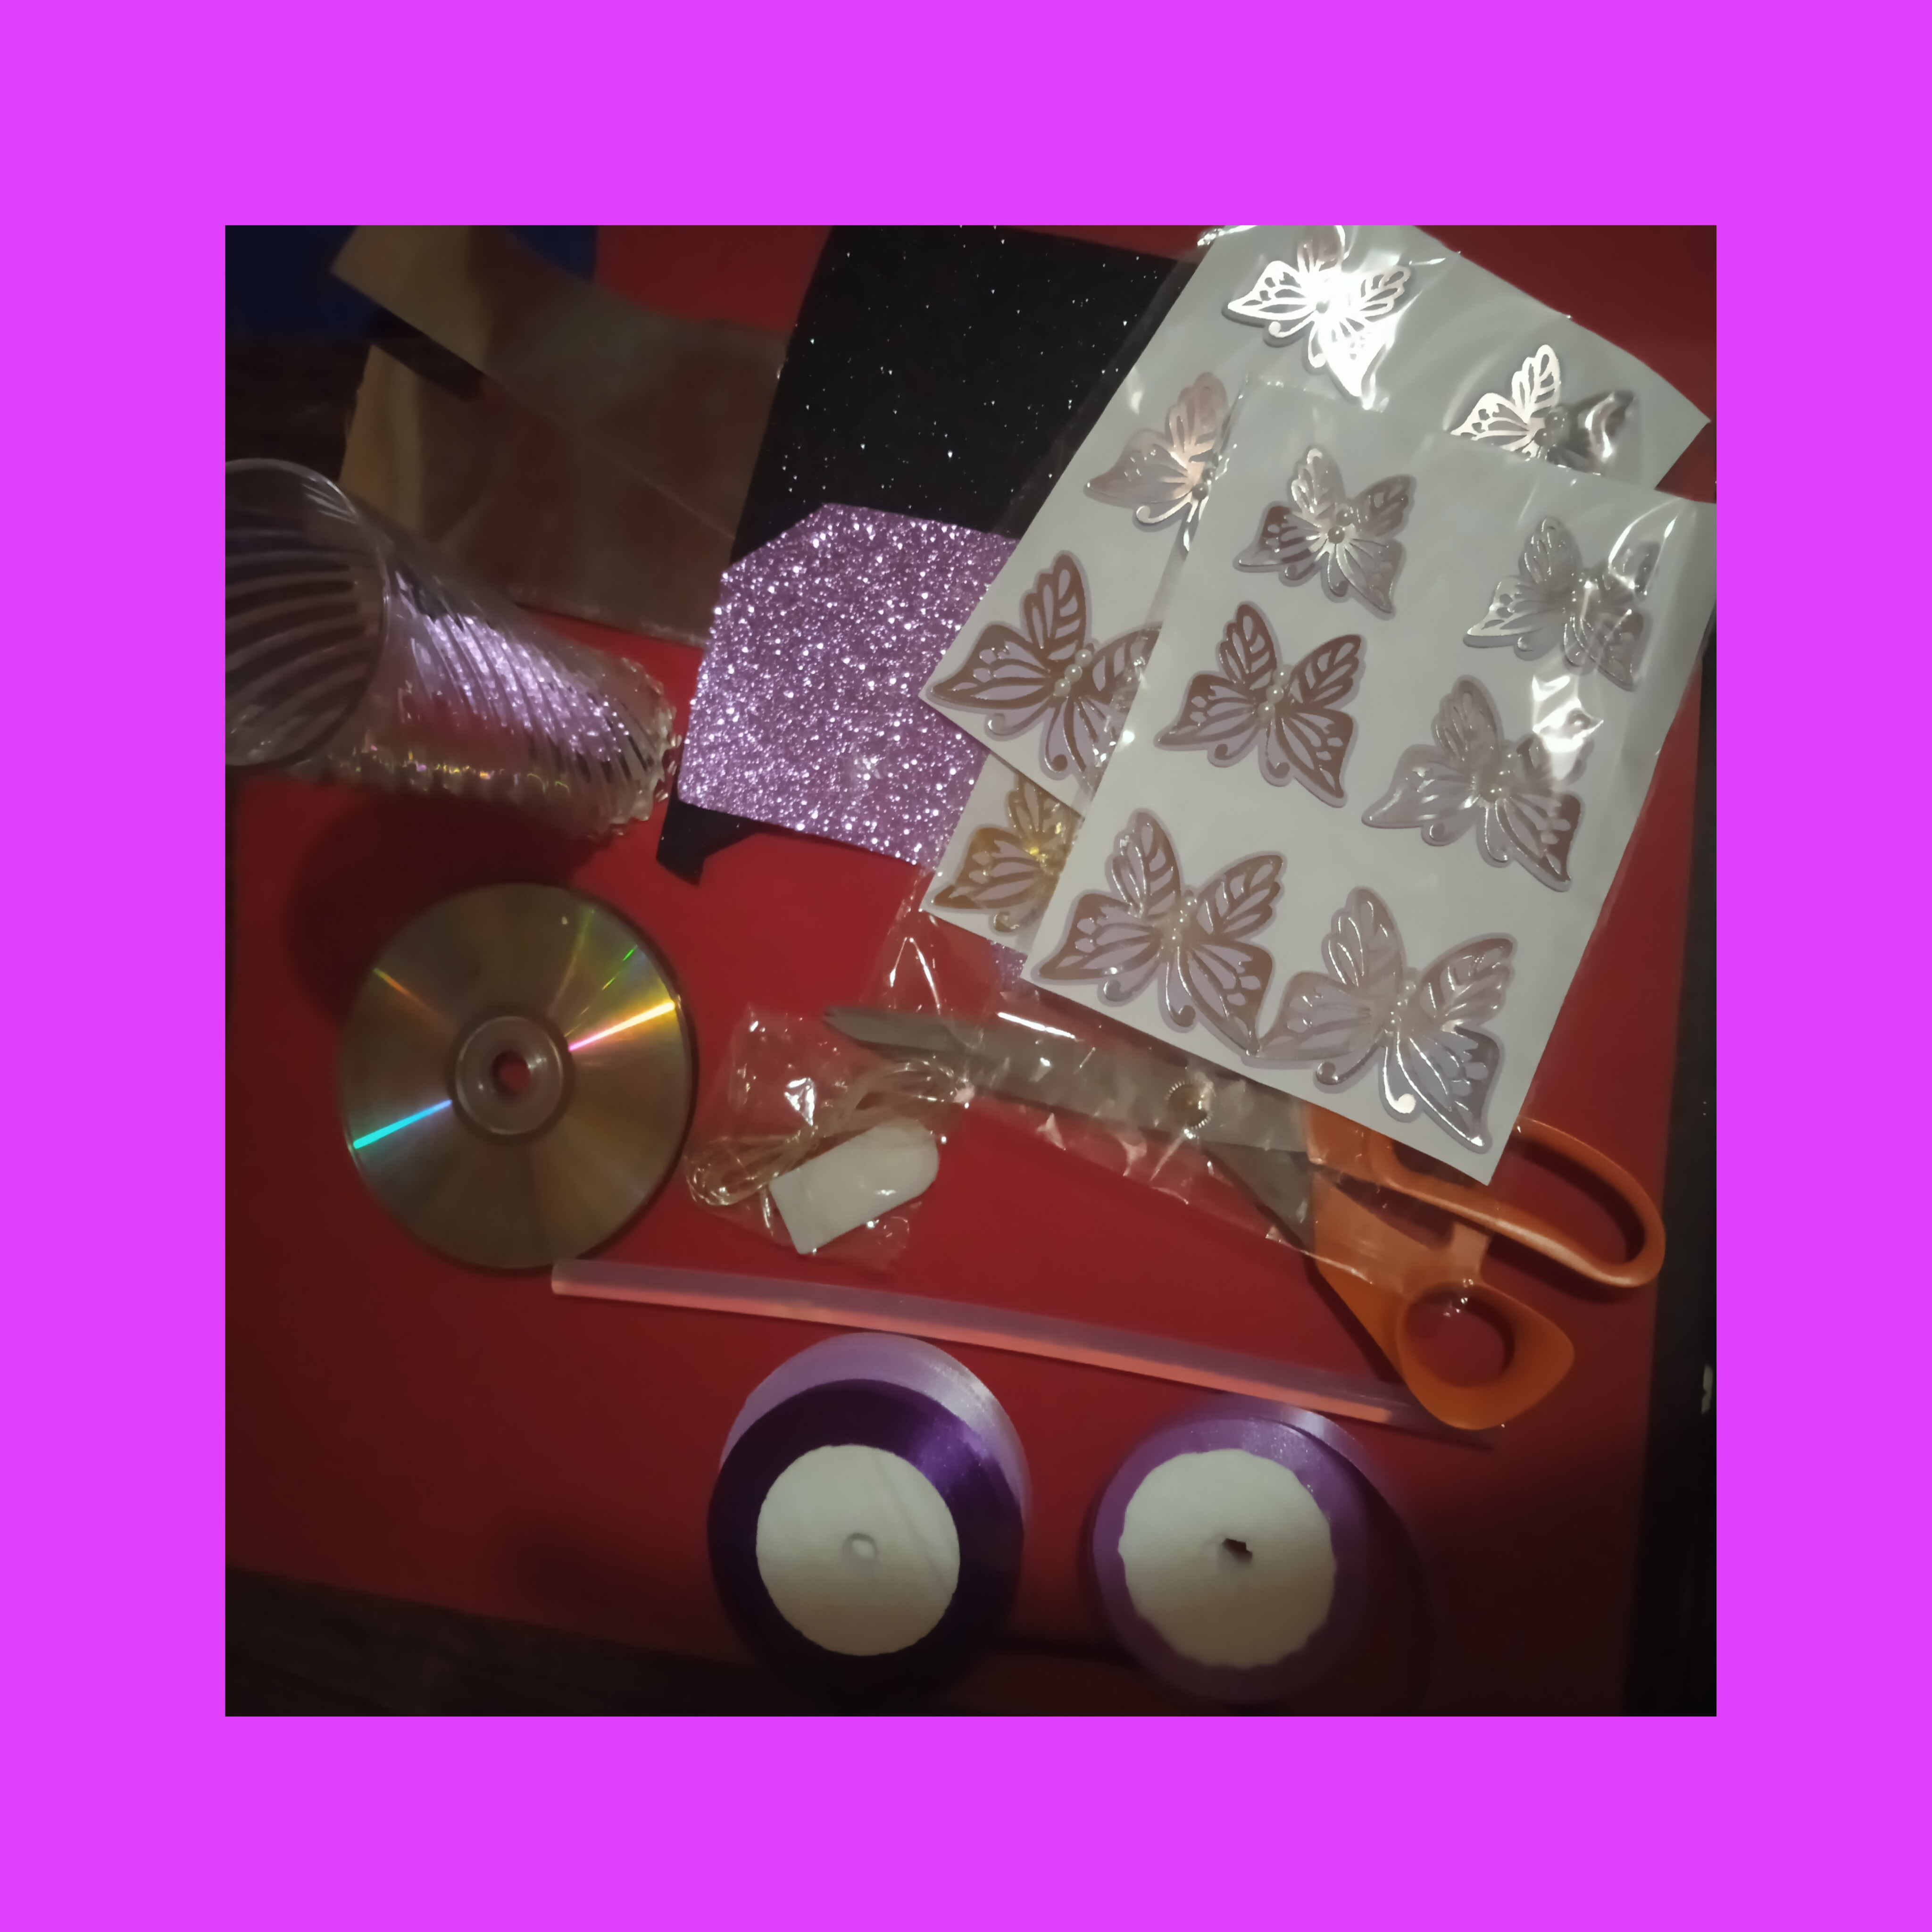
MATERIALES
CD de descho.
Jarroncitos de cristal.
Cintas de raso n 2 y 6.... fucsia, lila , violeta,.
Cintas de diepovelo n 2. vino tinto y lila.
Cartulina holografica.
Palitos de altura.
Pintura lila y pincel.
Hojas de raso verde navidad.
Silicon en barra, tijeras, encendedor, silicon liquido.
Cortador punta diamante, lapiz.
MATERIALS
Waste CD.
Little glass vases.
Satin ribbons n. 2 and 6.... fuchsia, lilac, violet,.
Diepovelo ribbons n 2. red wine and lilac.
Holographic cardboard.
Tall sticks.
Lilac paint and brush.
Christmas green satin leaves.
Silicone stick, scissors, lighter, liquid silicone.
Diamond tip cutter, pencil.
PASO 1.
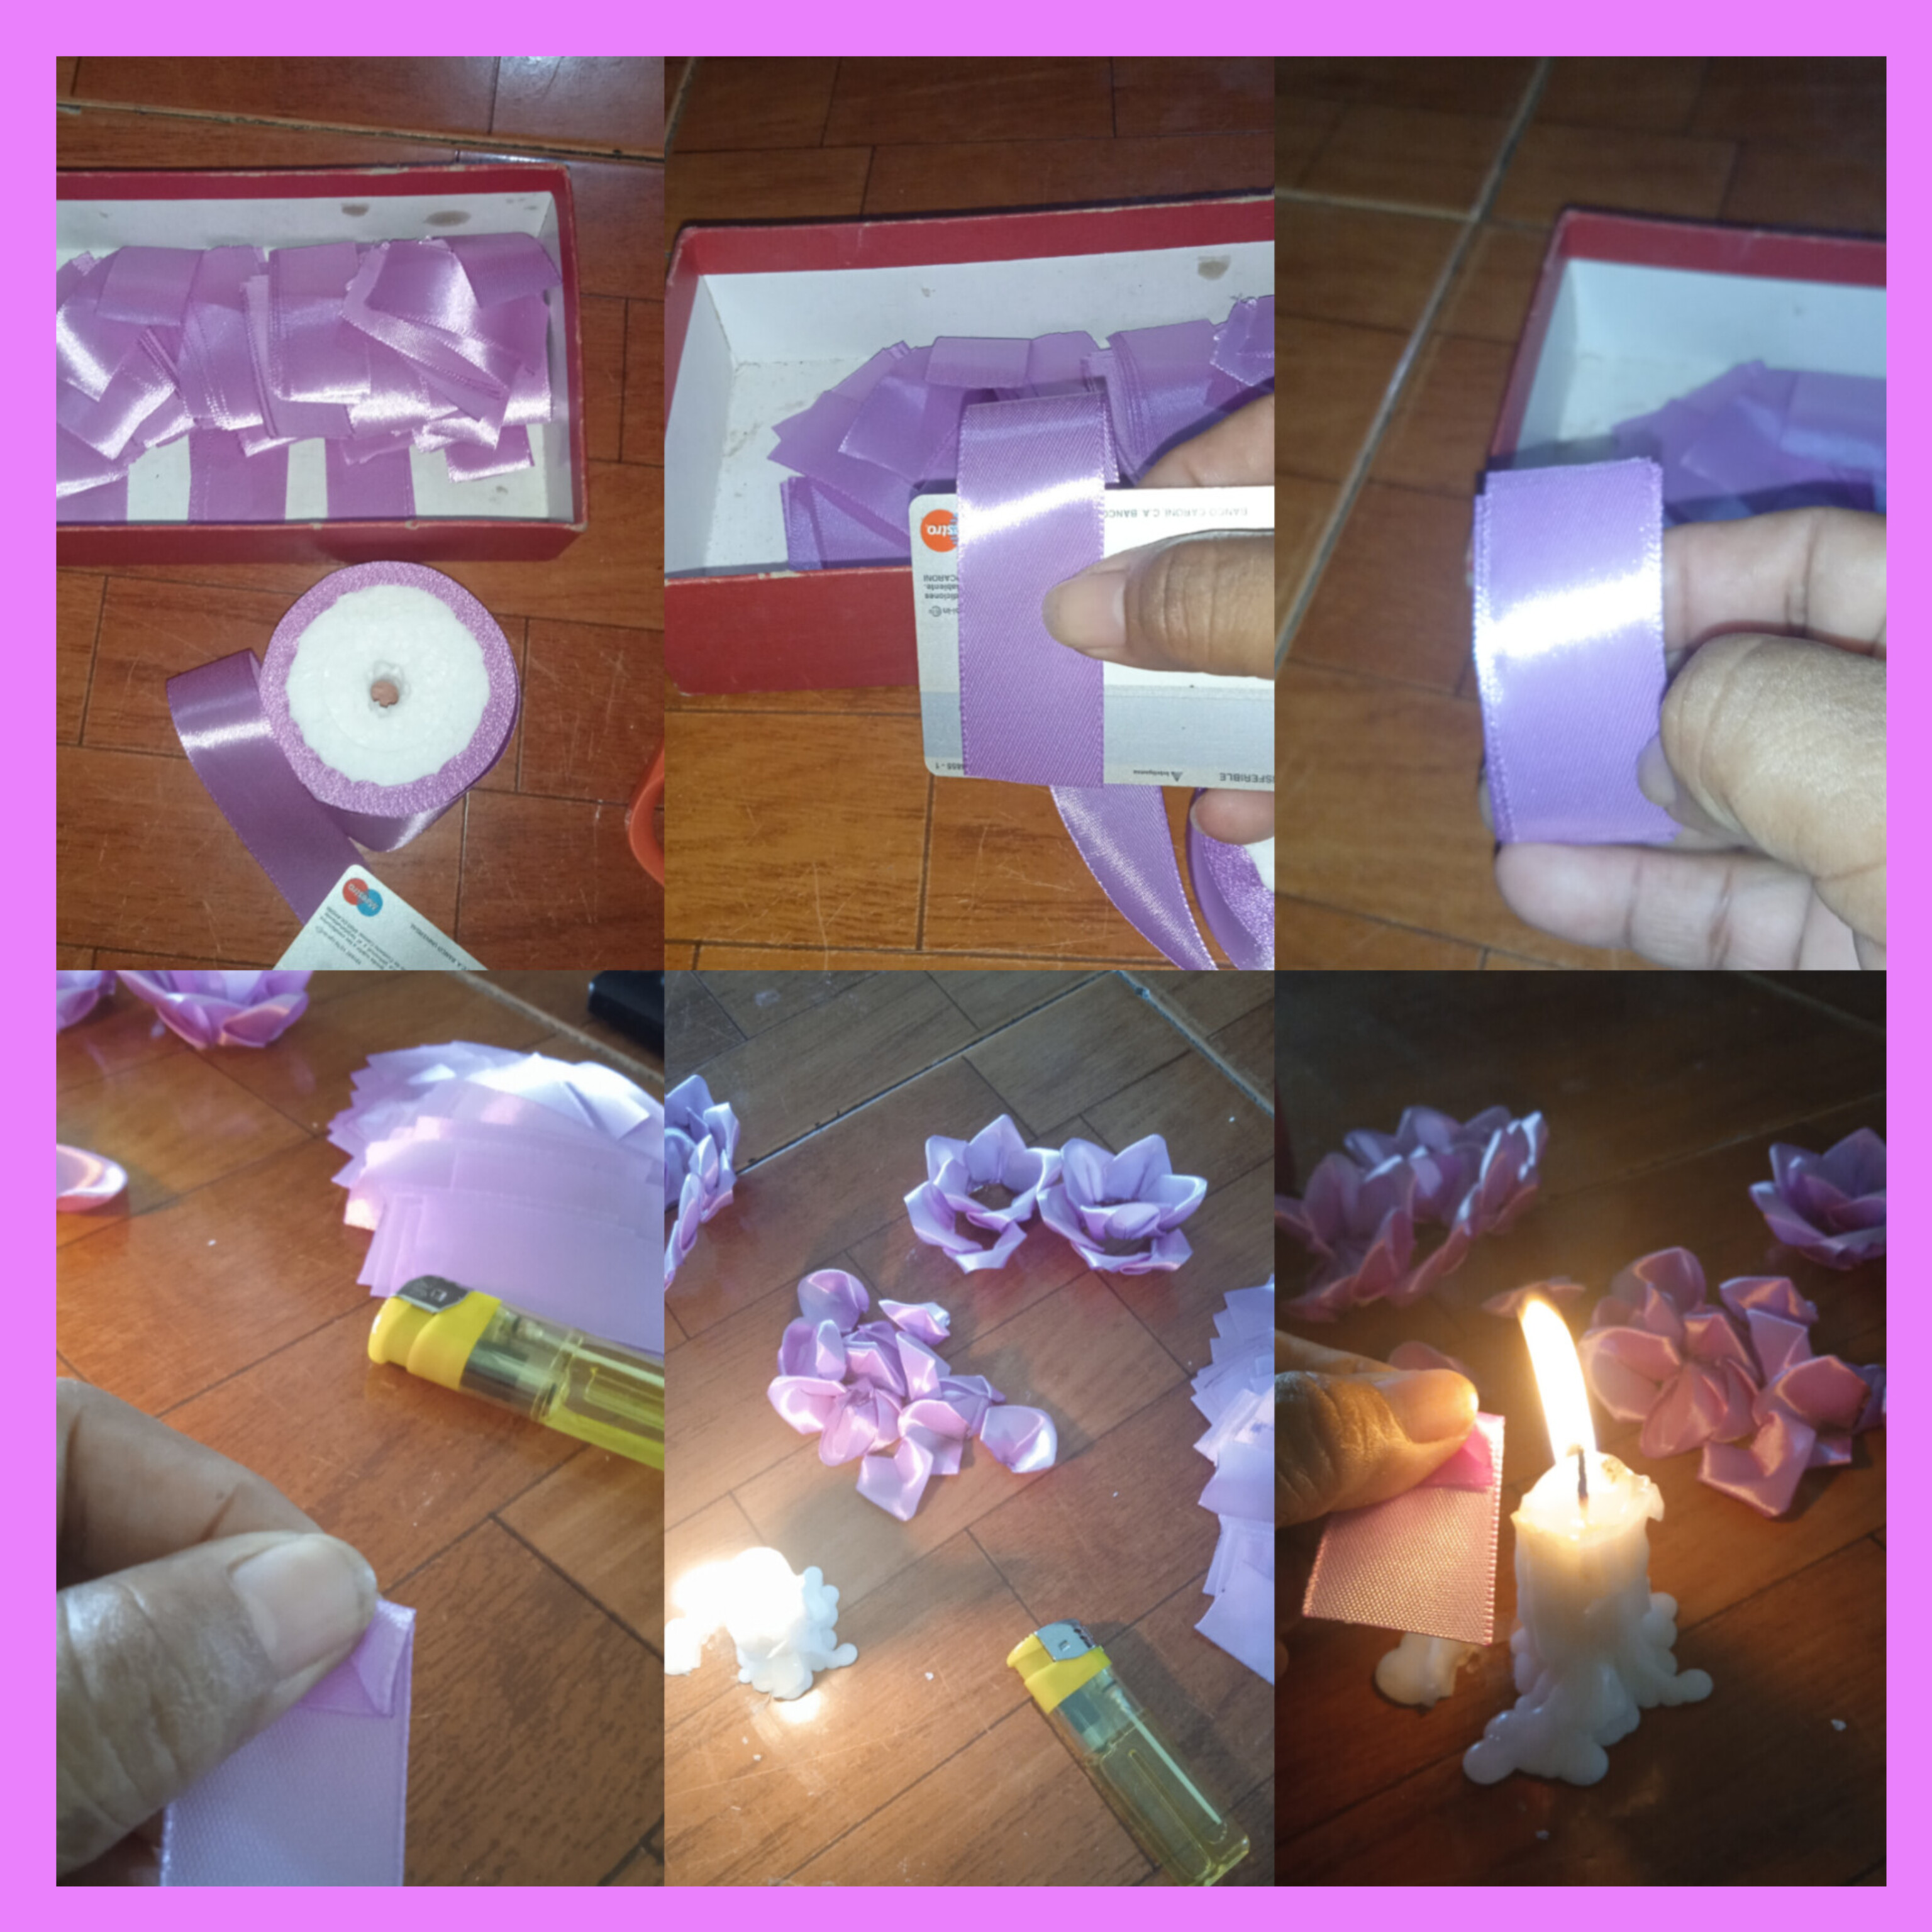
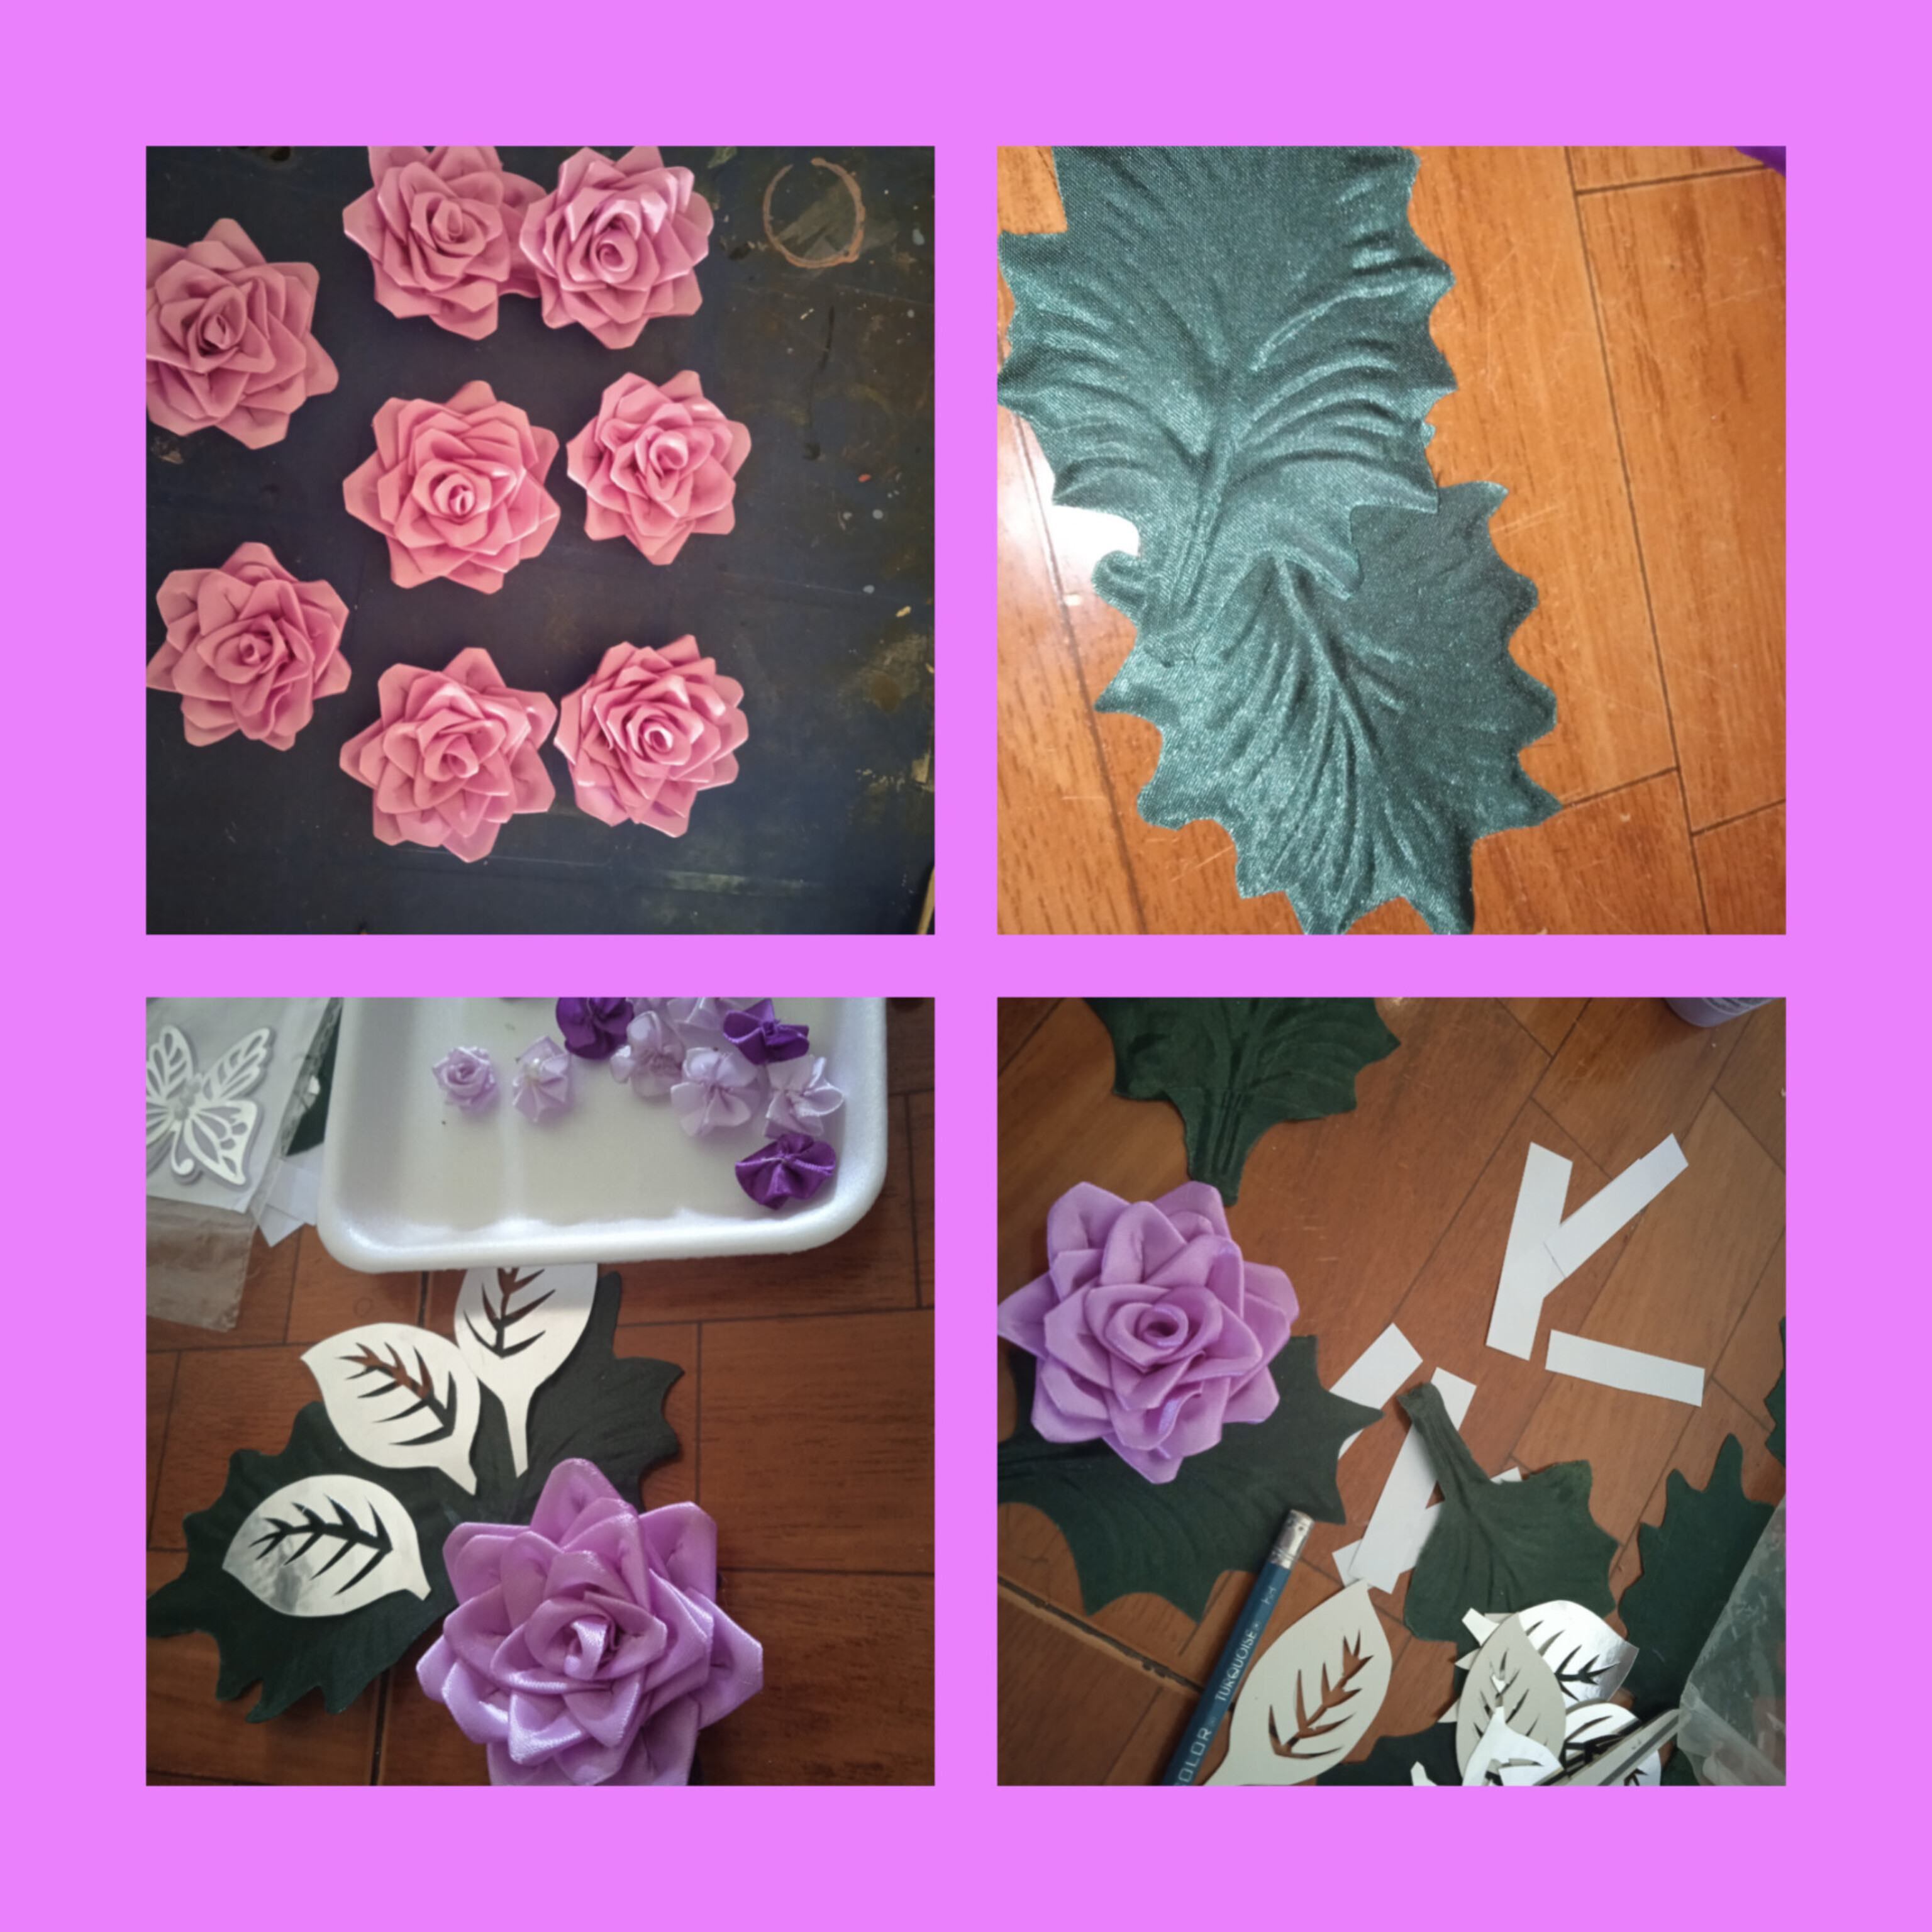
Comenzamos con lo primero, armar las flores o rosas eternas, cortamo la cinta en tamaños pequeños, y sellamos la punt o bordes con el encendedor, luego pegamos las puntitas hacia adentro para hacer los petalos, y con silicon caliente comenzamos a pegar los petalos hasta llegar a una vuelta de seis petalos , para que no quedaran tan grandes.
STEP 1.
We start with the first thing, assembling the flowers or eternal roses, we cut the tape into small sizes, and we seal the tip or edges with the lighter, then we glue the tips inward to make the petals, and with hot silicone we begin to glue the petals until reach a round of six petals, so that they would not be so big.
y asi quedan, hice ocho una para cada jarroncito, y unos capullos.
and this is how they look, I made eight, one for each little vase, and some cocoons.
PASO 2.
Ahora pintamos los palitos de altura con pintura lila o morado , da igual la fiesta es con esos colores , tengo unas hoja de tela de raso que hice con una amiga hace tiempo y las voy a usar pata darle follaje a las rosas.
STEP 2.
Now we paint the tall sticks with lilac or purple paint, it doesn't matter the party is with those colors, I have some sheets of satin fabric that I made with a friend a long time ago and I am going to use them to give foliage to the roses.
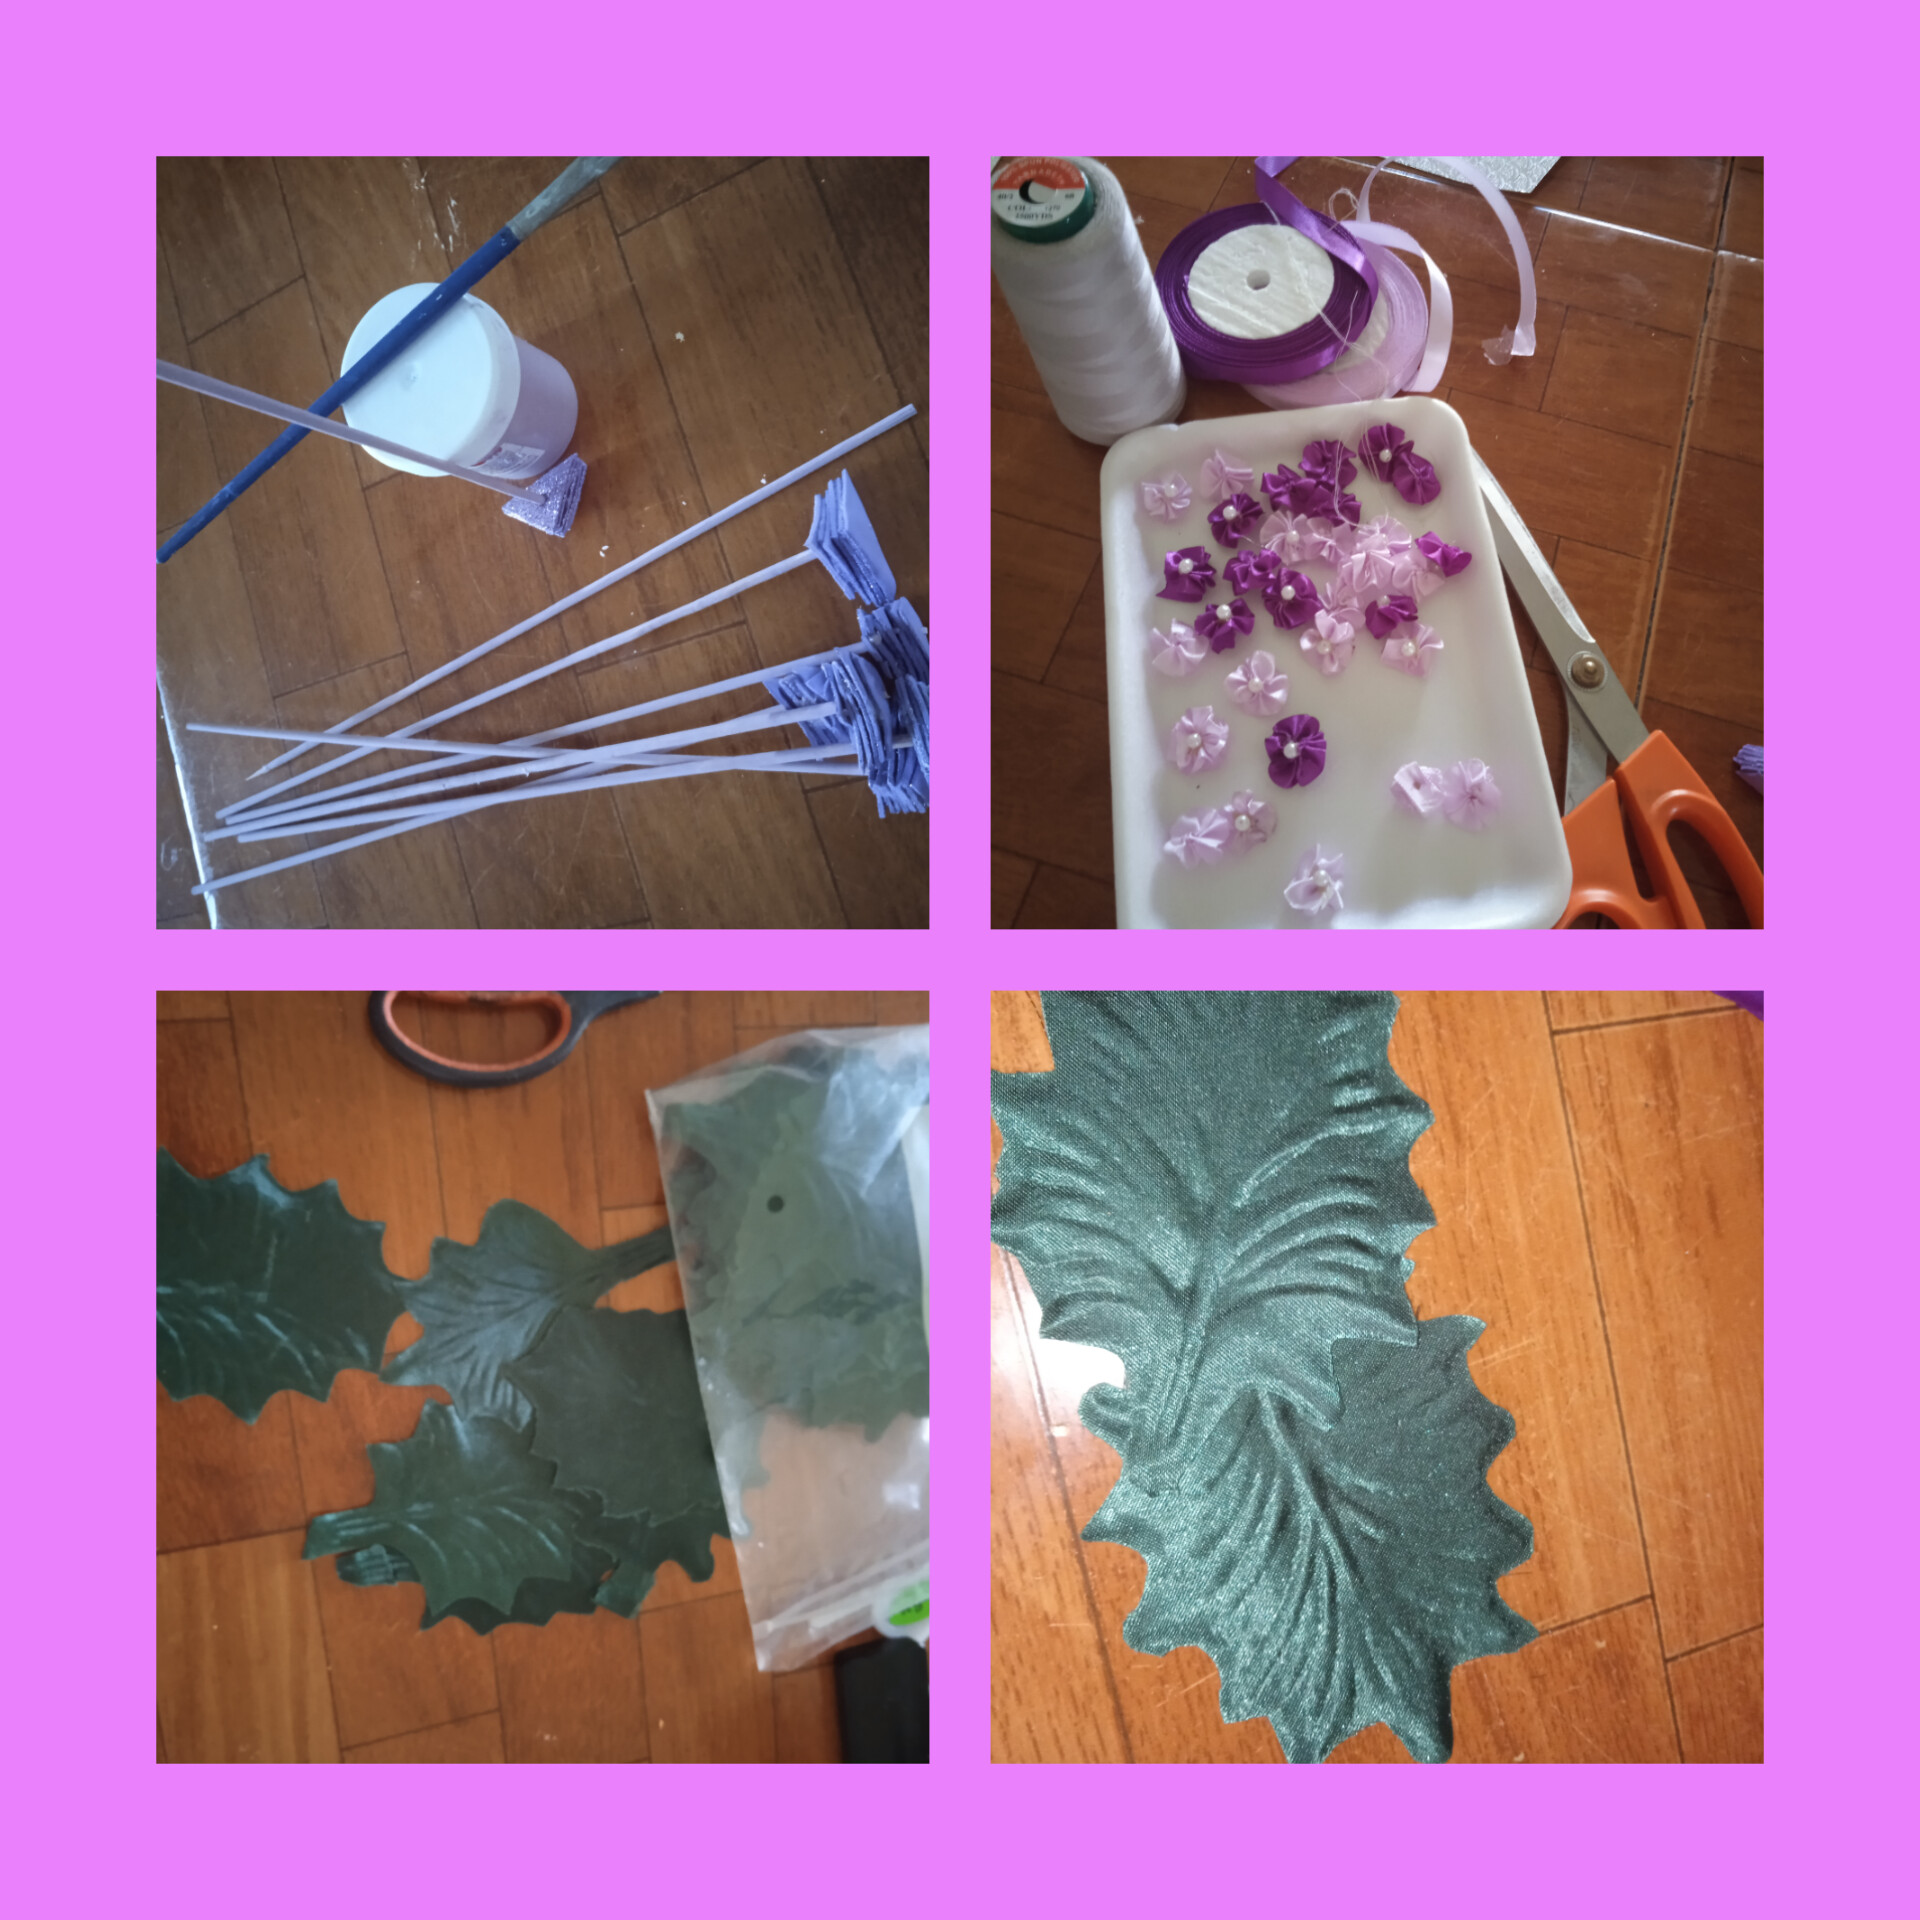
con la cinta de diepovelo hice pequeñitas flores para darle volumen al arreglo. Despues le coloque unas perlitas en el centro.
With the diepovelo ribbon I made small flowers to give volume to the arrangement. Then I placed some pearls in the center.

PASO 3.
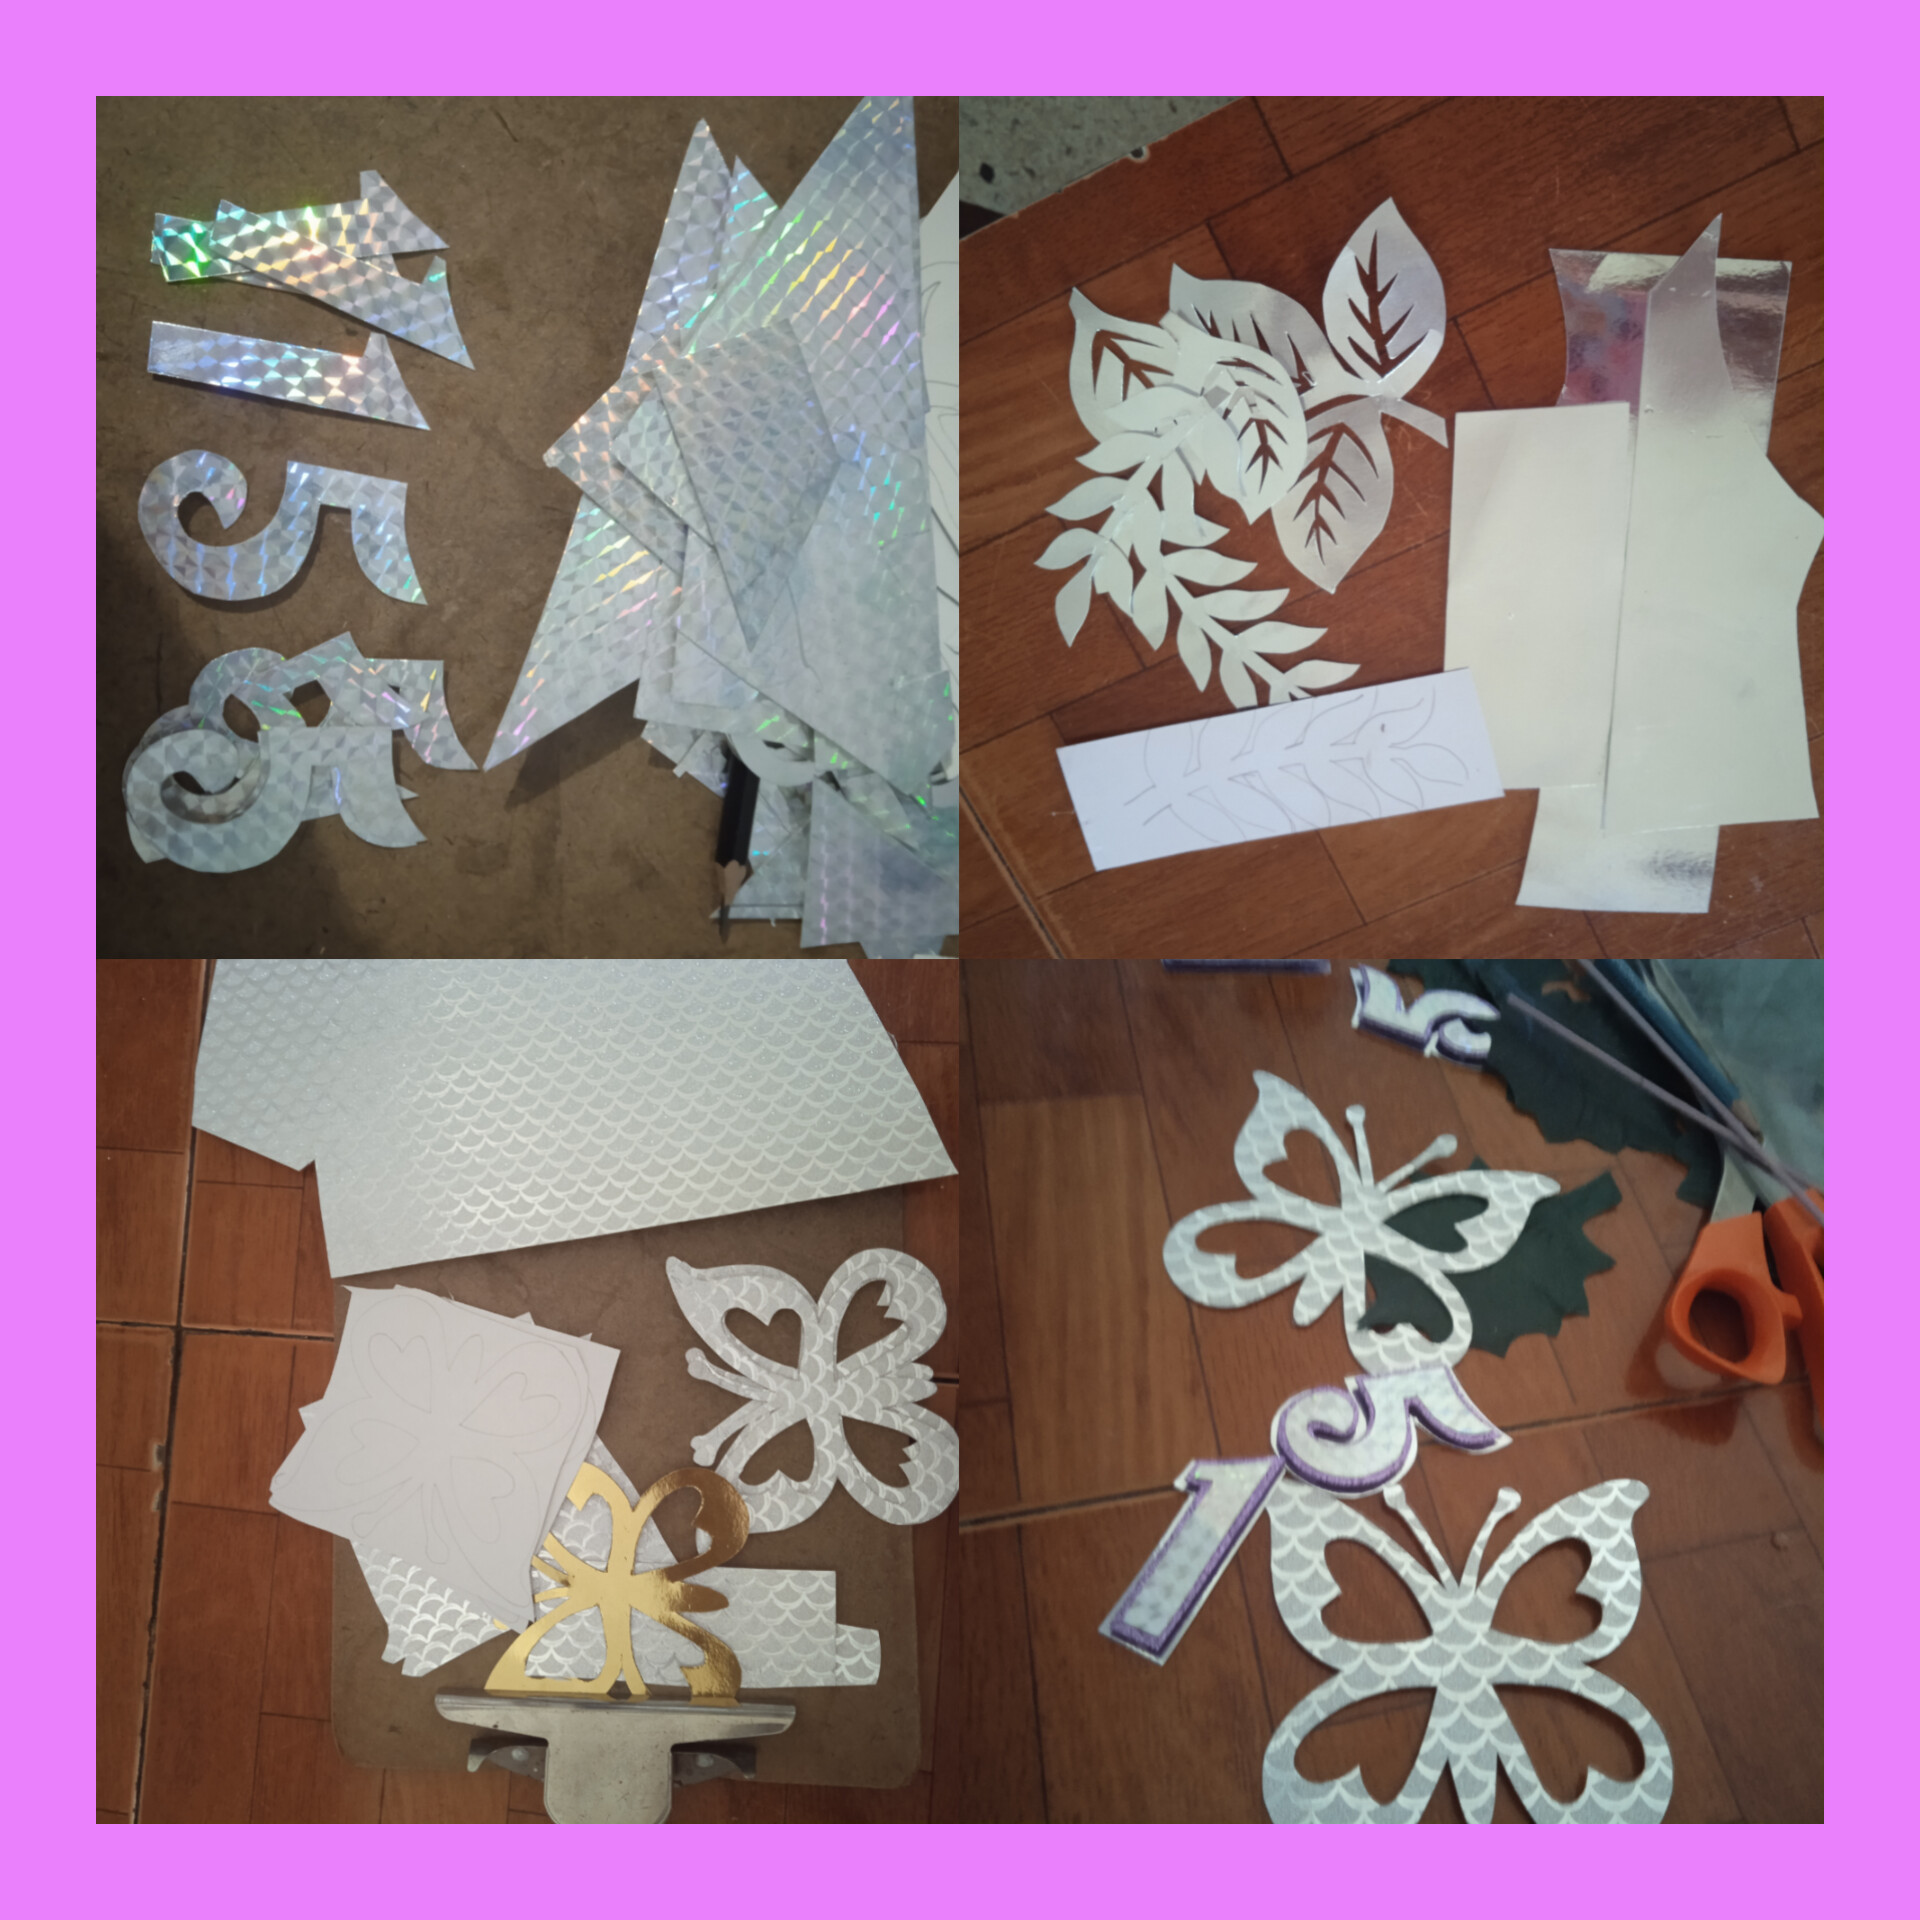
Toca armar el numero 15 y recorte en la cartulina holografica, y una maripoda grande para hacerle soporte,..
STEP 3.
It's time to assemble the number 15 and cut it out of the holographic cardboard, and a large butterfly to support it...
PASO 4.
Con los CD , se hice la base montando unos 6 CD por cada base , pegando con silicon liquido y deje secar unas 24 horas, a la base de los jarroncitos le coloque un liston fuscia,. y monte sobre la base de CD.
STEP 4.
With the CDs, the base was made by assembling about 6 CDs for each base, gluing with liquid silicone and letting it dry for about 24 hours. At the base of the vases I placed a fuschia ribbon. and mount on the CD base.
.jpg)
PASO 5.
Ahora preparamos la base , ya esta pegada en la base de CD, a los palitos le coloque una base de icopor, y lo pegue en el fondo del jarrocito .
STEP 5.
Now we prepare the base, it is already glued to the CD base, I put a Styrofoam base on the sticks, and glue it to the bottom of the jar.
.jpg)
Ya armados le coloco el nuero y la mariposa
Once armed, I place the son-in-law and the butterfly
.jpg)
aparte armamos parte de las flores y colocamos en la base del jarroncito. Luego vamos colocndo las florecitas pequeñas y las otras hojas de plata, y algunas maripositas..
Separately, we assemble part of the flowers and place them at the base of the vase. Then we place the small flowers and the other silver leaves, and some butterflies..
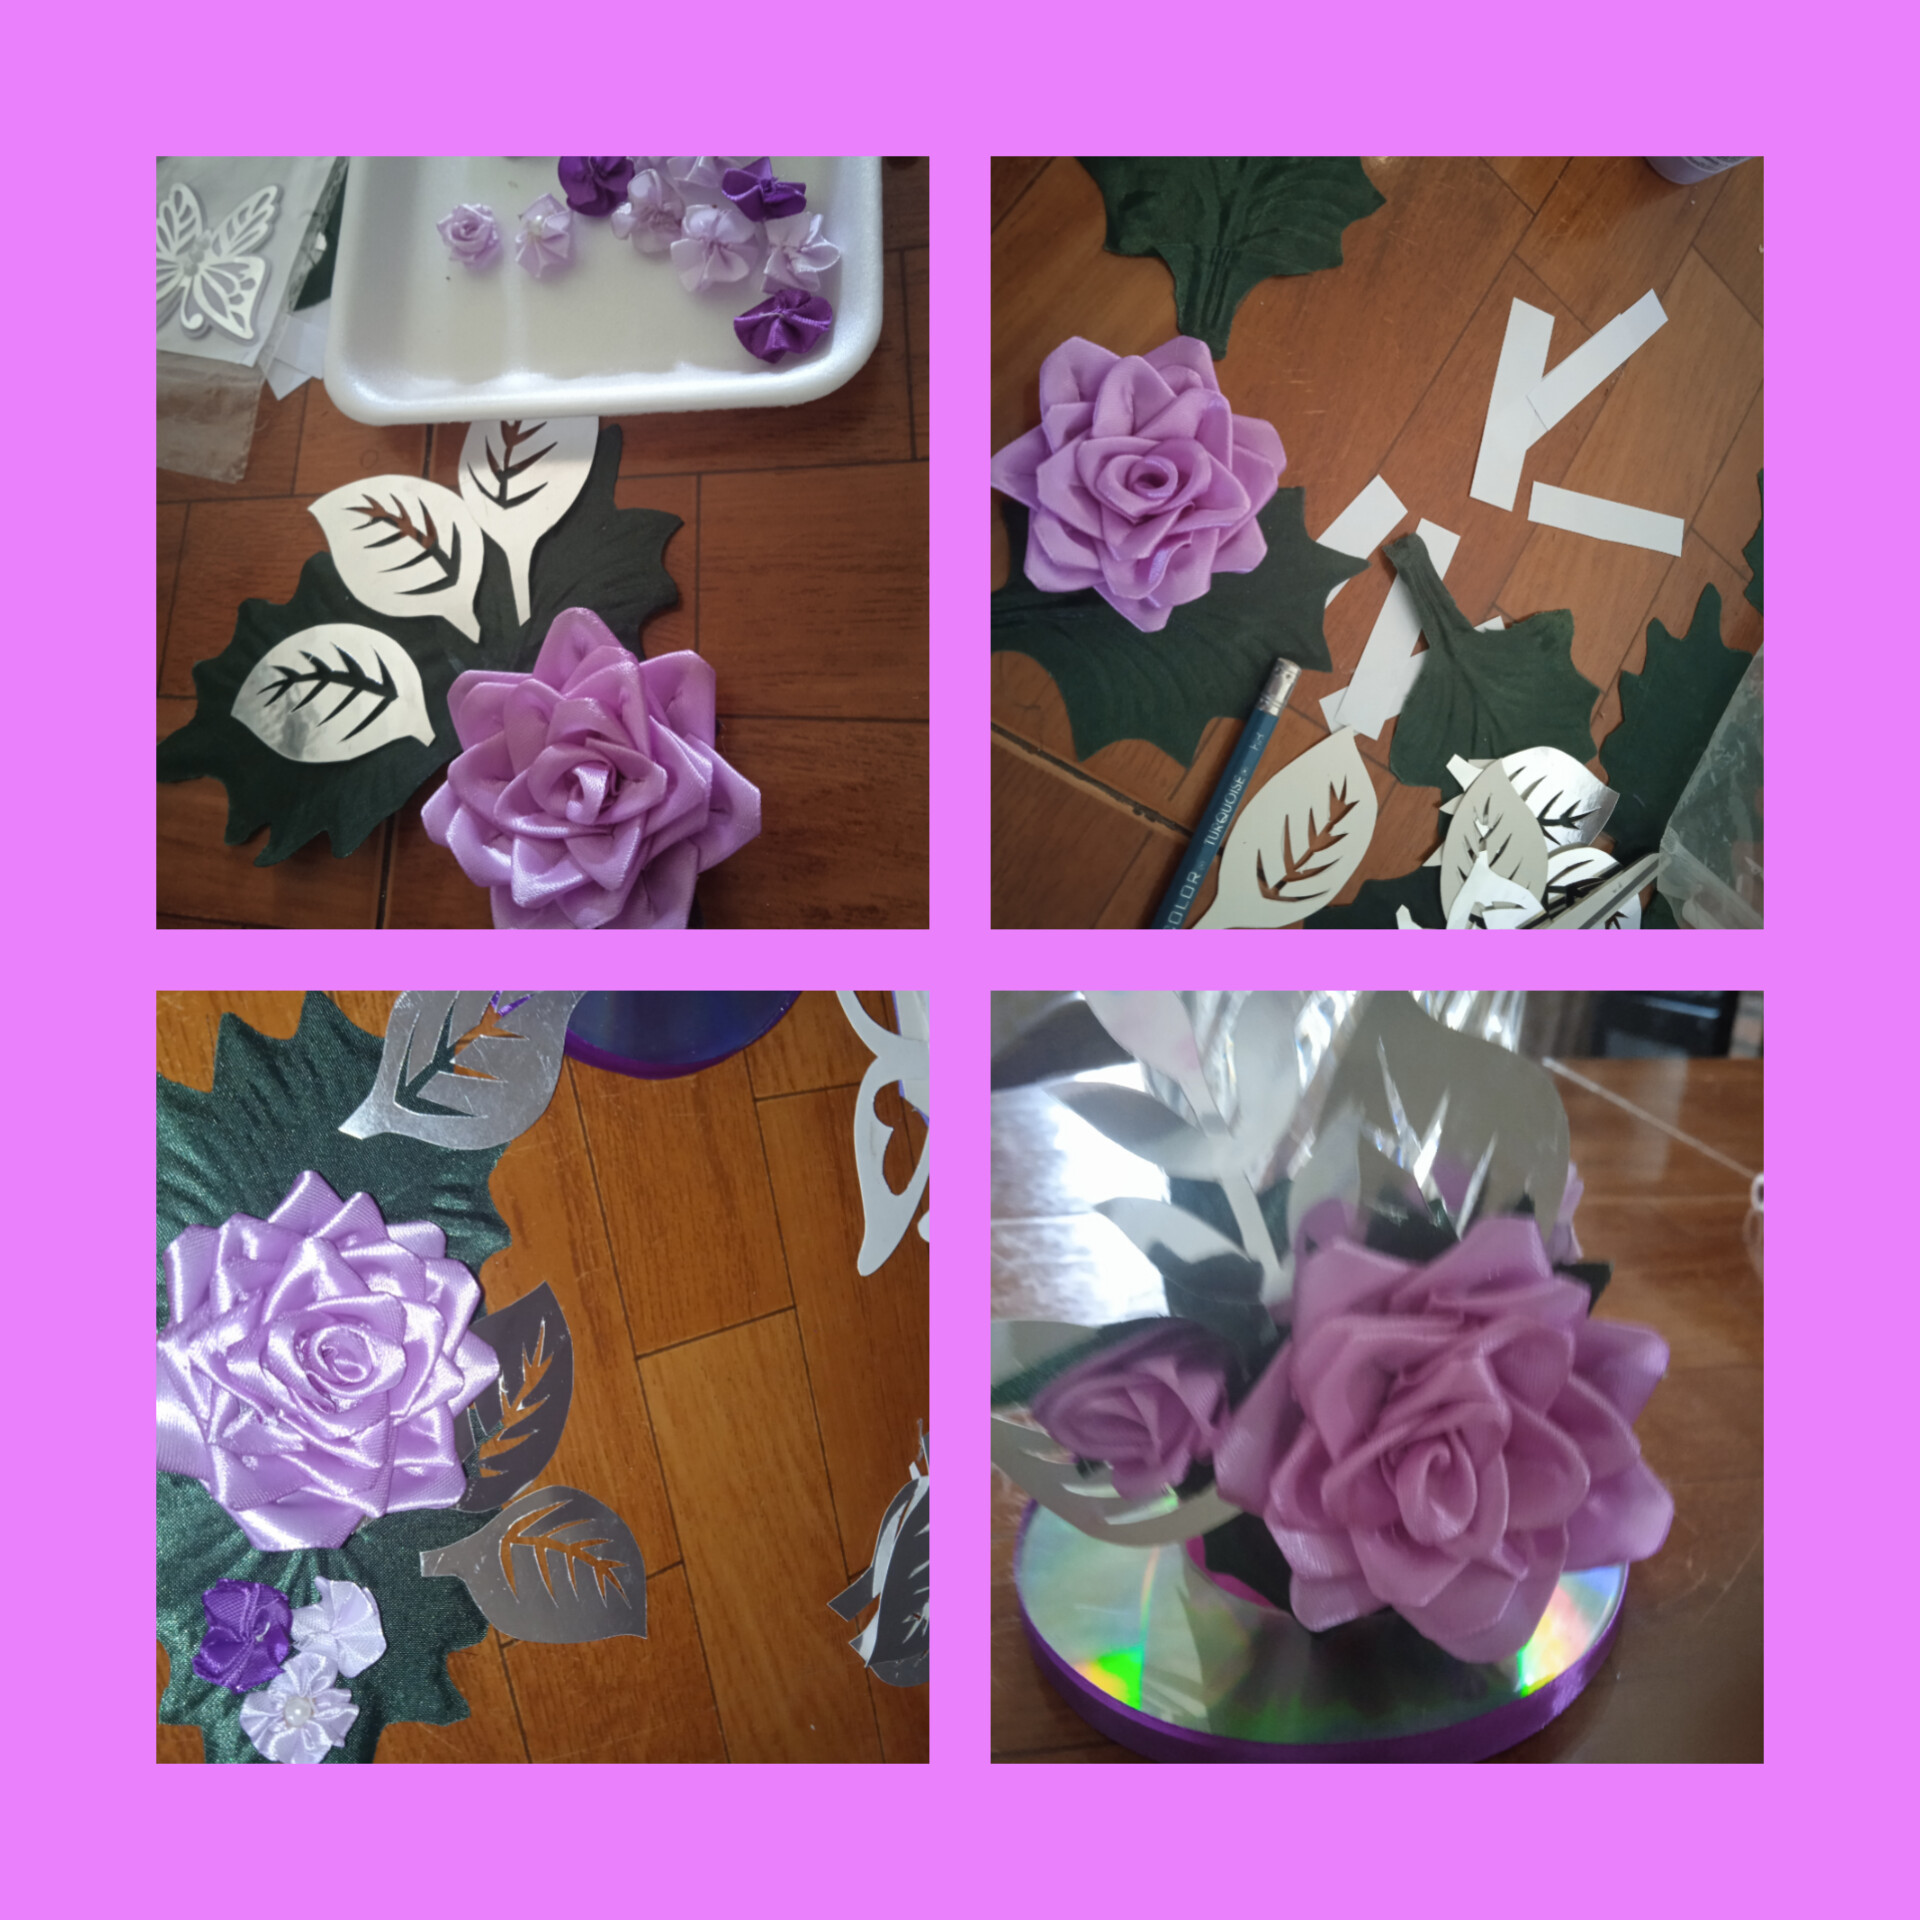
ya armadito, consegui unos foquitos lec, inhalanbrico para darles un poquito de luz y se vean un poco mas elegantes.
Now armed, I got some LEC light bulbs, inhalanbrico to give them a little light and make them look a little more elegant.
.jpg)
ya terminados , le coloque algunas mariposas y se ven muy bien... me encanto este proyecto,.. creo que estoy mejorando que dicen ustedes
Once finished, I added some butterflies and they look very good... I loved this project,... I think I'm improving, what do you say?
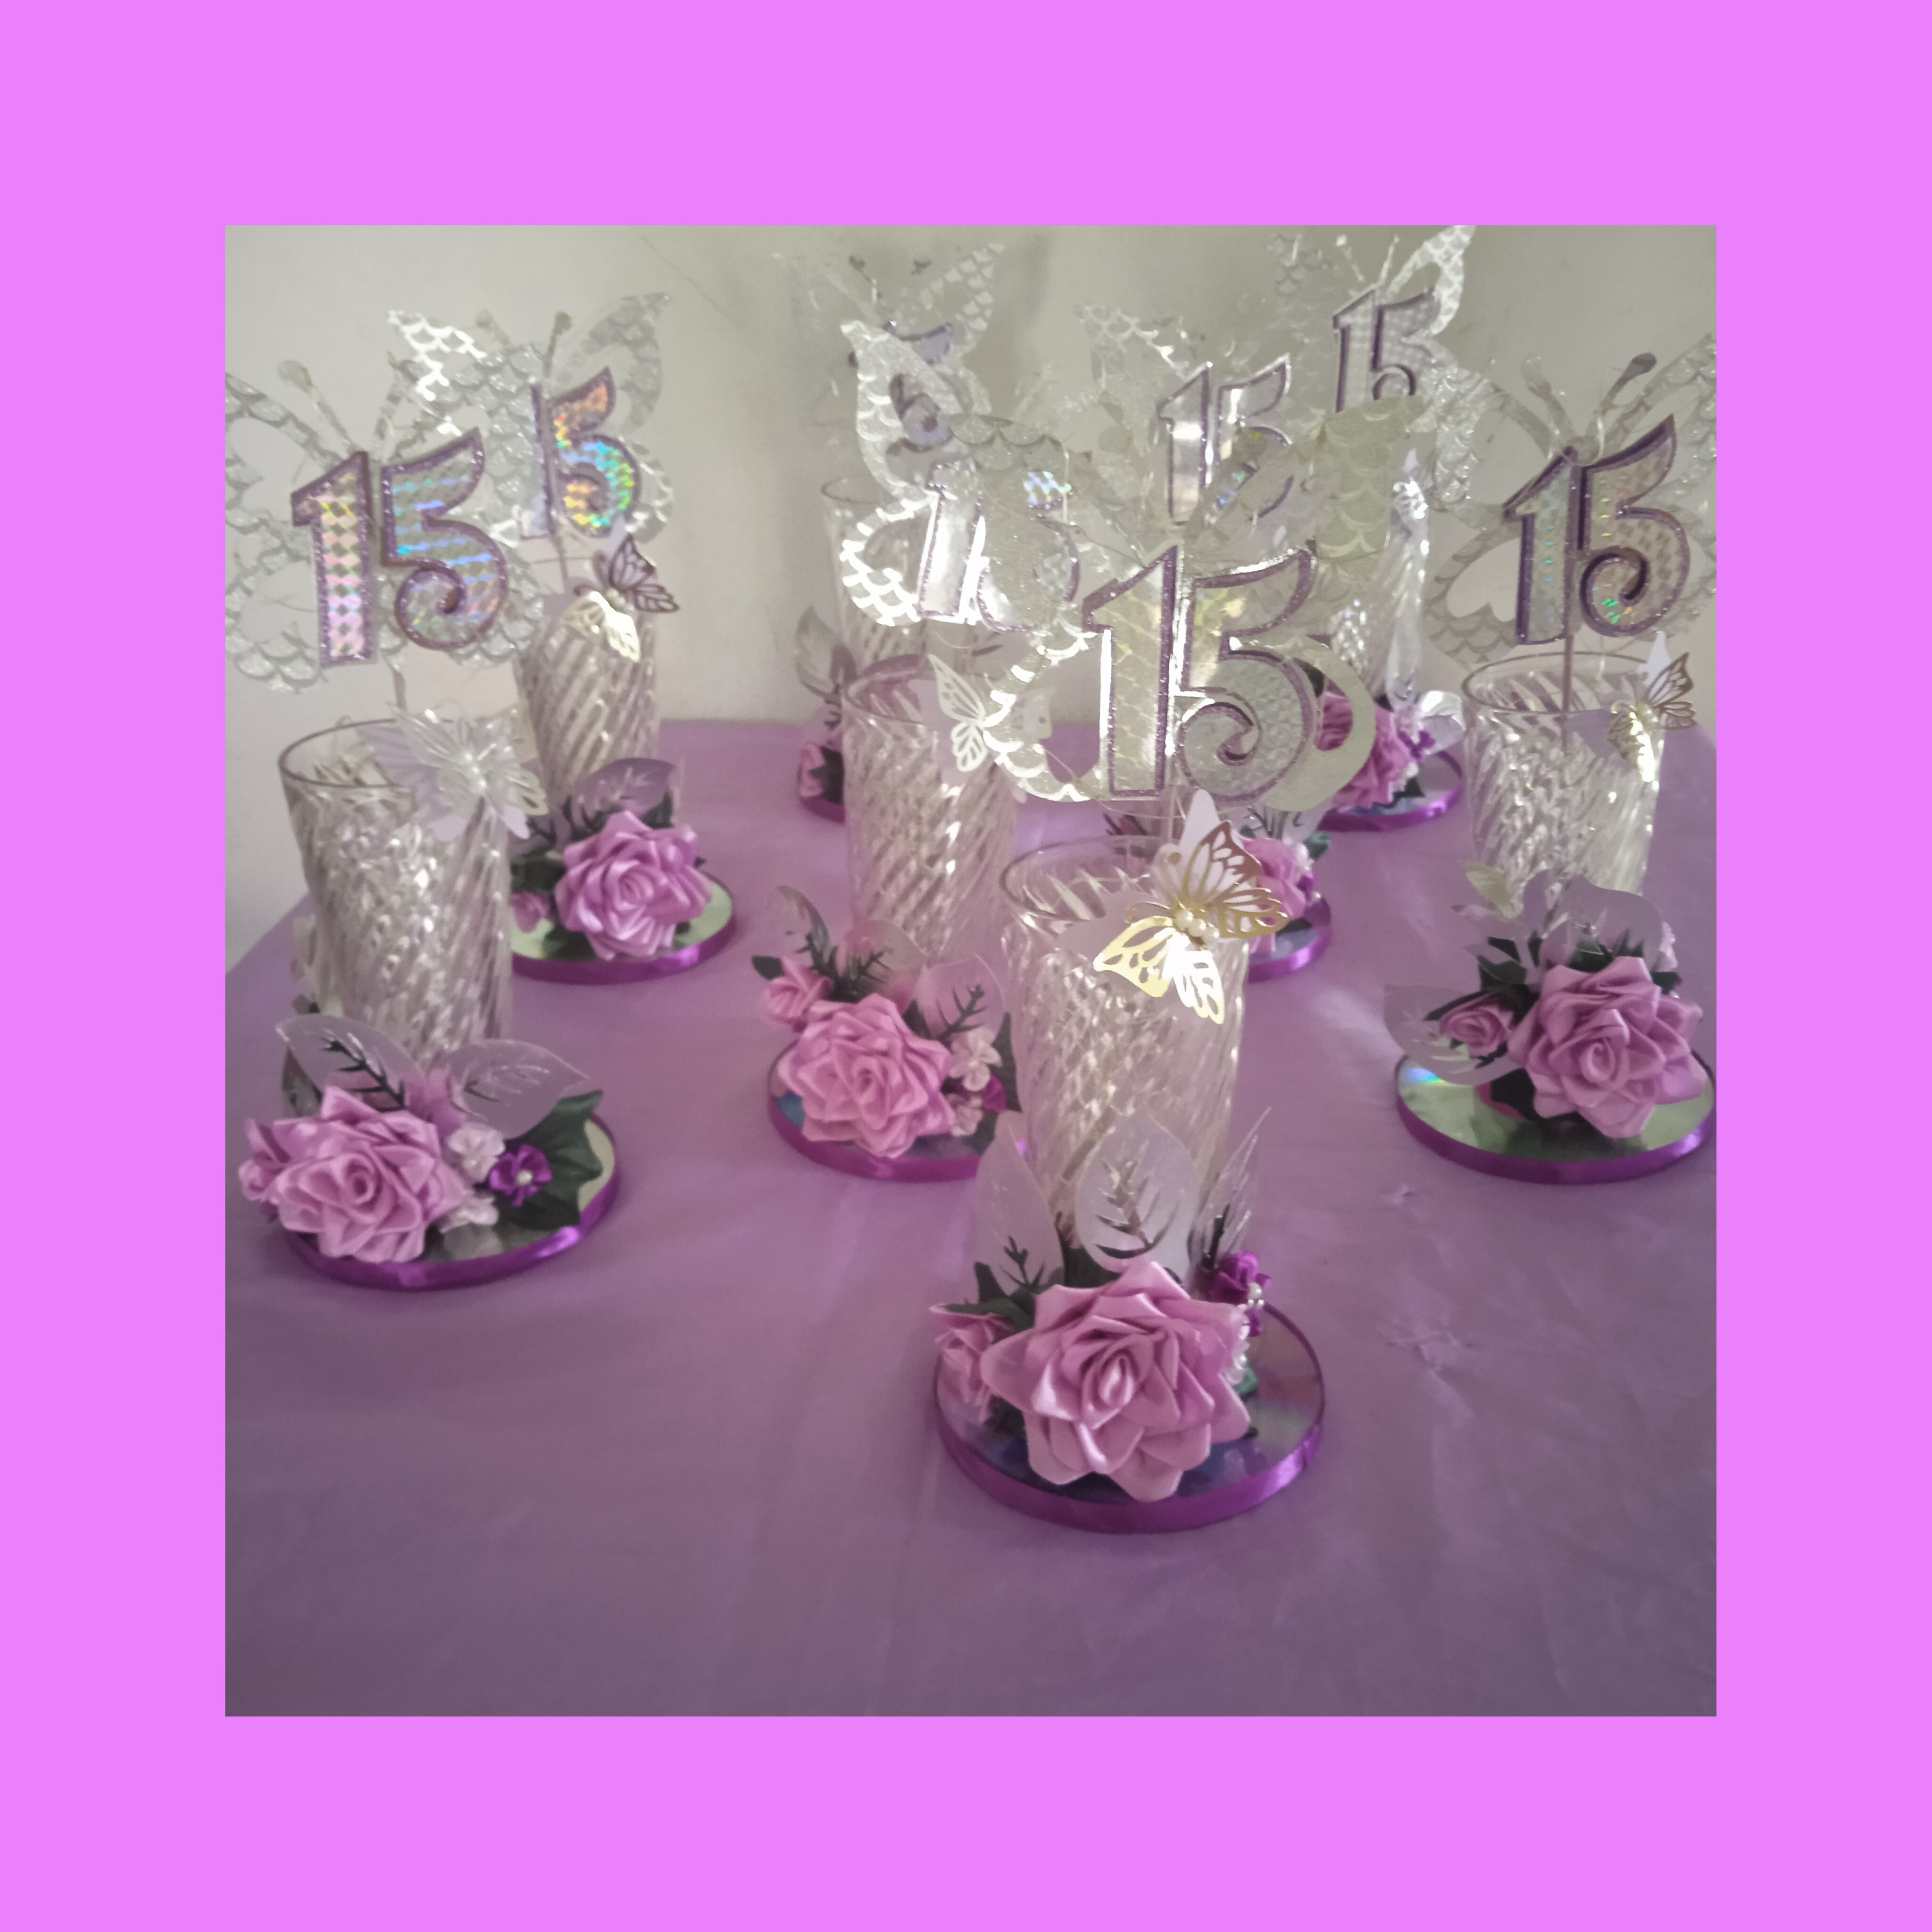
sin luz....no light
de verdad que se ven lindos.. sin mas que decir nos vemos en un proximo proyecto!
They really look nice... without further ado, see you on the nex

t project!
Un proyecto muy bonito amiga, las lucecitas le dan un toque muy especial