Tutorial: Precioso y moderno birrete de graduación con mariposas y corona//Beautiful and modern graduation cap with butterflies and crown.💙
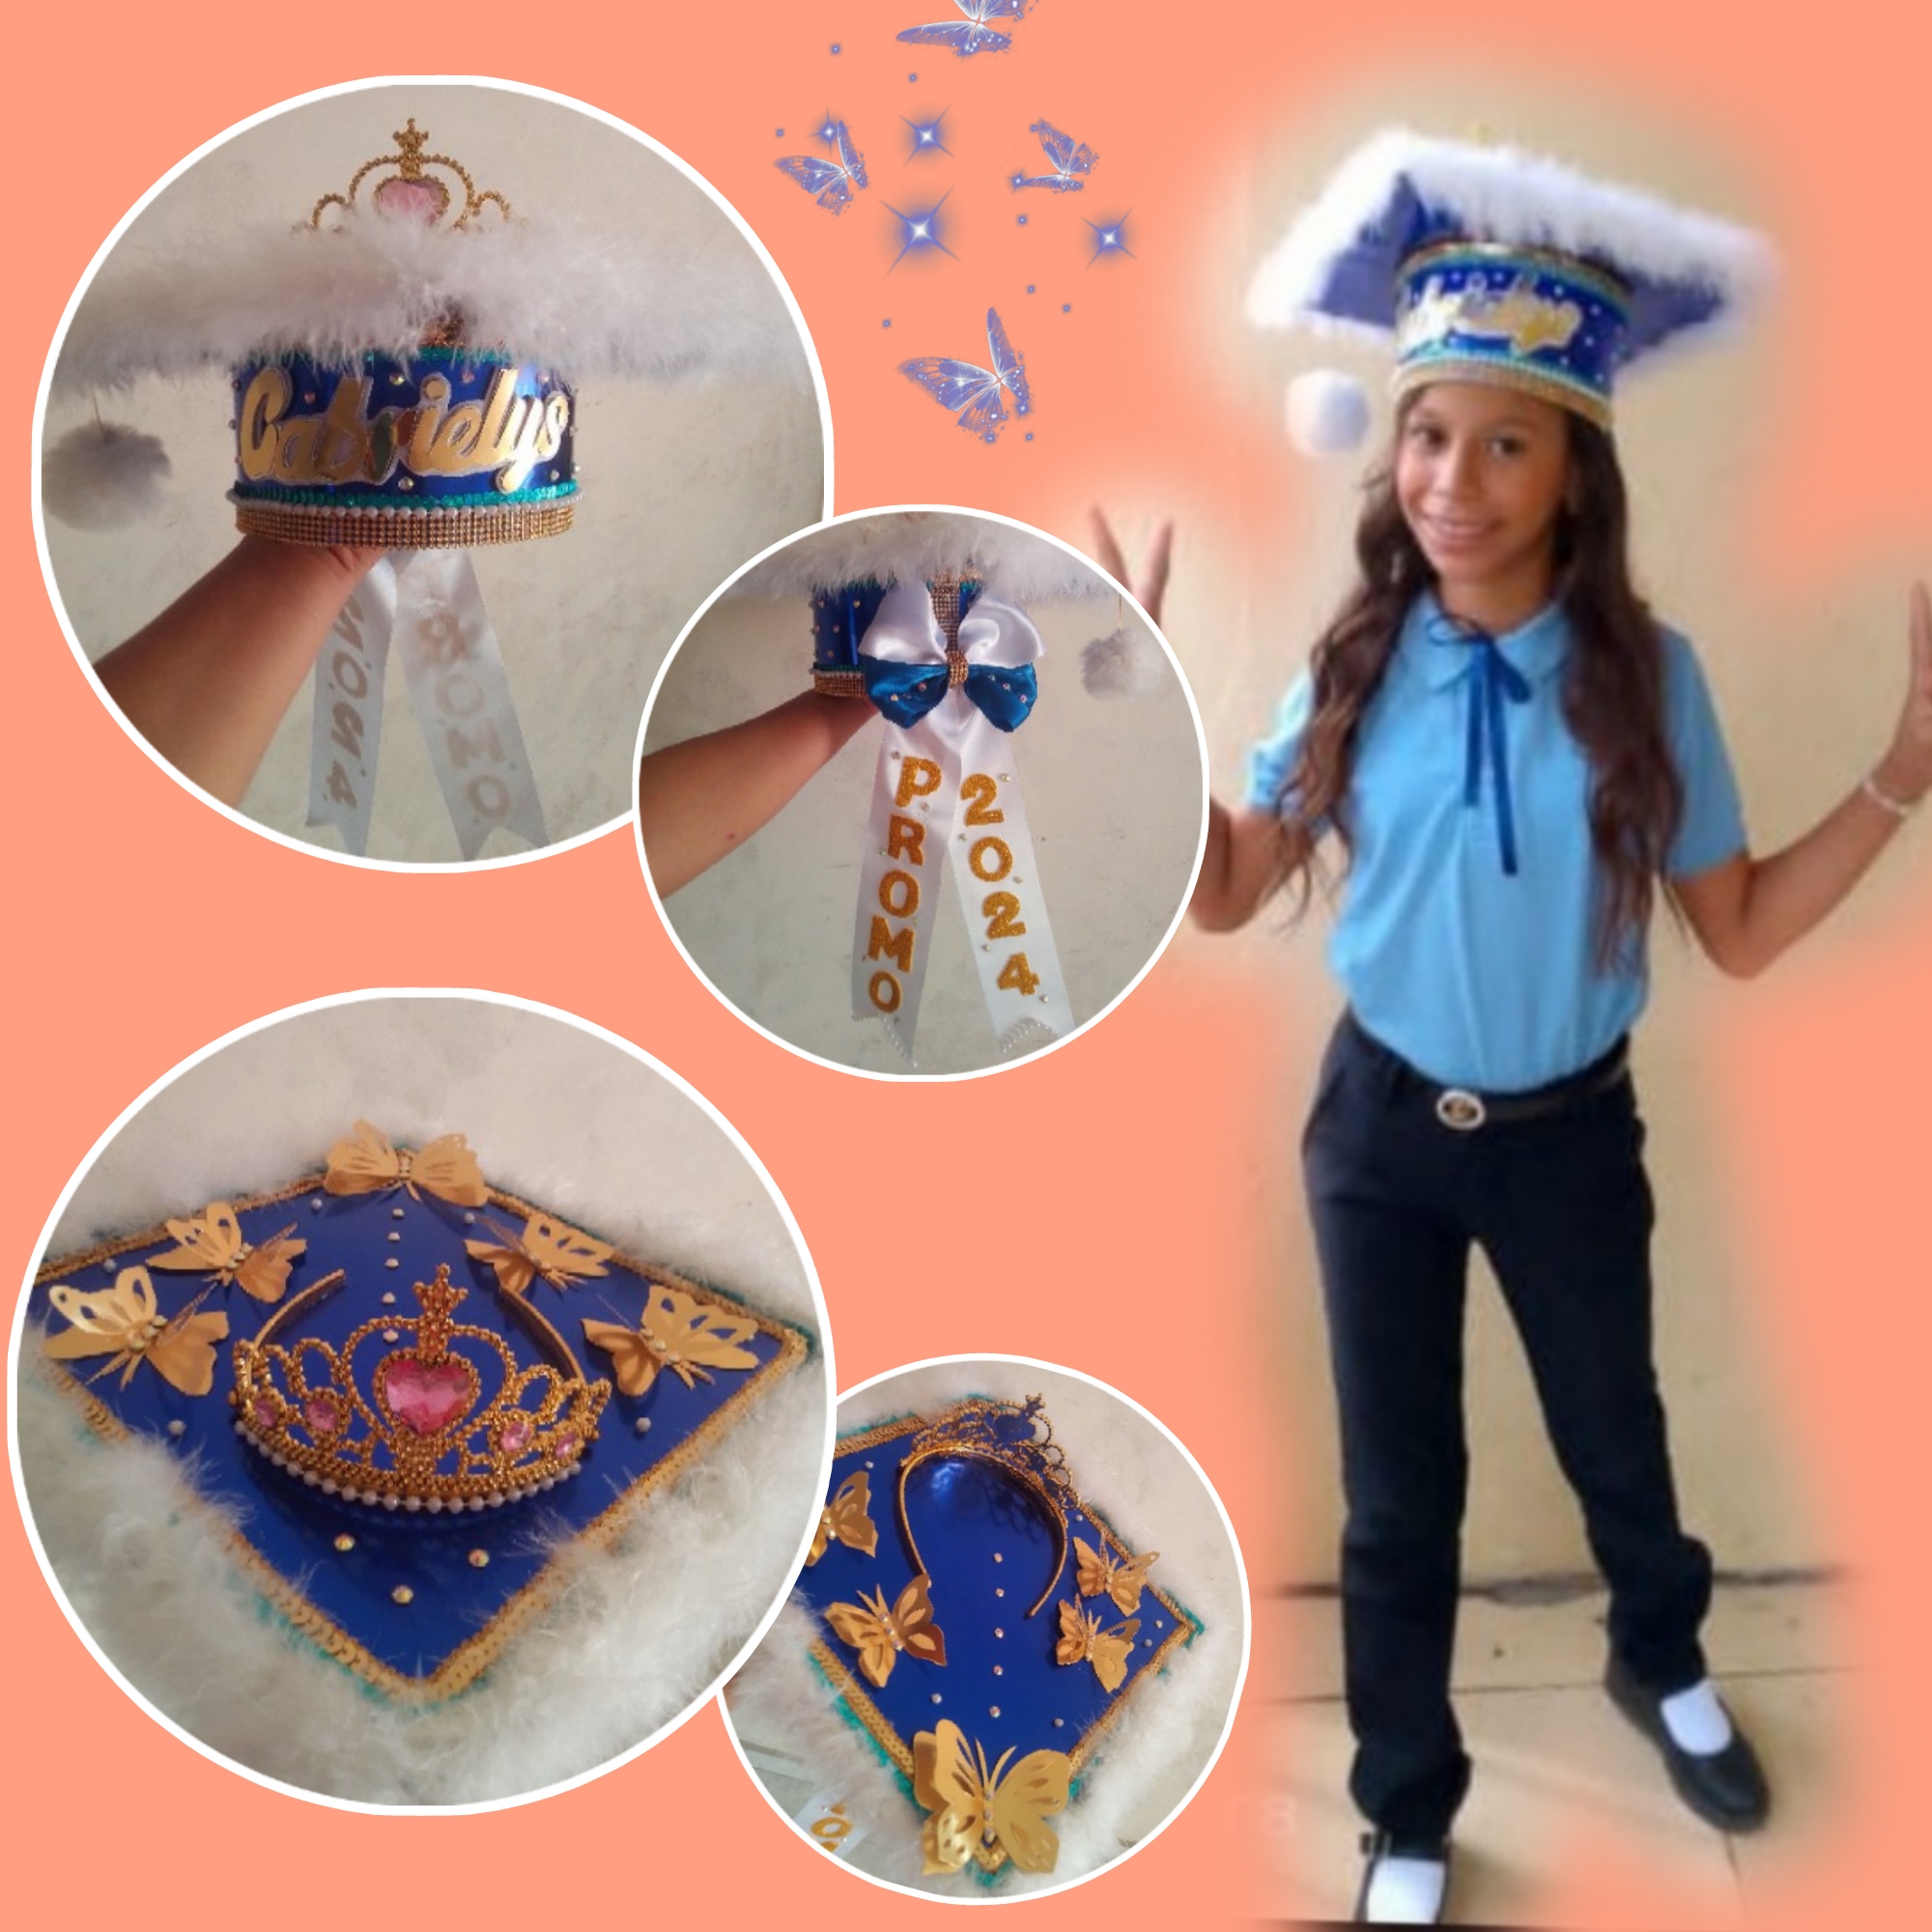
Que tal mi linda gente artesana de Diyhub, espero se encuentren super bien gozando de una linda y cálida tarde, permítanme el día de hoy invitarlos a que disfruten y aprendan en mi espacio creativo.. Hoy crearemos un estupendo birrete de graduación para niñas que cursarán su primer año en la secundaria.. Este está hecho básicamente de cartón y cartulina metalizada en el fuerte color azul rey, con decoraciones muy brillantes y modernas como lo son hermosas mariposas, una linda corona y lo último en tendencia un gran lazo coquette... Literal se trataba de un encargo y mi clienta fue muy especifica en lo que quería y necesitaba, así que no fue muy complicado dar con un diseño que causará conmoción entre sus compañeros de estudios el día que los usará, ella no sencillamente queria lucir fascinante el día de su promoción y pues quien no, verdad??.. Definitivamente esta idea me hubiera encantado usarla a mi también, se ven demasiado originales y preciosos en sus distintos estilos, diseños y colores... Ven acompáñame a ver si paso a paso y el resultado de este proyecto.
How are you, my beautiful artisan people from Diyhub, I hope you are feeling super well enjoying a nice and warm afternoon, allow me today to invite you to enjoy and learn in my creative space.. Today We will create a wonderful graduation cap for girls who will be in their first year of high school. This is basically made of cardboard and metallic cardstock in the strong royal blue color, with very bright and modern decorations such as beautiful butterflies, a beautiful crown and the latest in trend, a large flirty bow... It was literally a commission and my client was very specific in what she wanted and needed, so it was not very difficult to come up with a design that will cause commotion among her colleagues. studies on the day she will wear them, she didn't simply want to look fascinating on the day of her promotion and who wouldn't? I would definitely have loved to use this idea too, they look too original and beautiful in their different styles, designs and colors... Come join me see if step by step and the result of this project.
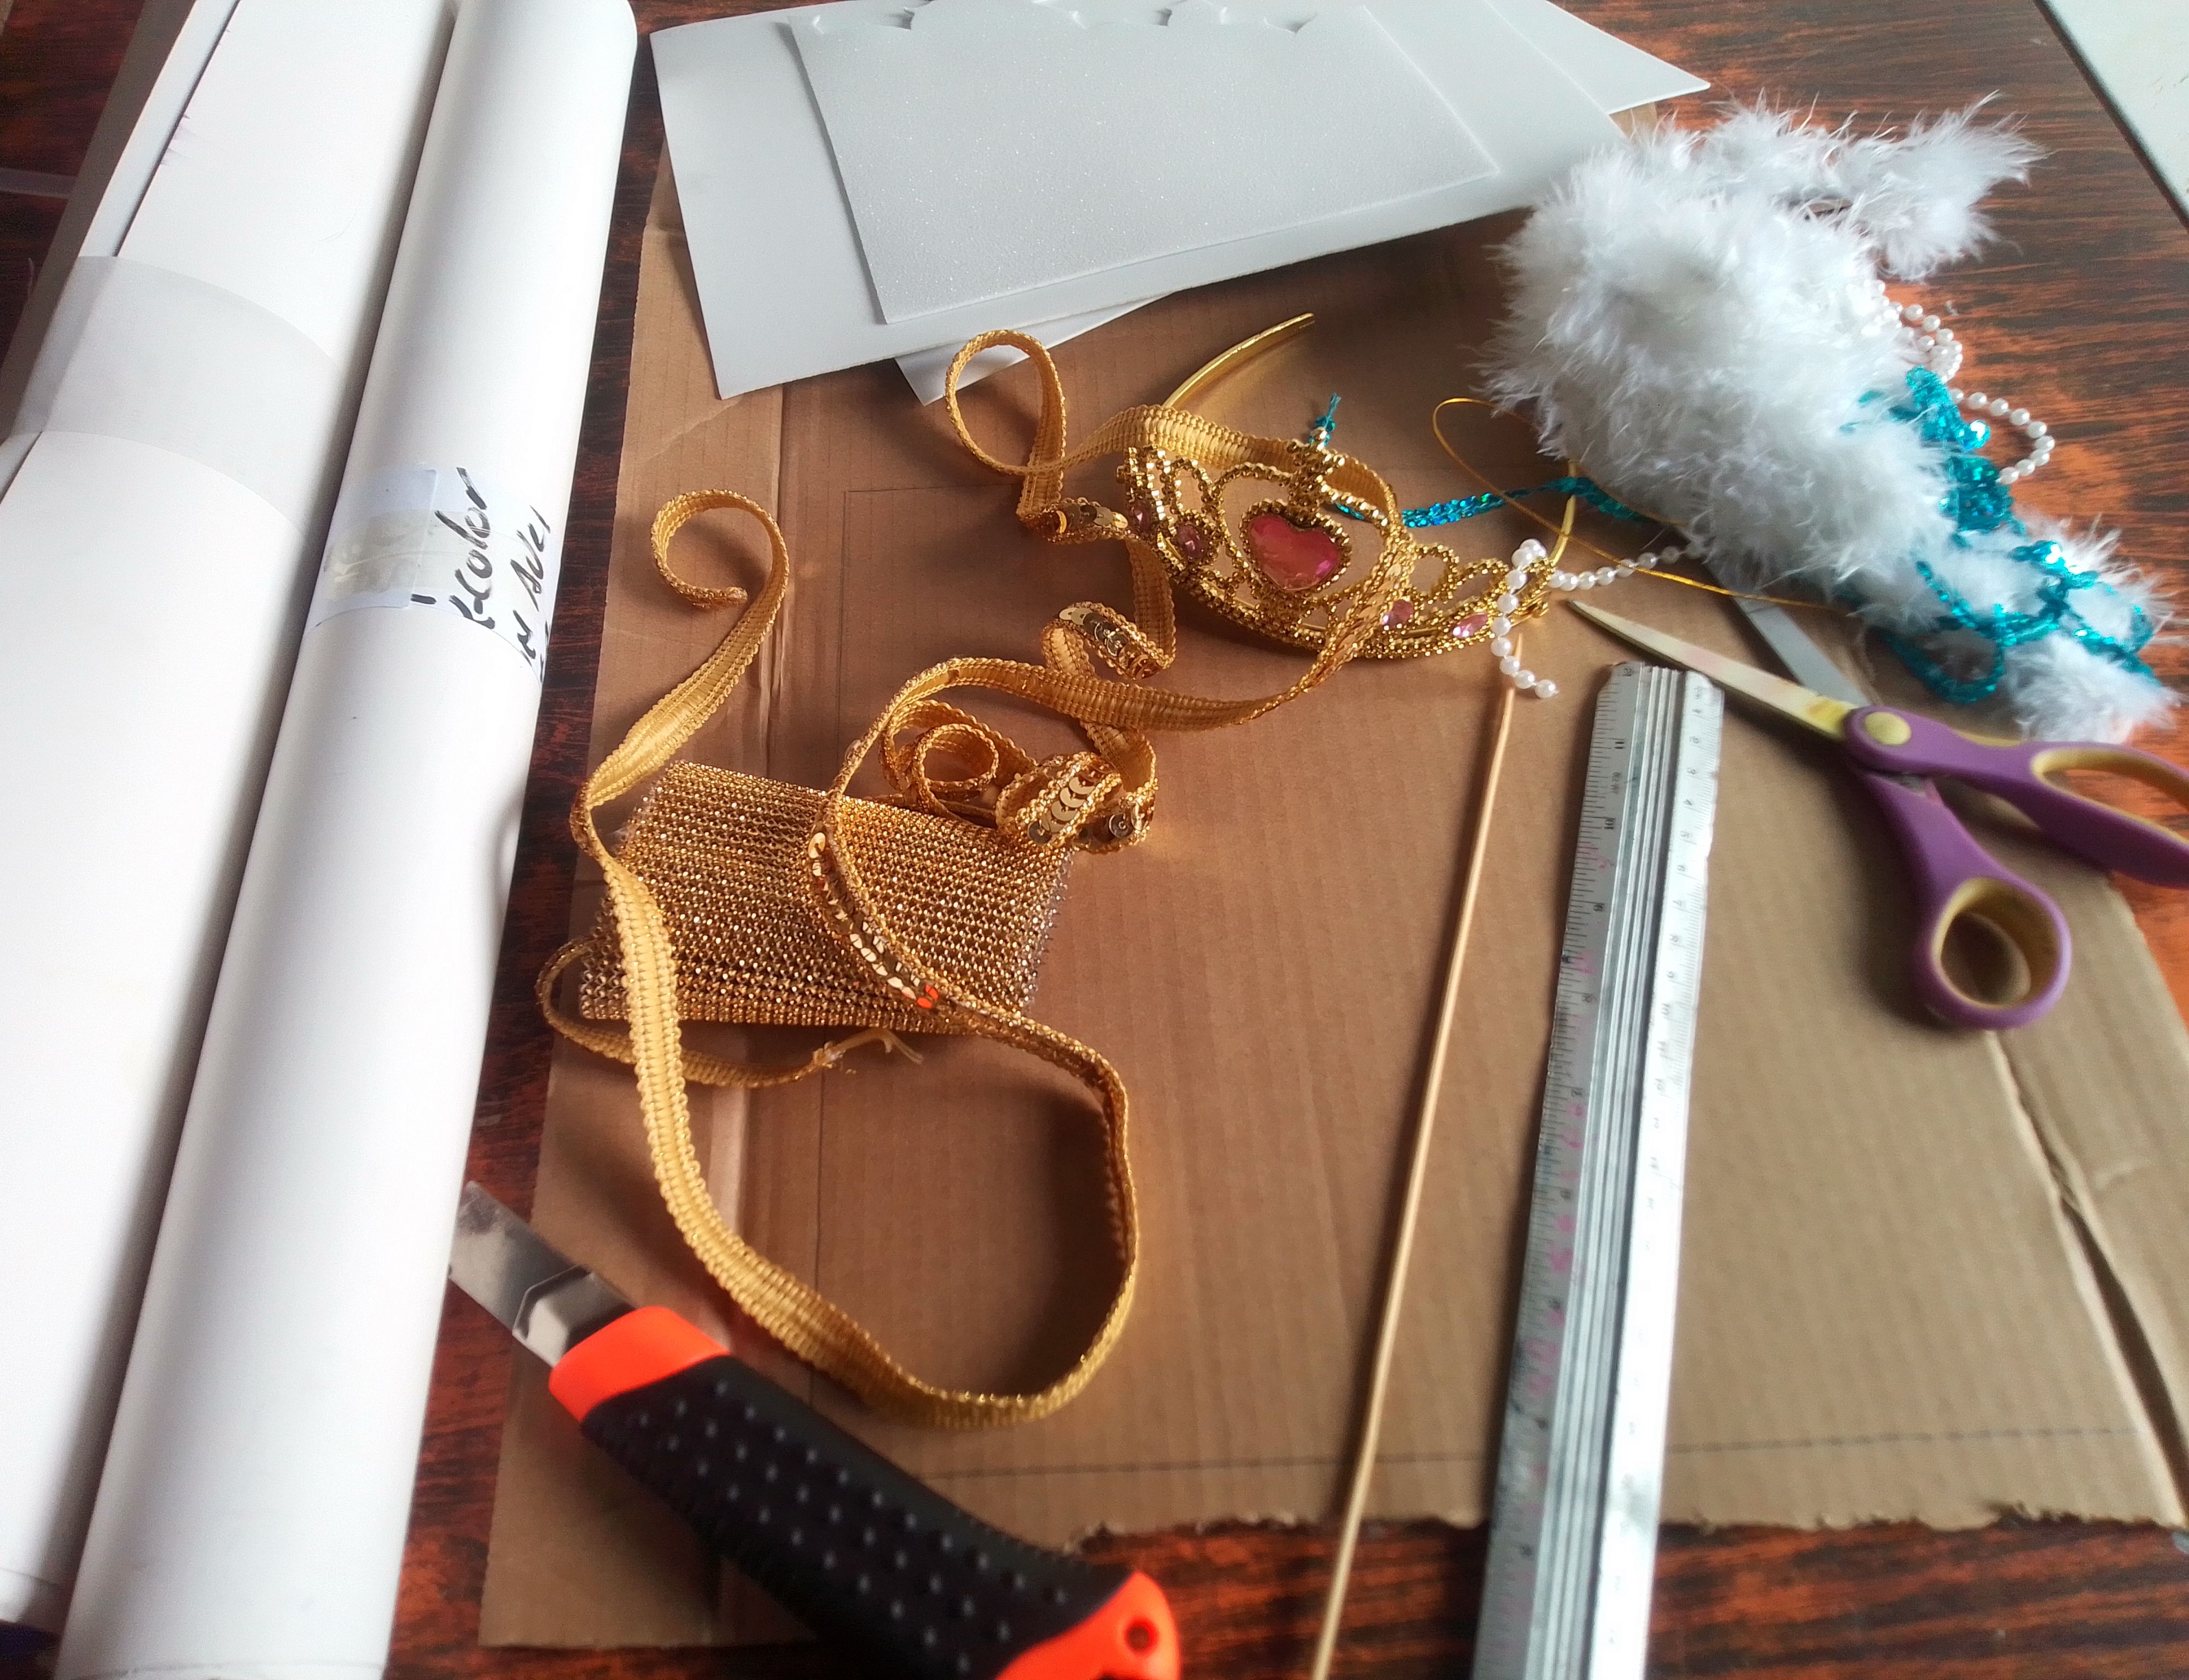
Materiales que necesitas:
- Cartón.
- Cartulina azul rey metalizada y dorada.
- Foami blanco y dorado escarchado.
- Encajes dorados.
- Marabú blanco.
- Pedreria tornasol.
- 1 corona en color plateado.
- Silicón en barra y al frio.
- Un pompón.
- Hilo dorado fino.
- Tijeras y cutter.
- Encajes de perlas.
- Lápiz y regla.
- Cinta para lazo azul y blanca.
- Cardboard.
- Metallic royal blue and gold cardstock.
- Frosted white and gold foam.
- Golden lace.
- White marabou.
- Litmus rhinestones.
- 1 crown in silver color.
- Silicone in bar and cold.
- A pompom.
- Fine golden thread.
- Scissors and cutter.
- Pearl lace.
- Pencil and ruler.
- Blue and white bow ribbon.
(PROCEDIMIENTO)
Paso 01
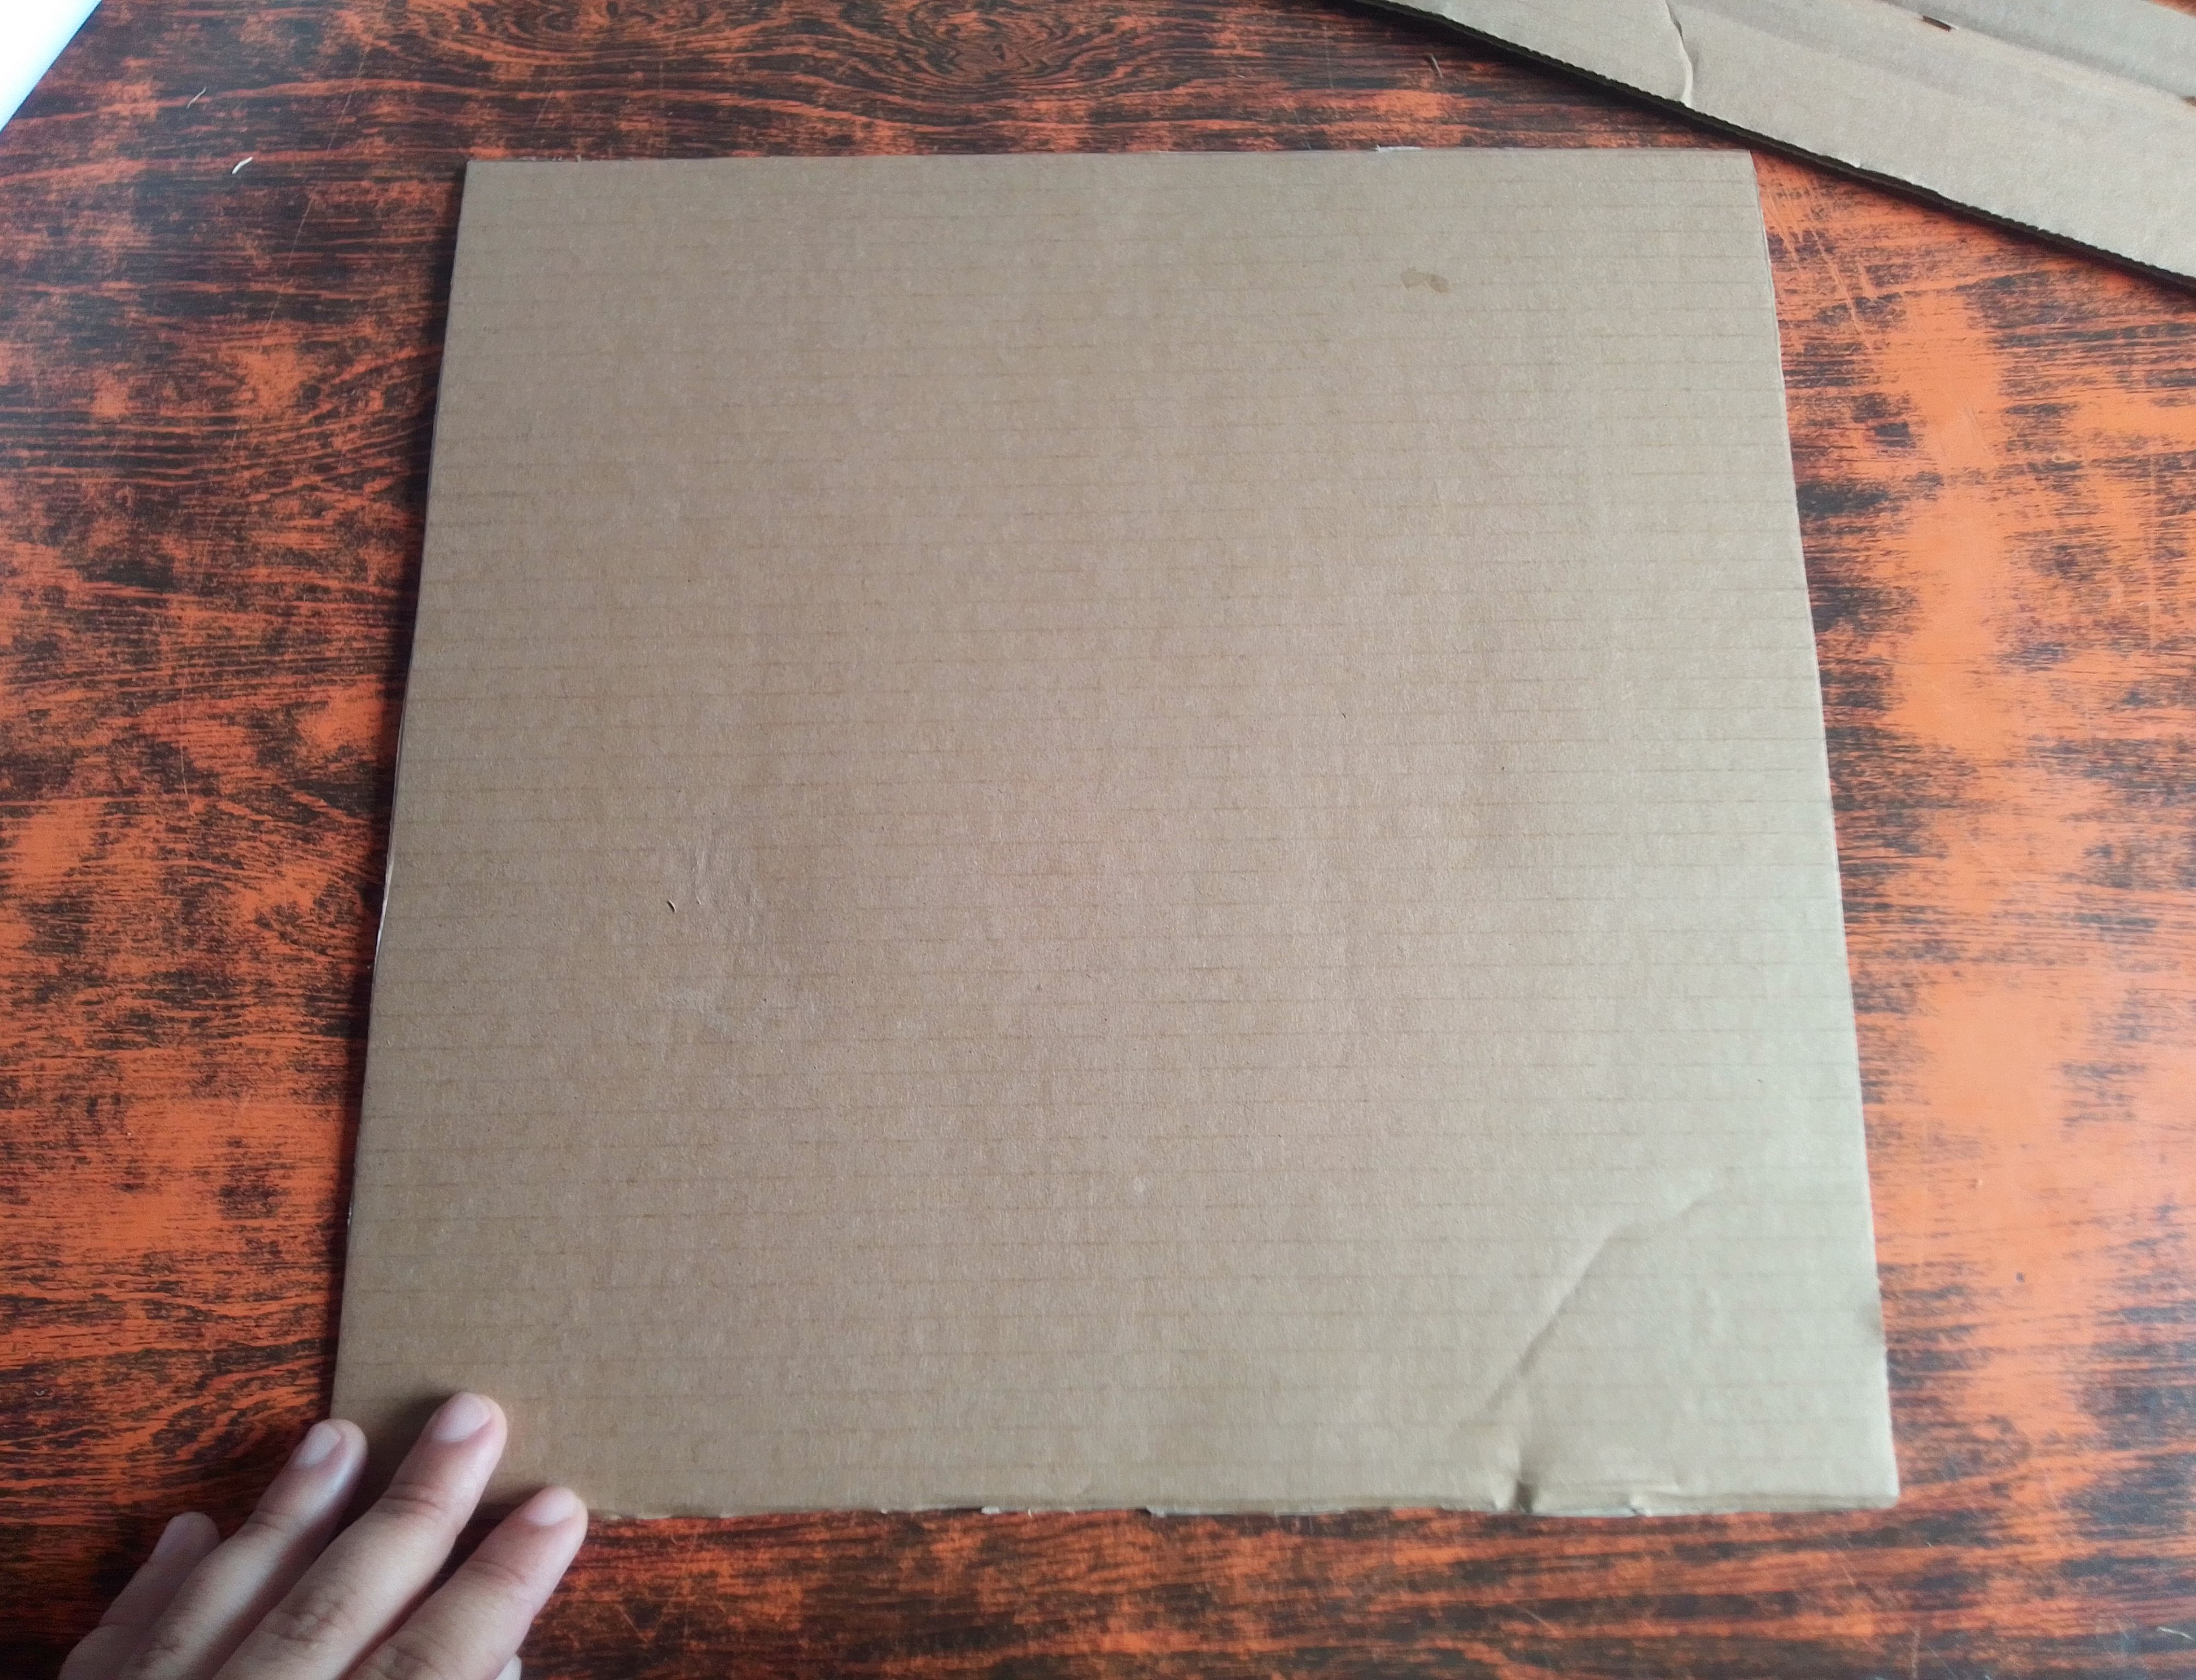
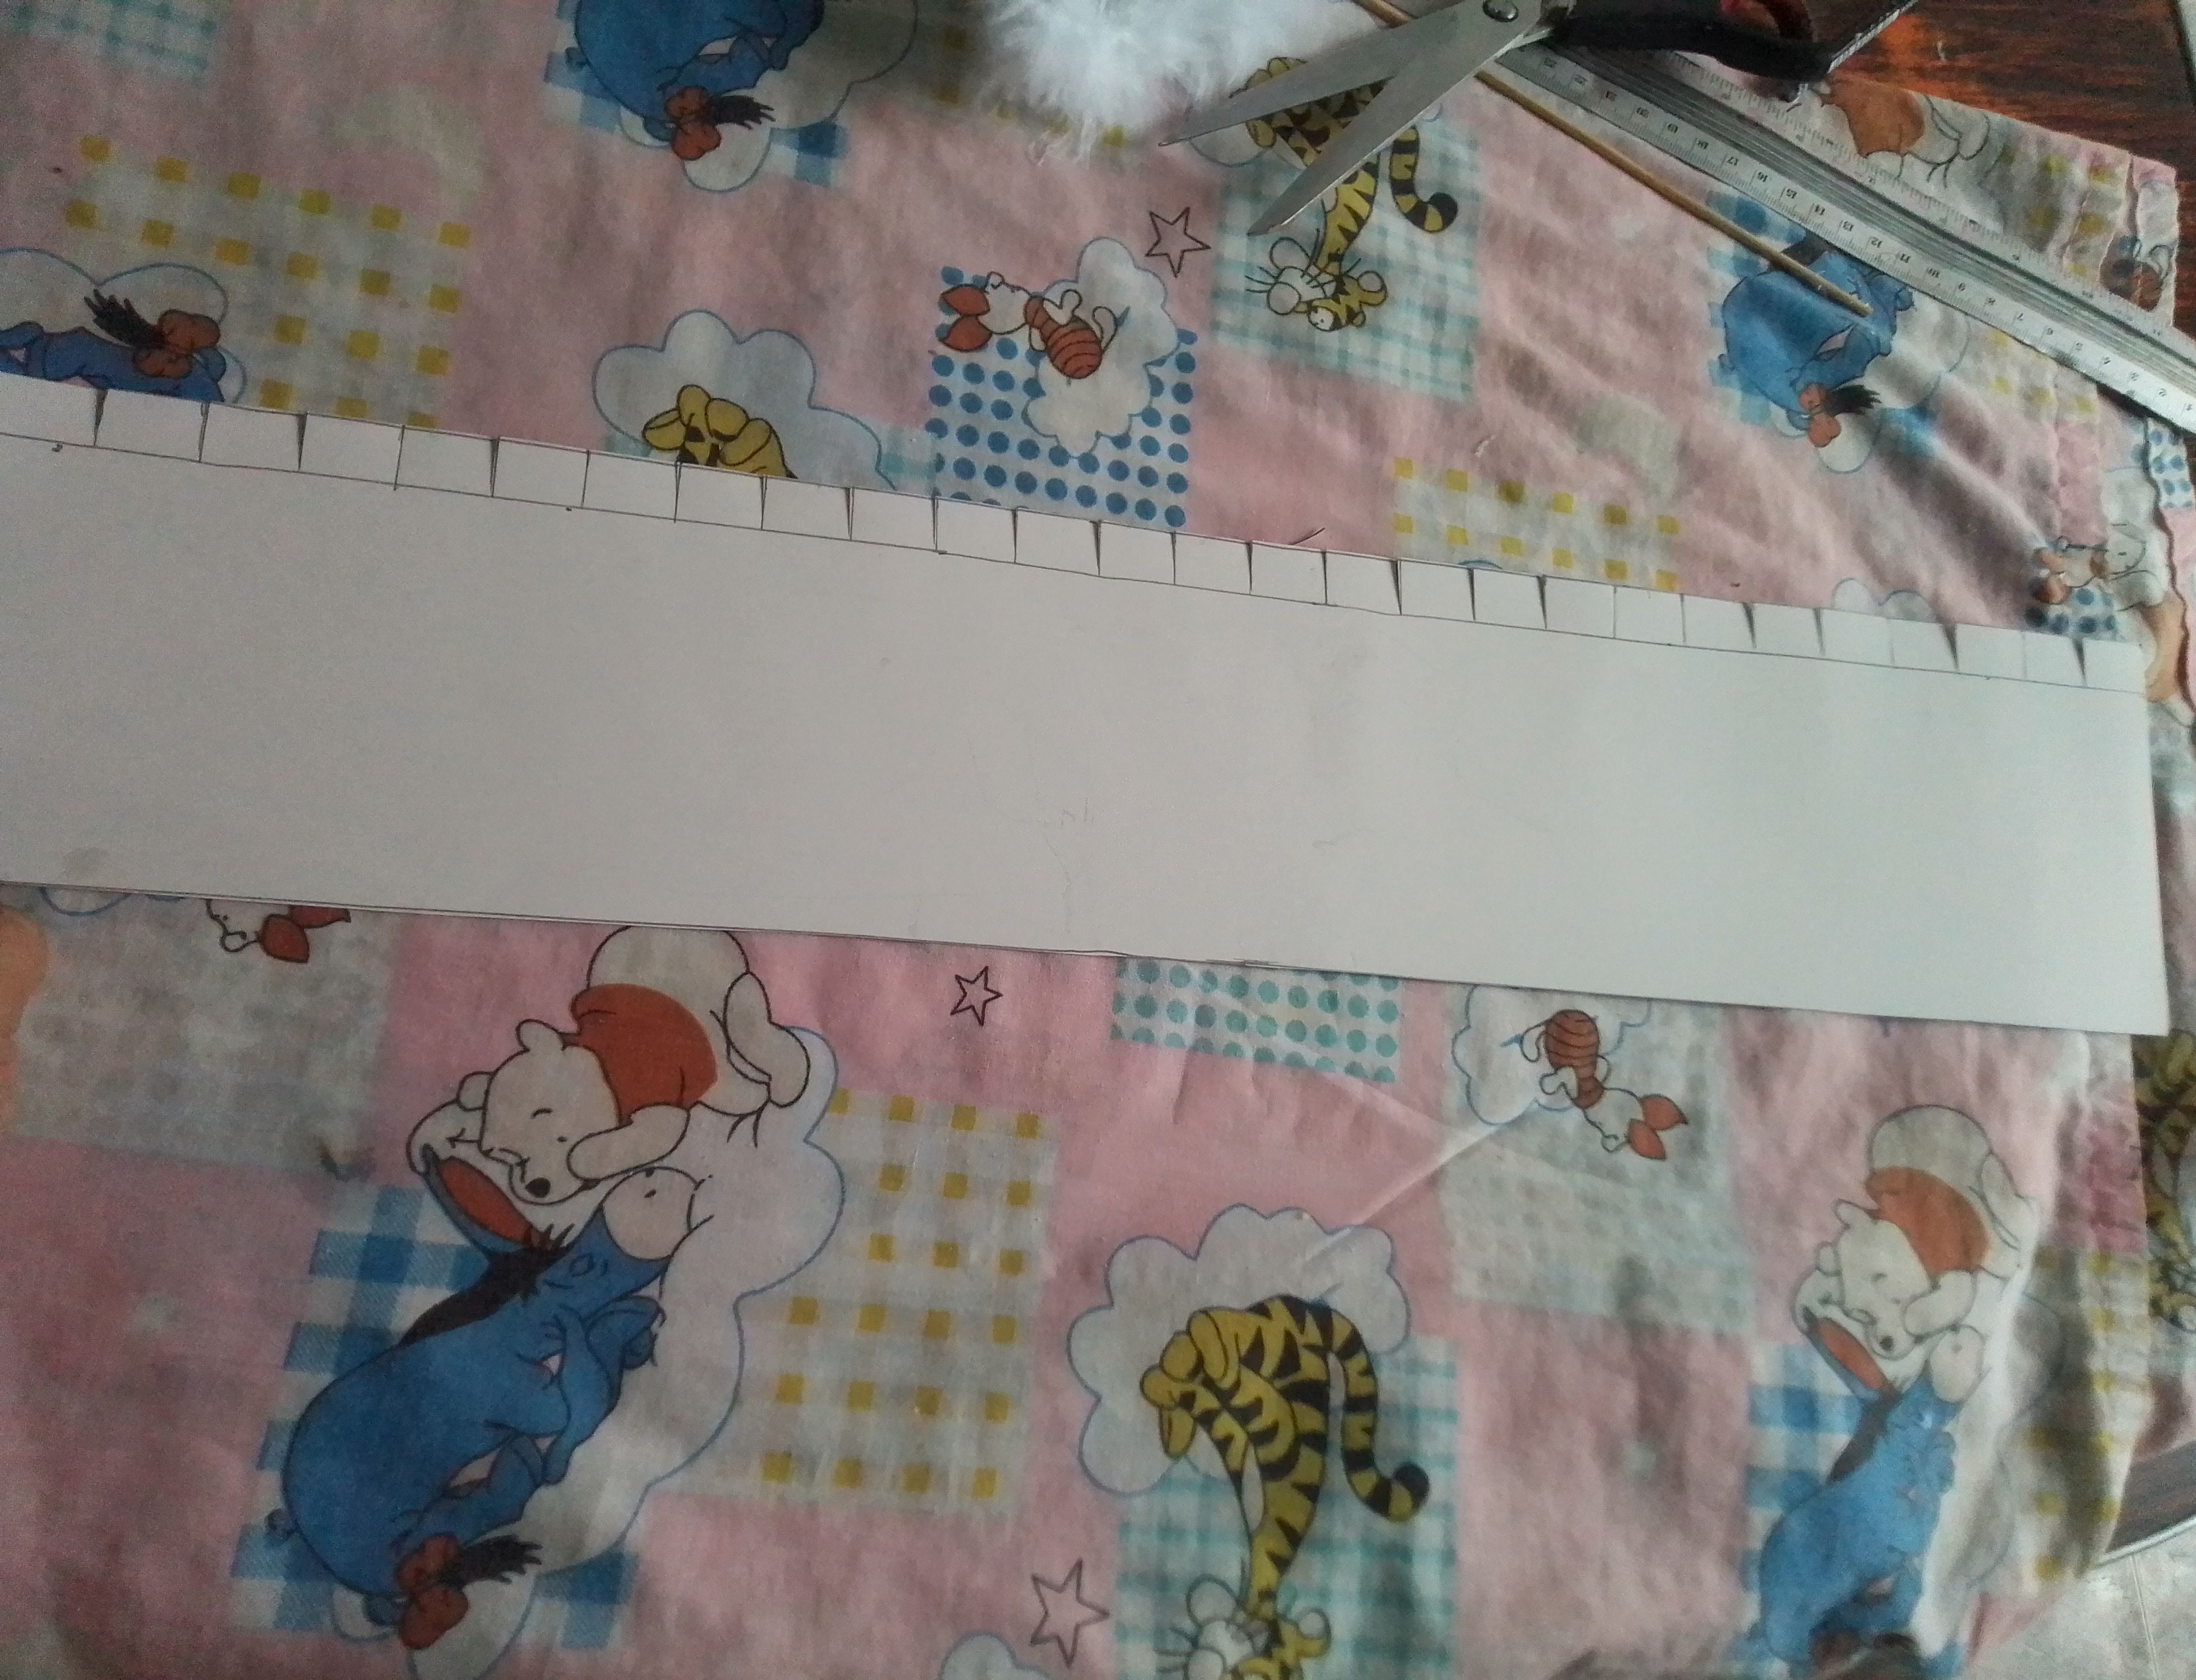
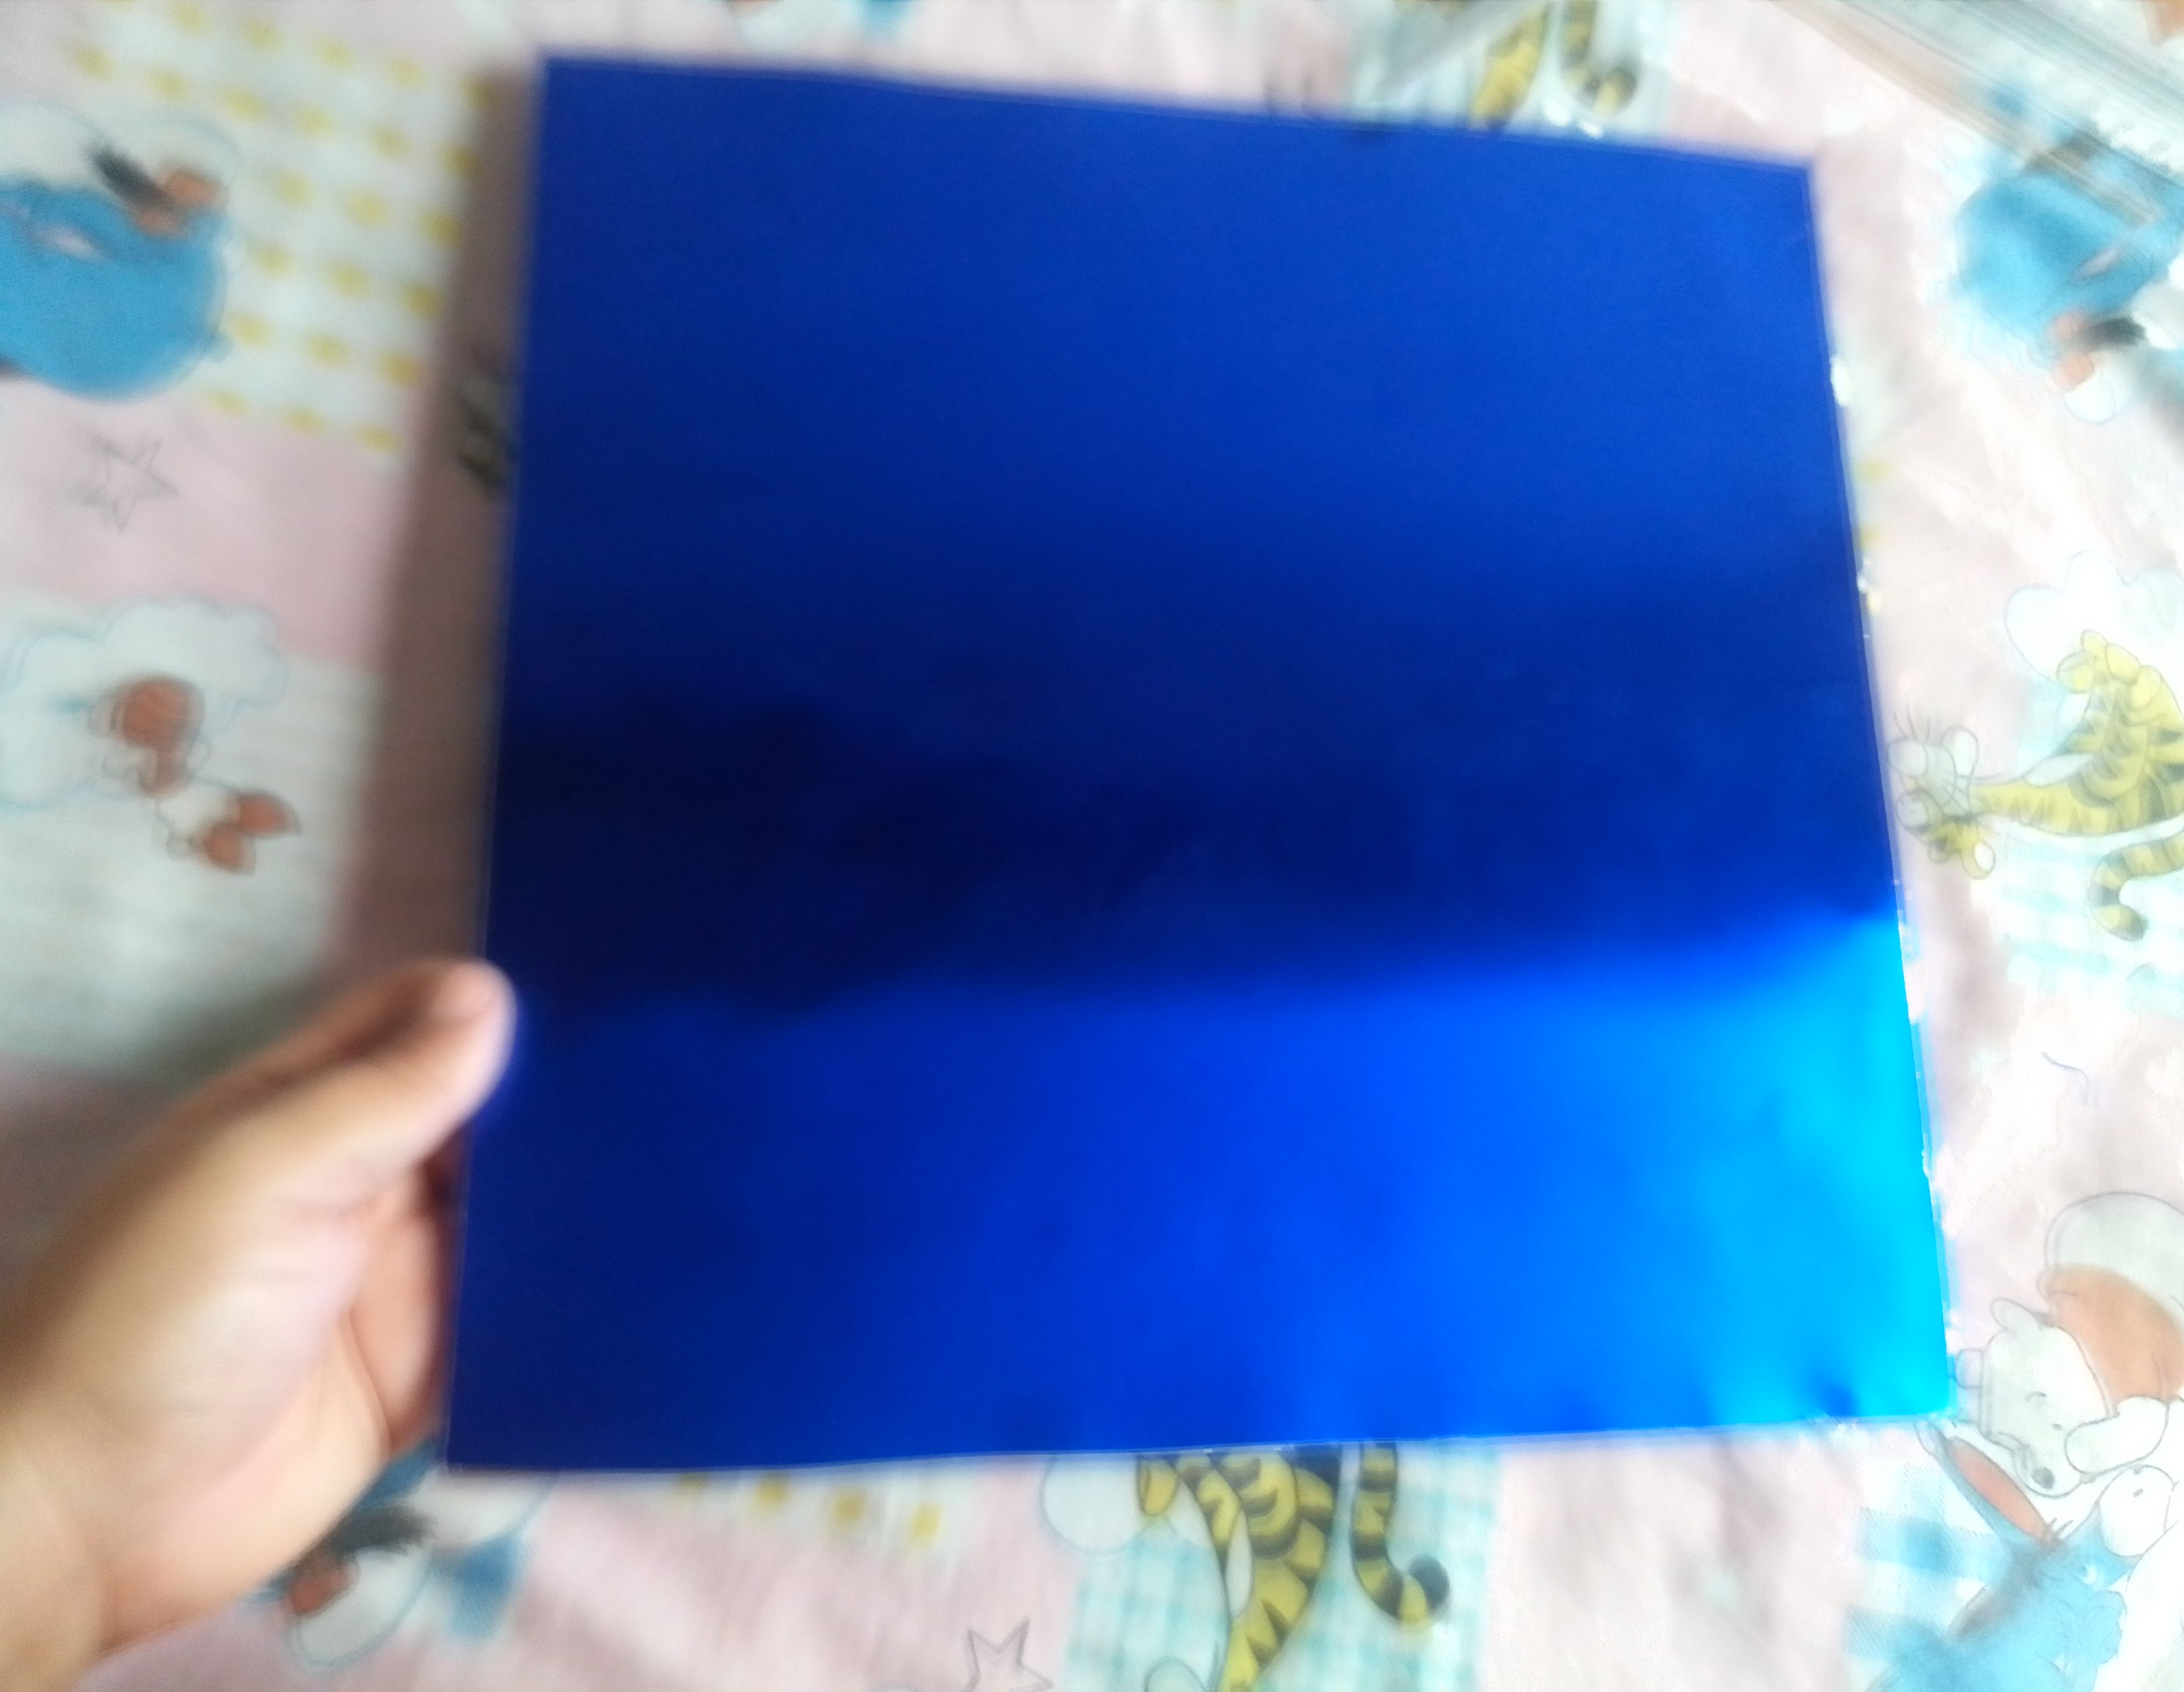
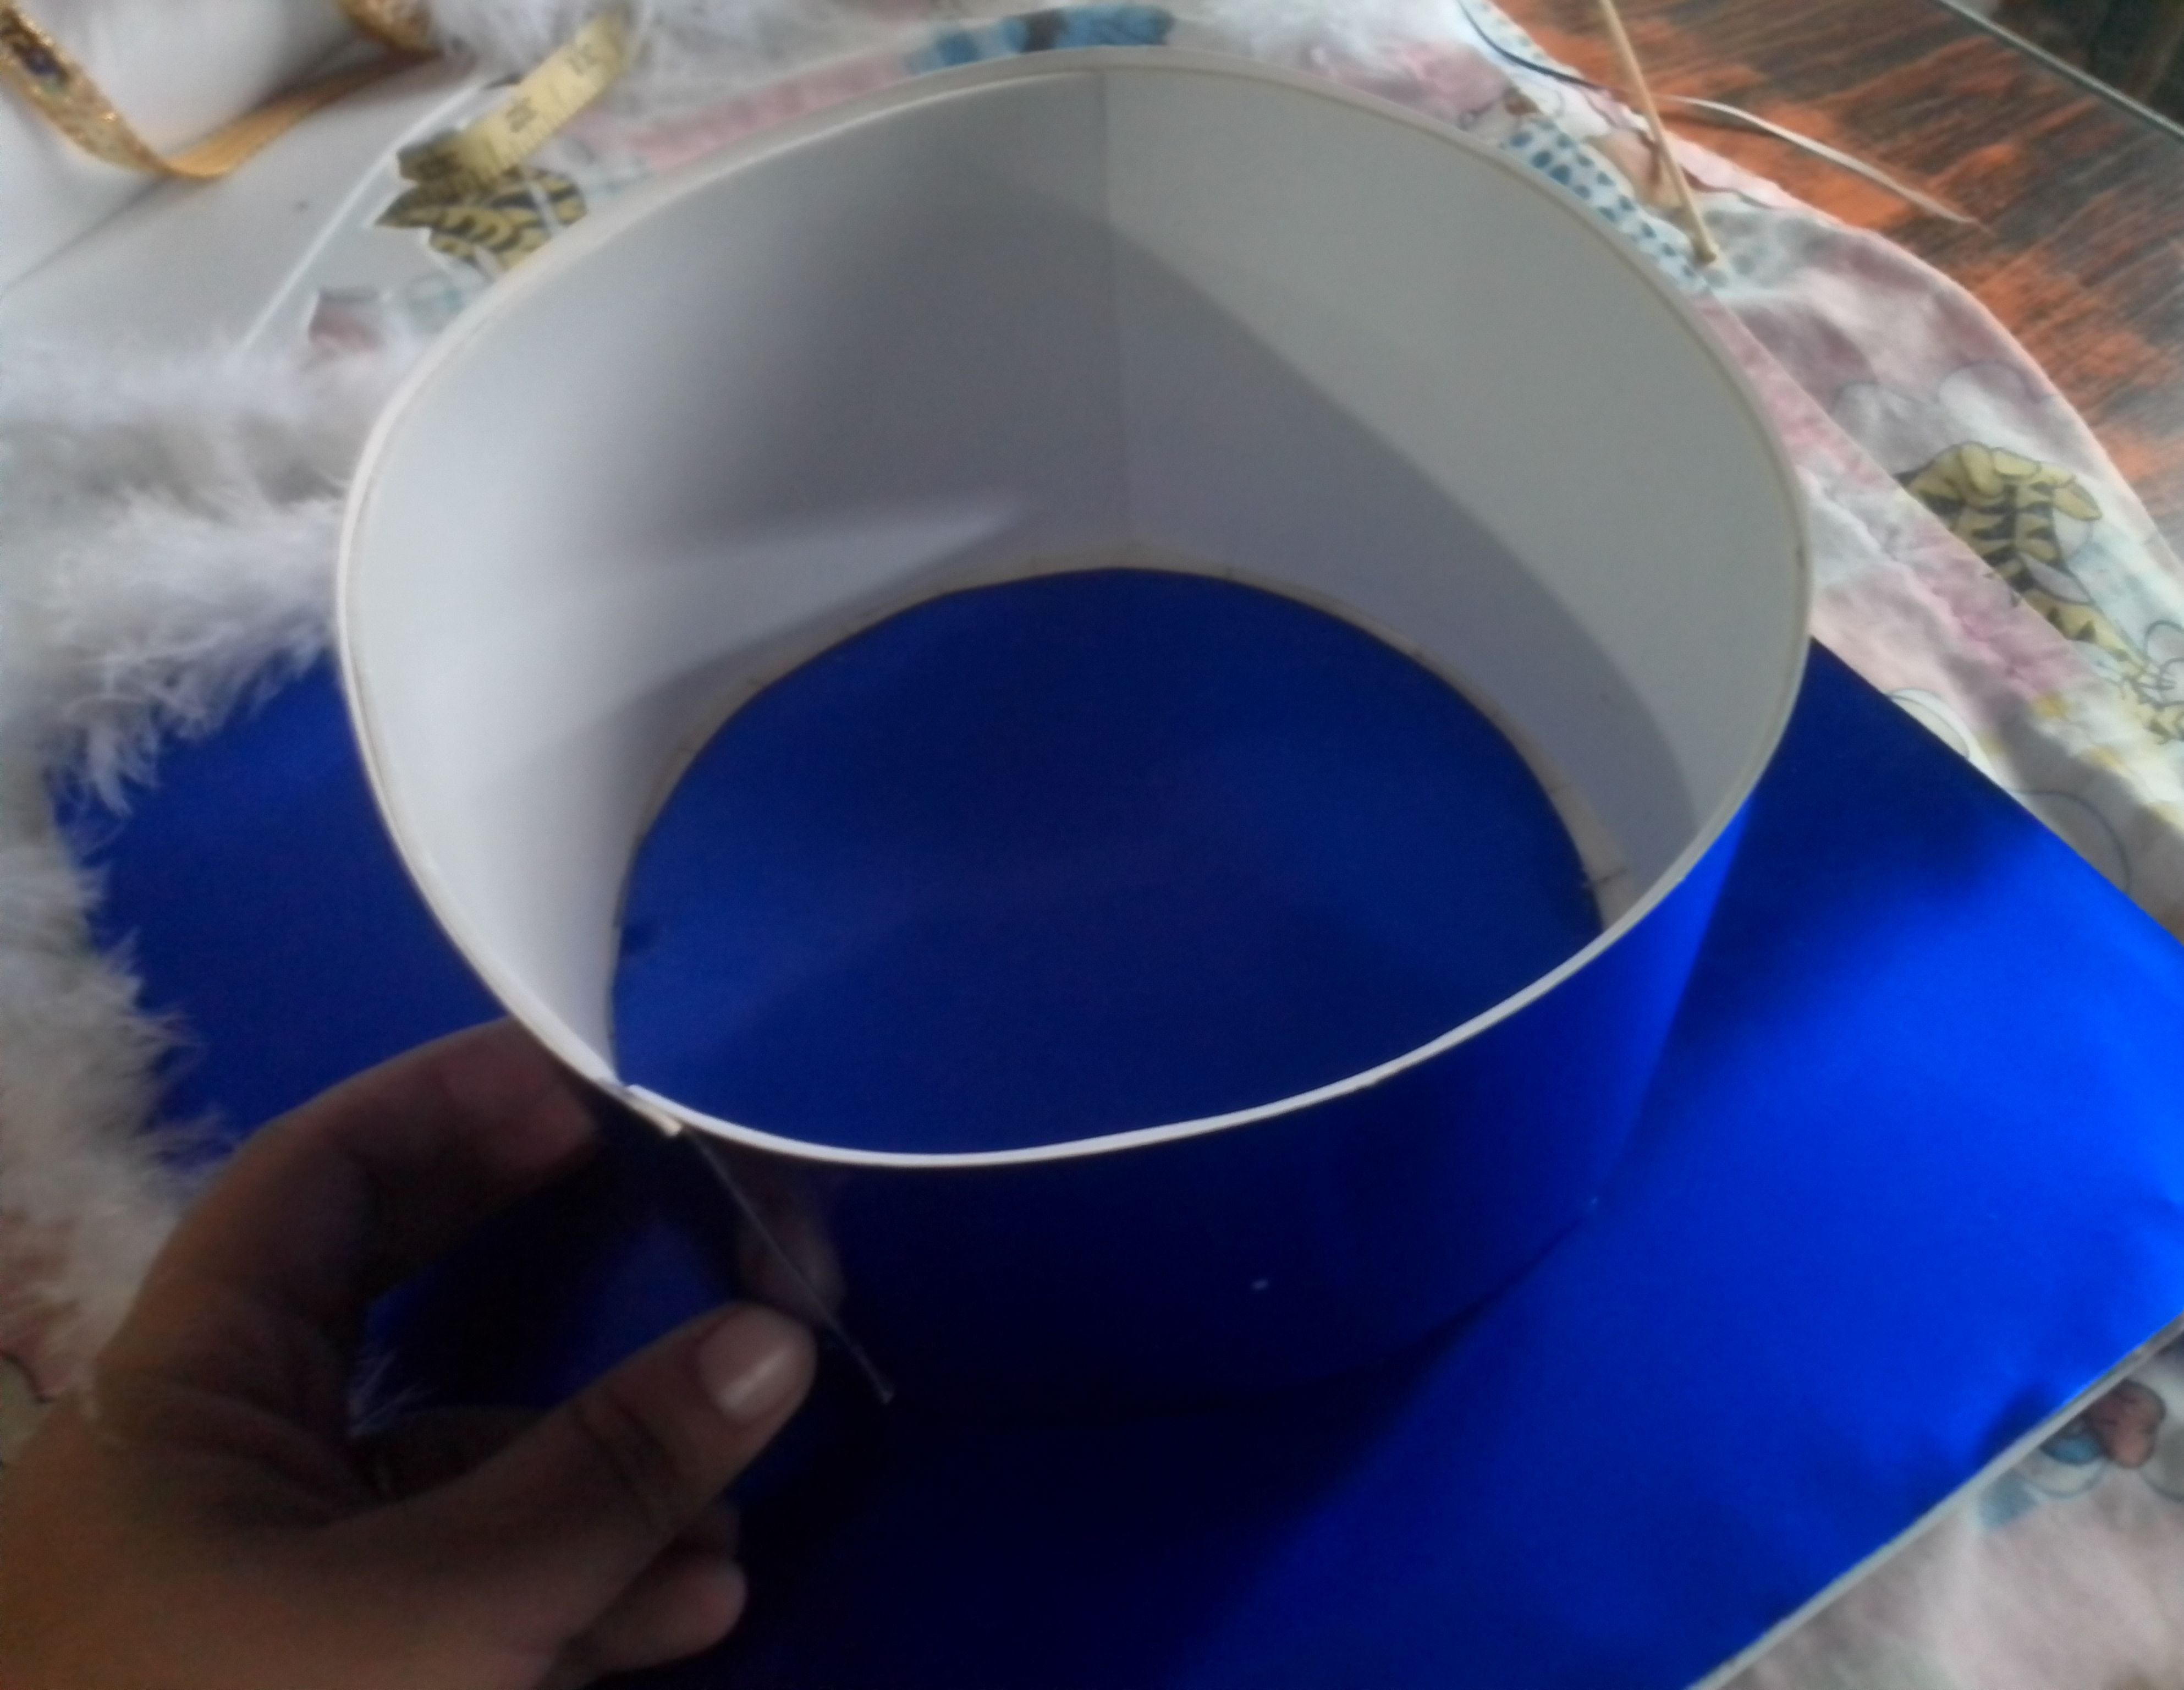
Comienzo marcando sobre el carton una cuadrado de 25 x 25 cm, me ayudó con la regla y el lápiz y con el cutter para cortar, es importante que el carton que vayamos a utilizar sea grueso y resistente, este lo voy a cubrir por ambos lados con la cartulina metalizada azul.. También voy cortar la base circular en cartulina tomando en cuenta la medida de la cabeza de la niña.. Haré unos pequeños cortes en las orillas para dar mayor resistencia al birrete y pondre foami blanco por dentro. Luego procedo a pegarlos justo en el centro de la pieza cuadrado asegurándonos de que quede muy bien pegada.
Step 01
I start by marking a 25 x 25 cm square on the cardboard. He helped me with the ruler and pencil and with the cutter to cut. It is important that the cardboard we are going to use is thick and resistant, I am going to cover this one on both sides with blue metallic cardboard. I am also going to cut the circular base in cardboard taking into account the measurement of the girl's head. I will make some small cuts on the edges to give greater resistance to the cap and I will put white foam inside. Then I proceed to glue them right in the center of the square piece making sure it sticks very well.
Paso 02
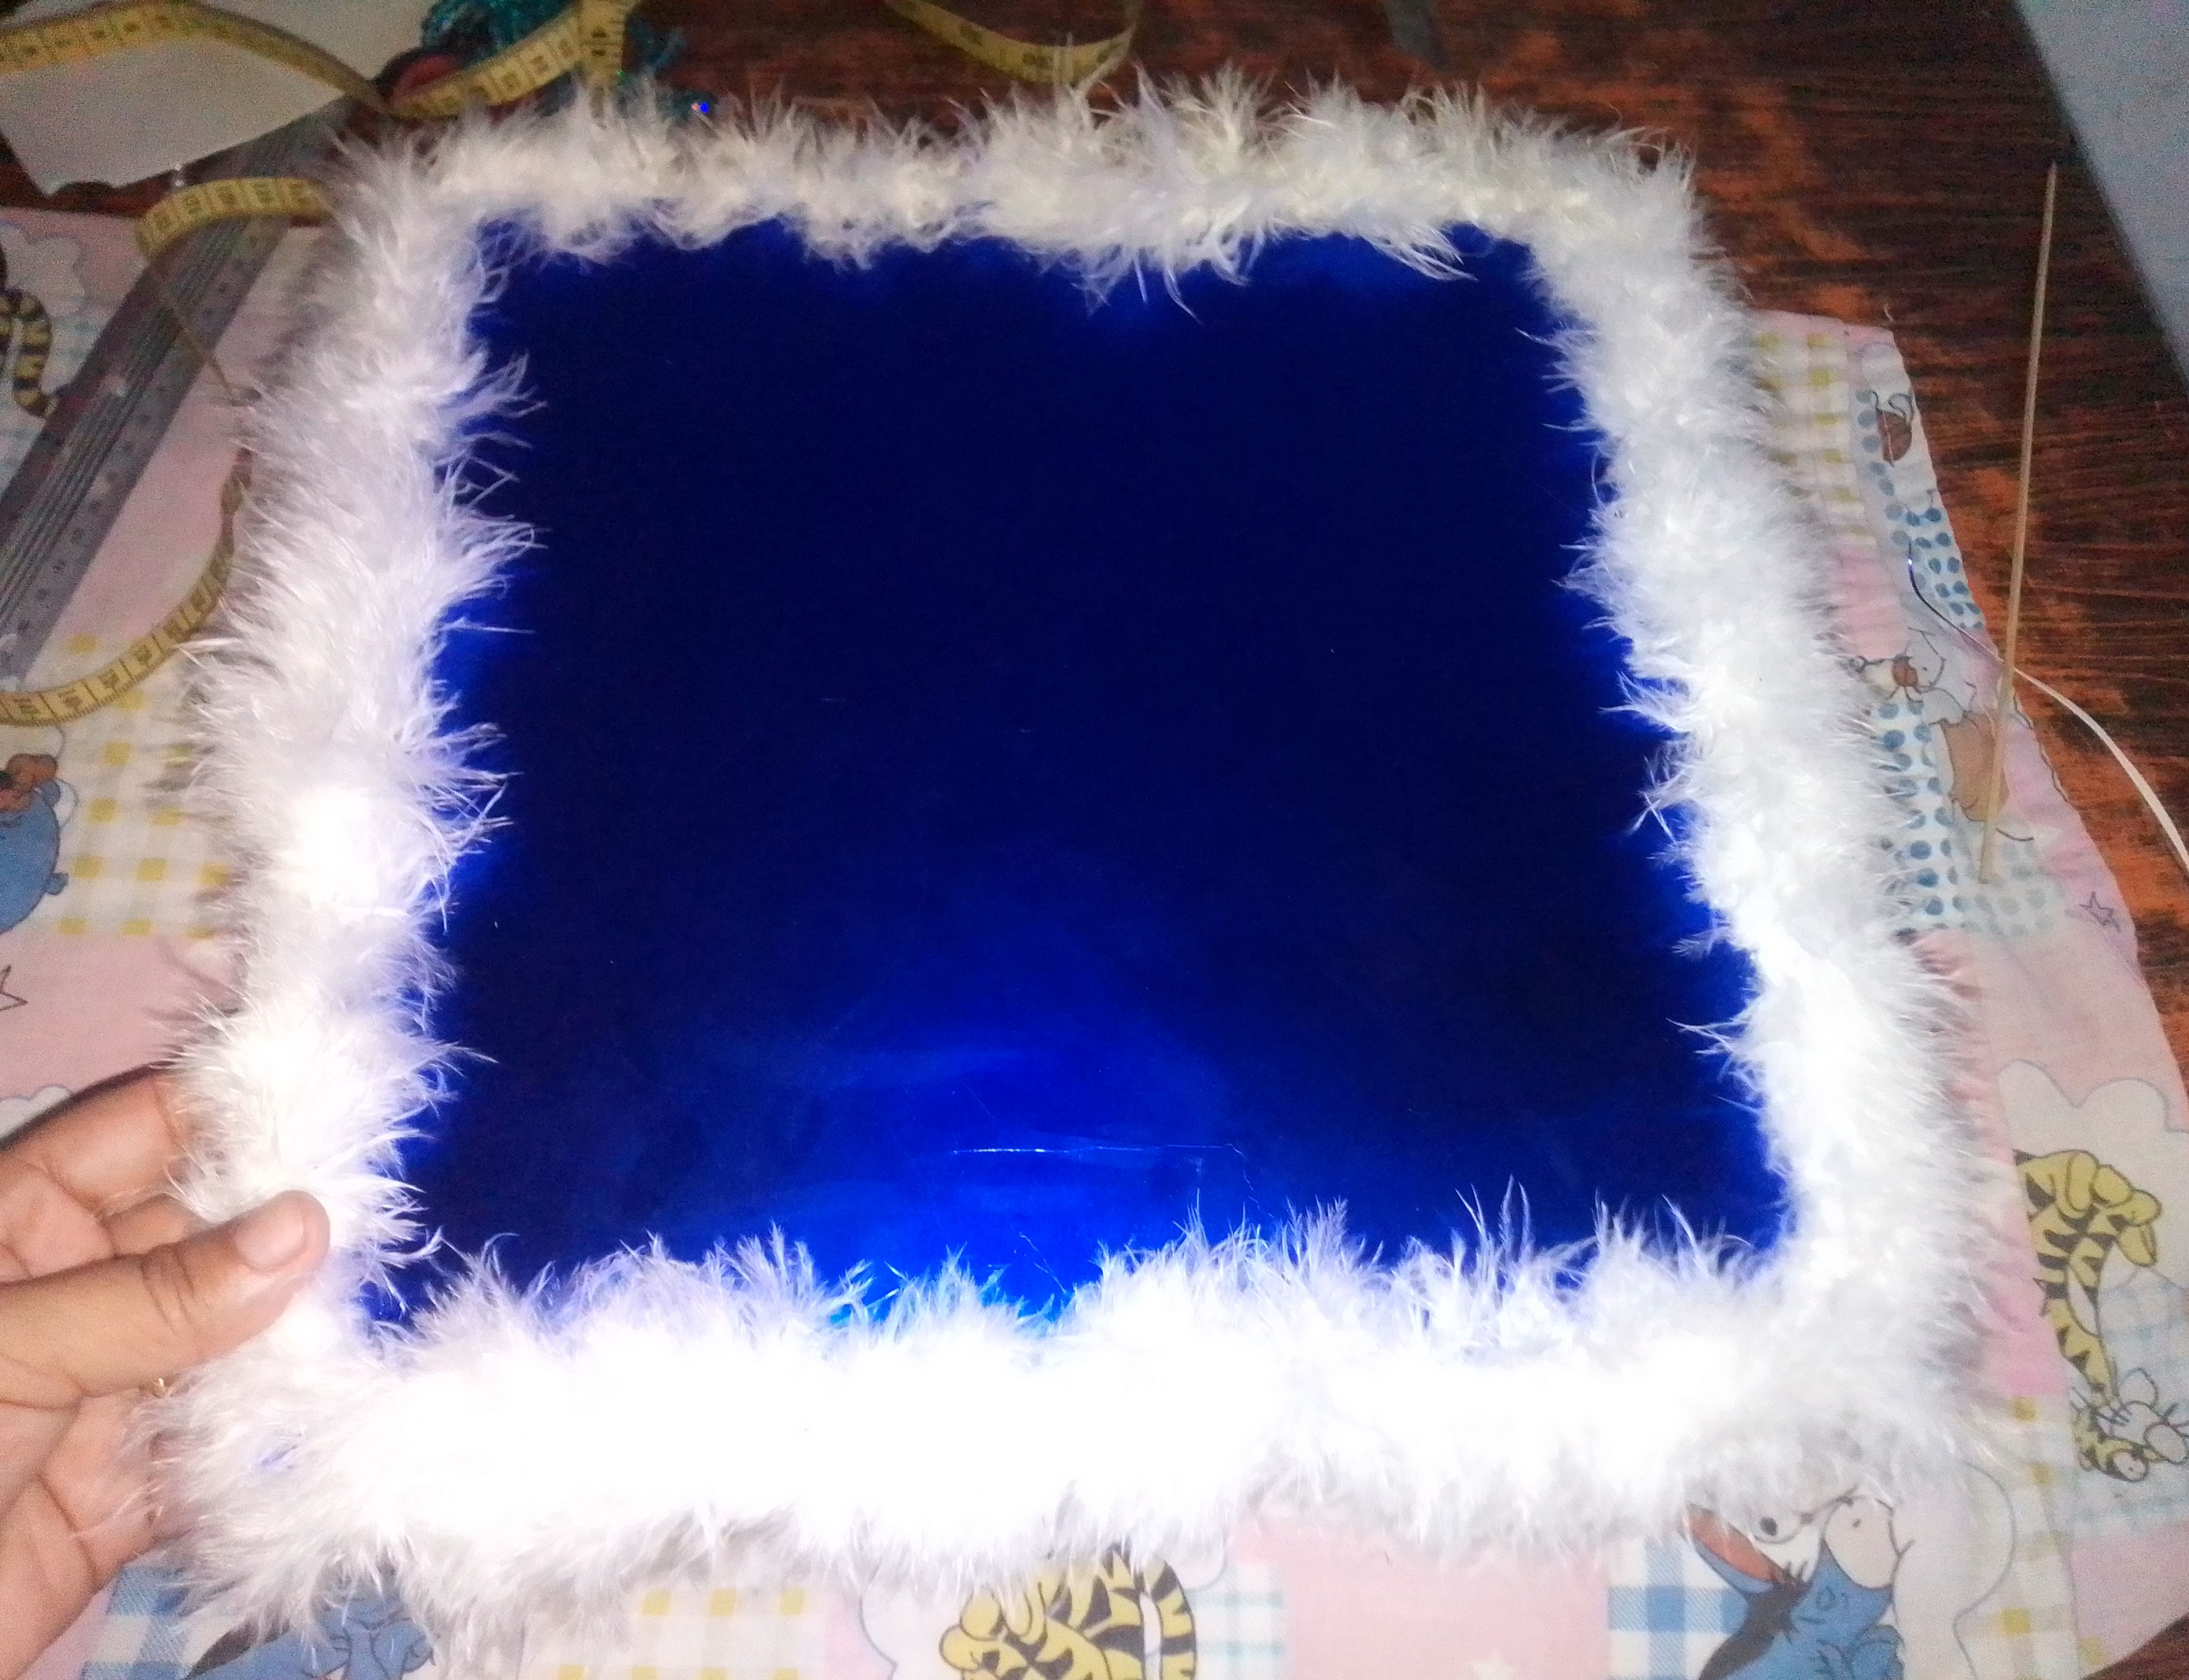
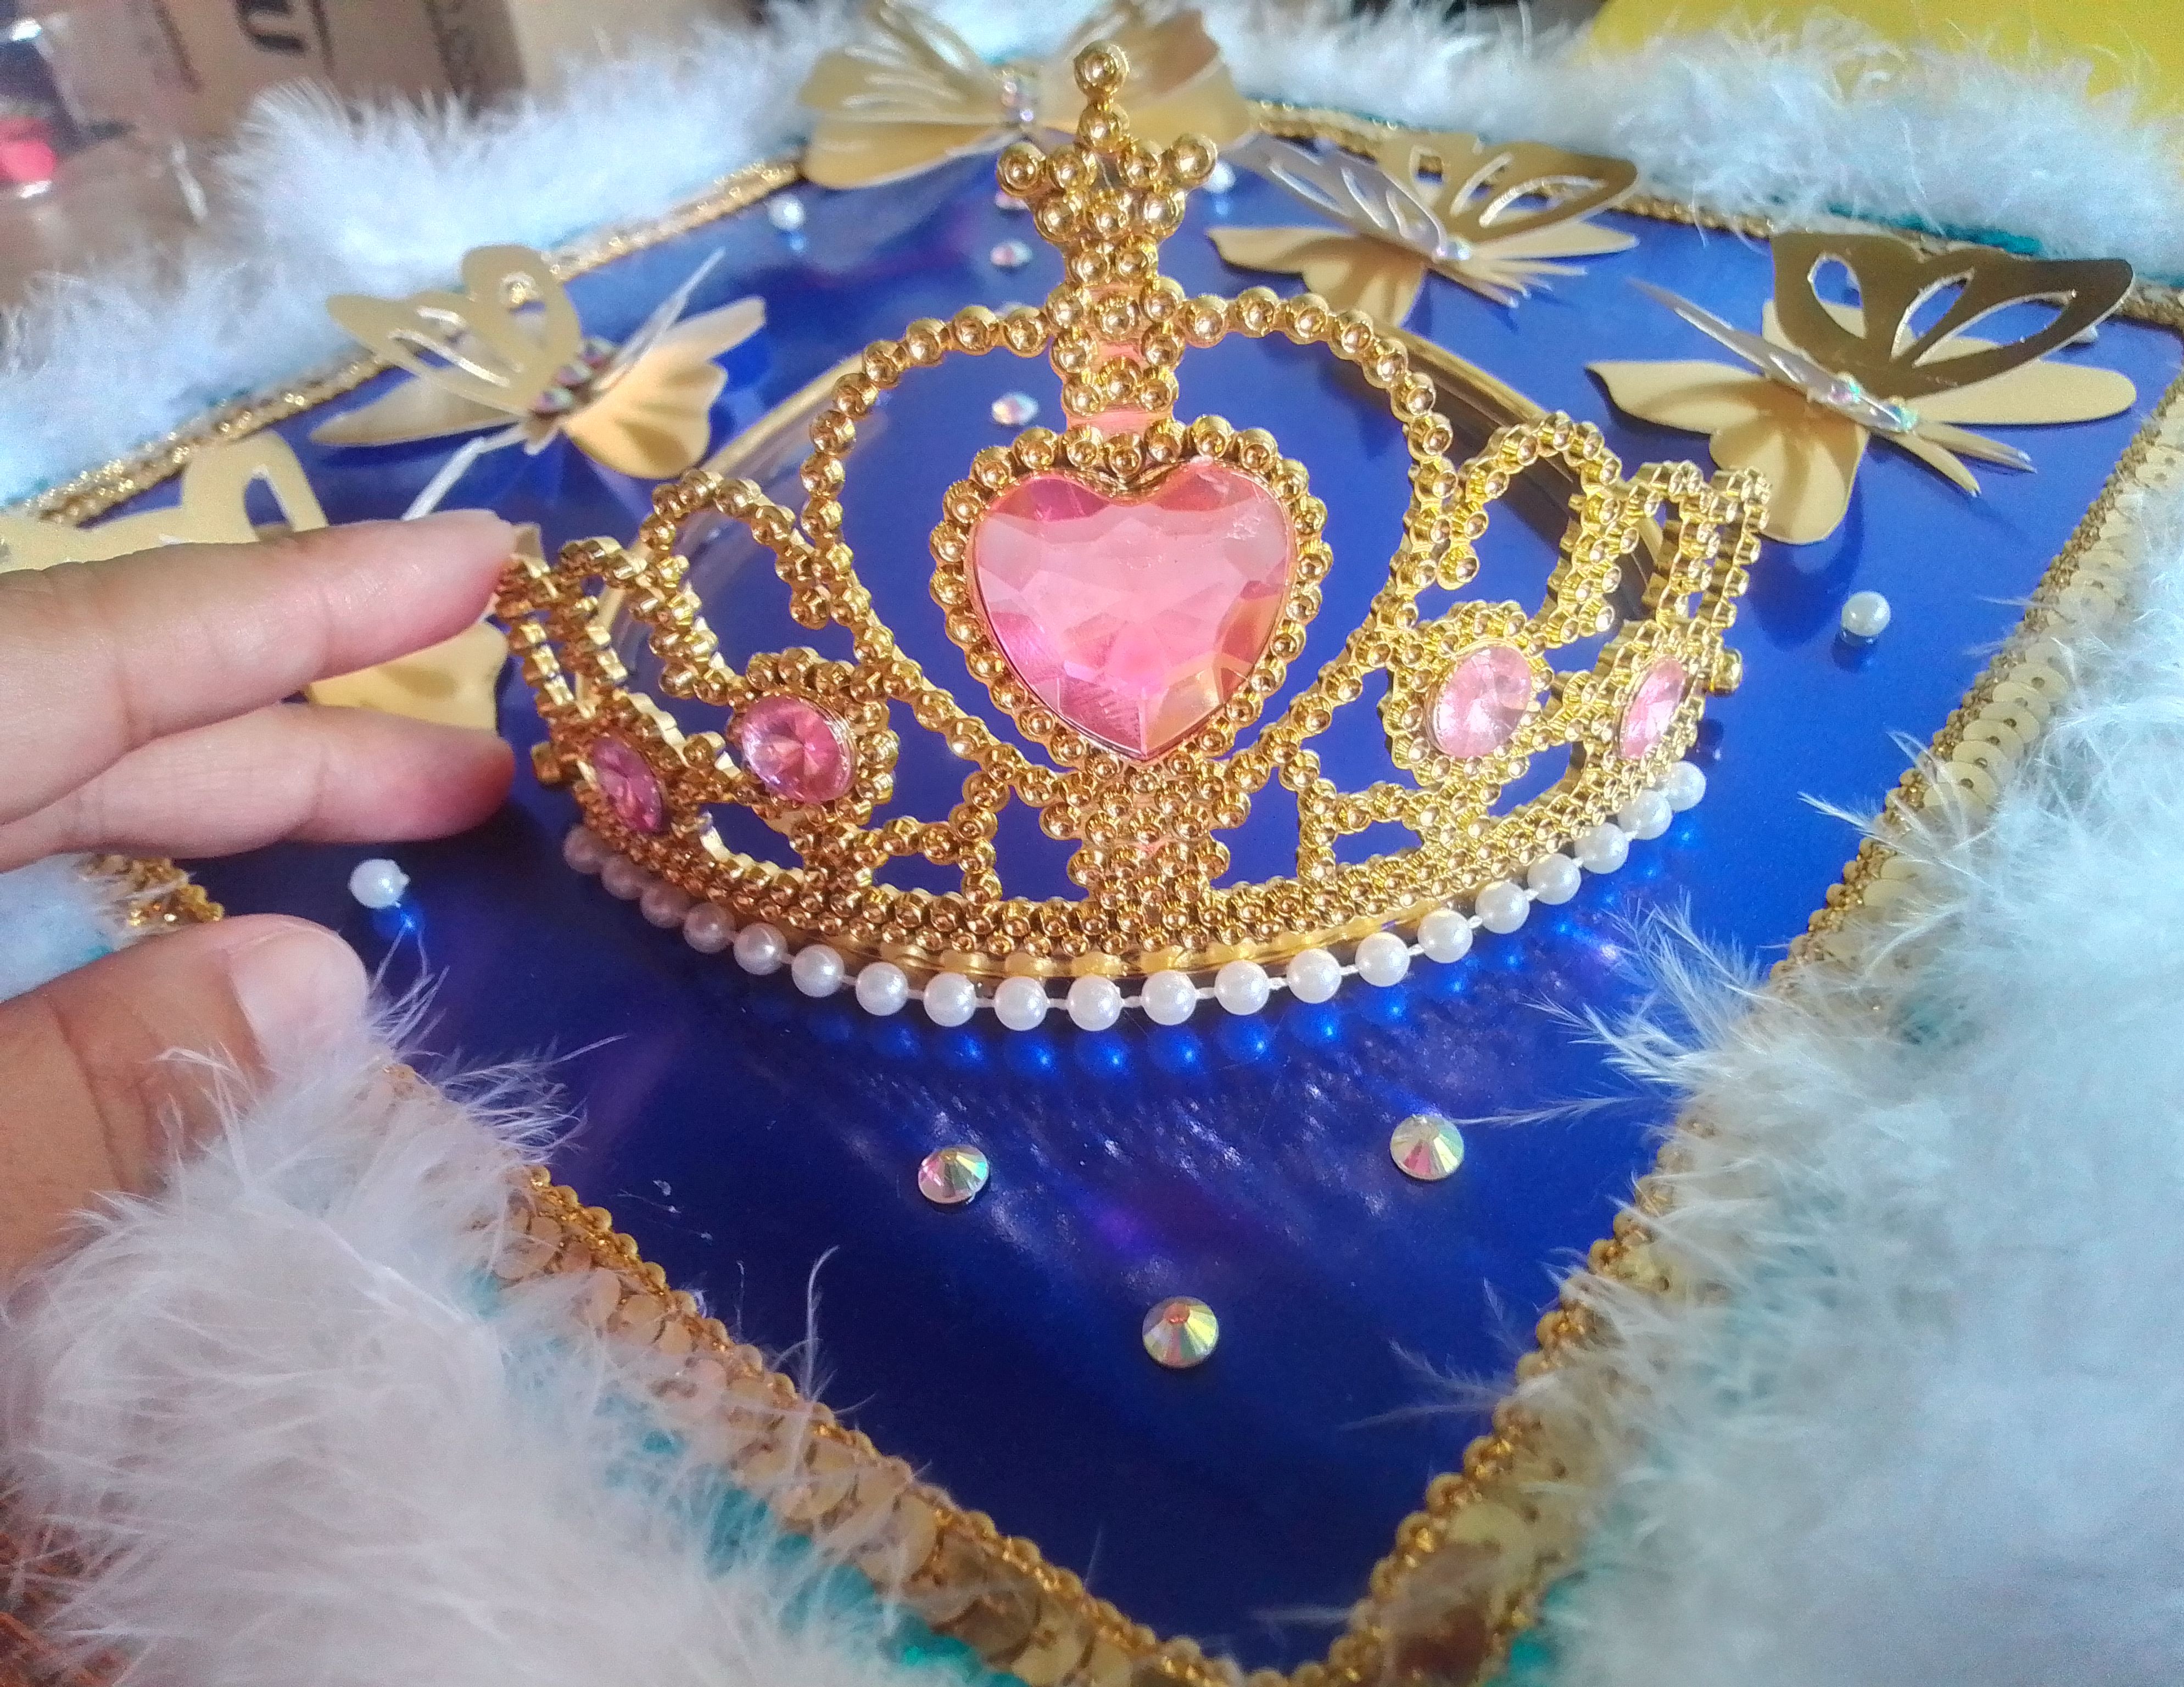
La decoración principal será el marabú, que irá pegado por toda la orilla de base cuadrada con silicón caliente luego de esto pondré en encaje por dentro y debajo del marabú. Ubícare corona en la esquina delantera del birrete y agrego por los lados mariposas doradas y piedras tornasol. Las maripositas ya las tenía a la mano por eso se facilitó un poco el proceso.
Step 02
The main decoration will be the marabou, which will be glued along the entire edge of the square base with hot silicone. After this, I will put lace inside and under the marabou. I placed the crown in the front corner of the cap and added gold butterflies and litmus stones on the sides. I already had the butterflies on hand so the process was a little easier.
Paso 03
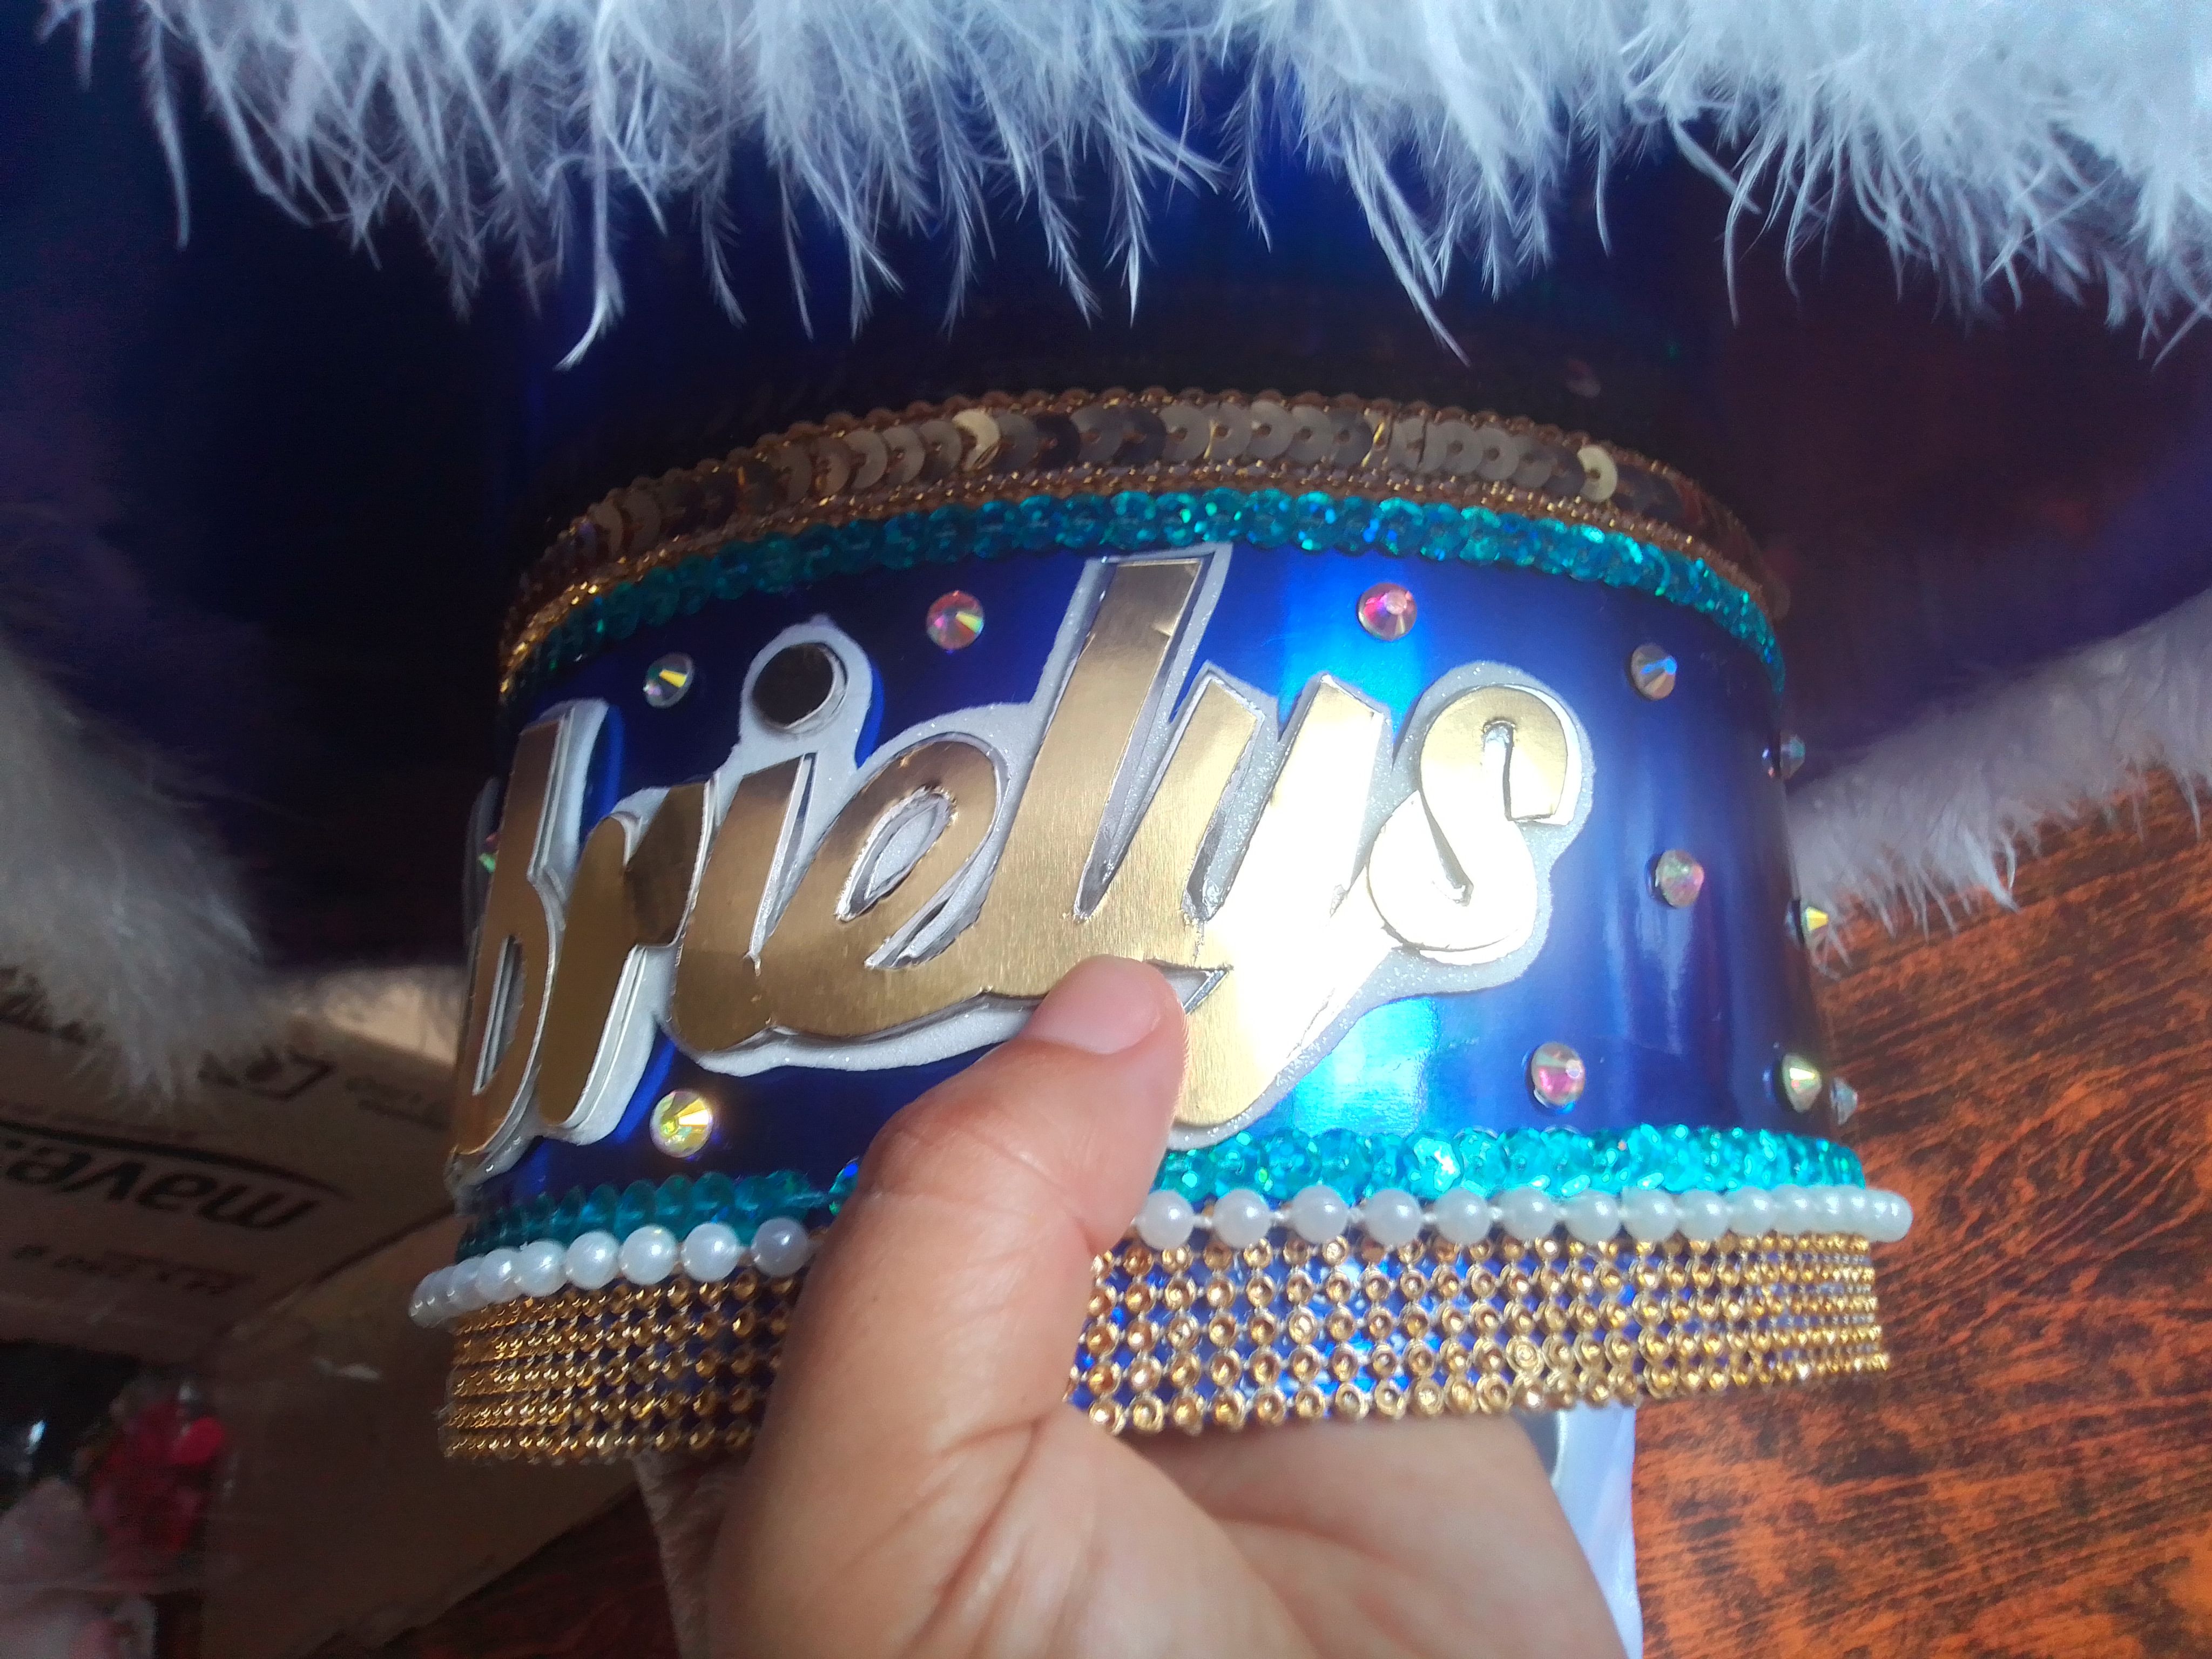
Decoro también con encajes dorados, le tejuelas y encaje de perlas toda las orillas de la pieza circular cubriendo la unión que hay con la cuadrada. Ahora procedo a cortar el nombre del mi clienta en l cartulina metalizada dorada y colocarlo en una base blanca para luego pegarlo al la parte frontal que quede a la medida con la corona. En el resto adornare con las mismas piedras tornasol que pegue en labparte de arriba.
Step 03
I also decorate the entire edges of the circular piece with gold lace, shingles and pearl lace, covering the junction with the square piece. Now I proceed to cut my client's name out of gold metallic cardboard and place it on a white base and then glue it to the front part that fits the crown. In the rest I will decorate with the same litmus stones that I glued on the top part.
Paso 04
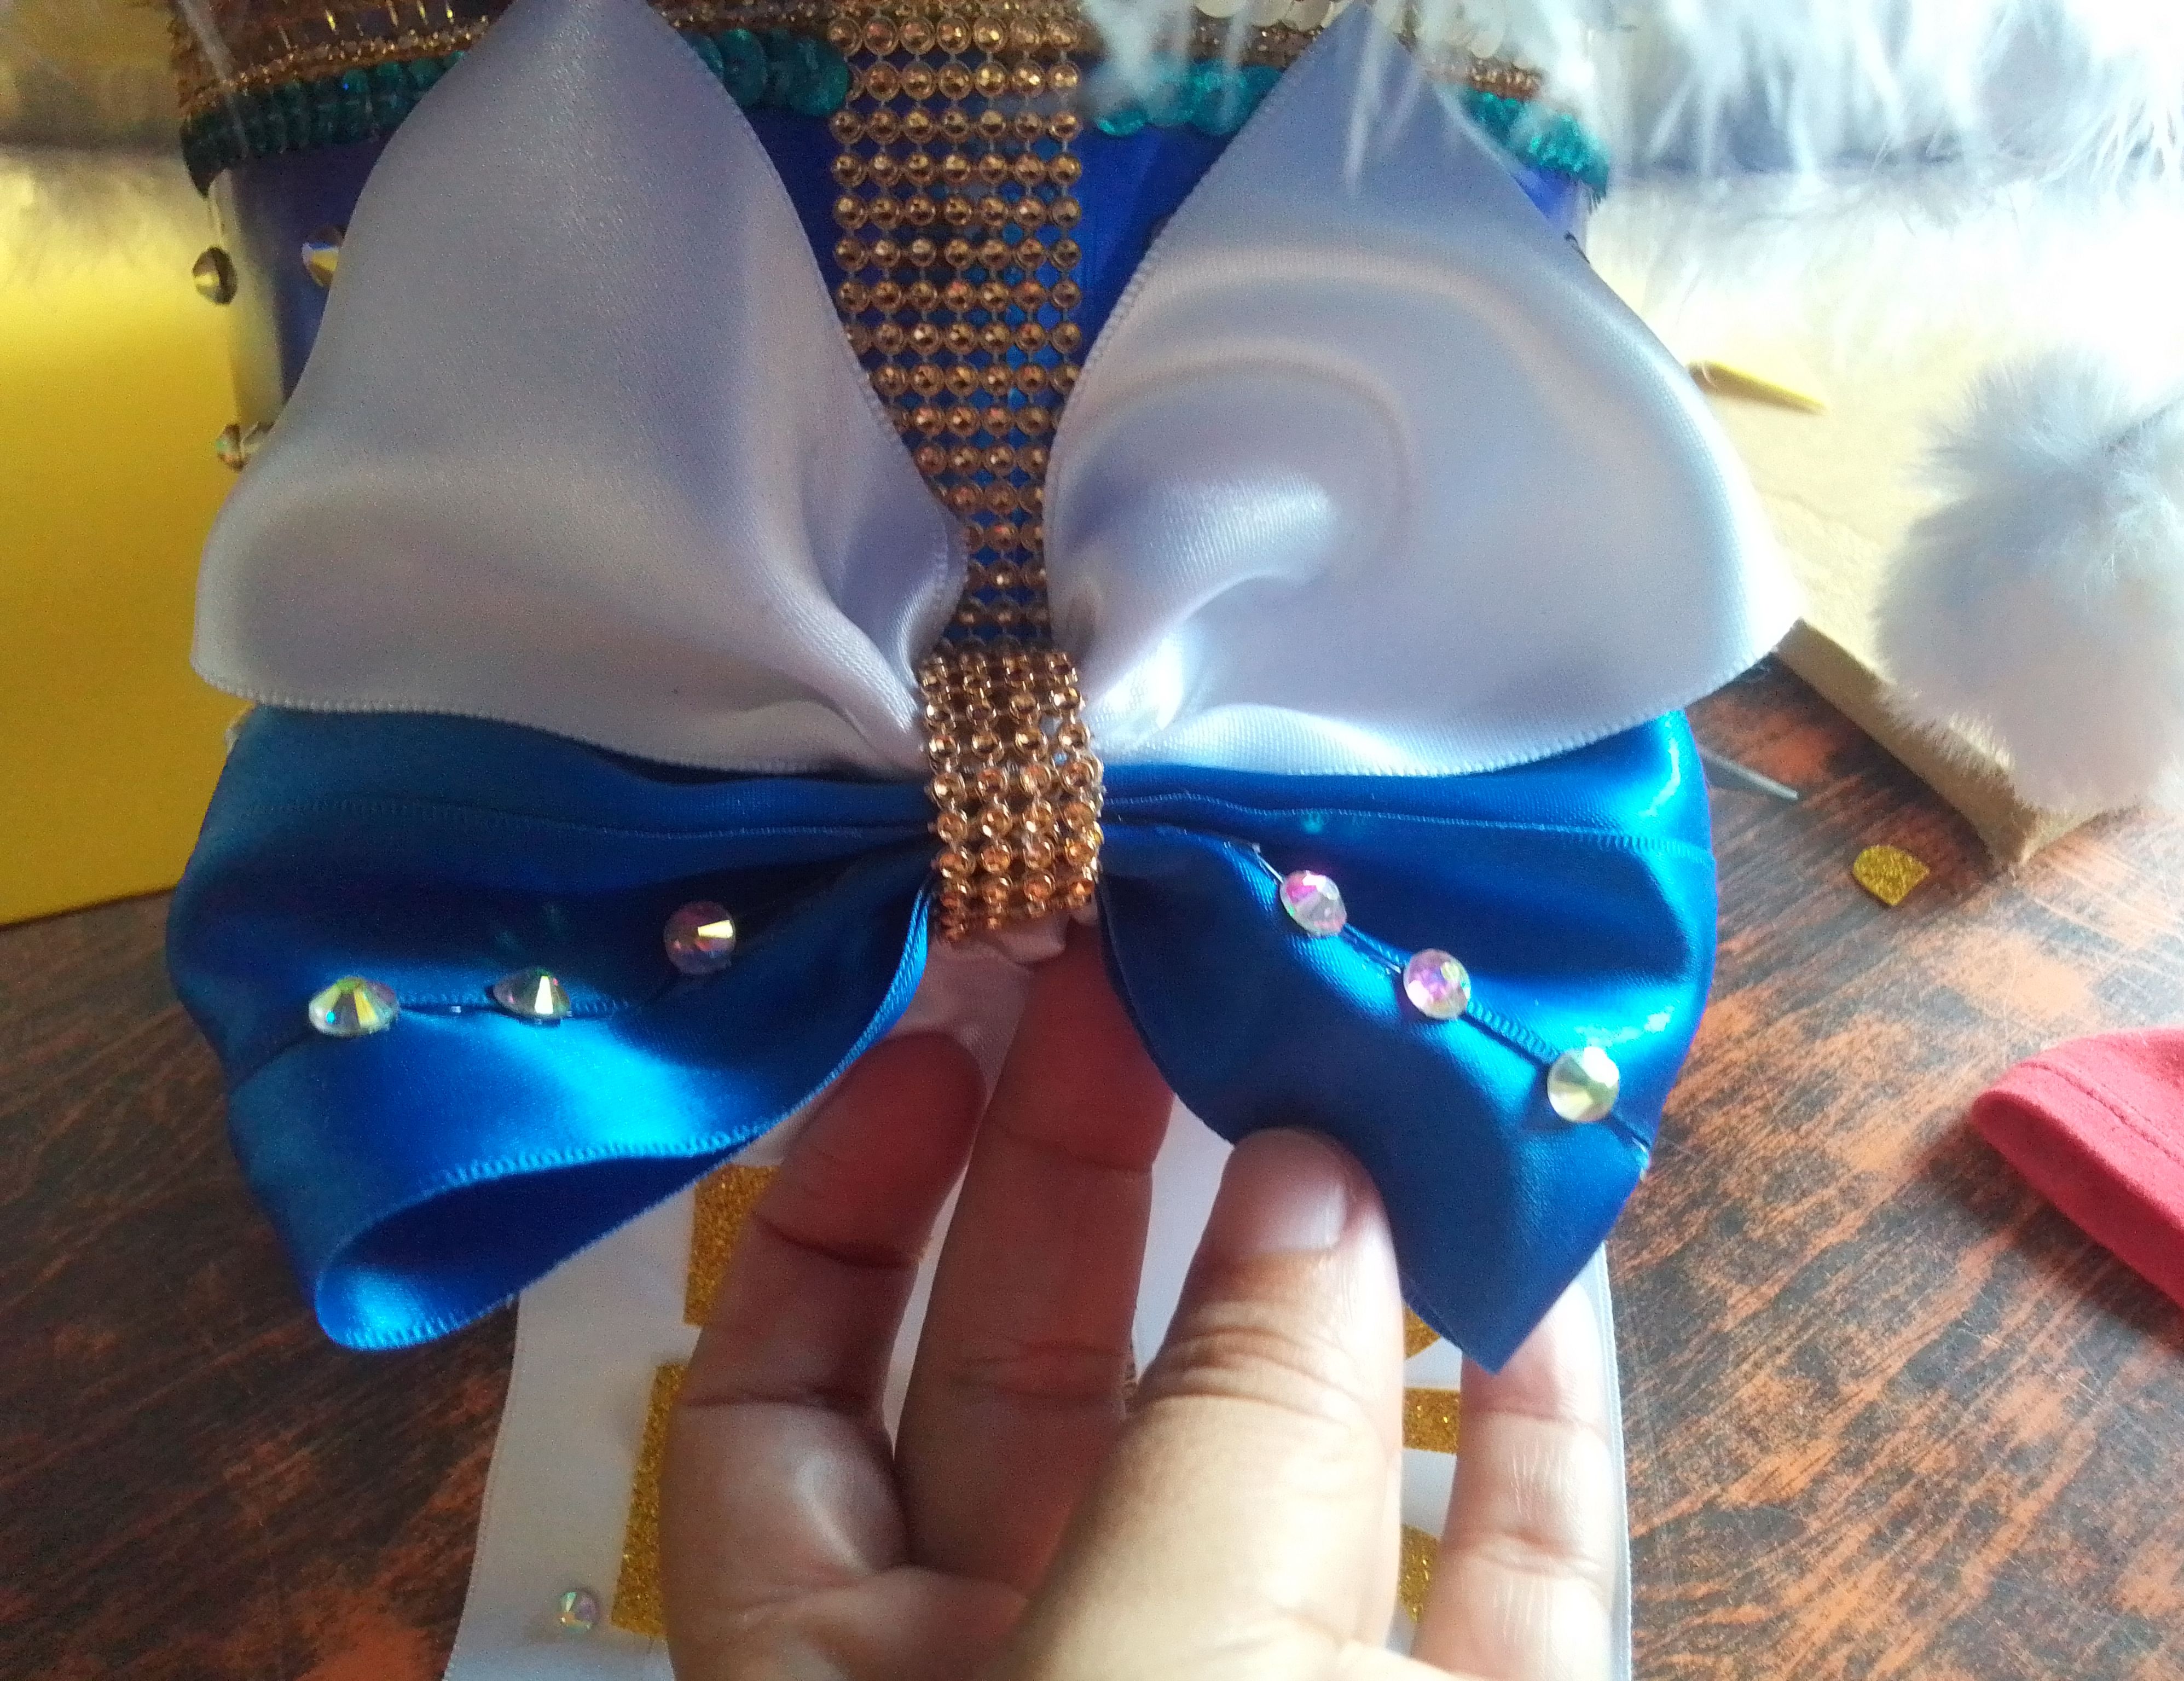
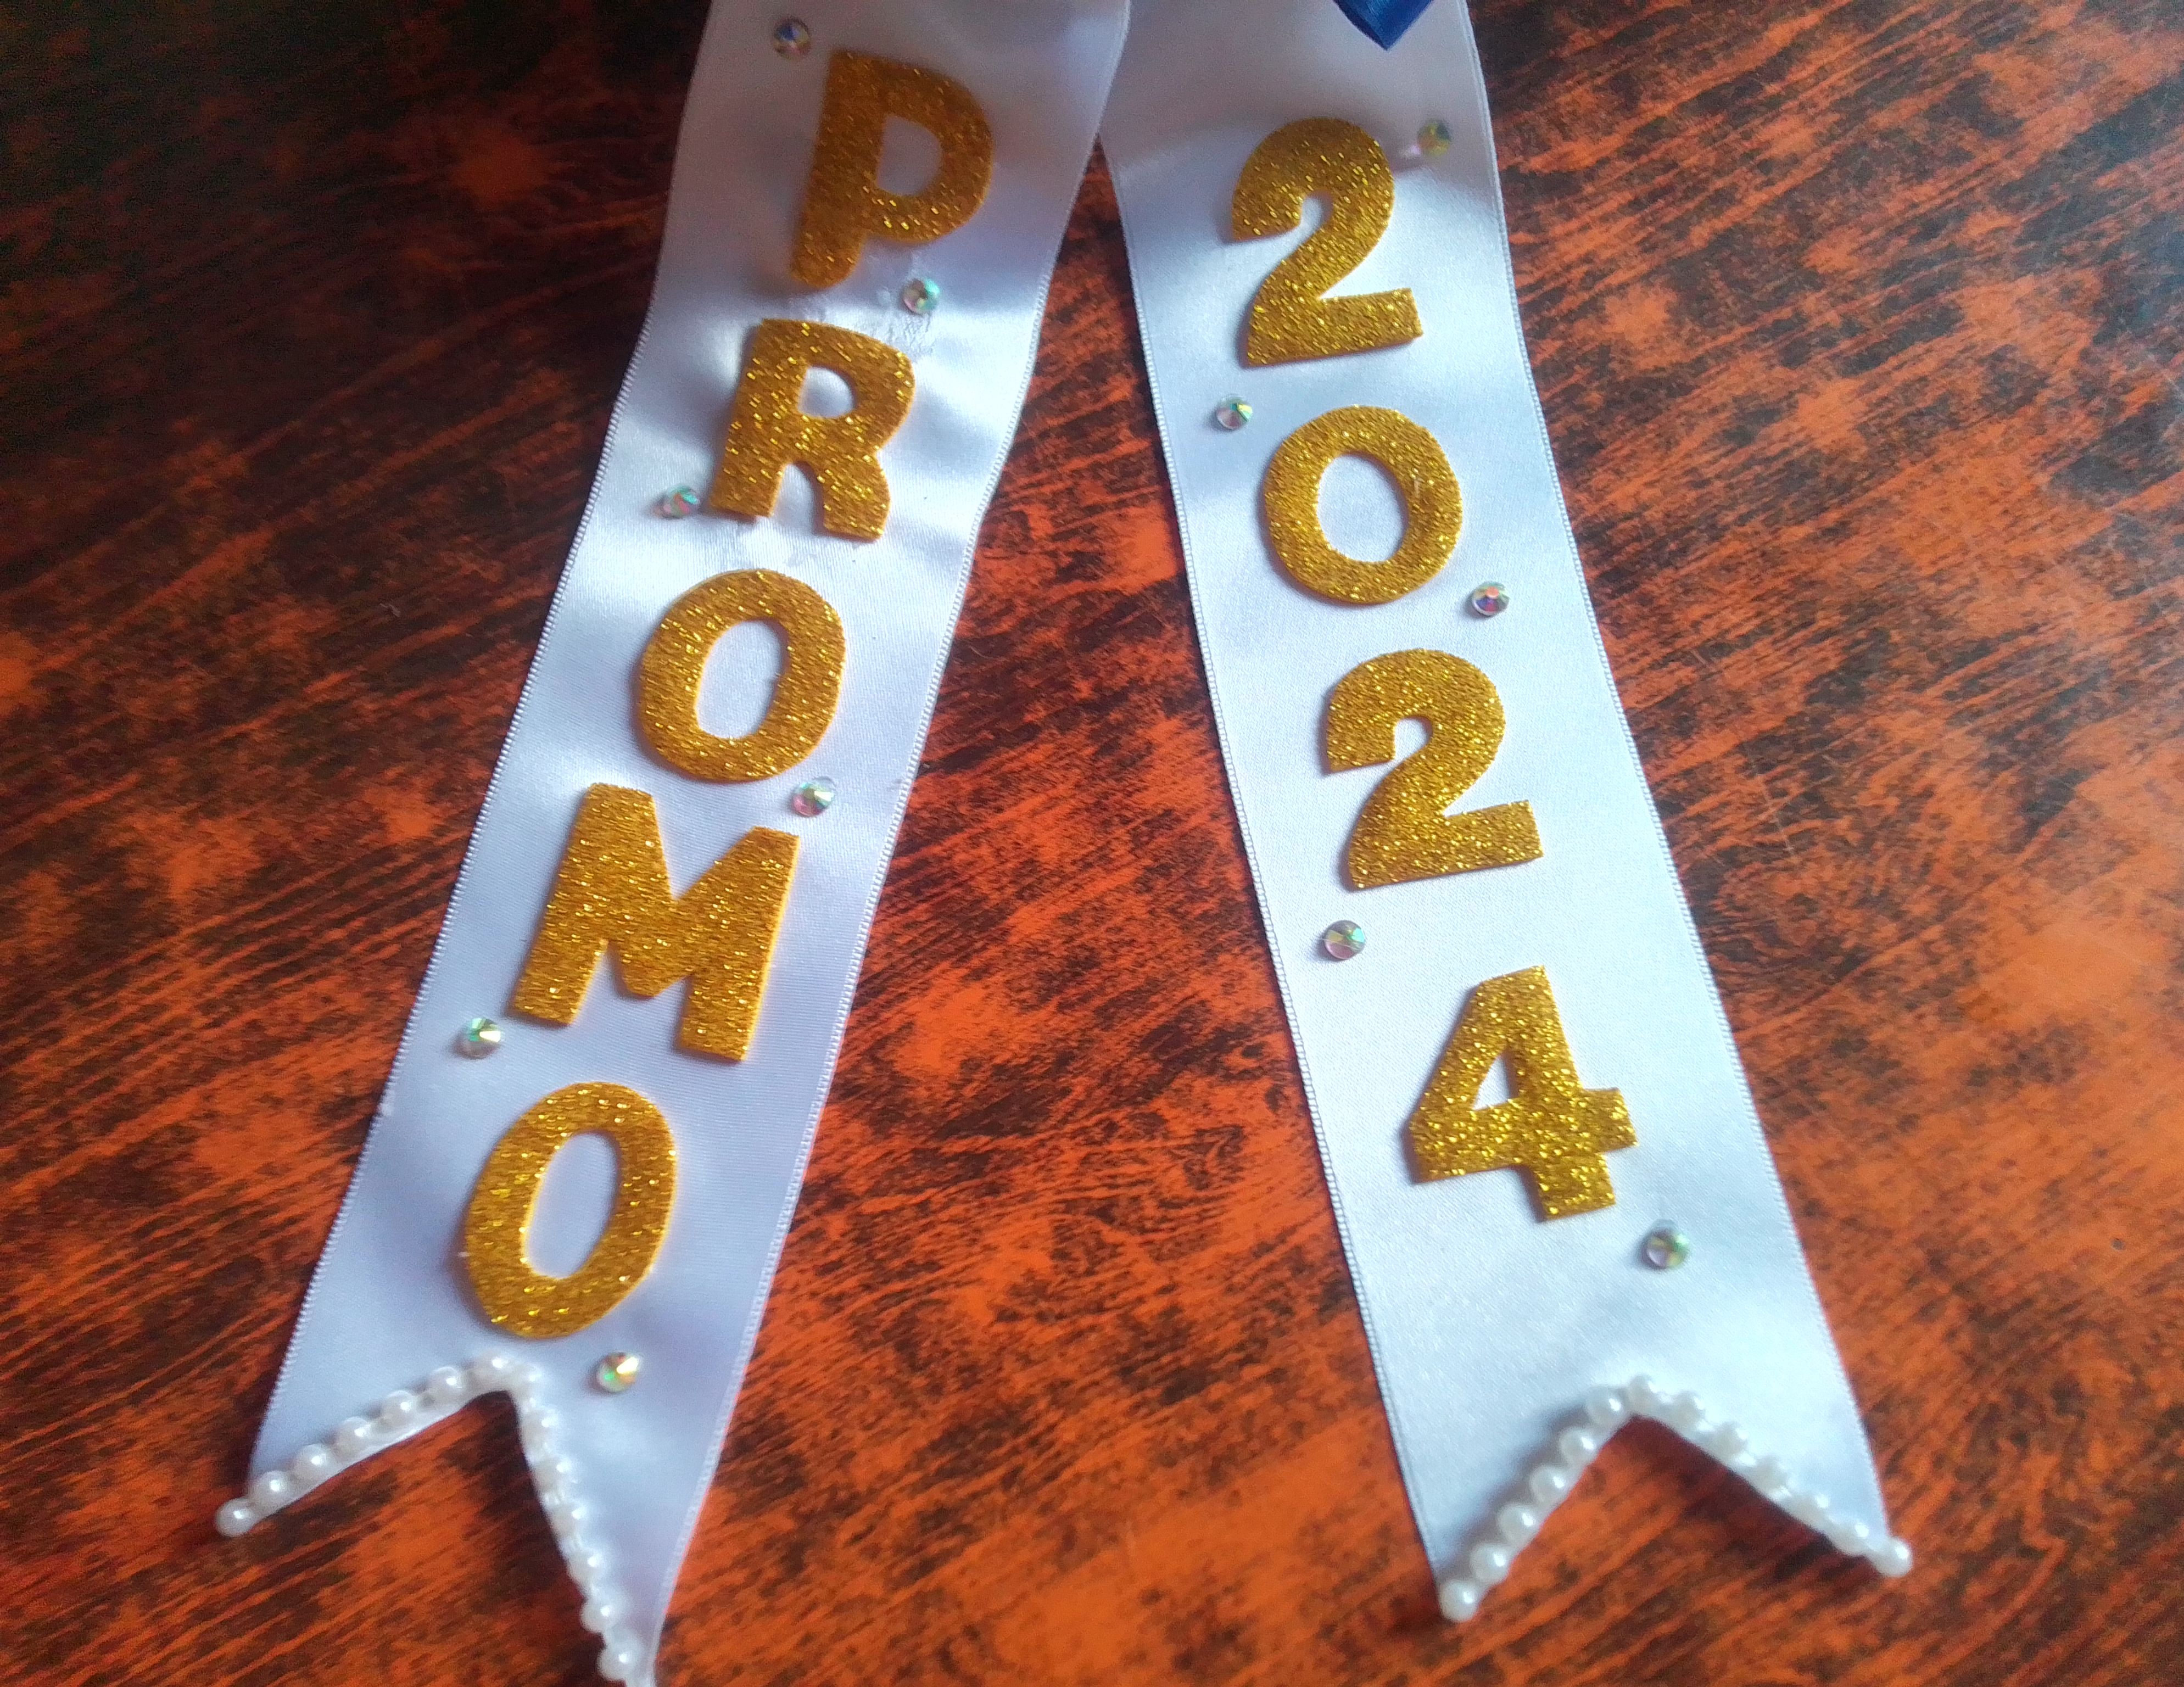
Ensamblamos una lazo con una forma de mariposas con la cintas y sujeto el centro con una encaje dorado dejando caer lo que reste de cinta. En estas pondré el año de promoción en lindas letras doradas.
Step 04
We assemble a butterfly-shaped bow with the ribbons and secure the center with gold lace, letting the rest of the ribbon fall. On these I will put the promotion year in pretty gold letters.
Resultado!
Yo quedé enamorada de este trabajo el día que lo terminé, me parece un trabajo brillante y delicado, mi clienta feliz pues resultó que esperaba... Fue una experiencia muy bonita que me incentivo a querer crear más, por lo que ese mes elaboré como cuatro de ellos, a los que solo dos tuve la oportunidad de fotografiar..
I fell in love with this work the day I finished it, it seems like a brilliant and delicate work, my client was happy because it turned out what she expected... It was a very nice experience that encouraged me to love create more, so that month I made about four of them, of which only two I had the opportunity to photograph...
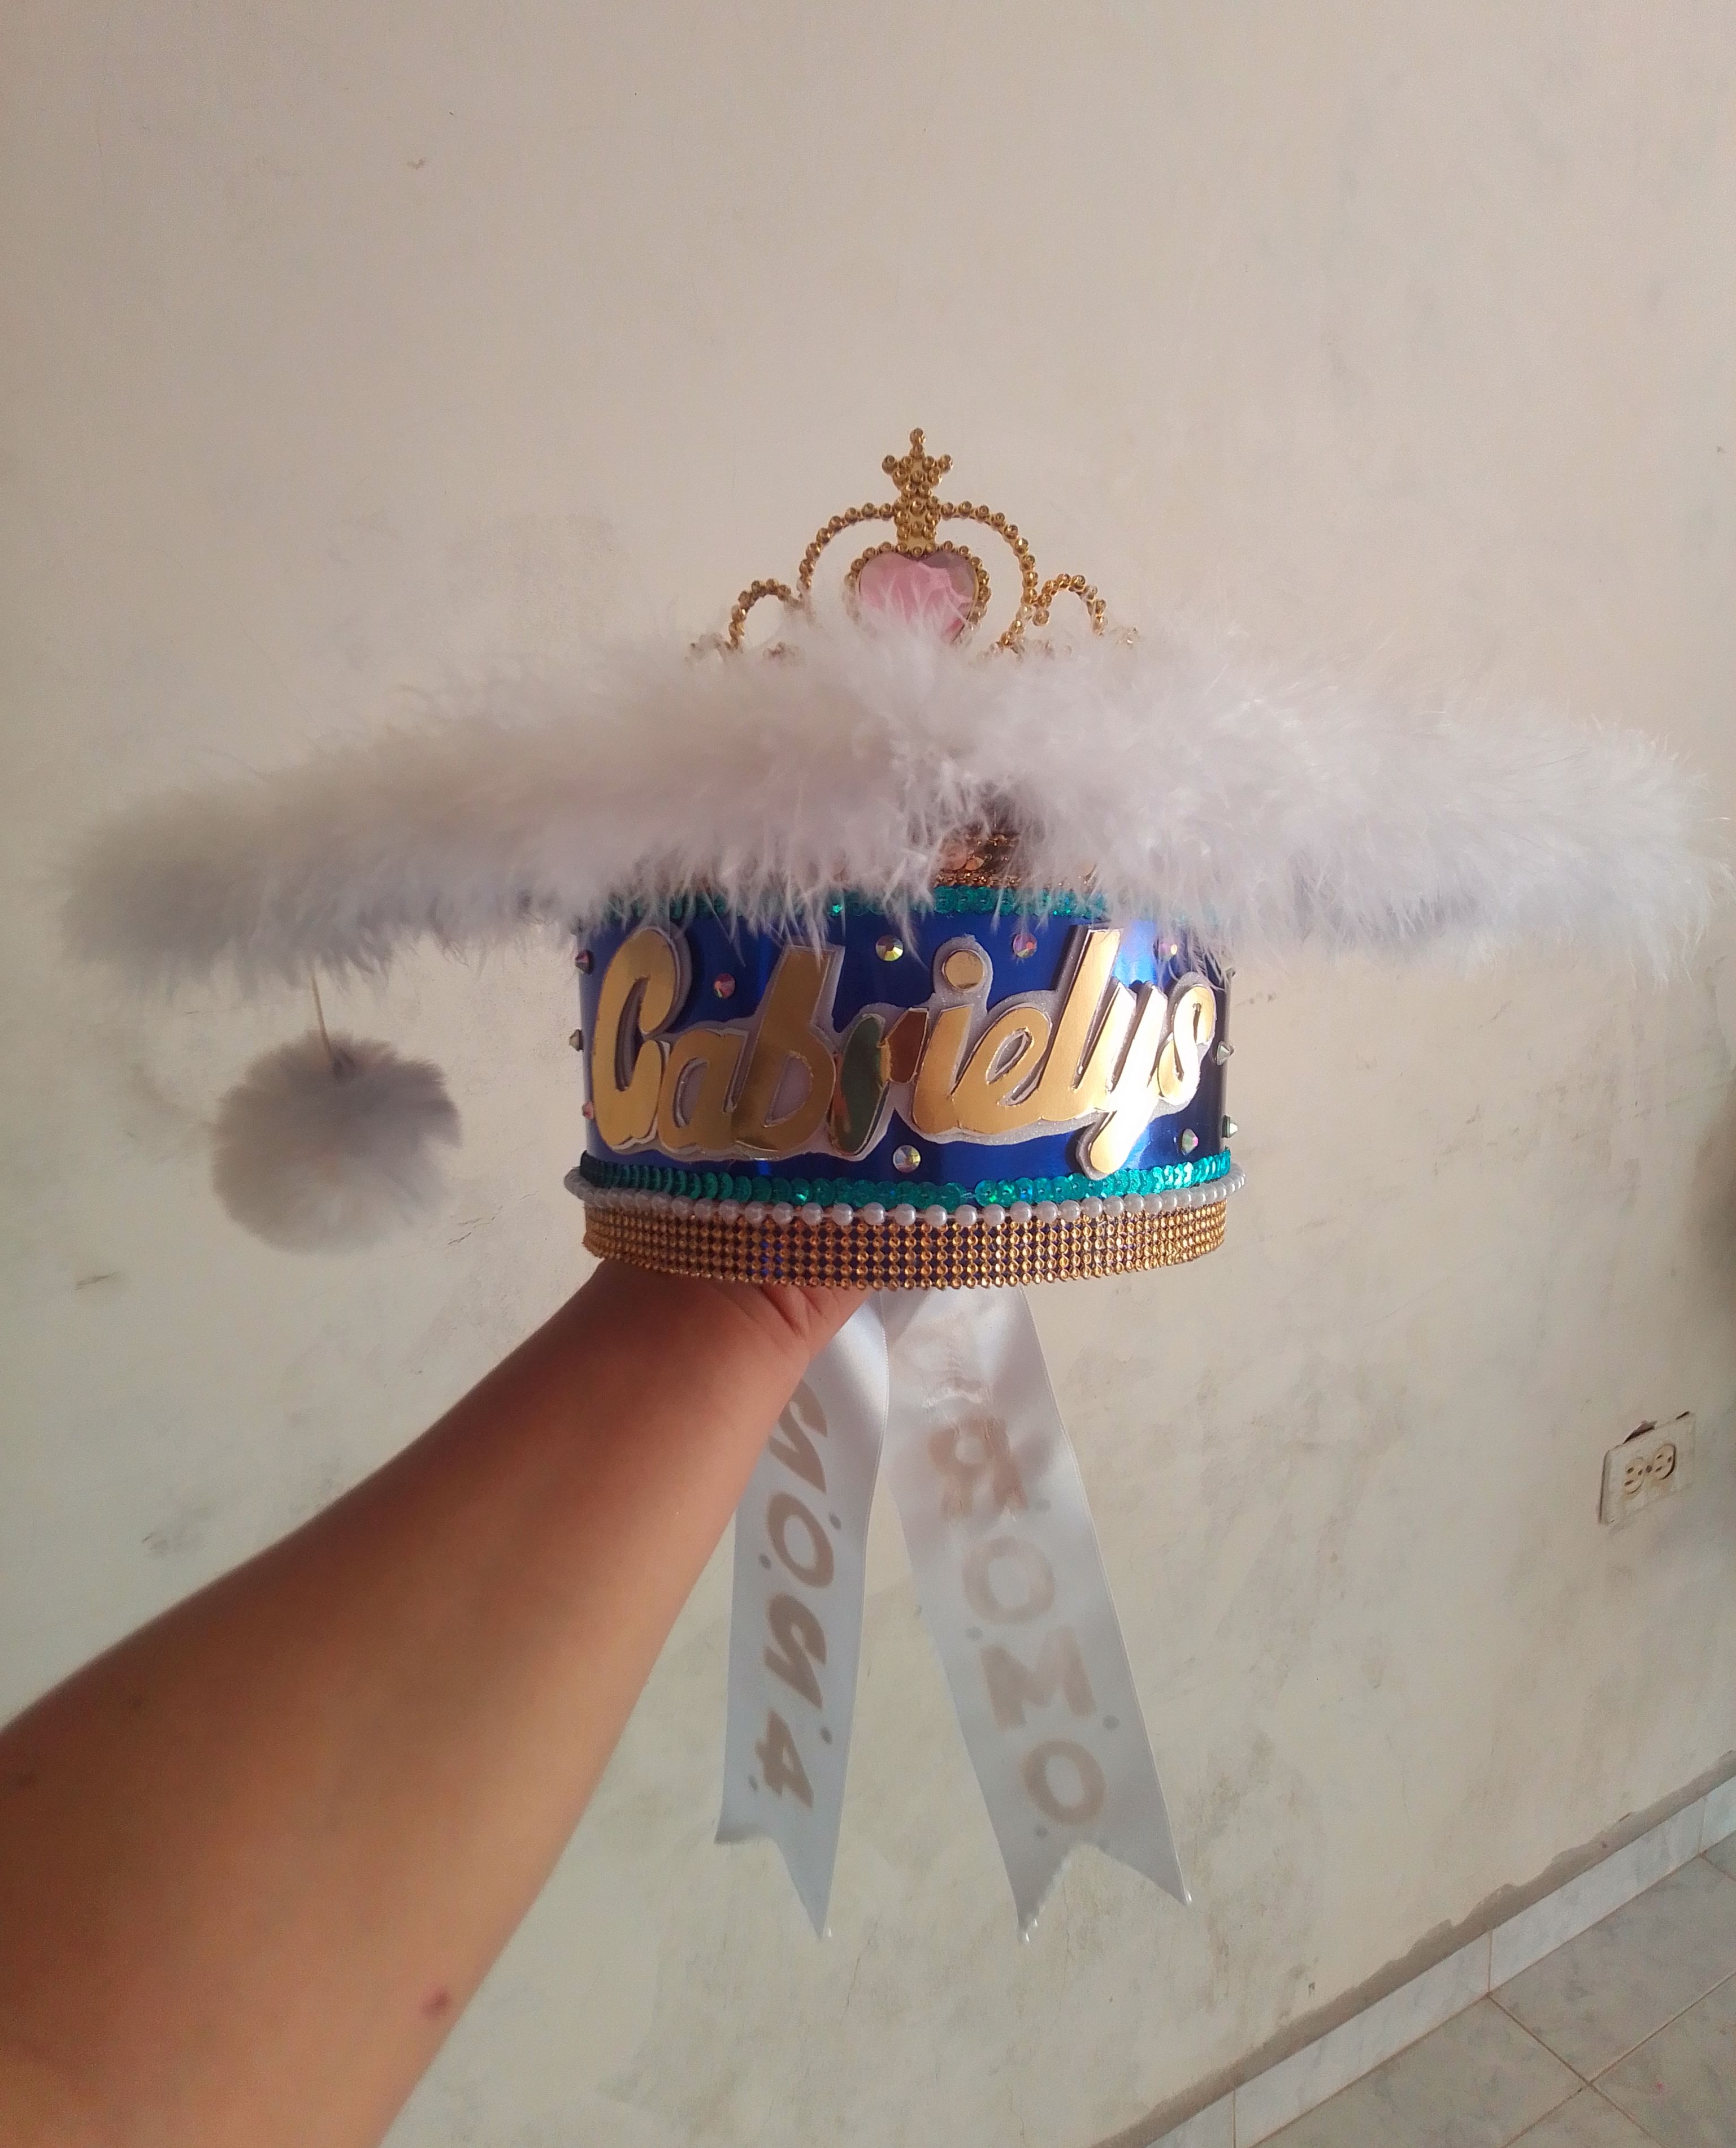
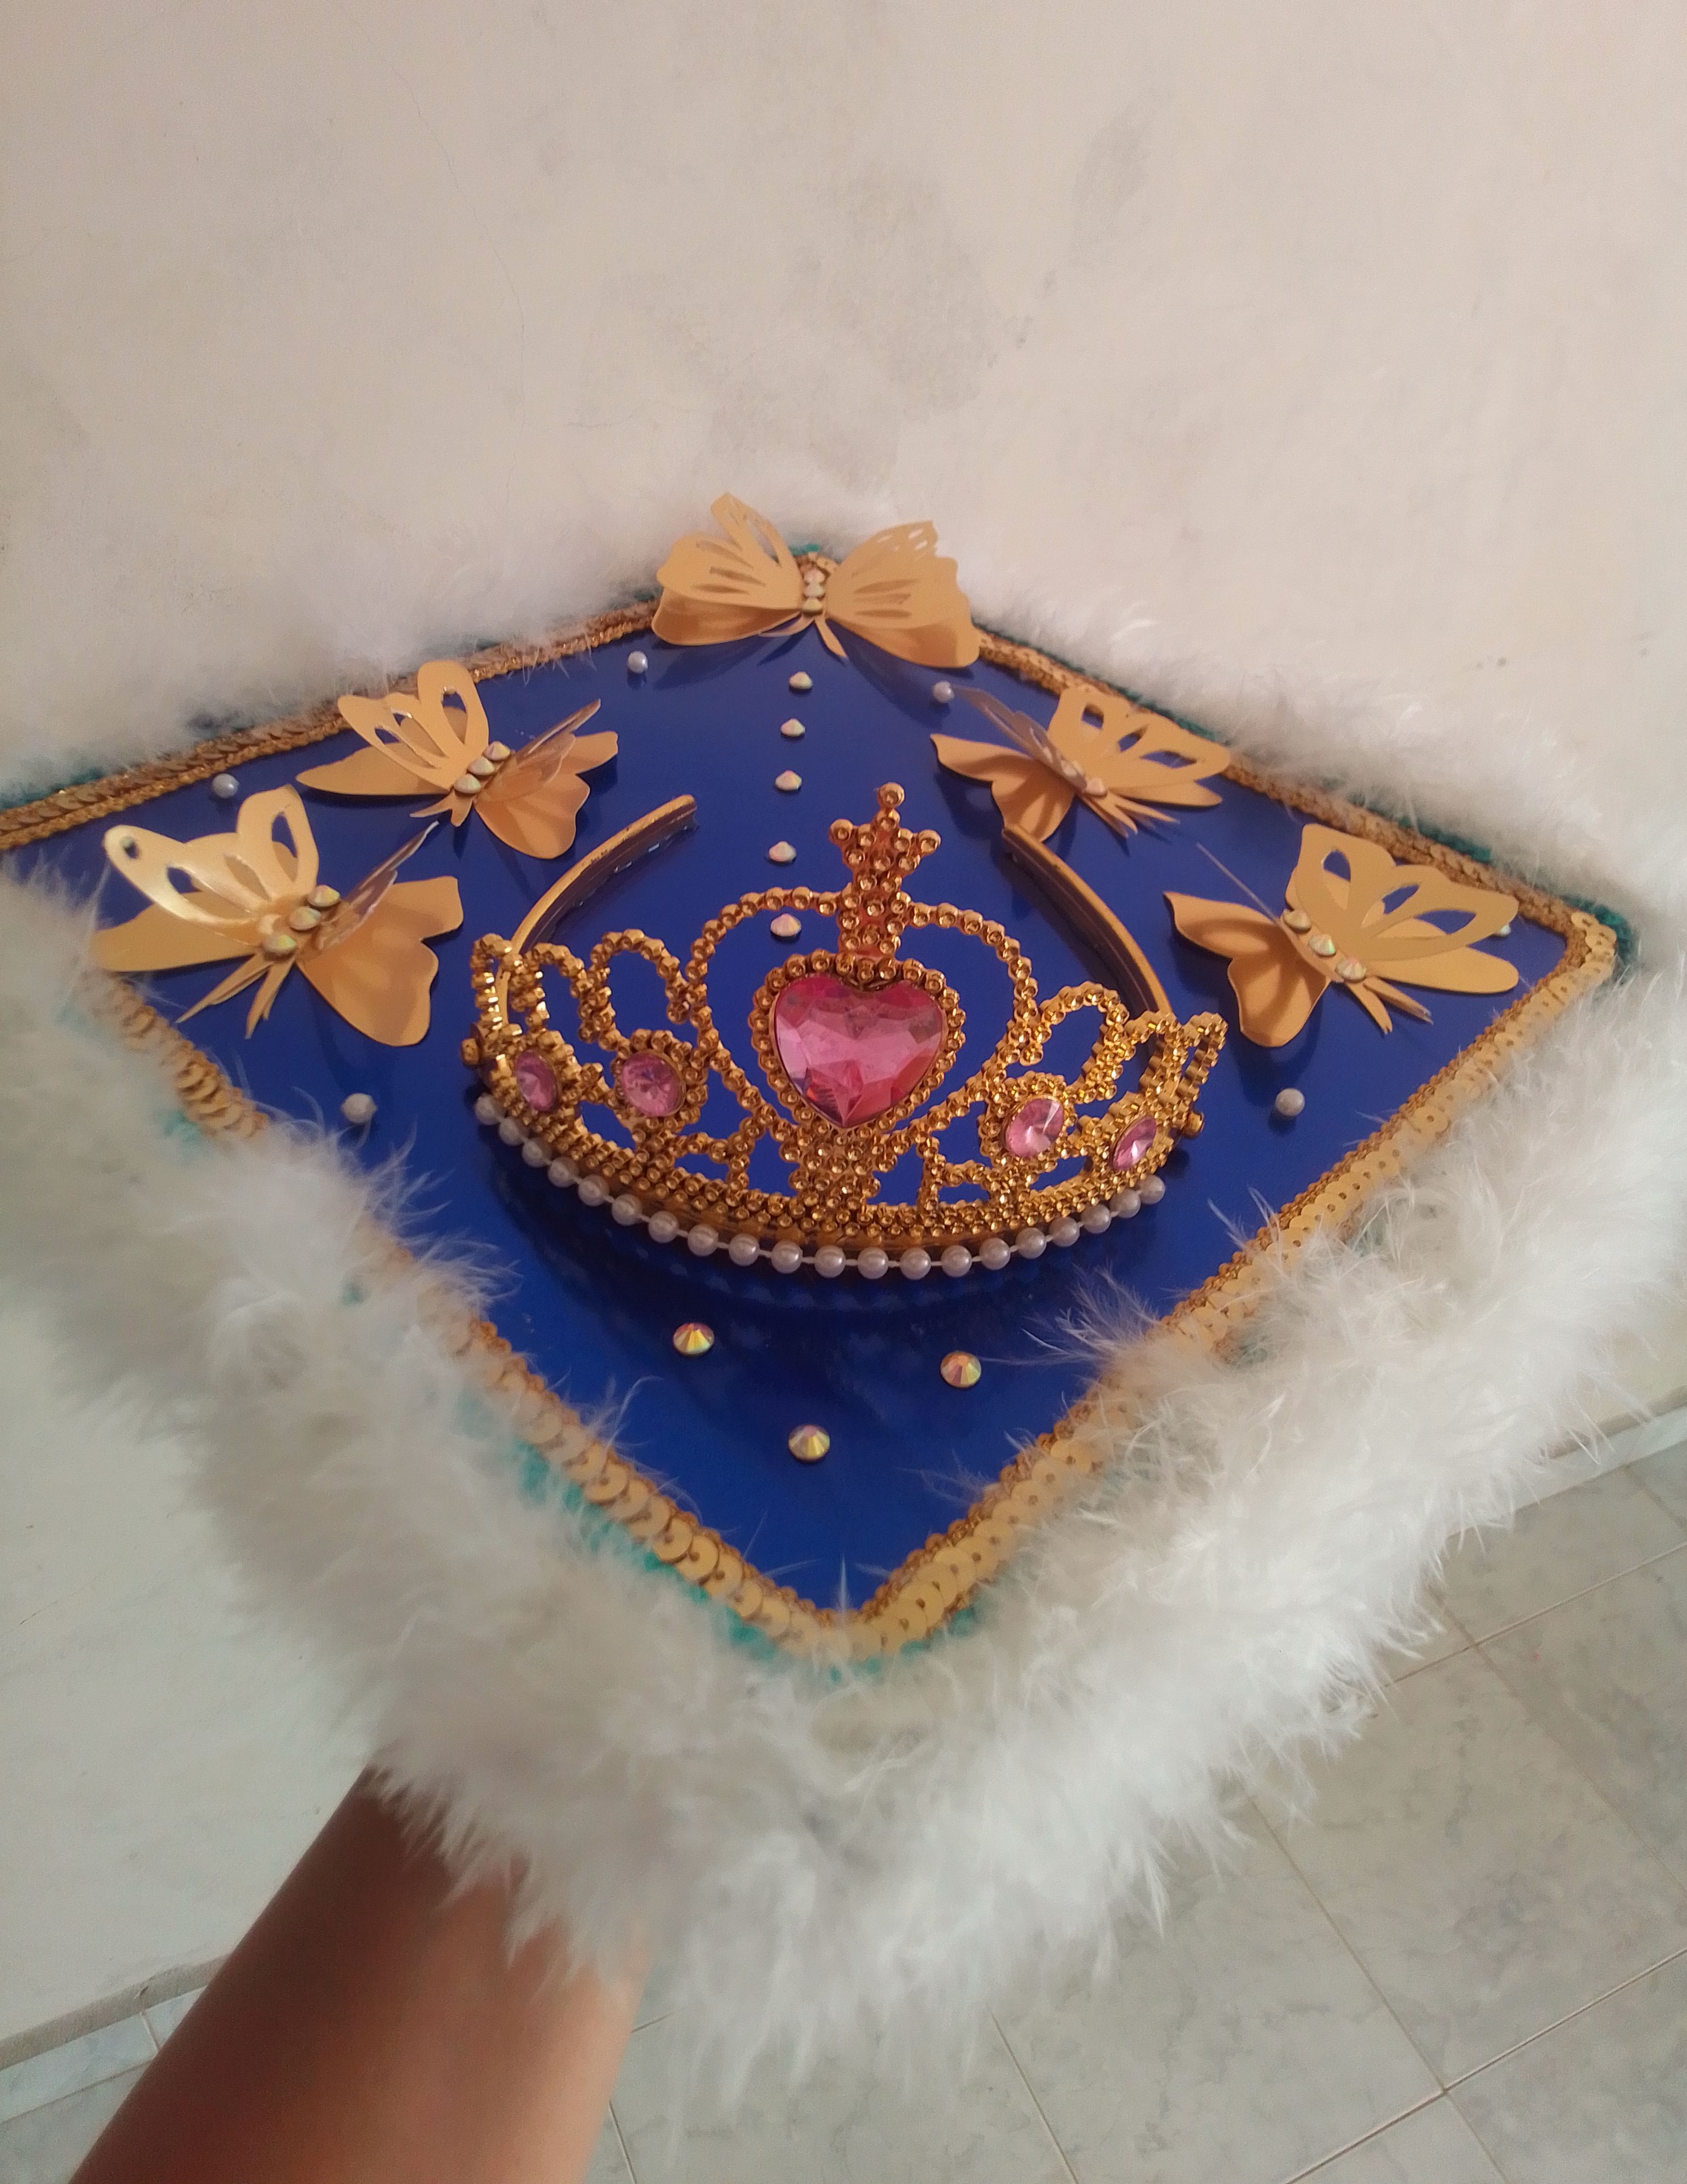
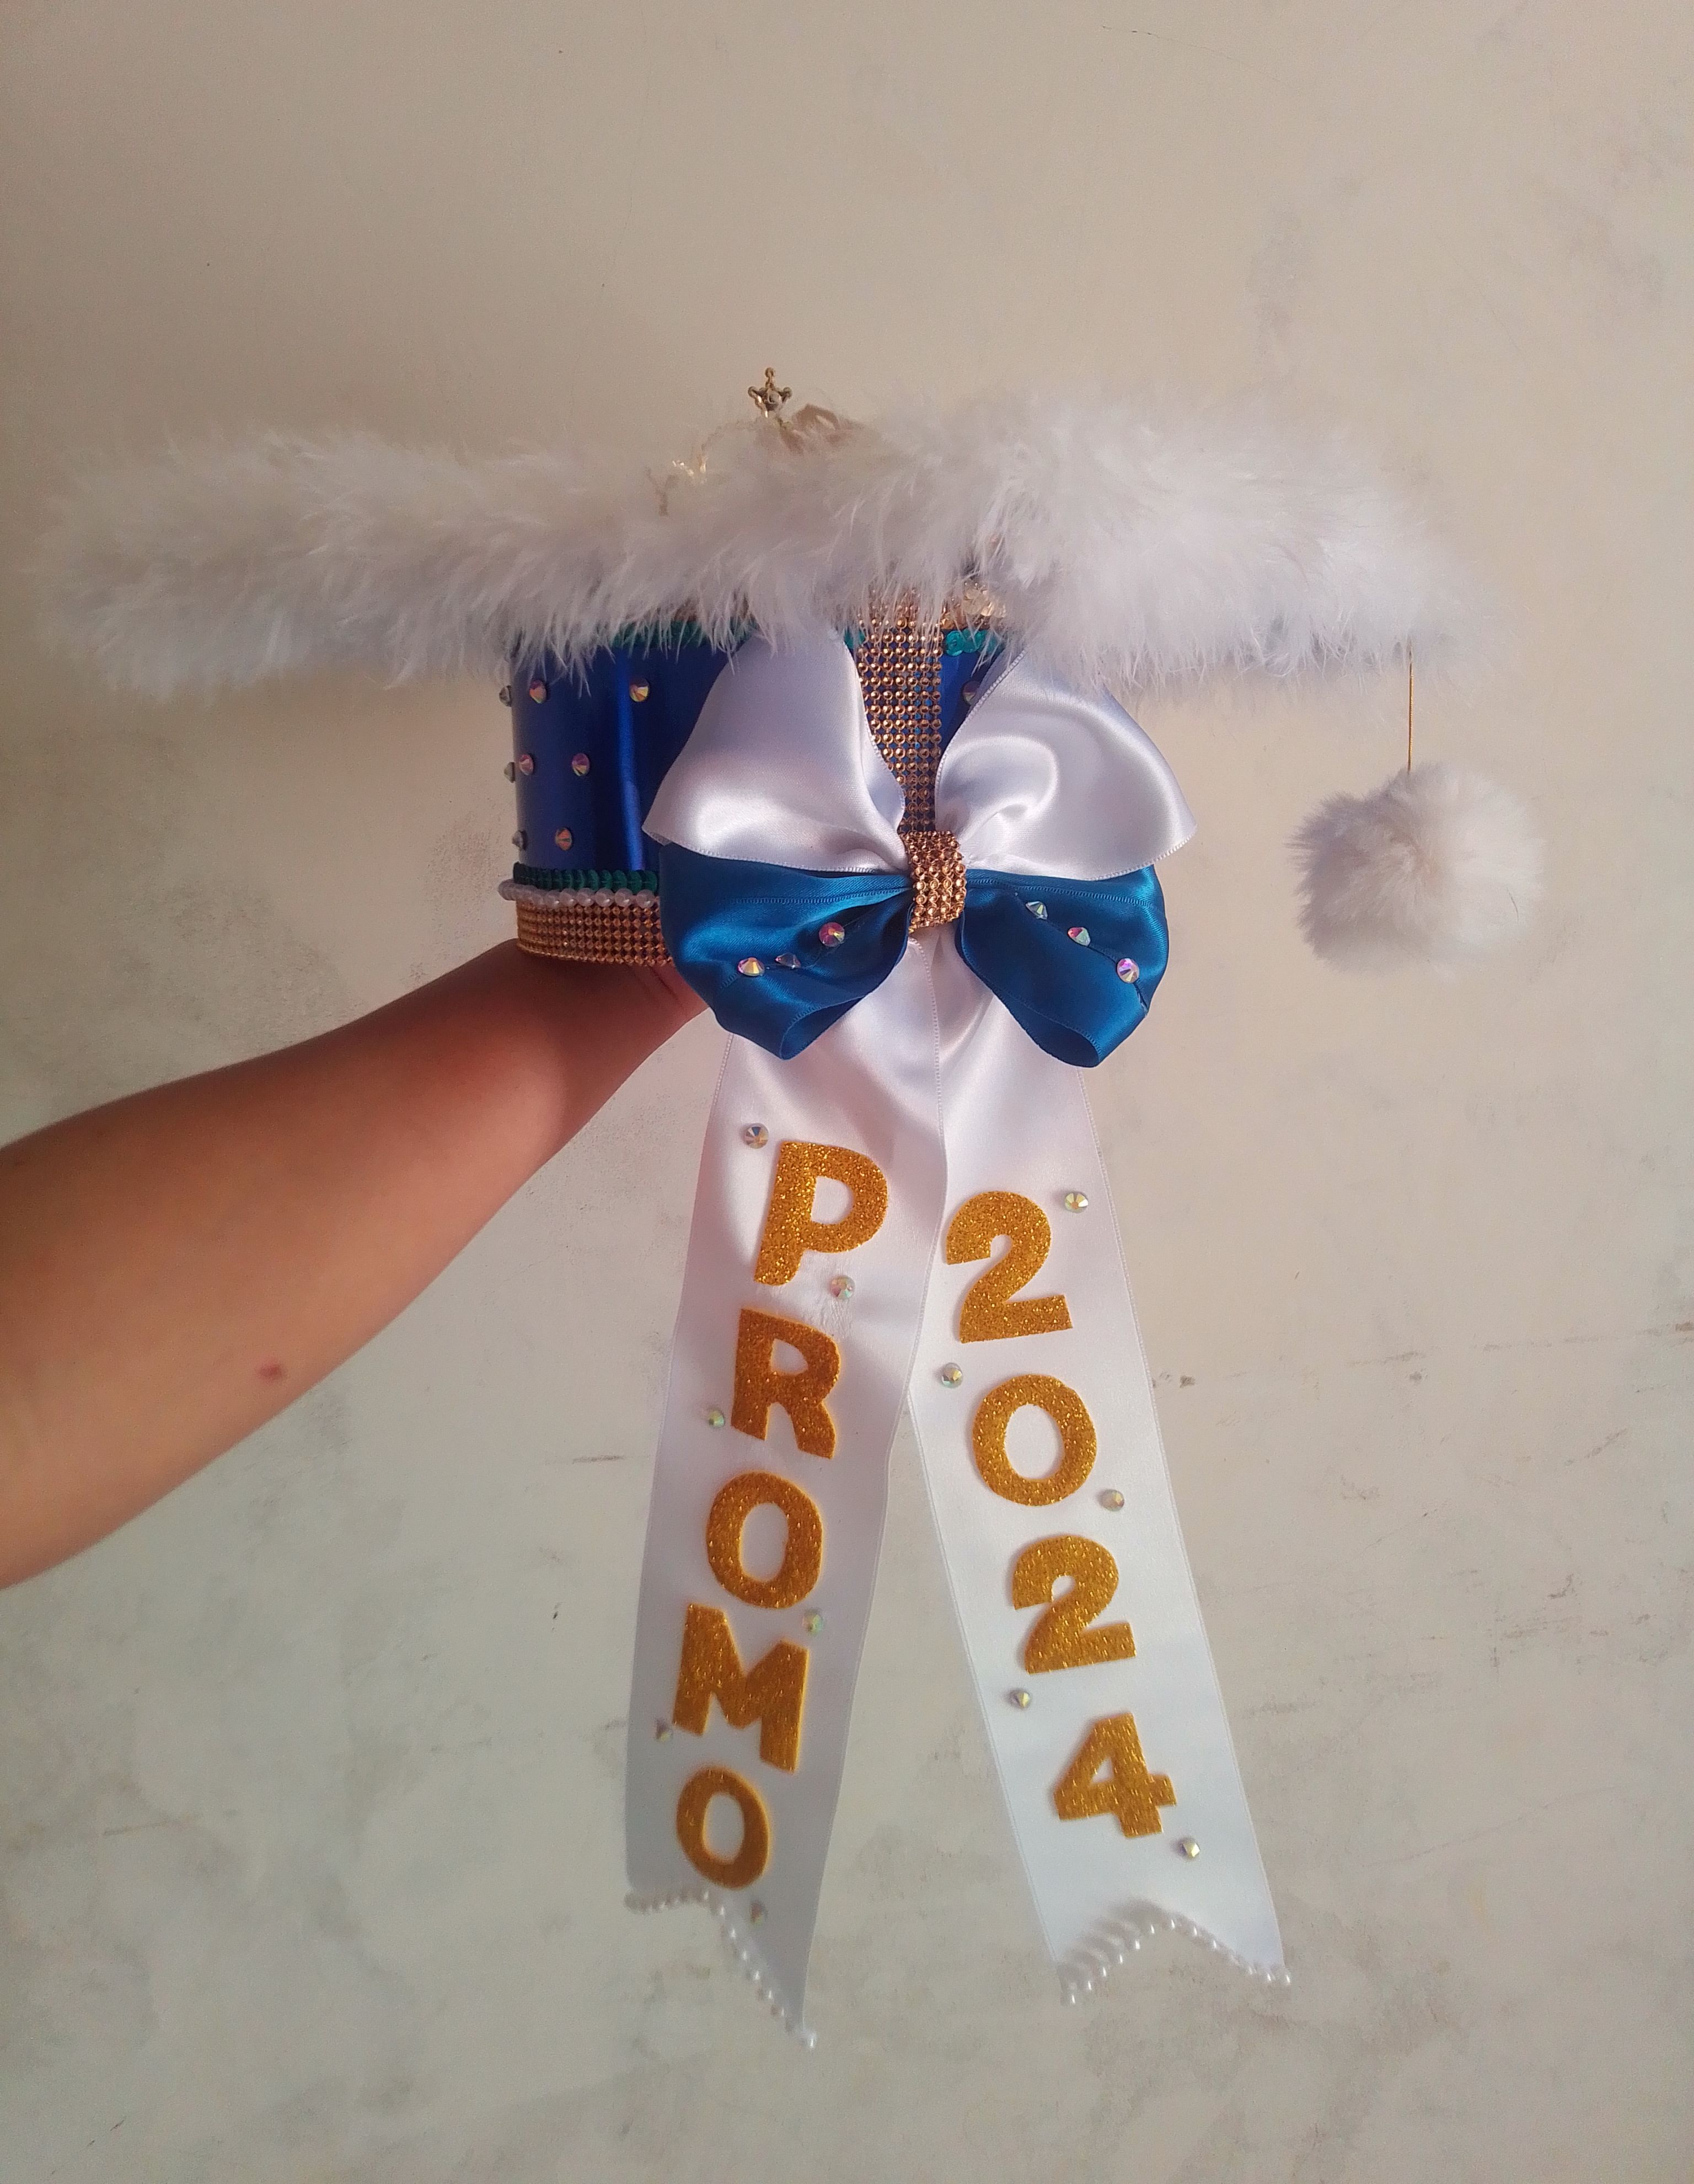
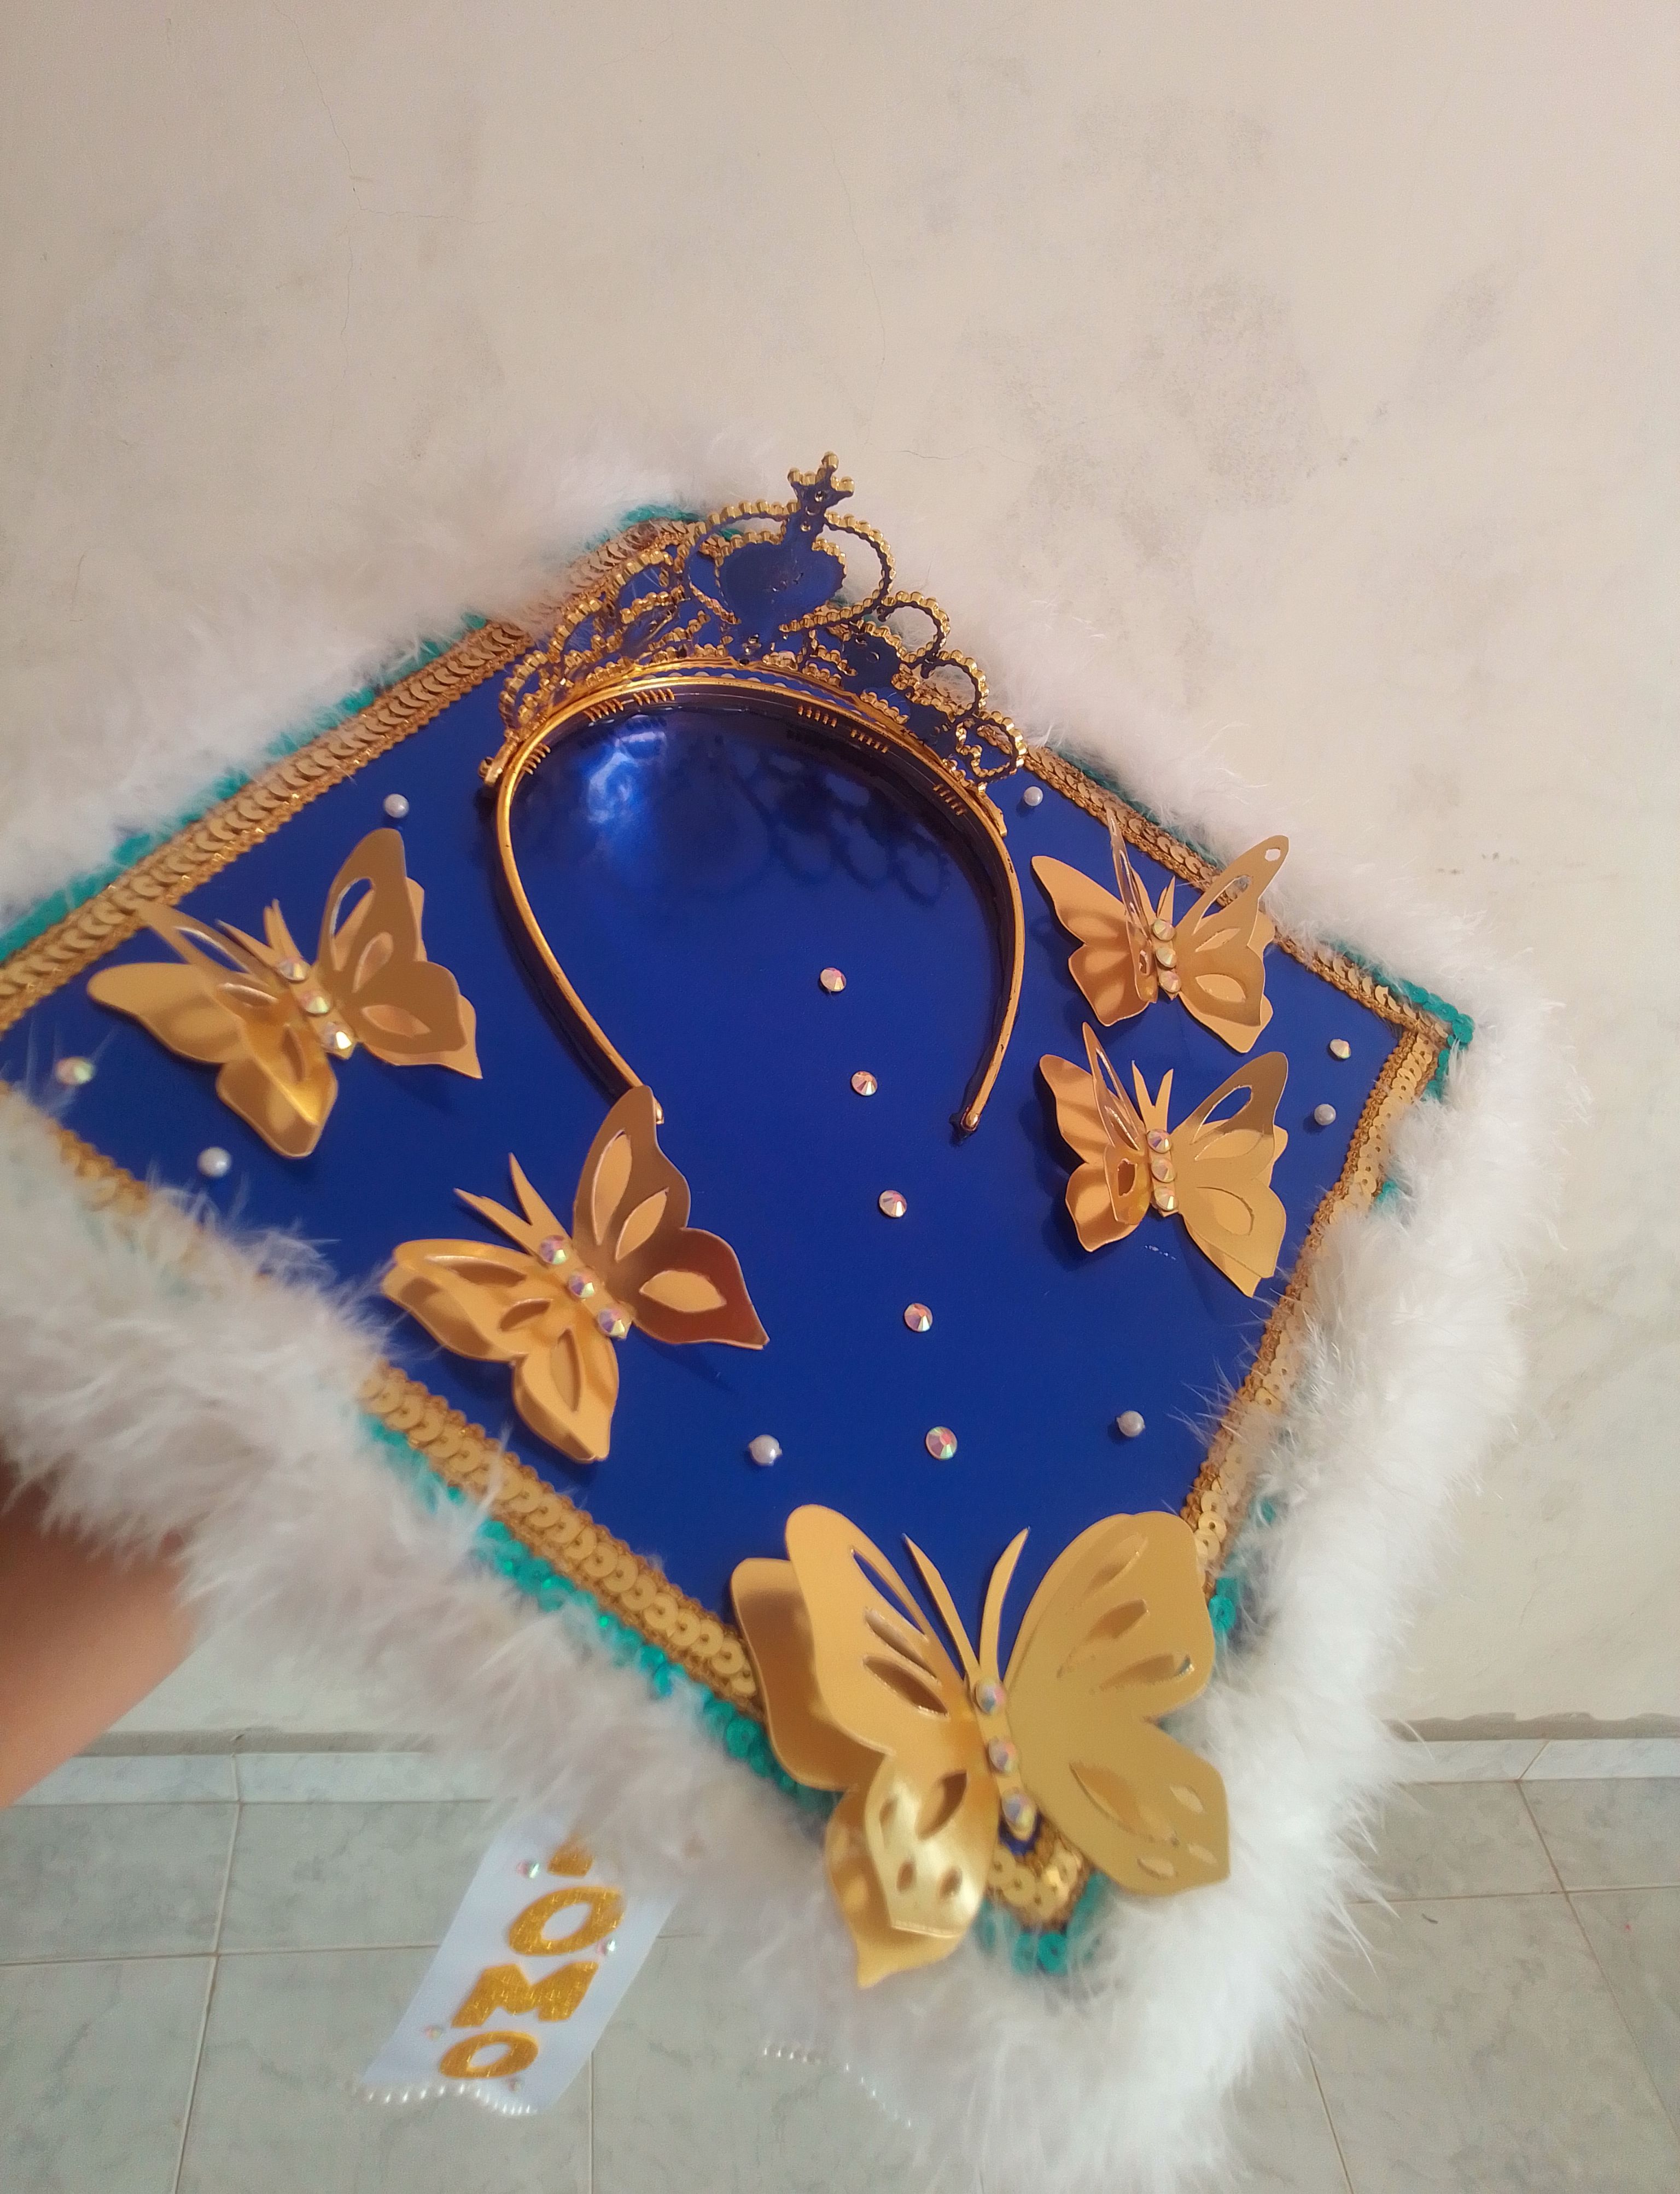
Con estas lindas fotos me despido, esperando leer su opinión y que le pareció.. Dios le bendiga mucho, nos vemos pronto!
With these beautiful photos I say goodbye, waiting to read your opinion and what you thought... God bless you very much, see you soon!
0
0
0.000
The cap is a true reflection of the graduand. Great work
Well yes... I think this modern accessory looks great on this special day!! thanks for the support!
Que trabajo tan hermoso, se nota tú dedicación en cada pasó, felicidades, quedé encantada.
Gracias mi linda..es muy grato tu comentario.. me alegra mucho.. bendiciones..
beautiful graduation hat, very creative
Thanks very much..! ❤️
This is so lovely
What a creativity
Weldone.
Thanks You! 🥰🥰🥰😘😘