Sewing a flare trousers from scrap fabrics
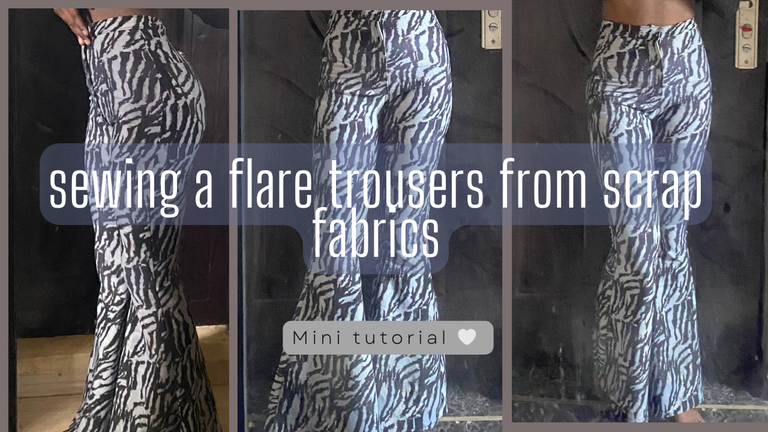
Hello, my fellow needleworkers. It is another beautiful monday to be a needleworker and to be part of this amazing community. Today, I will be showcasing a pair of flare trousers I made earlier this week.
In early March, I went to the market to stock up on fabrics. While passing through, I noticed some people selling scrap fabrics roadside. Curious, I decided to take a look and came across a stunning print fabric. While I can't definitively label it a zebra print, it certainly resembles one. Consequently, I purchased two yards of this fabric for less than $2. The quality of the fabric is pretty good; it is stretchy, thick, and has a ribbed texture.
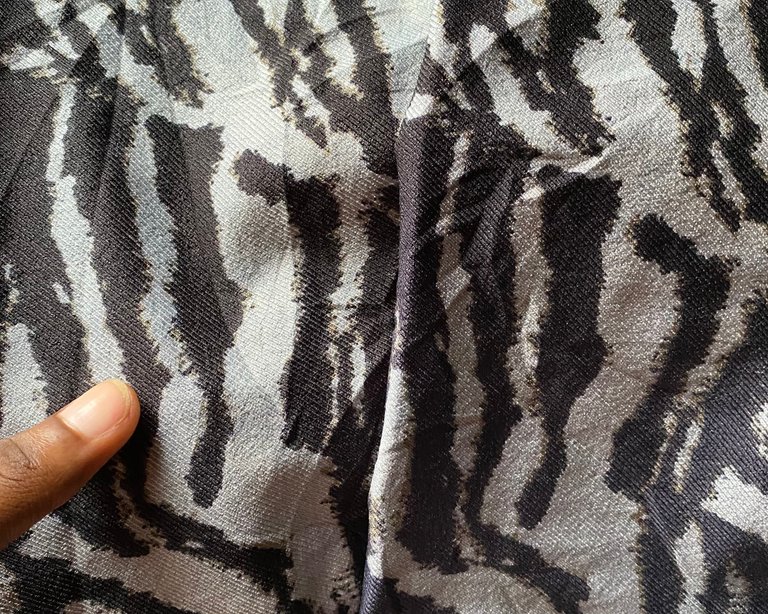
I bought this fabric on impulse, so initially, I didn't have any specific idea of what to make with it. However, given a recent low in my customer's orders, I decided to treat myself to a new outfit. Contemplating between a jacket/shirt or a pair of pants, my obsession with flare trousers ultimately won. So, I decided to my a flare trousers obviously.
I made these pants overnight, using approximately 6 hours in the process. This timeframe includes cooking and eating while sewing. Living alone, I cannot dedicate entire days to sewing, so I often multitask during the process, unless it is an urgent order. This approach saves me considerable time, allowing me to complete household chores concurrently with my sewing.
Now, I would like to share my process with you. If interested, please continue reading.
Step one: cutting
Firstly, I cut the front pieces. I want the trousers to be a bit tight so I reduced my measurements by one inch since the fabric is stretchy. I started the flare from the knee down to the floor.
 |  |
Secondly, I place the front piece on the folded fabric and cut out the back adding two inches for the sewing allowance. The back is 2 inches higher than the waistline and the front I lowered by 1 inch from the waistline.
 |  |
Thirdly, I cut the back pockets

Lastly, I cut the fly and band


Step two: sewing
I started by sewing the back crotch and topstitching it, then I attached the pocket to it.

I sew the front crotch and left 8 inches zip allowance
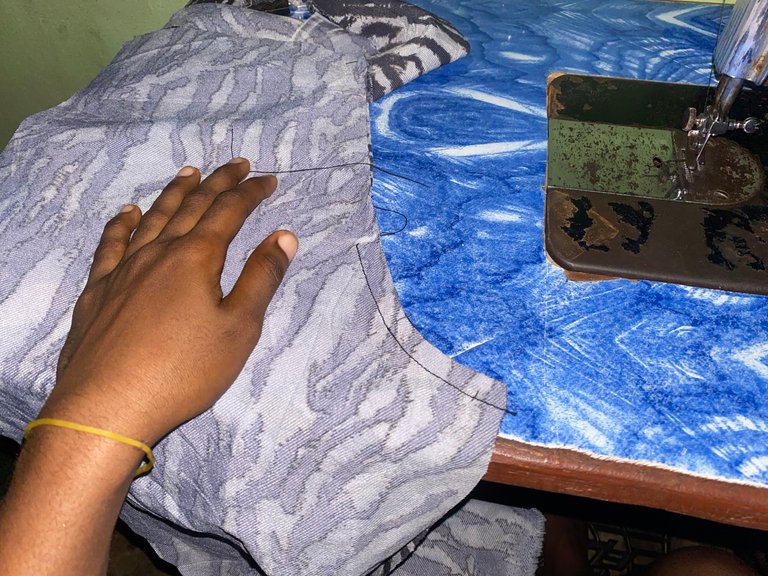
I see the zip and fly to the front crotch
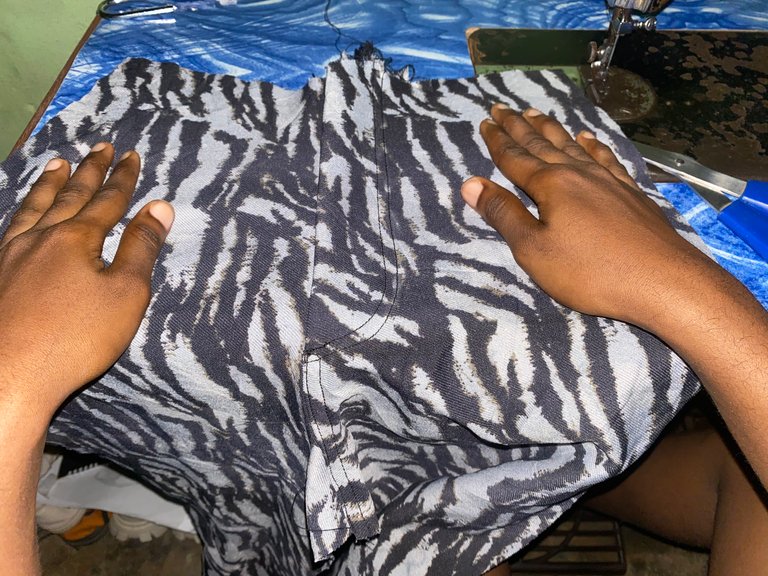
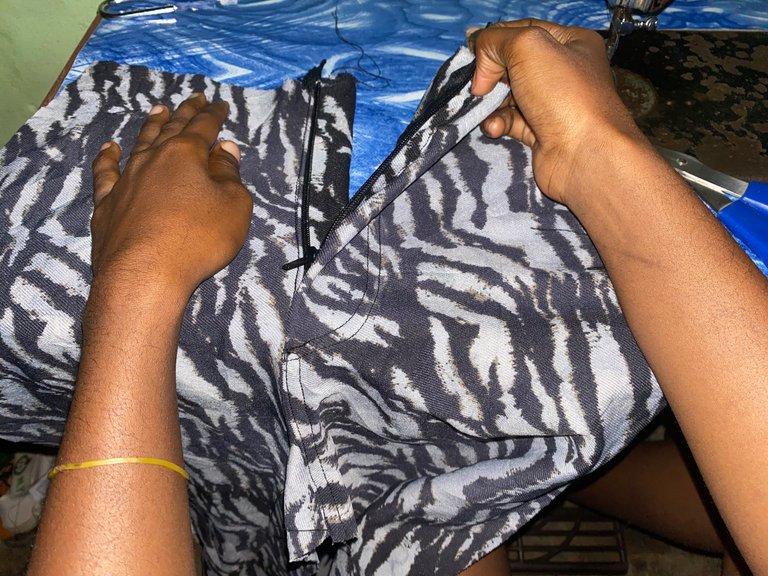
I sew the front and back together

I attached the band to the waist

I sew the hem of the flare
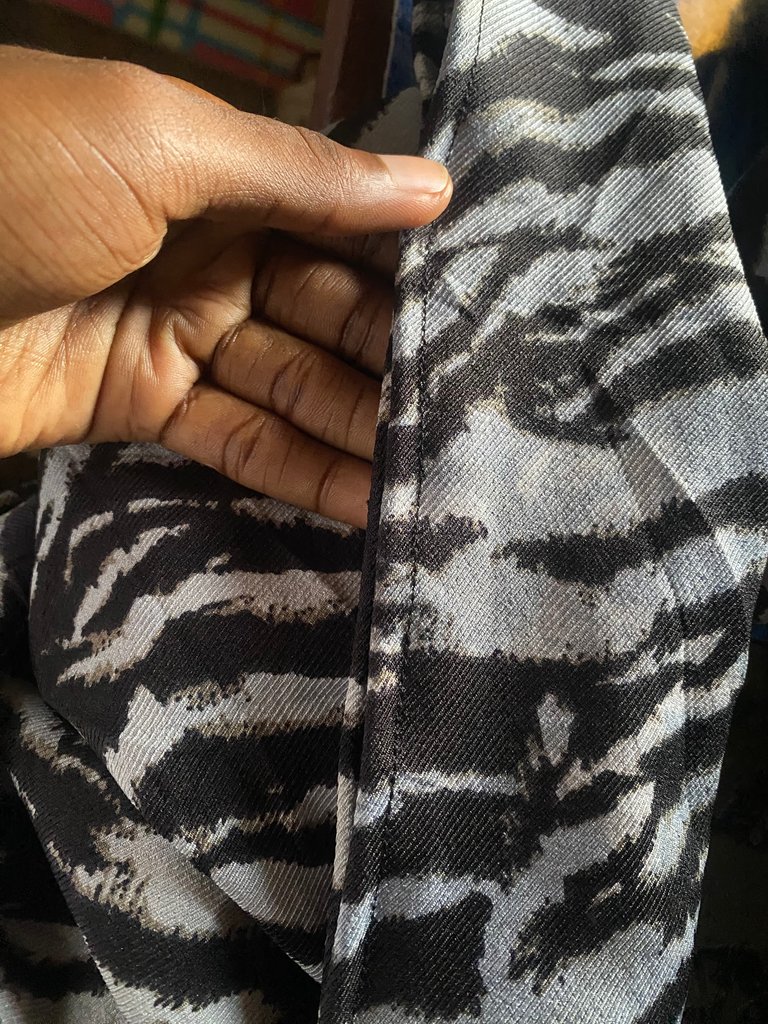
This is the final result, I hope you like it


Thanks for reading my blog, and have a fabulous monday ✨❤️
All images are mine, thumbnail created by canva
I'm glad your obsession for flare trousers won. This flare trouser you made is absolutely amazing.
You should be doing sewing tutorials for people.
Aw, I'm glad you like it. That's a good suggestion I will look into it, thank you :)
Wow this trousers looks fitting and beautiful.
You did an amazing job here.
Thank you so much
Rayoooo!!!!
No oo i won’t do
Please I want this o🥹🥹 Rayoo now
I’m your best friend remember?🥹
I love this so much, you are so good at this
😂😂 Ei be calming down
I can’t keep calm o🥹🥹
You have to 😂 else she won’t give it to you
😂😂😂
😂😂Really 😂, I wish you were close, I would have made one for you for free ☺️🤗
Thanks for commenting ❤️
I’m making plans for it because I need this in my wardrobe 😭
Really? that's nice, it will defiantly look awesome on you😍
I know right🥹
Wow, this looks amazing Rayo. This definitely deserves to be on the runway 😎
Aw, that's so sweet of you. Thank you so much 🤗
Congratulations @rayoo! You have completed the following achievement on the Hive blockchain And have been rewarded with New badge(s)
Your next target is to reach 600 replies.
You can view your badges on your board and compare yourself to others in the Ranking
If you no longer want to receive notifications, reply to this comment with the word
STOPCheck out our last posts: