Restauración de una vieja calabaza | Restoration of an old pumpkin
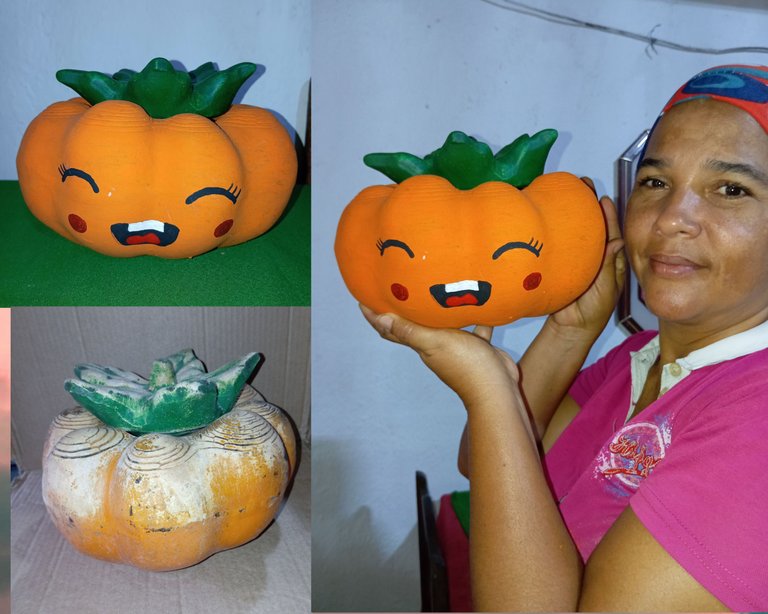
Hola buenas noches amigos , espero que se encuentren bien , saludos , dios les bendiga , hoy les quiero compartir como restaure una vieja calabaza , la cual fue un regalo muy especial de hace aproximadamente 9 años , como está intacta y es linda para decorar nuestras cocinas , no quise botarla , ya que solo boto su pintura y está intacta , quise realizarle aparte de pintar la , un diseño adicional , un rostro kwaii
Hello good evening friends , I hope you are well , greetings , god bless you , today I want to share with you how I restored an old pumpkin , which was a very special gift from about 9 years ago , as it is intact and is nice to decorate our kitchens , I did not want to throw it away , since I only throw away his paint and is intact , I wanted to perform apart from painting the , an additional design , a kwaii face.
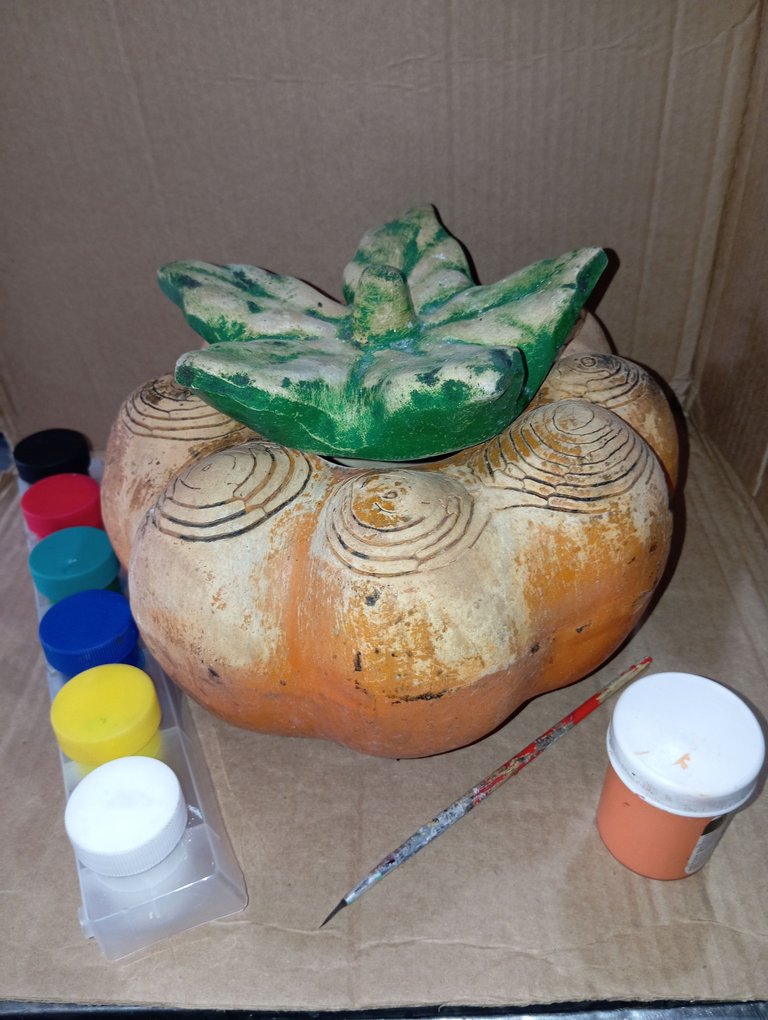
Materiales qué utilicé:
-Pinturas
-Pincel
Materials I used:
-Paints
-Brush
Pasos para la restauración de nuestra calabaza :
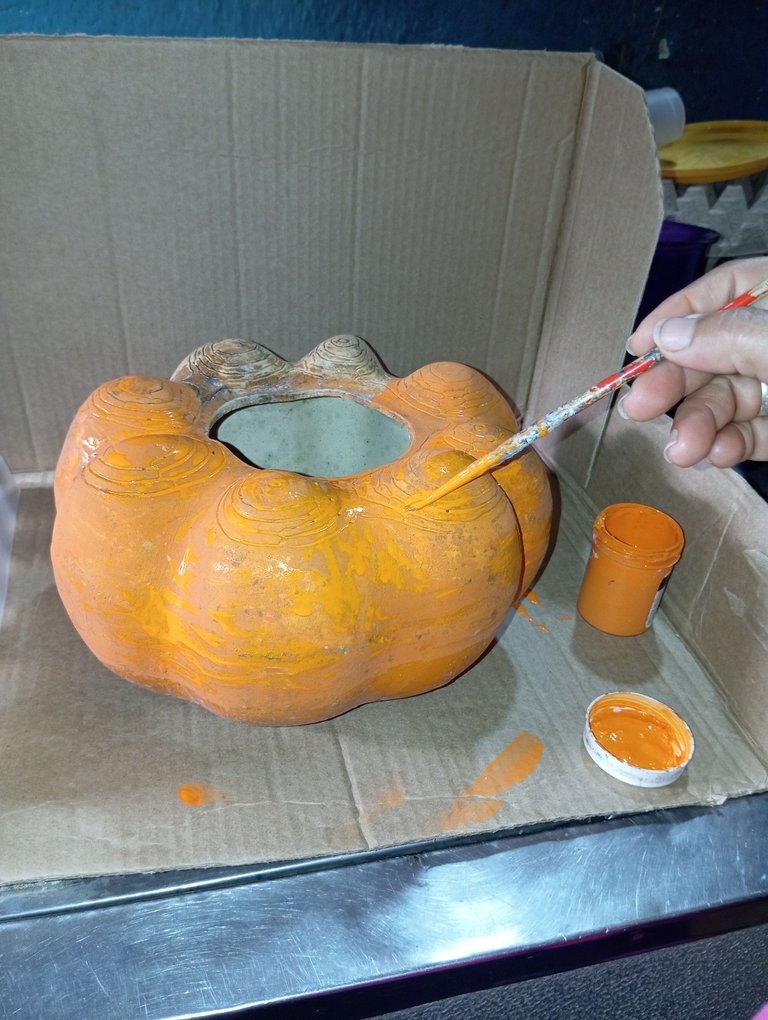
Paso 1: comencé primeramente agregando color naranja a mi calabaza ya que anteriormente ella era de este color como lo pueden observar , apliqué bastantes capas para que pudiera agarrar el color ideal , cada capa que apliqué dejé reposar unos minutos para luego repasar nuevamente y no se dañe la pintura
Steps for the restoration of our pumpkin:
Step 1: I started first adding orange color to my pumpkin because previously she was of this color as you can see, I applied several layers so that it could grab the ideal color, each layer I applied let stand a few minutes and then go over again and not damage the paint.
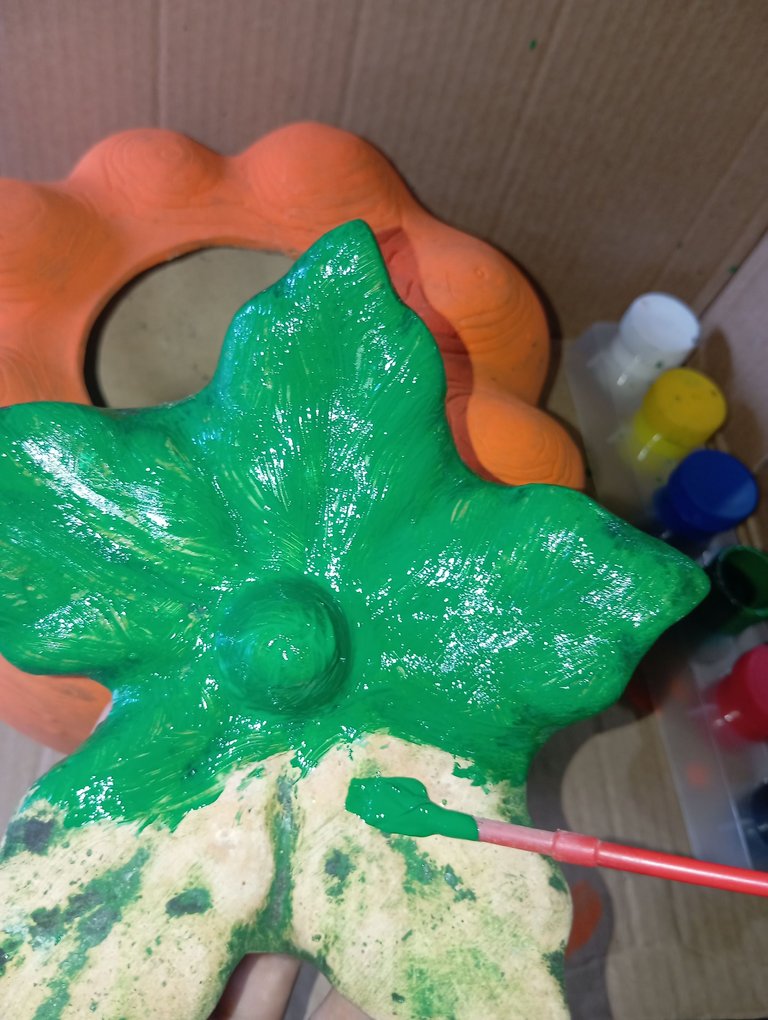
Paso 2: cuando la calabaza se encuentre lista ,dejamos secar lo suficiente, en este segundo paso vamos a continuar pintando las hojas de la calabaza que en este caso será la tapa ya que esta calabaza se guarda aliños o objeto dentro , al igual que en la calabaza, retoque la pintura del mismo color anterior , cada mano que pasaba dejaba secar para que quedara bien
Step 2: when the pumpkin is ready, let dry enough, in this second step we will continue painting the leaves of the pumpkin that in this case will be the lid as this pumpkin is kept dressings or object inside, as in the pumpkin, retouch the paint the same color as before, each hand that passed let dry to make it look good.
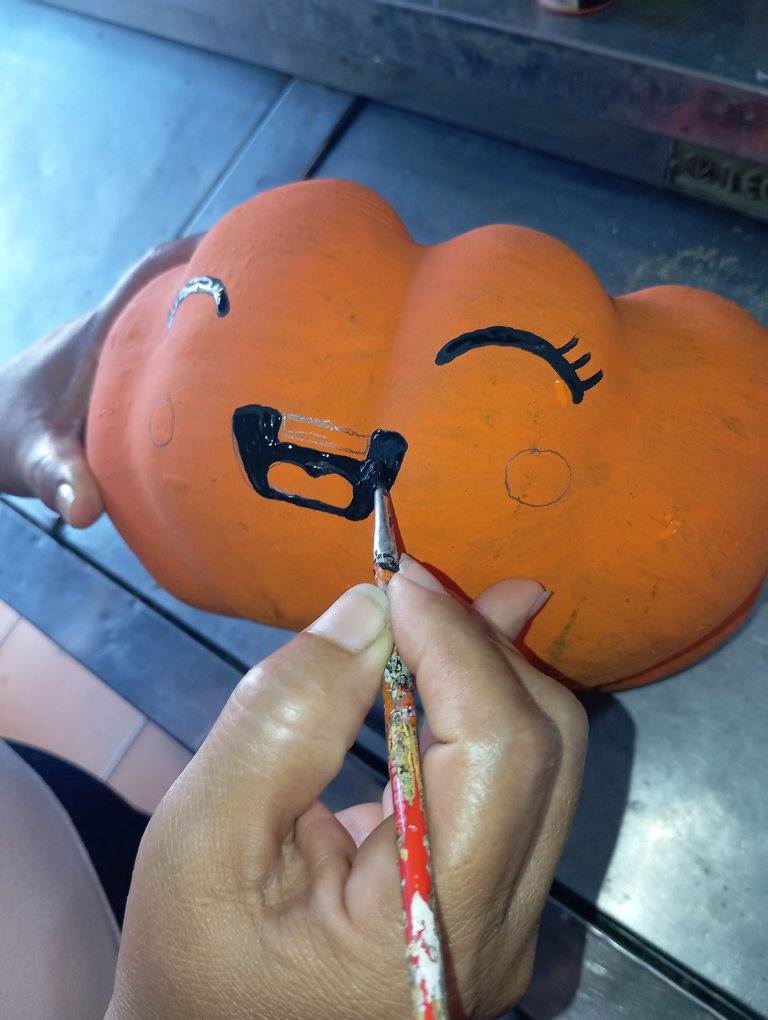
Paso 3 : por último cuando la pintura este seca vamos a continuar realizando un rostro kwaii a la calabaza para que demuestre un rostro alegre y luzca muy bien en nuestra cocina , finalizando nuestra restauración
Step 3: finally when the paint is dry we will continue making a kwaii face to the pumpkin to show a cheerful face and look great in our kitchen, finishing our restoration.
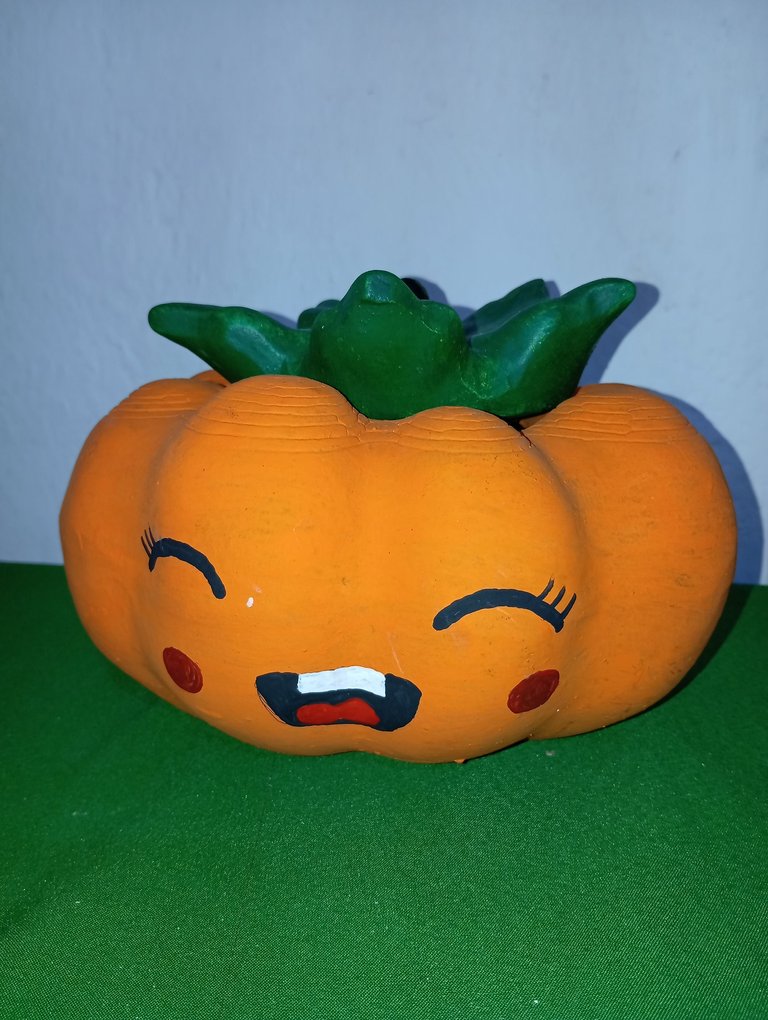
De esta manera realicé la restauración de una vieja calabaza la cual pertenecía a mi madre y paso a ser mía, ideal para decorar nuestras cocinas y al mismo tiempo guardar aliños o objetos, que pasen una bella noche amigos , bendiciones
In this way I made the restoration of an old pumpkin which belonged to my mother and became mine, ideal for decorating our kitchens and at the same time to store dressings or objects, have a nice evening friends, blessings.
https://twitter.com/hivediy47901/status/1747785640308064607