Mariquita tipo 3D elaborada con material reciclado | 3D type ladybug made with recycled material
Buenas noches un saludo cordial y abrazo desde la distancia, Dios les bendiga a todos , hoy les quiero compartir un tutorial cómo elaborar una mariquita 3D con materiales reciclados cómo el cartón
Good evening a warm greeting and hug from afar, God bless you all, today I want to share a tutorial on how to make a 3D ladybug with recycled materials such as cardboard.
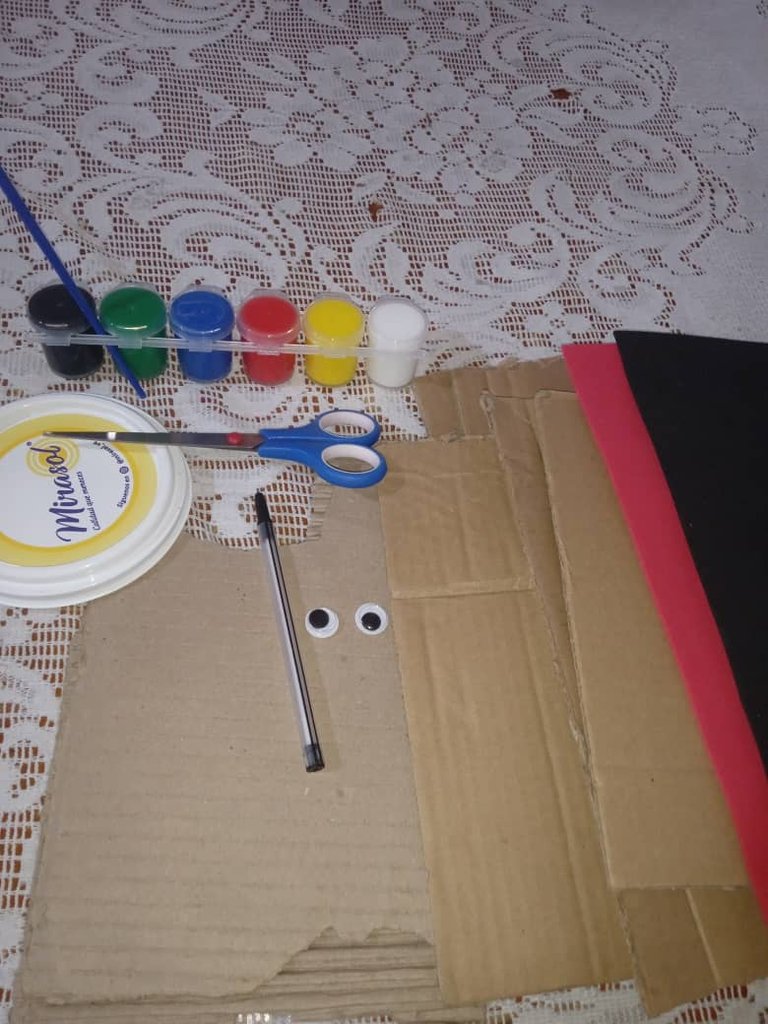
Materiales para elaborar nuestra mariquita 3D:
-Carton
-Foamis
-Tijera
-Lapiz
-Pintura
-Silicon
Materials to make our 3D ladybug:
-Carton
-Foamis
-Scissors
-Pencil
-Paint
-Silicon
Pasos para realizarla :
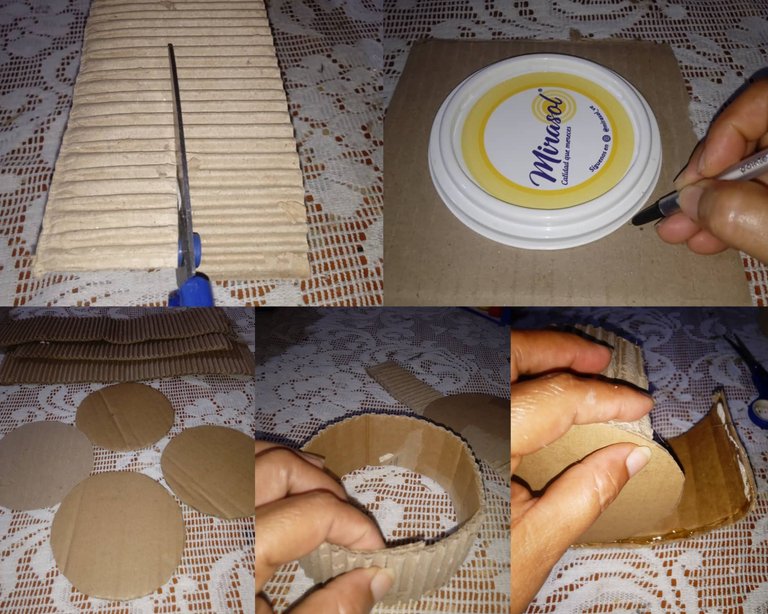
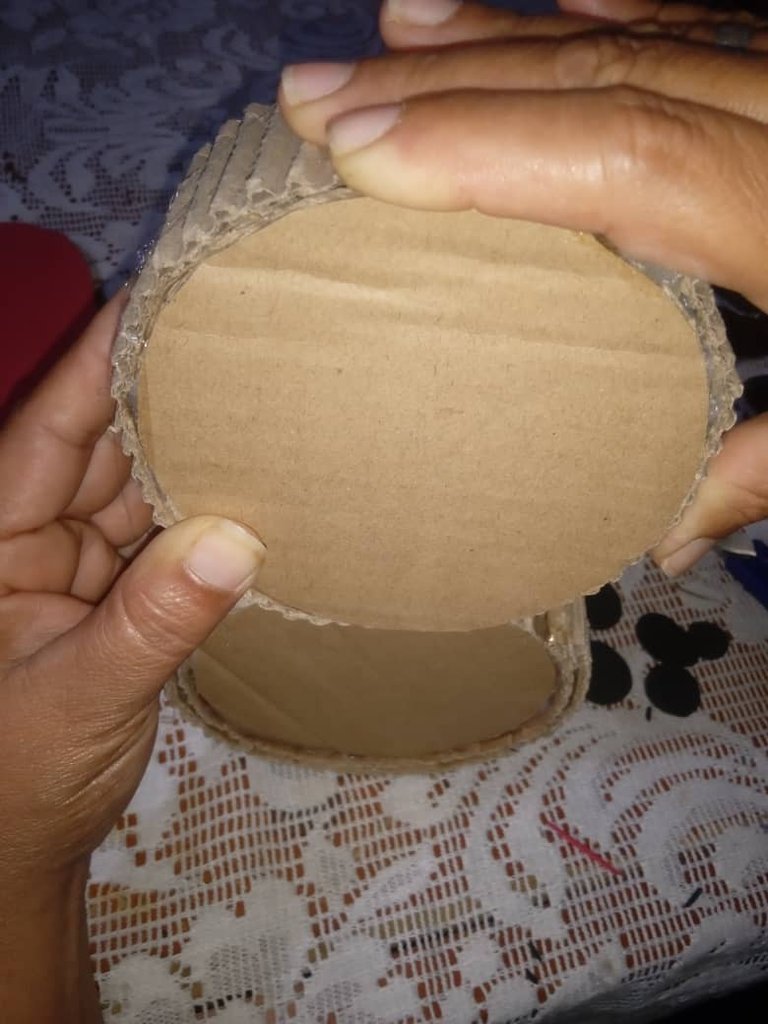
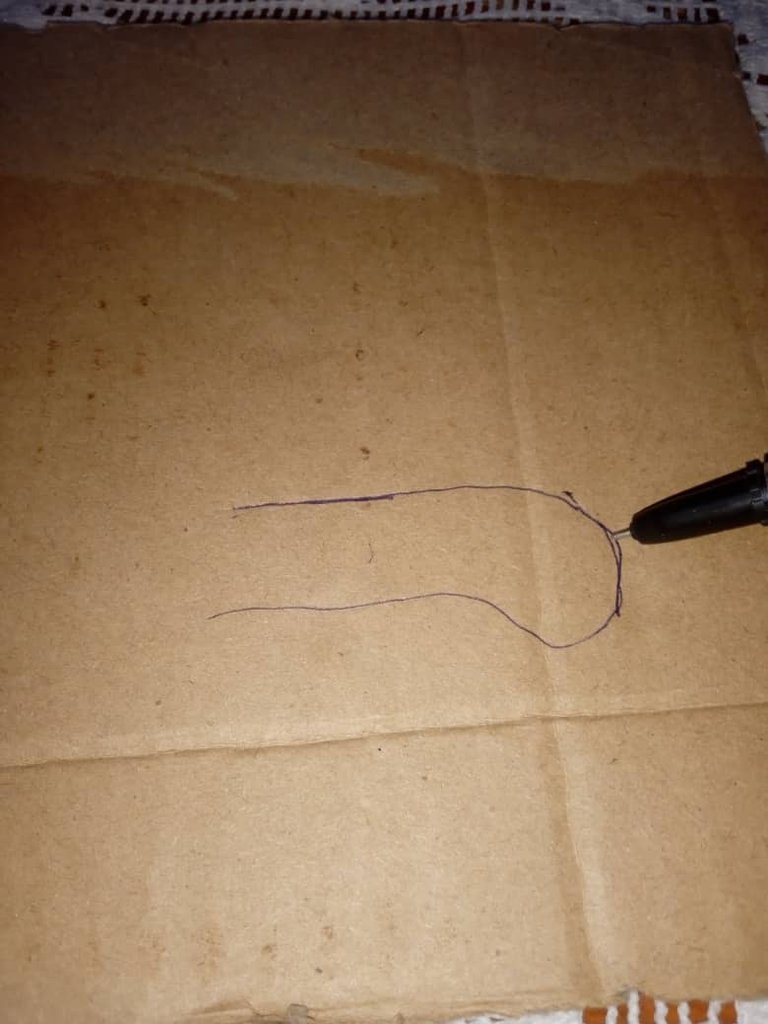
Comenzaremos elaborando la cabeza y su cuerpo, cómo les mencioné antes utilizaremos cartón, comenzamos marcando cuatro círculos , dos grandes para el cuerpo y dos pequeñas para la cabeza, trabajaremos con doble pieza porque es tipo 3D , luego continuamos recortando nuestros círculos, seguidamente recortaremos dos tiras del mismo material "cartón" pegaremos la tira por todo el borde del círculo y por último pegamos el otro círculo arriba hasta formar dos piezas redondas 3D " cuerpo y cabeza "
Steps to make it:
We will start making the head and body, as I mentioned before we will use cardboard, we begin by marking four circles, two large for the body and two small for the head, we will work with double piece because it is 3D type, then we continue cutting our circles, then we will cut two strips of the same material "cardboard" we will glue the strip around the edge of the circle and finally we glue the other circle up to form two 3D round pieces "body and head".
Luego vamos a continuar pegando las dos piezas redondas una arriba de la otra , la más pequeña irá en la parte de arriba ya qué esta será la cabeza
Then we will continue gluing the two round pieces one on top of the other, the smaller one will go on the top because this will be the head.
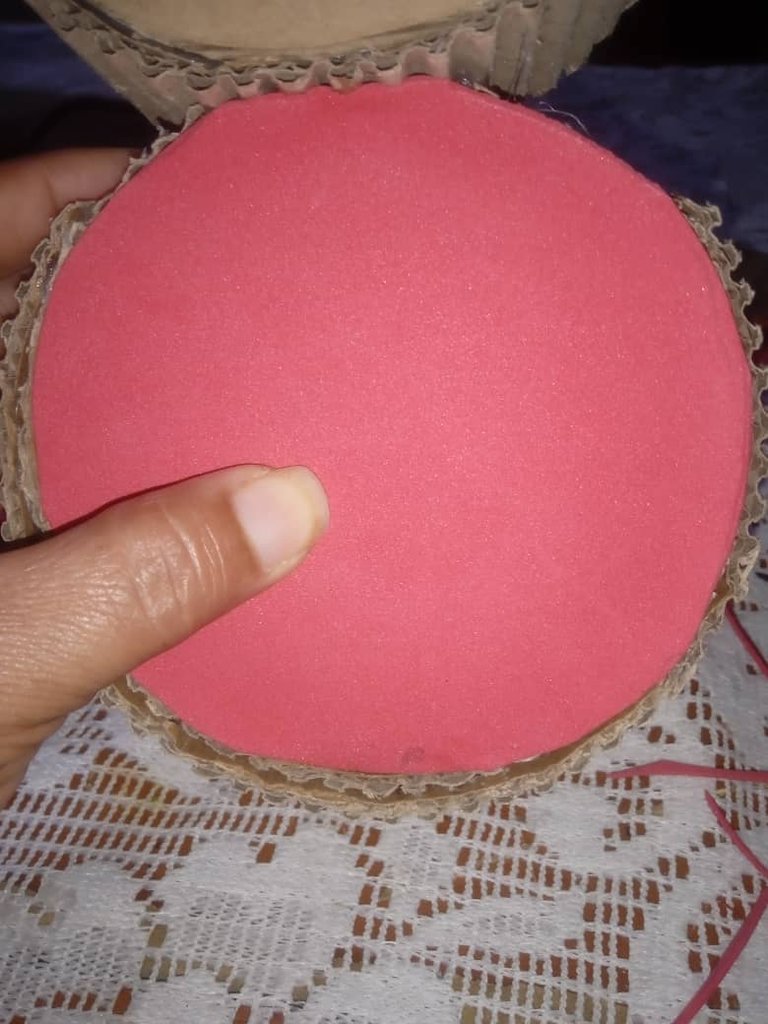
A continuación en la parte del cuerpo continúe pegando un foamis redondo del mismo tamaño del cuerpo para que lo cubriera , más adelante le realizamos unos lunares en todo el centro
Next on the body part continue gluing a round foamis of the same size of the body to cover it, later we will make some polka dots around the center.
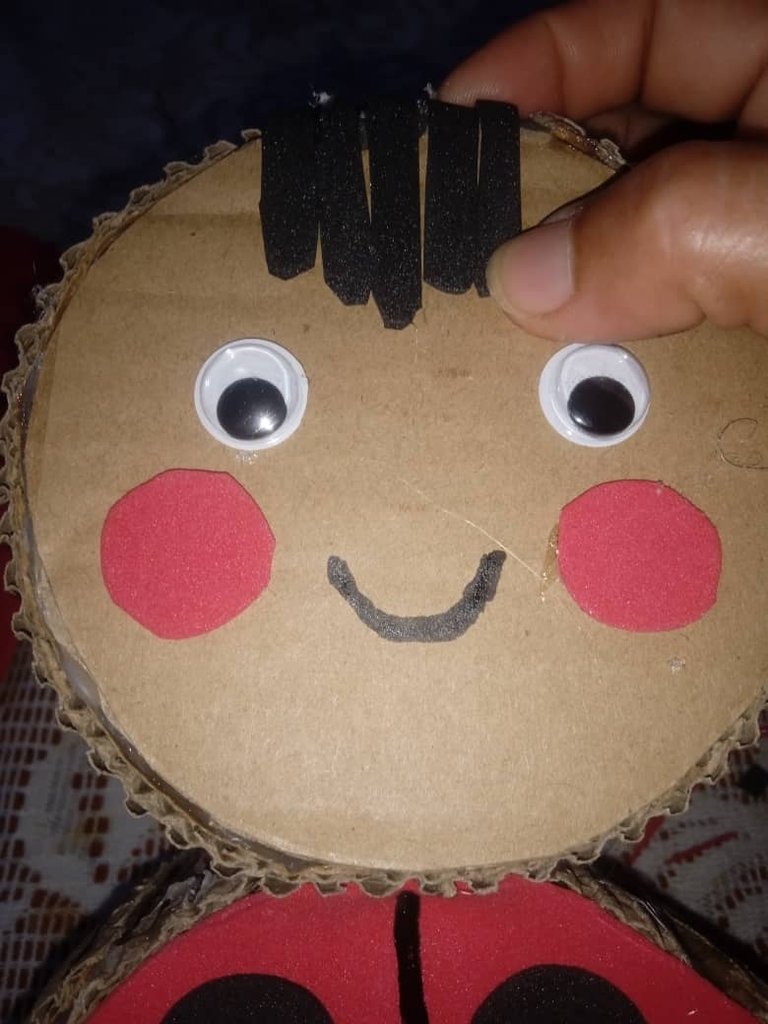
Luego vamos a continuar pegando el rostro de la mariquita, iniciamos pegando unos ojos plásticos saltarines , su cabello en la parte de arriba en todo el centro y una sonrisa sonrojada
Then we are going to continue gluing the face of the ladybug, we started by gluing some bouncy plastic eyes, her hair on the top in the center and a blushing smile.
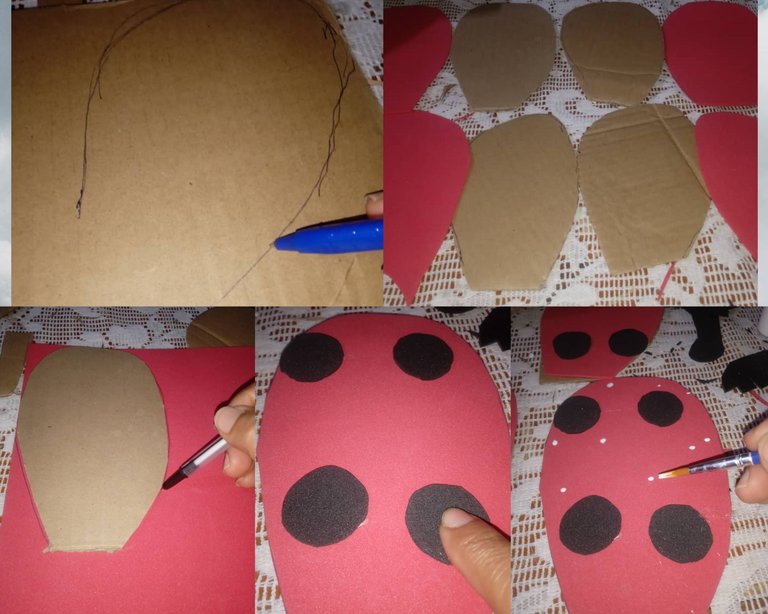
Luego vamos a continuar marcando primeramente cuatro alas para nuestra mariquita , procedemos a recortar nuestras alas y del mismo modelo y tamaño recortaremos unas piezas de foamis , seguidamente continuamos por pegando la pieza de foamis a las alas por delante y por detrás, por último vamos a pegar unos lunares negros de forma separada y adornamos alrededor con lunares pequeños blancos
Then we will continue by first marking four wings for our ladybug, we proceed to cut out our wings and of the same model and size we will cut out some foam pieces, then we continue by gluing the foam piece to the wings in front and behind, finally we will glue some black polka dots separately and decorate around with small white polka dots.
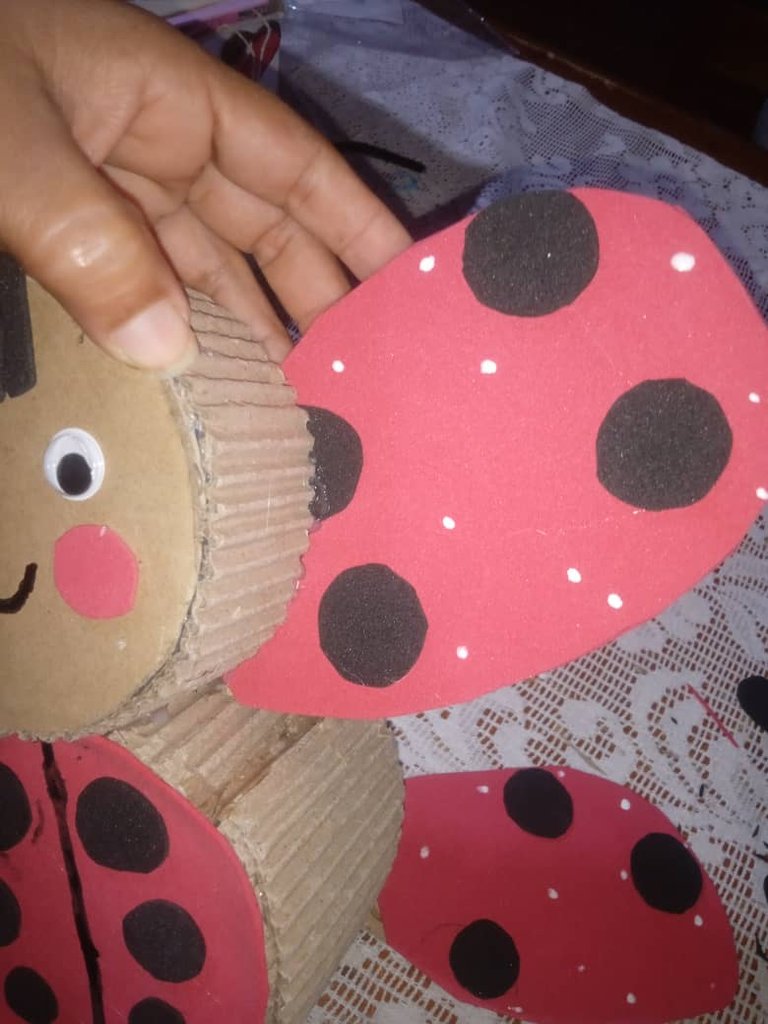
A continuación vamos a proceder pegando las alas de la mariquita una arriba de la otra , pegaremos del lado derecho y del lado izquierdo,de modo que queden abiertas
Next we will proceed by gluing the wings of the ladybug one on top of the other, we will glue on the right side and on the left side, so that they are open.
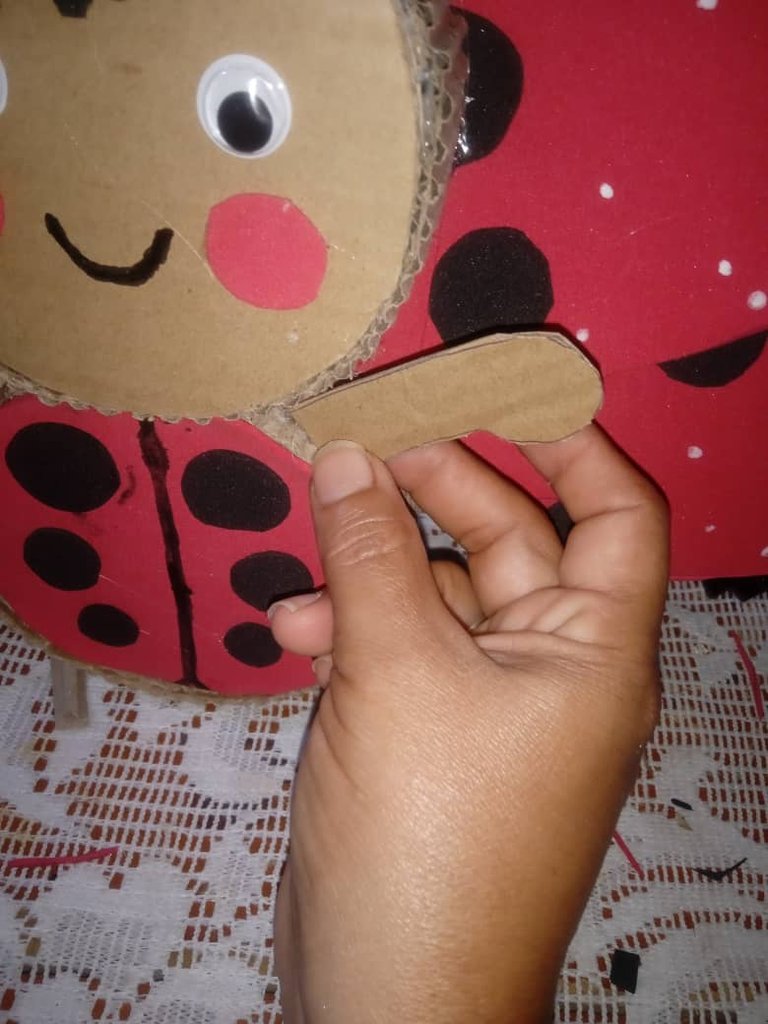
Para finalizar recorté unas patas pequeñas de cartón , y las continúe pegando alrededor de su cuerpo, dos arribas y dos abajo
Finally, I cut out some small cardboard legs, and continue gluing them around his body, two on top and two on the bottom.
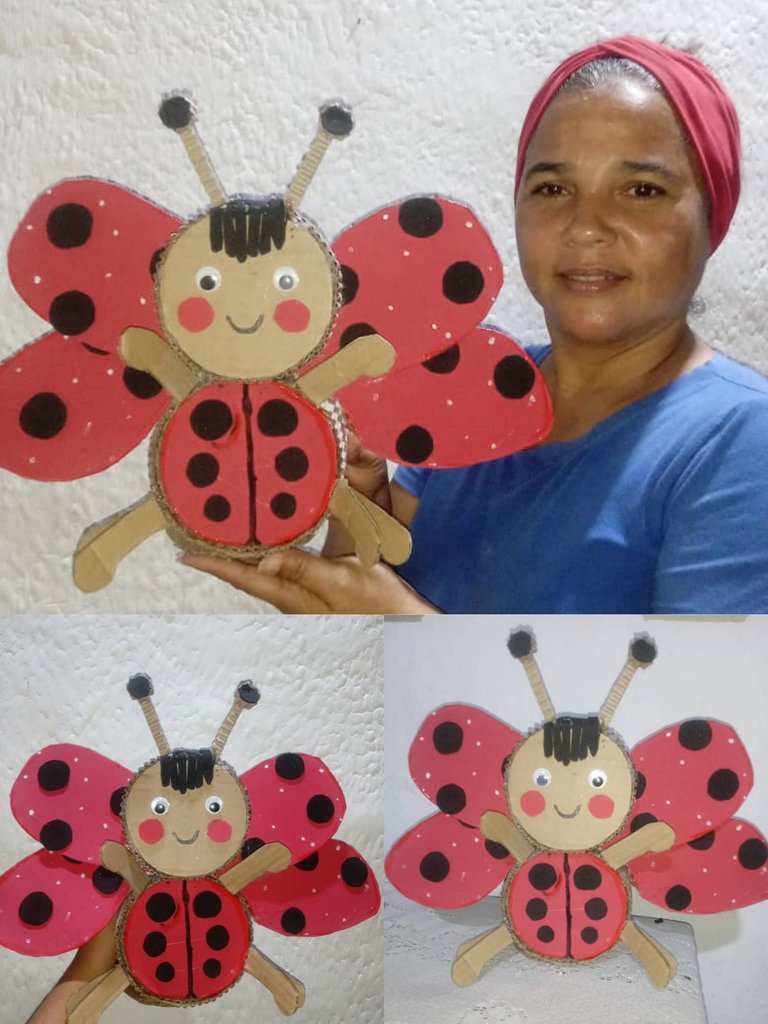
Así fue cómo elabore mi mariquita tipo 3D con material reciclado, ideal para adornar habitaciones, saludos para todos , gracias por su atención
This is how I made my 3D ladybug with recycled material, ideal for decorating rooms, greetings to all, thank you for your attention.
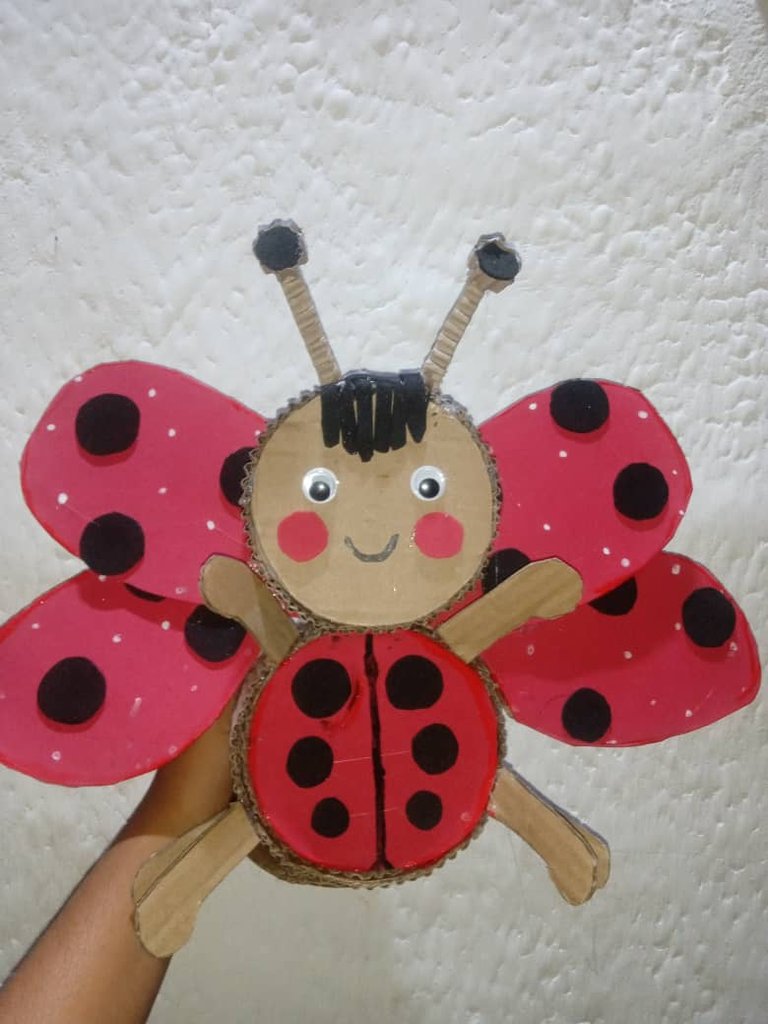
So cute ladybug 🐞.
Thanks
Really beautiful, what name would you like to give to your ladybug?😊
Awwww your Ladybug has a charming smile. This is beautiful and unique, you have done well Lady, good job😃
Thanks My friend
!discovery 20
This post was shared and voted inside the discord by the curators team of discovery-it
Join our Community and follow our Curation Trail
Discovery-it is also a Witness, vote for us here
Delegate to us for passive income. Check our 80% fee-back Program