Cintillo inspirado en Tigre el personaje de Winnie Pooh | Headband inspired by Tiger the Winnie Pooh character
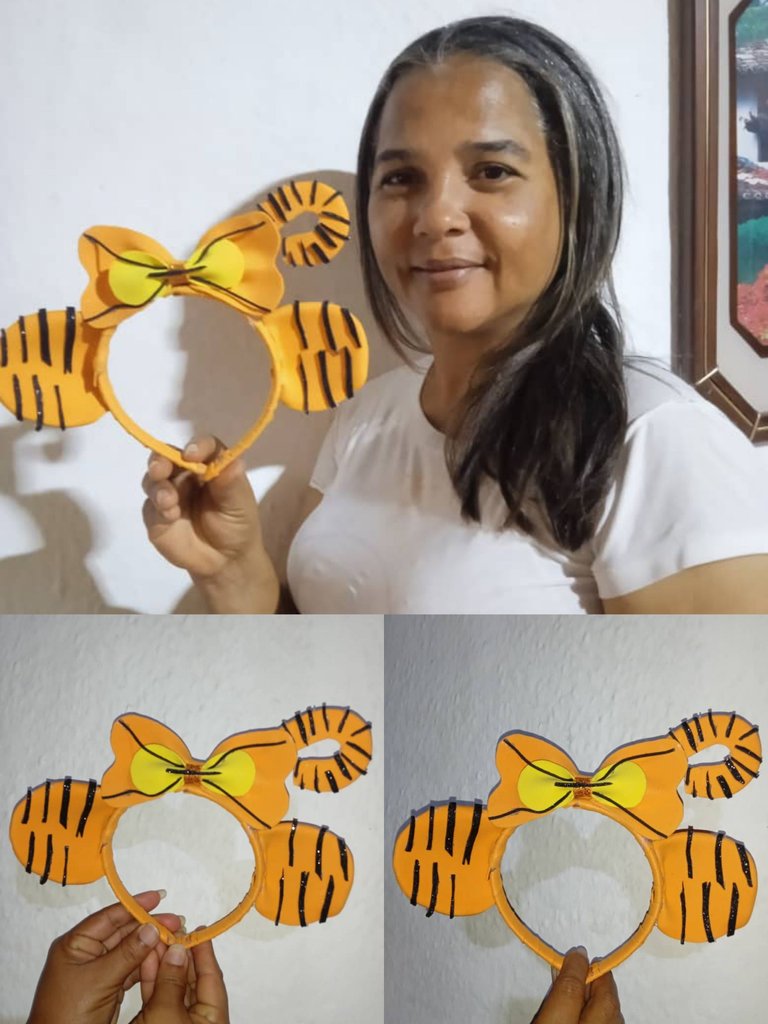
Hola buenas noches tengan todos mis amigos que hacen vida dentro de la comunidad jewelry y hive en general , agradecida con Dios que me encuentro bien y compartiendo hoy con ustedes , les quiero compartir un cintillo decorado inspirado en el tigre de la comiquita Winnie Pooh , es un tutorial sencillo, mi nieta le gusta mucho ésta comiquita y por ello el motivo de la decoración.
Hello good evening to all my friends who make life within the jewelry community and hive in general, grateful to God that I am well and sharing today with you, I want to share a decorated headband inspired by the tiger of the cartoon Winnie Pooh, is a simple tutorial, my granddaughter loves this cartoon and therefore the reason for the decoration.
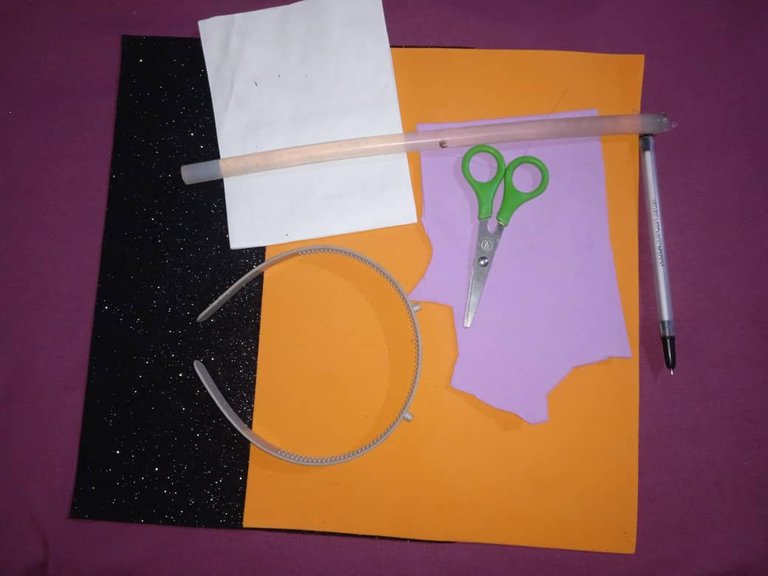
Materiales:
-Foamis
-Cintillo plástico
-Tijera
-Silicon
-Papel
-Lapiz
Materials:
-Foamis
-Plastic glue
-Scissors
-Silicon
-Paper
-Polish
Pasos para la transformación de nuestro cintillo:
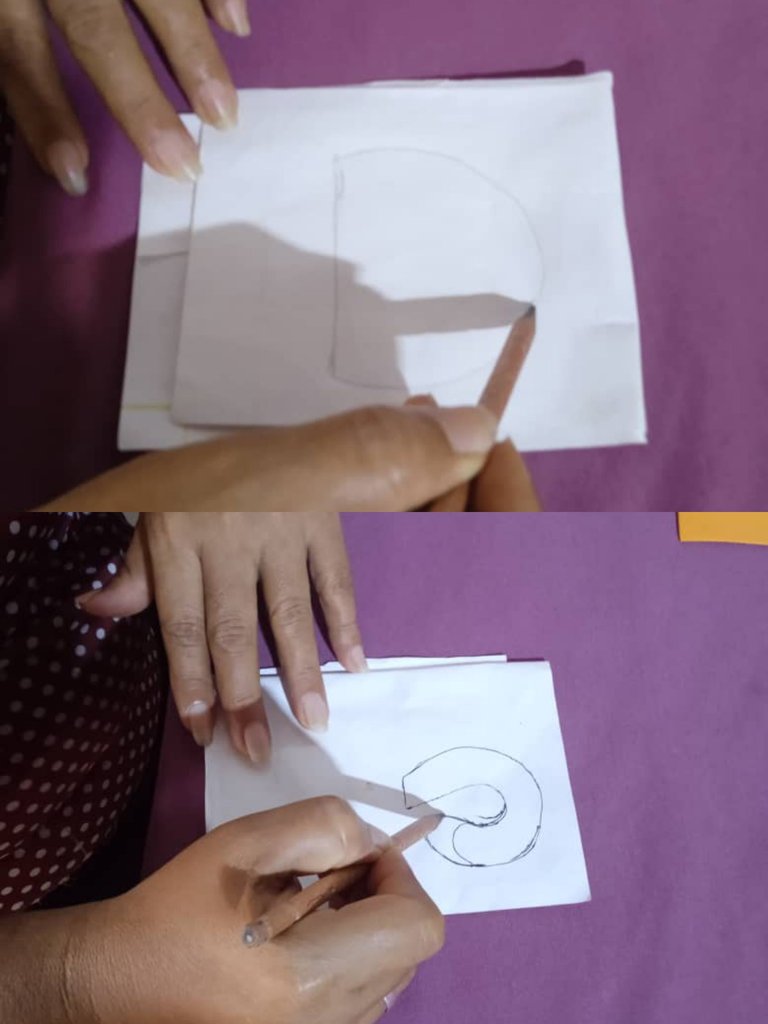
Paso número 1: comencé realizando un patrón ,en un recorte de papel , dónde dibujé una oreja y una cola , para así simular las orejas de tigre y su colita
Steps for the transformation of our headband:
Step number 1: I started by making a pattern on a piece of paper, where I drew an ear and a tail, to simulate the tiger's ears and tail
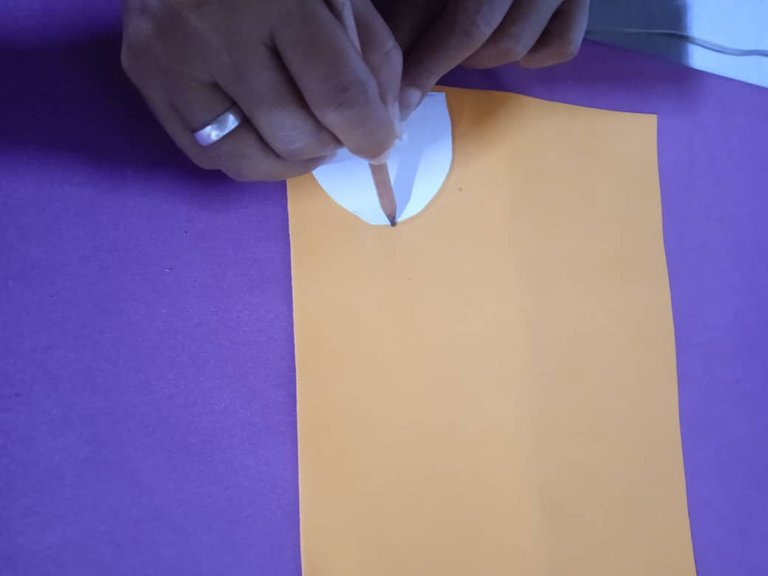
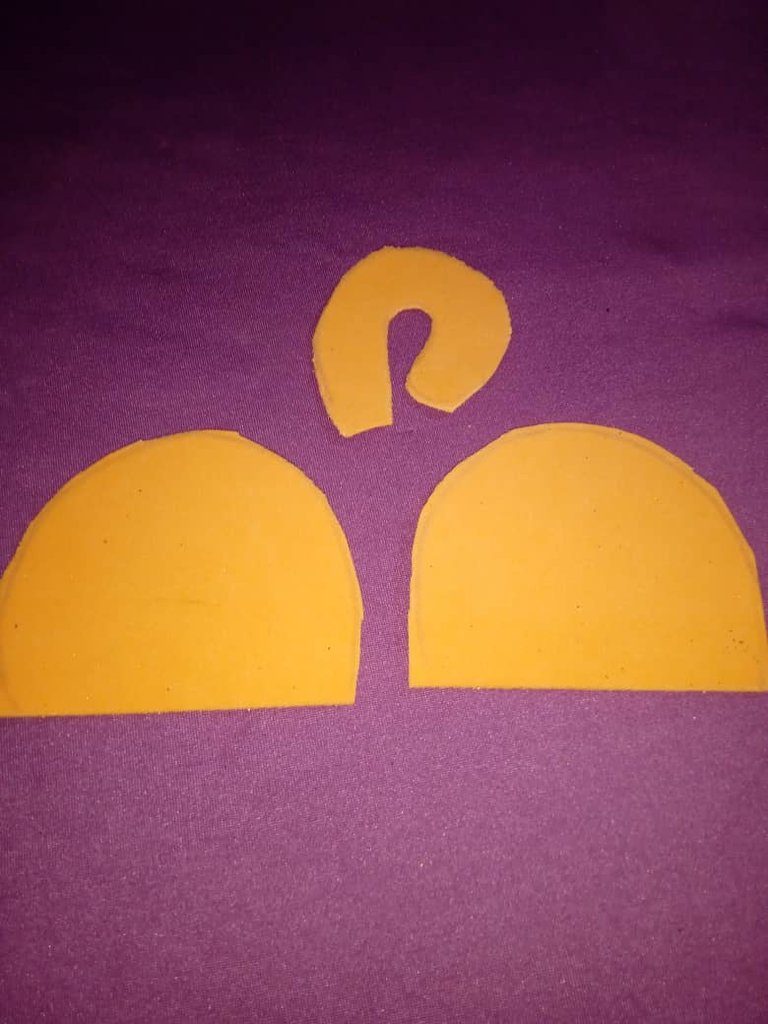
Paso número 2: comenzaremos en este segundo paso marcando las orejas y la cola , para esto utilizaremos color naranja ya que el tigre es de ese color en la comiquita, recuerden dos orejas, una cola
Step number 2: we will start in this second step marking the ears and the tail, for this we will use orange color since the tiger is of that color in the cartoon, remember two ears, one tail.
Paso número 3: luego vamos a continuar recortando las orejas y cola que marcamos en el paso anterior
Step number 3: then we will continue cutting out the ears and tail that we marked in the previous step.
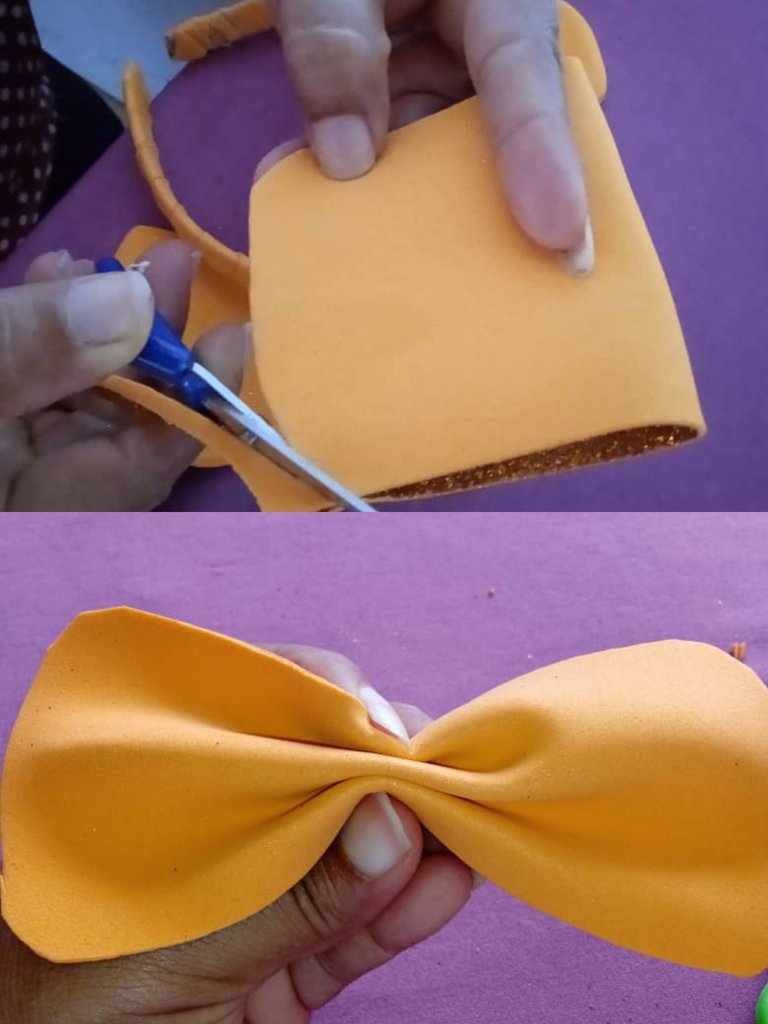
Paso número 4: a continuación vamos a tomar una tira de foamis de diez centímetros de largo y cinco de ancho , vamos a moldear sus bordes redondos y doblaremos en el centro tres veces , presionando , formando un lazo
Step number 4: next we are going to take a strip of foamis ten centimeters long and five centimeters wide, we are going to mold its round edges and fold in the center three times, pressing, forming a loop.
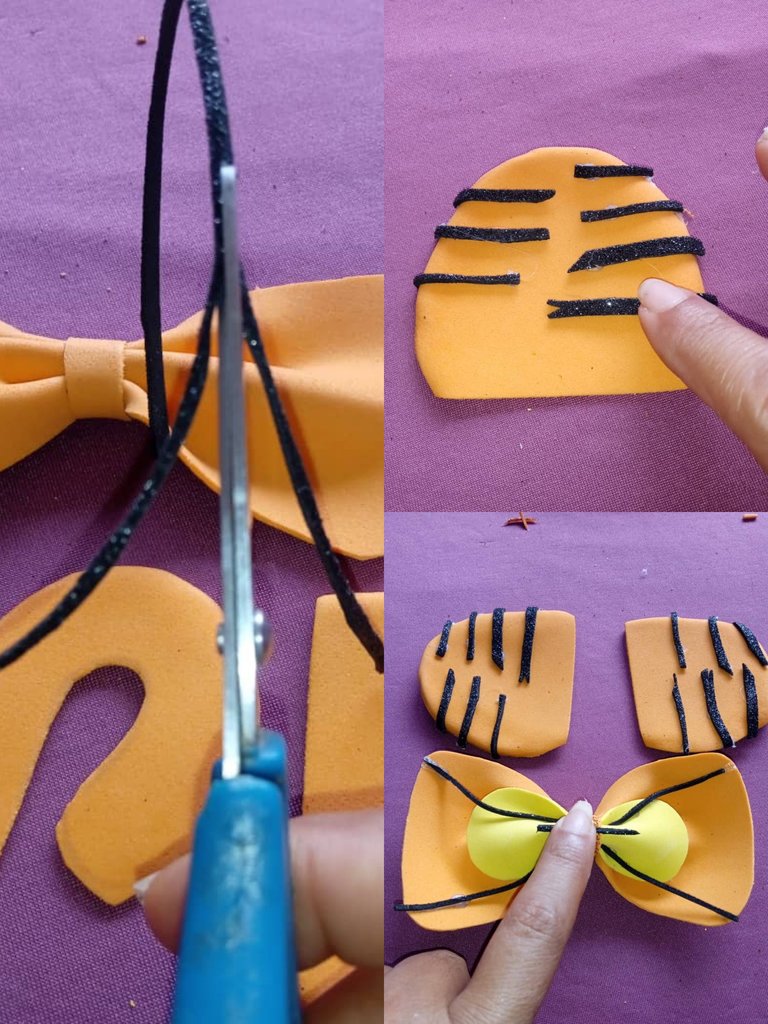
Paso número 5: en nuestro quinto paso vamos a continuar recortando unas tiras lo más delgada que podamos ,color negro , pegaremos las tiras semi separadas en las orejas de forma vertical arriba y abajo , luego continuaremos pegando en el lazo , dos arriba , abajo y una en el centro
Step number 5: in our fifth step we will continue cutting some strips as thin as we can, black color, we will glue the semi separated strips in the ears vertically up and down, then we will continue gluing in the loop, two up, down and one in the center
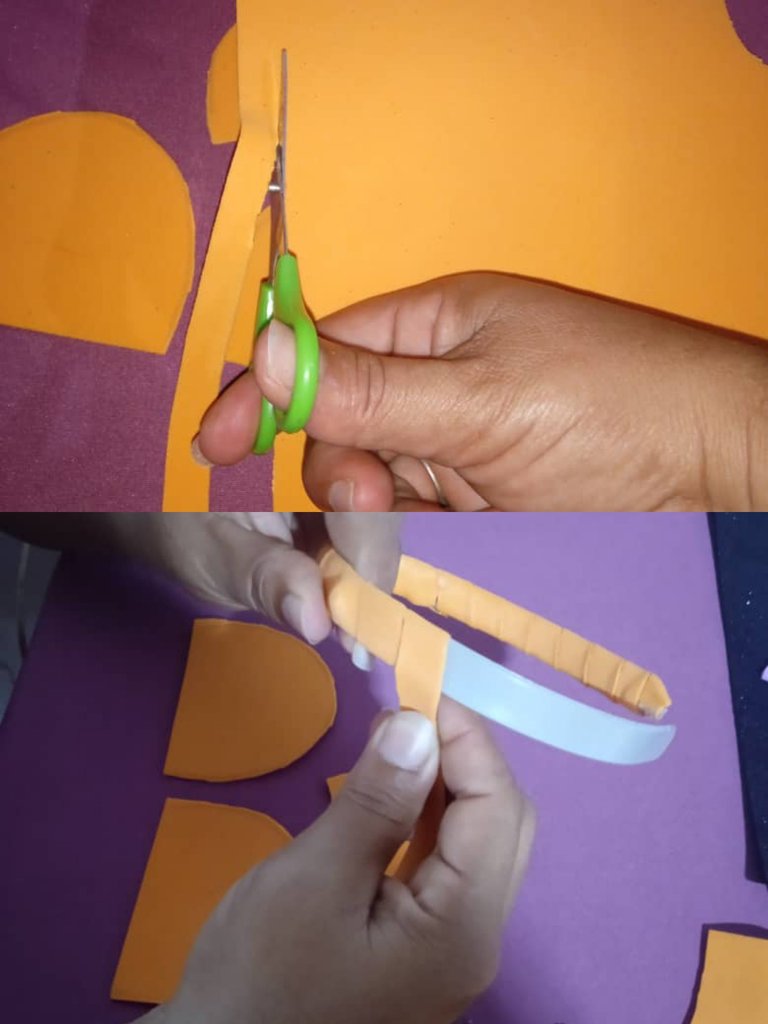
Paso número 6: en este siguiente paso continuaremos tomando una tira de foamis color naranja , pegaremos de forma enrollada desde abajo hacia arriba llegando al final de la punta , cubriendo la parte del cintillo y dejando este nuevo color
Step number 6: in this next step we will continue taking a strip of foamis orange color, we will glue in a rolled way from the bottom to the top reaching the end of the tip, covering the part of the headband and leaving this new color.
Paso número 7: en este séptimo paso vamos a tomar las orejas y las pegaremos separadas al cintillo, uno en cada lado, que vayan en la misma dirección
Step number 7: in this seventh step we will take the ears and glue them separately to the headband, one on each side, going in the same direction.
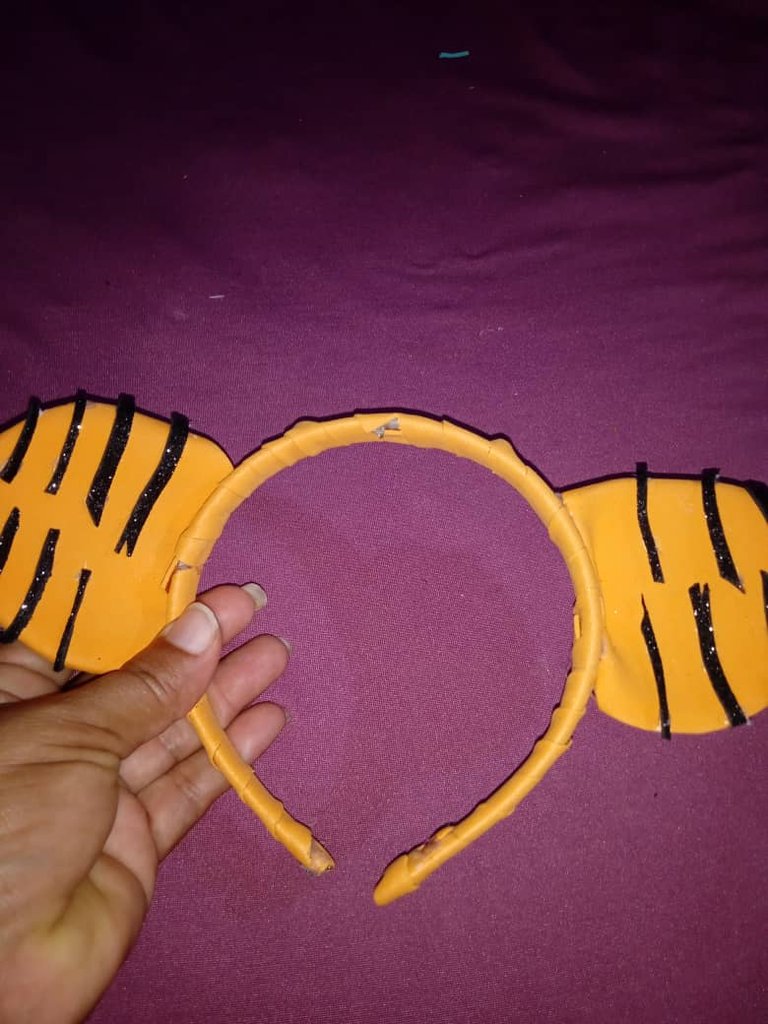
Paso número 8: por último vamos a continuar pegando el lazo en todo el centro del cintillo,que queden entre las orejas , en la esquina del lazo pegaremos la cola del tigre ,finalizando
Step number 8: finally we will continue gluing the ribbon in the center of the headband, between the ears, in the corner of the ribbon we will glue the tiger's tail, finishing with the tiger's tail.
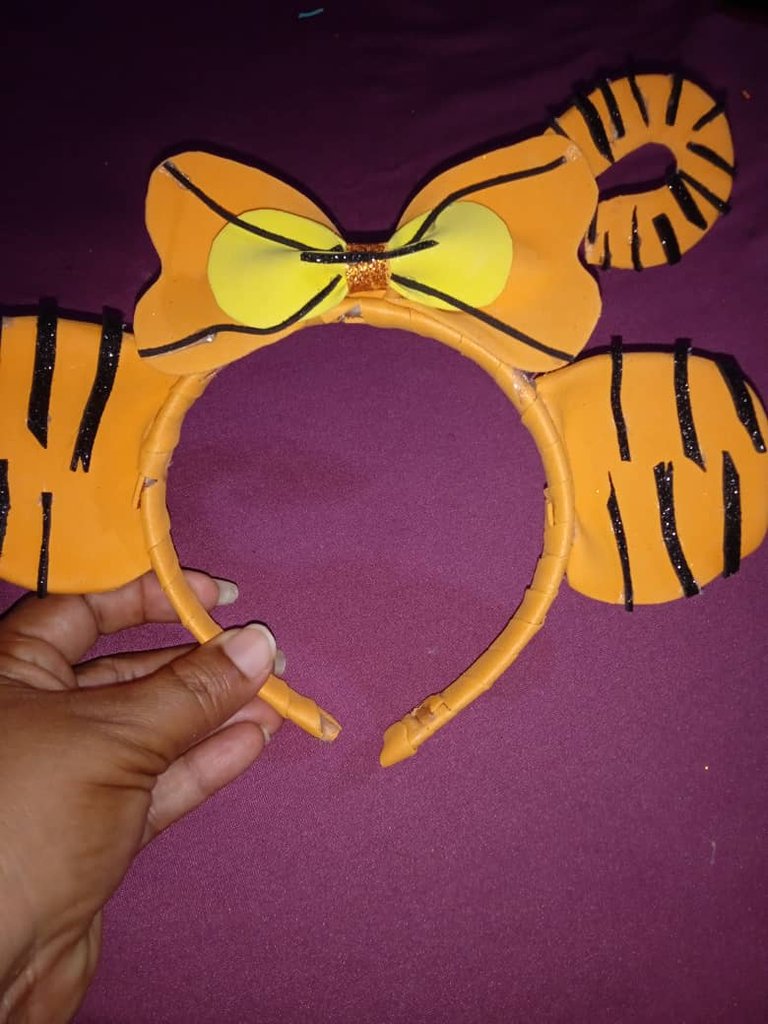
Así mismo lució mi nieta un hermoso cintillo inspirado en tigre el personaje de Winnie Pooh, un tutorial sencillo, Io más importante de todo es que las niñas lo amarán amigos
This is how my granddaughter wore a beautiful headband inspired by Winnie Pooh's character tiger, a simple tutorial, the most important thing of all is that the girls will love it friends.
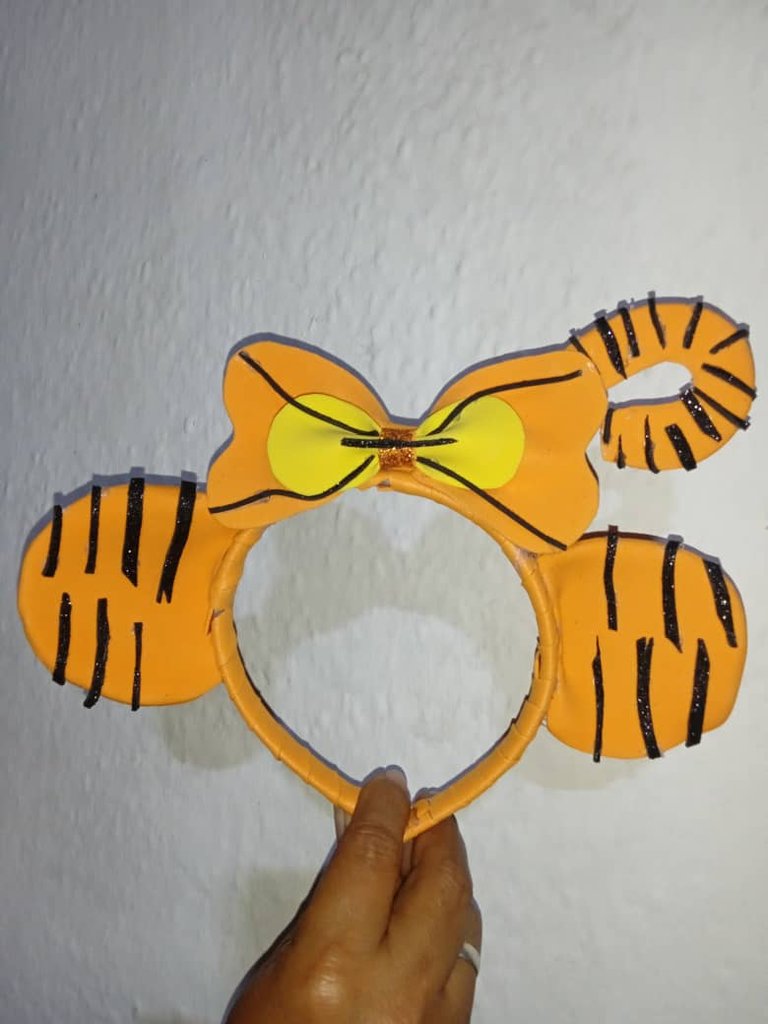
Very striking this garfield headband, we love how beautiful it has turned out, it looks very beautiful has great creativity
Ok thanks Friends
This is so beautiful, good work 👍👍
Thanks friend
Lovely headband
Que lindo para mi hija, felicidades quedo muy divertido.
Gracias amiga