Cintillo: Doble orquídea de tonos diferentes | Headband: Double orchid of different shades
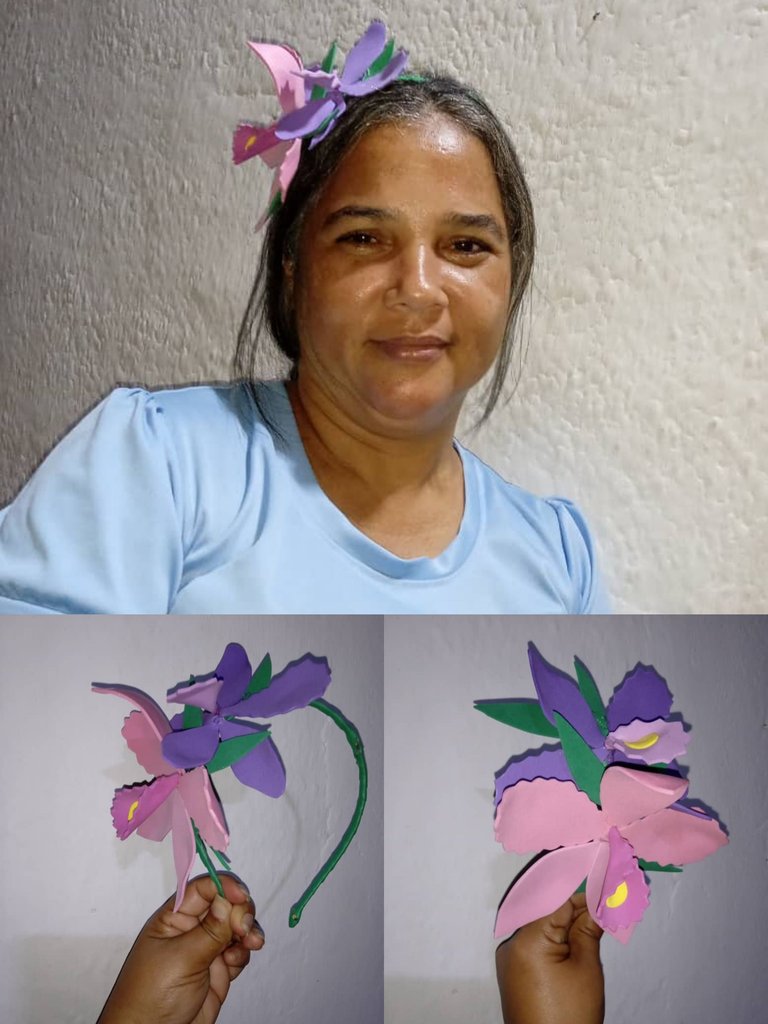
Hola buenas noches , Dios les bendiga a todos , un abrazo caluroso desde la distancia, quiero compartirles el día de hoy un cintillo con orquídea doble de dos colores distintos de foamis , el procedimiento es sumamente sencillo y rápido , les aseguro que amarán el resultado final
Hello good evening, God bless you all, a warm hug from afar, I want to share with you today a double orchid headband with two different colors of foamis, the procedure is extremely simple and fast, I assure you that you will love the end result.
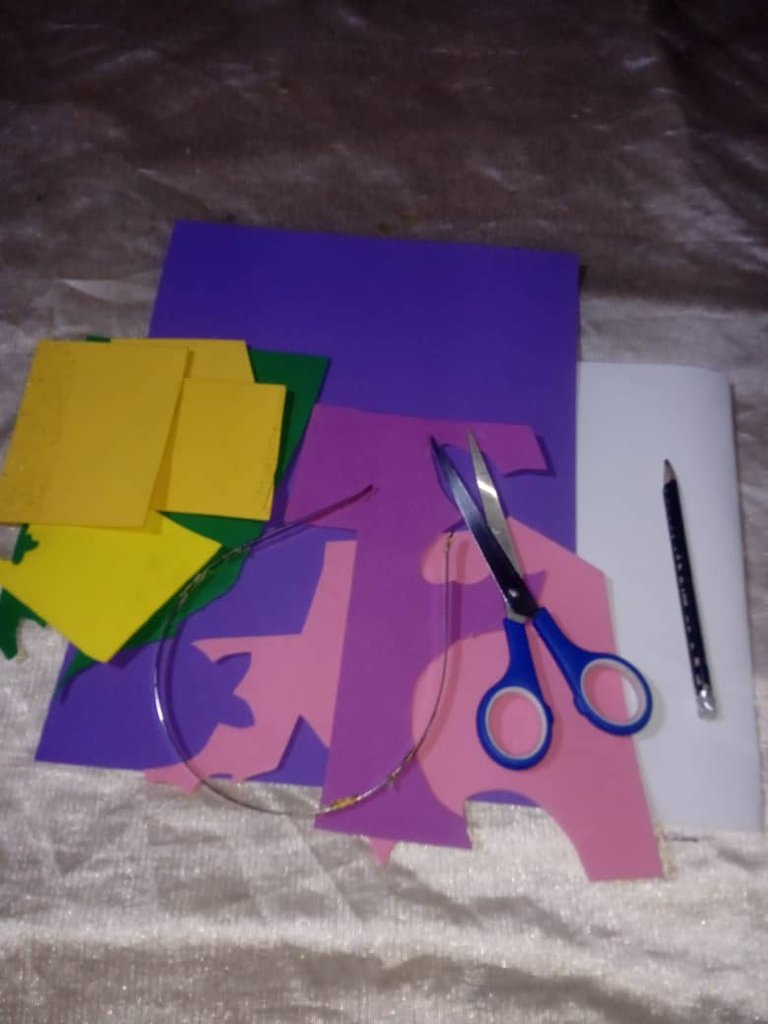
Materiales para decorar un Cintillo de orquídeas:
-Cintillo
-Foamis
-Tijera
-Silicon
Materials to decorate an orchid headband:
-Cintillo
-Foamis
-Scissors
-Silicone
Pasos para decorar nuestro Cintillo:
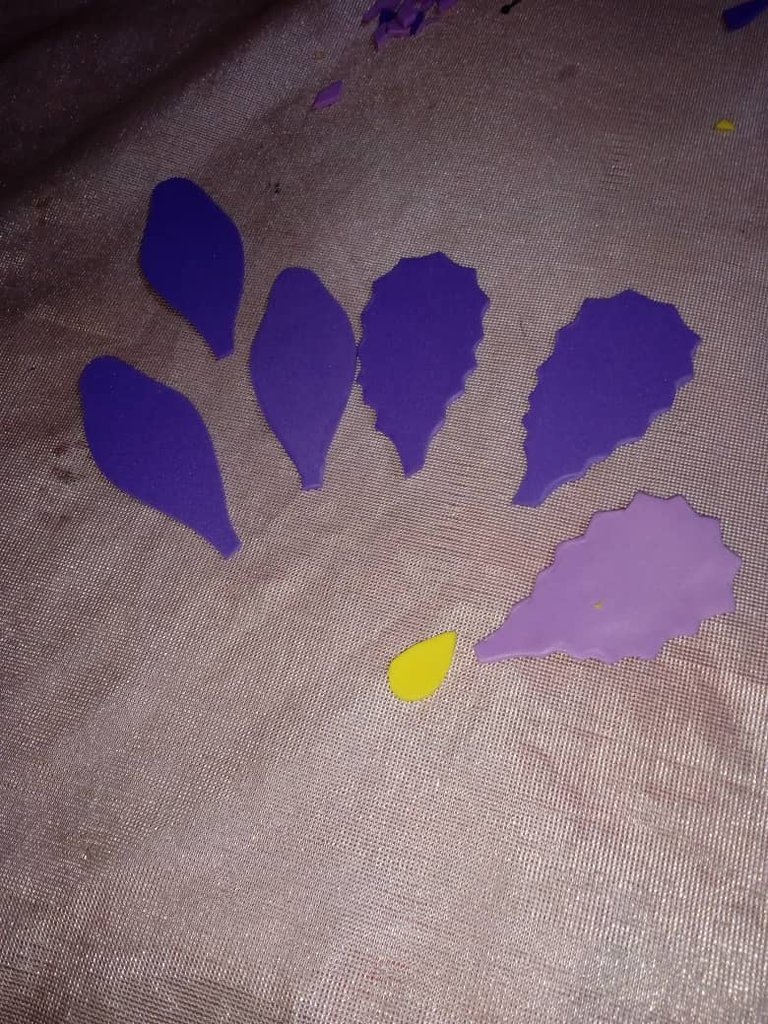
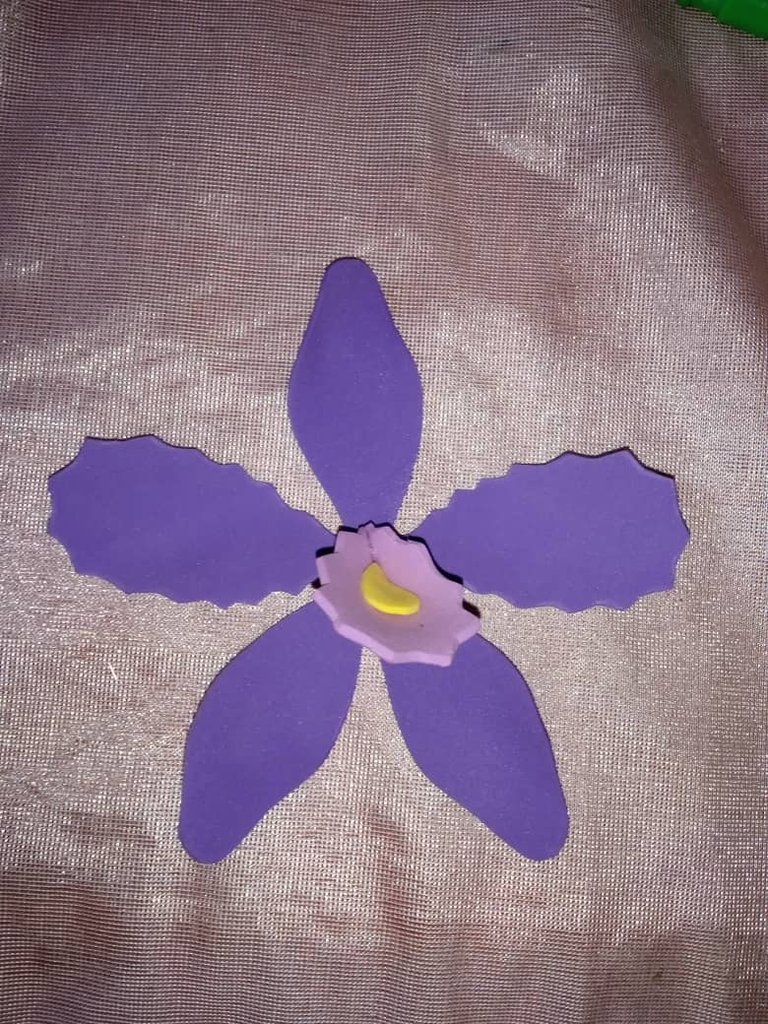
Primer paso : comenzaremos recortando unos regalos del material de foamis , estos serán los pétalos con los que vamos a realizar la orquídea, cinco pétalos , tres semi puntiagudos y dos moldeados diferentes, adicionalmente recortaremos un pétalo y un semi círculo amarillo , cómo les mencioné antes utilizaremos dos orquídeas de todos diferentes, de la misma manera que recortamos los violetas recortaremos los rosados
Steps to decorate our headband:
First step : we will start cutting some gifts from the foamis material , these will be the petals with which we are going to make the orchid, five petals , three semi pointed and two different molded , additionally we will cut a petal and a yellow semi circle , how I mentioned before we will use two orchids of all different, in the same way that we cut the violets we will cut the pink ones.
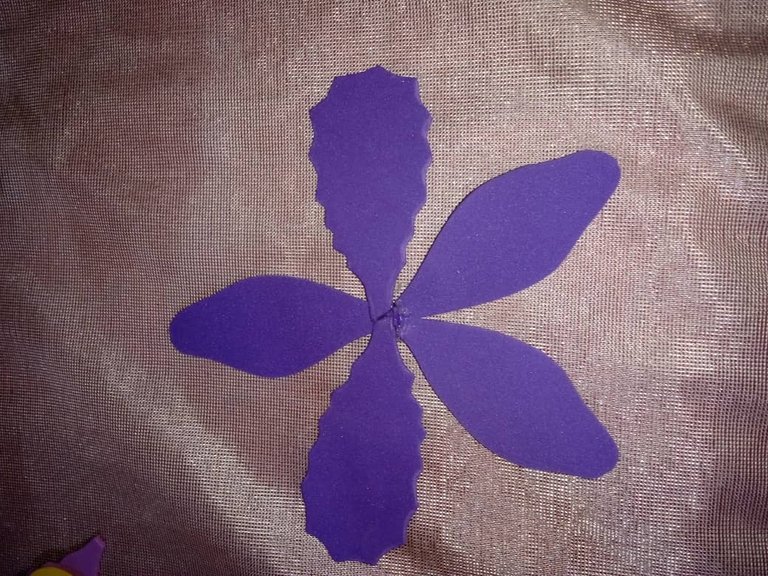
Segundo paso : cuando estén listos nuestros pétalos vamos a comenzar pegando y formando nuestra orquídea, comenzamos pegando un pétalos del lado del otro, pegaremos la punta de abajo al lado de la otra , un pétalo semi puntiagudo en el centro de arriba , los moldeados a los lados y los otros dos semi puntiagudo hacia abajo
Second step: when our petals are ready we will start gluing and forming our orchid, we start by gluing one petal next to the other, we will glue the bottom tip next to the other one, a semi pointed petal in the top center, the molded ones to the sides and the other two semi pointed ones downwards.
Tercer paso : luego en el centro de la orquídea vamos a pegar el pétalo adicional con el centro amarillo como pueden ver
Third step: then in the center of the orchid we will glue the additional petal with the yellow center as you can see.
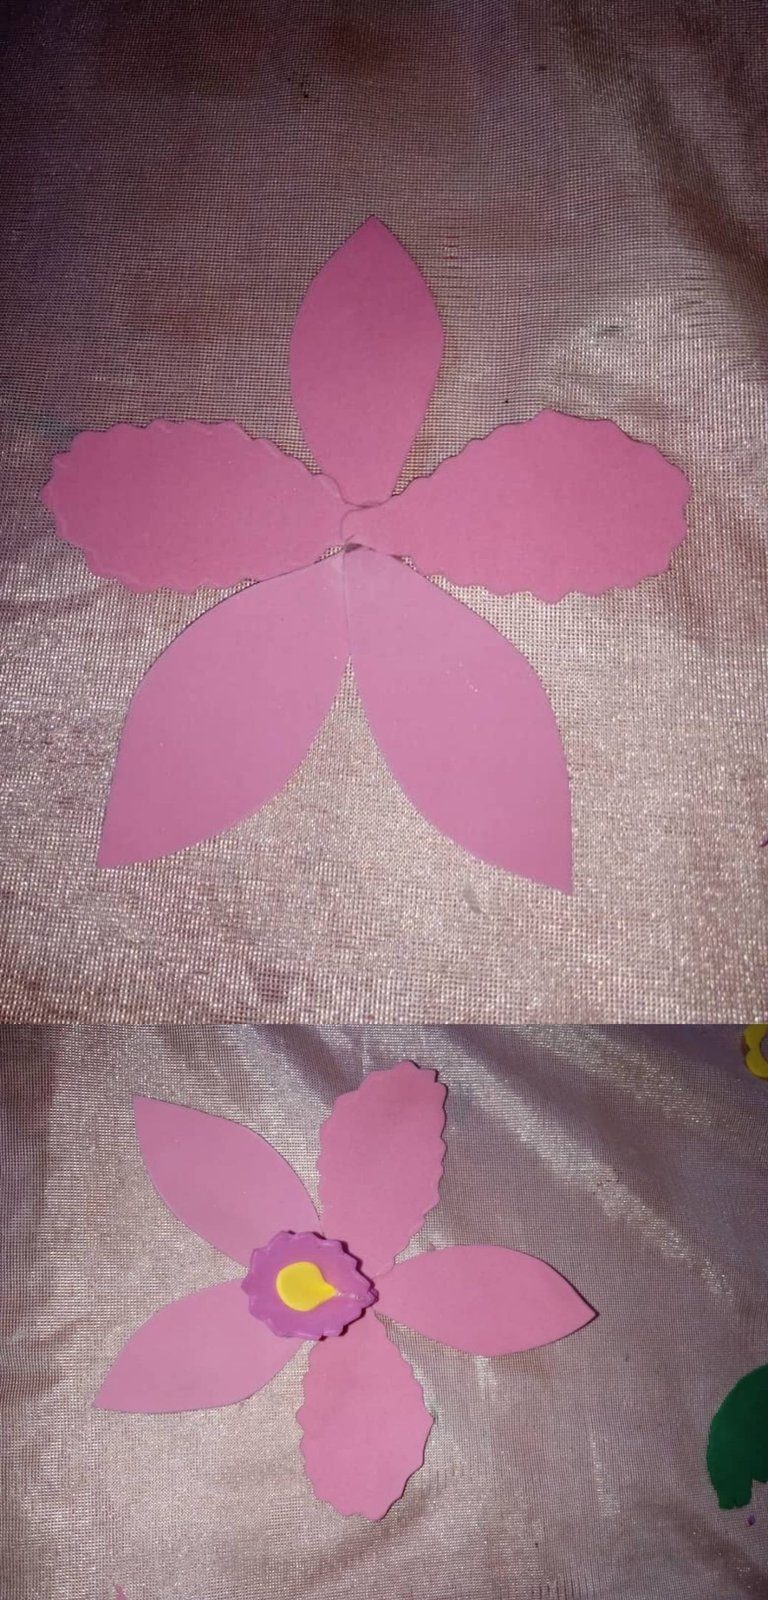
Cuarto paso : cómo les mencioné al principio, el cintillo llevará dos orquídeas, de la misma manera que realizamos la primera orquídea,vamos a realizar la segunda color rosa , pegamos los pétalos uno al lado del otro , dejando los pétalos moldeados hacia los lados , por último vamos a pegar en el centro el pétalo con el centro amarillo
Fourth step: as I mentioned at the beginning, the headband will have two orchids, in the same way that we made the first orchid, we will make the second one pink, we glue the petals side by side, leaving the petals molded to the sides, finally we will glue in the center the petal with the yellow center.
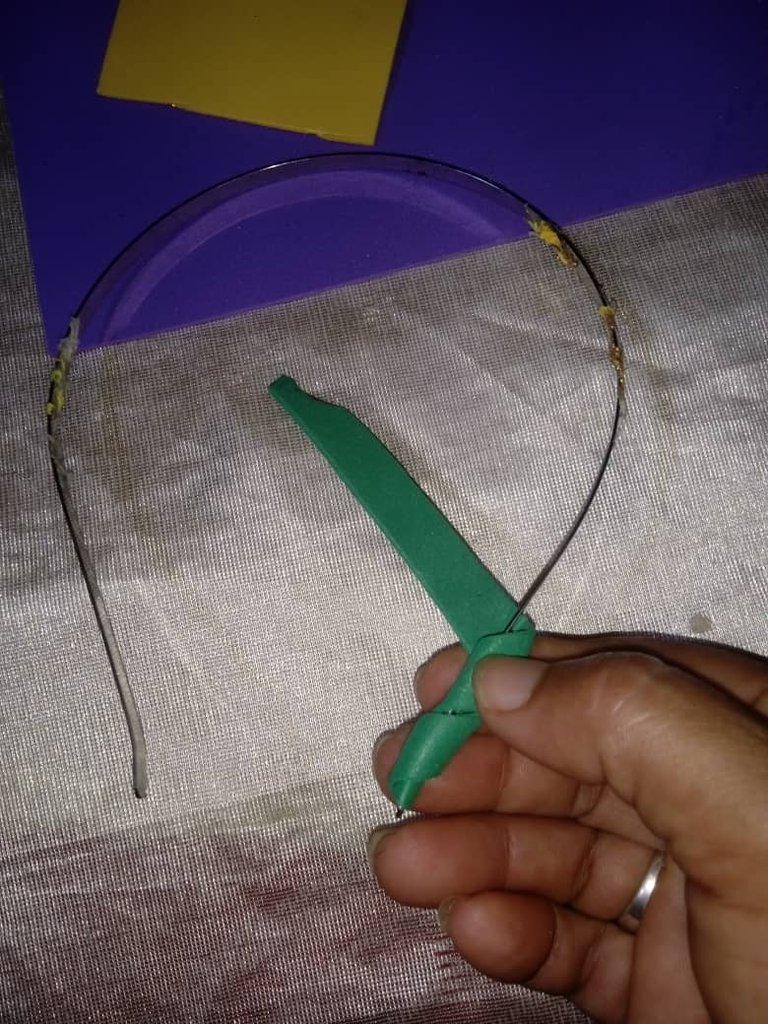
Quinto paso : luego vamos a continuar tomando una tira verde color hoja , con ella vamos a cubrir el cintillo, tomaremos la tira y comenzamos pegando desde abajo hacia arriba
Fifth step: then we will continue by taking a green leaf-colored strip, with it we will cover the headband, we will take the strip and start gluing from the bottom to the top.
Sexto paso : en el sexto paso vamos a continuar pegando la primera orquídea, en vista que la orquídea rosa es más grande la pegué de primera , en una esquina del cintillo
Sixth step: in the sixth step we will continue gluing the first orchid, since the pink orchid is bigger I glued it first, in a corner of the headband.
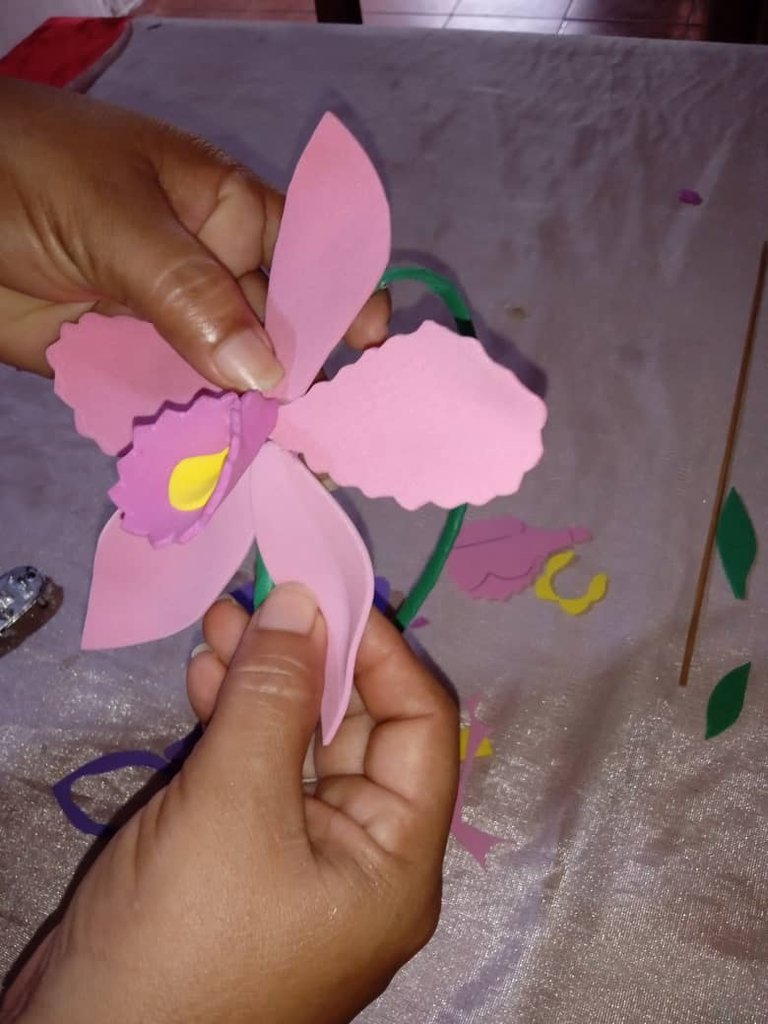
Séptimo paso : para culminar pegué en la parte de abajo de la orquídea mayor , la orquídea más pequeña violeta , terminando nuestro Cintillo
Seventh step: to finish, I glued the smaller violet orchid to the bottom of the larger orchid, ending our headband.
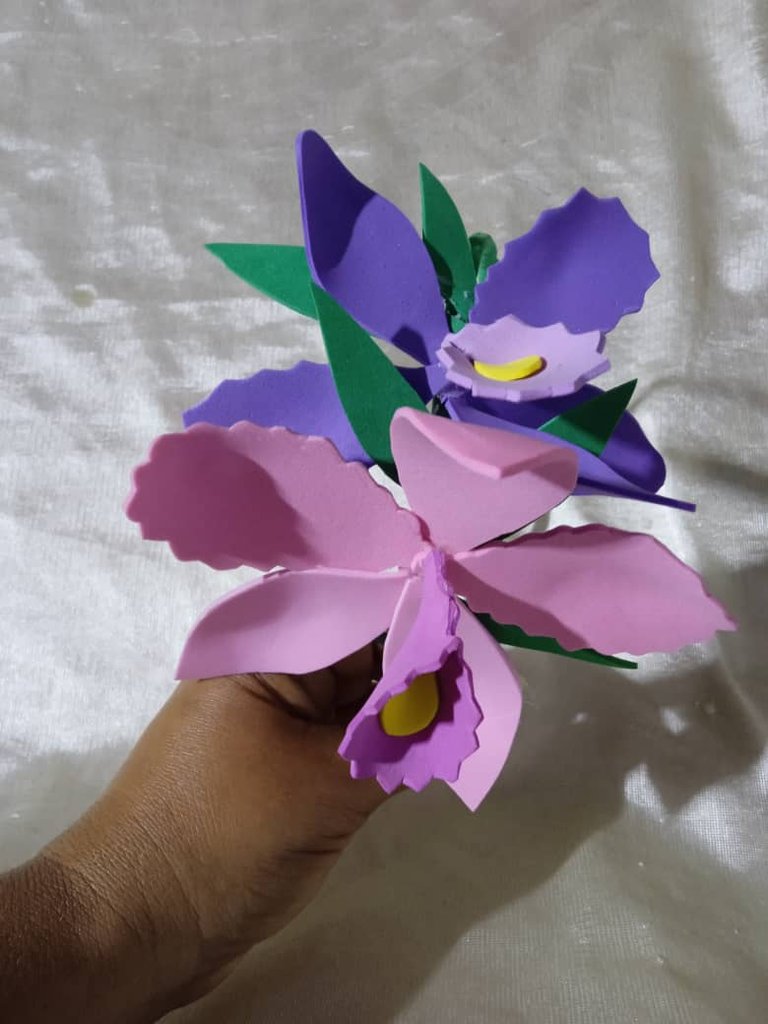
Así fue como realicé el cintillo de doble orquídea, con un resultado sencillo y lindo , gracias por su amable atención, hasta la próxima amigos
This is how I made the double orchid headband, with a simple and beautiful result, thank you for your kind attention, until next time friends.
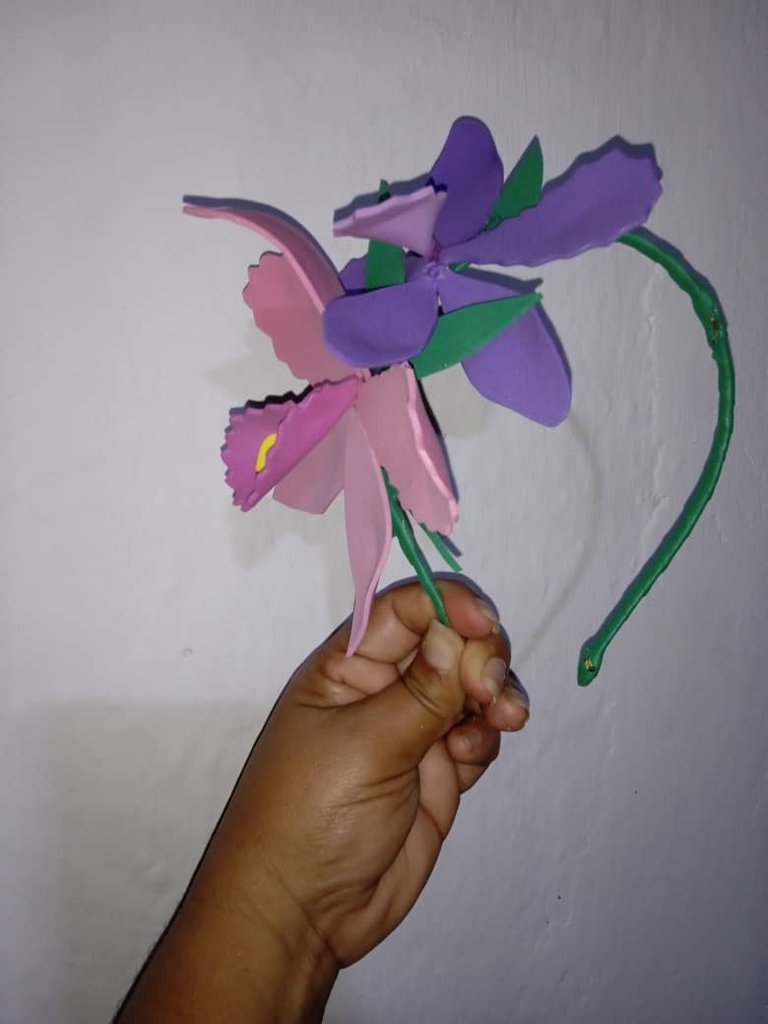
La flor de Venezuela muy pintoresca diadema amiga
Muy bonito y llamativo, buena idea para hacer la orquídea. Gracias por compartir ☺️
Lovely headband
Congratulations @rameuris! You have completed the following achievement on the Hive blockchain And have been rewarded with New badge(s)
Your next target is to reach 25000 upvotes.
You can view your badges on your board and compare yourself to others in the Ranking
If you no longer want to receive notifications, reply to this comment with the word
STOPCheck out our last posts:
The headband look nice and beautiful, i love it.
It is stylish and beautiful. It looks pretty cool. Nice work! Keep it up!
This headband is so special and nice. I love the design. Thanks for sharing