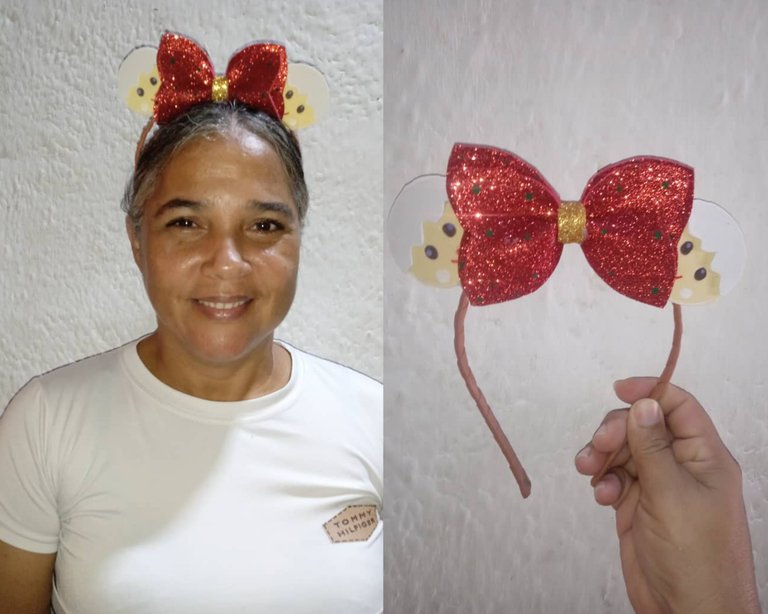
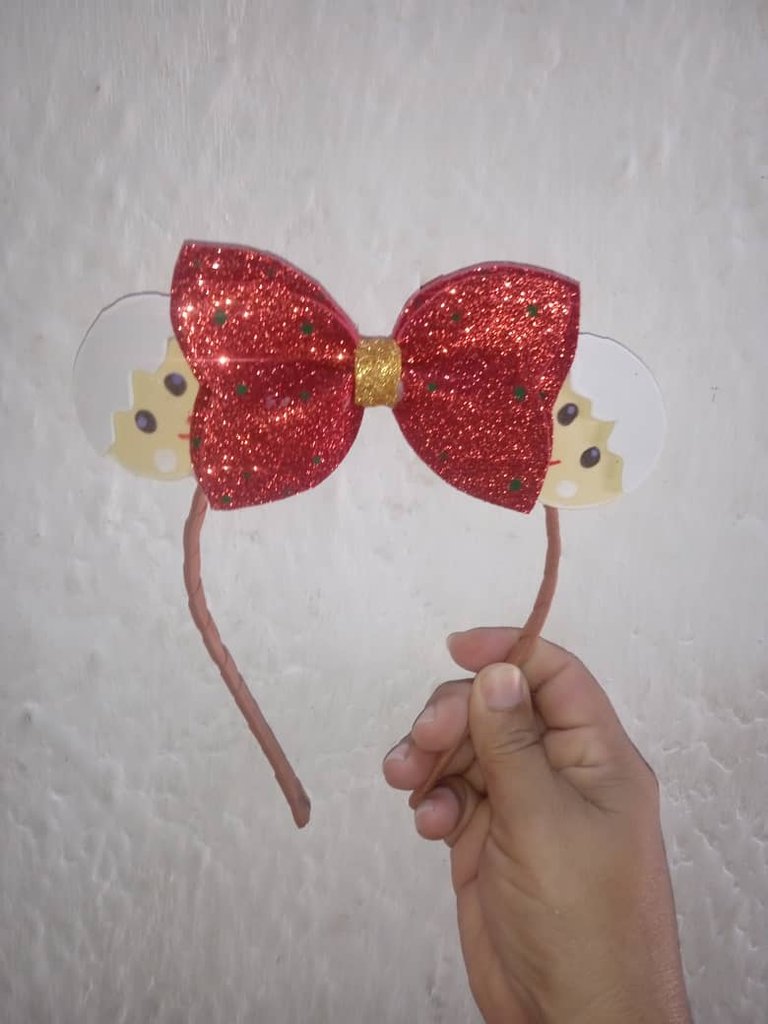
Cintillo caras de galletas navideña | Christmas Cookie Faces Headband
Hola buenas noches amigos artistas , espero que se encuentren bien , Dios les bendiga, hoy les quiero compartir un lindo Cintillo inspirado en caras de galleta navideña para lucir en una tarde casual , con pocos materiales y pasos faciles de realizar
Hello good evening artist friends, I hope you are well, God bless you, today I want to share a nice headband inspired by Christmas cookie faces to wear on a casual evening, with few materials and easy steps to perform.
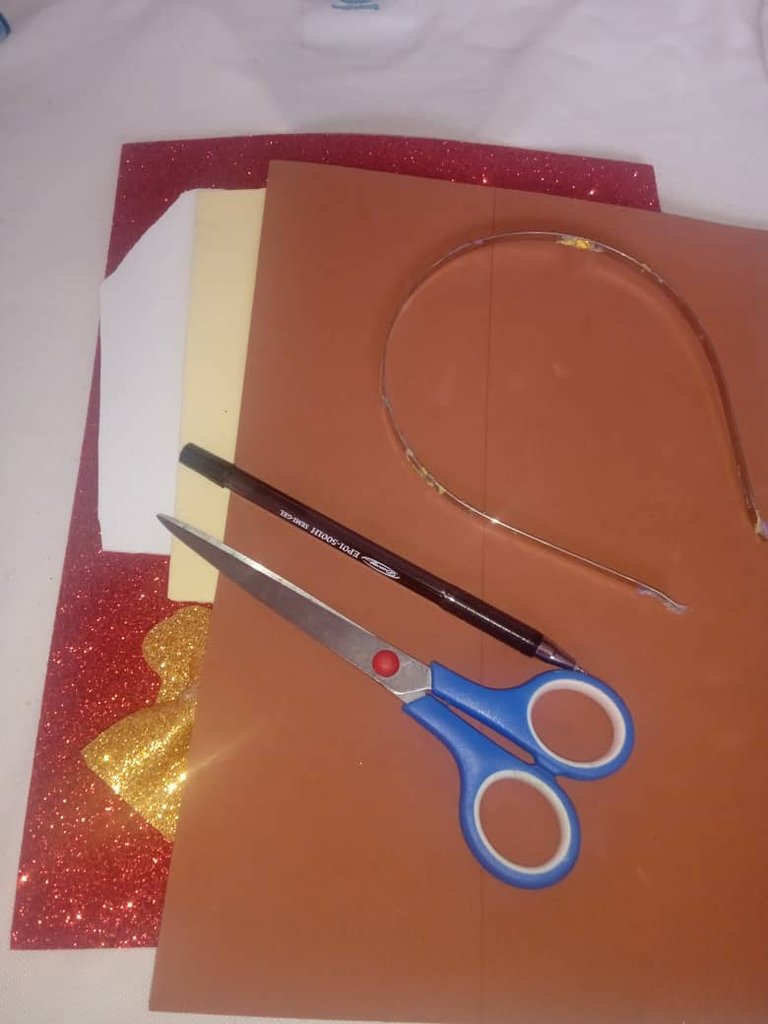
Materiales para realizar un cintillo de cara de galletas para navidad:
-Cintillo
-Foamis
-Tijera
-Silicon
Materials to make a Christmas cookie face headband:
-Cintillo
-Foamis
-Scissors
-Silicone
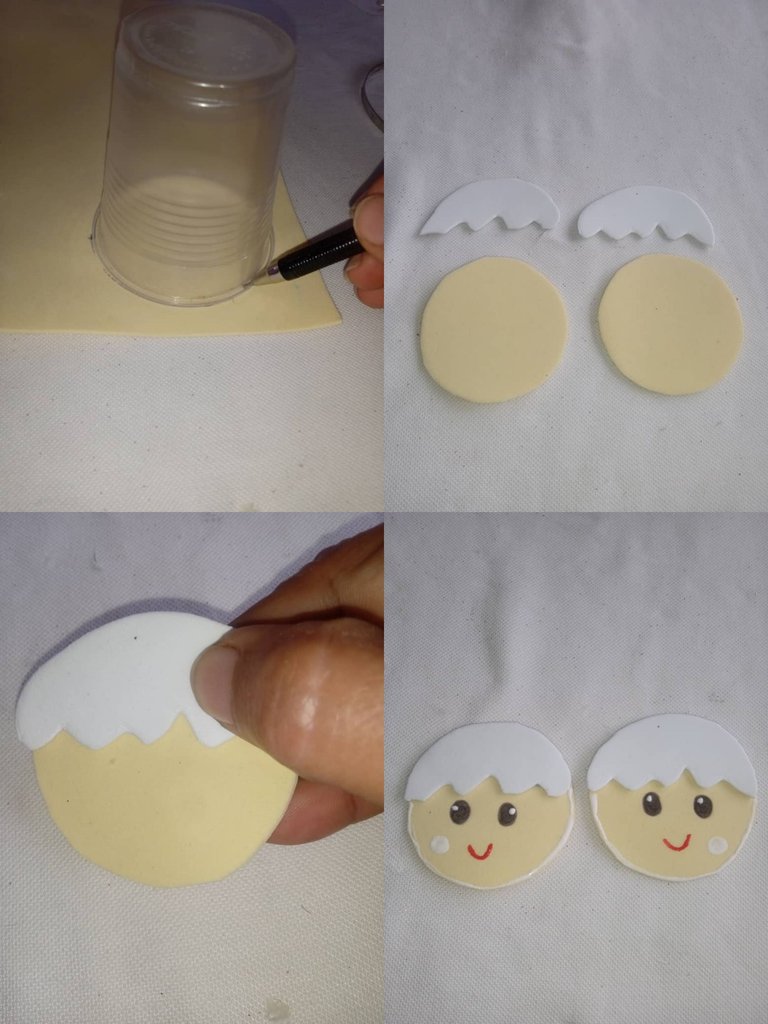
Pasos para elaborar nuestro cintillo:
Comenzaremos realizando las caras de galleta navideña , lo primero que debemos hacer es tomar un objeto de base redonda para realizar unos círculos, tomamos nuestro foamis y marcamos dos círculos,depende de la cantidad de caras que vayamos hacer , recortaremos ambos círculos , con el foamis blanco recortaremos la forma similar a un glaseado , luego vamos a continuar pegando el glaseado en la parte de arriba del círculo como pueden detallar, finalmente vamos a continuar tomando nuestra cara y le realizaremos el rostro ,sus ojos redondos ,mejillas y sonrisa ,además amigos les recomiendo utilizar un color más oscuro como el marrón ya que es más similar, todo es opcional
Steps to make our headband:
We will begin by making the Christmas cookie faces , the first thing we must do is to take a round base object to make some circles, we take our foamis and mark two circles,it depends on the amount of faces we are going to make , we will cut out both circles , with the white foamis we will cut out the shape similar to an icing , then we will continue gluing the icing on the top of the circle as you can detail, finally we will continue taking our face and we will make the face, round eyes, cheeks and smile, also friends I recommend using a darker color like brown as it is more similar, everything is optional.
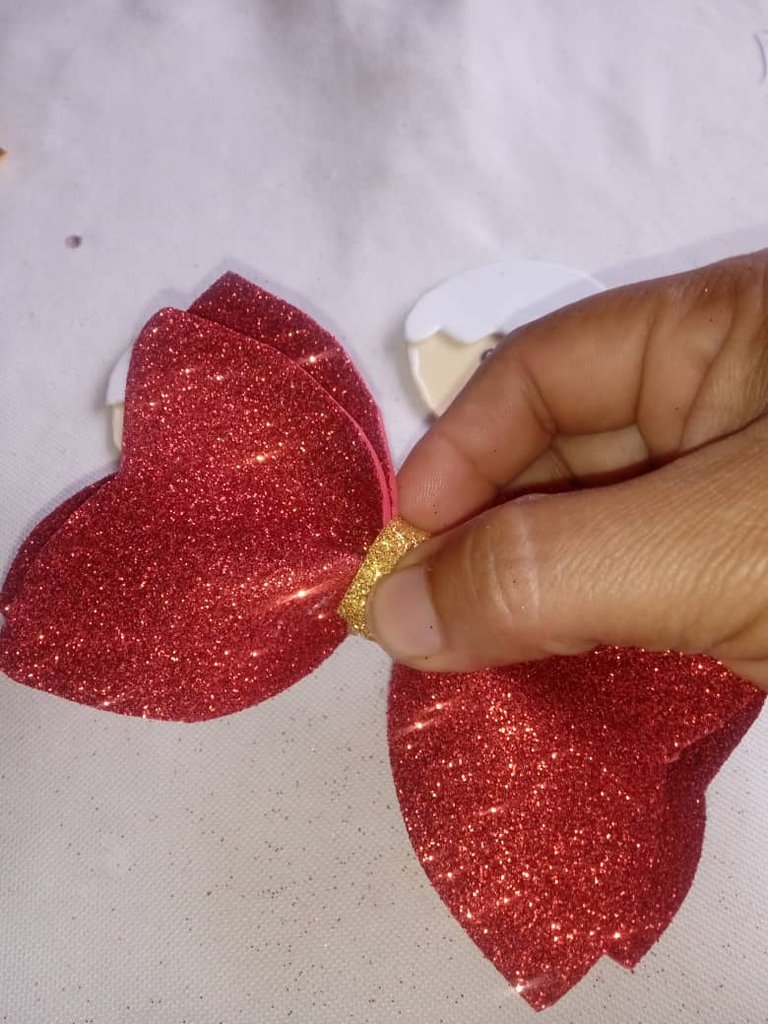
Luego vamos a continuar recortando dos lazos color rojo escarchado y al mismo tiempo pegando uno arriba del otro , presionando con una tira de foamis dorada escarchada
Then we will continue cutting out two frosted red ribbons and at the same time gluing one on top of the other, pressing with a strip of frosted gold foamis.
Luego amigos vamos a continuar recortando una tira de foamis para decorar con ella el cintillo y tenga un color de nuestra preferencia
Then friends we will continue cutting a strip of foamis to decorate with it the headband and have a color of our preference.
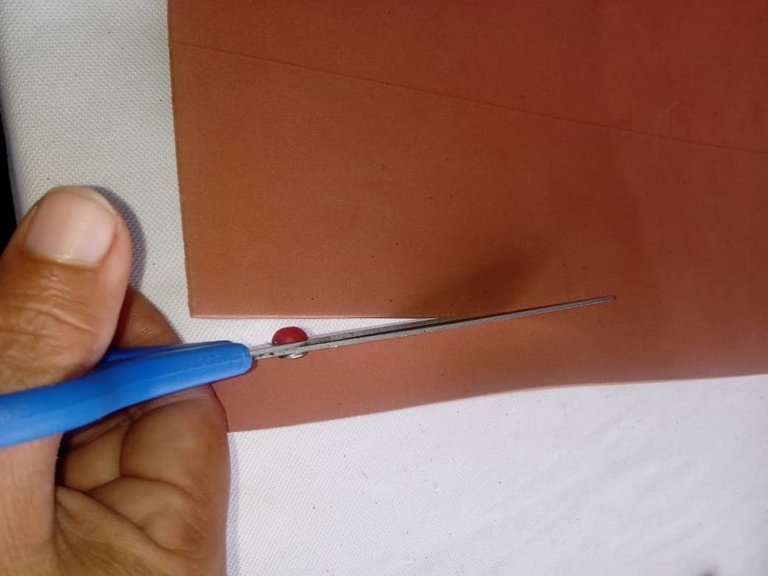
Vamos a continuar en este paso decorando el cintillo, comenzamos tomando la tira de foamis y pegamos desde abajo hacia arriba hasta cubrir lo completo
We will continue in this step decorating the headband, we start by taking the strip of foamis and glue it from the bottom to the top until it is completely covered.
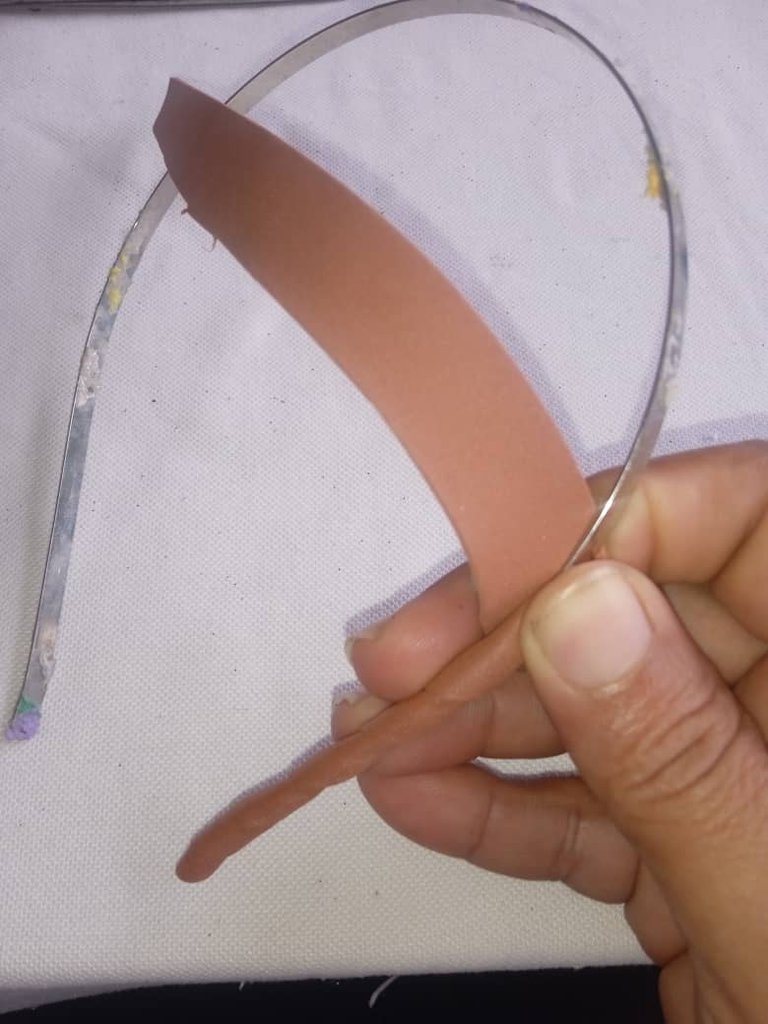
Seguidamente vamos a tomar el cintillo y en todo el centro pegaremos el lazo escarchado
Next we are going to take the headband and glue the frosted ribbon in the center.
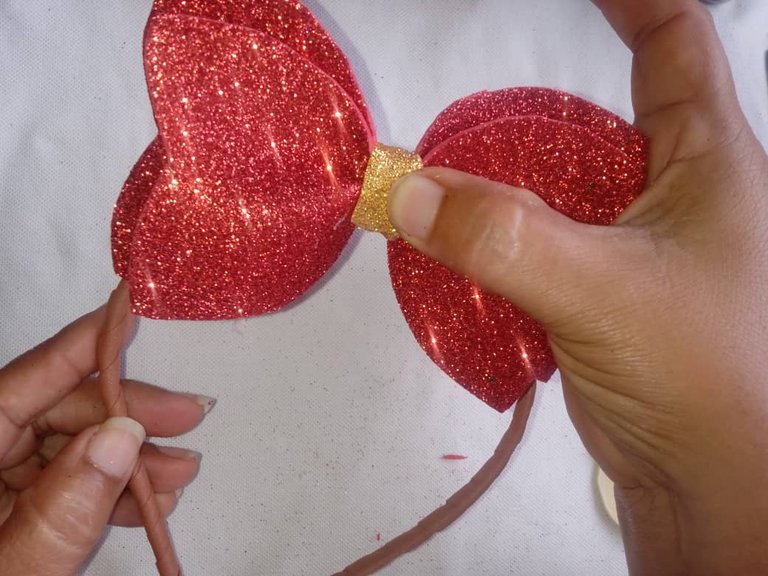
Luego en este siguiente paso vamos a pegar a los lados del cintillo las caritas de las galletas navideñas , en el centro del lazo unas piedras pequeñas color verde, culminando nuestro Cintillo navideño
Then in this next step we are going to glue on the sides of the headband the faces of the Christmas cookies, in the center of the ribbon some small green stones, culminating our Christmas headband.
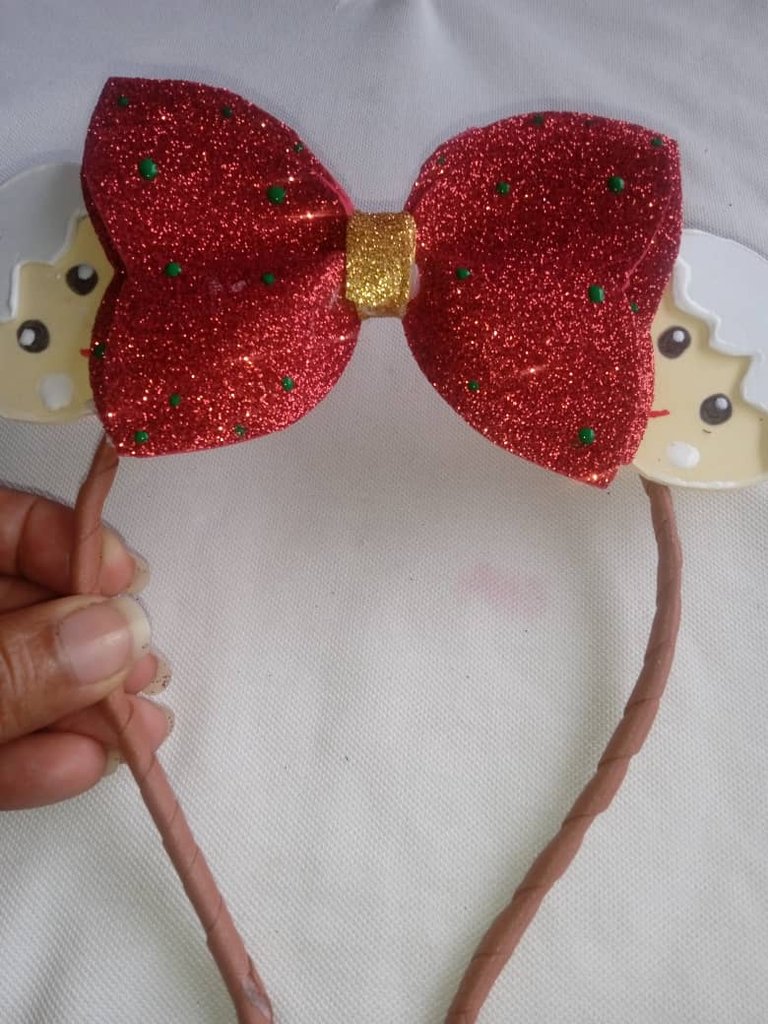
Así fue como realicé el cintillo, todo un proceso sencillo y fácil , para que las princesas se vean hermosas con nuestros pequeños detalles amigos
This is how I made the headband, a simple and easy process, so that the princesses look beautiful with our little friends details.
This is a nice creativity, you did great.
What a beautiful headband, good work👍👍
It is shining, beautiful, and stylish. Love its design that makes it more appealing. You did a wonderful job! Keep it up!