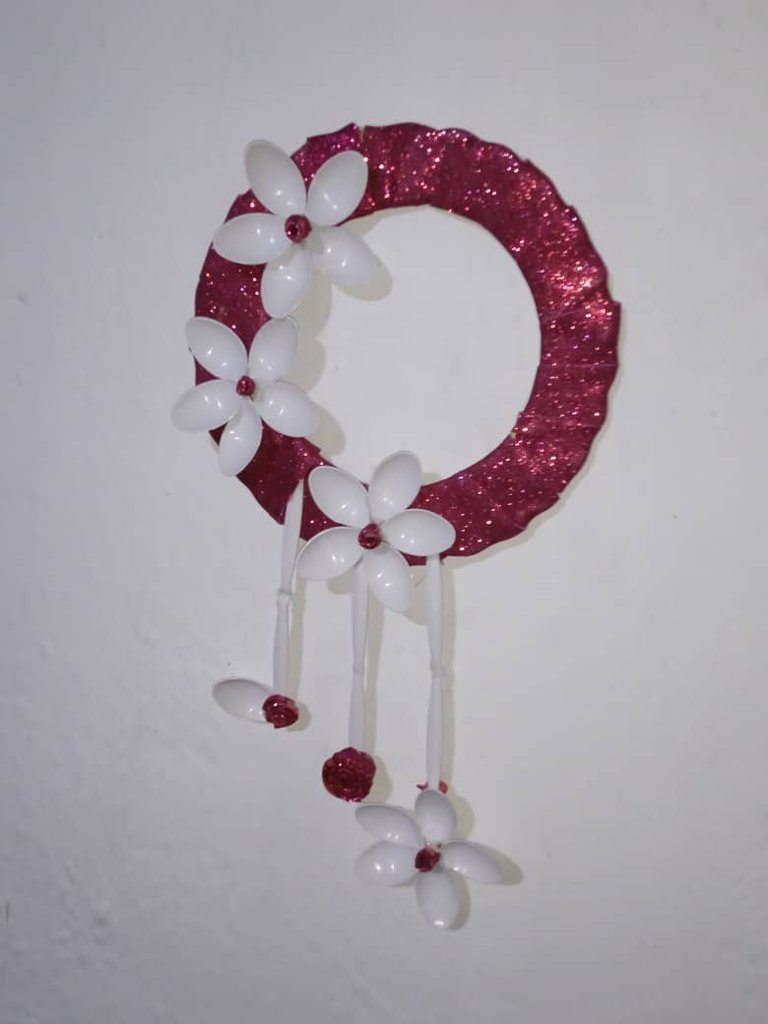
Adorno de pared con materiales de provecho | Wall ornament with useful materials
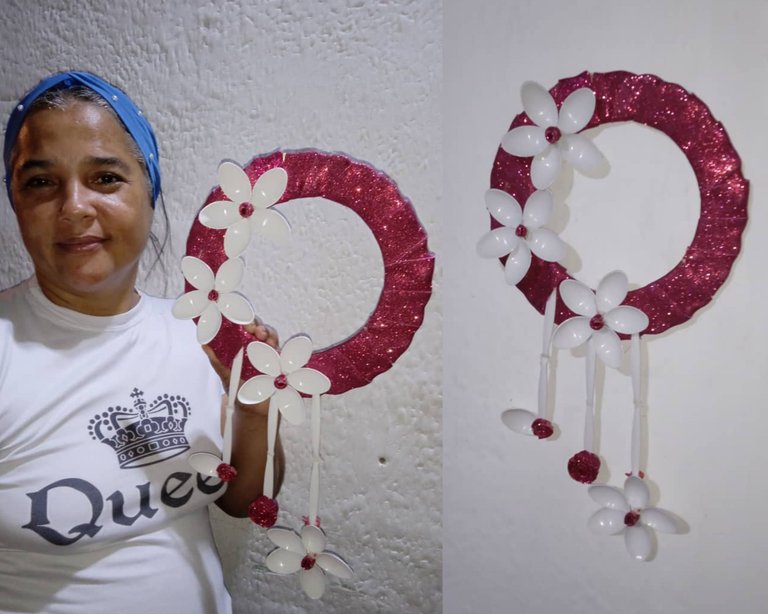
Hola saludos para todos los amigos feliz y bendecida noche , les quiero compartir un adorno de pared que realicé con materiales de provecho , es sencillo ideal para adornar nuestras habitaciones con flores recicladas
Hello greetings to all friends happy and blessed night, I want to share a wall hanging that I made with useful materials, it is simple ideal to decorate our rooms with recycled flowers.
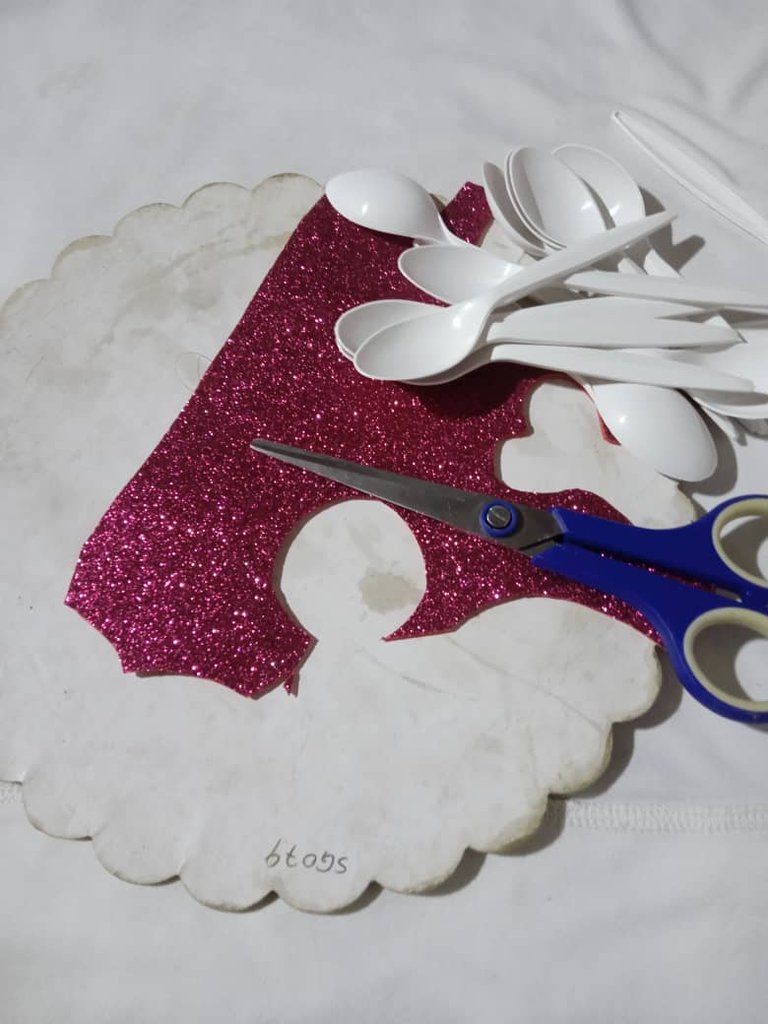
Materiales qué utilice para mí adorno de pared:
-Foamis
-Cucharas plásticas
-Tijera
-Carton
-Silicon
Materials I used for my wall hanging:
-Foamis
-Plastic spoons
-Scissors
-Carton
-Silicon
Pasos a seguir:
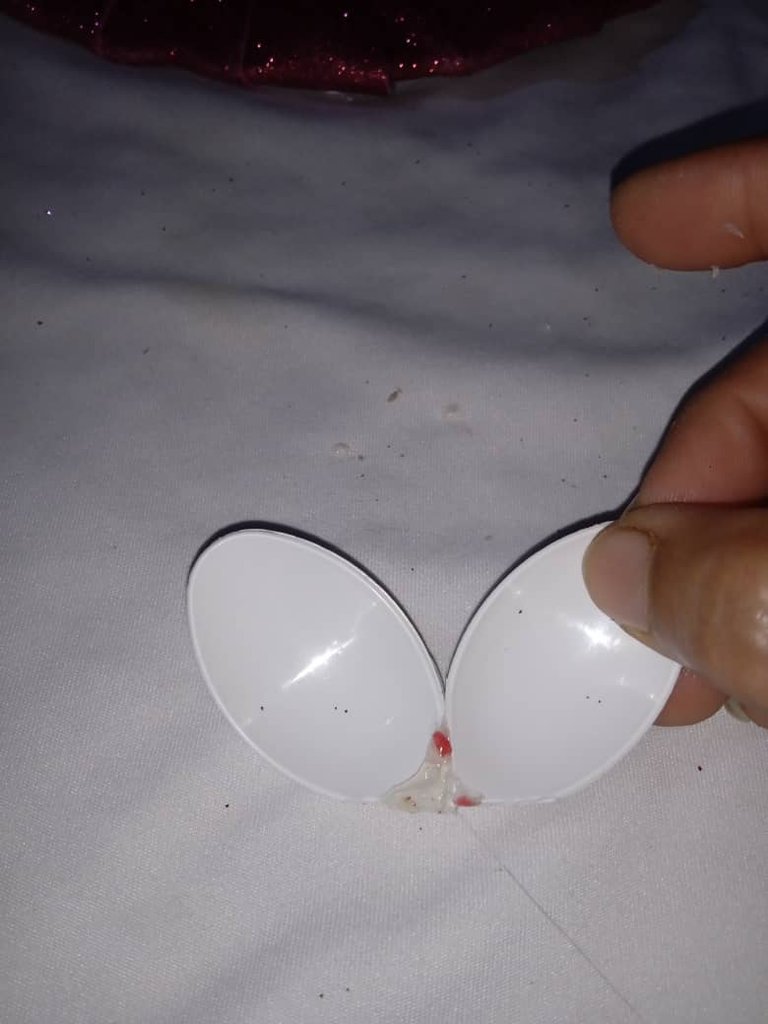
Paso número 1 : comenzaremos tomando nuestras cucharas y utilizaremos la parte redonda ( con la que tomamos nuestras comidas ) , sin tirar los palitos de las cucharas amigos ,comenzaremos pegando punta con punta , estos serán nuestros pétalos como pueden mirar
Steps to follow:
Step number 1: we will start by taking our spoons and we will use the round part ( with which we take our meals ) , without throwing away the spoon sticks friends , we will start gluing tip to tip , these will be our petals as you can see
Paso número 2: luego continuaremos pegando nuestros pétalos uno al lado del otro hasta formar una flor de cinco pétalos , específicamente tres arriba y dos abajo
Step number 2: then we will continue gluing our petals side by side until we form a flower of five petals, specifically three on top and two on the bottom.
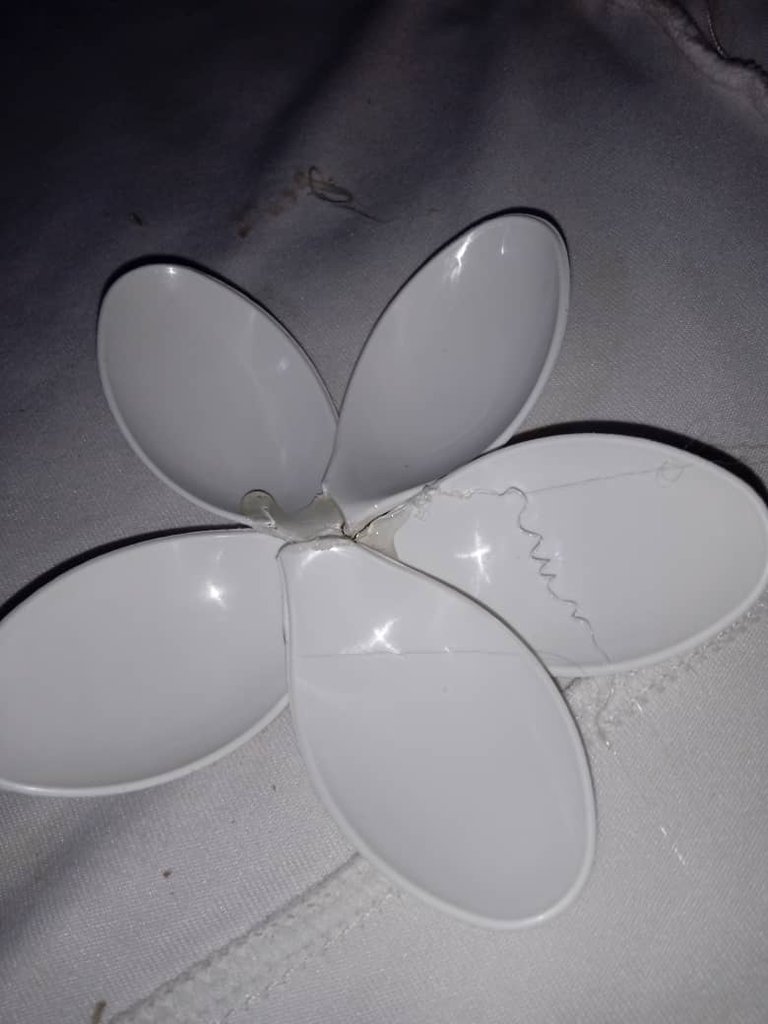
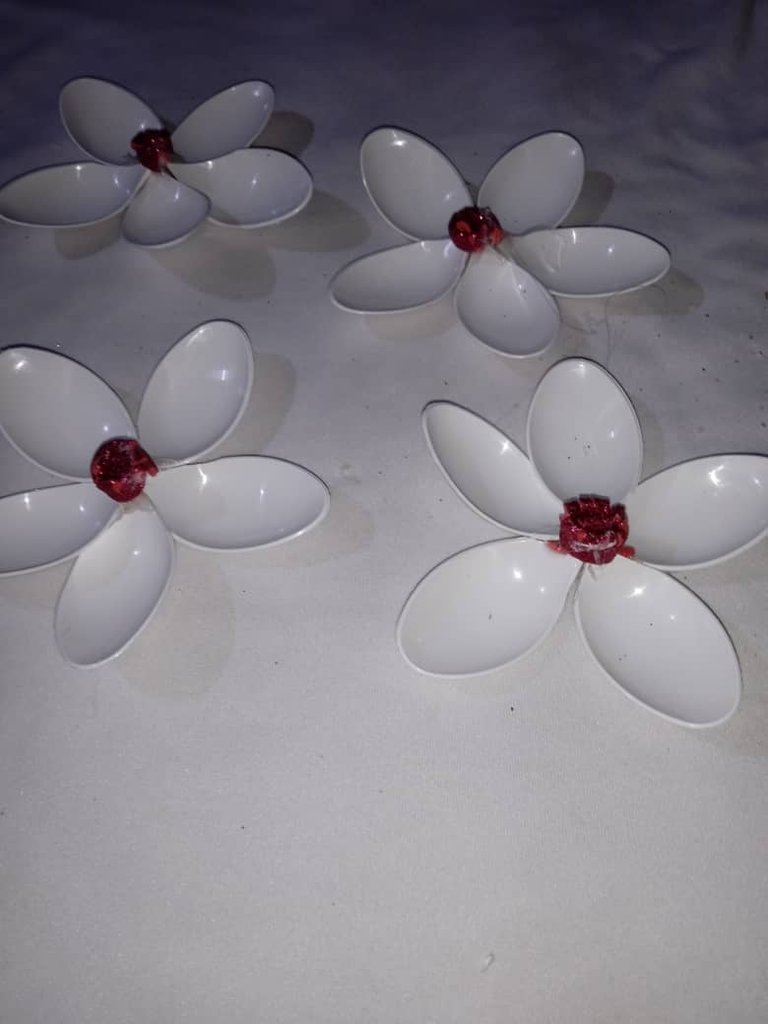
Paso número 3: luego en el centro continuaremos pegando una semilla o el centro de foamis color fucsia escarchado
Step number 3: then in the center we will continue gluing a seed or the center of fuchsia frosted foamis.
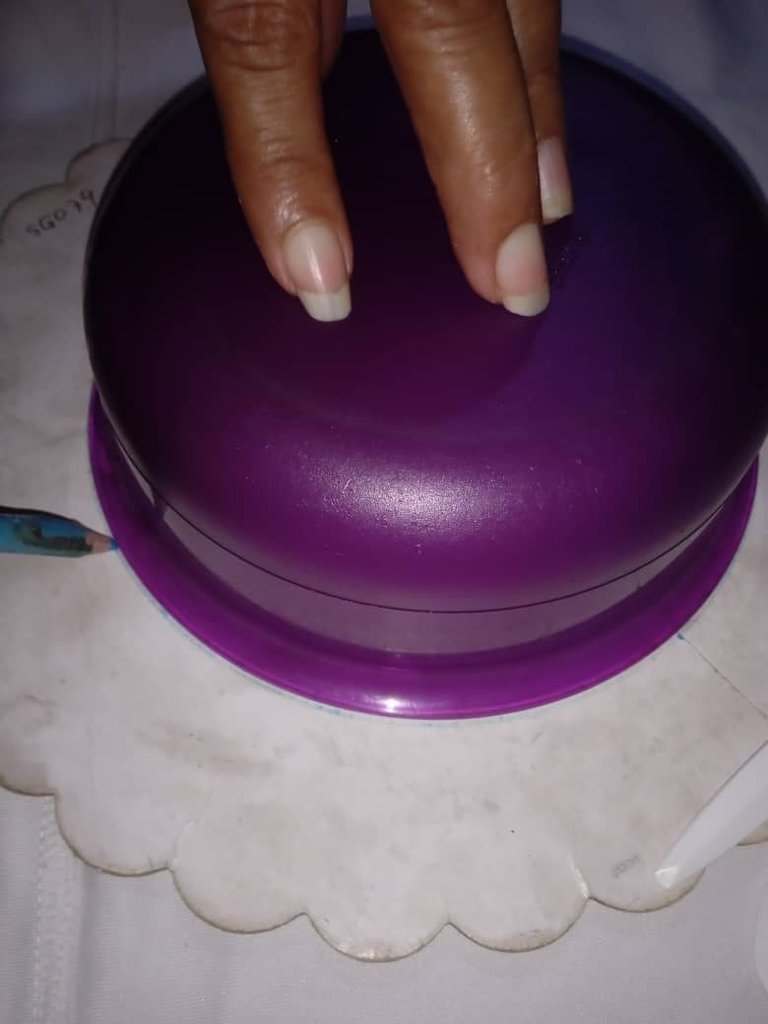
Paso número 4: a continuación vamos a tomar nuestro cartón, un envase redondo y marcaremos un círculo del tamaño de nuestra preferencia,para hacer nuestra base del adorno
Step number 4: next we will take our cardboard, a round container and mark a circle of the size of our preference, to make our base of the ornament.
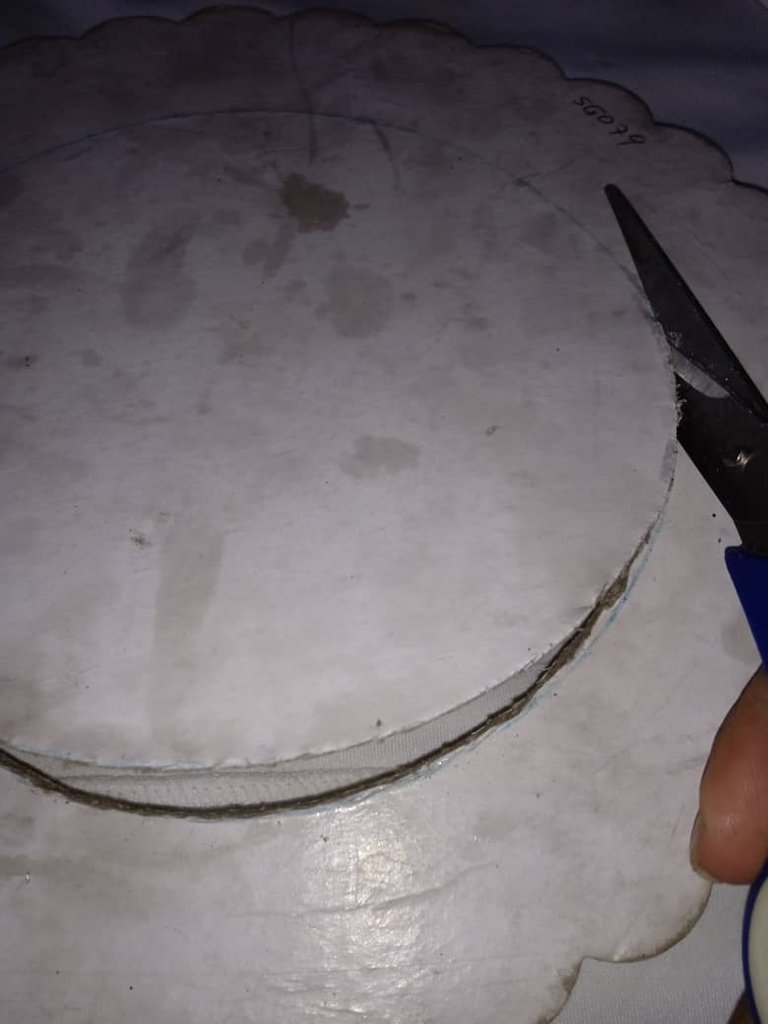
Paso número 5: luego continuamos en nuestro quinto paso recortando el círculo que marcamos , en el centro también recortaremos un círculo pequeño que quede una rueda o círculo , seguidamente vamos a pegar foamis escarchado para cubrirlo
Step number 5: then we continue in our fifth step by cutting out the circle we marked, in the center we will also cut out a small circle that is a wheel or circle, then we will glue frosted foamis to cover it
Paso número 6: una vez listo nuestro círculo vamos a proceder cubriendo con foamis escarchados, seguidamente en medio círculo vamos a proceder pegando 3 flores semi separadas, una arriba de la otra
Step number 6: once our circle is ready we will proceed by covering it with frosted foamis, then in the middle of the circle we will proceed by gluing 3 semi separated flowers, one on top of the other.
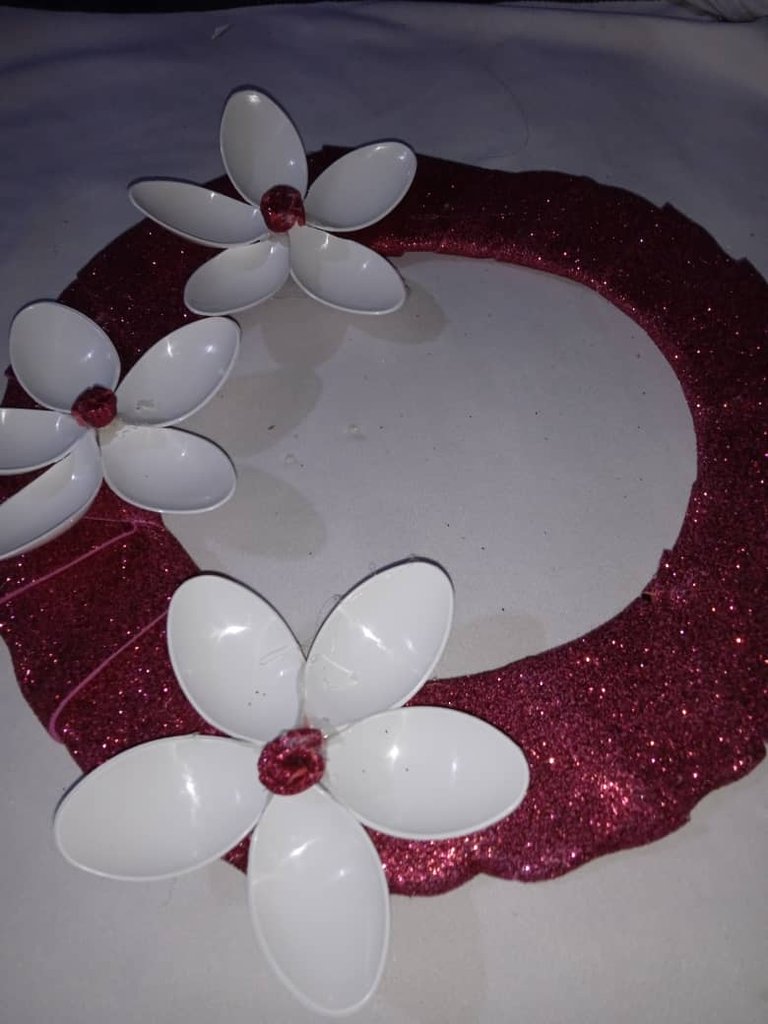
Paso número 7: por último en la parte de abajo de nuestro adorno vamos a pegar los palitos de las cucharas, tres de forma escalada , una más arriba otro más abajo y así sucesivamente, pegaremos en la parte de abajo colgando,una flor , una semilla escarchada y una cuchara, culminando nuestro adorno de pared
Step number 7: finally at the bottom of our ornament we will glue the sticks of the spoons, three in a staggered way, one above another below and so on, we will paste at the bottom hanging, a flower, a frosted seed and a spoon, culminating our wall decoration.
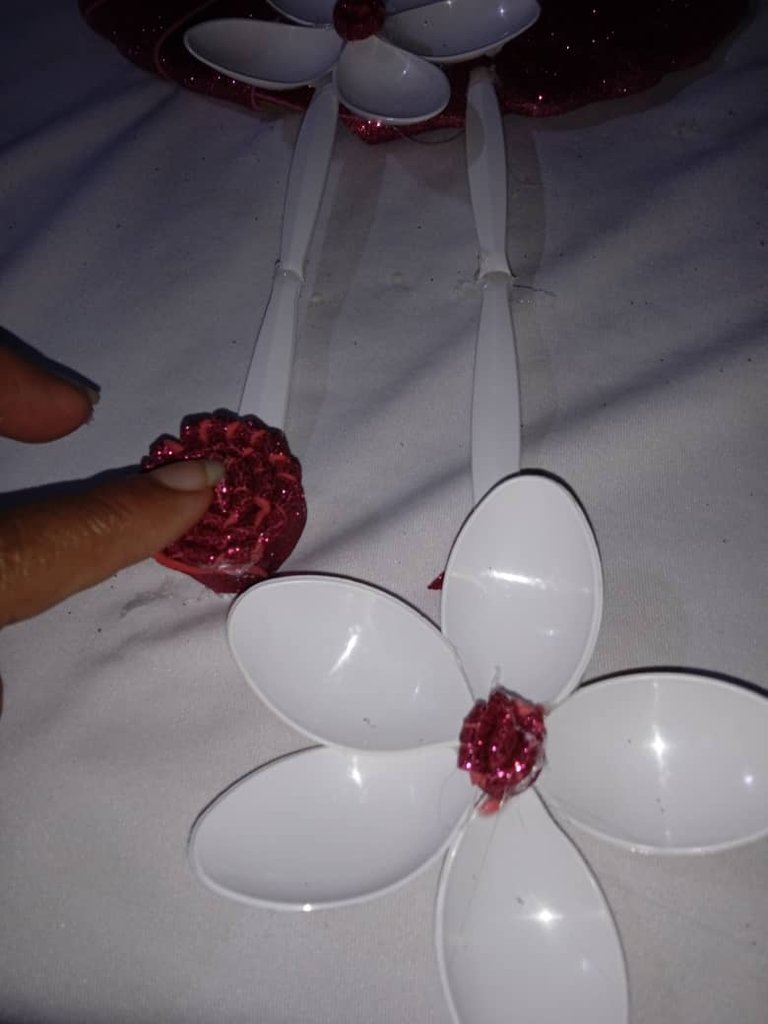
Así fue como realicé mi adorno de pared utilizando pocos materiales, ideal para nuestra casa , gracias por su atención, hasta la próxima amigos
Adorno de pared con materiales de provecho
This is how I made my wall hanging using few materials, ideal for our house, thank you for your attention, until next time friends.
